29
Apr 17

Tooltris continued…

As I mentioned last time, it’s a nice problem to have, but it’s still nicer when you solve it 😀

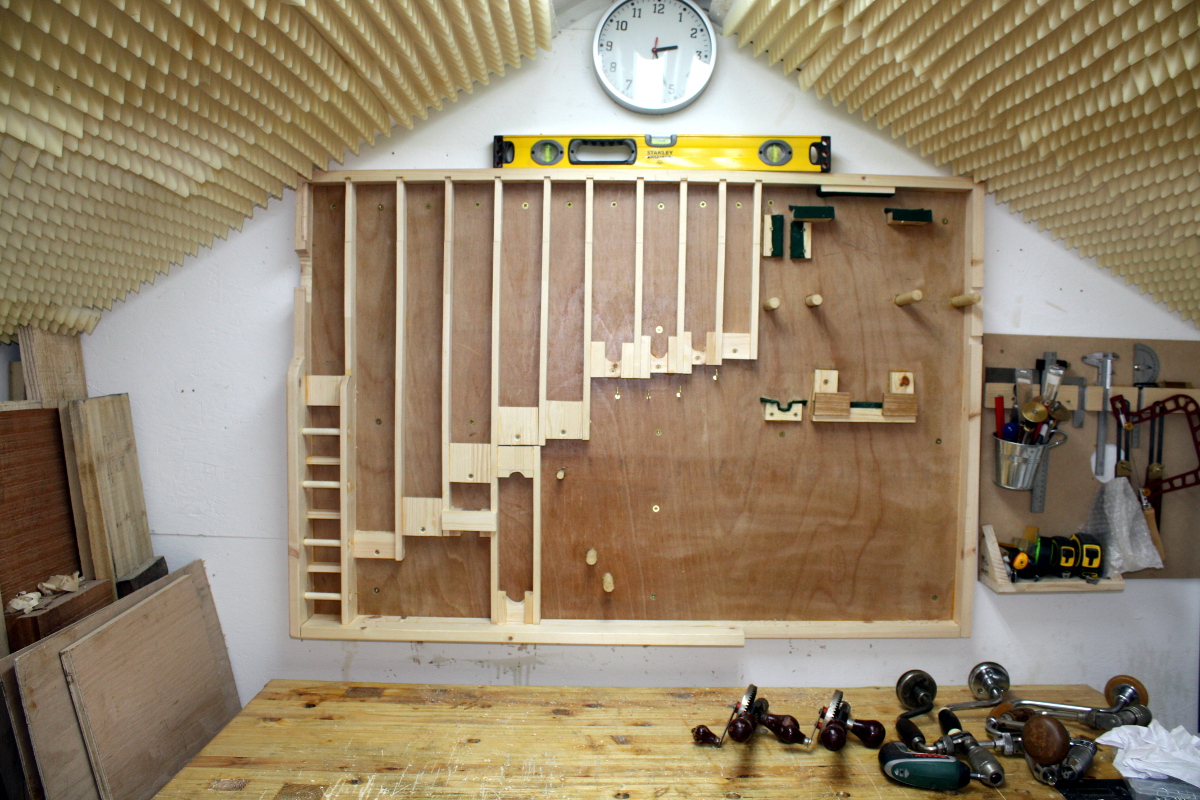
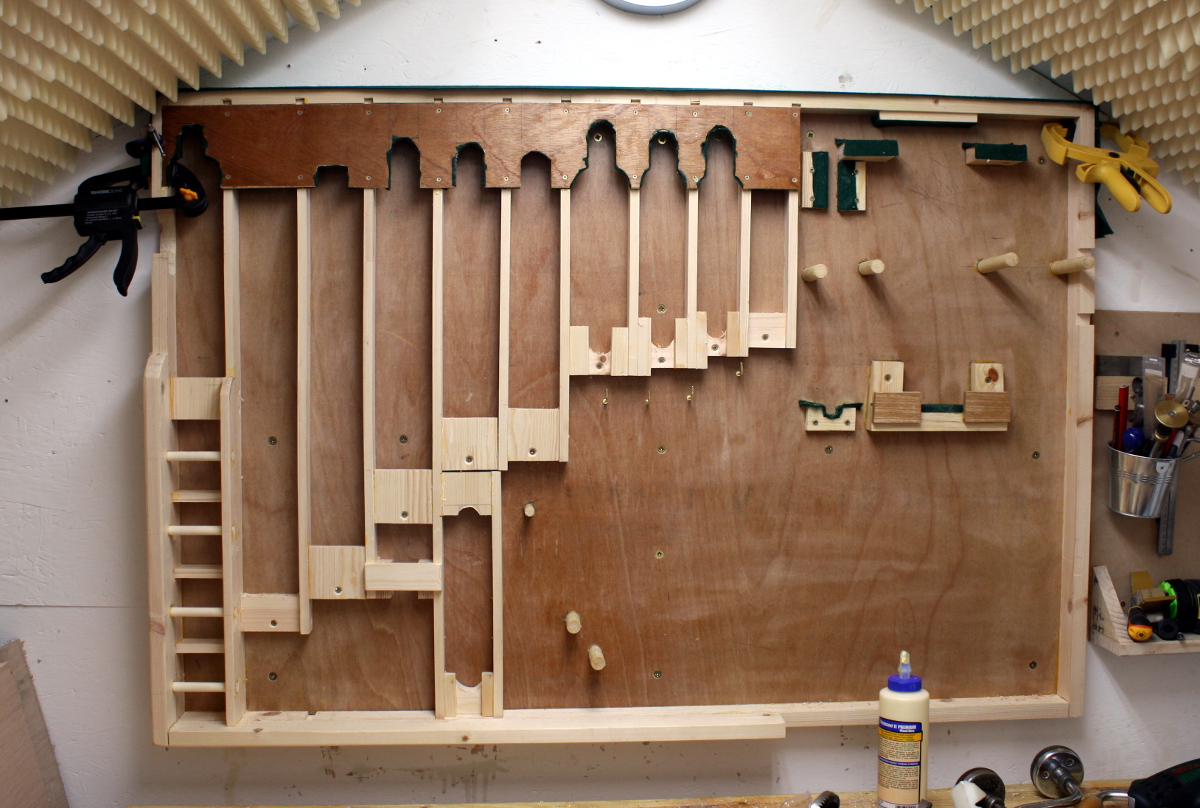
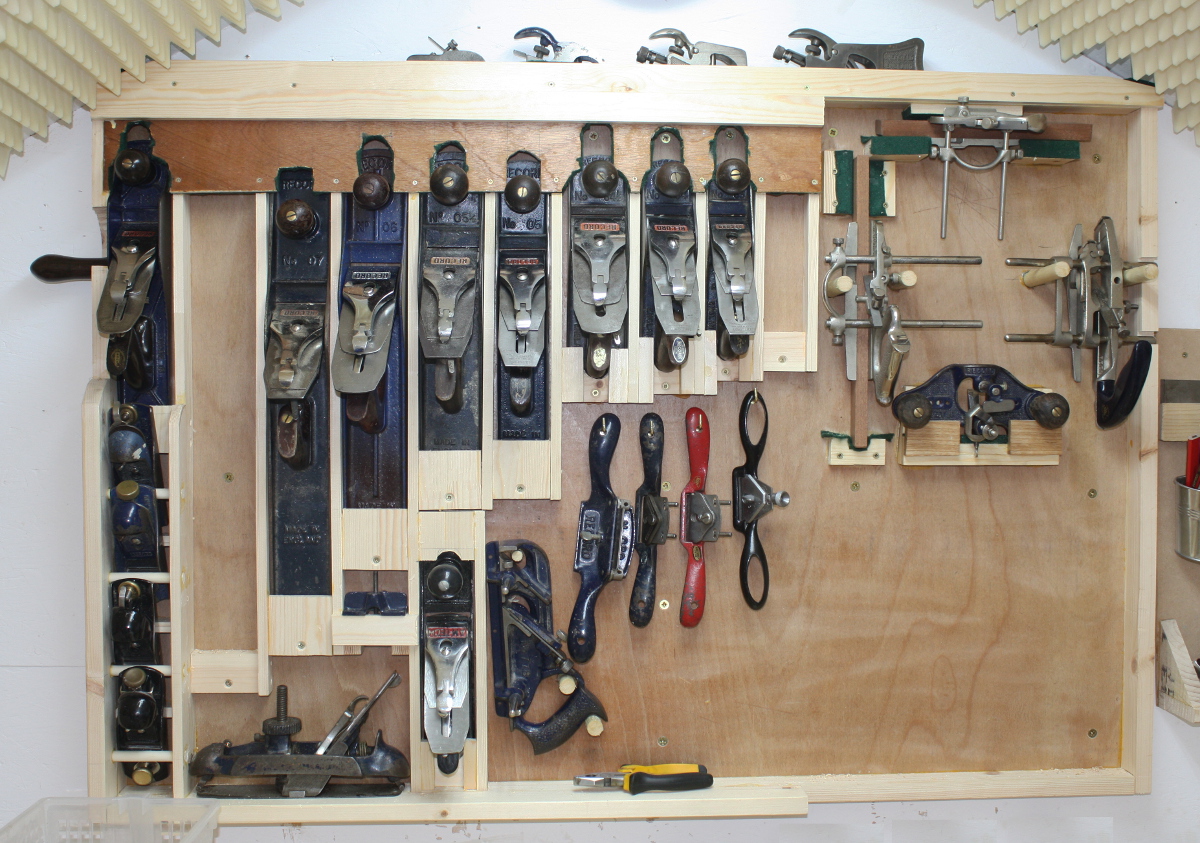
So it’s mostly a conventional plane rack, with a few quirky bits for the non-bench planes. Here’s the map:
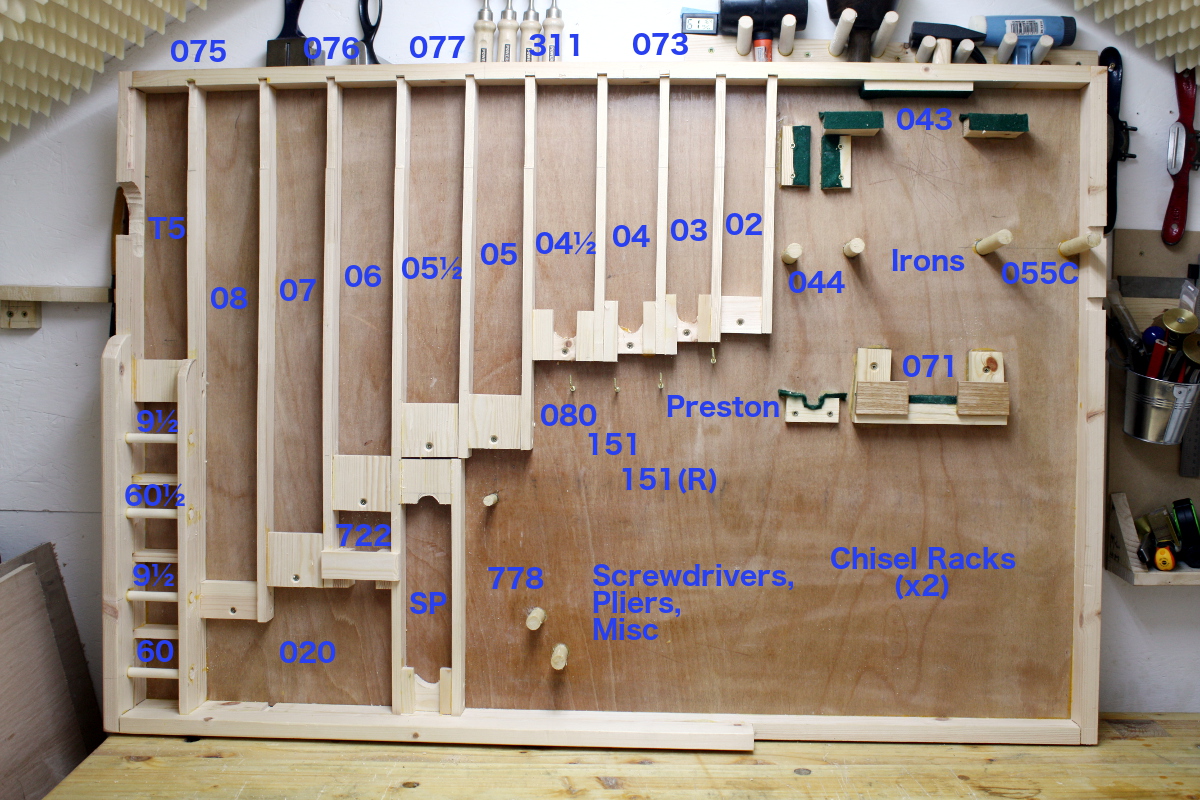
Bench planes make up most of the area, with the T5 over on the far left because of its handle, the blocks below that because that was all the room there was, the compass plane sitting on a shelf, and the various plough planes and rebate planes and router planes in various holders, and the spokeshaves on hooks.

Nicked the general idea for this from here. Though mine’s less fancy 😀

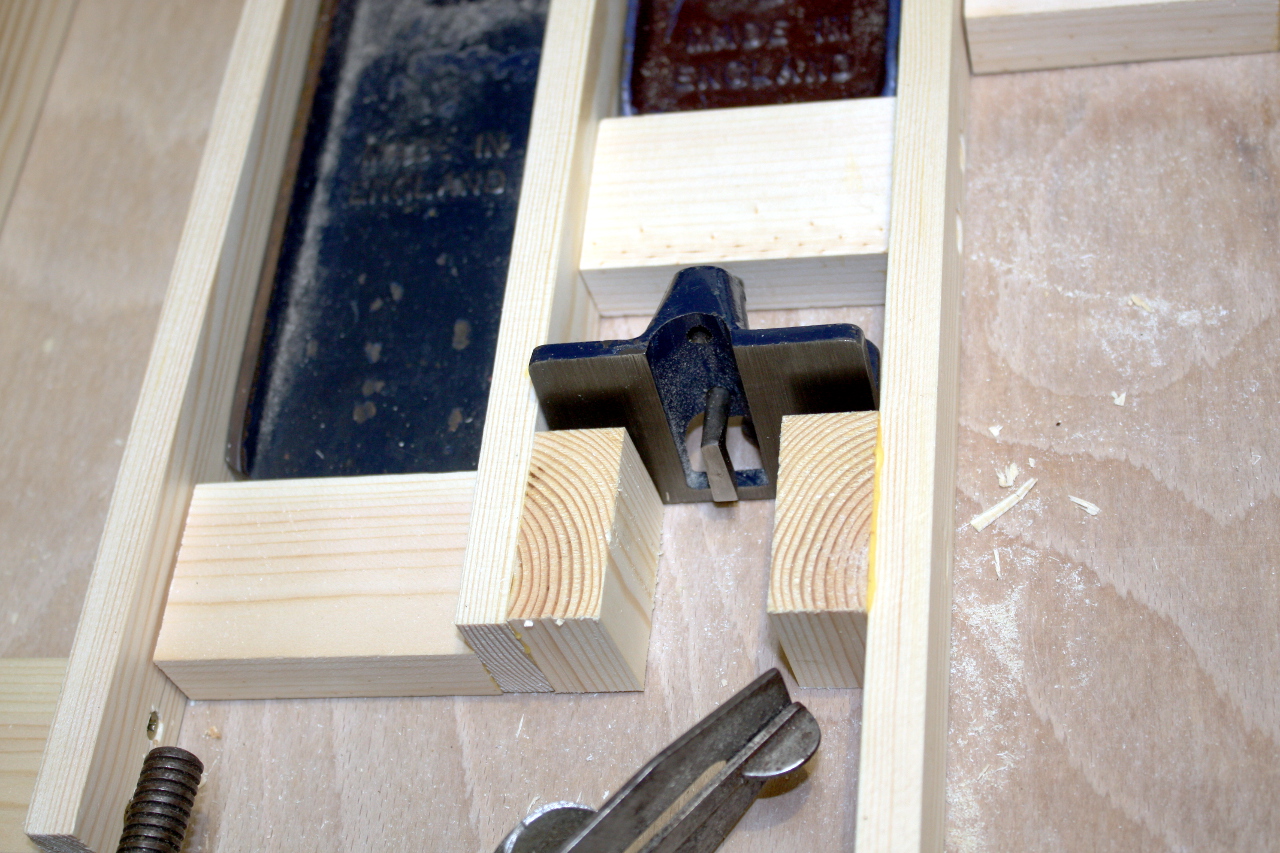
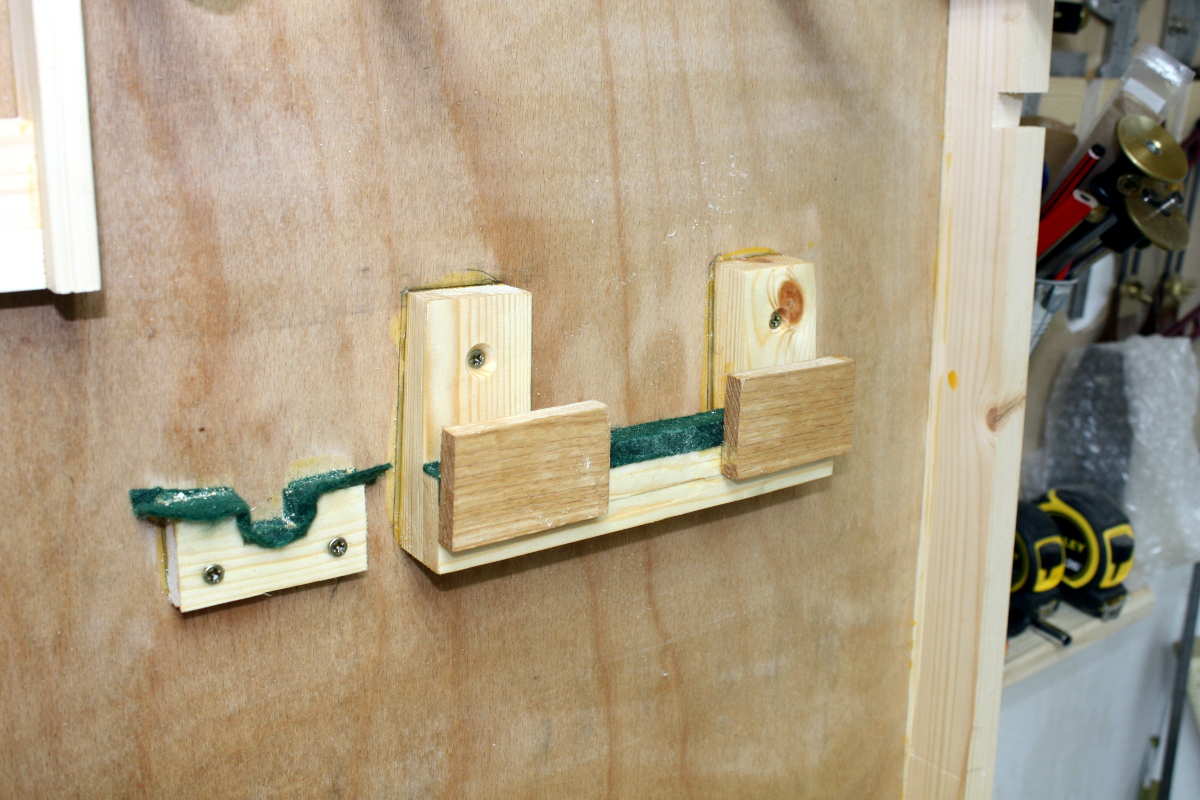
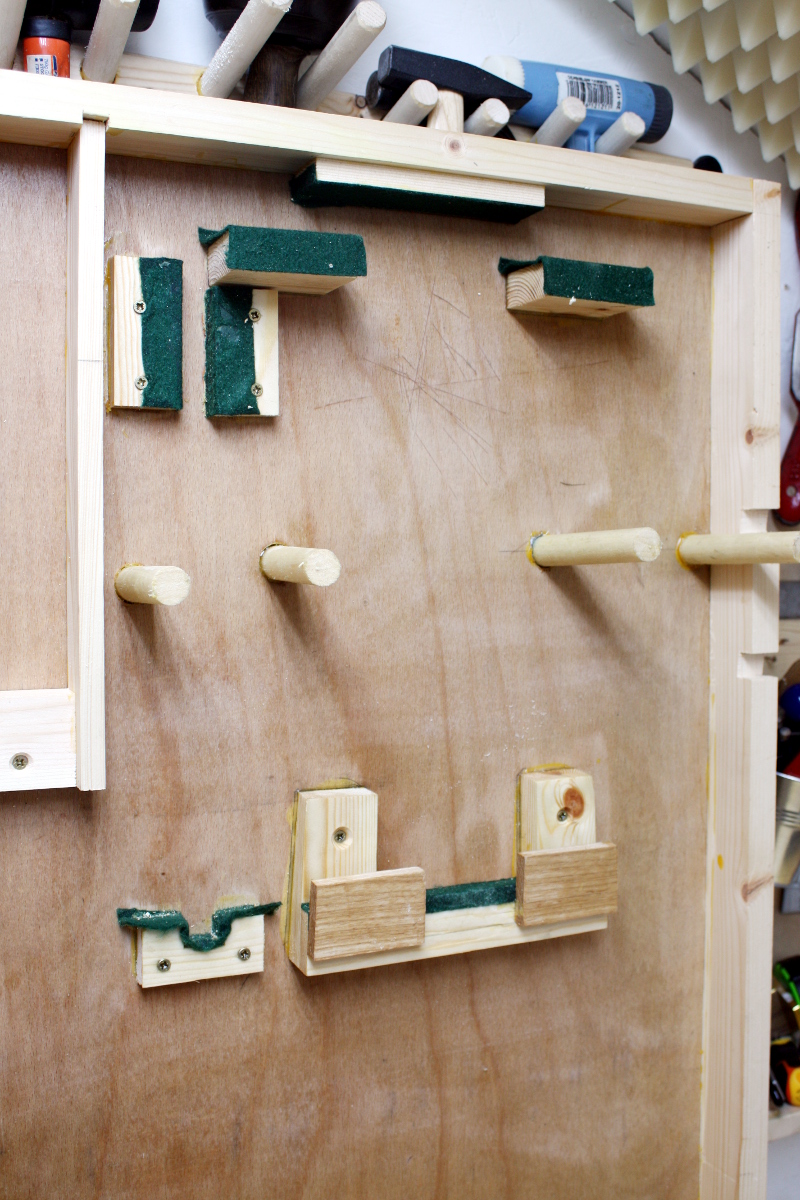
The #044, #043 and #055C plane housings are just pegs and small boards or cutouts in the frame to keep everything aligned. Gravity does the rest, along with the extra friction from the felt. The #043 mount might need some more work but it seems okay for now. 

The #722 mount looks like this but there’s a small cap across the top to bridge the gap now. Works very well if I do say so myself.

And the block planes get small cubbies, but with a bar in front of each one to ensure the plane is at a steep angle; that way I can stack four in that space without coming away from the wall too much.

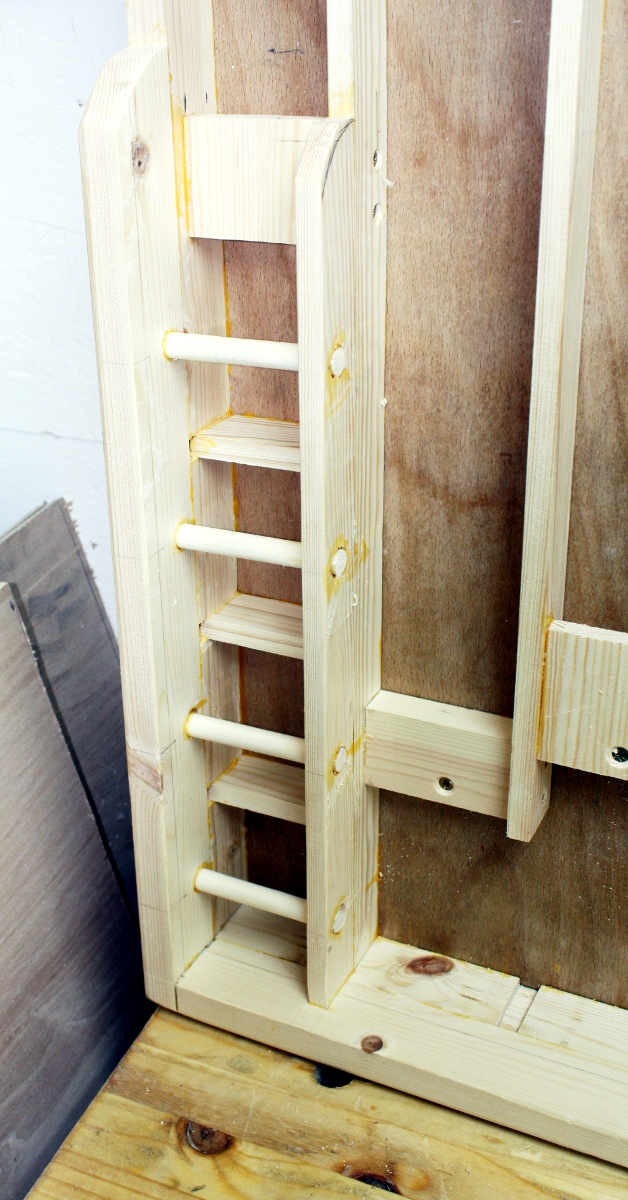
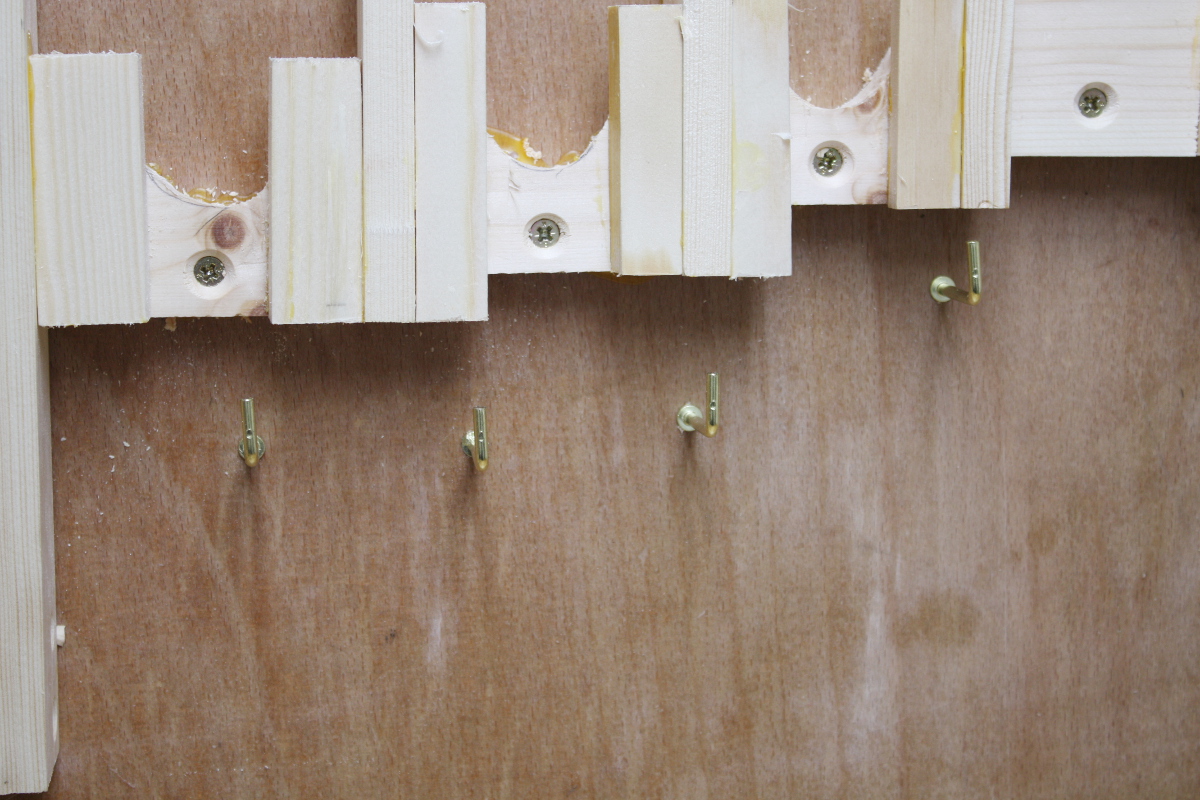
The spokeshaves and the #080 were a bit easier to build 😀

I still have to build the chisel racks (I have a nice idea for those) and there’s a small area for screwdrivers and such as well, and I want to have a space for the spare irons and the blade sets from the combination planes up in that top right corner; that has to be built yet as well but it won’t be anything fancy.

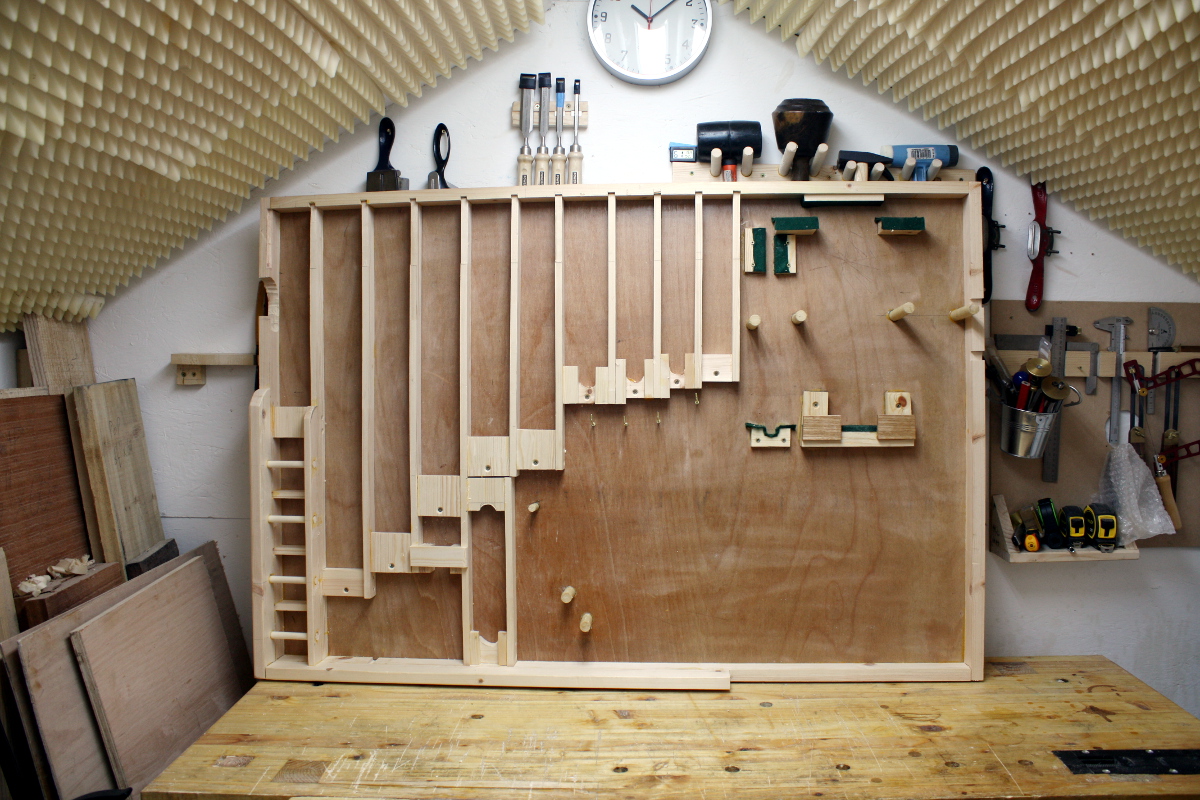
All that’s not complete either, there’s the toe cap for the bench planes and a header to add, but I wanted to mount it on the wall first:

24 5mm screws, because only five of those are in studs. And it is a lot of cast iron. But it seems okay so far…

Anyway, with it on the wall, I could add the toe cap:

More glue and screw construction here, this isn’t going to win awards, it’s shed furniture. A bit of felt along the top as well, because I’ll attach a header in front of that to make a shelf:

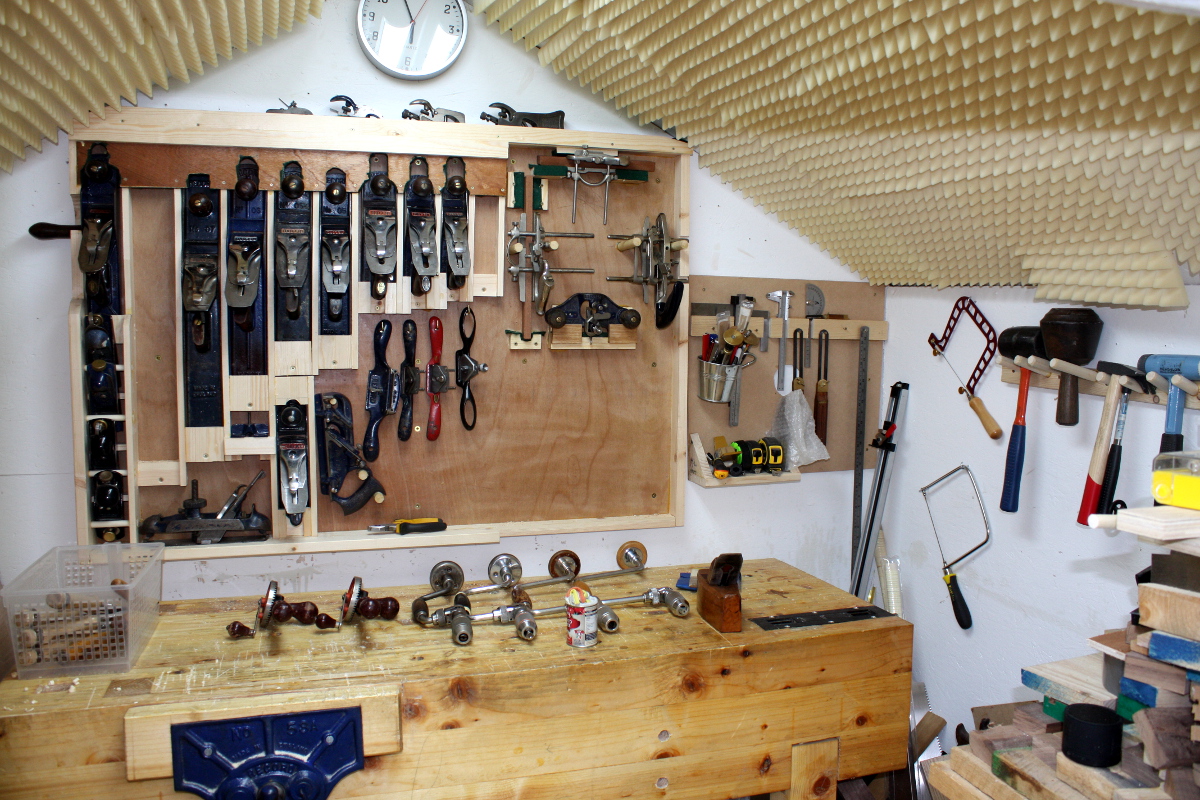
And done. Had to fettle the ends of the shelf a bit with the spokeshave, but it fits, and more glue and screws later, here we are. Everything fits. I still have space for a #08, which I’ll get as soon as one in decent condition shows up on ebay for less than the price of its weight in platinum, and for a #02, which won’t ever show up for as low a price as its weight in platinum, but that’s collectors items for you. I’m holding its space for when I find one going for €5 in a car boot sale 😀

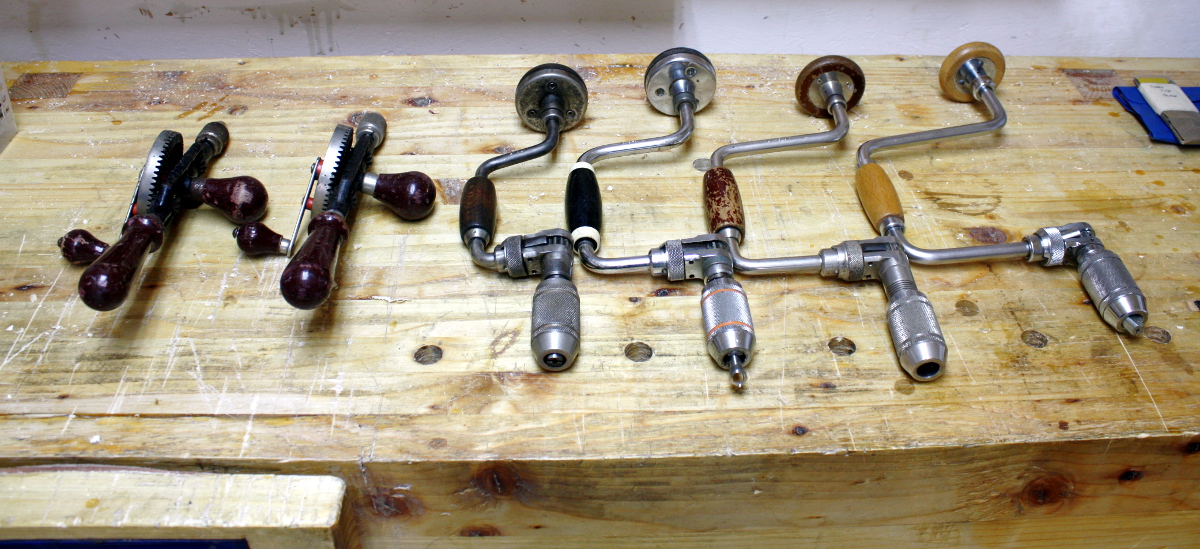
Things are starting to get a bit tidier at last. I still have to sort out the drills and the saws though. I’ll probably move the fret and coping saw from where they are now over to the left side, put the drills where they are now and put the saws beneath them and the hammers. Or I’ll put the drills on the front wall of the shed, behind me as I face the bench. Not sure yet. And of course, now that everything has a place, I’ll buy something else that’ll need more room than I have, like two more braces.

Not to mention the breast drill that’s still in the post…

But next job is definitely going to have to be that chisel rack. The chisels have gone back into a tool roll, and using those things is a pain in the fundament…
13
Apr 17

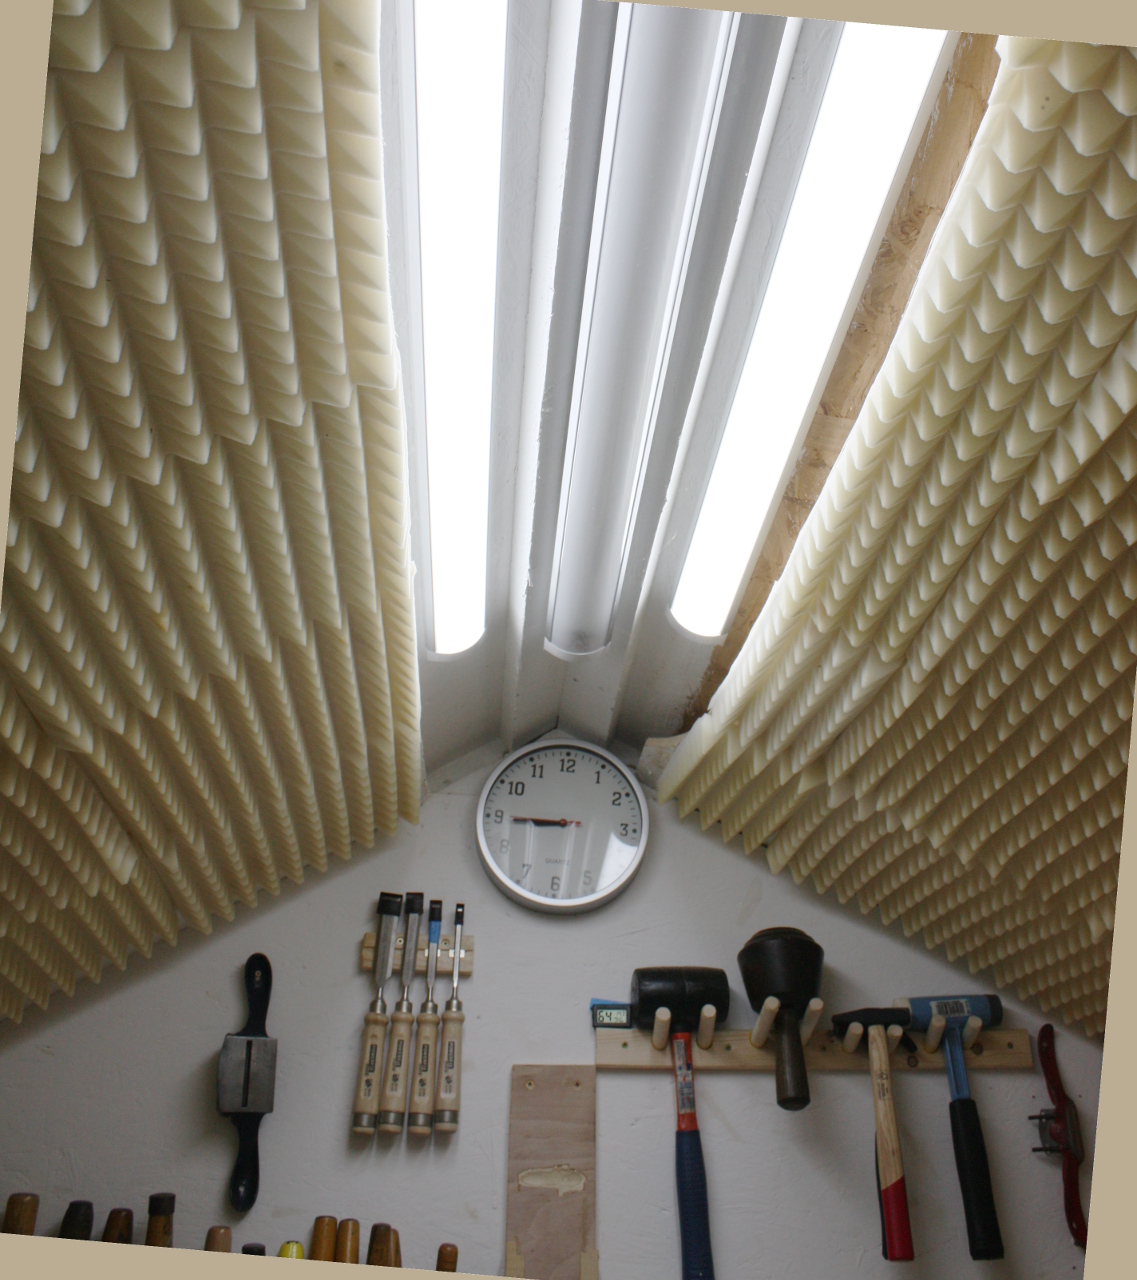
Blinded by the light…

So the SI unit for “brightness” (this isn’t exact, roll with it) is the lux and you can measure it with lightmeters (or a lightmeter app on your smartphone if you live in 2017). A really dark and stormy overcast day is around 100 to 200 lux as is your typical home lighting (my kitchen table, for example, sees 140 lux as I’m sitting here). Sunrise or sunset is around 400 lux. A well lit office can be anything up to around 500 lux. Noon on a typical cloudy Irish day is around 1000 to 2000 lux.

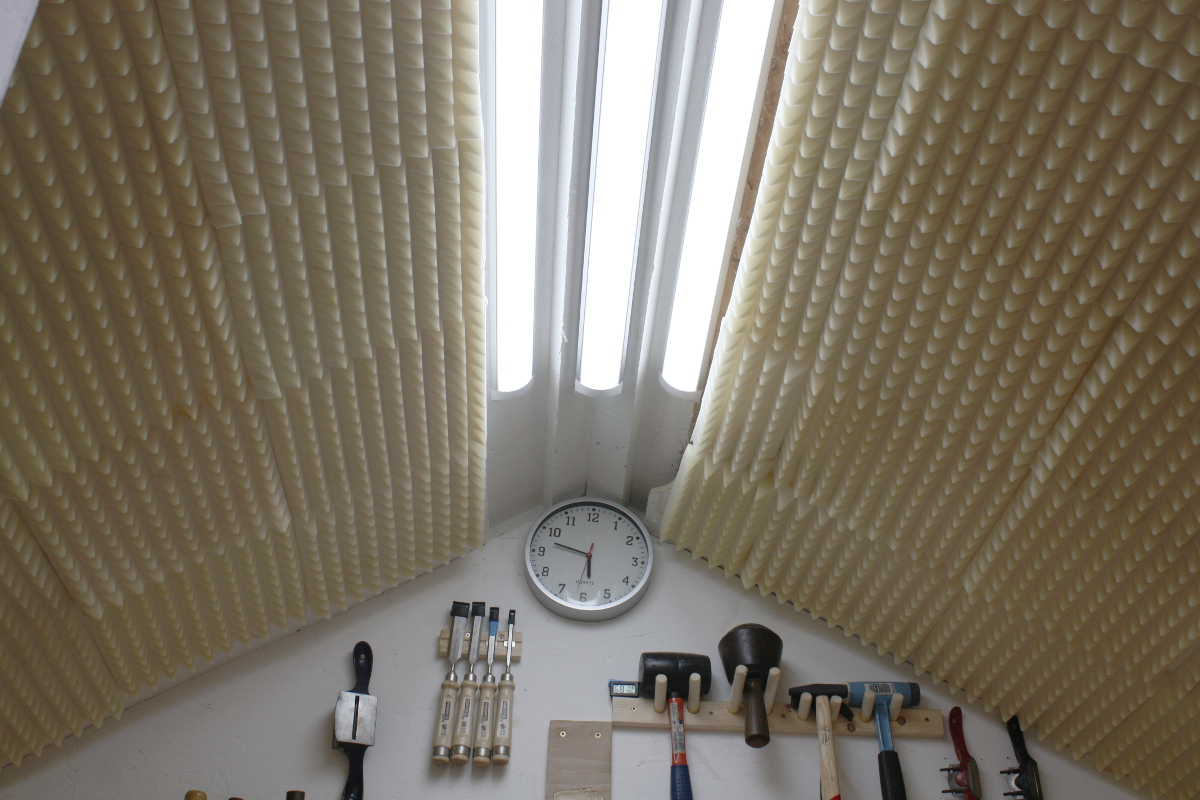
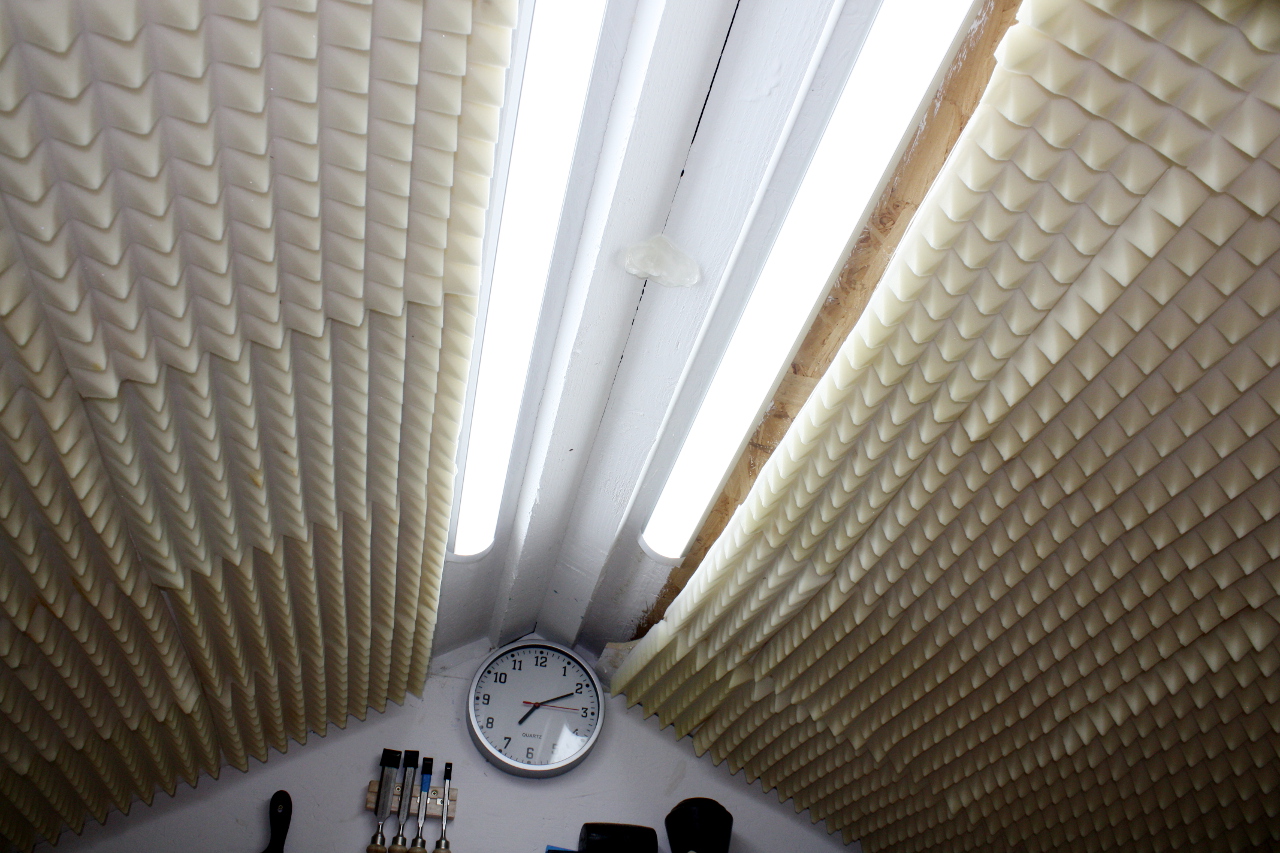
Earlier today, I hooked up the third LED T8 in the shed (the one I fitted yesterday):

At my workbench, the lightmeter now reads 2400 lux.

It’s now brighter inside my shed than it is outside my shed at noon on most Irish days. I might possibly have gone a little far.

(BTW, the T8s cost about €30 each off ebay and claim to draw 44W each and should last for a few years. So yeah, I’d recommend them)


12
Apr 17

Thermomorph

So I came across this goop watching Crimson Guitars recently (I don’t want to build guitars, I just find the woodworking part fascinating while finding the music part kinda meh).

Basically, take this plastic (which comes in little balls like styrofoam packaging), put a few tablespoons into hot water (60C/140F is where the magic happens) and it goes from hard white solid to transparent goop. Fish it out of the water with a spoon, give it a second or two to cool down so you can hold it without third-degree burns to your fingertips, and now you have something similar to mala (or plasticine or playdough or silly putty or whatever you grew up with); only when it cools down, whatever shape it’s in it sets up hard in.

When it’s back to being hard again, it’s a hard white plastic that you can saw, drill, file, tap (no idea how much load it’ll take though) or otherwise work. And when you’re done with it, put it back into hot water and it goes back to transparent goop again and you can reuse it. No idea how many cycles you’ll get from it, but I’m up to three or four so far with no sign of degradation.

So how’s it useful in the shed? Well, I use LED T8s to light the shed. Or more accurately, until last weekend I used one. Then the second one arrived last weekend and now I use two.

Thing is, when I ordered that second one, I accidentally ordered two of them. So I wanted to fit the third T8 and in between the other two is the only viable place left. But the roof has no handy single flat surface there (if I picked either of the two flats I’d get uneven light distribution and I’d go spare). So I need some blocks cut to the angle of the roof and attached so that I have a horizontal surface to mount the light to.

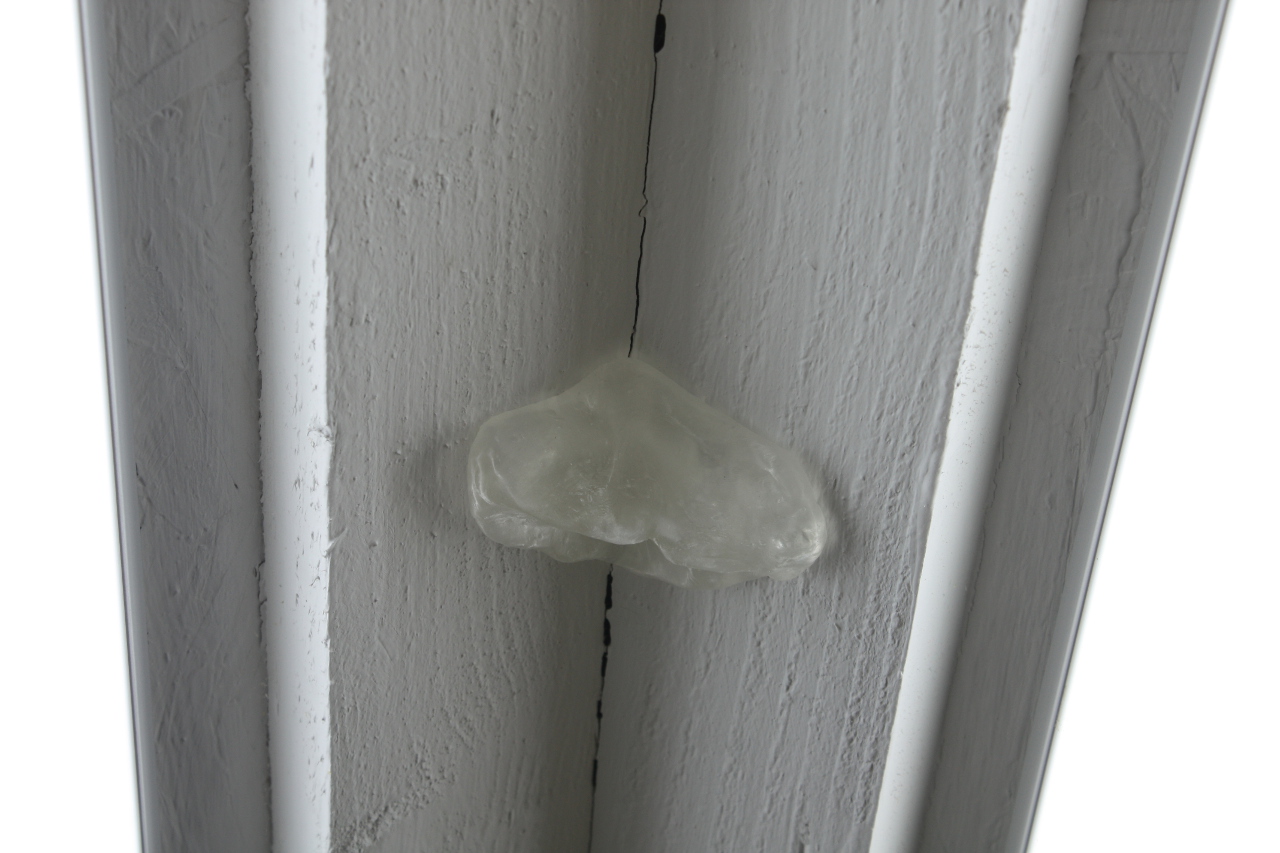
But I don’t know that angle, it definitely isn’t something nice like 30, 45, 60 or 90. It’ll be 57.423 degrees or whatever hastily-nailed-together-8-by-6 sheds use. So out with a few tablespoons of thermomorph, let it go transparent, cool back to translucent, and then shove a wodge of it into the roof angle (you can see it above in that picture).

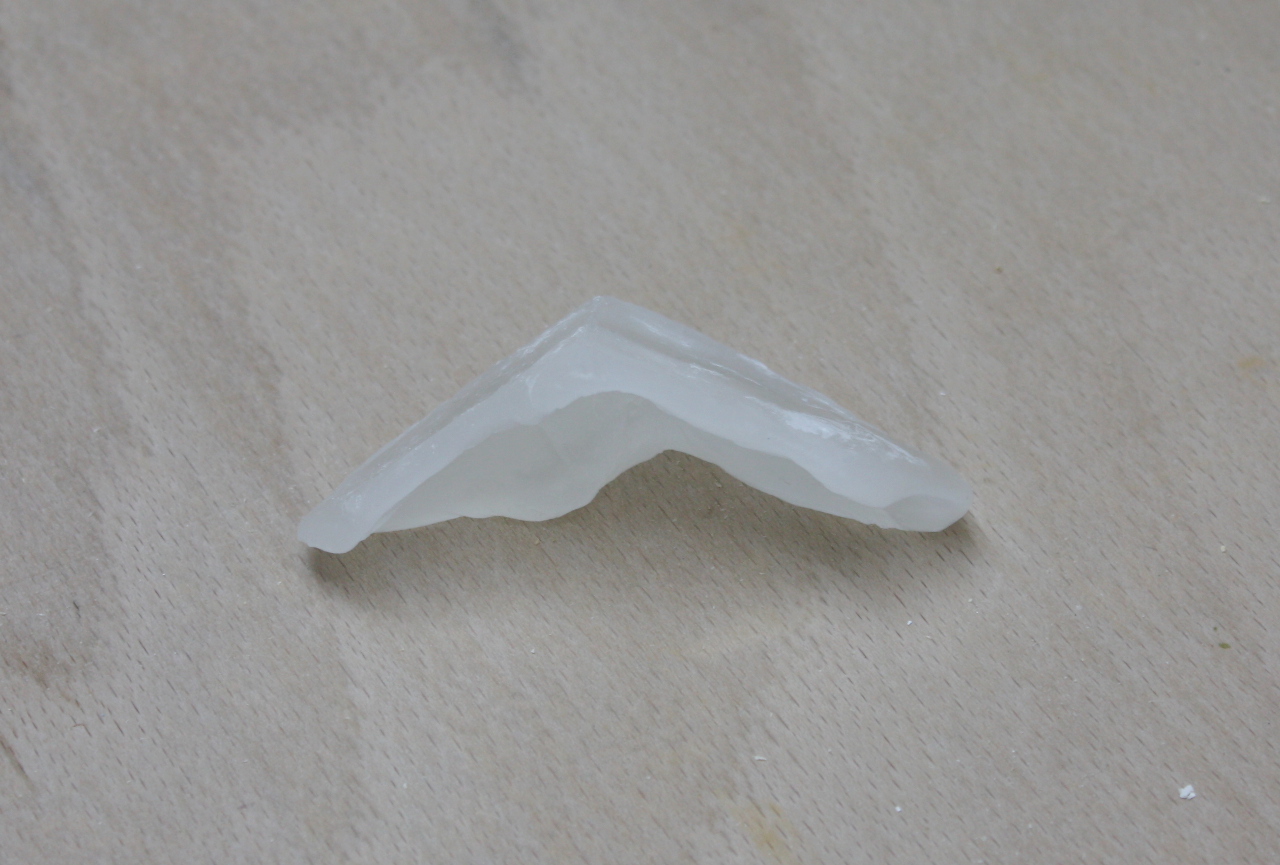
And then when it cools, take it down and let it cool fully to harden fully.

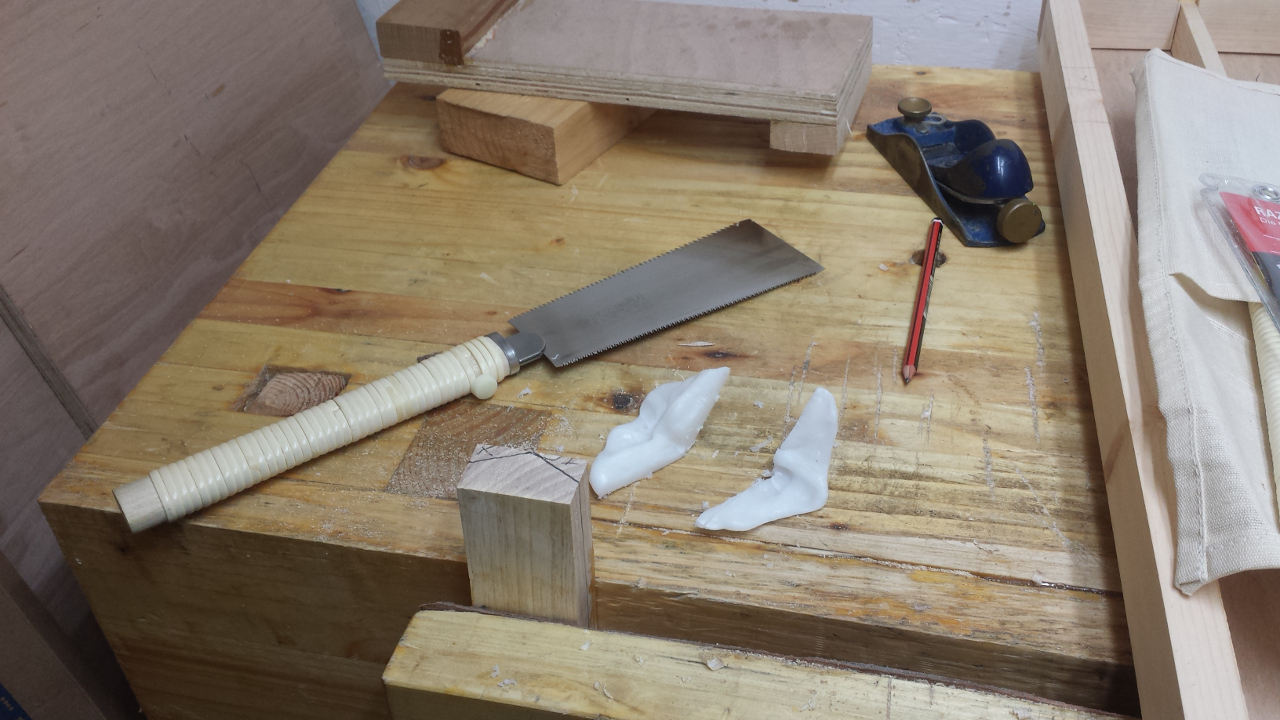
And there’s your angle. Now take your saw and cut it in half so you have a flat face to present to the wood, and mark off the angles.

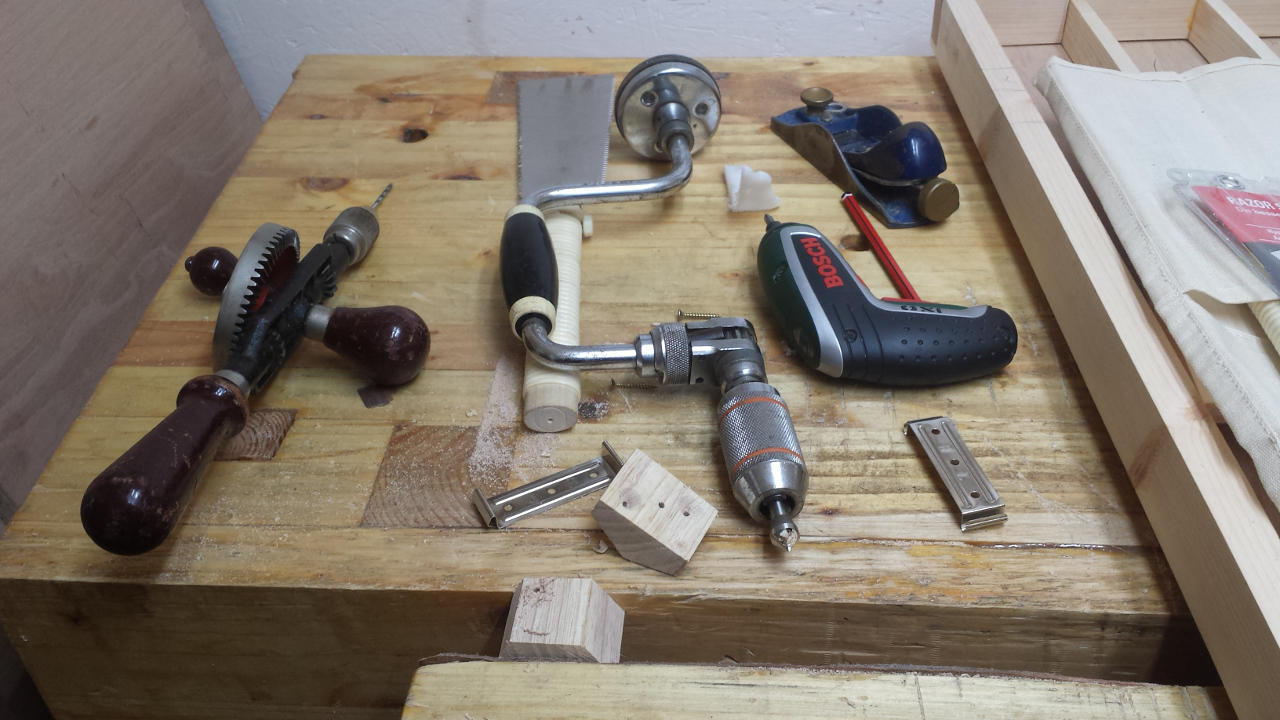
And now you just saw down the lines, then crosscut into two blocks, and start drilling pilot holes for screws and countersinks.

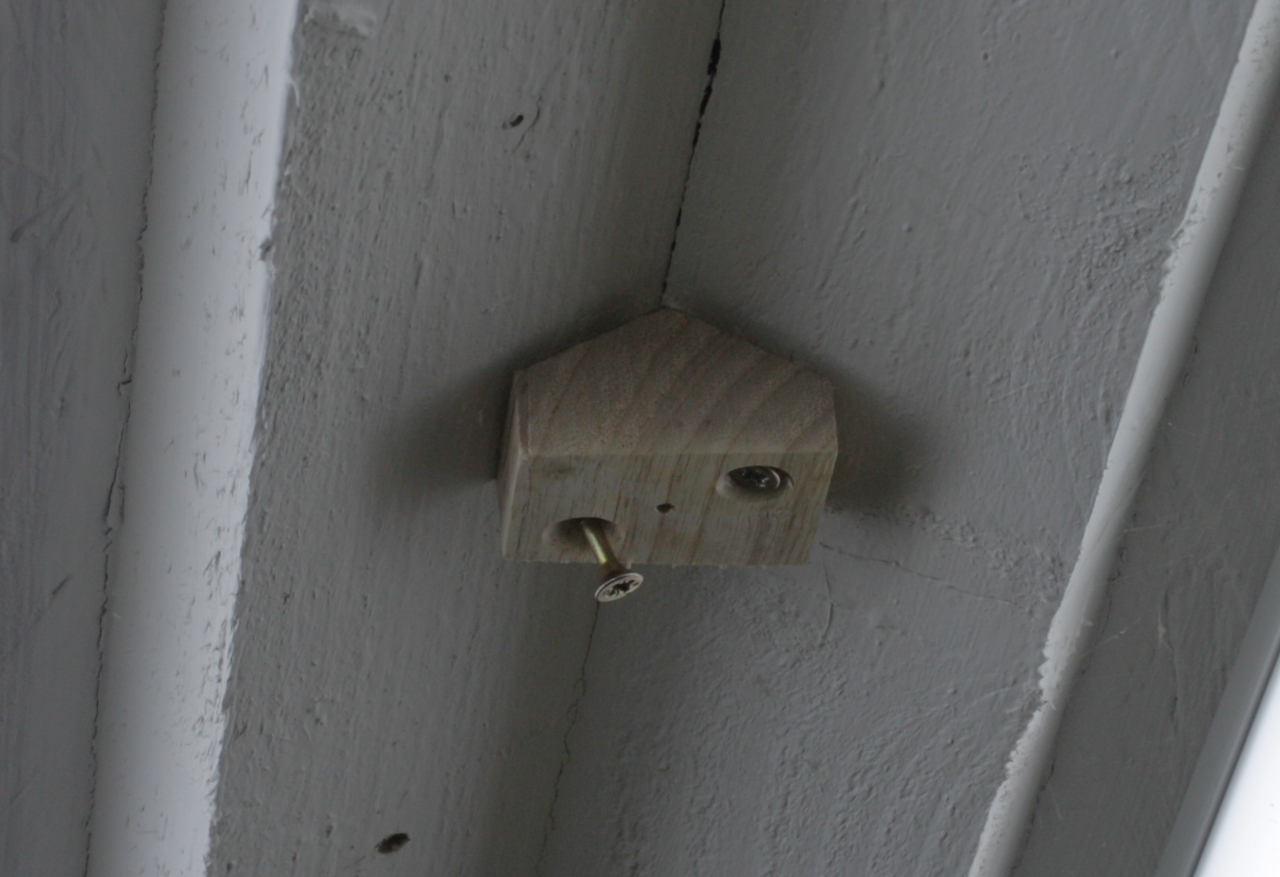
Then screw the blocks to the roof…

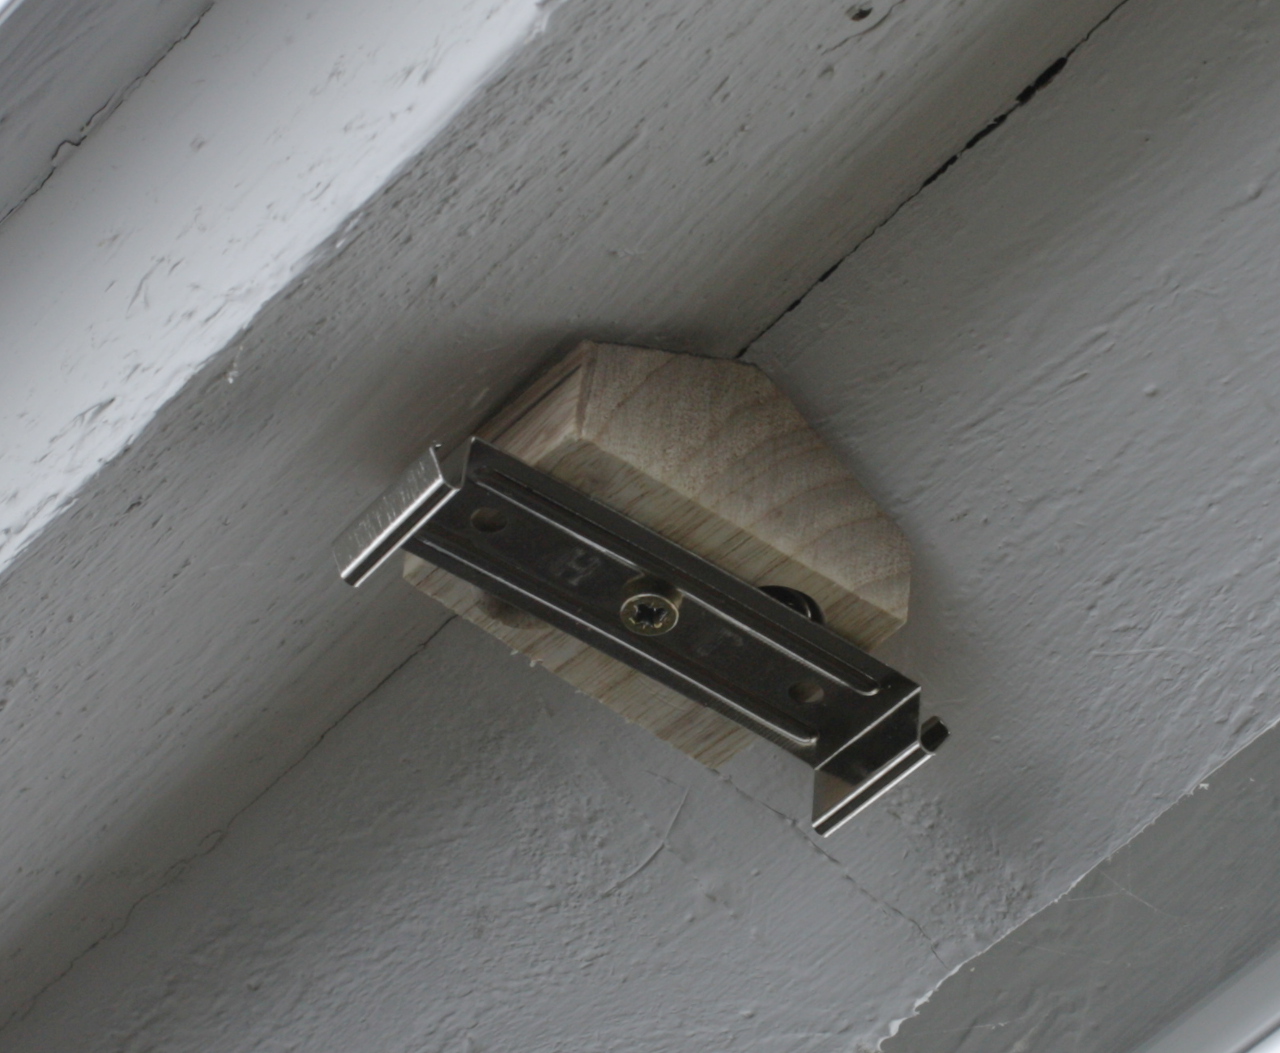
…and the mounting clips to the blocks…

…and then clip the T8 into the clips.

And done. No faffing about with cut-and-test-and-cut-and-test-and-plane-and-test-and-plane-too-much-and-test-and-curse-and-start-over-again.

Yeah, you could probably do this with a bevel as well, if you had a small 2-3 inch size one, but the thermomorph can get into small awkward spots a bit better than most bevels. Plus, as Ben Crowe was showing in that video above, you can replicate curves and other odd profiles just as readily as straight line angles.

And you can get different brand names as well (Multimorph, Polymorph and so on) as well as dyes in case you don’t like white, or even food grade versions of the stuff. And near-infinite shelf life too. So definitely some stuff to have handy in the shed from now on.