16
Apr 21

Damn dinosaurs

Was watching Conkers Live this week and Stewart Furini was demonstrating spiralling and texturing (something I’d like to have tooling to do more of…) but at one point during the demo, he’d finished some spiralling and had painted and sanded back the piece and this was the result:
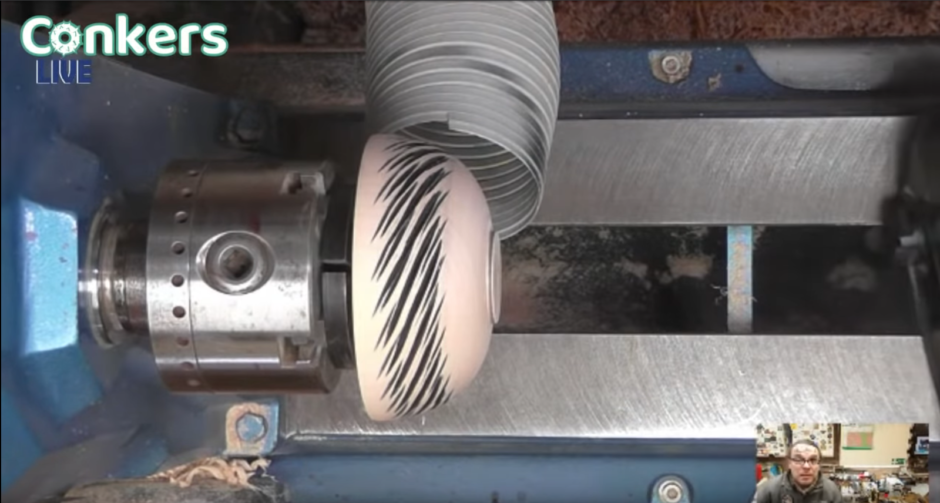
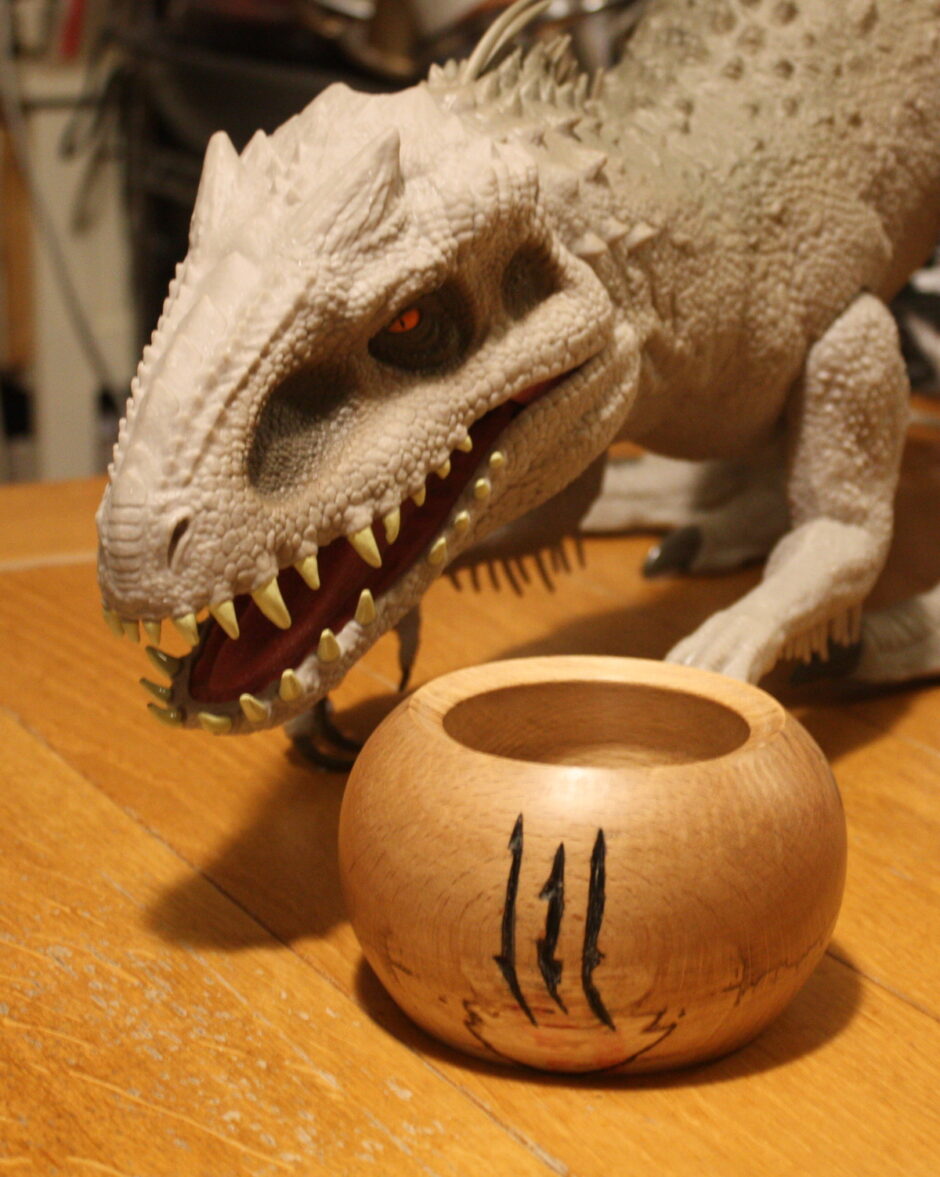
It was quite striking at the time and reminded me of something and it took a few minutes to place it:

I don’t have a spiralling tool but I do have carving tools. So I grabbed a blank…
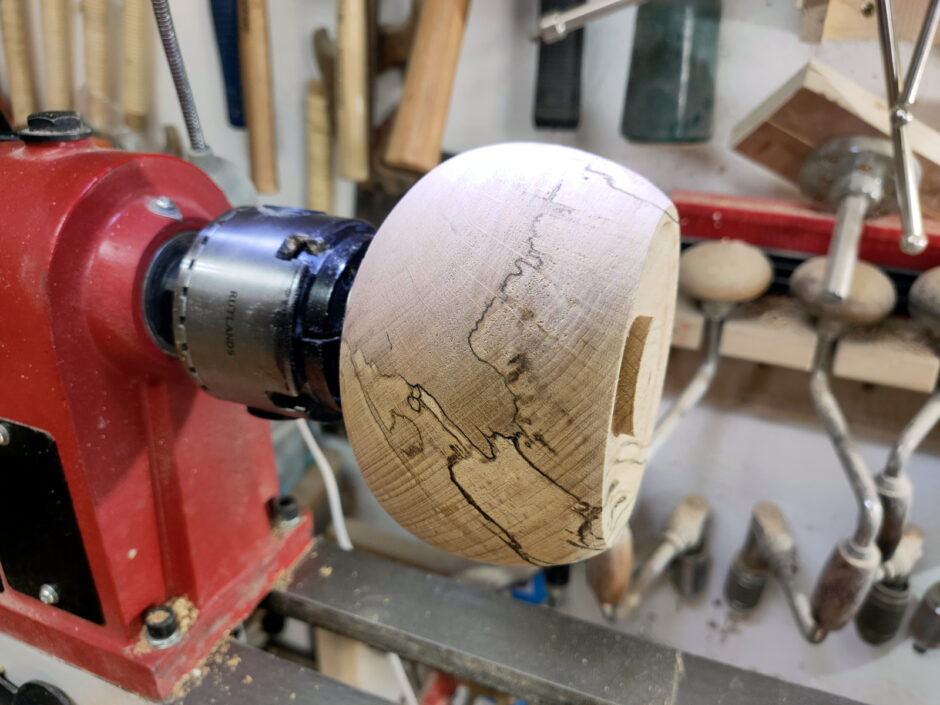
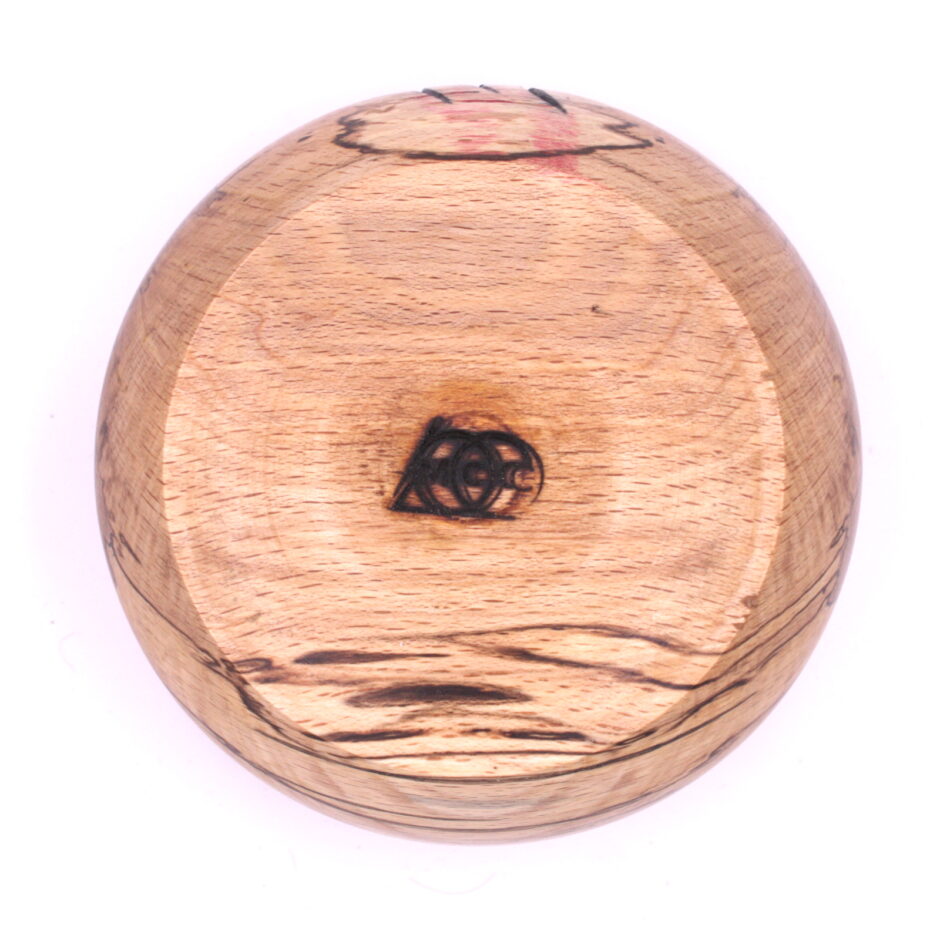
It’s an odd shape, you’re looking at the bottom of the bowl here – I wanted it to fit my hand and to be a little closed over (turned out, it’s a lot closed over). Printed out the scratch marks from a jpg on the web…
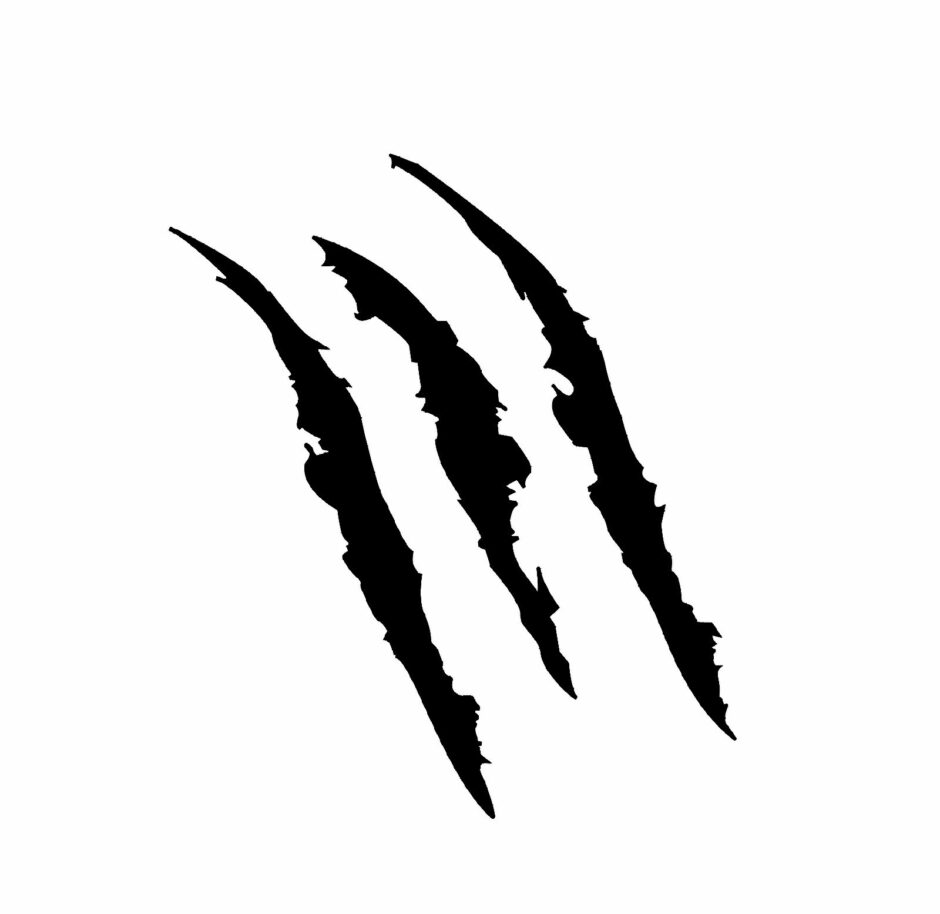
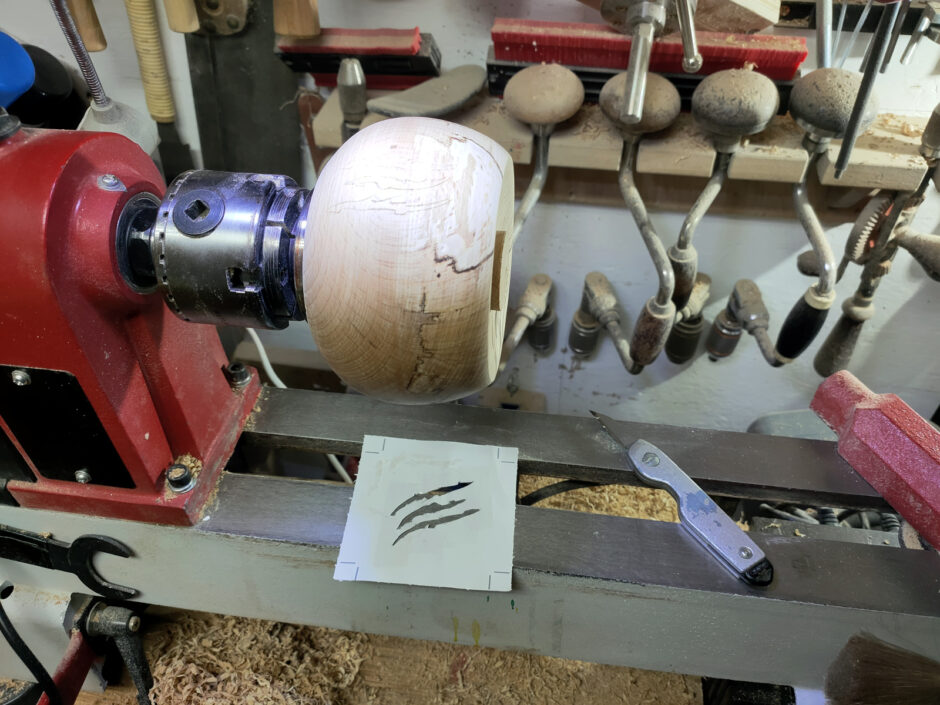
Cut those out with a sharp knife, then put cellotape over the sheet and stuck it to the blank, then cut along the edges of the scratches through the cellotape and tidied up afterwards.
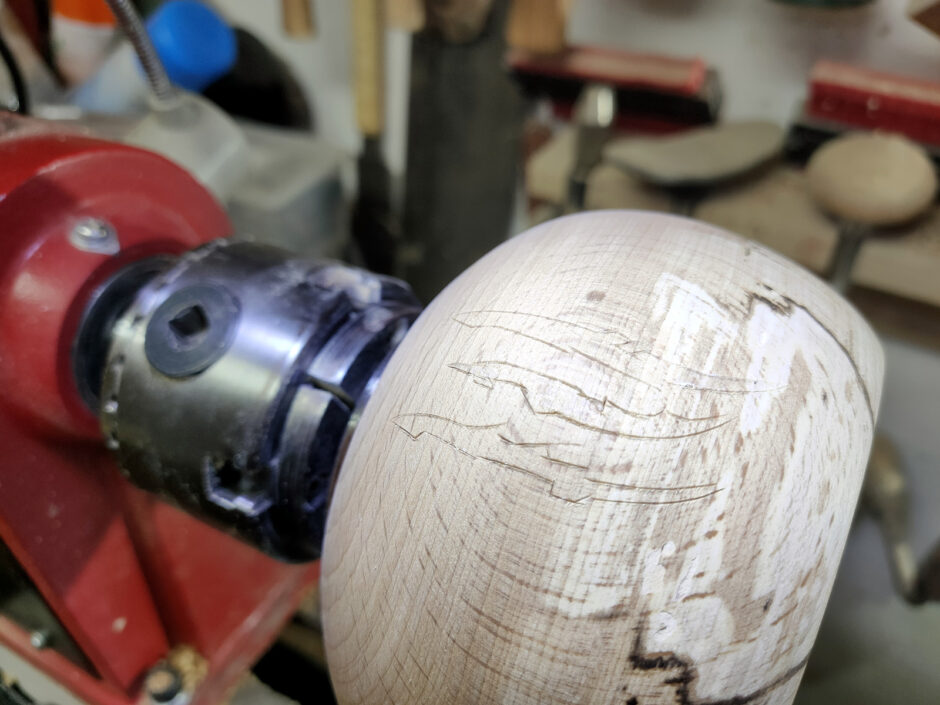
Then out with the v-tool gouges and a 5mm straight chisel and the sharp knife and I carved out the scratches.
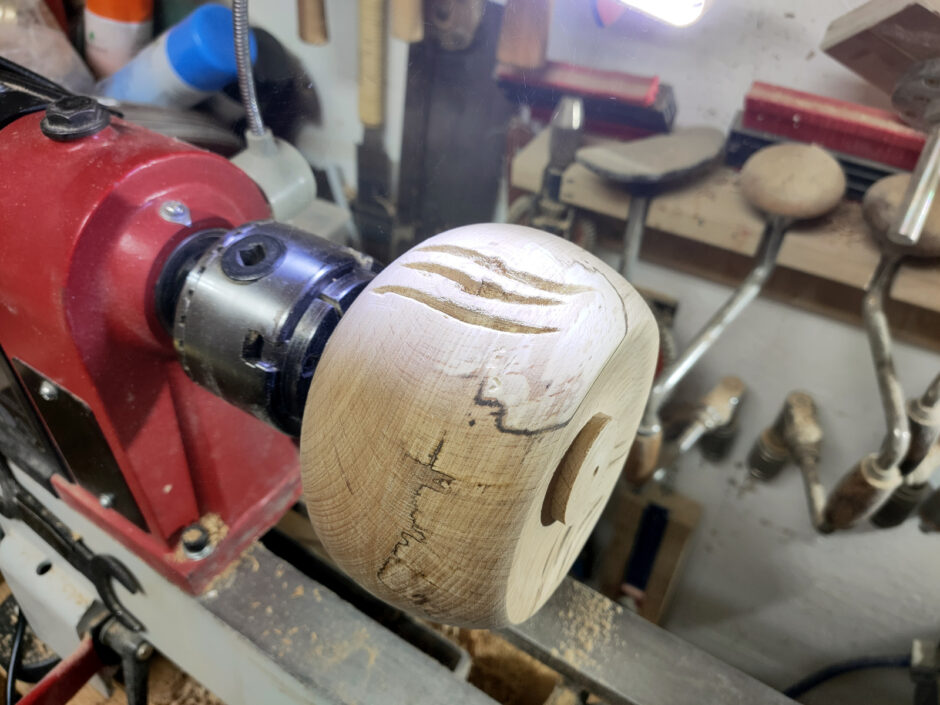
Next up, ebonising lacquer.
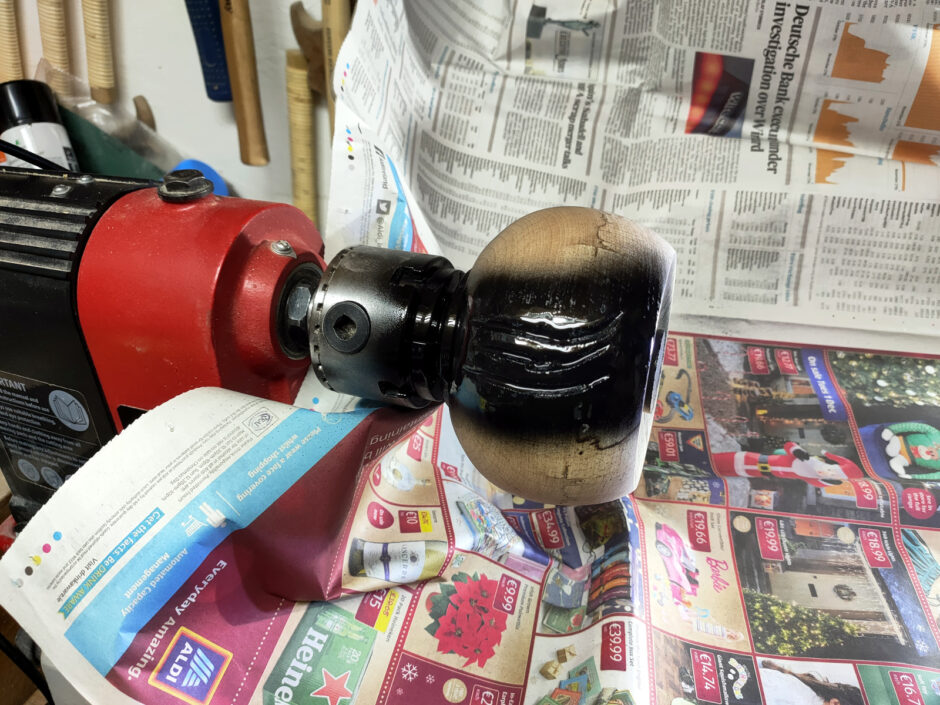
Might have overdone that a little 😀 Worse, didn’t seal the wood first, so after sanding back…
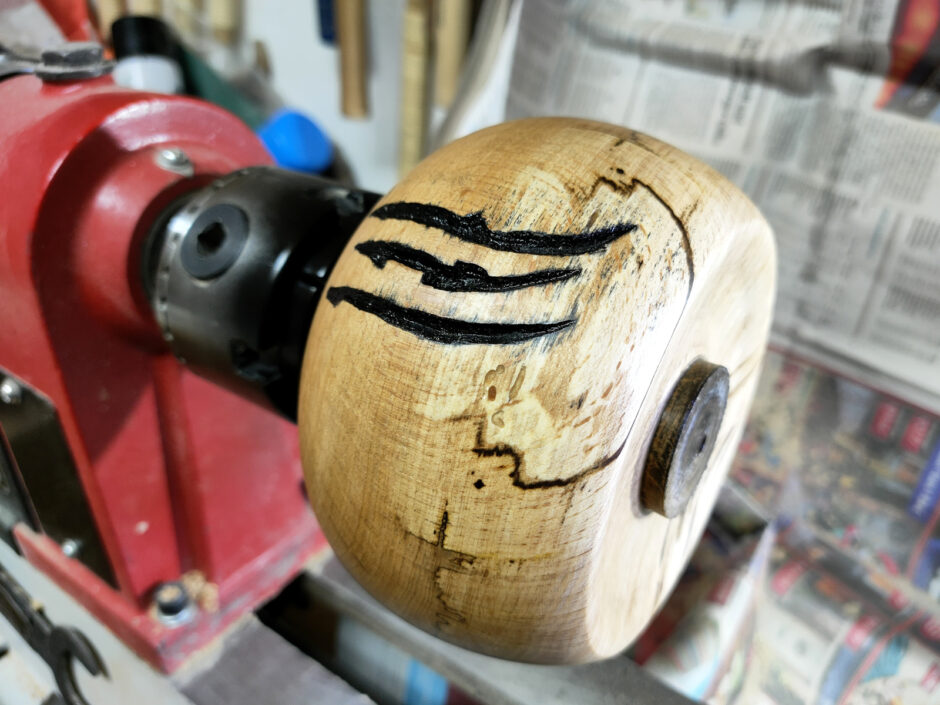
That bleeding of the lacquer couldn’t be sanded away, it’s in there too deeply. In the end, I had to take the gouge to it again, cut the surface back by a millimeter or so, re-sand to 180, re-carve the scratches and then seal the surface and gave the area round the scratches two more coats of sealer, then masked off the area and ebonising lacquer again:
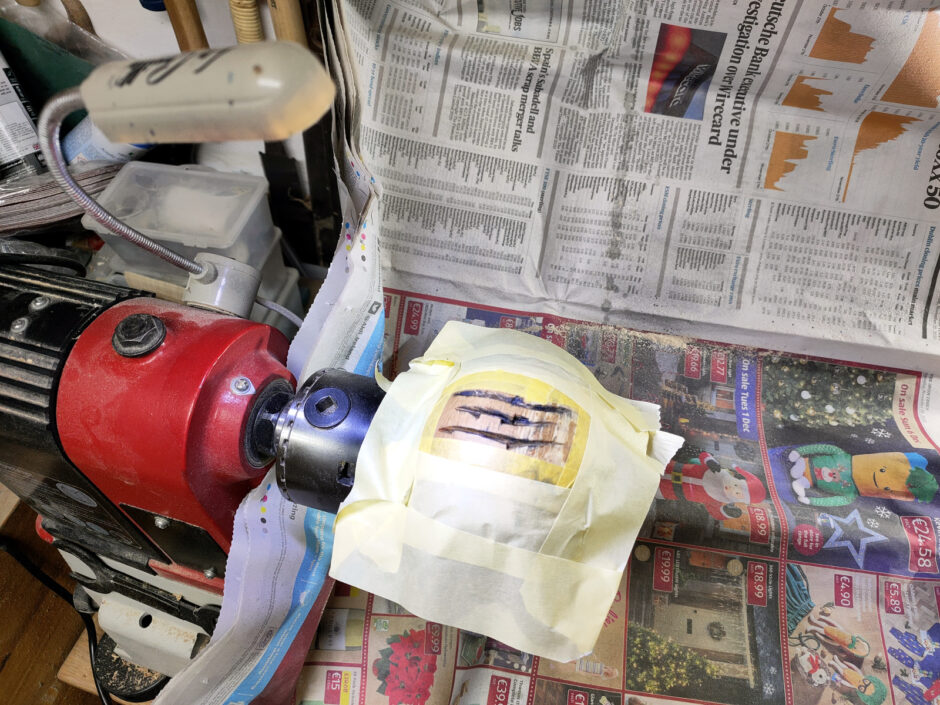
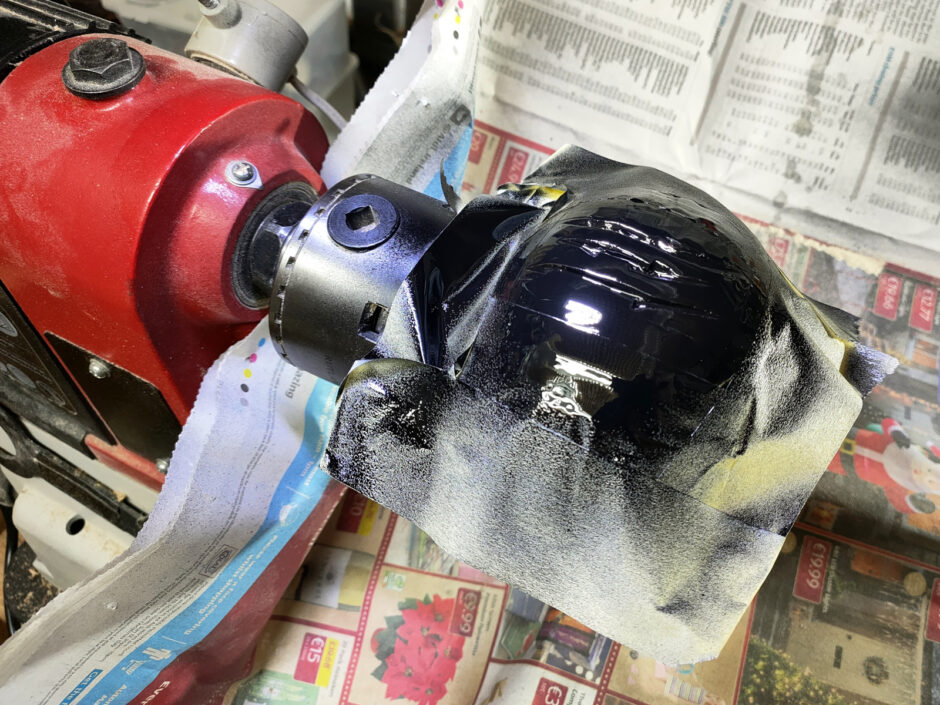
And then sanded back and this time it didn’t look bad so I hollowed it out (and going by the screaming noises I either need to get better tools for this or just get gud scrub), then flipped it over and used the push plate to tidy up the foot. Few coats of danish oil, some yorkshire grit and then a final coat of hampshire sheen wax got added along the way.
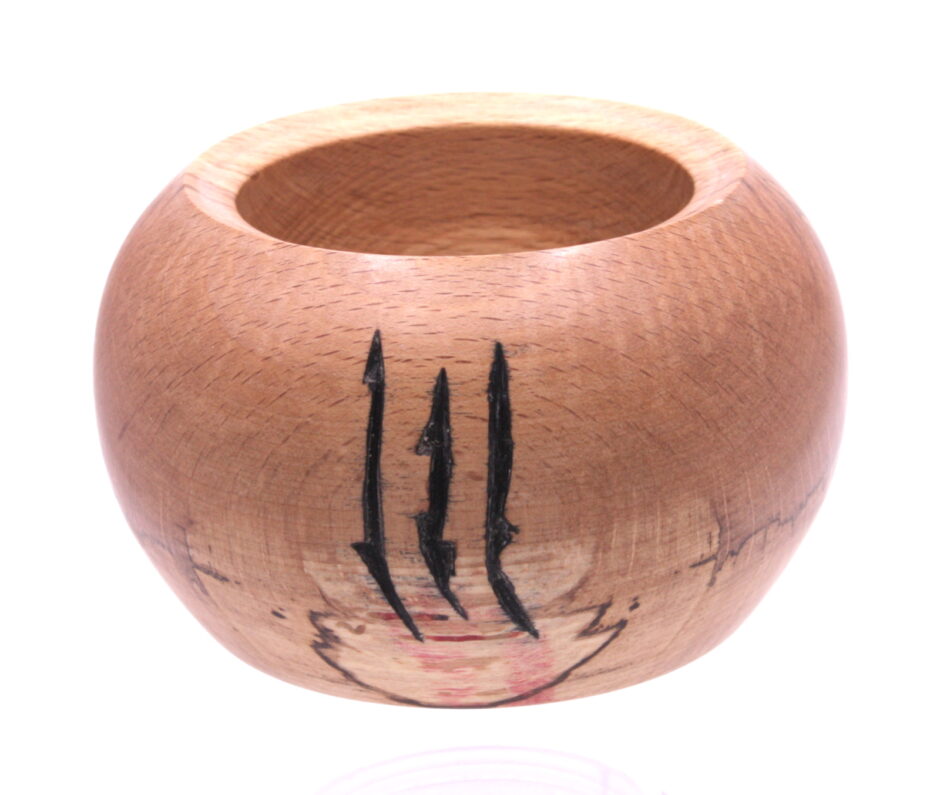
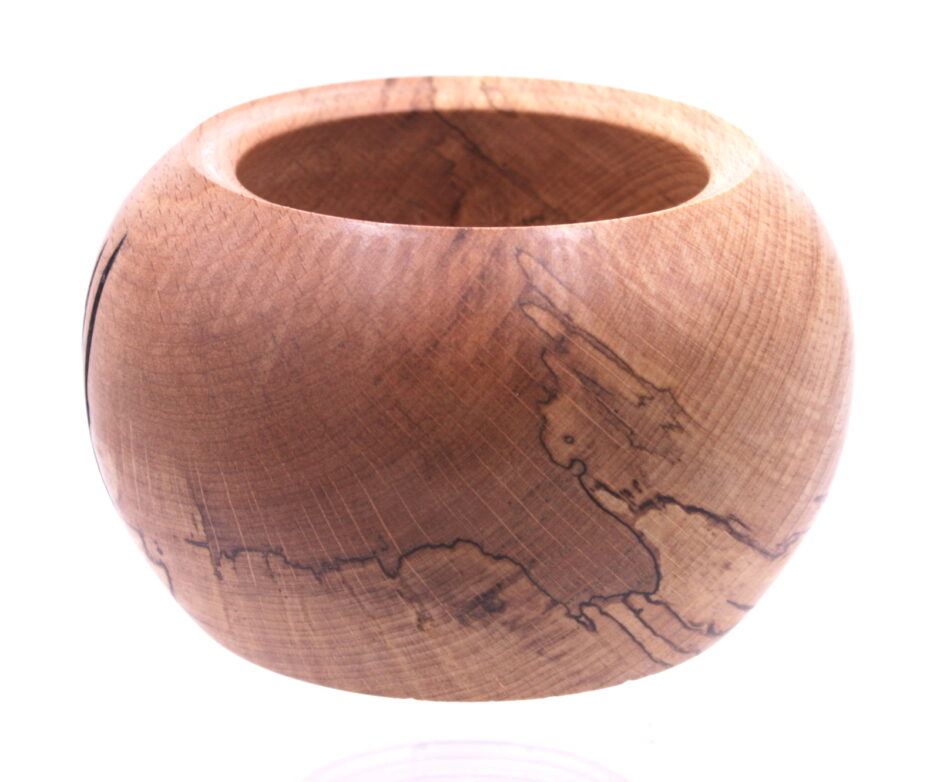
I kinda like it 😀

06
Dec 20

Well, poop.

Was bound to happen sooner or later I guess.

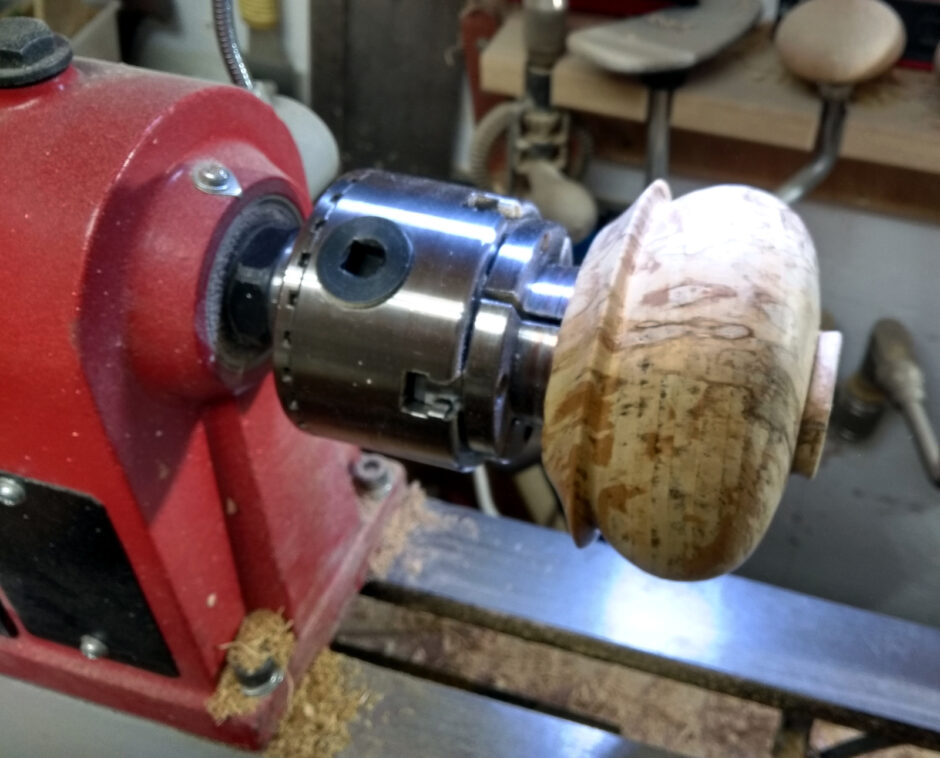
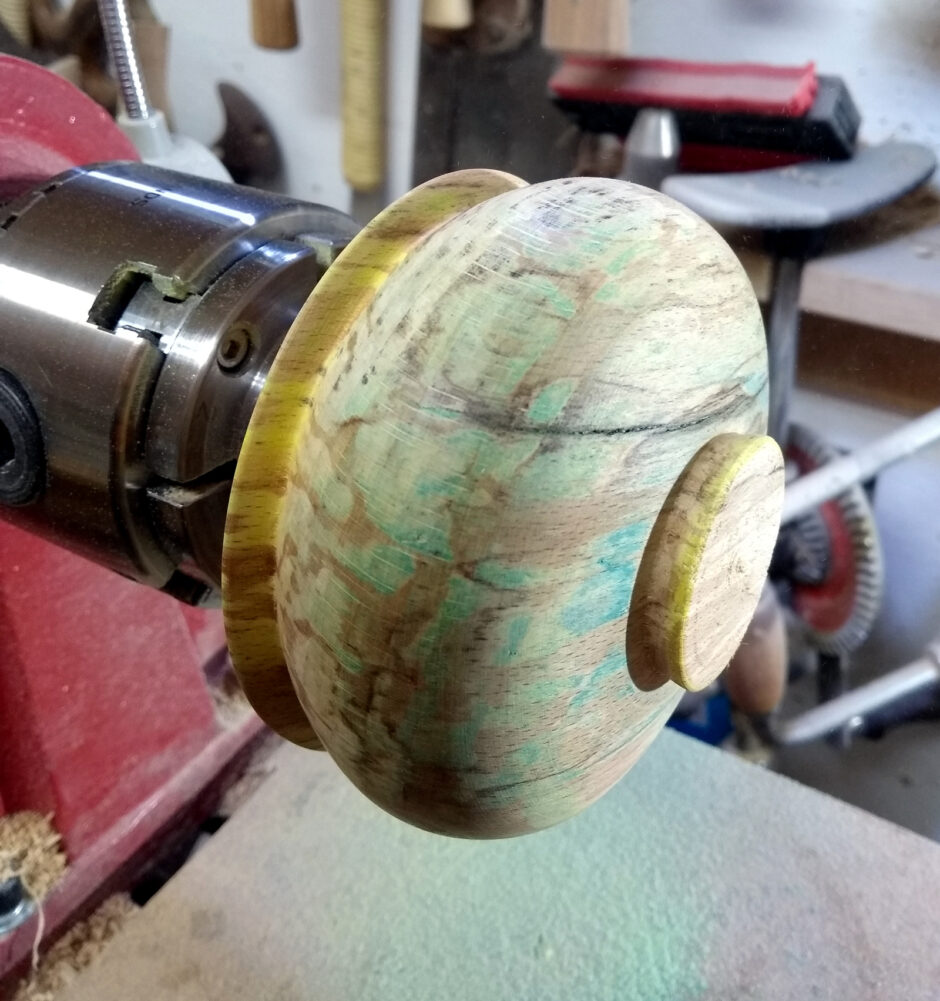
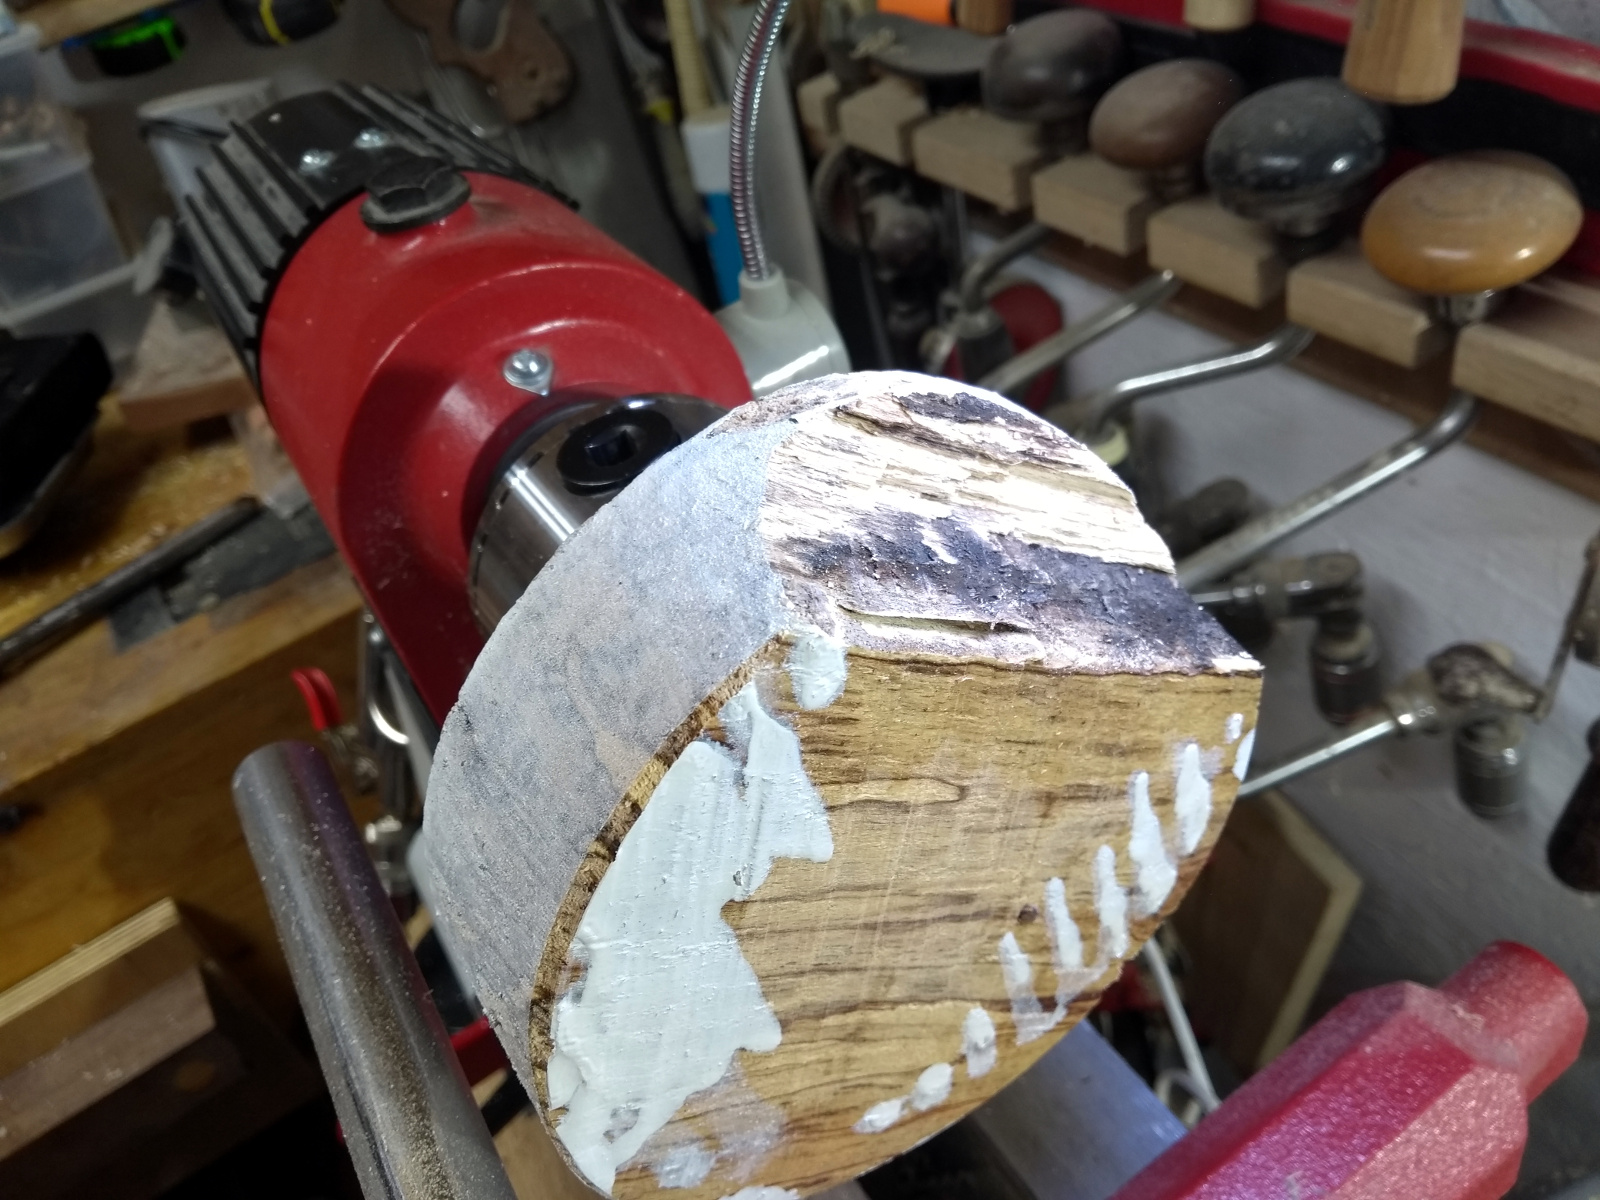
So I was mucking around experimenting with some colouring on spalted beech:

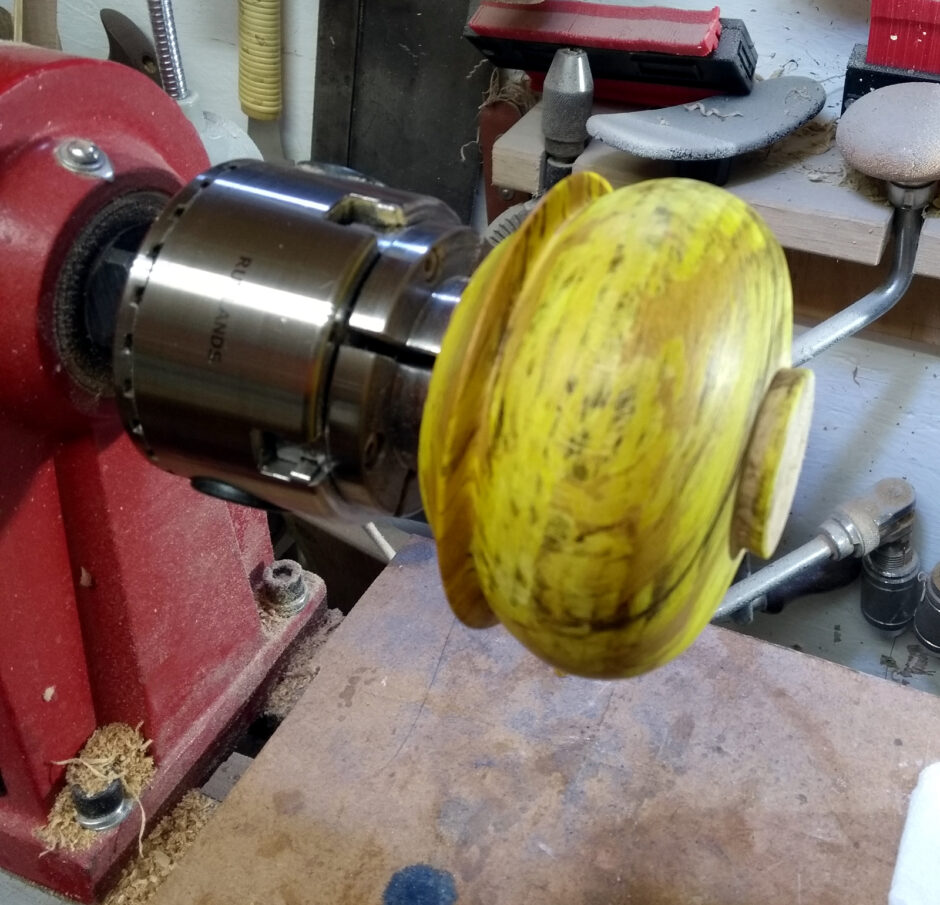
Just picked a funny shape because I was experimenting with that as well. Then some yellow stain…

And then some royal blue…

Hm. Potential but maybe not. Sand it all off…

BTW, that’s why I picked this blank – that black line isn’t spalting, it’s a crack. Not sure if this would survive hollowing, so it’s a learning blank 😀

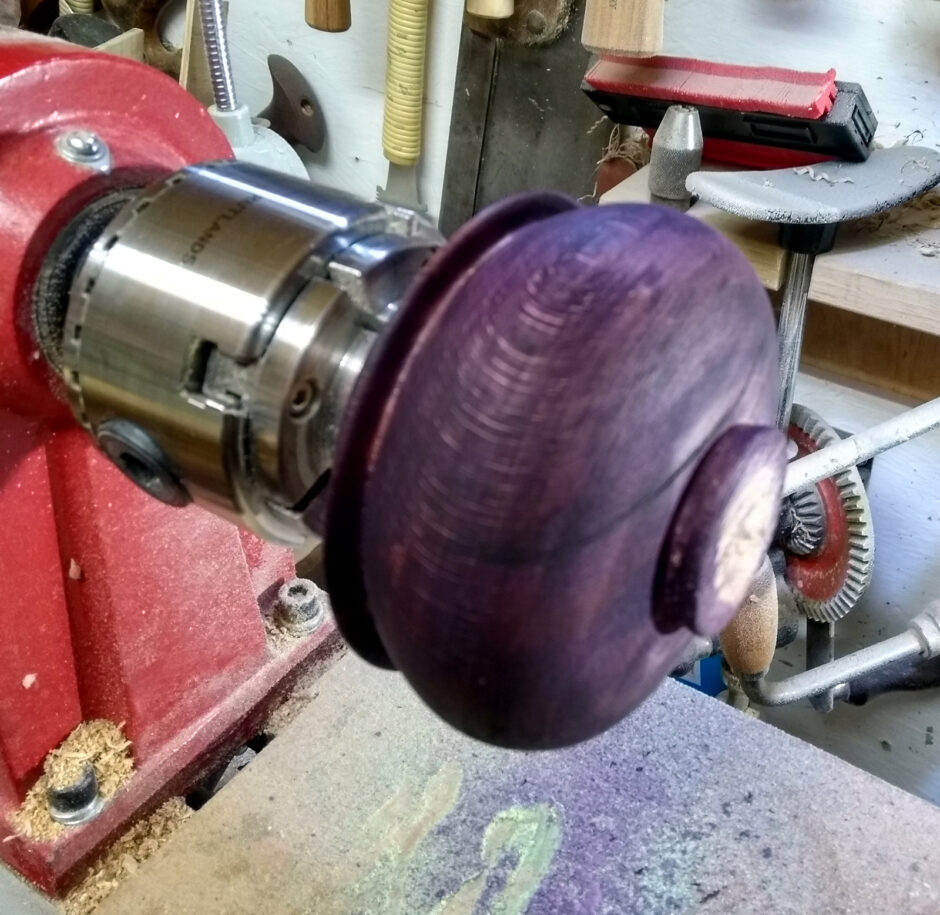
Now, purple…

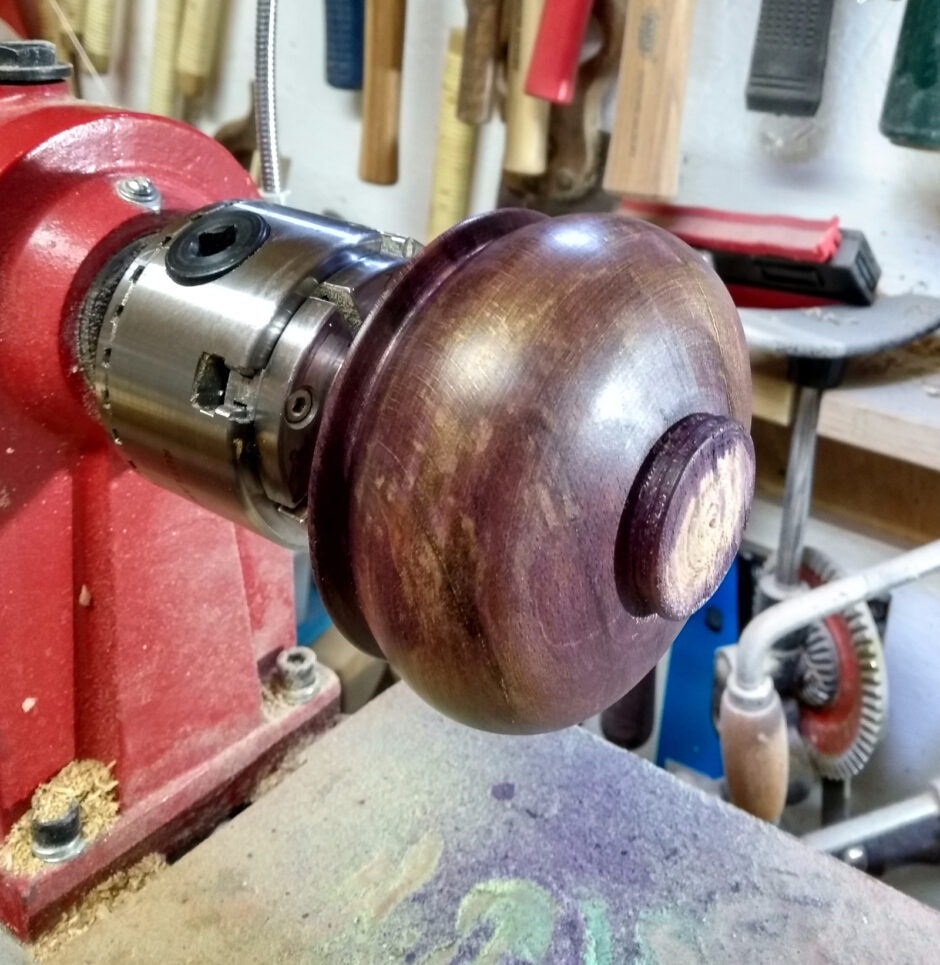
Eh. Not quite. I mean, it’s okay, but I’d want it lighter. Maybe some gold embellishing wax (or buff-it, since that’s all I had to hand)…

I dunno. I don’t like it much. Too dark. If I’m going to colour wood, I want it to look brighter than that. Personal taste I guess, I always preferred lighter-coloured woods even without staining.

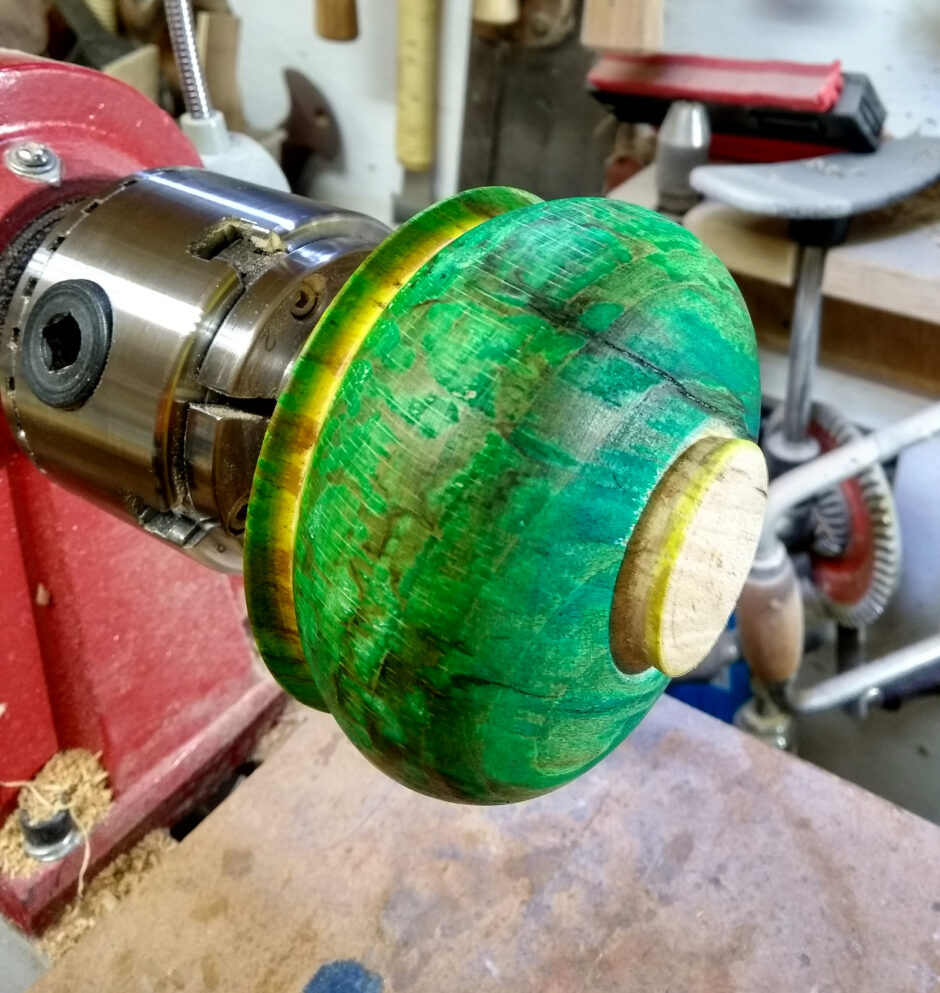
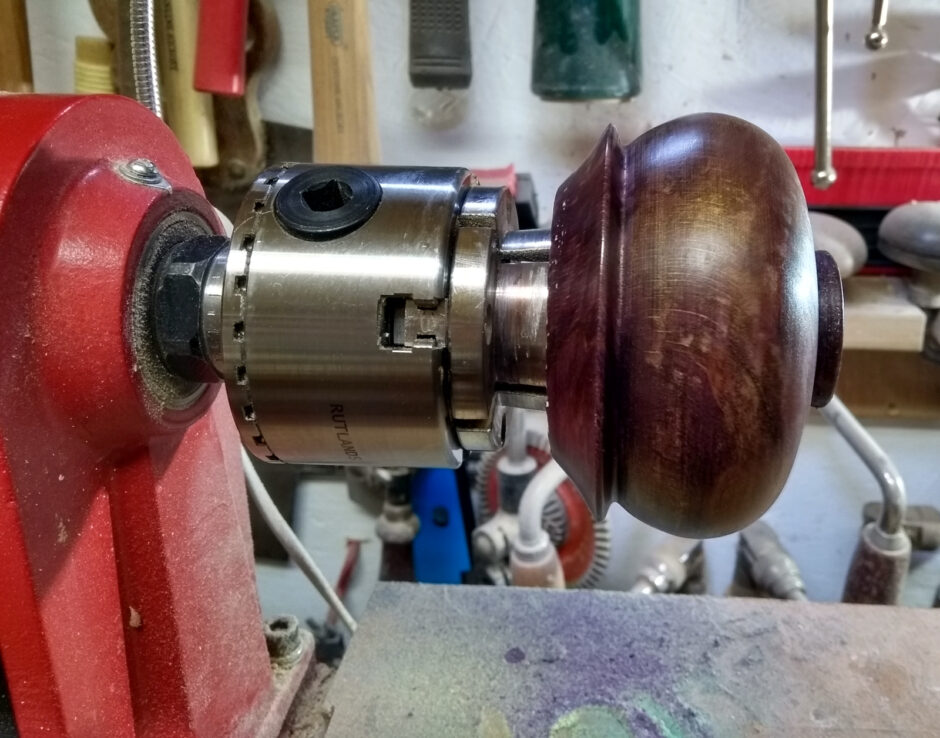
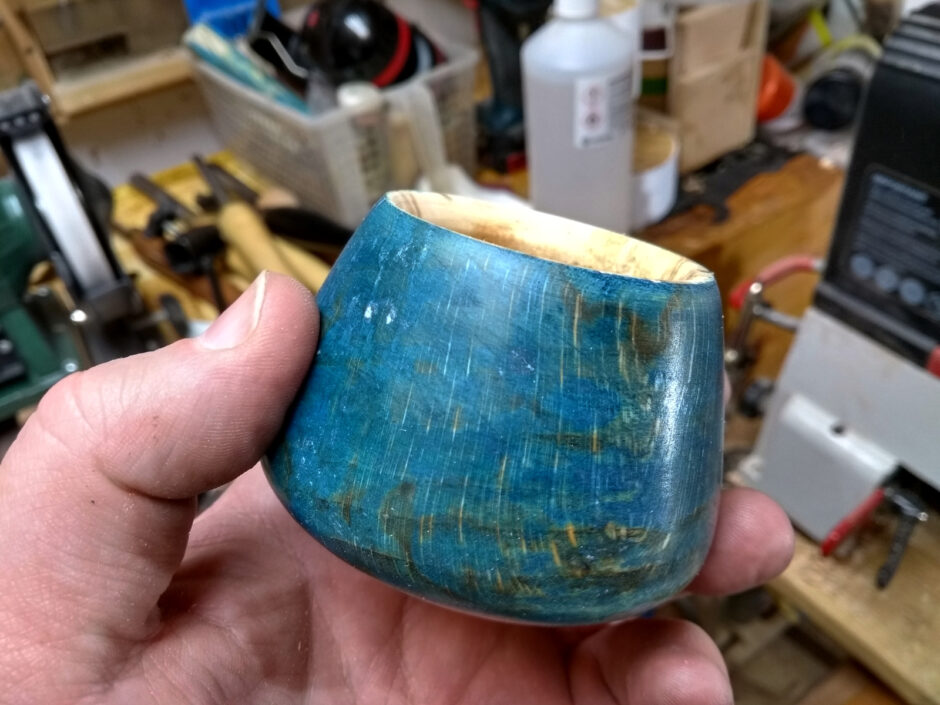
So, next day, I turned all the colour off and made it into a simpler shape, and laid down a few coats of royal blue and a little white to lift it and even a touch of yellow to give it some hue variation.

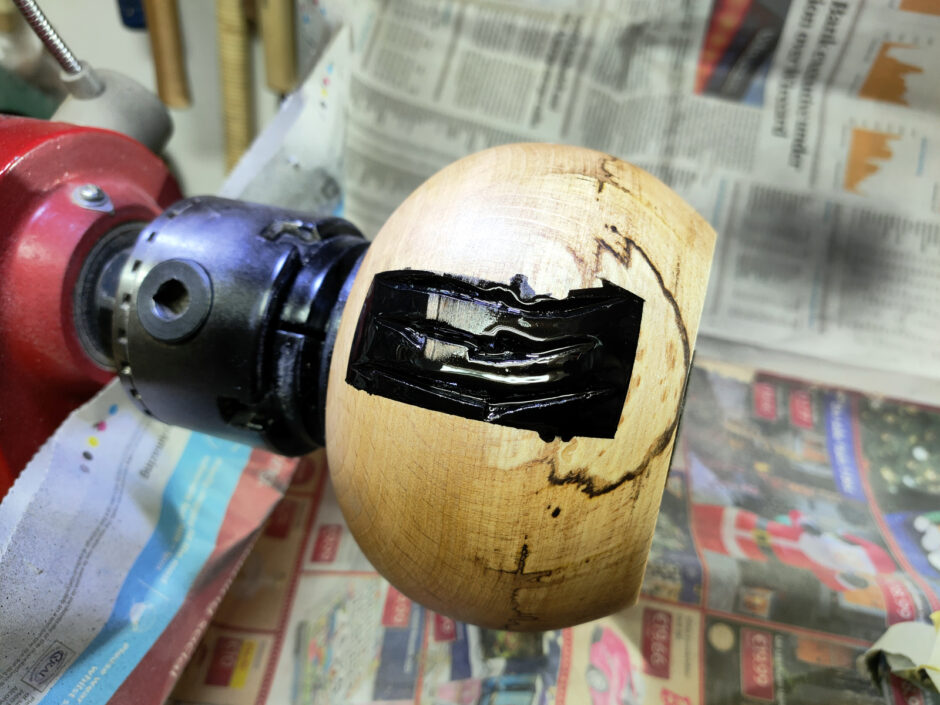
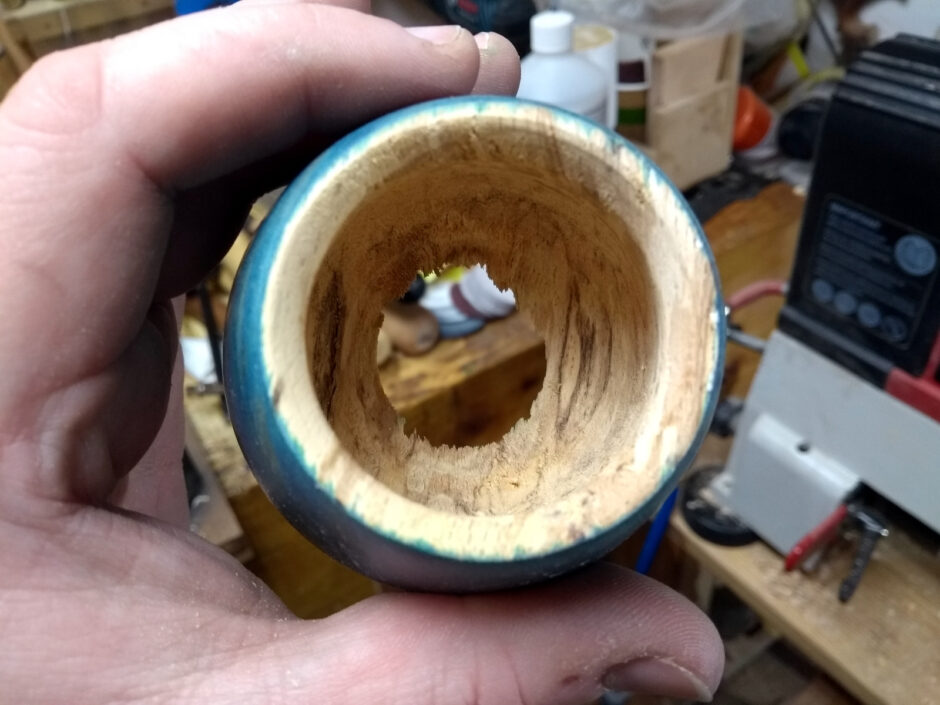
Still not wild about it, but it’s not terrible. So I hollowed it out and then took the round-nosed scraper to remove the worst of the toolmarks from the bowl gouge and the hollower…

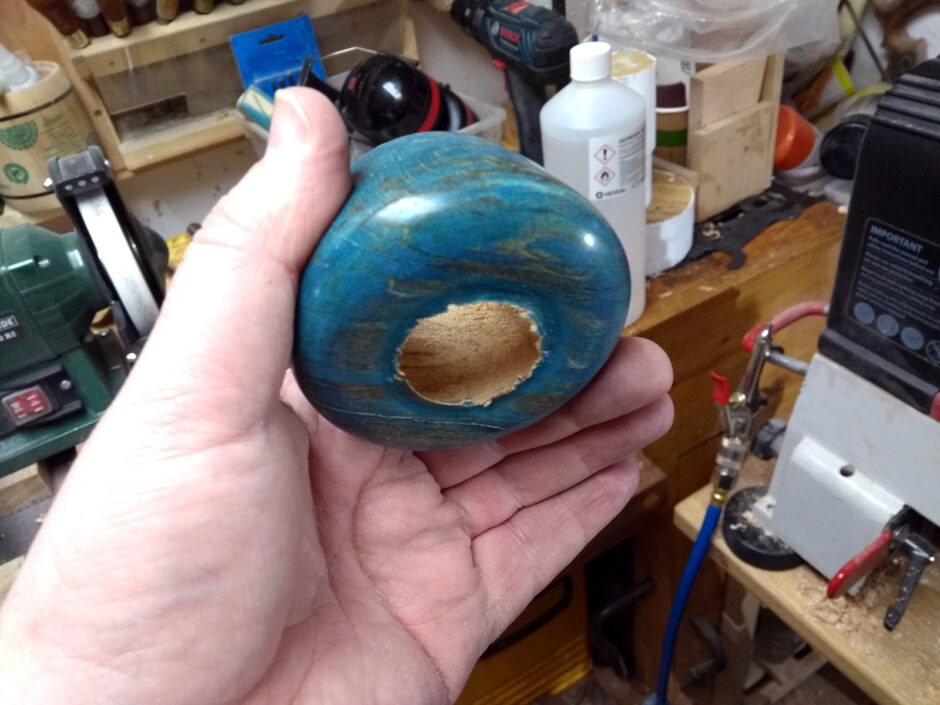
…and I removed the bottom of the bowl as well as the tool marks. Structural toolmarks? Oh well. I guess I had to join the funnel club sooner or later, and at least it was a learning block 😀


11
Jul 20

Long time no type

So yeah, a whole month went by without posting here. Work was a little crazy. But there was time to turn a few more bowls…

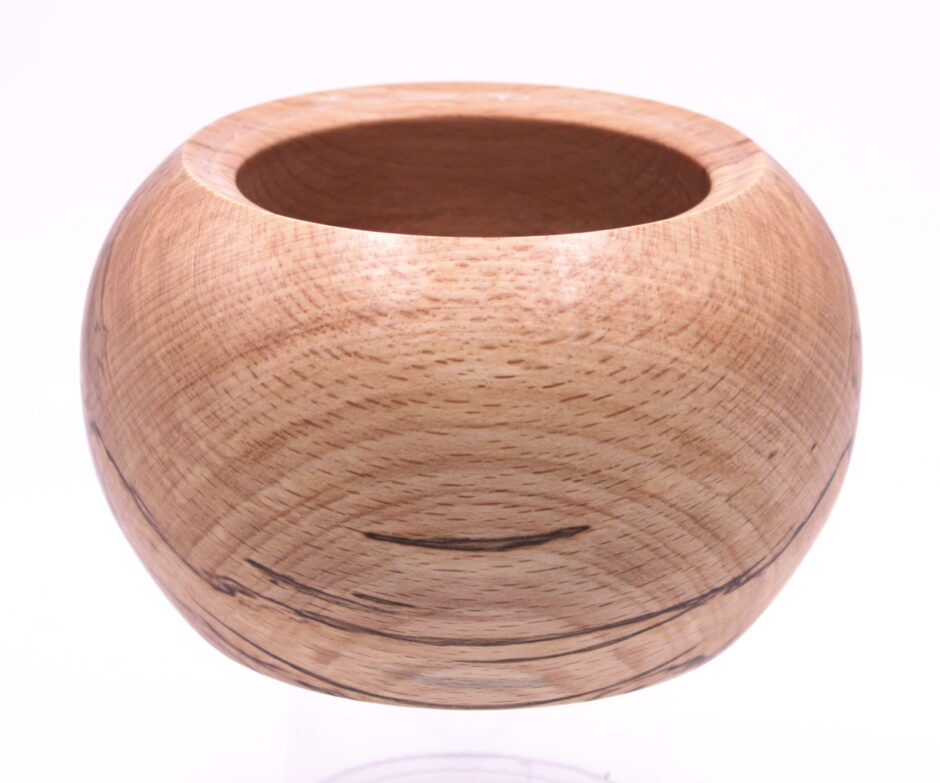
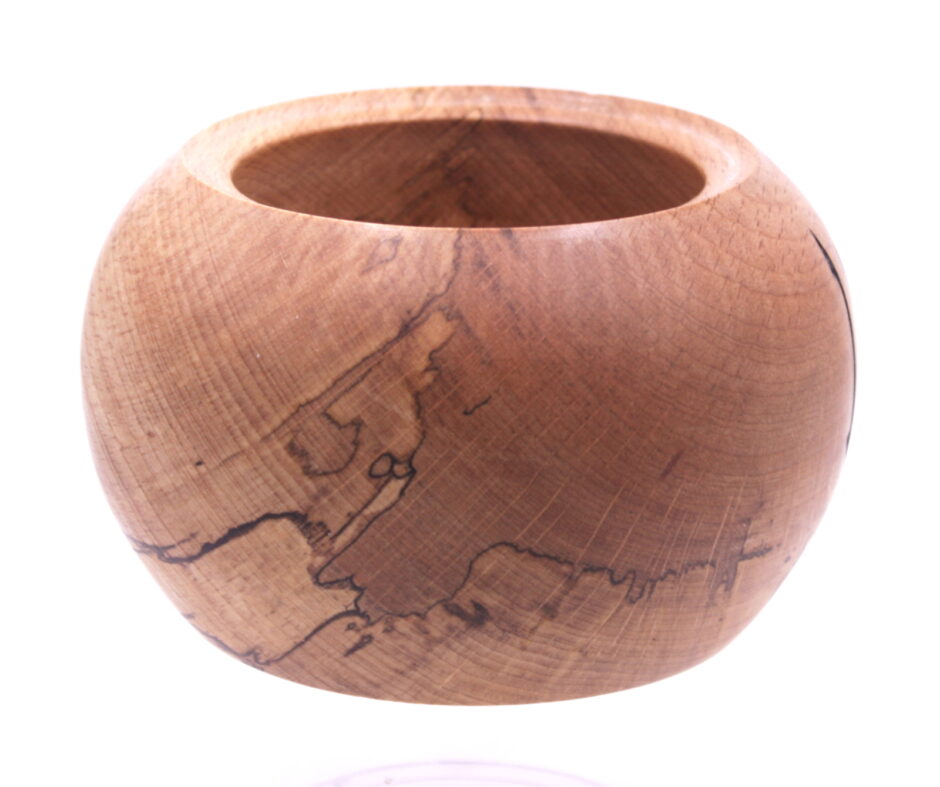
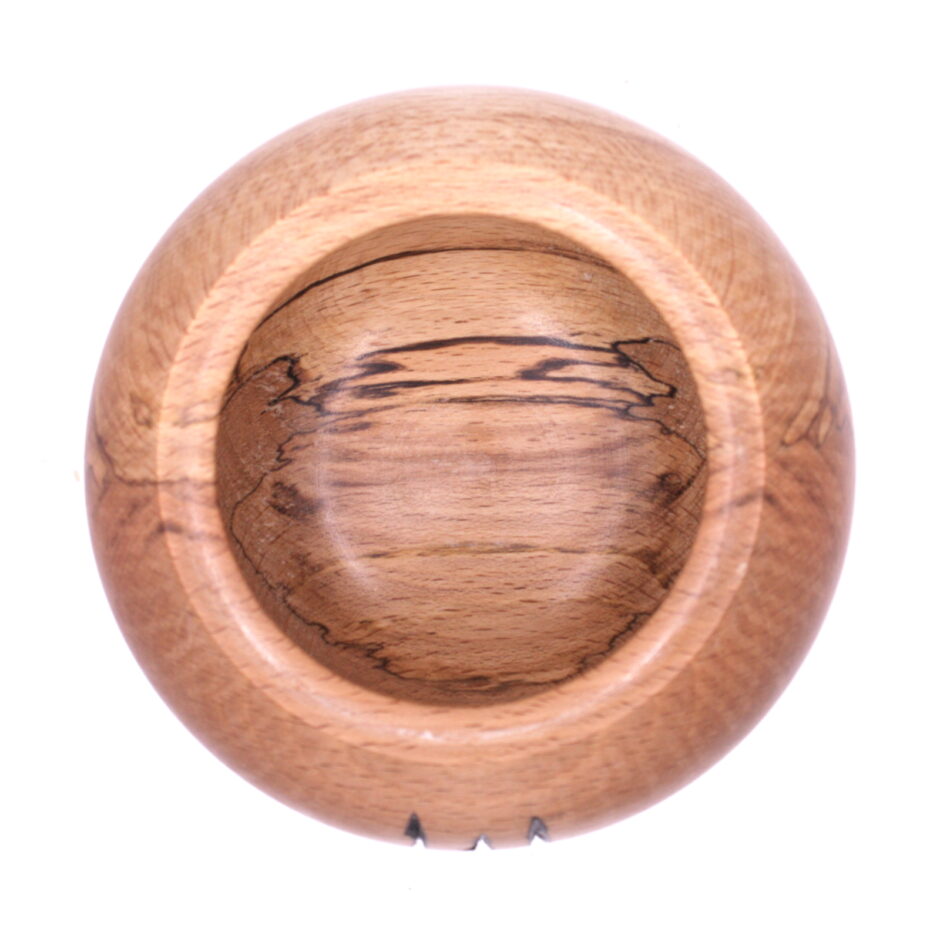
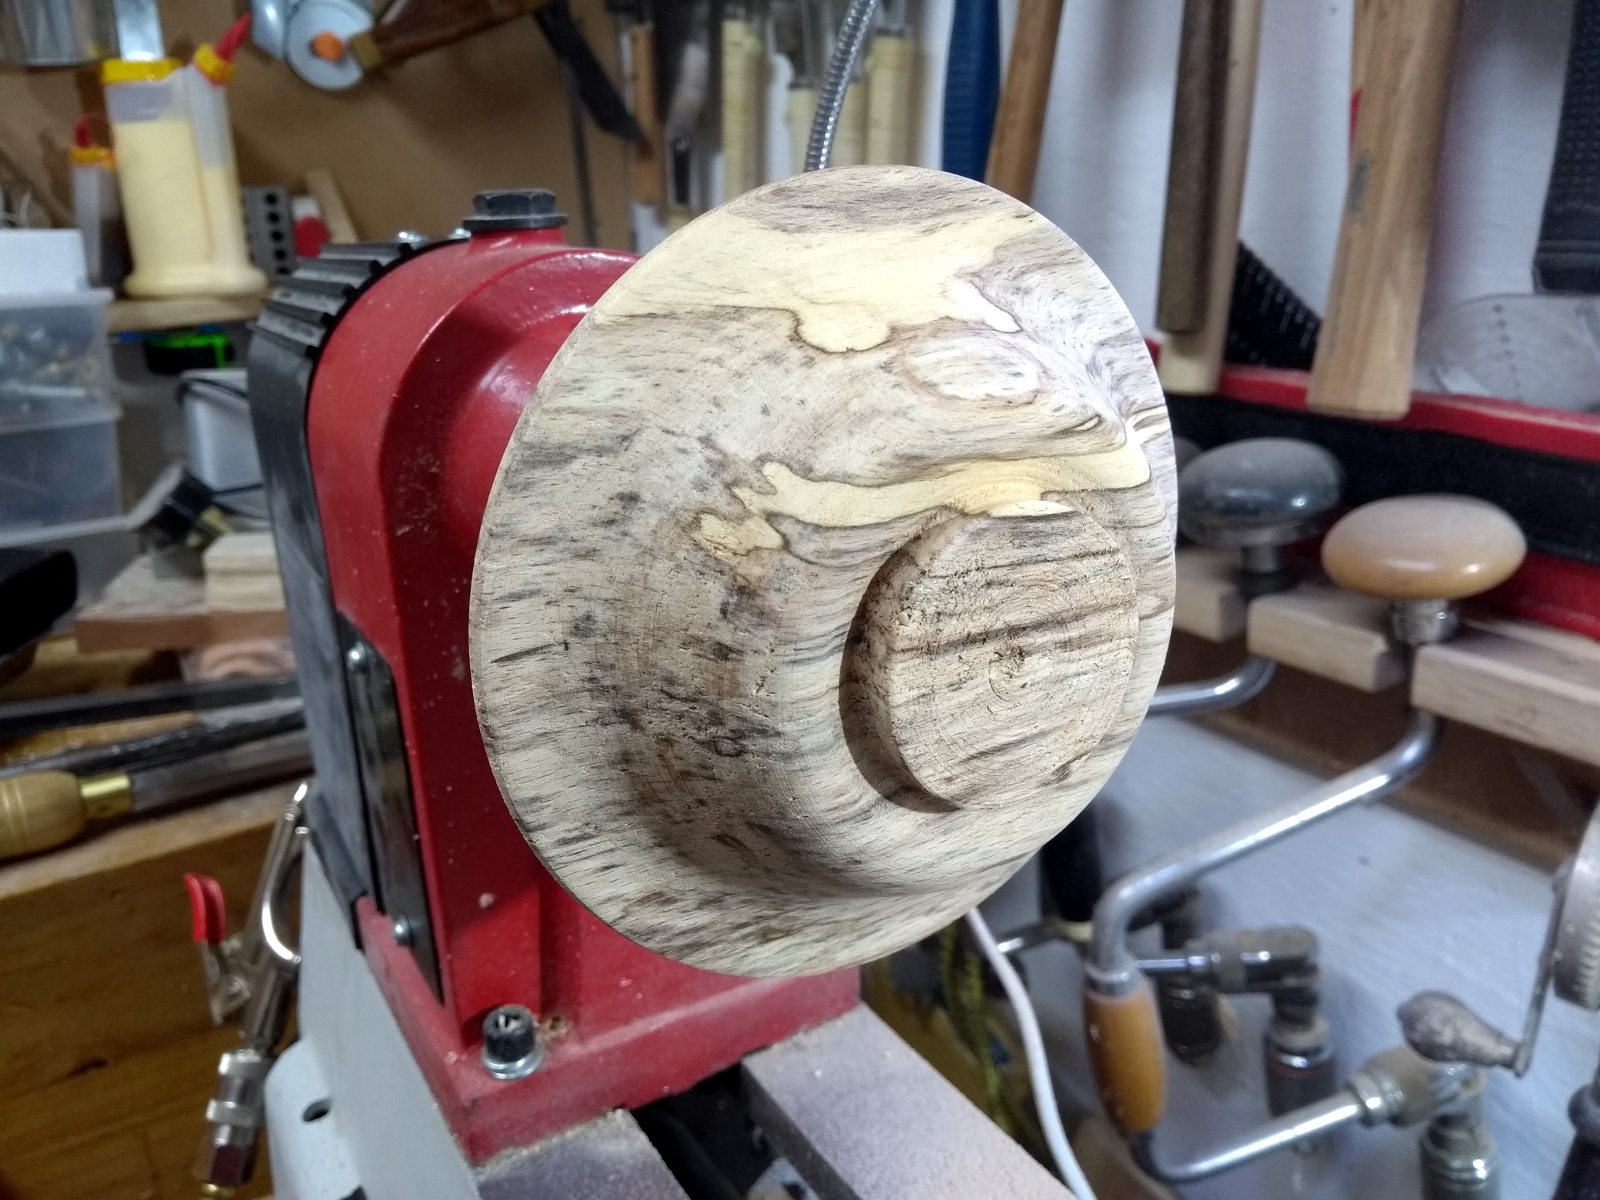
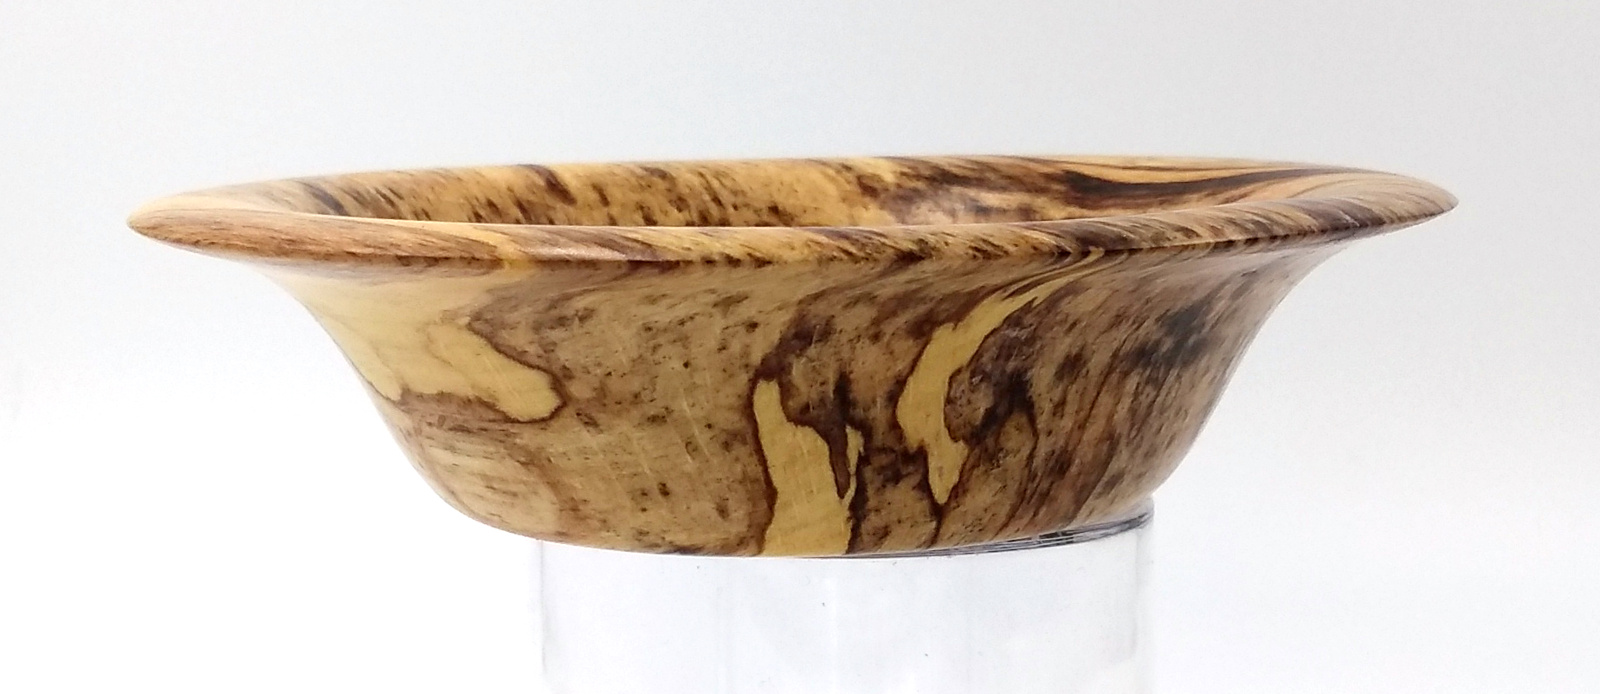
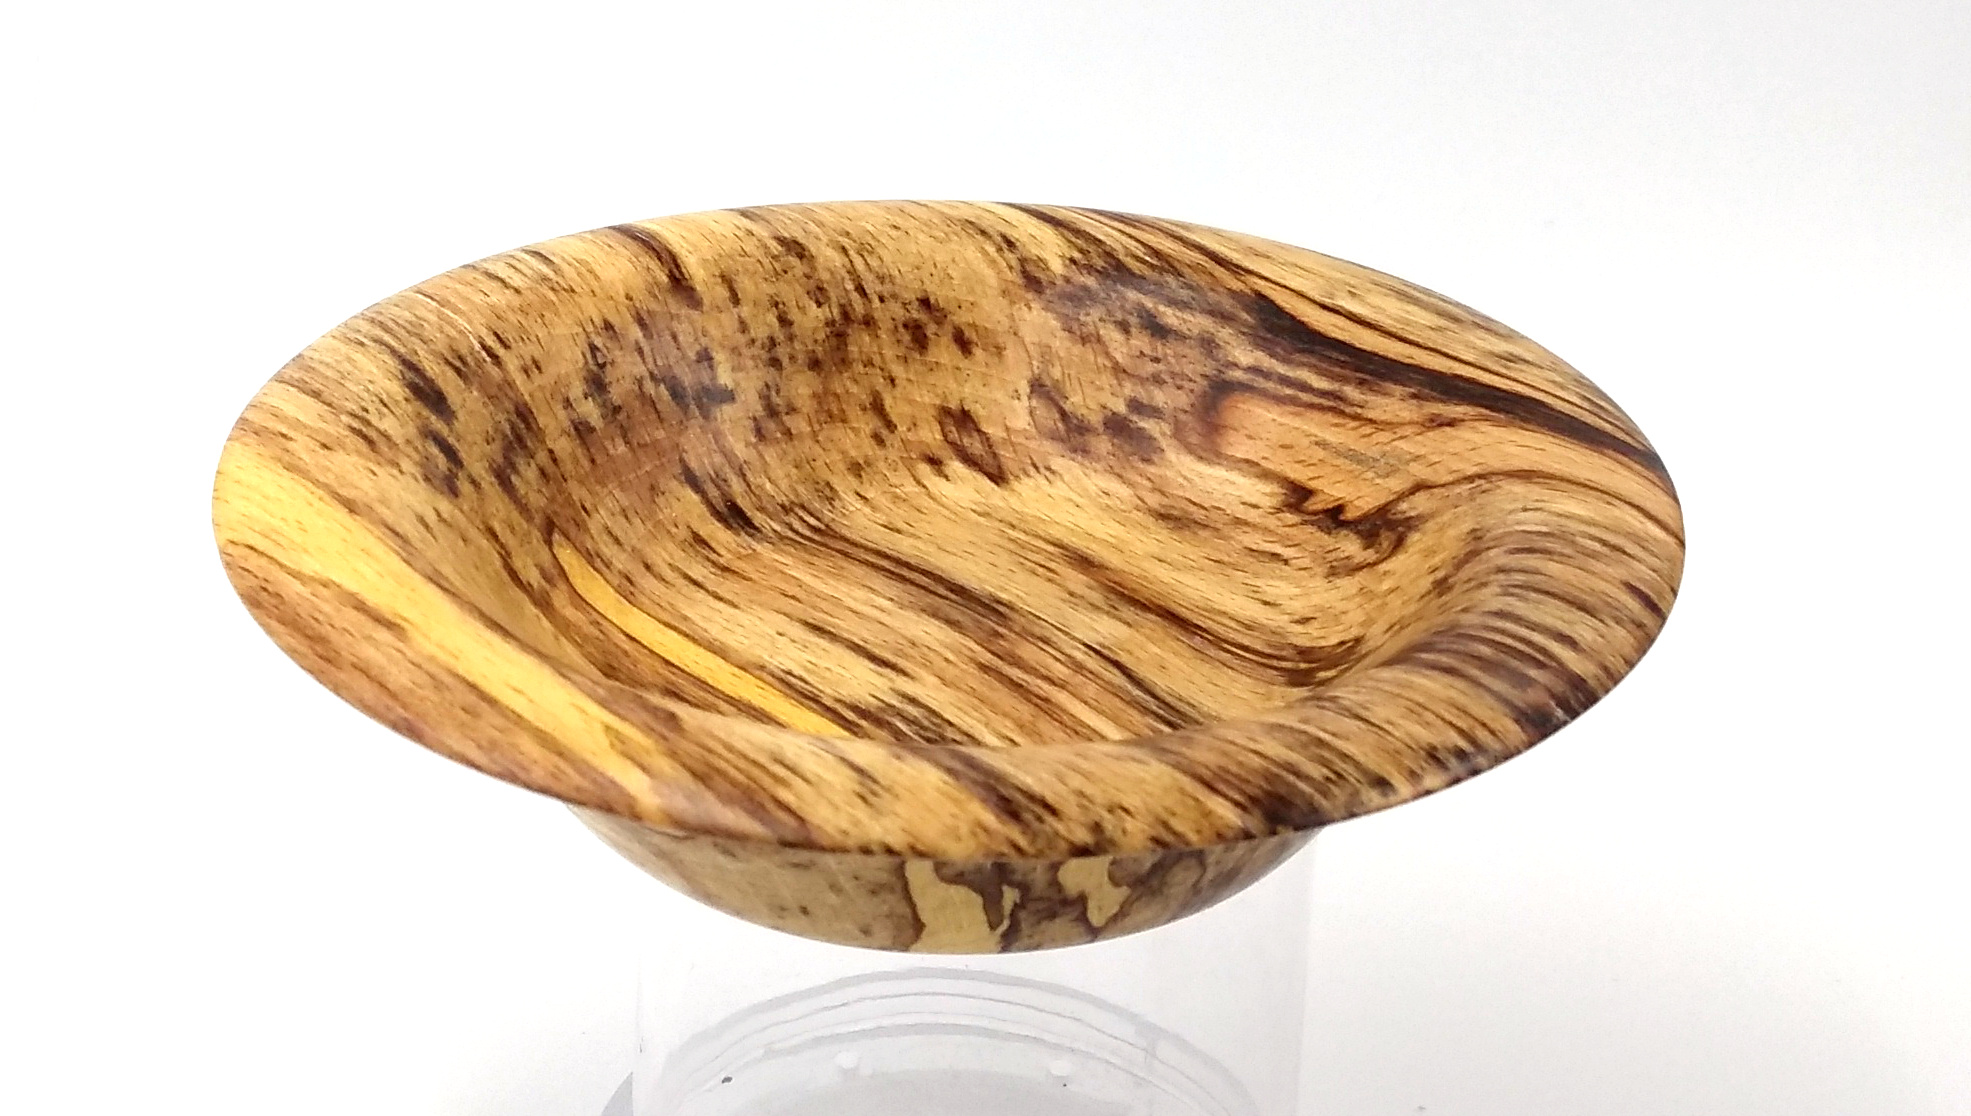
Spalting had gone just a touch far on this beech blank, and a check had formed along one of the spalting planes, so I knocked it off with the chisel and that sortof defined what the final shape would be.

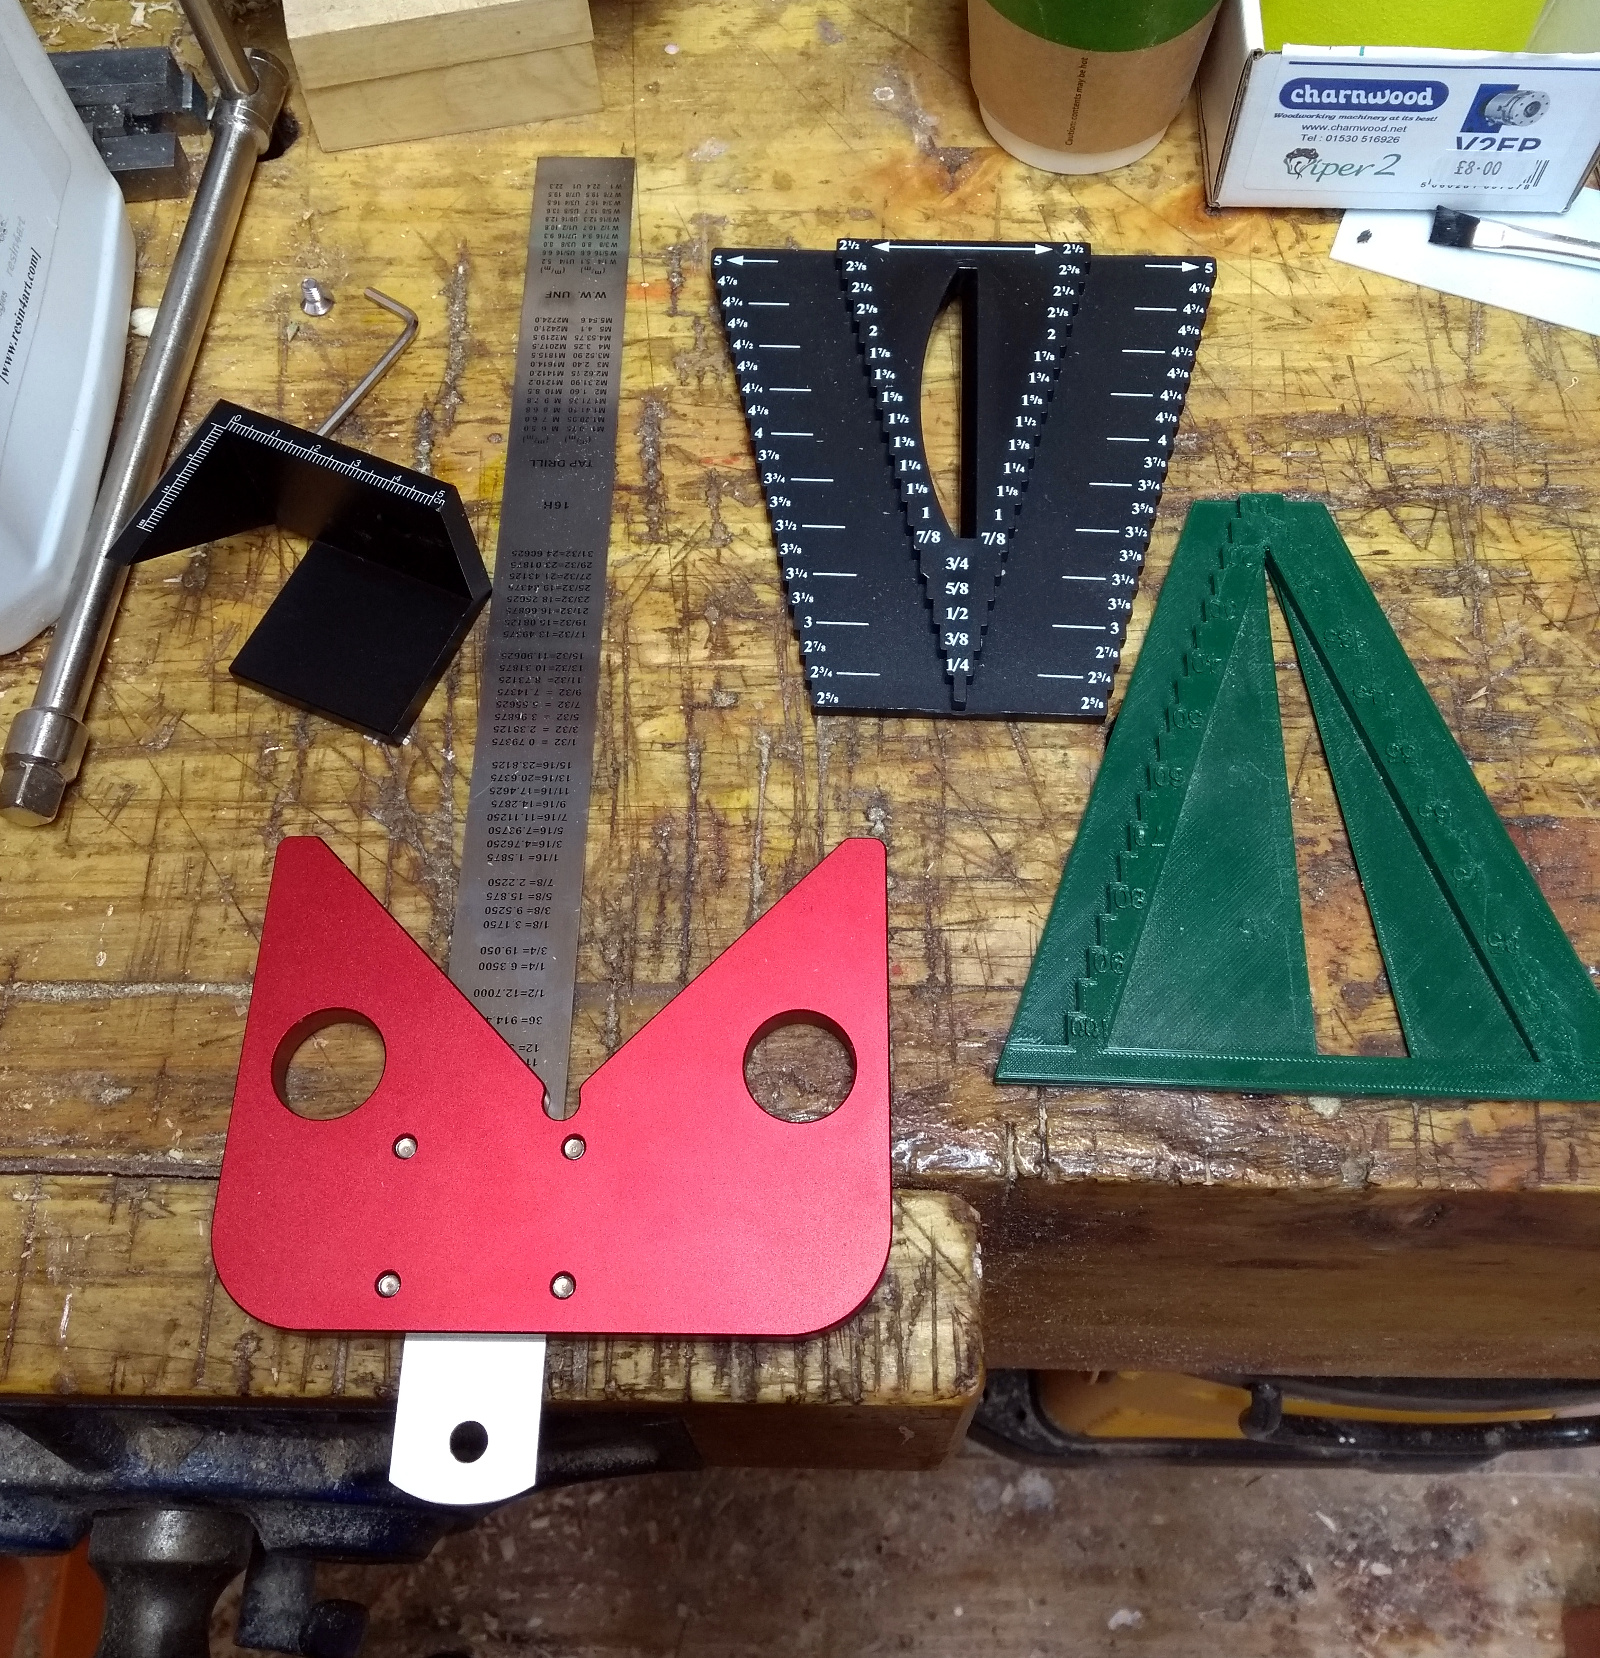
Rather pretty in the end. And there were a few new toys that finally arrived three months after ordering them (they’d come from China all the way to my office… which was in lockdown. But they cleared out the mail room a few months in and dropped everything out to us – thanks for that Robbie, if you’re reading this):

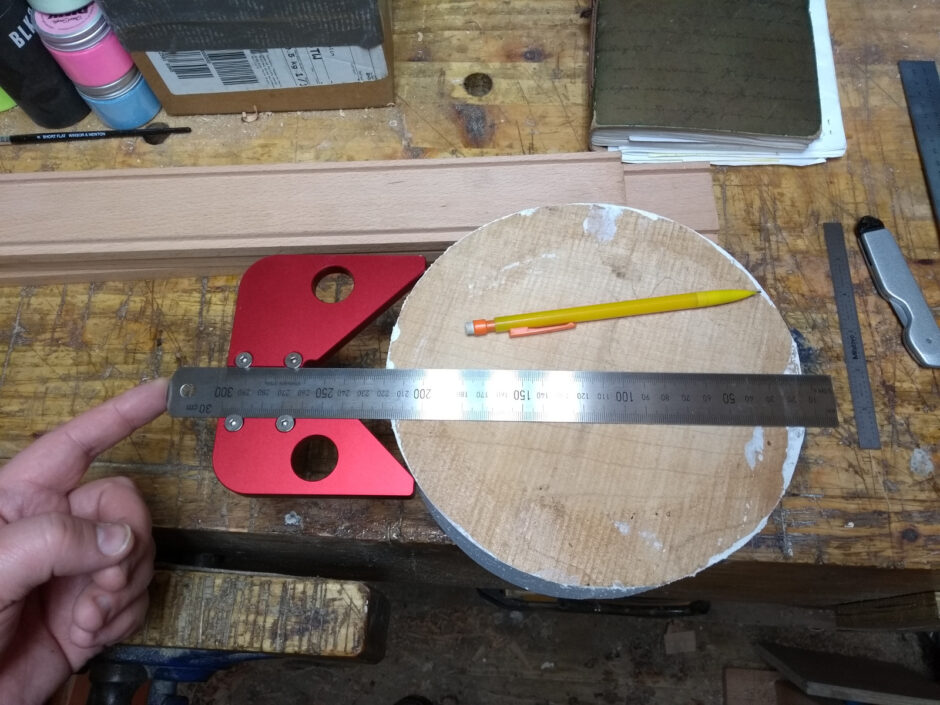
The centerfinder in black also has these raised steps that are set distances apart so it’s both a centerfinder and a gauge to set your calipers against. Useful enought that I’d printed off my own copy of one on the 3D printer a few months ago – that’s the one in green on the far right. The black centerfinder on the far left is a handily sized one for small spindles no more than a few inches in cross-section, and the red one is for larger blanks – very handy for the bowl stuff.

There’s also a longer T-bar for the chuck but despite it being sold for this chuck, it has the wrong size of square bit on the end so I’ll have to grind that down a bit to make it fit right, which is annoying.
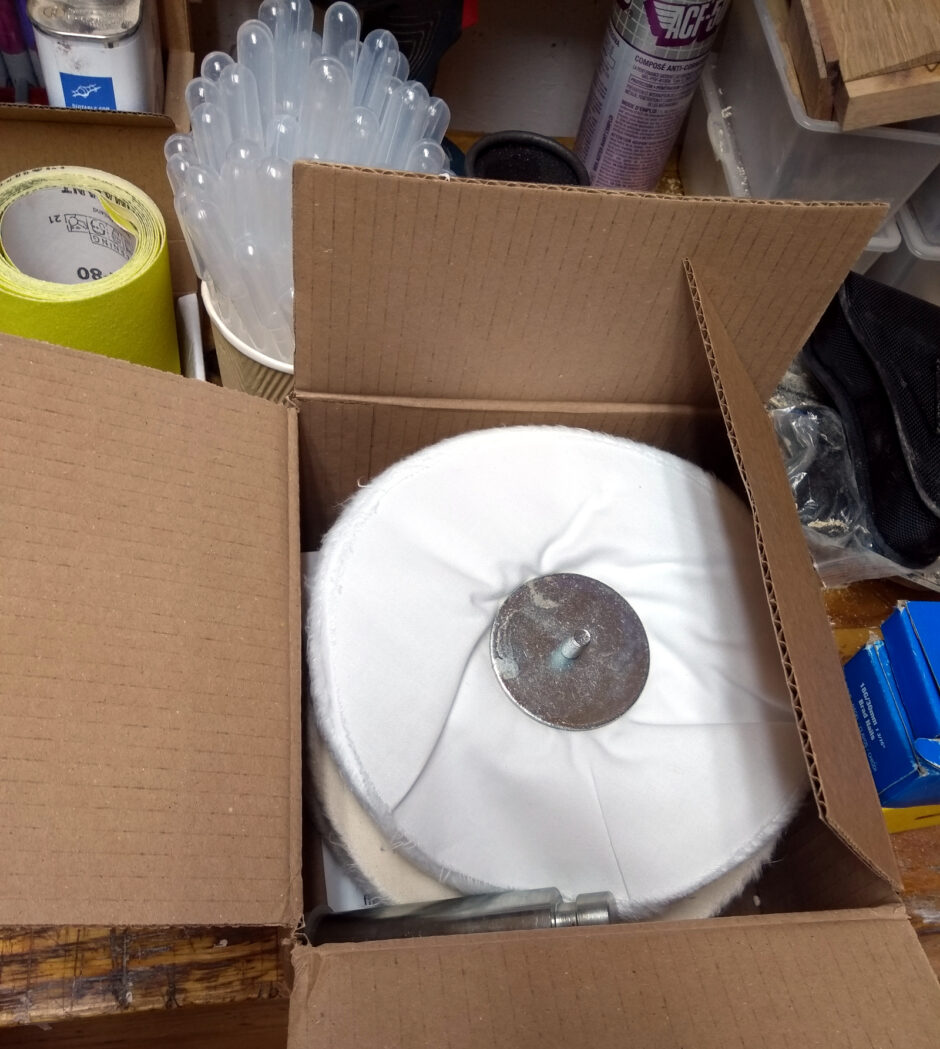
Less delayed was a buffing wheel setup which will prove handy for finishing. It’s nothing special, just the chestnut products one:

More than good enough for my level though. Oh and a box of pipettes, a small handful of which are in the cup in that photo and which have so far fallen all over the place three times in the shed. There’s about a kilo more and if you think a kilo of 3ml pipettes sounds like a silly number, you’d be right. Turns out some things you can only buy in bulk before you’re paying a euro or two for one pippette – but order a kilo and you get 2000 of the things for the price you’d have paid for ten of them in a sensibly-sized box. They’re very handy for getting resin into exactly the right spot when filling knots and the like.

There’s been a few other projects since, and I have photos and things already taken on the cameraphone of them, I must spend an hour posting them up here later on. Especially since I just finished a long bout of shed-tidying-up with some nice results.