23
Jul 20

Sharpening station

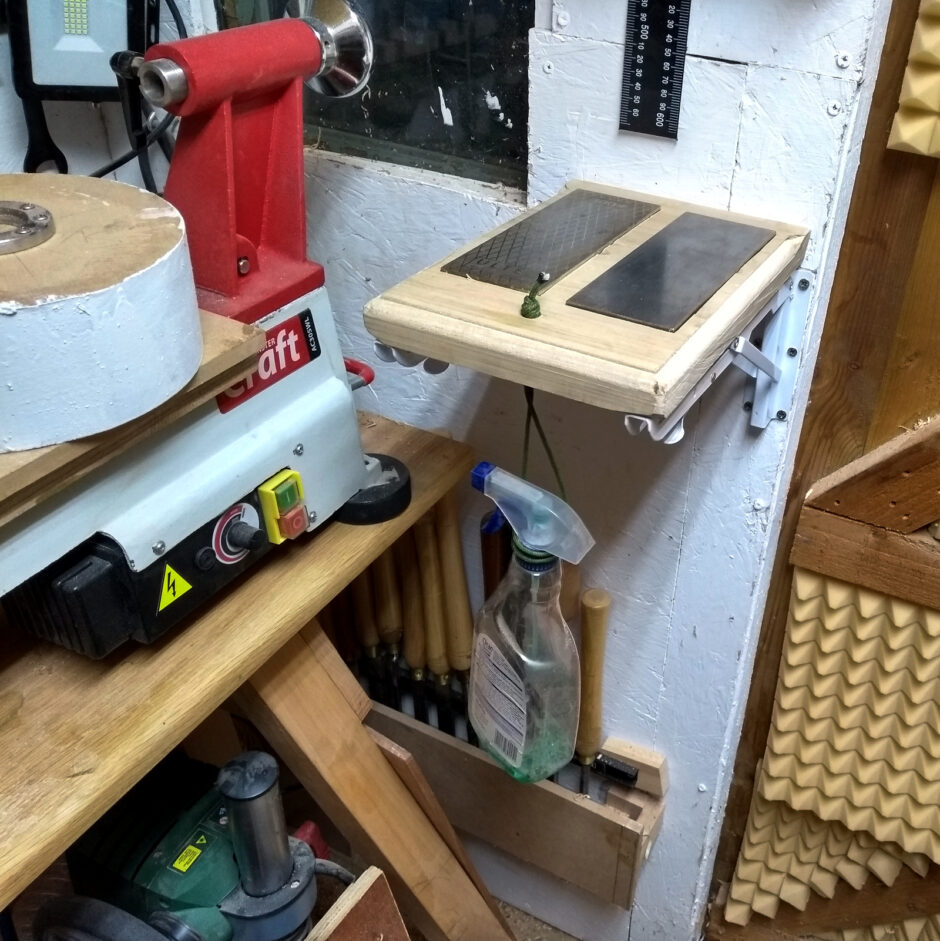
So ages ago I made one of Paul Sellers’ kind of sharpening stations – effectively just a plank with carved recesses for diamond plates (in a small shed, the diamond plates work best for me because they’re less muss and fuss than everything else would be in that space). It wasn’t exactly a masterpiece or anything (though I still think waney edge plywood will come into fashion), but it worked quite well for years.
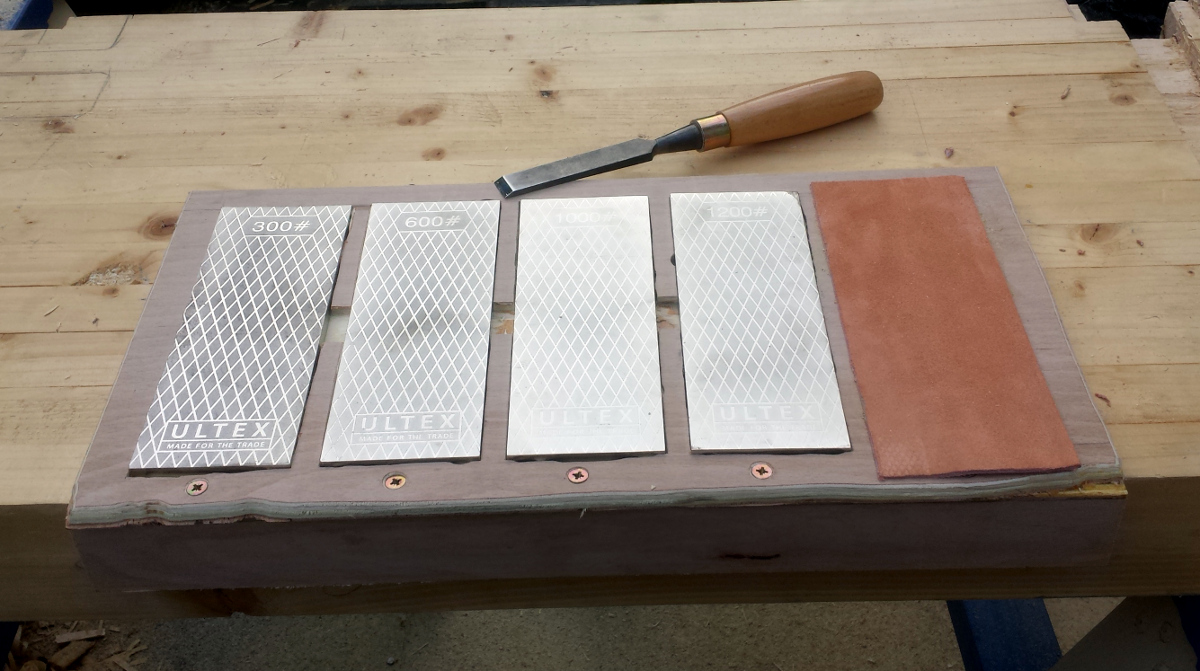
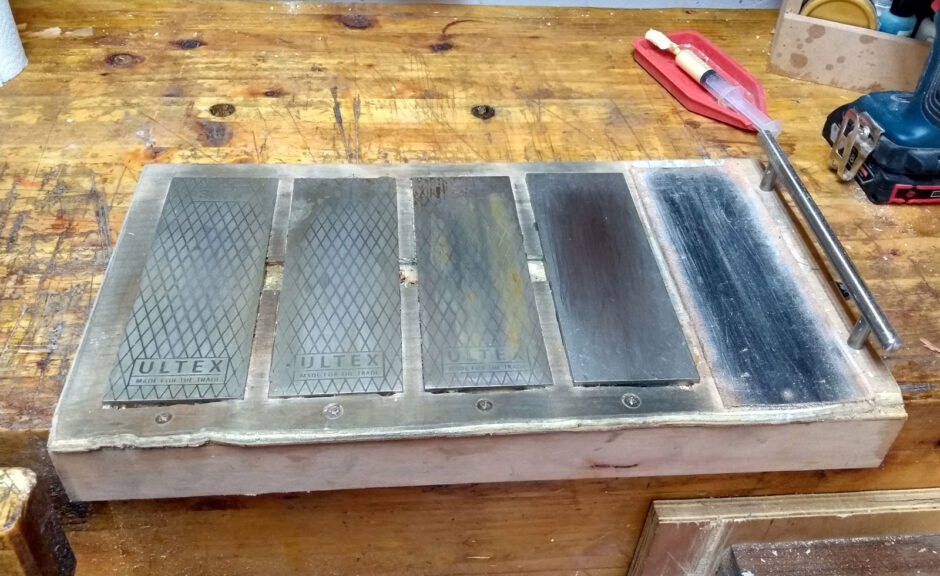
It has gotten slightly grubbier with use (that’s the steel dust and the lapping fluids and so forth) and I added a handle because I started keeping it under the bench and the handle made extraction easier. But you still have to pull it out from under the bench and have room free on the bench to put it on before you can sharpen and that’s… uncommon in the shed. I mean, if you have a 12′ bench, I’m sure there’s always some room but my bench is about 5′ long and I only recently got to see the top of it again after a major effort in tidying for the first time in six months so that space is just not a thing in my reality.

So, a few months ago when I moved the tumble drier out of the shed (no, not kidding, don’t ask) and reclaimed some space, I decided some of that space was going to be used for a dedicated sharpening station. Maybe not a full-blown Shannon Rogers affair with two grinders and a tormek and plates and drawers and so on, but something at least that I could use for most of my sharpening. So I had a good rummage around online and found these:
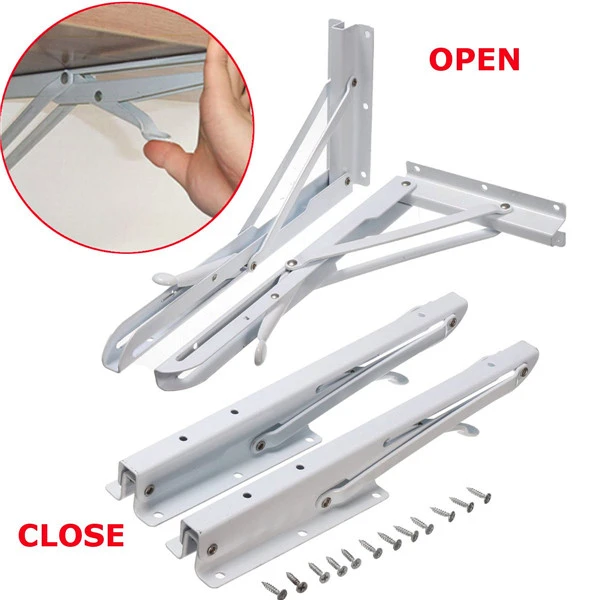
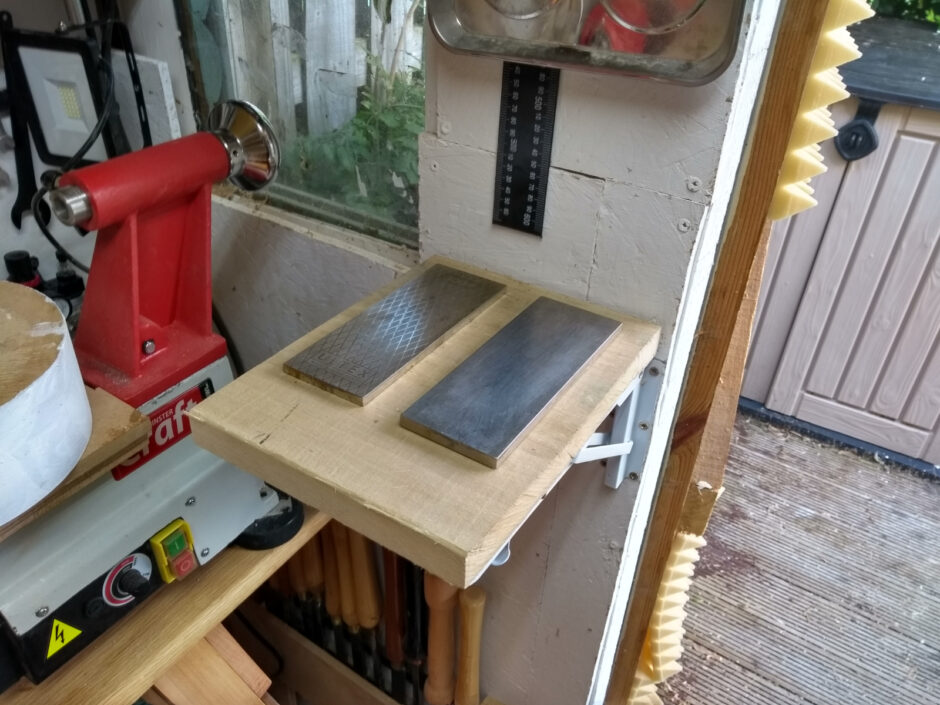
So, one cheap order and a bit of waiting and an offcut and some fiddly installation later and just as the lathe was making its first chips, I had a folding shelf.
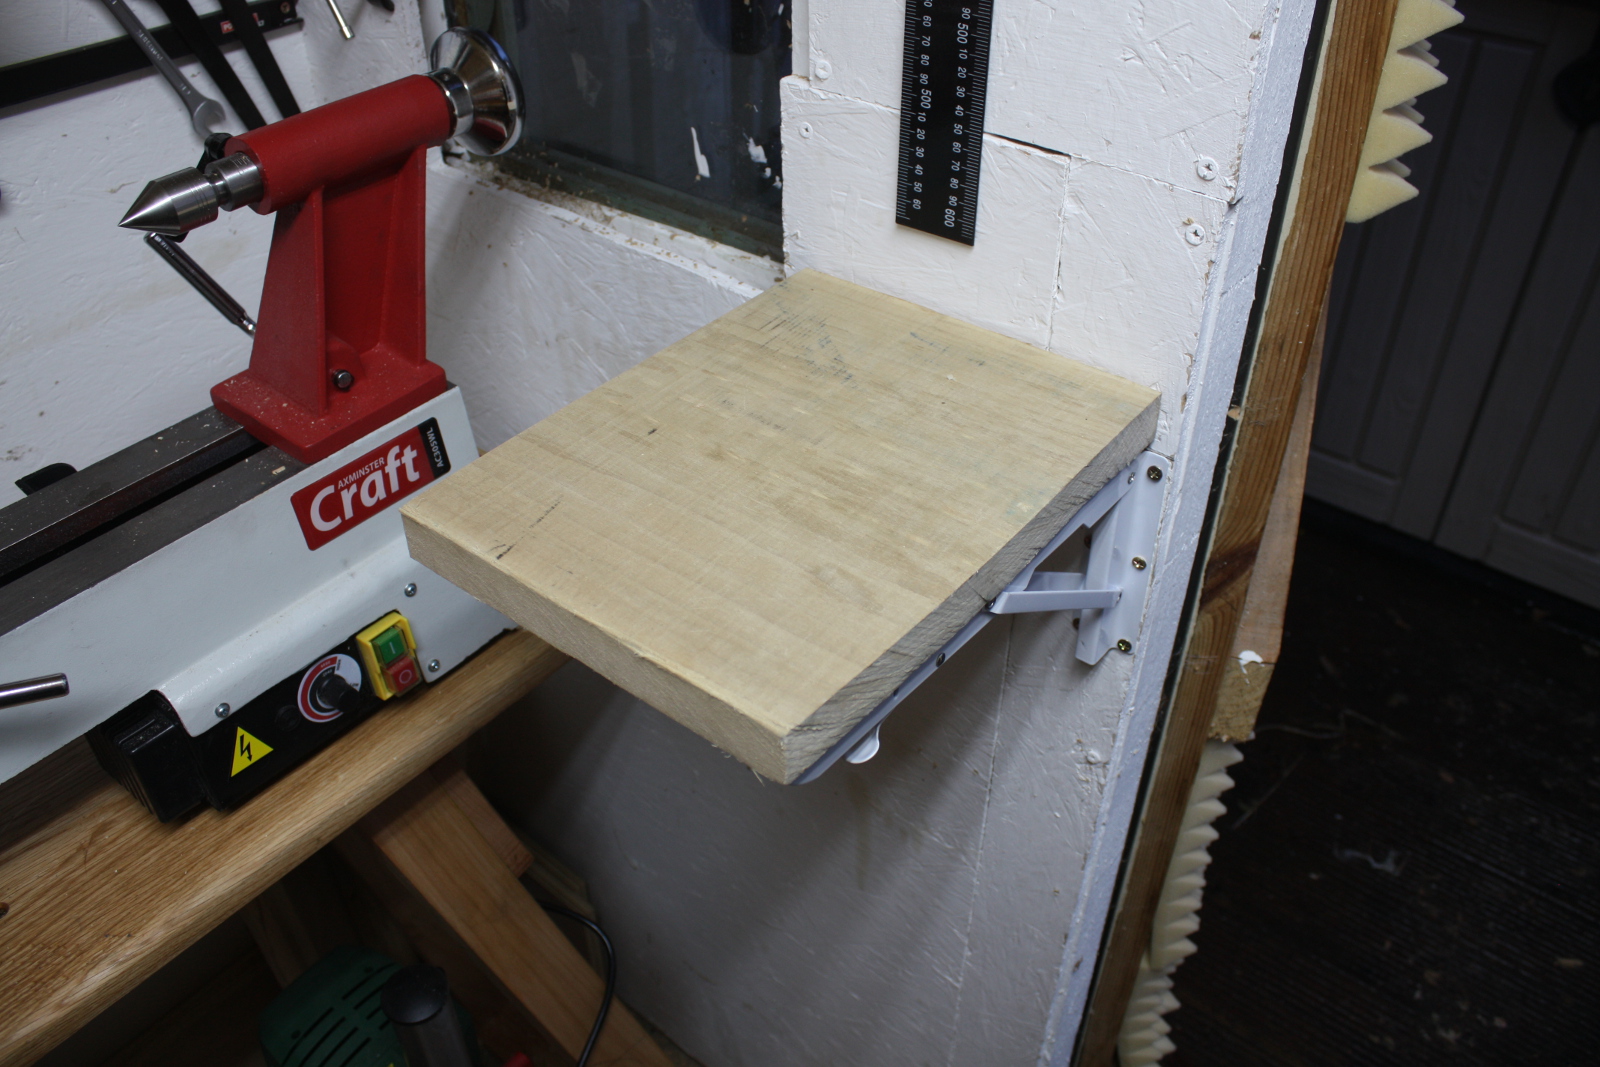
…and then I did nothing for several months. I mean, okay, there was the whole pandemic thing but mostly I just got buried doing other things. But in the last day or two I got a bit into doing shed jobs. I rebuilt the lathe tooling shelf because it went from reasonably tidy:
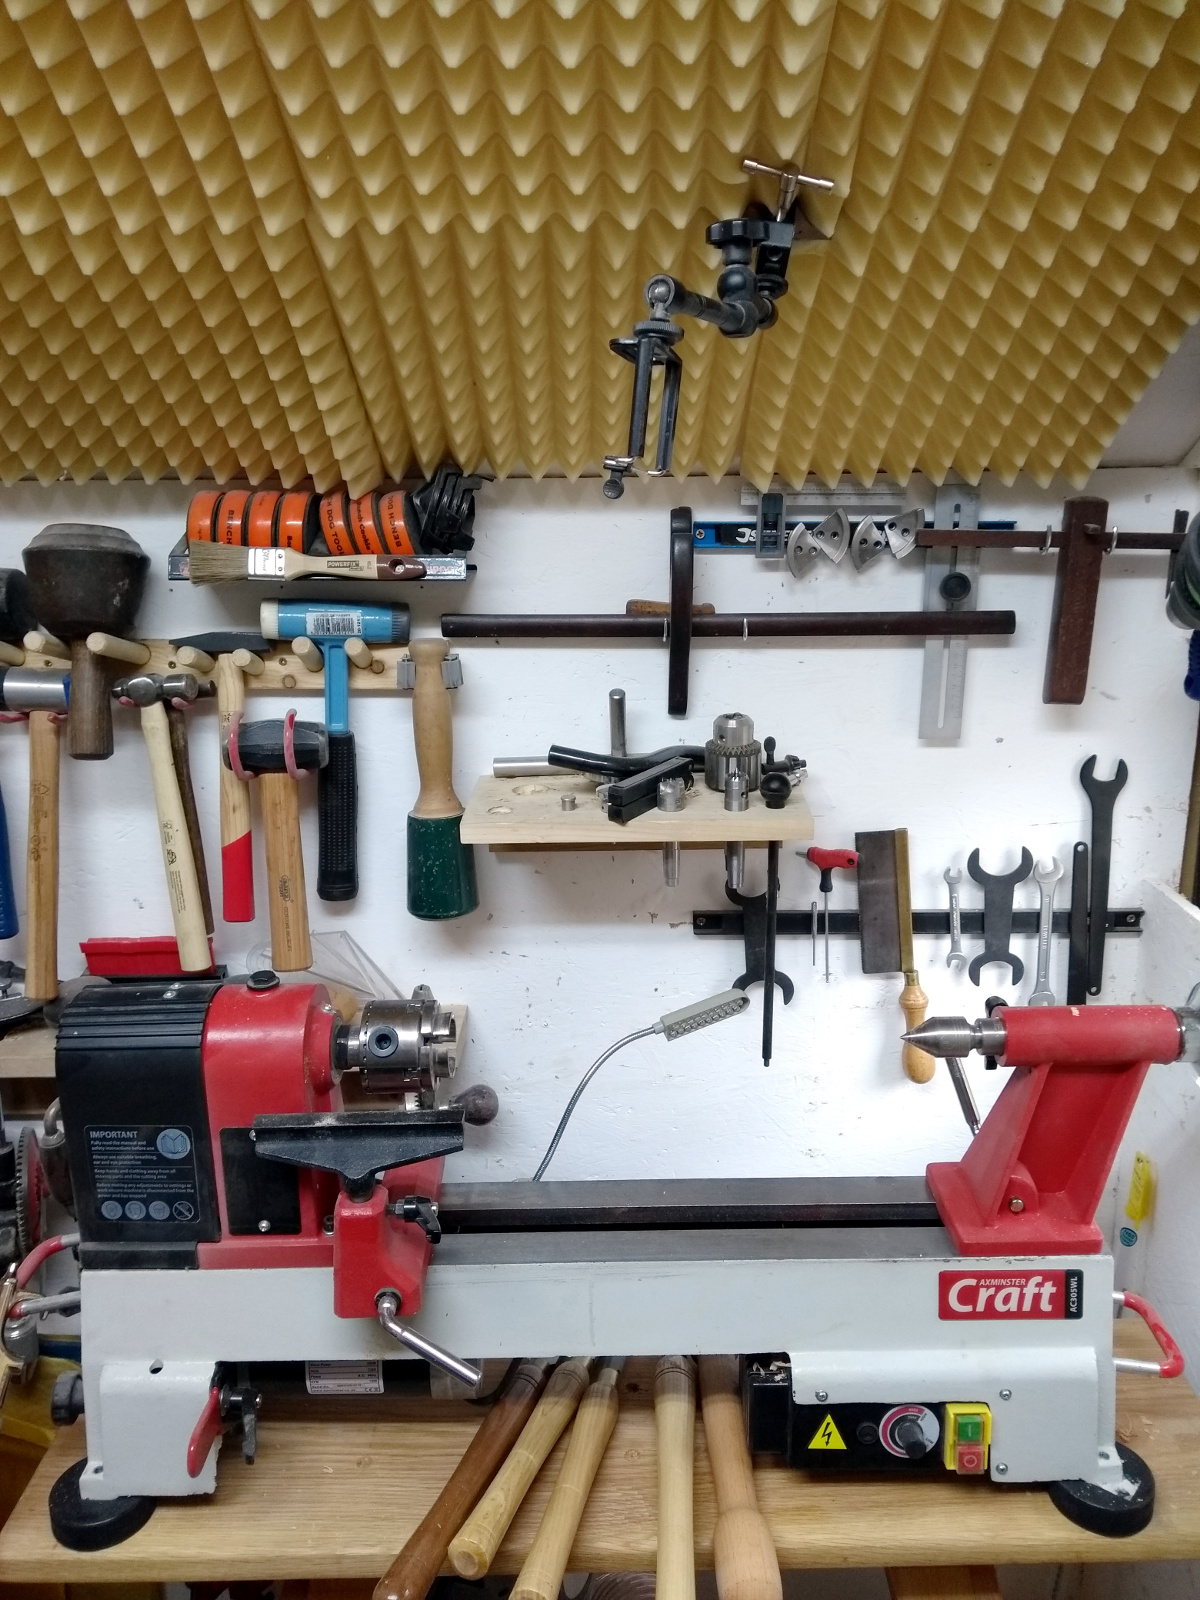
To a complete and utter pile of disaster waiting to happen:
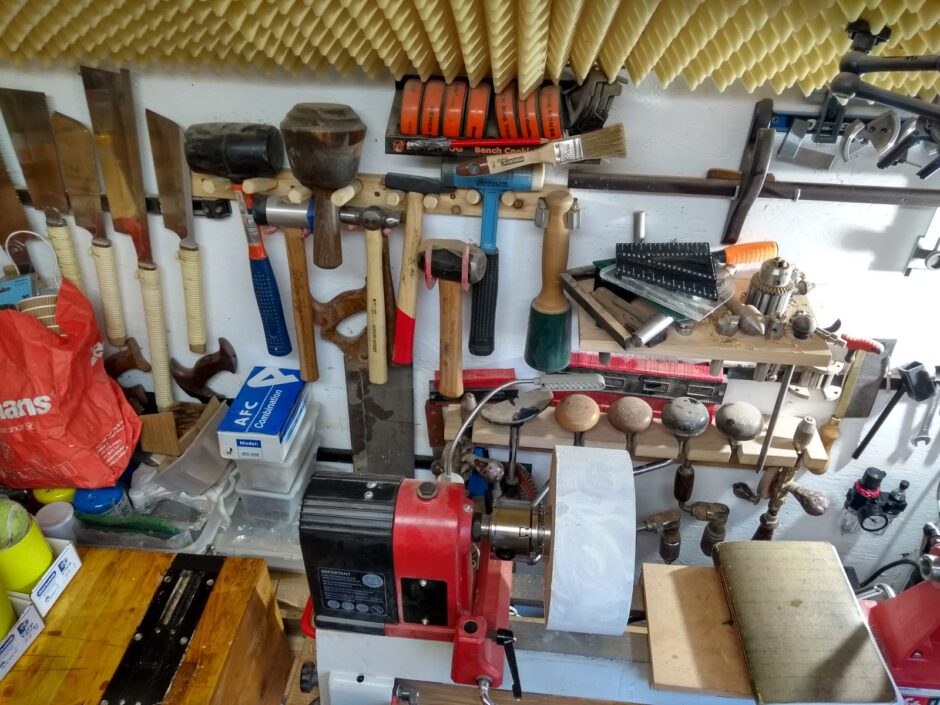
Yeah, I might have bought one or two things without planning where to store them. So I pulled that shelf off the wall and disassembled it (and if you ever wondered how strong titebond II was, well, this is what happened when I hit the shelf with a lump hammer to break the glue line holding the shelf from the piece that’s actually screwed to the wall):
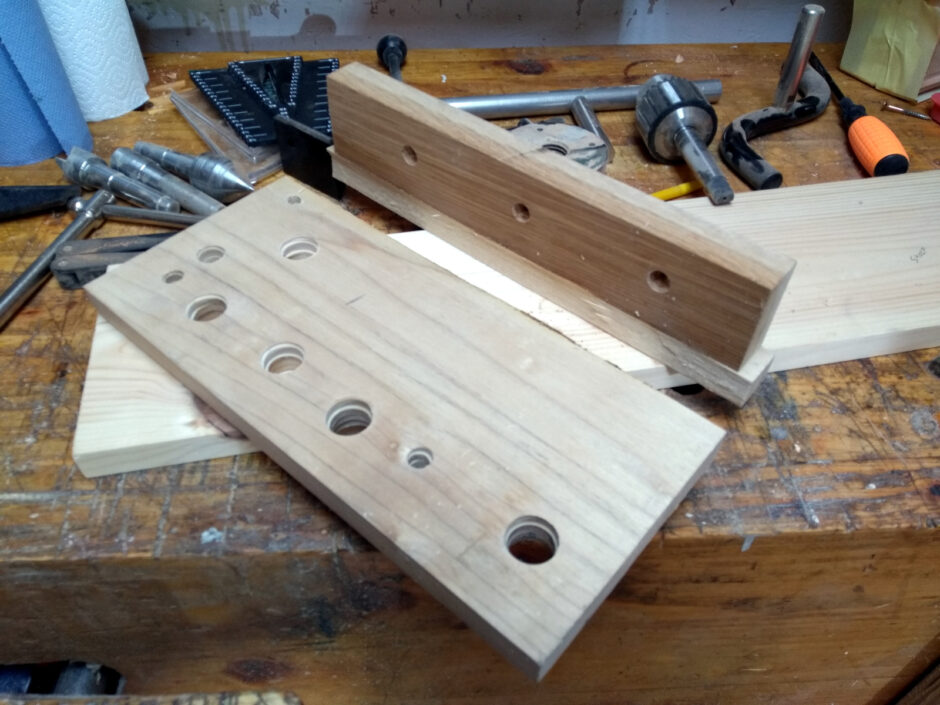
Anyway, took a scrap of pine left over from something else, and did some mucking about with the pillar drill and the router:
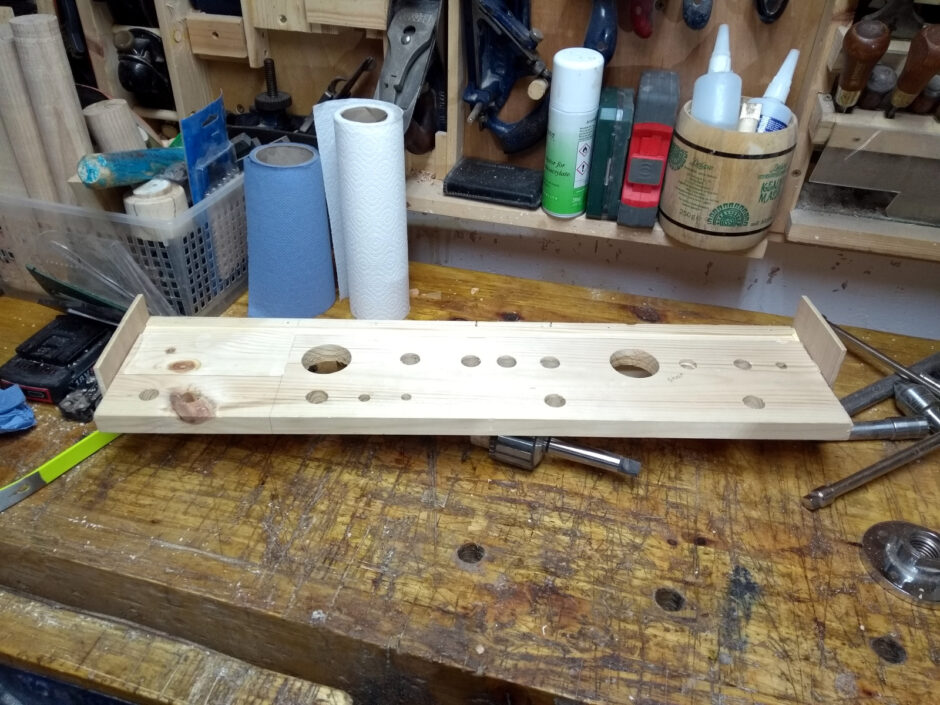
Put a small routed channel in at the back for the centerfinders to be propped up in against the wall, and end caps from plywood scraps that might stop them falling off the ends, and a small routed rectangle on the left for other stuff like a diamond hone, a spindle centerfinder that’s a bit awkwardly shaped and a few worm screw spacers on a little tower-of-hanoi holder thing.
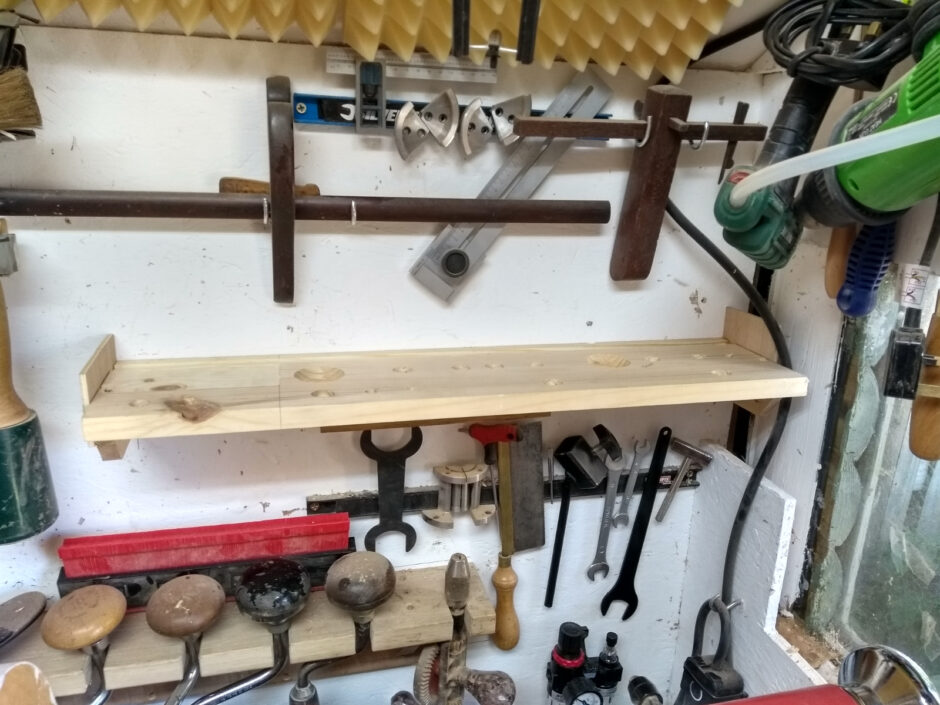
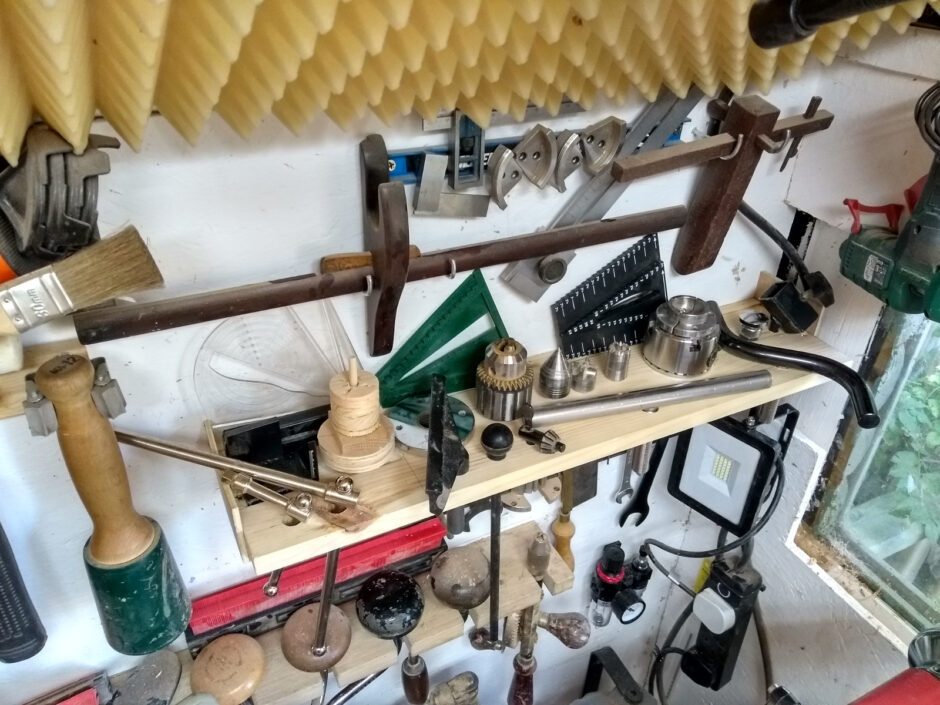
I know it doesn’t look like it, but that is an improvement. Even if things are now looking busier than I’d like…
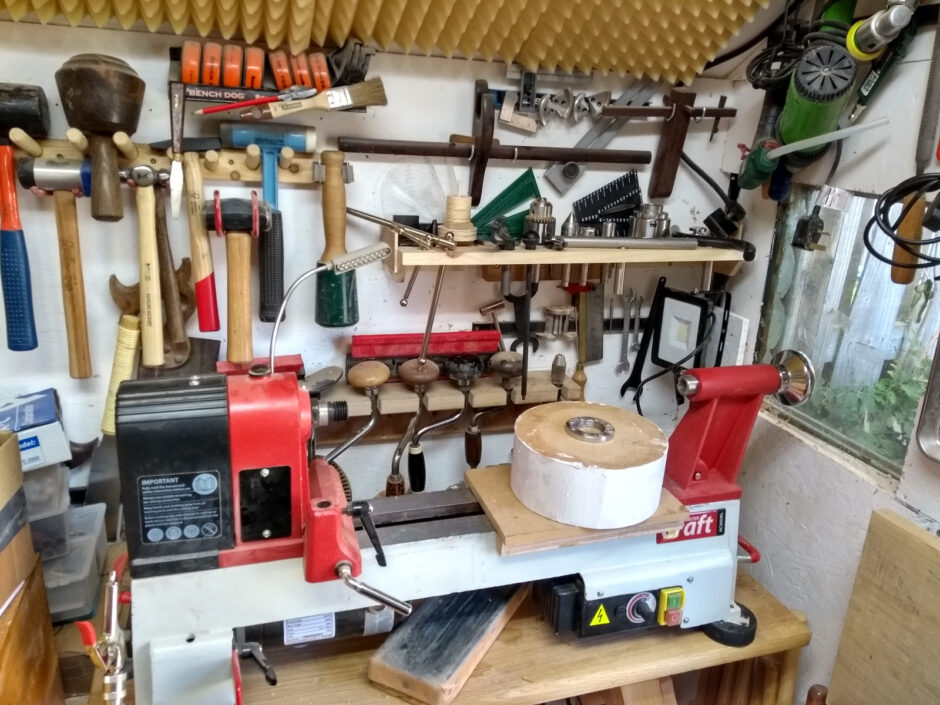
But anyway, today’s project was to finish the sharpening station so I pulled two of the four stones from the existing sharpening plate holder (the coarsest and finest ones):
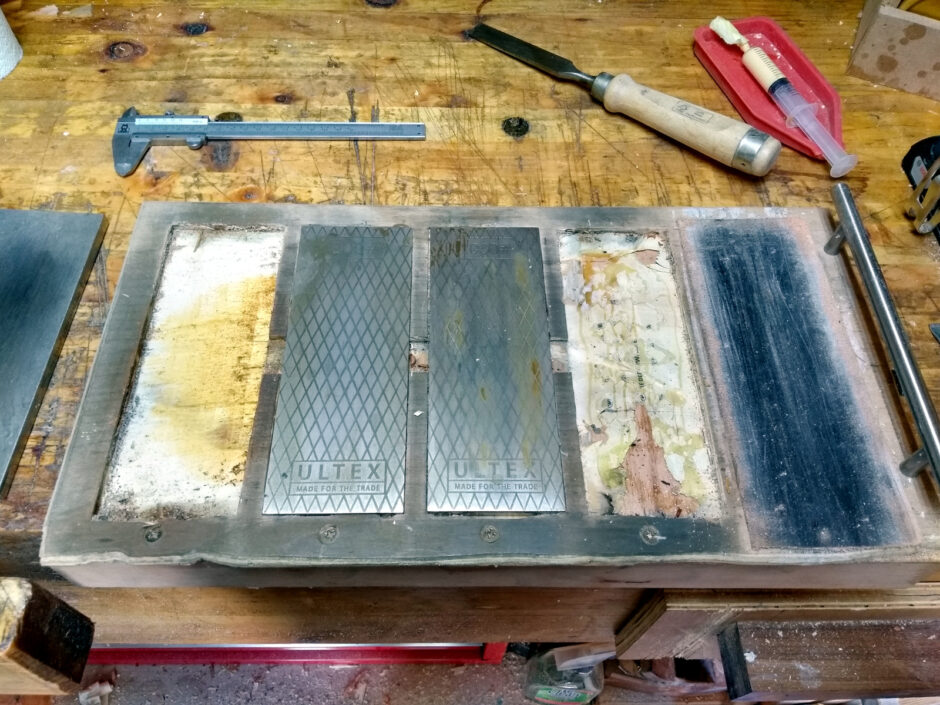
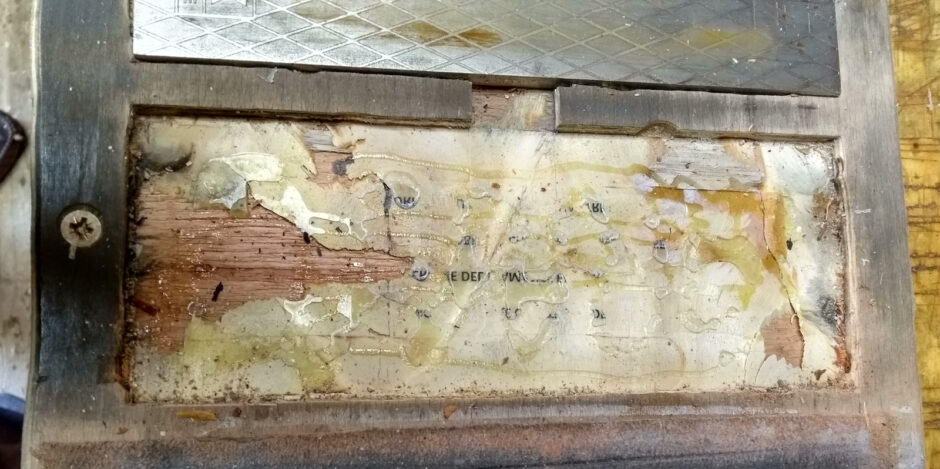
That glue wasn’t messing about, it held onto the writing 😀
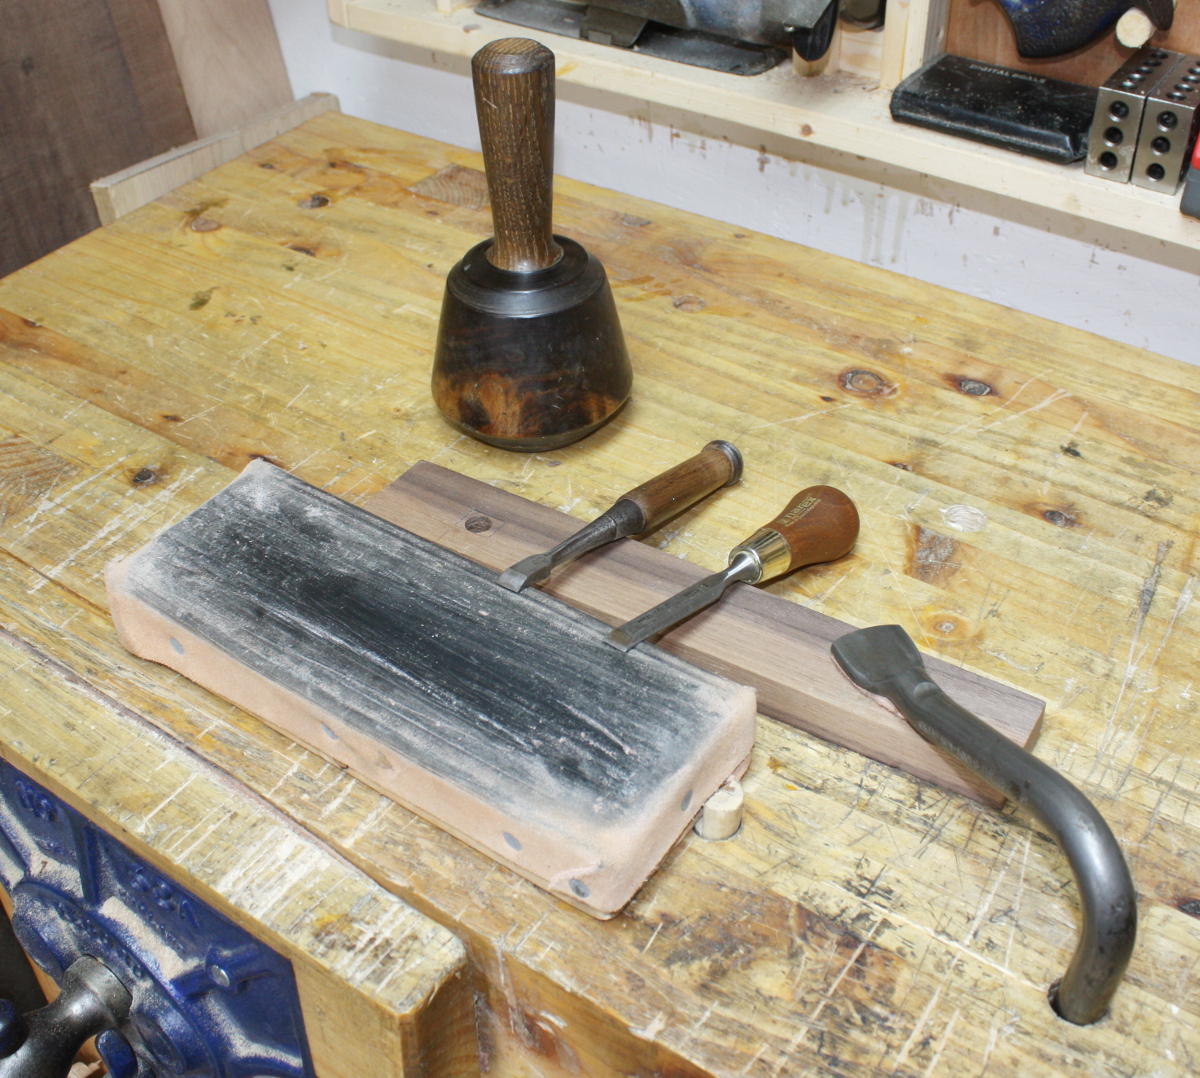
I won’t be losing the strop btw, I’ve found stropping to be very much worthwhile but I usually use a dedicated one that I leave lying around the bench which is just a length of 2×4 with some leather nailed to it that I made back when I was making the bench years ago.
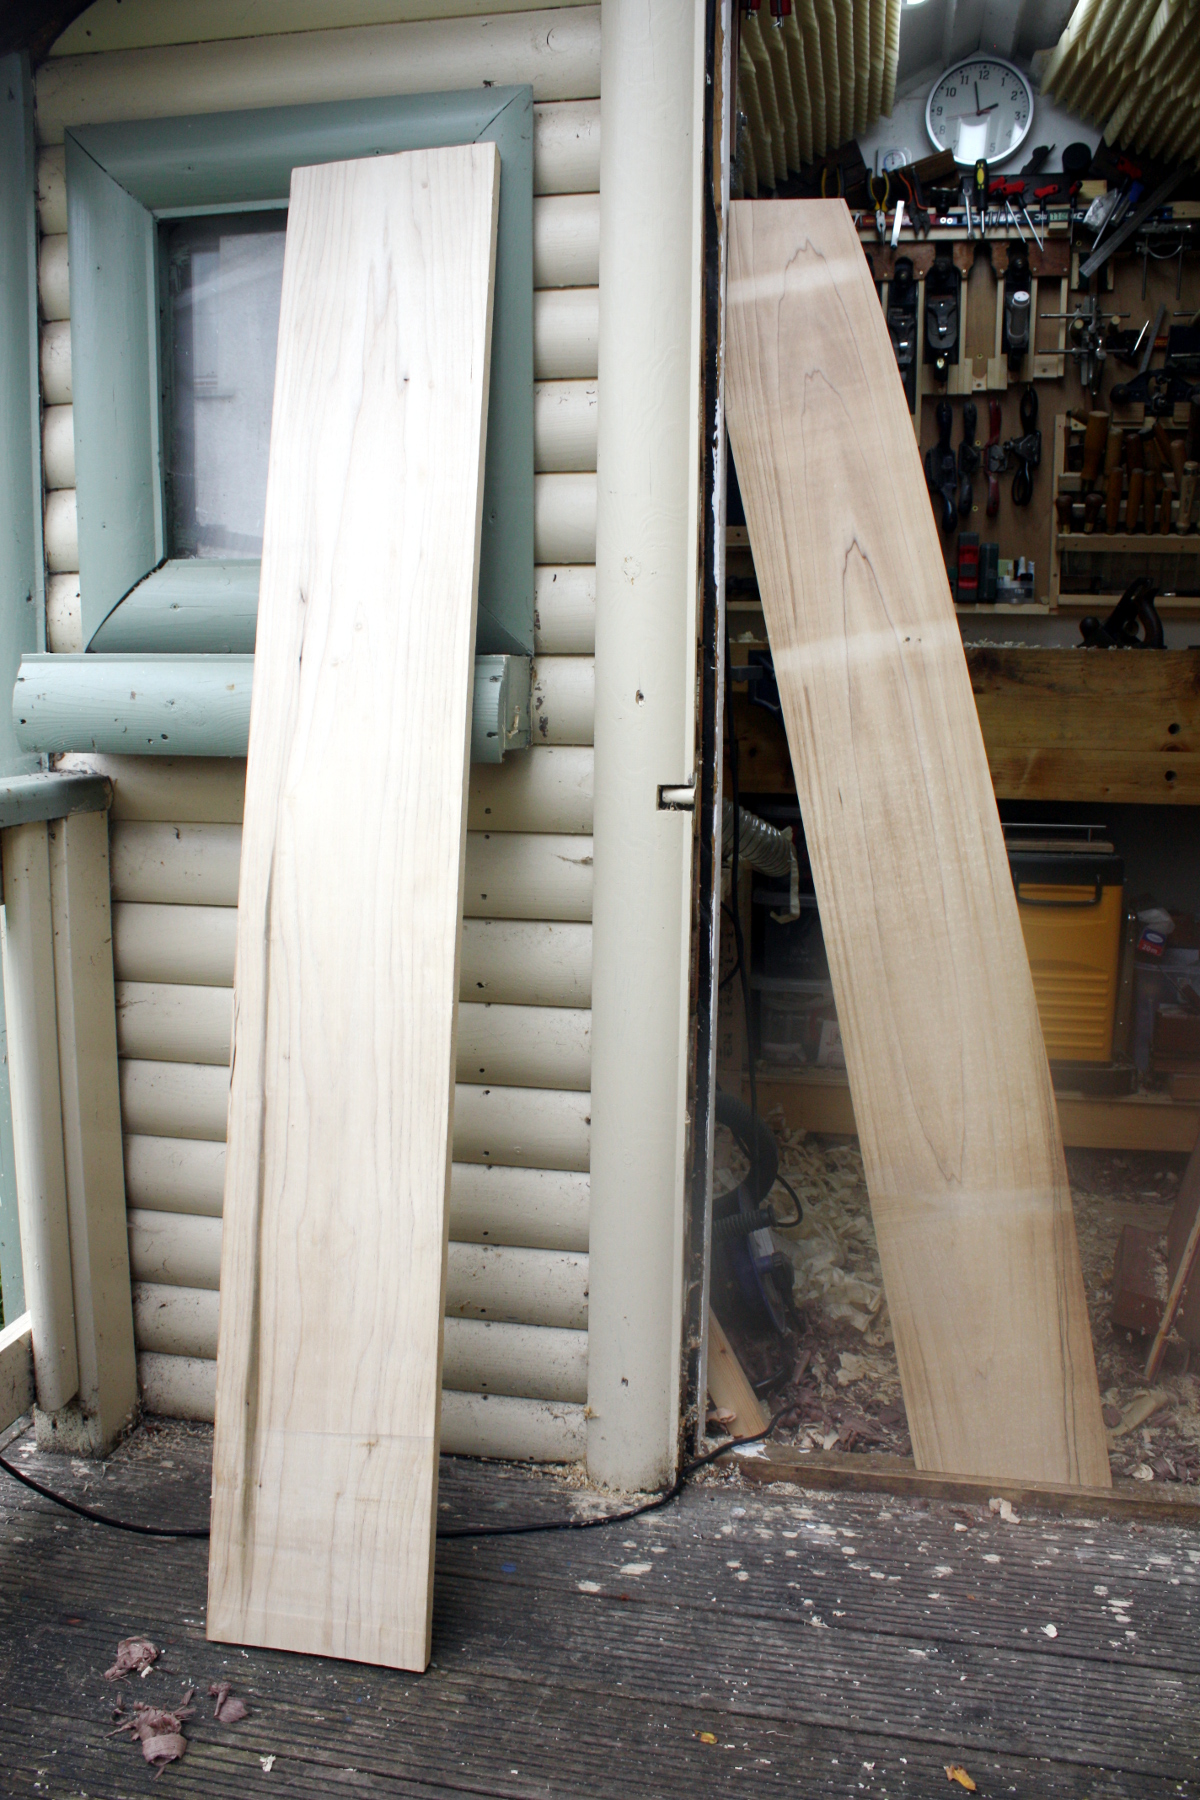
Next I trimmed the edges of the poplar offcut I’m using here, planed it, and marked it out for the plates.
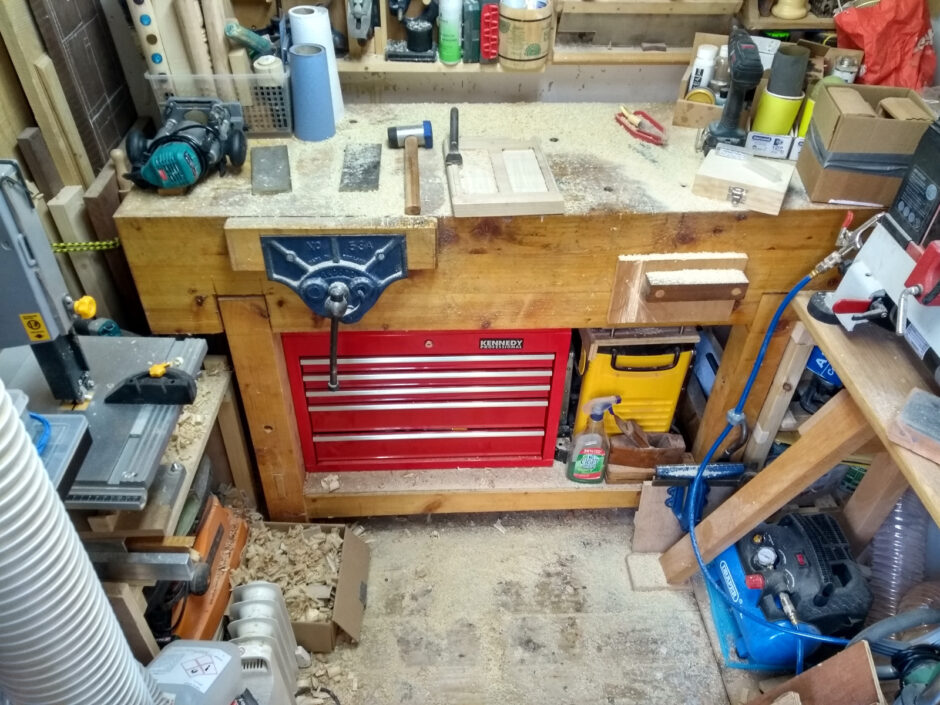
And I routed out the bulk of the waste with the power router. Have I mentioned I hate that thing? It’s loud, it’s scary and holy crap the mess.

But it was a bit easier than chopping the plate recesses out with a chisel. I prefer to cut mortices with chisels, but for large wide areas of excavation, it’s hard to beat a power router. It’s awkward to be precise with them though, so I routed to within 2mm or so of the lines and then did the rest with a chisel or two and a mallet and some patient thwacking. A touch of epoxy to glue the plates in place and some remounting with predrilled screw holes and…
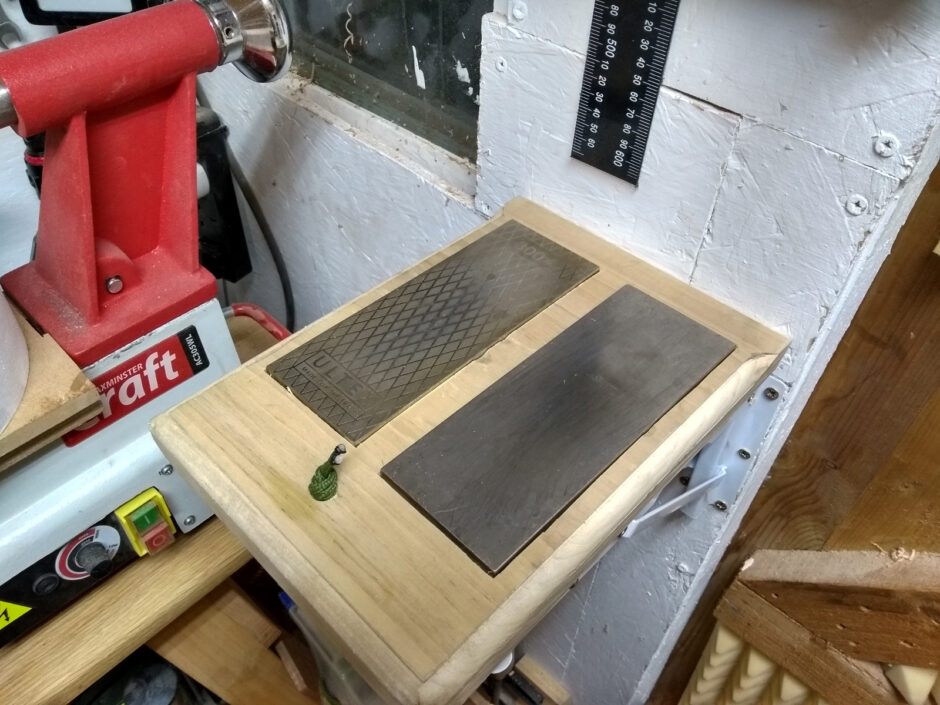
(The paracord is for hanging the window cleaner bottle I use for lapping fluid from)
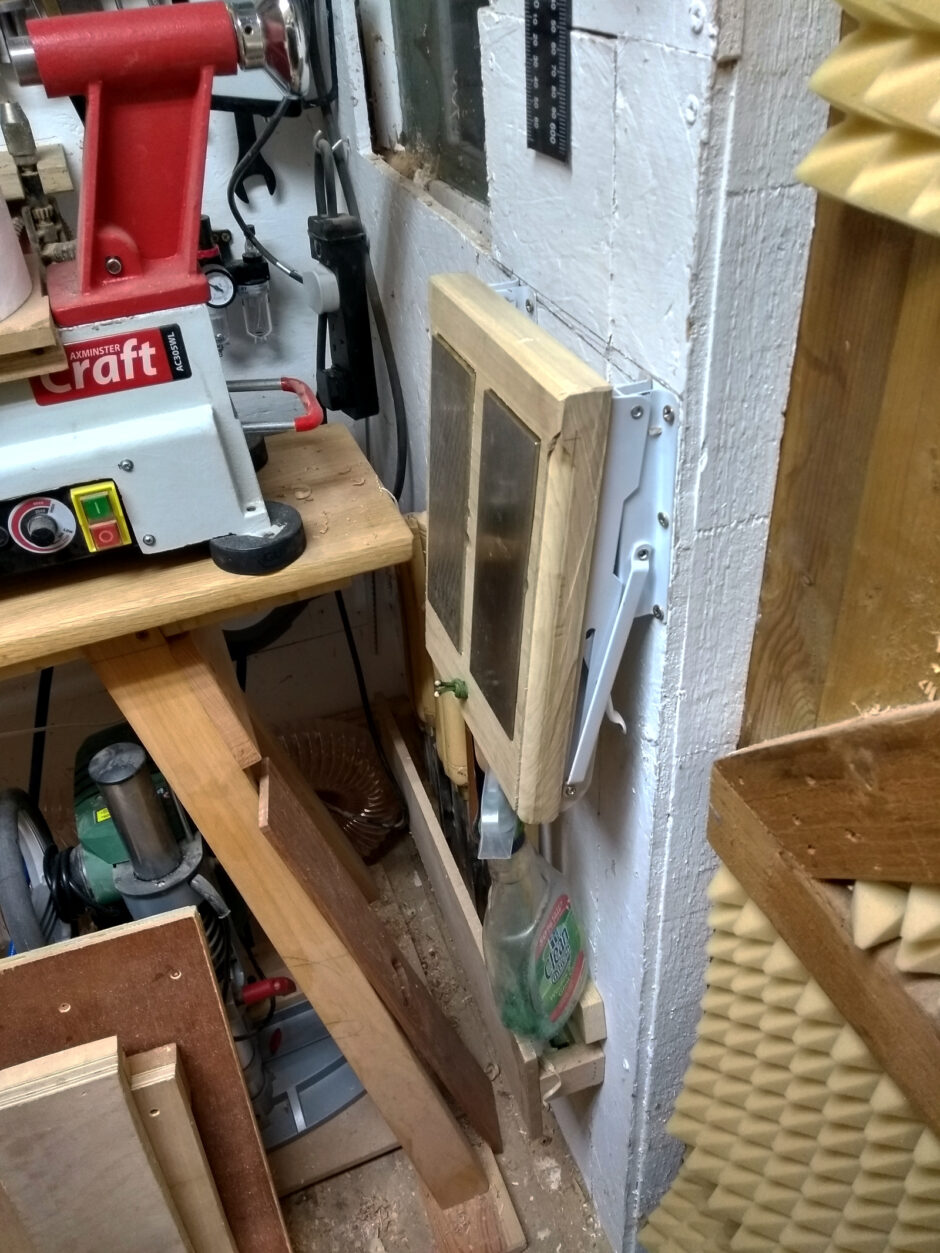
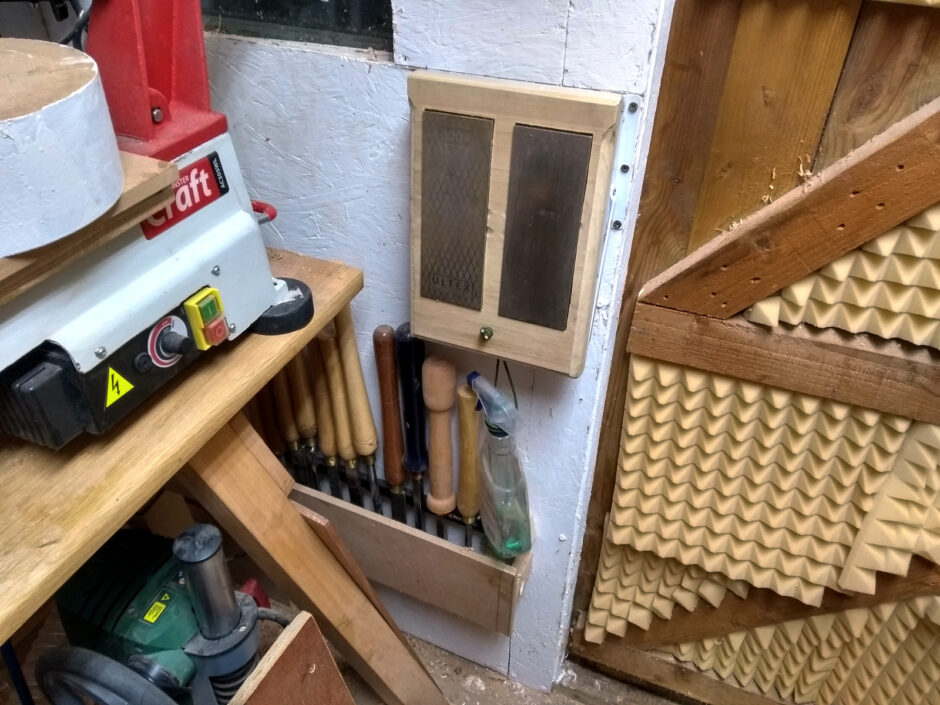
And now I can touch up a chisel from not-sharp-but-not-yet-dull to yikes-thats-sharp and be back to work in 30 seconds. Literally, I tried it (and it’s easier when you’re not holding the cameraphone in one hand):

Next job, the dust extractor cyclone has torn out of the lid of the drum it’s on so that has to get reinforced with plywood temporarily until I can build a 4″ cyclone lid (the flat kind like this) to replace it, and I have to make some holders for sandpaper (for which I might have to rebuild the printer head on the 3D printer which is acting up at the moment) and for the kitchen rolls I use in there for finishing on the lathe, and the wire-burning bits and bobs need to be rethought a bit because they’re literally a box of wires and two handles with holes in them right now which is just a messy pain in the backside, and the saw vice needs a proper home to hang on as well (probably on the wall behind the lathe low down like the little record imp machinists vice), and then I can get on with actually making stuff


09
Sep 18

Modelling

So I was really just at a low energy setting this weekend, and it was one of the first rains of the coming winter and even just looking at the shed was making me tired, but I have been wondering about something with the design of Calum’s shelves/desk thingy, which is whether or not to put a backing board behind/between the top two shelves. It’d stop stuff falling off the back of those shelves, give a larger contact area with the wall, and stiffen up the whole carcass; but it’d change the look of the unit quite a bit and the joinery might get complex unless I cheated and used a router to carve out a rabbit for the panel.

So, what do you do when you’re too tired to go to the shed and still want to see what it looks like? Well, there’s this stuff called styrene (or plasticard or ABS or any one of a dozen other names). You know it, it’s what airfix model kits are made from, and sheets of the stuff are where you start for scratch-built models. And I had a few sheets because Paul Sellers had pointed out a while ago that it was handy for templating curves and I was planning to use it for some boxes. Then this weekend I was watching an Adam Savage one-day build doing some scratch-built modelling for fun, and thought Calum might find that fun to do (because he’s kindof young for the complex airfix kits, but he’s more than ready for scratch-built stuff) and went off and got some solvent cement and we had some fun (modelling, not sniffing solvents). I mean, he’s more looking forward to painting it, so I’m off to the modelling shop for some thinner and paints for the airbrush tomorrow, but he got a kick out of seeing it built.

BTW, ignore what Savage builds there, it’ll only depress you if you try it, remember he worked professionally doing modelling for years for Industrial Light and Magic, so he might act the eejit all the time, but the man knows his modelling, and so do you if you ever watched Star Wars in the last 20 years or any one of a few dozen movies.

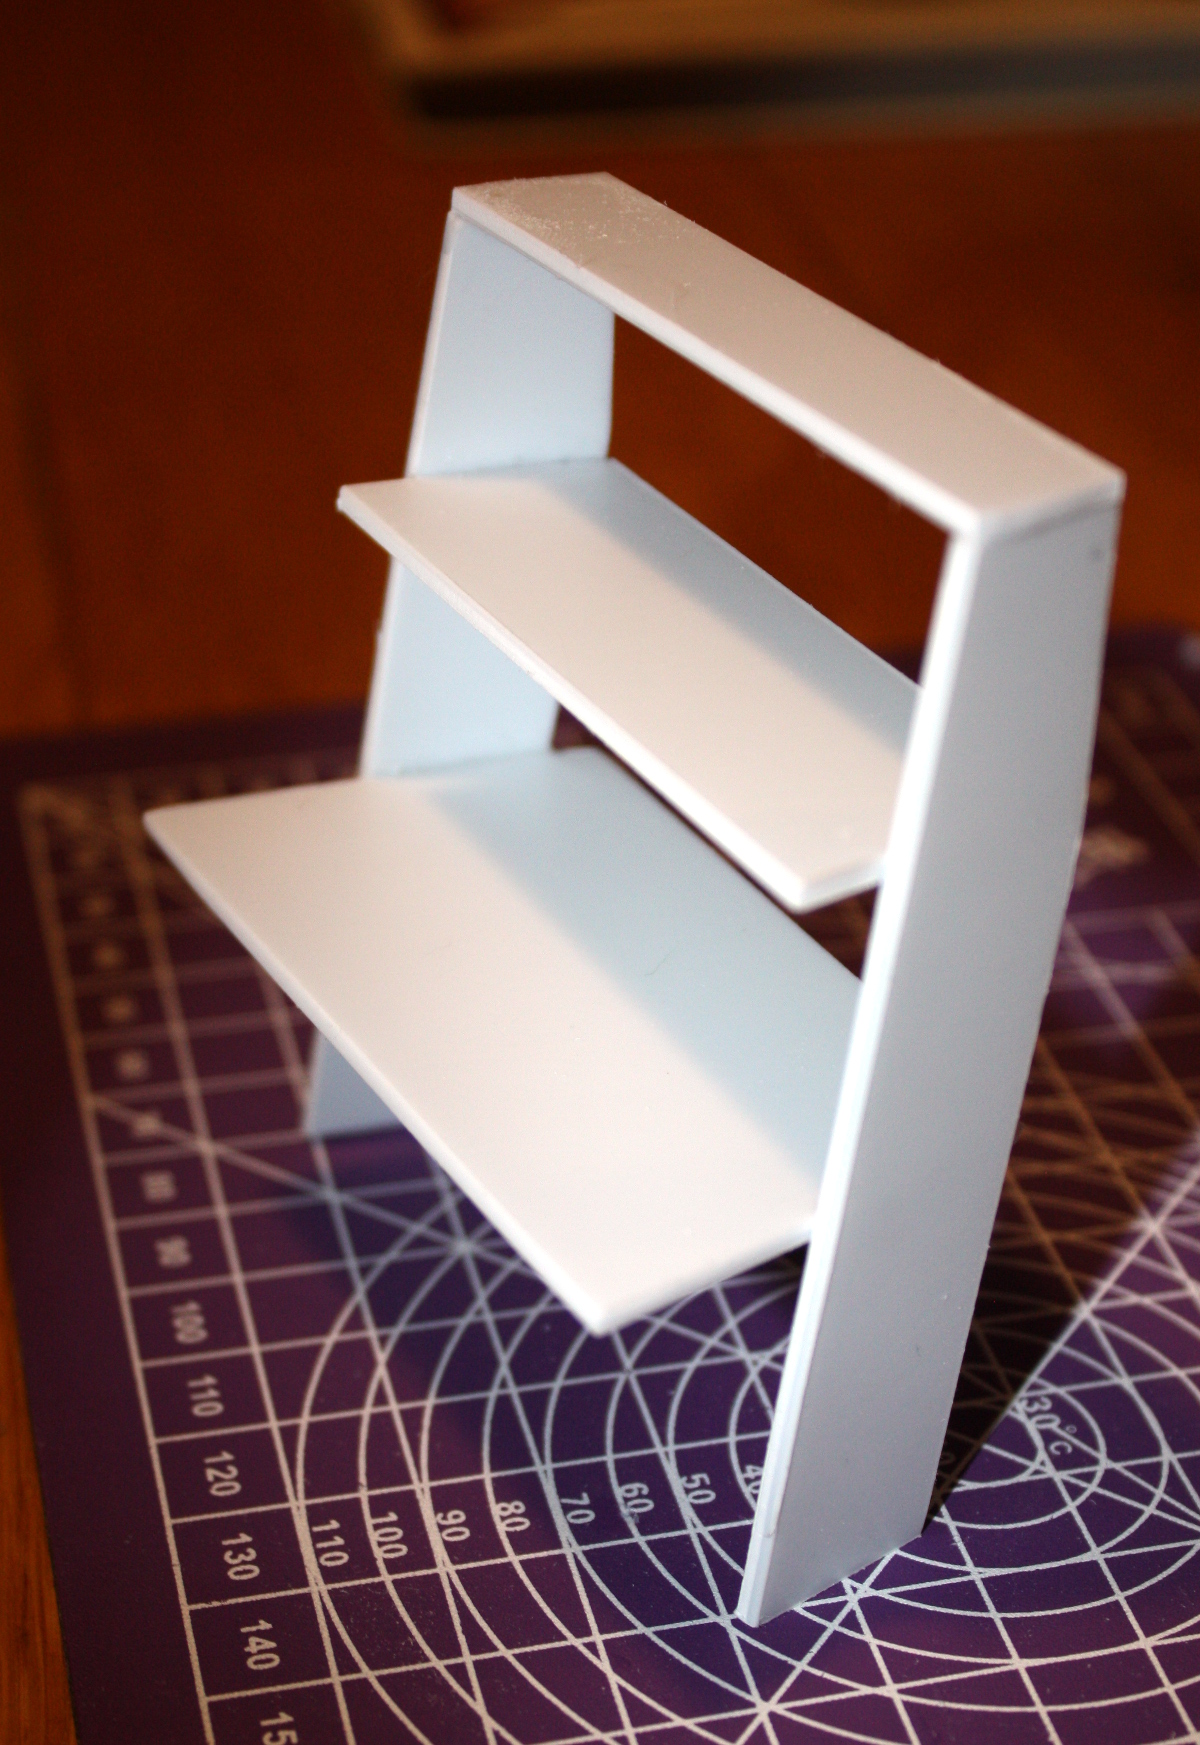
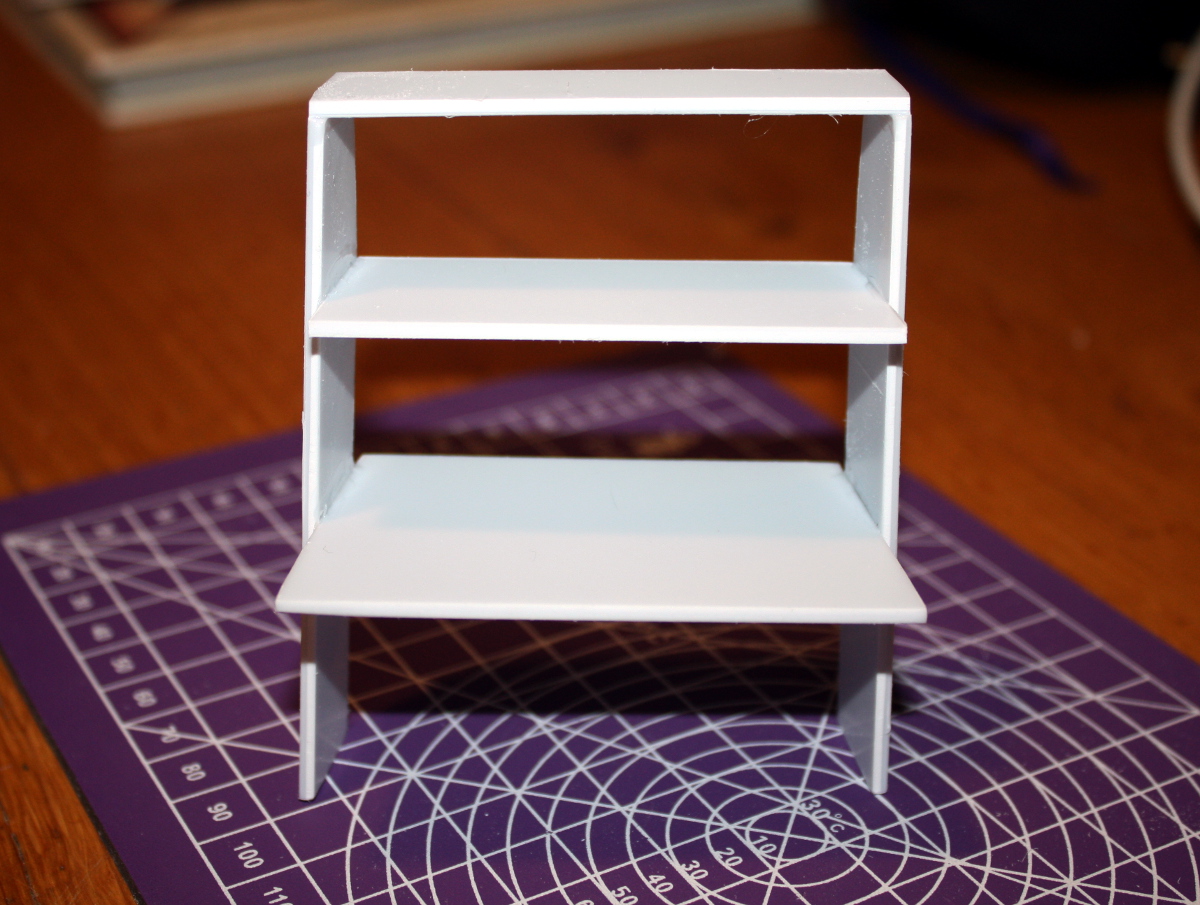
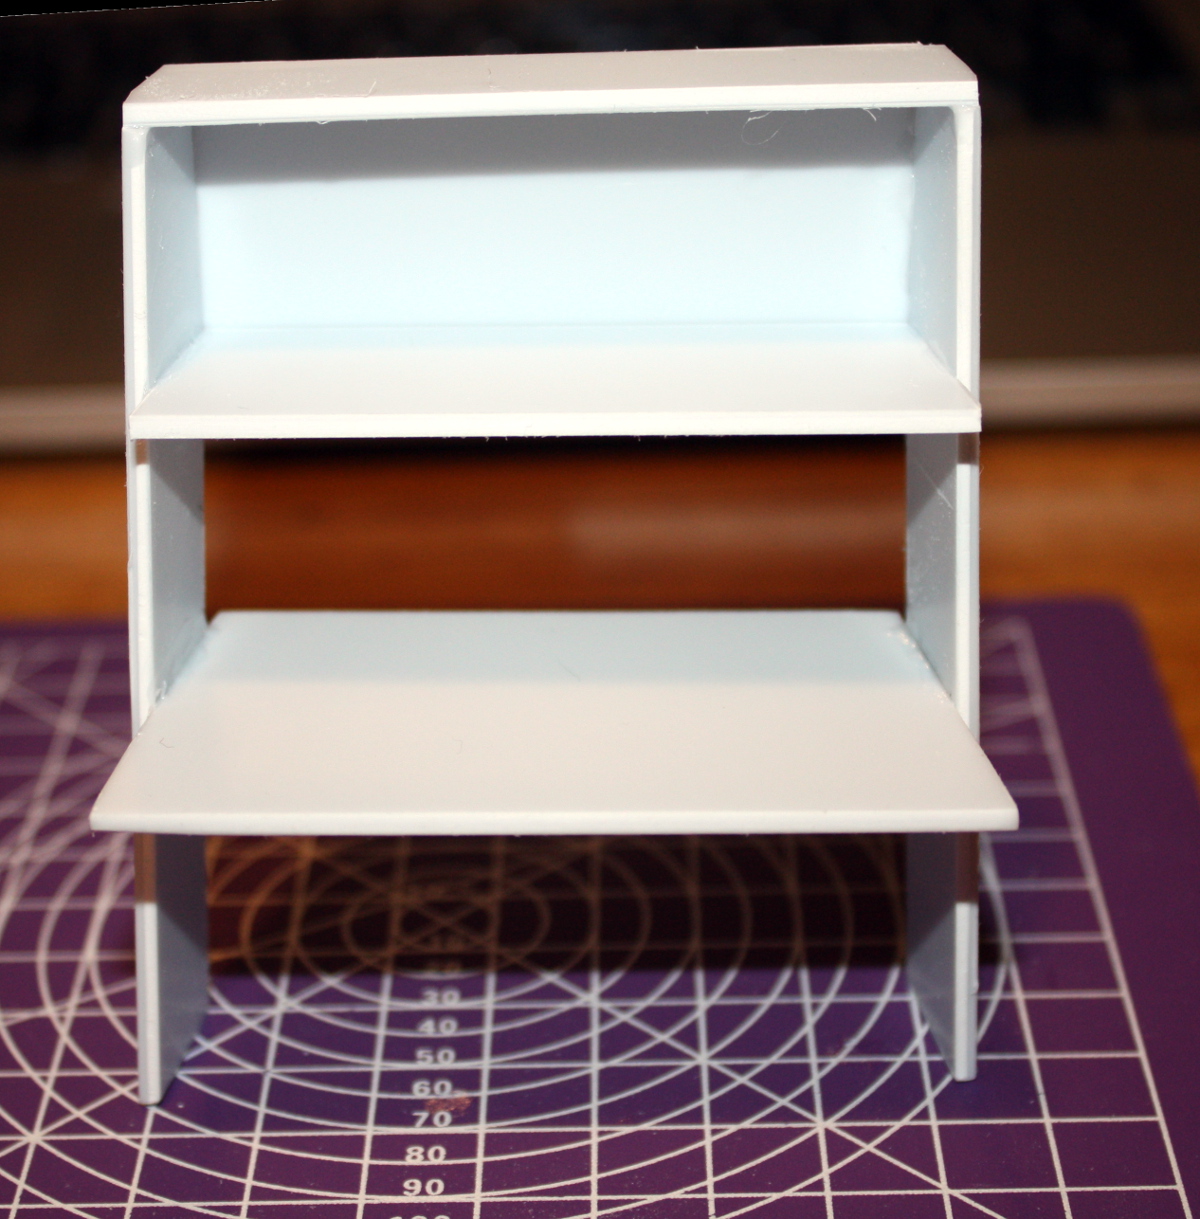
So anyway, after we’d built a little boat-spaceship-box-thing for Calum, and it was after his bedtime, I did a bit more cutting with the 2mm thick styrene sheet I had, at a 1inch to 2mm scale, and built his desk/shelves unit:

It’s nice to be able to see it from all around. It’s like CAD for old people.

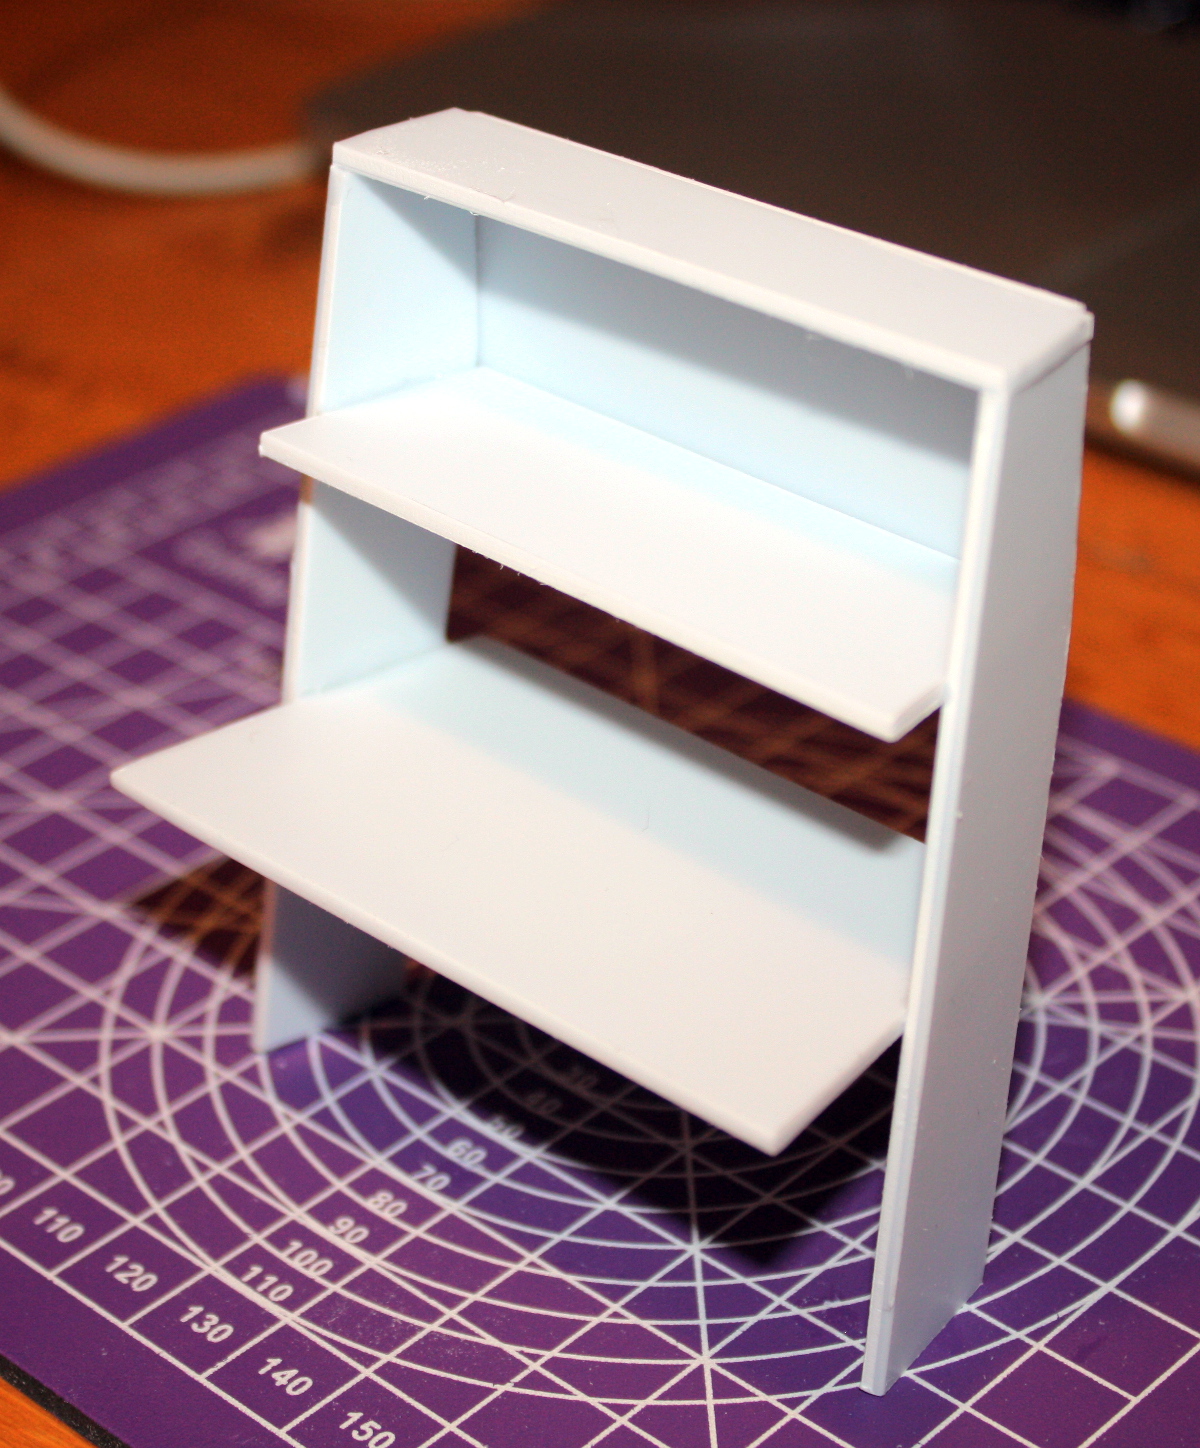
And then I could quickly add on the backing board I was wondering about and compare them:

I mean, messy as all get-out, if I was serious about modelling it there’d be a lot more sanding and some painting (hell, might do that just for fun with Calum later), but it’s not terrible for 15 minutes of work at the kitchen table with a ruler, scalpel, emery board and solvent cement.

I must remember to do this next time I build something and don’t have a full picture of it in my head (or even if I do, it’d be an interesting thing to see how close the model matches the final product).


02
Sep 18

More shaping

So I decided to go ahead and shape the front curve today, since it was going to be awkward to cut and might be noisy so it’d have to be a weekend job really.

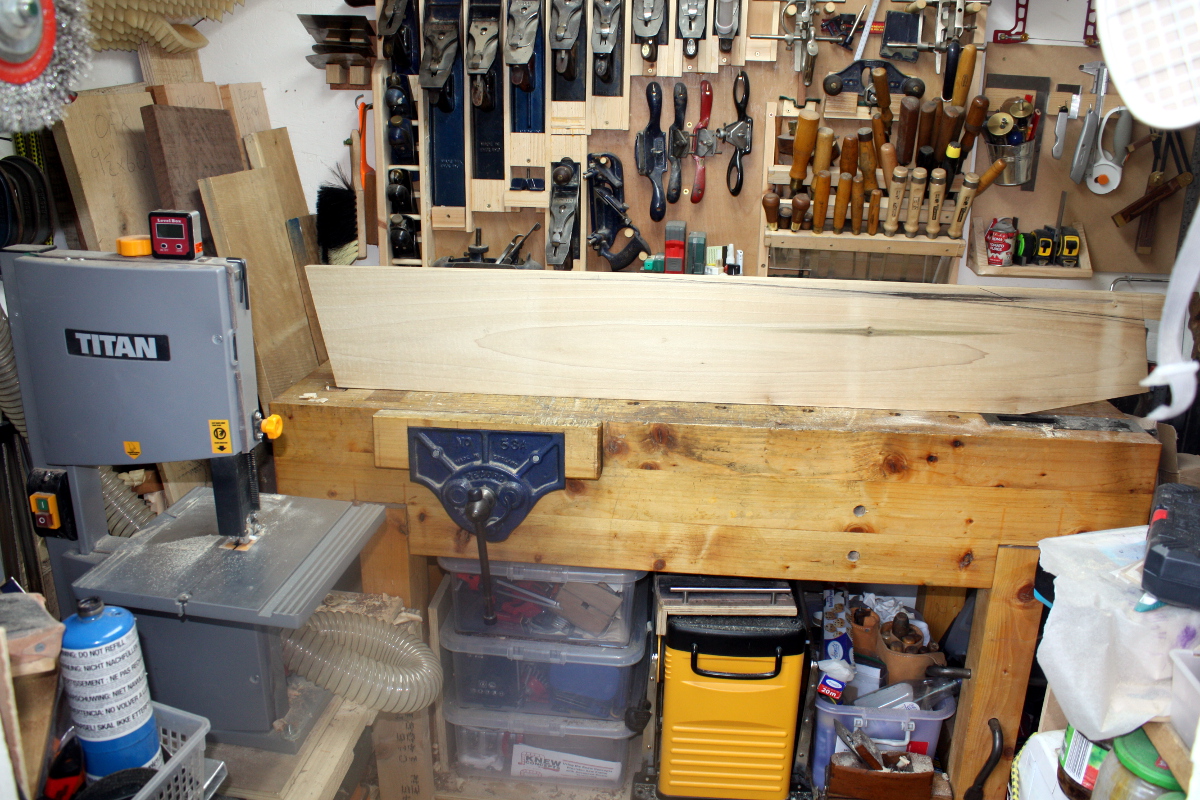
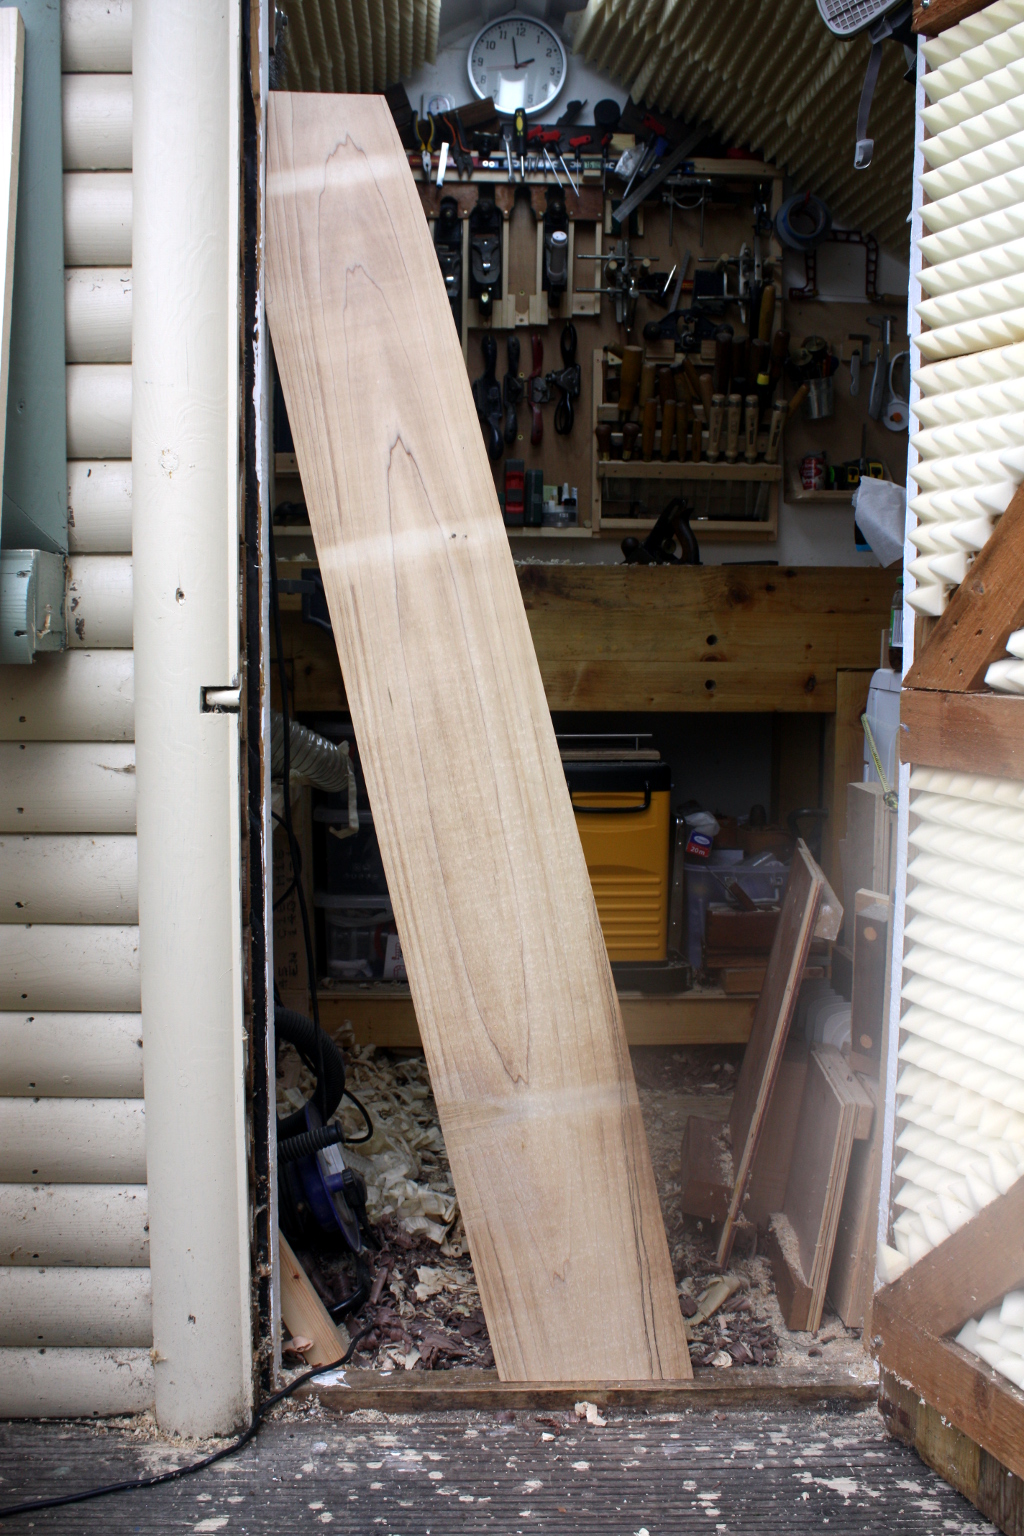
Why is it awkward? Well, the plan is to make the first rough cut with the bandsaw and then to get down to the line with the compass plane and the board is long enough that swinging it around through the bandsaw inside the shed would be awkward and would probably need the door open and the plank sticking out at some point.

See what I mean? There’s not enough room for a cat to stand in here, let alone be swung around. But, with much swearing and cursing and with the door open and the plank sticking out for at least half the cut, it got done.

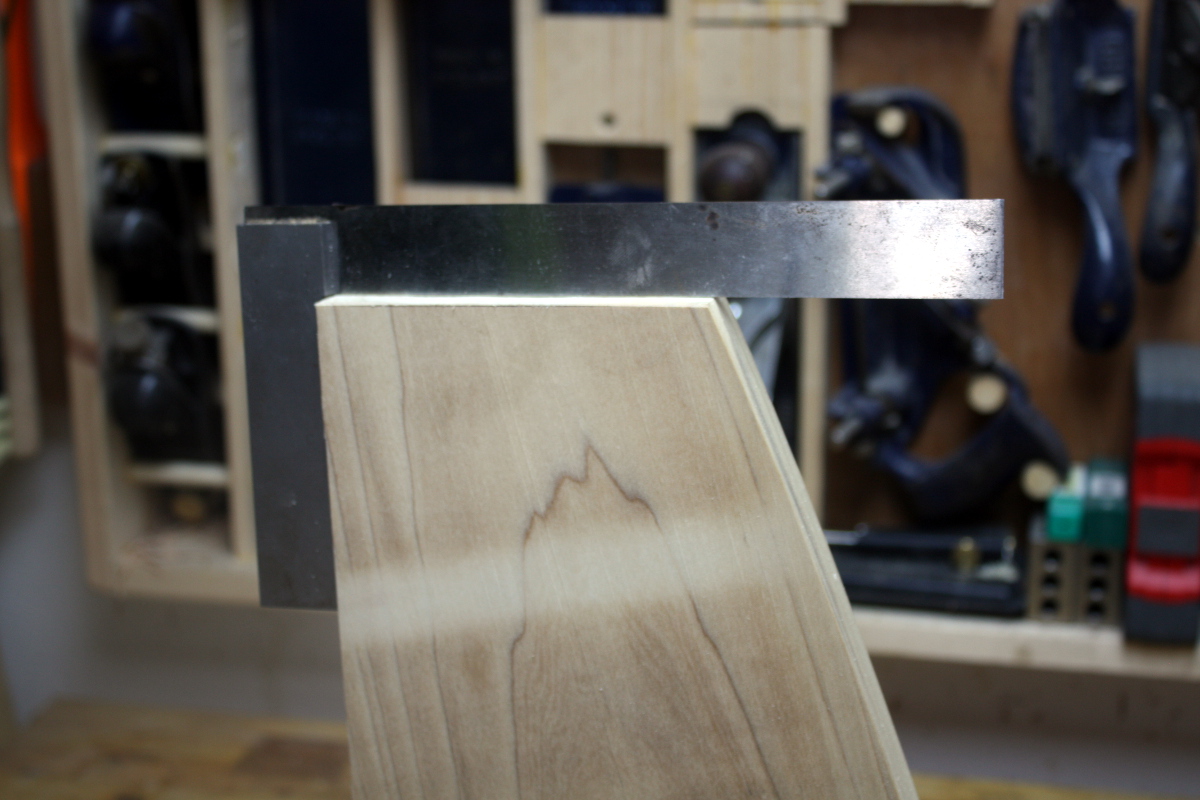
I even cut the top of the side to be parallel to the floor again while I was at it.

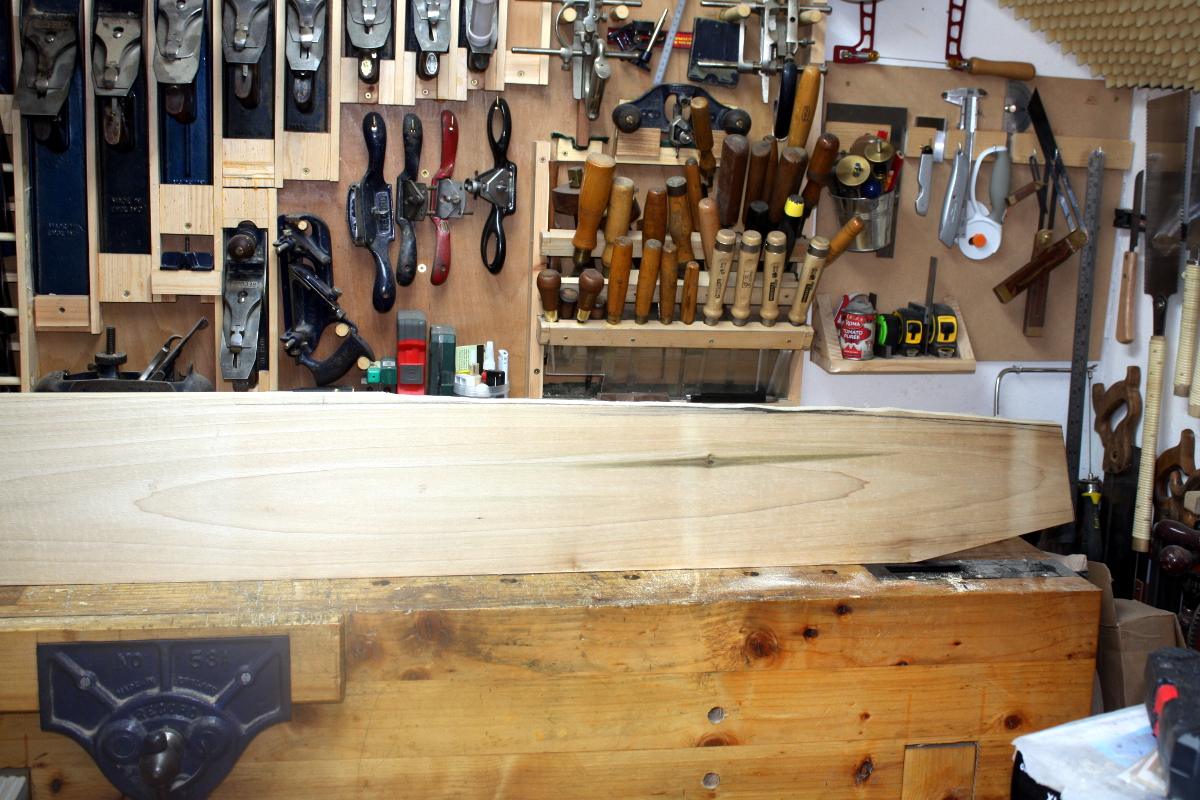
You will notice the artisan scalloped edge, and I’ll have you know that it takes a lot more effort to create such an artistic statement than it does to just cut a straight clean boring line.

Or something.

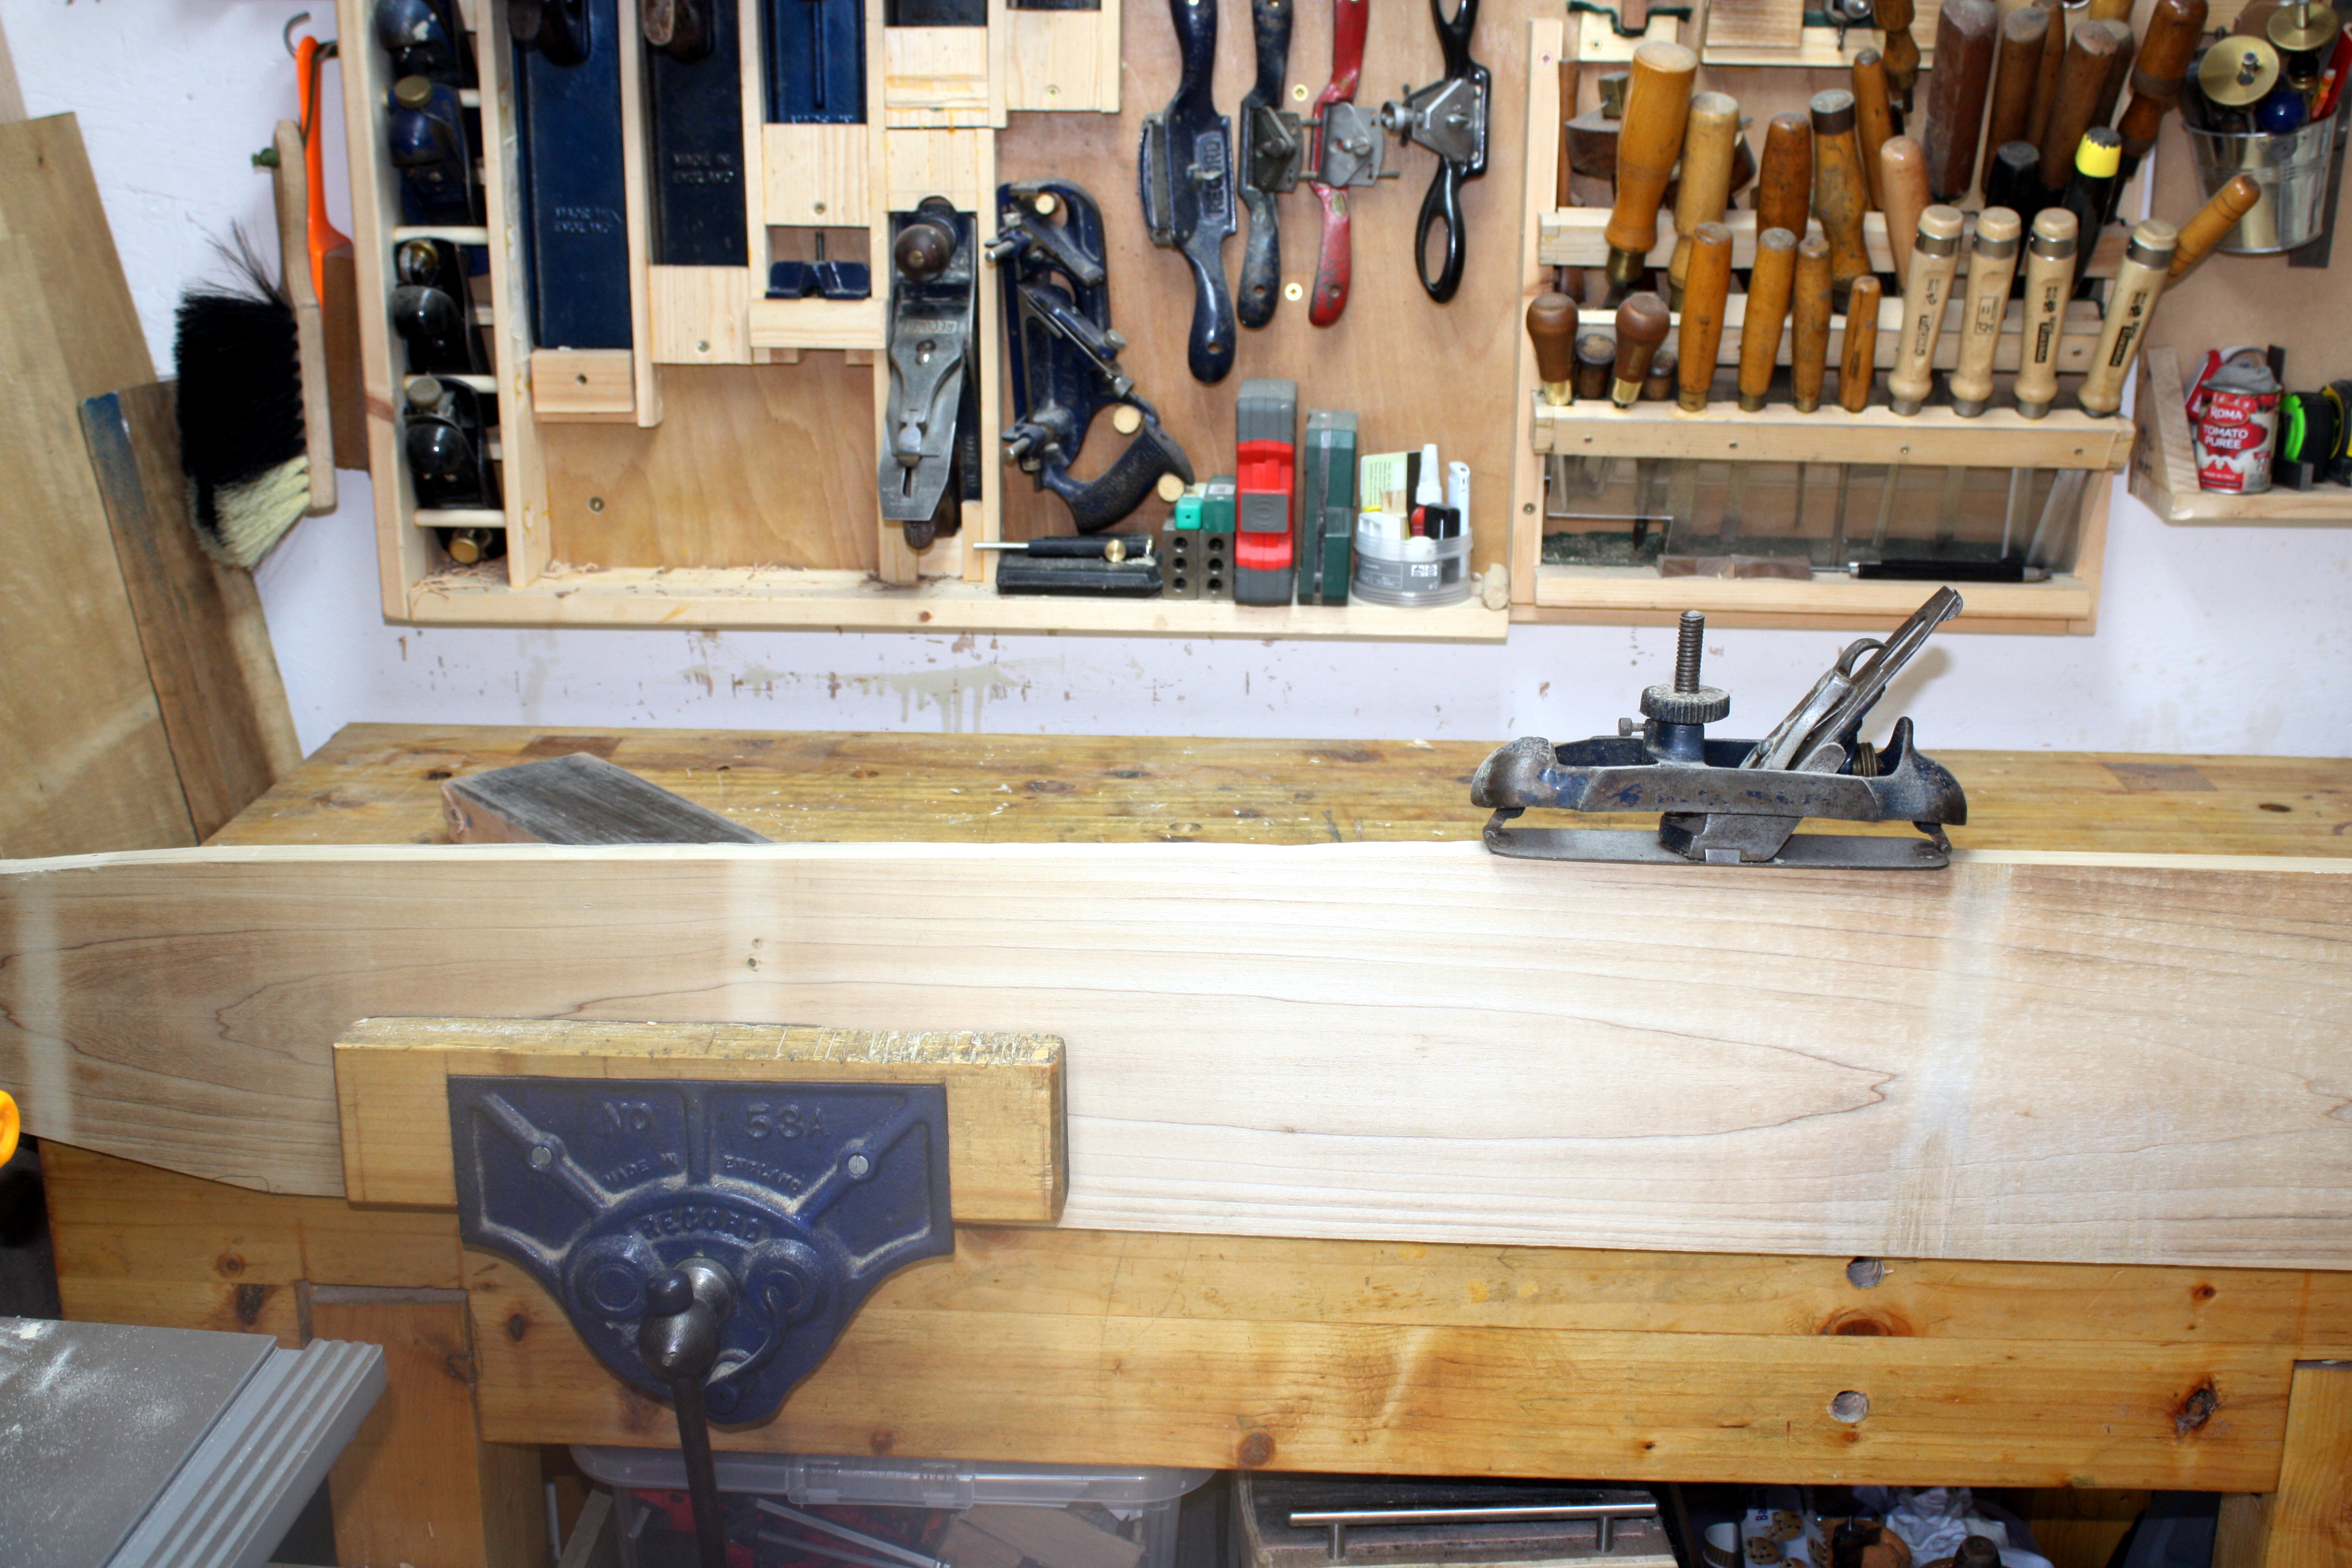
Anyway, it’s just a rough cut, so out with the #05 to knock off the absolute worst of the knobbly bits and then time for the fun tool.

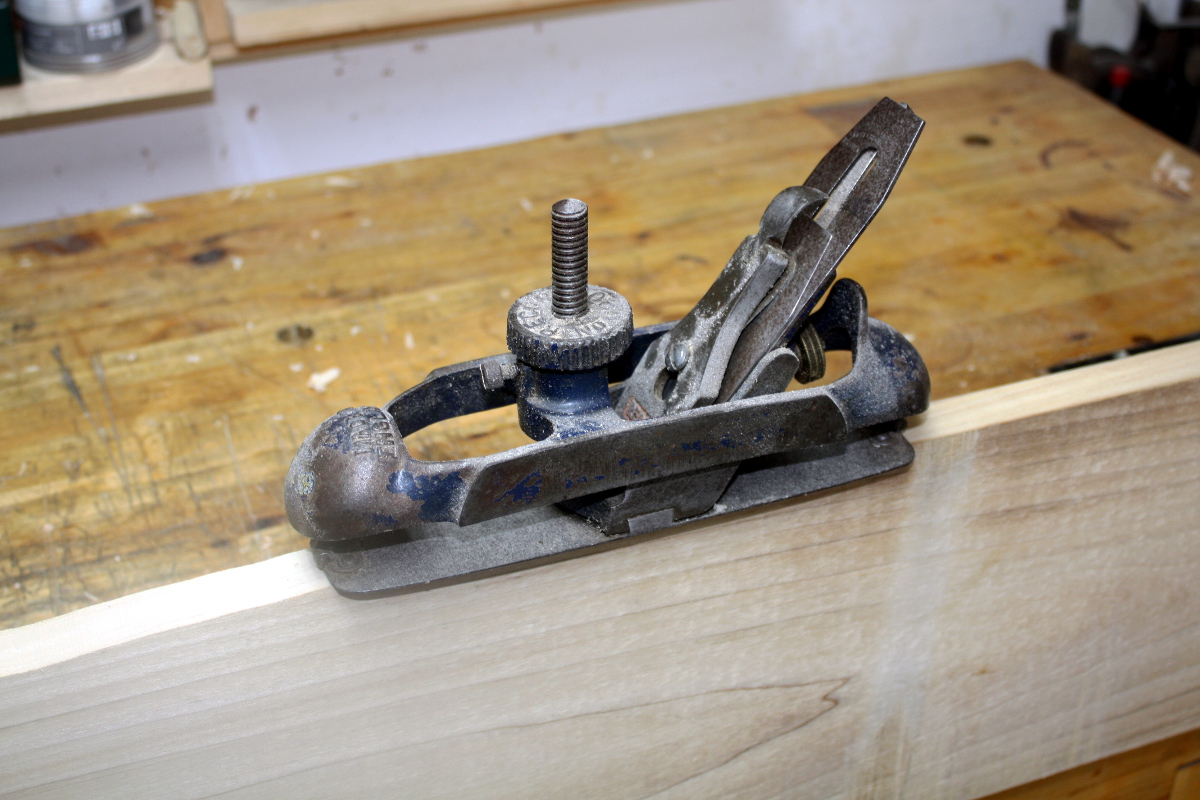
The Record #020, variously known as a compass plane, a circular plane, a radius plane or a shipwright’s plane, it’s basically just a plane for curves. That big spinny dial yoke on top pulls the bit with the blade up or down relative to the ends of the sole, and the sole being flexible, takes on a curve that you can then plane into the wood. It’s a natty little tool, and while there are limits to how curved you can go, within those limits it’s great.

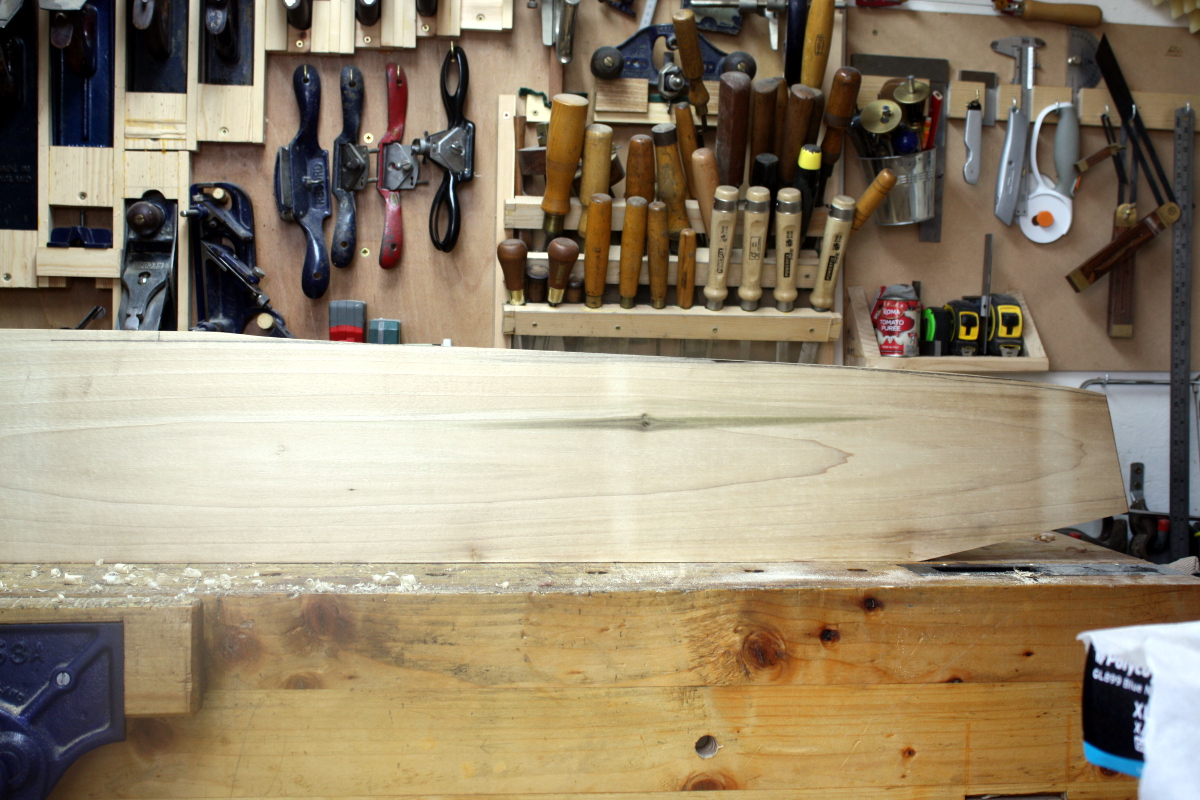
Mine is a little worse for wear in appearance. Everything works, I had it apart, cleaned, oiled and resharpened everything, but it’s had some light surface rust over the summer and the enamel’s long gone (and I still haven’t figured out a good way to restore that with the kit I have or can use). But anyway, it’s more than good enough to do the job and between that and the spokeshave I soon had a smooth curve instead of a decaying sine wave.

And I hate the look of it completely. The curve itself is more or less okay, I got rid of almost all that ugly damaged bit, but that little flare-out at the point where the desk will be just doesn’t work. It looks wrong in several different ways. So I ran the plane over the entire edge to get a nice single smooth curve instead of that little flare-out.

I’m more or less happy with this. I was thinking of making that curve into a bow rather than a sweep, so that the front edge would be almost vertical at the foot (that’s what those black lines there are for, they’re not spalting even though they’re following the grain line, I was just trying to see what it would look like). I’m not sure about this though. I’m worrying about the width of the sides and the strength of the piece if I start hacking off that much, but I might just be getting paranoid.

Anyway, I’ll leave it at that for now and maybe think about it again later before I cut the sliding dovetails (which will be the point of no return for the shaping I think). Next job, start to transfer the shape from this side to the other one…

I’ve already gotten the foot done (and it matches its counterpart well) and a reference edge planed on the back edge, but I haven’t finished the top straight-line cuts yet and then there’s the second front edge to shape. That should be interesting. I haven’t changed the compass plane’s setting so in theory it’s going to be grand…