19
Feb 17

Drying day.

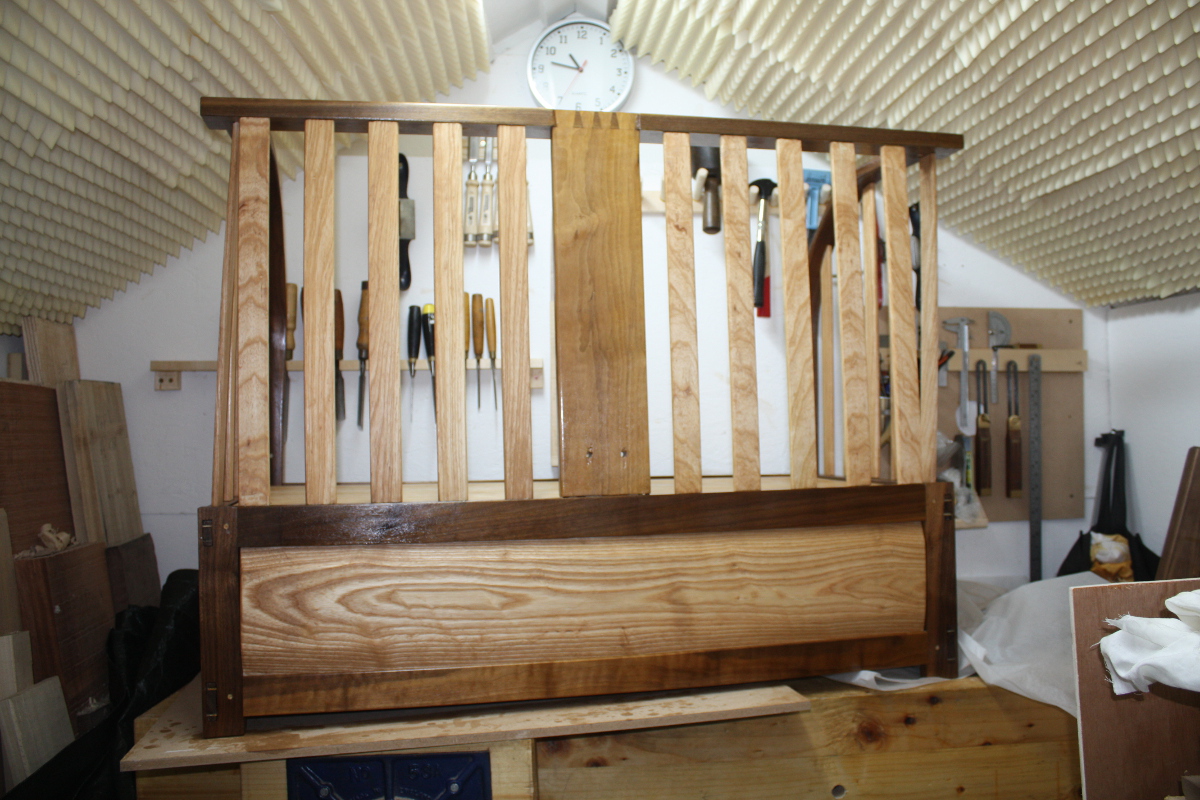
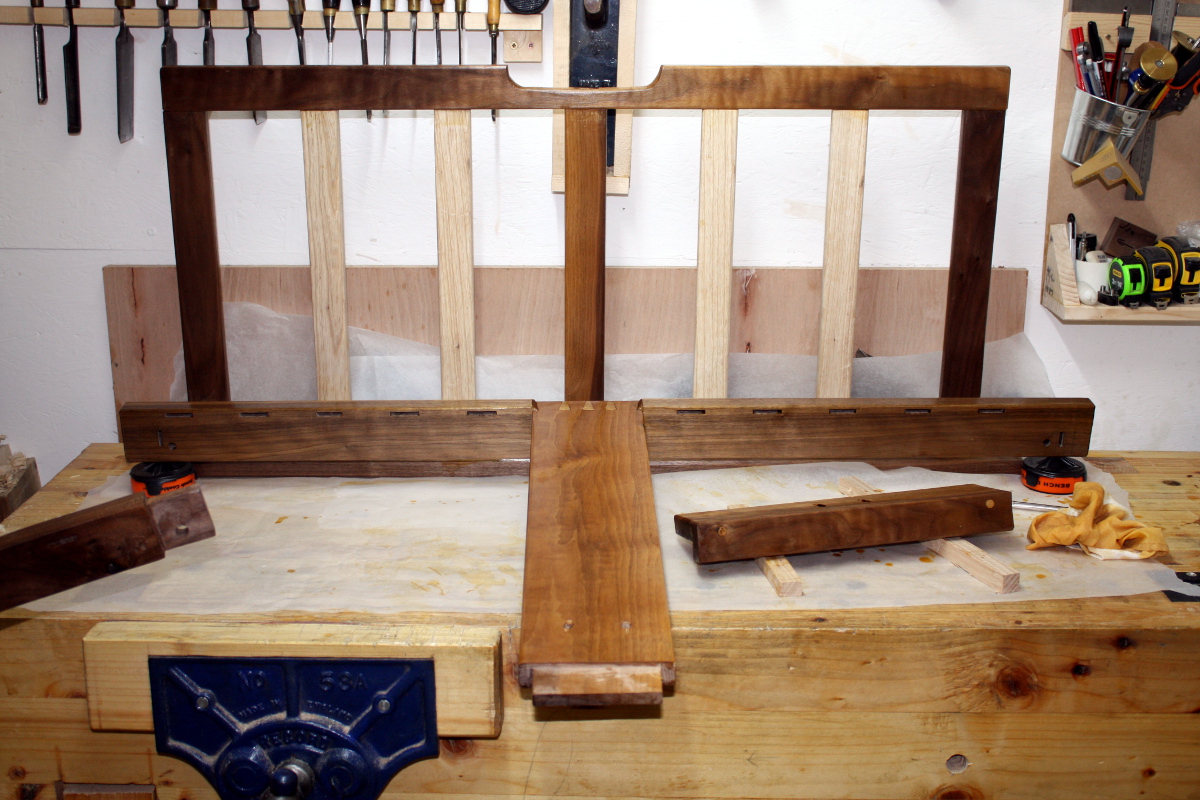
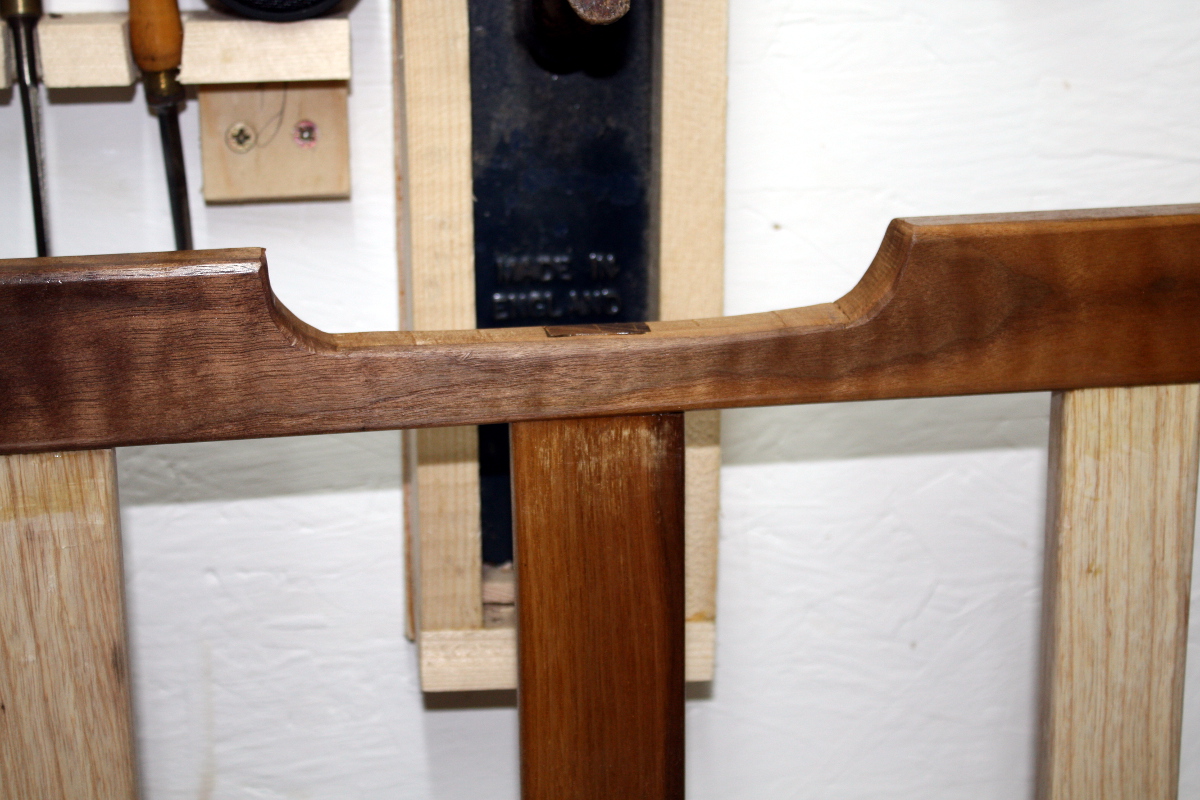
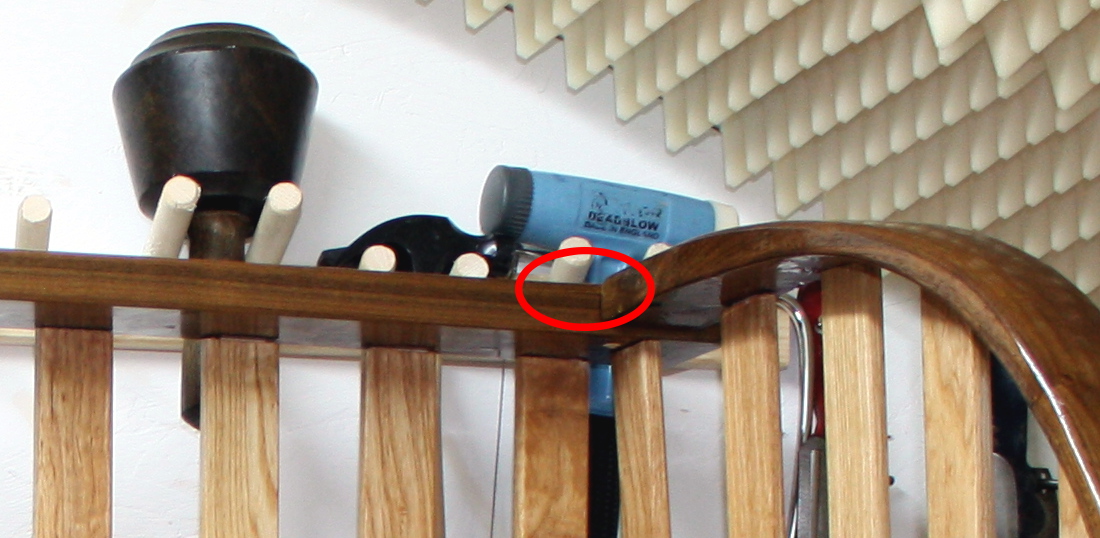
My original plan was to make the drawer today, but that plan didn’t take into account things like drying time on glues given the current low temperatures. Titebond PVA glue would be grand, but hide glue is something I’m still figuring out, so I’m giving it lots of margin for error. Especially as I found today that I almost had a major error during the glue-up; the use of a mallet to drive the top crossbar and back support into the mortice put torsion stress on the two end joints, as I knew it would (stupid mis-steam-bent upright) but I thought it’d be safe enough.

Nope. Small (1.5cm long) crack right there. Not critical; the wood is now stabilised by the glue and it’s holding well; but enough to give me a moment of thinking “wow, that nearly destroyed a week or so of work without the raw material available to do it over…”

I might just try to get a little glue in there and clamp it closed tomorrow, just to be safe.

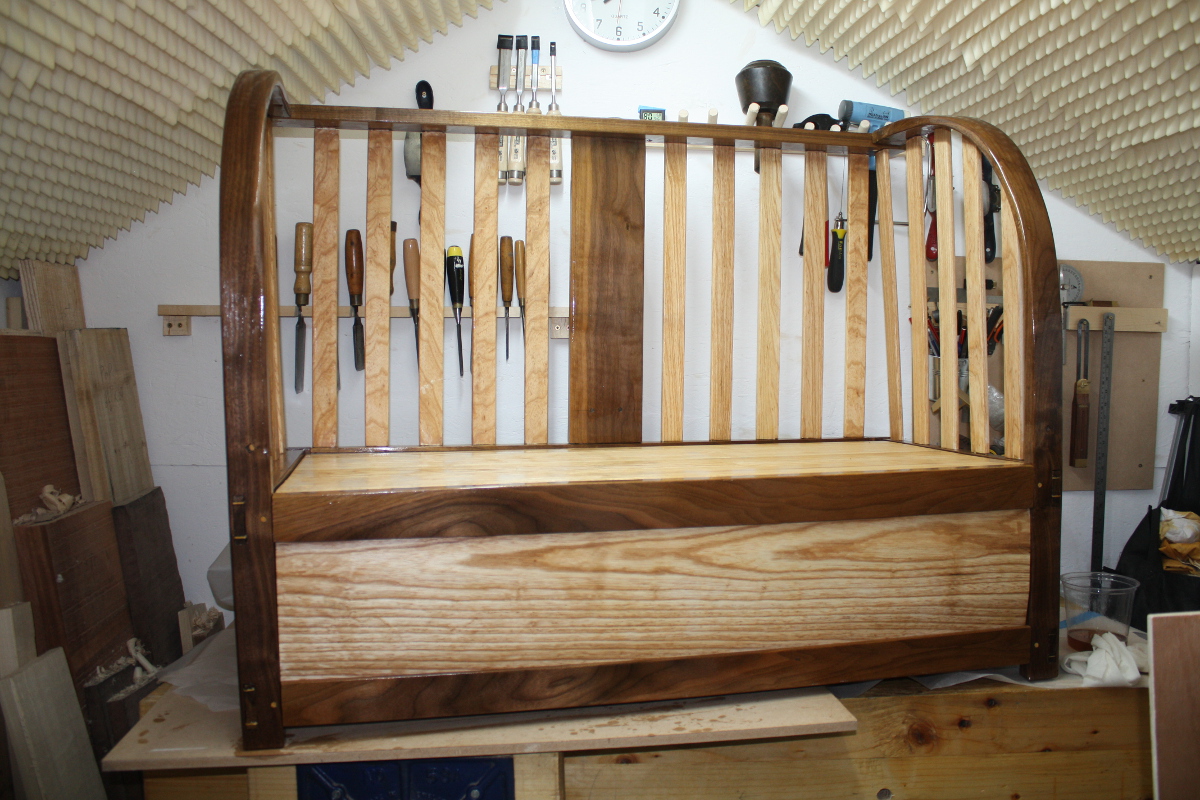
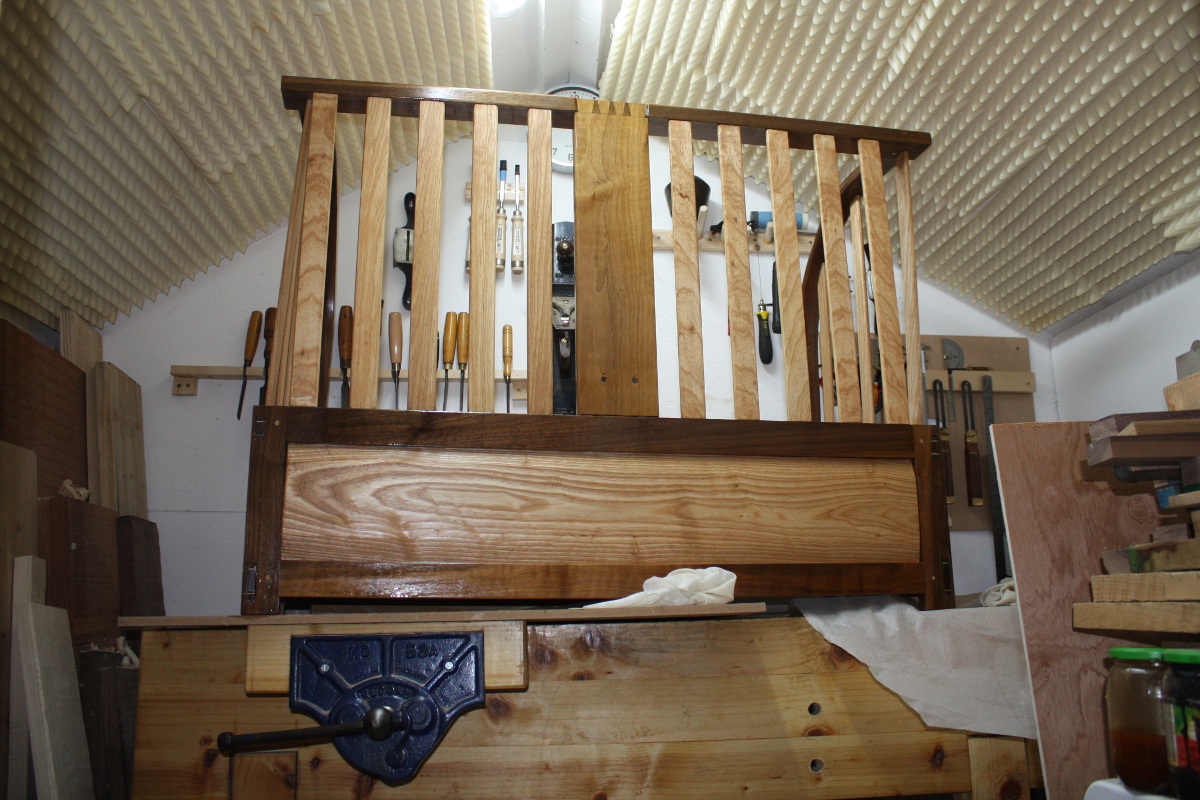
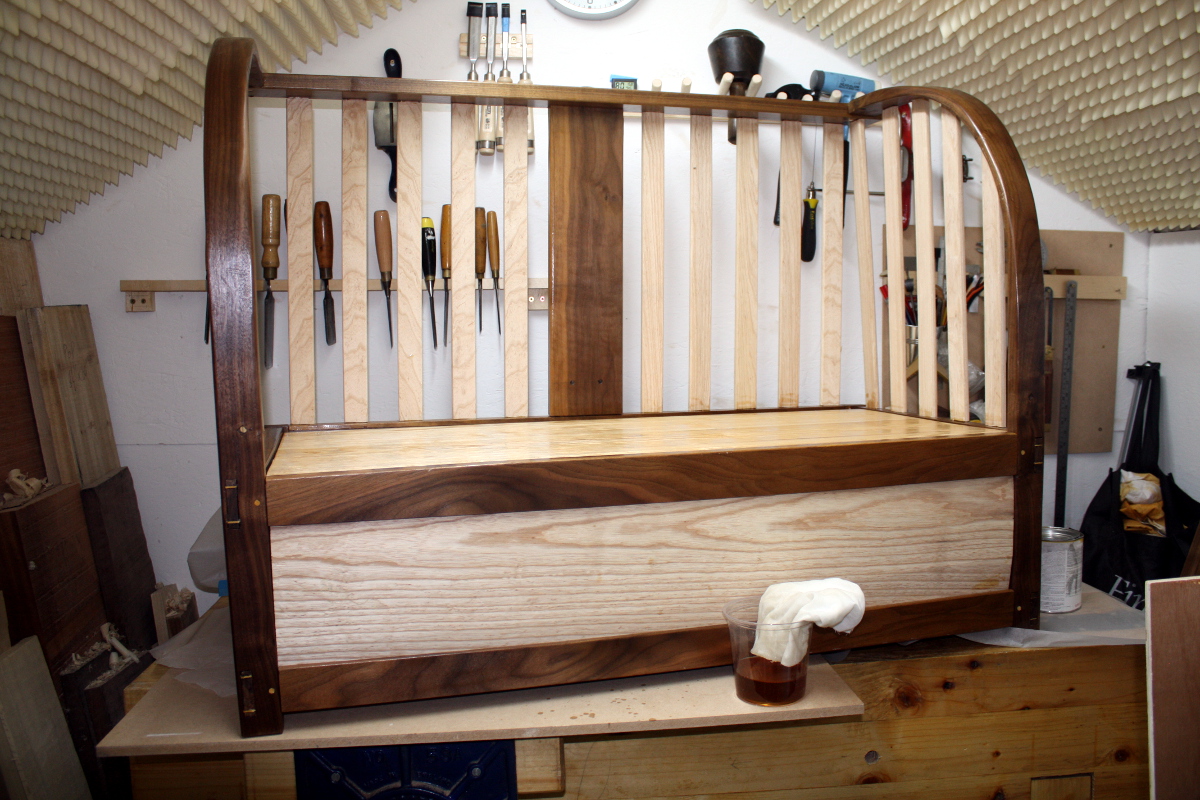
Meanwhile, the rest of today went on getting the frame out of the shed onto the assembly table in the late afternoon, getting all the clamps off and holding my breath to see if the glue had cured (it had), and doing the last bits of trimming on drawbore pegs and the like. And then the last coat of shellac got touched on in a few places to cover some scratches and once that had dried (it dries fast outdoors), I moved it back into the shed as it was dark outside by now, and got the first coat of osmo going.

Just ragging on a thickish first coat here, in two parts (you can see the contrast here between the untreated side panel and the just-treated top panel). The plan was, on with the first ragging, leave for 30 minutes, rag off the excess and immediately on with another ragging, wait 30 more minutes, then rag off the excess again and leave to cure until tomorrow evening. Then tomorrow, I’ll take 400grit paper or wire wool to it, and rag on a thinner coat, leave for 30 minutes, then rag off the excess, then leave to dry until the next day, and we’ll do at least four coats of that.

In the meantime, I’ve a drawer to make up as well.

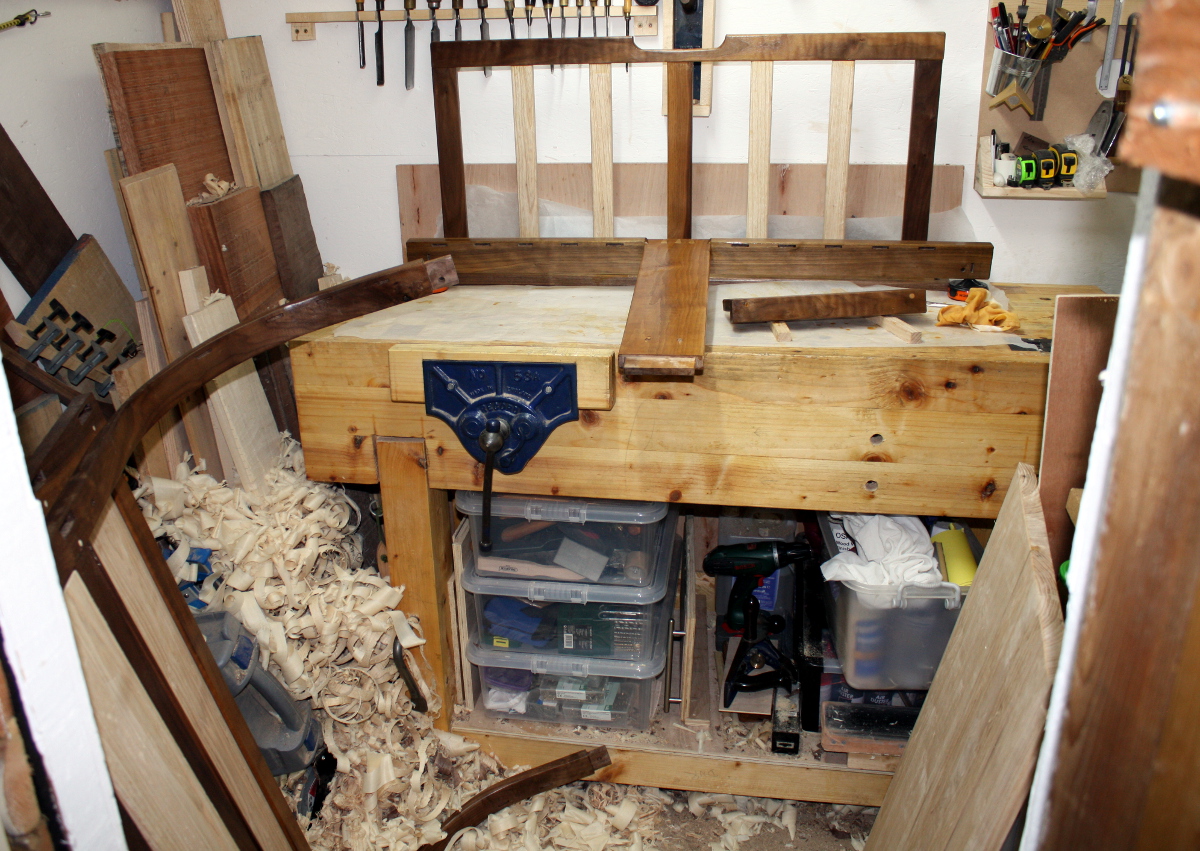
Also, this is WAY TOO BIG to be doing in this shed…

To-Do List (stuff in progress in blue:

  • Make a drawer
    • Thickness the boards for the drawer.
    • Cut the drawer front to size.
    • Cut the drawer back and sides to size.
    • Cut dovetails for drawer.
    • Groove drawer with #43 for plywood base.
    • Maybe add runners underneath the drawer?
    • Finish plane drawer front
    • Finish drawer front with shellac.
    • Paint drawer sides with milk paint.
    • Assemble drawer.
  • Last minute fettling and foostering.
  • Finish entire assembly with several coats of Osmo wood wax.
  • Close door of shed, lock it, walk away and never do another project with a deadline ever again.
16
Feb 17

Complaning

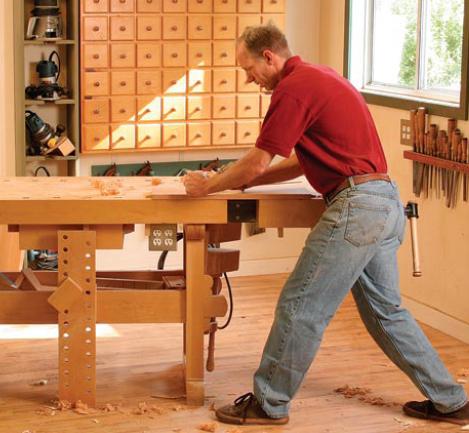
Y’see this happy chap? It’s from startwoodworking.com btw, it’s surprisingly hard to find a good side-on photo of how you use a hand plane. You’ll notice that he’s pushing the hand plane along the wood using his leg muscles more than his arm muscles, by leaning into the plane as he pushes it. This is normal, natural movement that you do any time you push an object that isn’t sliding round like a greased pig in a swimming pool.

Do you see what else he’s go there?

FECKING ROOM TO MOVE.

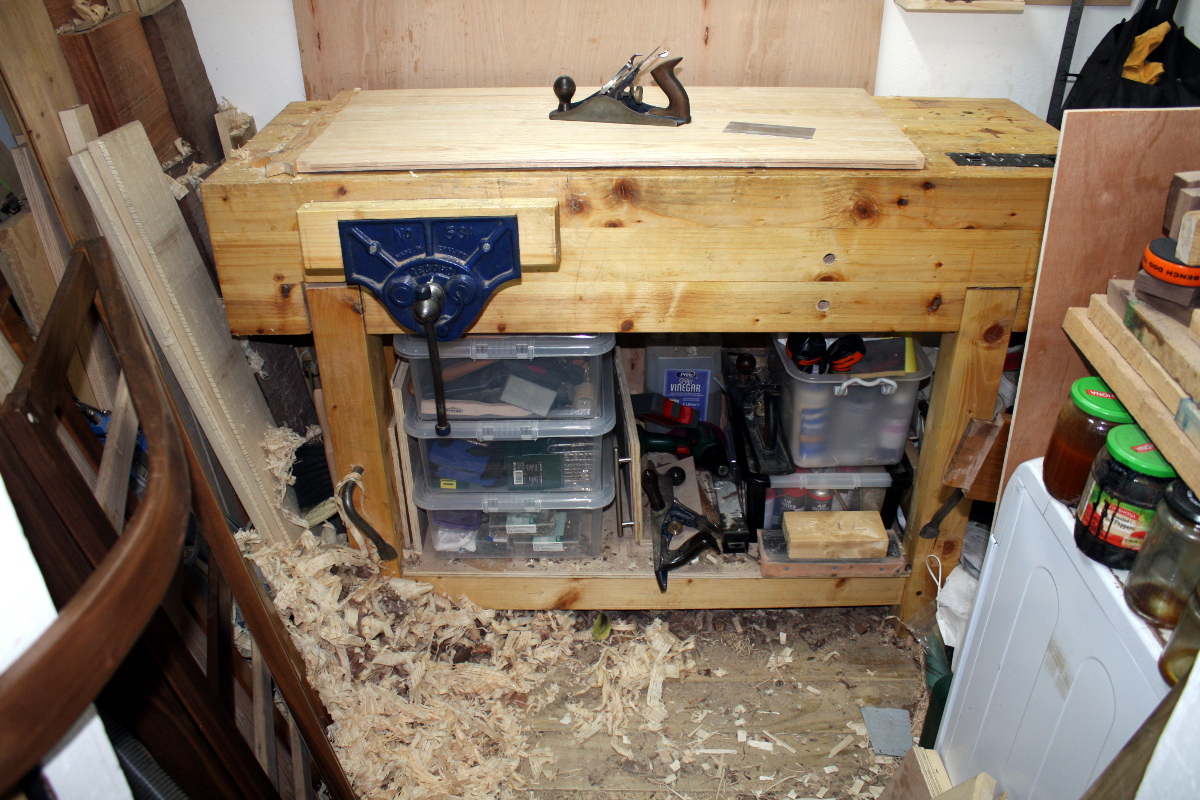
This is the shed at the moment.

Lean into the plane? I’m doing well if I can reach the shagging thing at the moment.

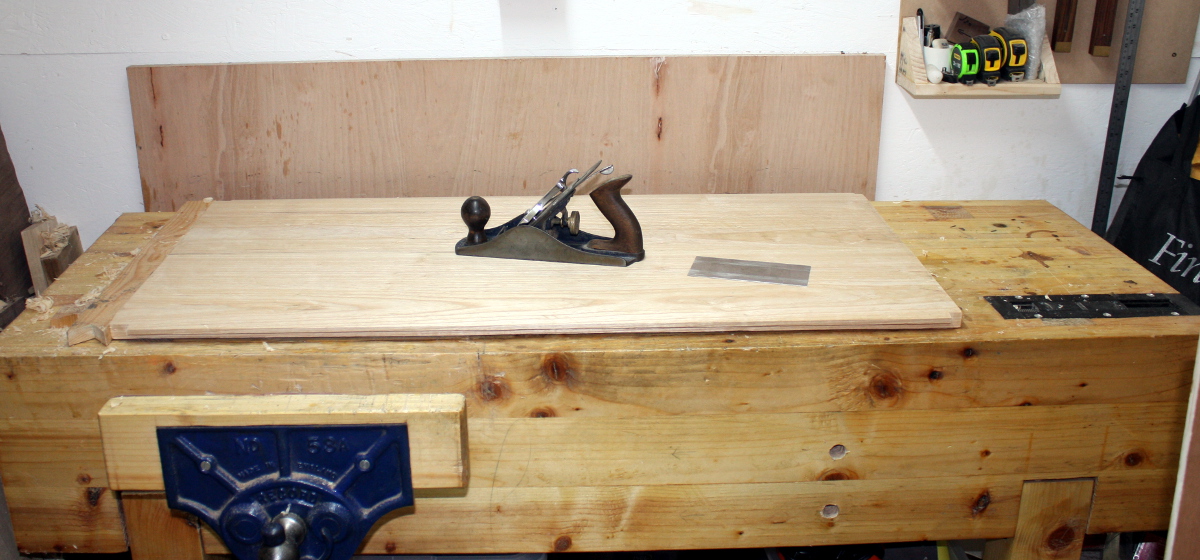
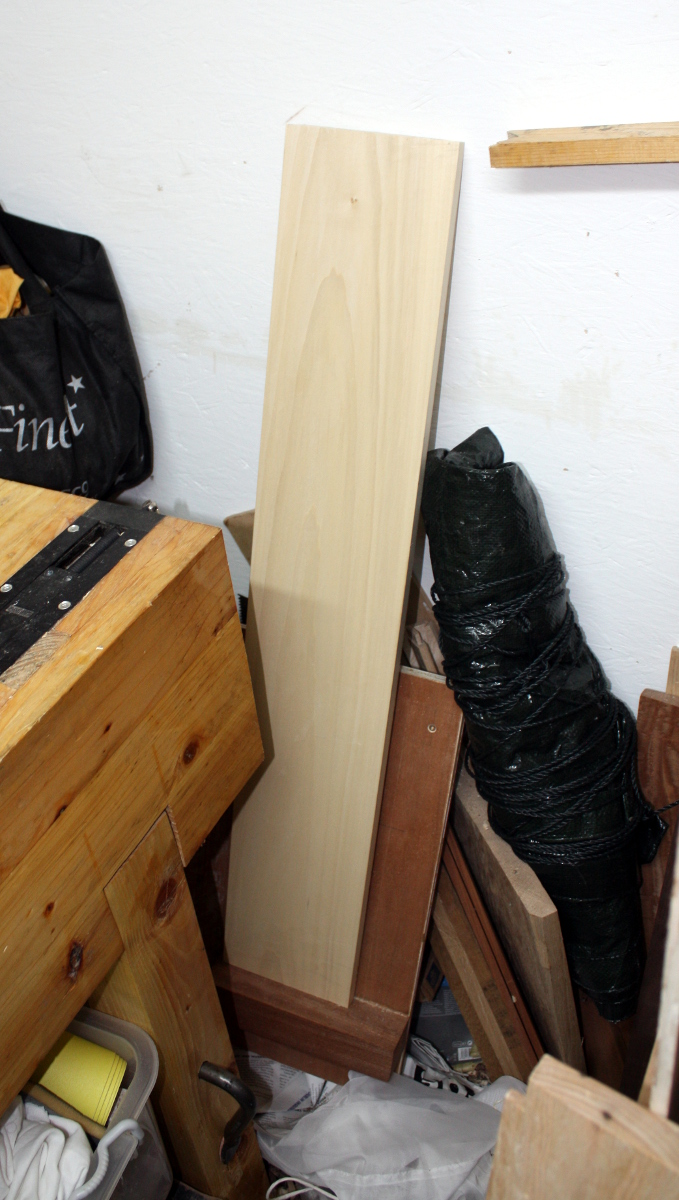
*sigh*. And I have to thickness drawer sides, which means taking off wood, half a millimetre at a time in a 2cm-wide strip. Over a whole board. Evenly. By about eight millimetres. Gah. See this thing?

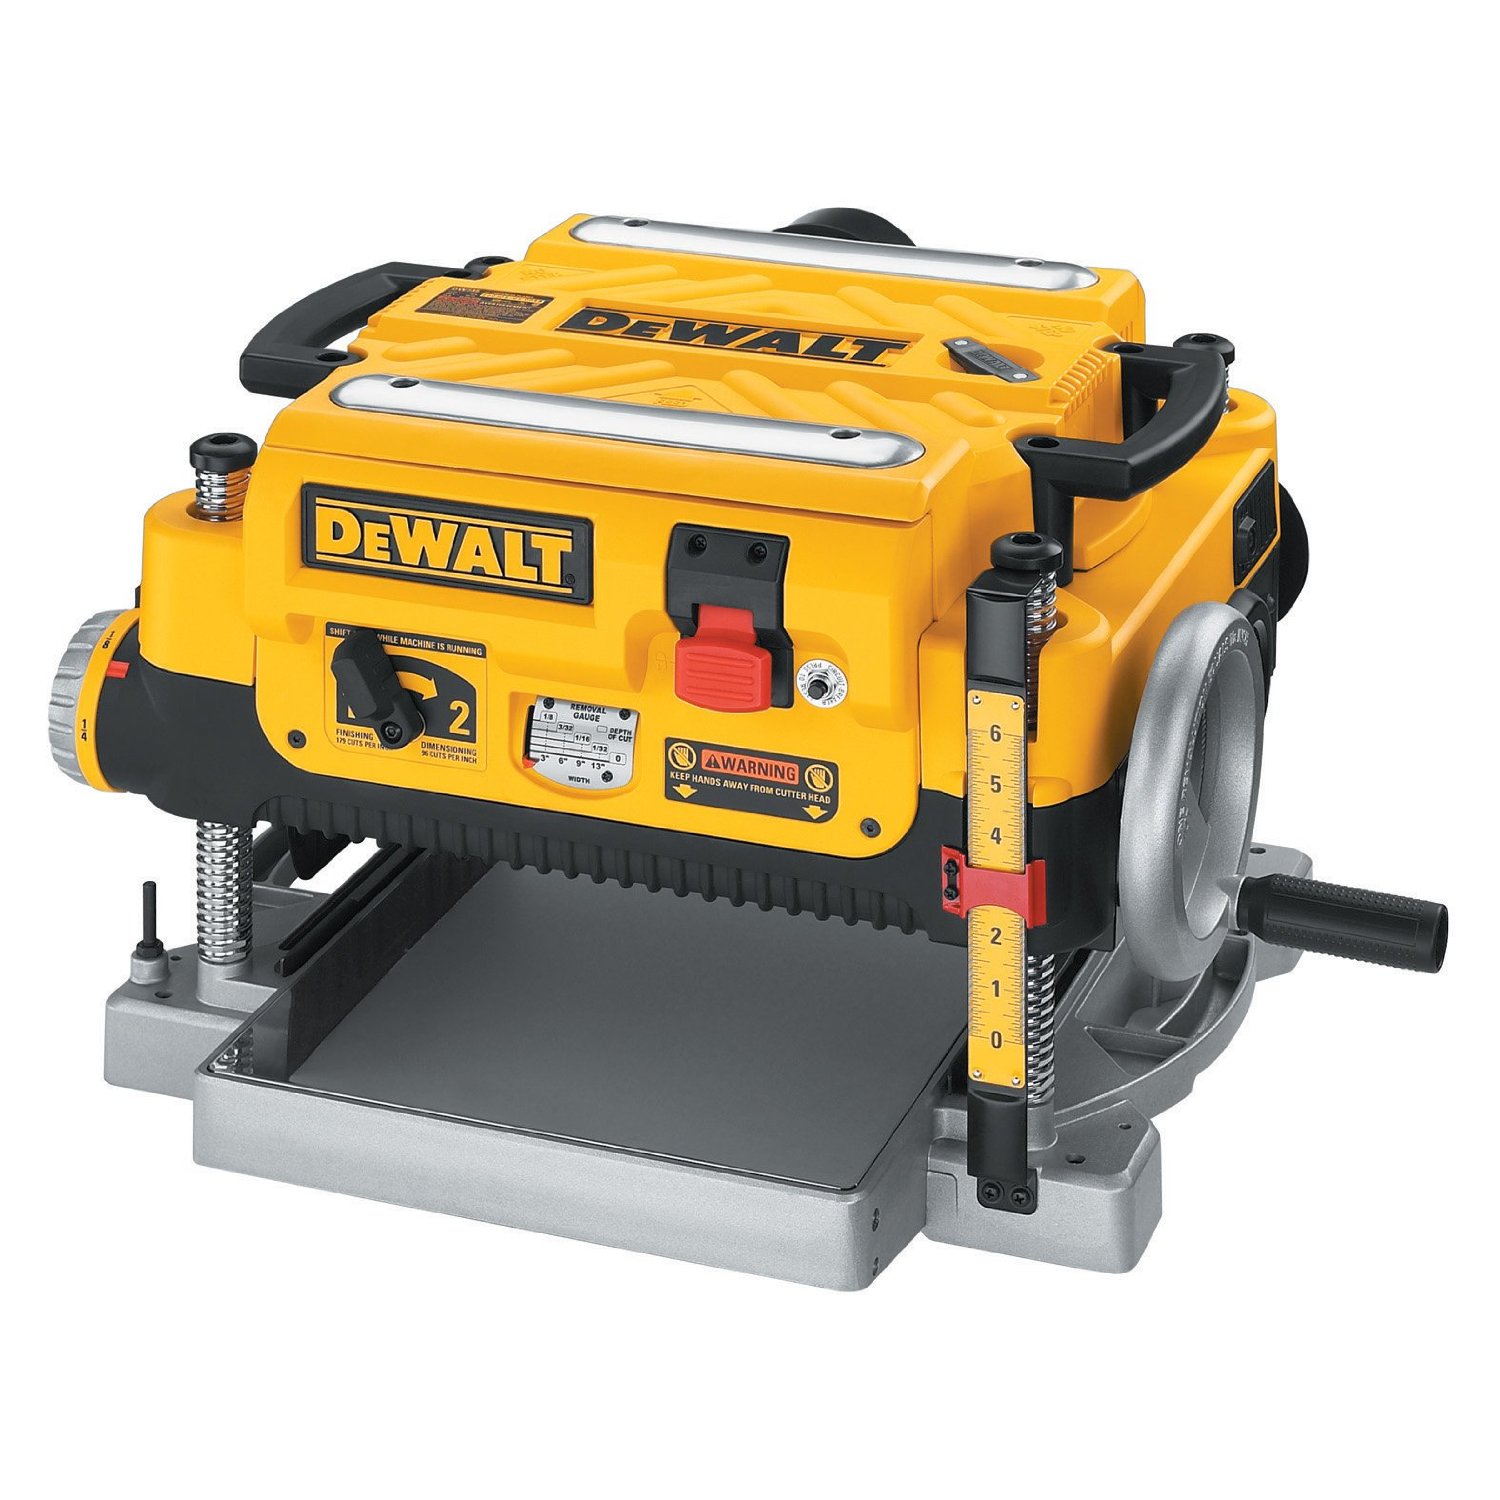
This is a dewalt 735 planer thicknesser. It costs nearly €700 if you’re silly enough to buy it in a shop in Dublin where the prices are usually 50% too high. And if I had the room to store it, I would have bought two of them by now. I mean, finish planing, that’s one thing. It’s awkward, but even on the largest panel in the crib it was doable.

Granted, you need the card scraper in places and it’s a pain having nowhere to stand at times.

But thicknessing, that’s a whole other story. There’s no finesse in that, it’s just lots of pushing through wood and hoping it ends soon. Christopher Schwartz was right, the first power tool you should get is a planer thicknesser. It’s just that they’re also bloody loud. This is not a machine that endears you to the neighbours if you use it at 2200h on a worknight. It’s about as loud as your wife finding you feeding the neighbourhood cat. To the blender.

I mean, ideally, I’d resaw the boards to thickness, but honestly, I’ve had enough of that. The ryoba is just not up to the job if the plank is more than two or three inches wide, and I’m still waiting for saw files to sharpen the western saws I have but so far they’ve just not made the task any easier. A bandsaw might, but (a) where the hell would I put it, and (b) bandsaws that can resaw an eight-inch-wide board are not like bandsaws that are just used for cutting curves; they are not small things. You have to use wider blades for reasons that involve clearing a kerf, physics and metallurgy, and those wider blades need larger wheels in the bandsaw to cope with bending radii, and that leads to a big freestanding monster of a machine.

So basically, I’m stuck inside the limits of the 8’x6′ shed. At least for now. But every so often, it’s helpful to complane (see what I did there?) about it.

At least the top panel is finish planed and one of the drawer sides is now thicknessed.

And the final coat of shellac is on the mattress platform and on the rear upright.


So not a totally wasted hour or two in the shed.

To-Do List (stuff in progress in blue:

  • Finish plane top panel
  • Make a drawer
    • Thickness the boards for the drawer.
    • Cut the drawer front to size.
    • Cut the drawer back and sides to size.
    • Cut dovetails for drawer.
    • Groove drawer with #43 for plywood base.
    • Maybe add runners underneath the drawer?
    • Finish plane drawer front
    • Finish drawer front with shellac.
    • Paint drawer sides with milk paint.
    • Assemble drawer.
  • Assemble and glue-up and drawboring of everything.
  • Finish entire assembly with several coats of Osmo wood wax.
  • Close door of shed, lock it, walk away and never do another project with a deadline ever again.
15
Feb 17

Getting wedged

So after the ten-hour out-of-hours callout over the weekend, I had a day’s time in lieu on tuesday, and I had great plans to get almost everything done.

These plans did not allow for the day being composed of 70% being inside a cloud and 20% horizontal freezing rain.

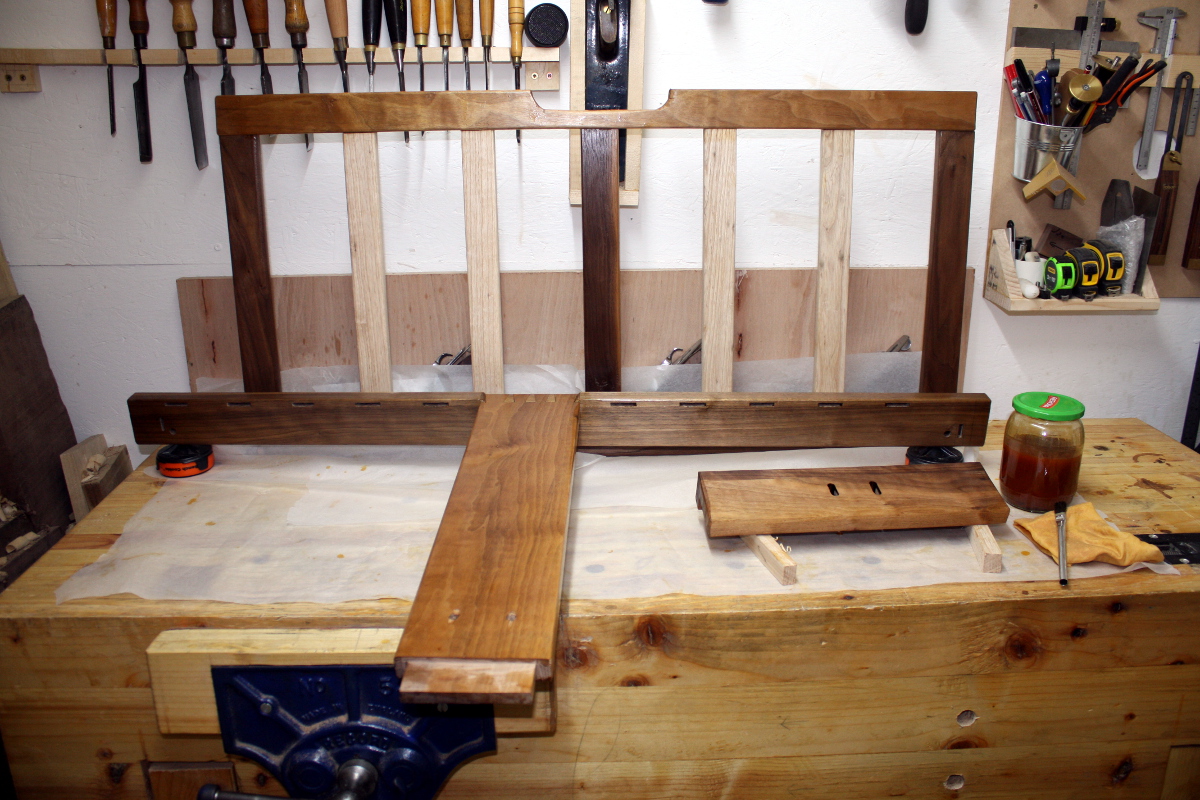
However, I did manage to get an all-up dry fit assembly, so I was able to get the holes and slots cut for the mattress platform’s rear support, so that’s done at least. I did discover that the mattress support platform didn’t want to fit; I knew there was some interference with the rear upright, but I thought it was 1-2mm and a few swipes of a plane would fix it.

Nope.

Well, that’s disappointing. But at least it’ll be at the back and under a mattress and there’s still enough strength there to hold (there’s a wide support right under that when this is in use). Still not getting much love for round-bottomed spokeshaves btw, that tight radius was what I thought would be perfect for them, but nope, still no joy. Used a rasp and chisels and sandpaper instead, then reapplied shellac (that’s coat #2).

I also noticed that all my working clamps are about a centimeter too short to use for the crossrail glue-up, so I decided to go with wedged tenons there. So today was prepping for that.

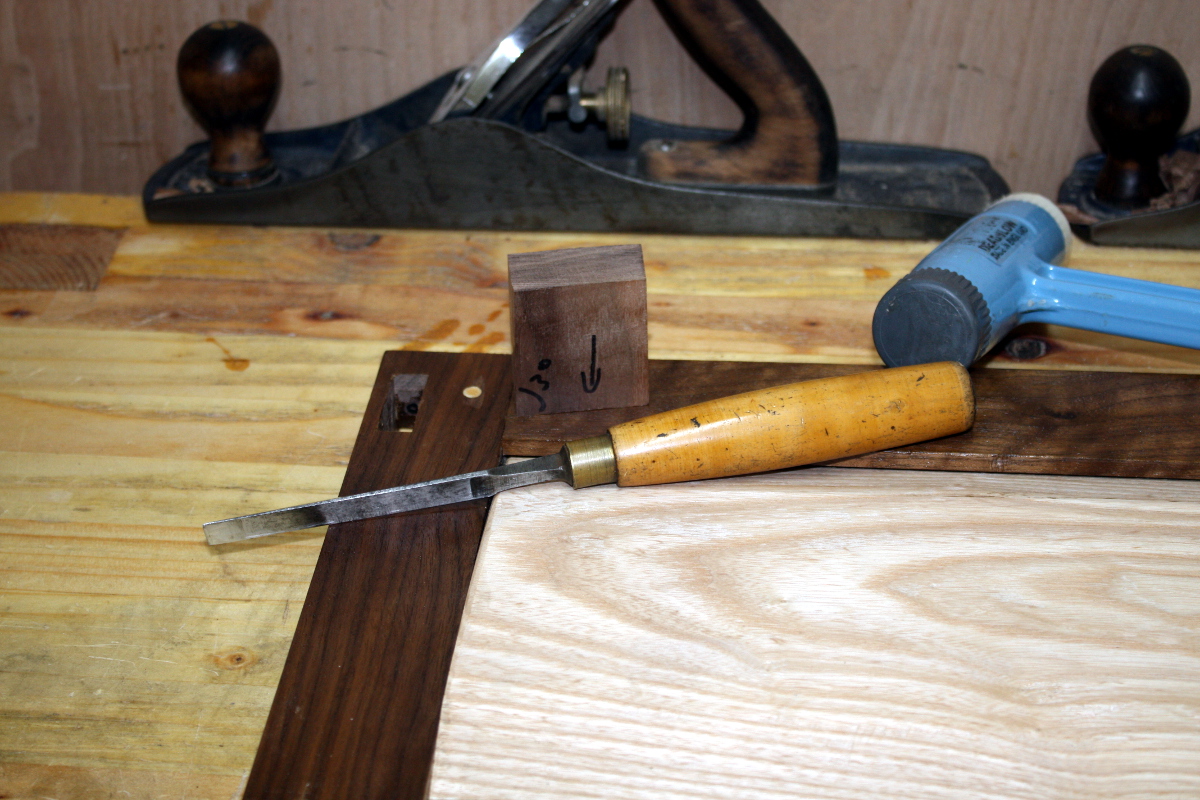
First off, a quick jig – take one piece of walnut with a square end that’s 50mm long, and plane down to a line going from the square corner to a point 2.5mm in from the adjacent corner. That gives you a 87 degree angle. Now slide the chisel down that angled face, and that’s how far to pare the mortice walls to flare them out on the face side.

(For those who don’t know, a wedged tenon has to have room to expand as you drive in the wedges, otherwise you’d just pop the top of the mortice clean out of the wood by shearing along the grain lines).

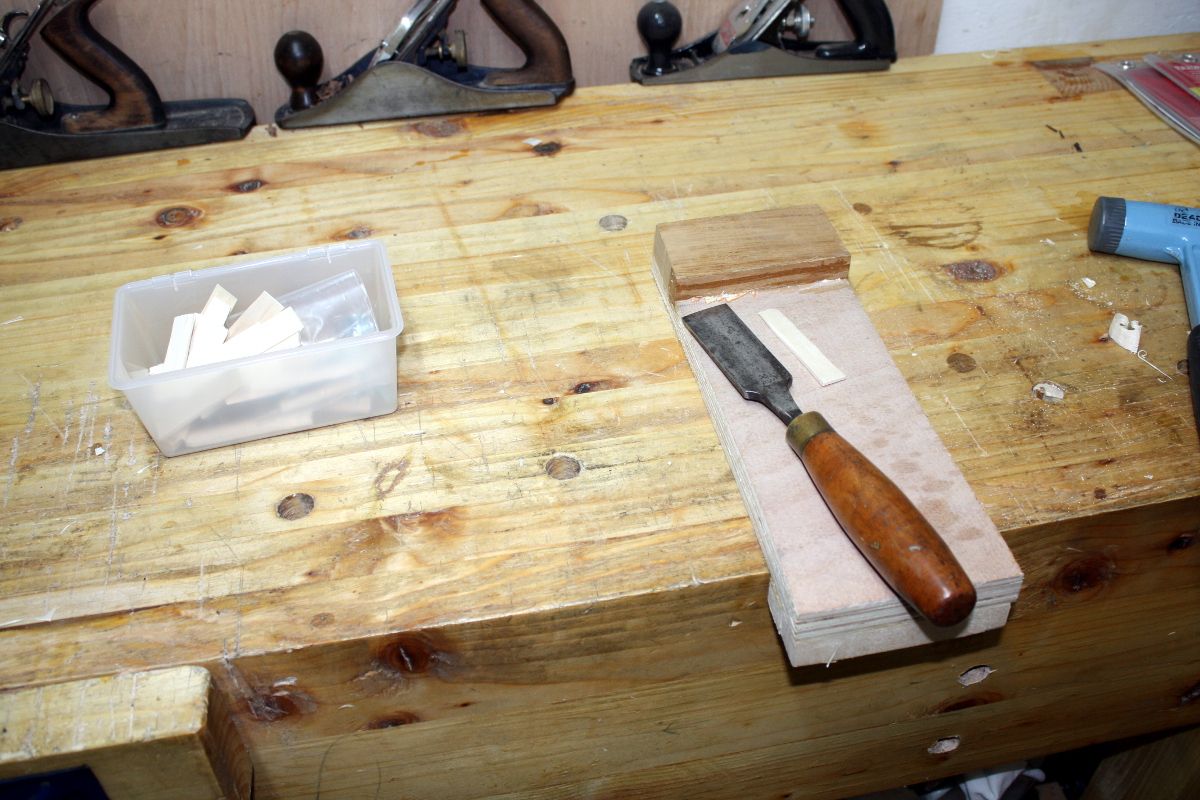
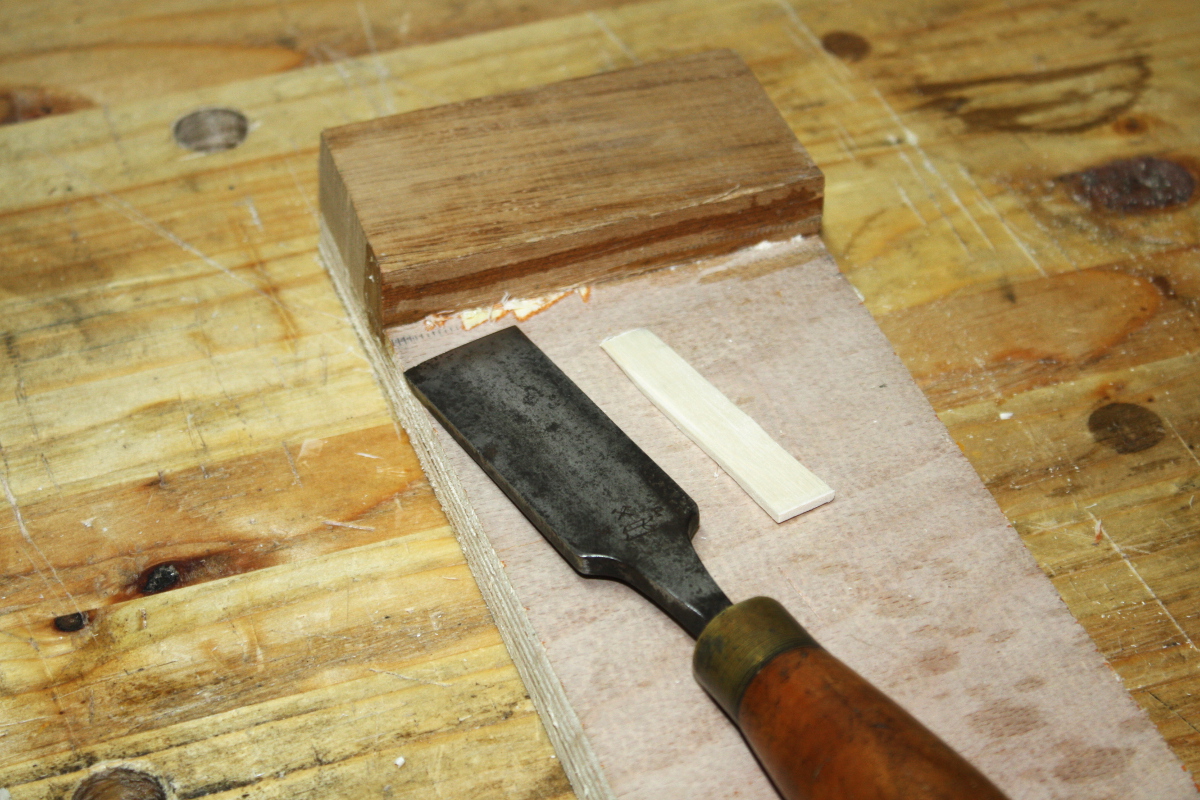
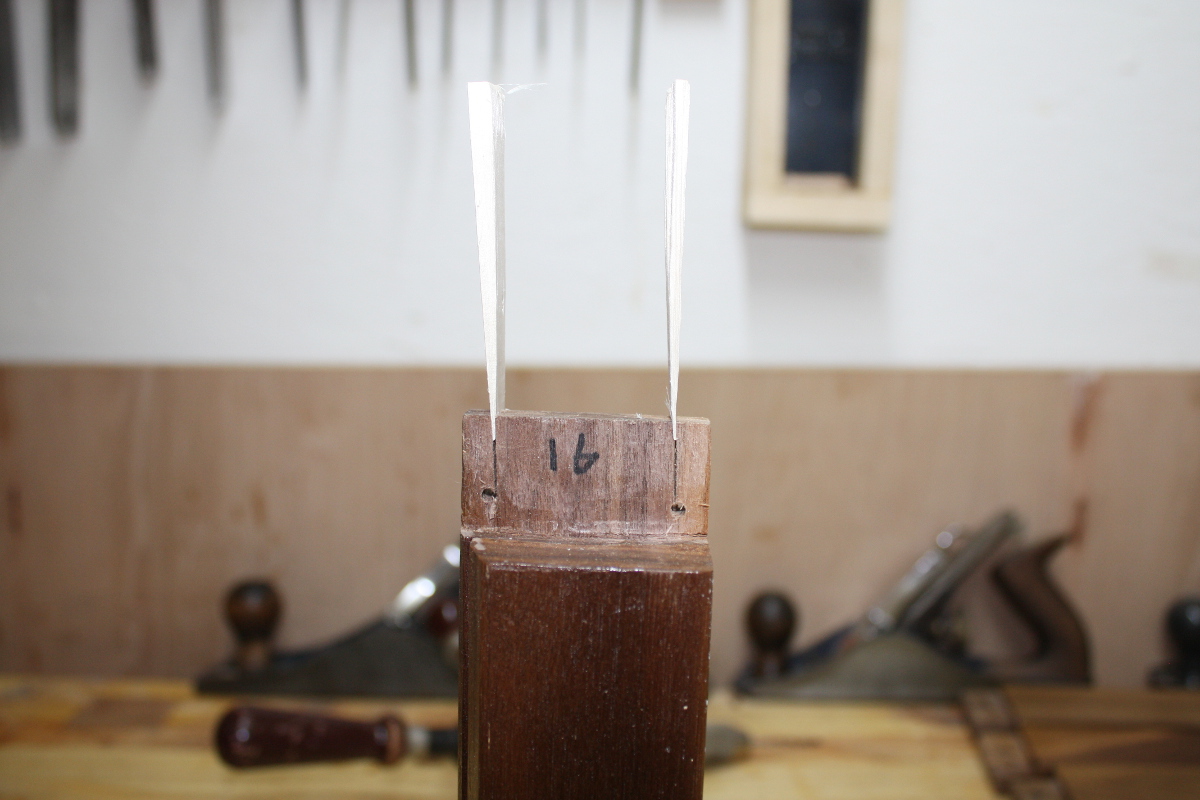
Next, make wedges. Rive out more of that lovely white sycamore stock, cut about 2-3mm thick and the width of the tenon wide, then put the end of the rived piece into the bench hook’s block and pare it to a point with a wide chisel.

Do that about twenty times or so and you’ve enough wedges even allowing for breakage. Grand.

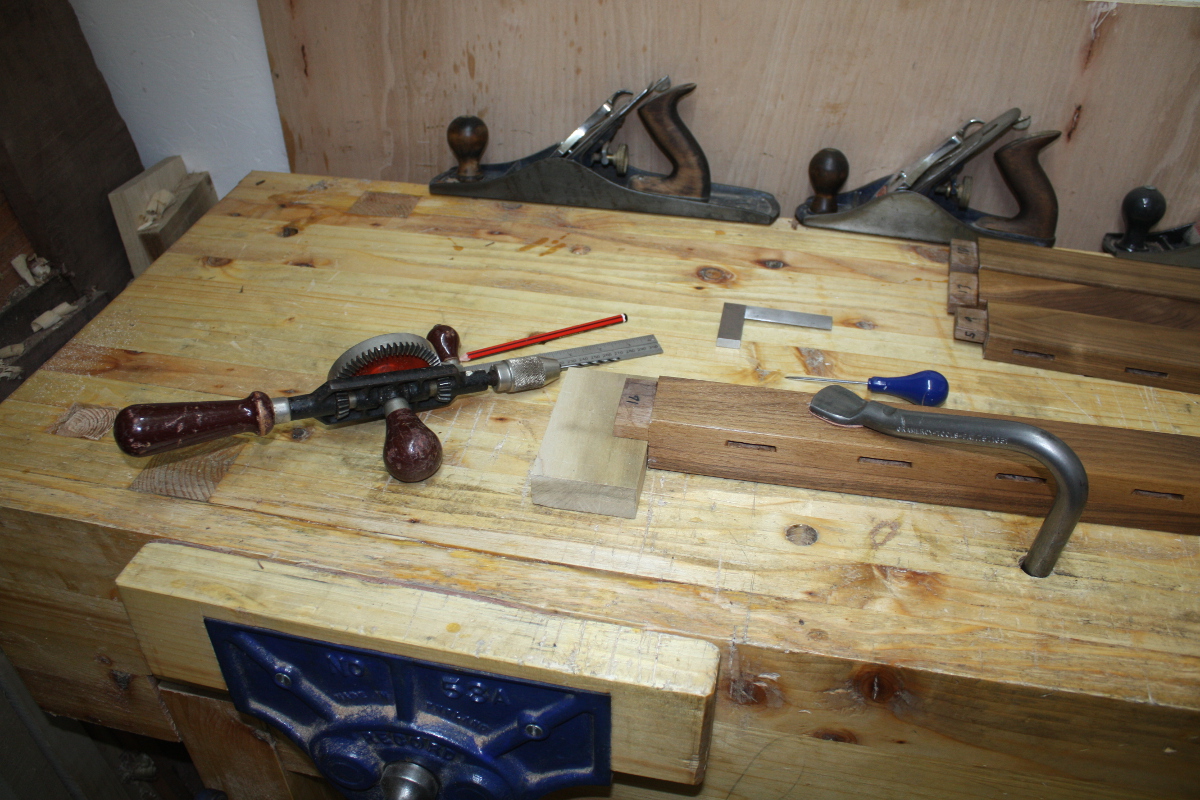
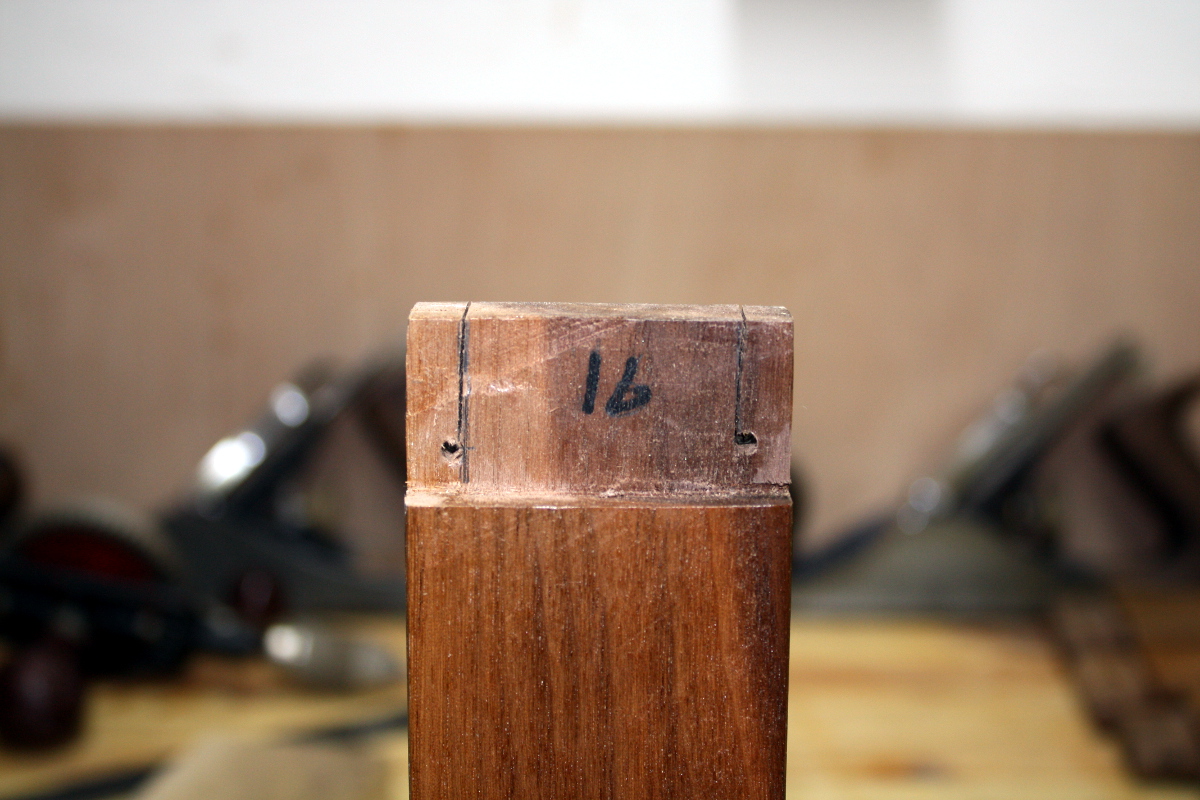
Next, take a 3mm drill bit, and drill two strain relieve holes in each tenon, about 6mm in from the edge and up from the shoulder. Now cut down a line from the end of the tenon to meet the inside tangent of each circle and you have a tenon with two end pieces that can flex outwards slightly.

And now when you go to glue up for final assembly, put the joint together, (glued up and everything) then take two wedges, paint with a light coating of glue, and tap them just home into each cut.

And now take your hammer and drive them home. They may not go down all the way, they might bottom out before that; but either way you now have a wedged tenon M&T joint that doesn’t need clamps to hold for glue-up and which has a mechanical aspect to lock the joint as well as the glue. And with the contrasting woods, they’ll be decorative as well, hopefully.

With that all done, I sanded down the back support and the mattress platform and its rear support and gave them coat #3 of shellac…

Tomorrow it’s time to sharpen the scrub plane and get that drawer side thicknessing finished so I can get on with making the drawer. I’ll get the last coat of shellac on things as well, and that’ll let me do the final assembly of the frame as soon as I complete finish planing the top panel.

To-Do List (stuff in progress in blue:

  • Finish plane top panel
  • Make a drawer
    • Thickness the boards for the drawer.
    • Cut the drawer front to size.
    • Cut the drawer back and sides to size.
    • Cut dovetails for drawer.
    • Groove drawer with #43 for plywood base.
    • Maybe add runners underneath the drawer?
    • Finish plane drawer front
    • Finish drawer front with shellac.
    • Paint drawer sides with milk paint.
    • Assemble drawer.
  • Assemble and glue-up and drawboring of everything.
  • Finish entire assembly with several coats of Osmo wood wax.
  • Close door of shed, lock it, walk away and never do another project with a deadline ever again.