I actually managed to tick off almost every line on the to-do list for the week by Sunday night for a change. Before doing any “real” work though, I had to get the new interlopers off the bench. It’s been a while since I did framing-level work with 2x4s, but it’s like riding a bicycle…
 …downhill on a wet slope towards a brick wall while blindfolded.
But since I didn’t care what the end product looked like, it was fast enough work…
Rough as 10-grit sandpaper, but it got them off the bench and me back to it. I might make something less… industrial at some point, but for now…
That’s the table legs profiled and rounded on the back (the front has to wait until the frames are glued up). Next to drill the holes for the tabletop attachment screws and that needed my big cordless drill…
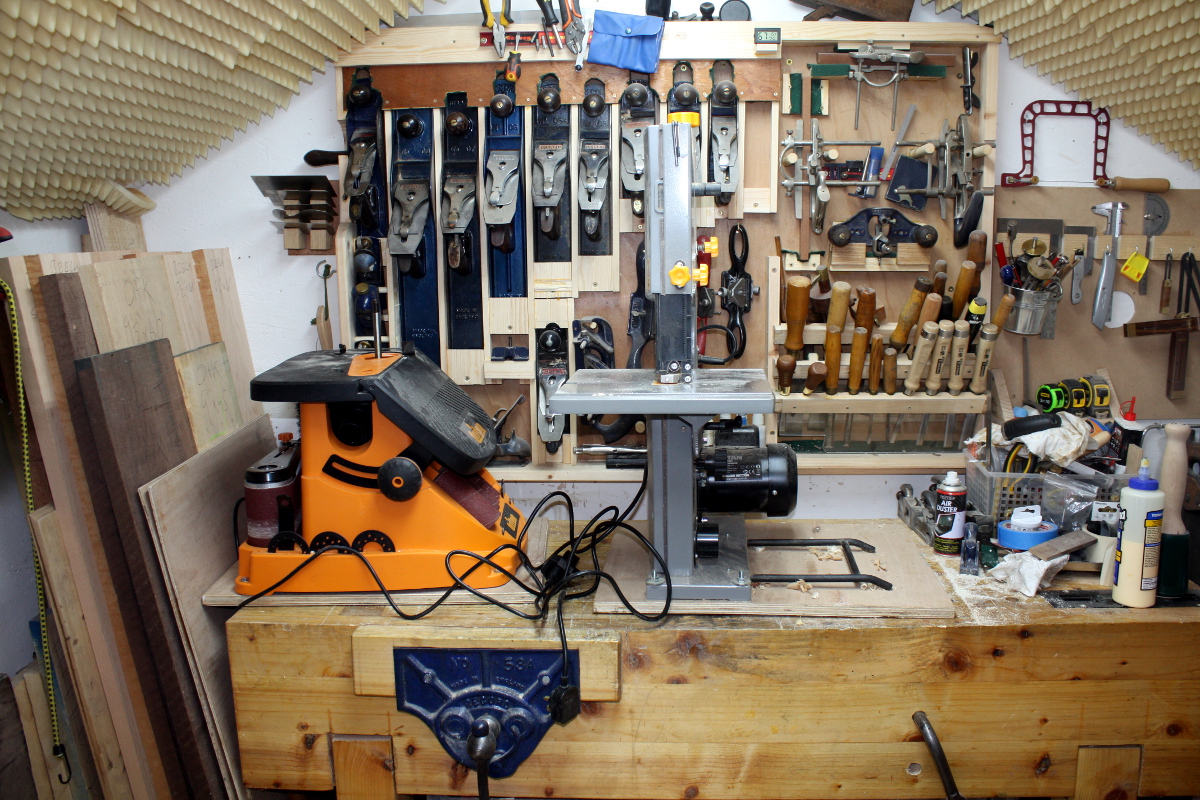
I quite like that drill, it’s in magnificent condition for something that’s getting on for 70.
It is, by the way, a nice luxury to have a brace that’s dedicated to countersinking holes. You wouldn’t think it, but you tend to use it a lot…
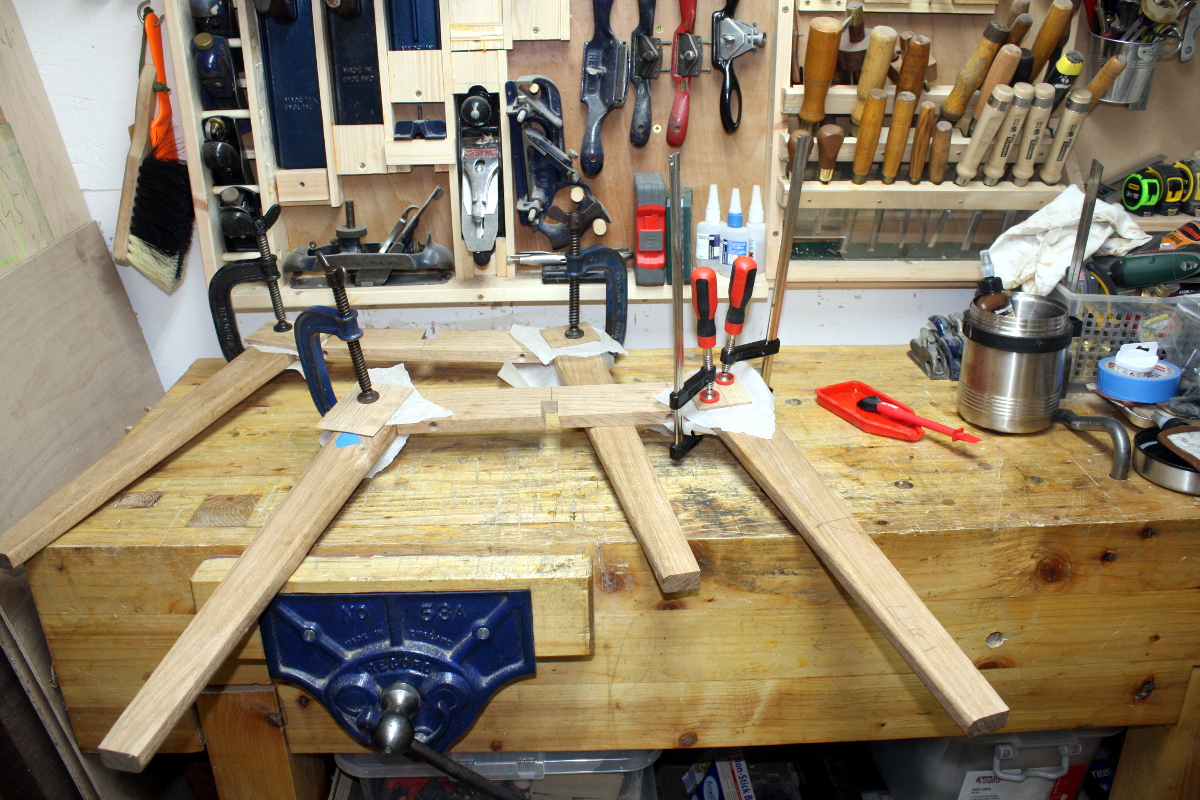
And glueup. Hide glue again, hence the hot water bucket (hide glue and Irish winters don’t mix well). And that’s where I left it on Saturday evening.
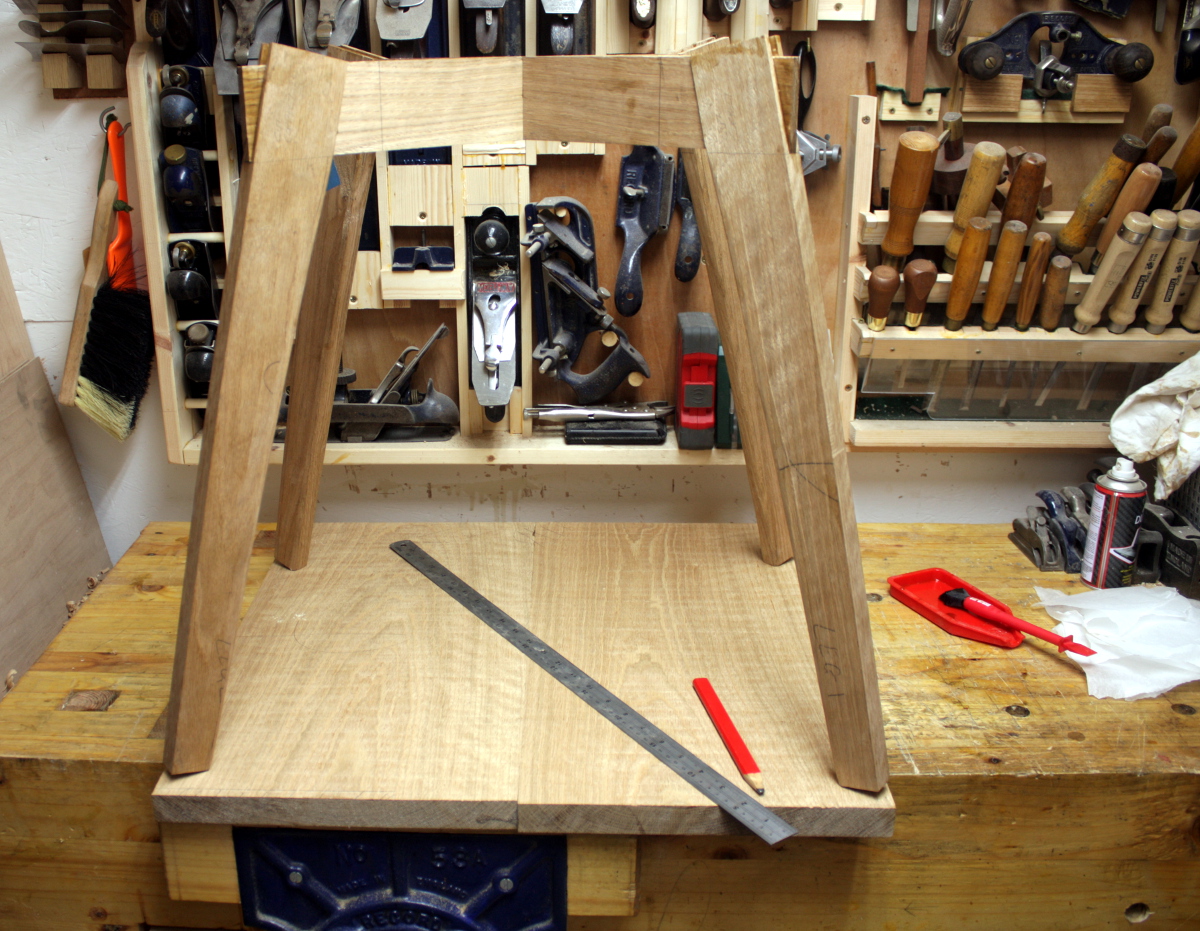
On Sunday morning, I took off the clamps and things looked okay, so I got the tabletop up onto the bench and marked off the final sizes. Not much trimming needed in width, really just straightening up the edge there, but a good three inches came off the length because otherwise the table would be tippy.
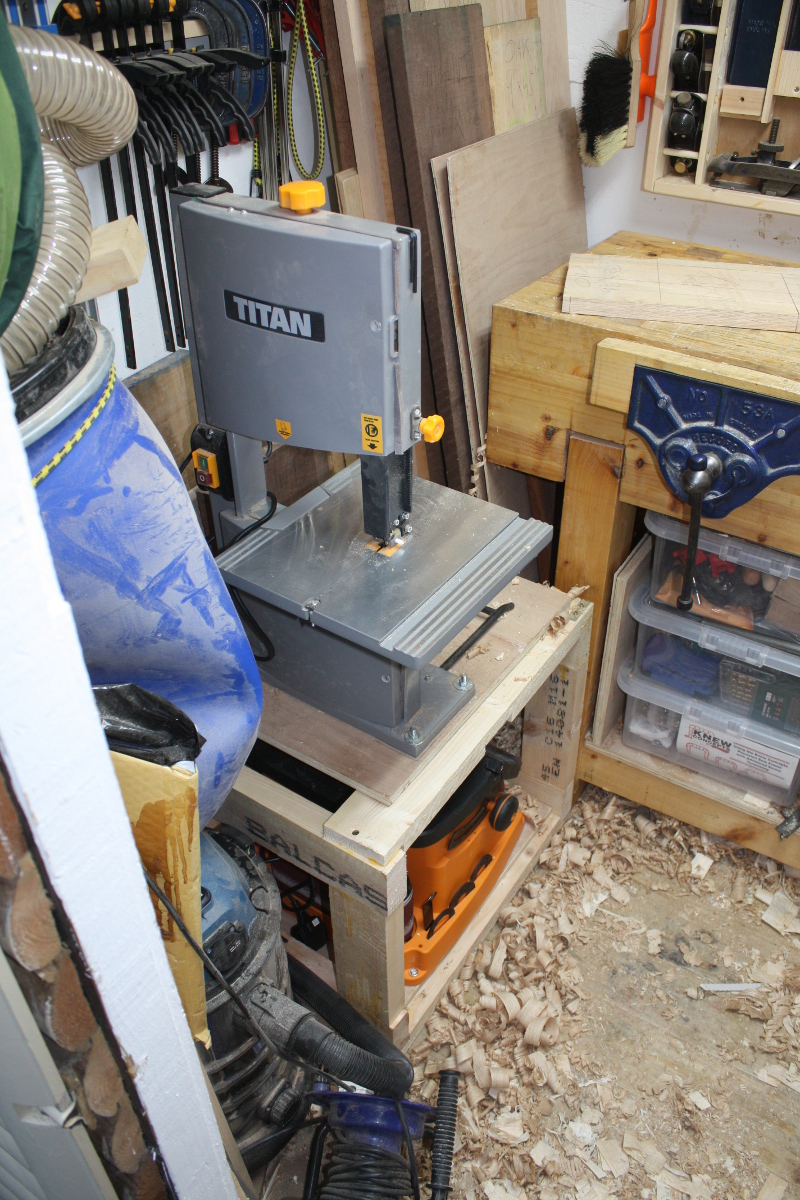
I did try using the bandsaw to do the rough-cut there but it *really* didn’t like my new experimental bandsaw guides…
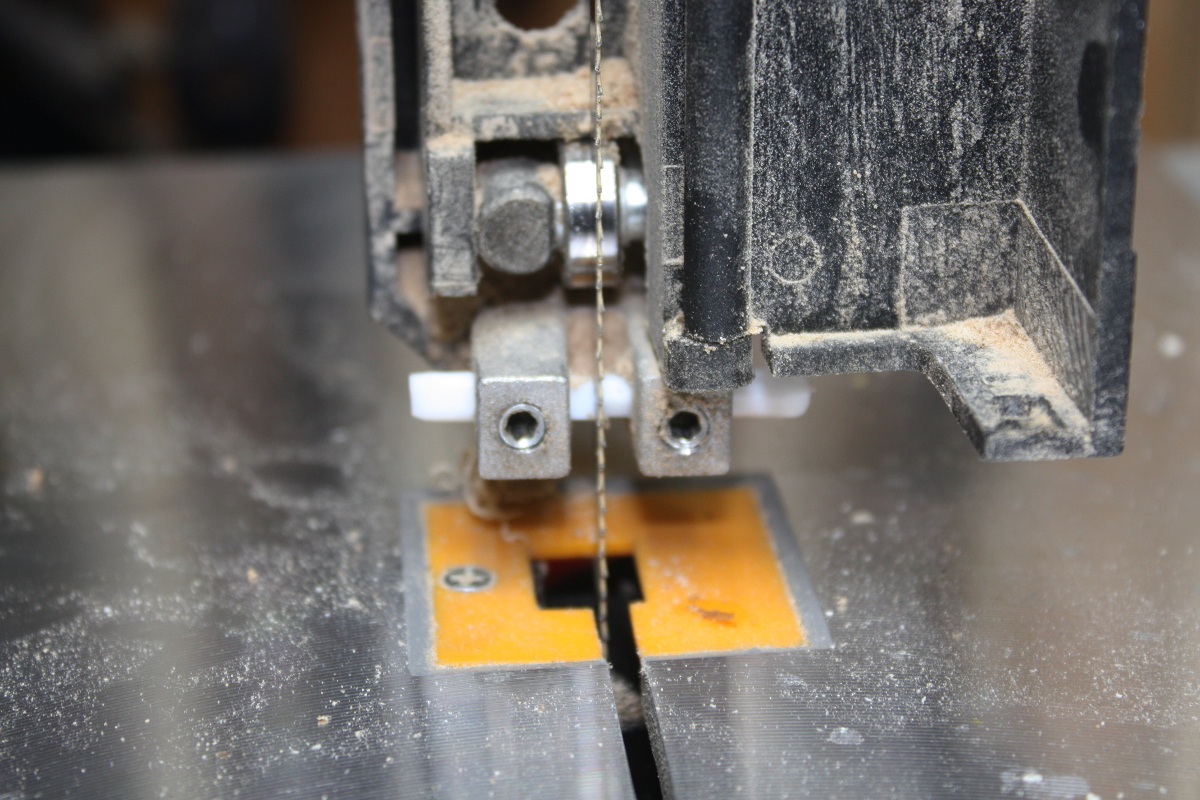
Teflon rod instead of the steel rod that had been there. Oh well. I might just have been overloading it with torque in the piece because it was so large it was almost unmanageable, so I’ll test it on some smaller pieces later and either leave or replace the teflon guides with the originals.
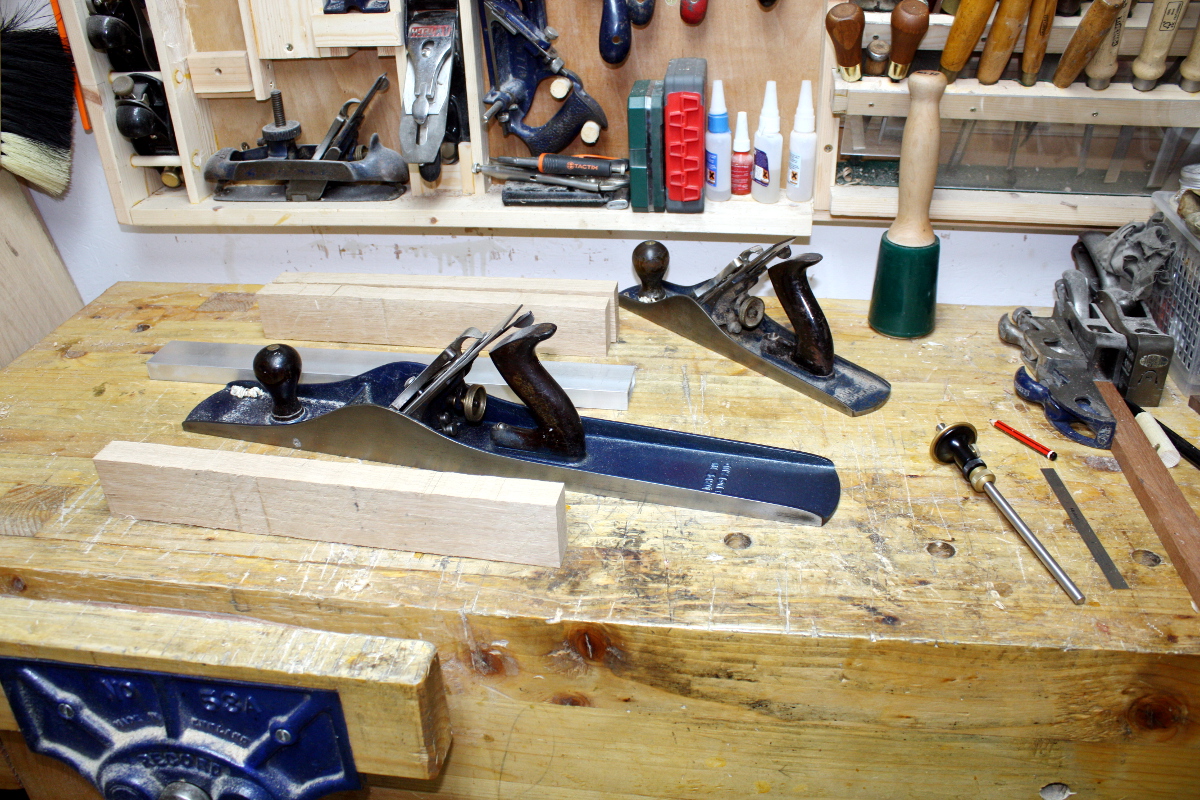
With it trimmed to size (at least roughly, the end grain is going to need a final session on the shooting board), it was on to smoothing the tabletop. Oddly the #4½ wasn’t getting it done even after touching up the blade on the diamond stones; I had it set to a really high cutting angle last time I was working with it, on some sapele; I guess it’s just not biting on the oak as a result, though I’m not sure why not. Oh well, out with the #4 instead and that got it done quite nicely. It’s not fully done; I want to use the #5 to smooth the underneath a bit, and attach the top and then I’ll come back and finish up the smoothing work on the top.
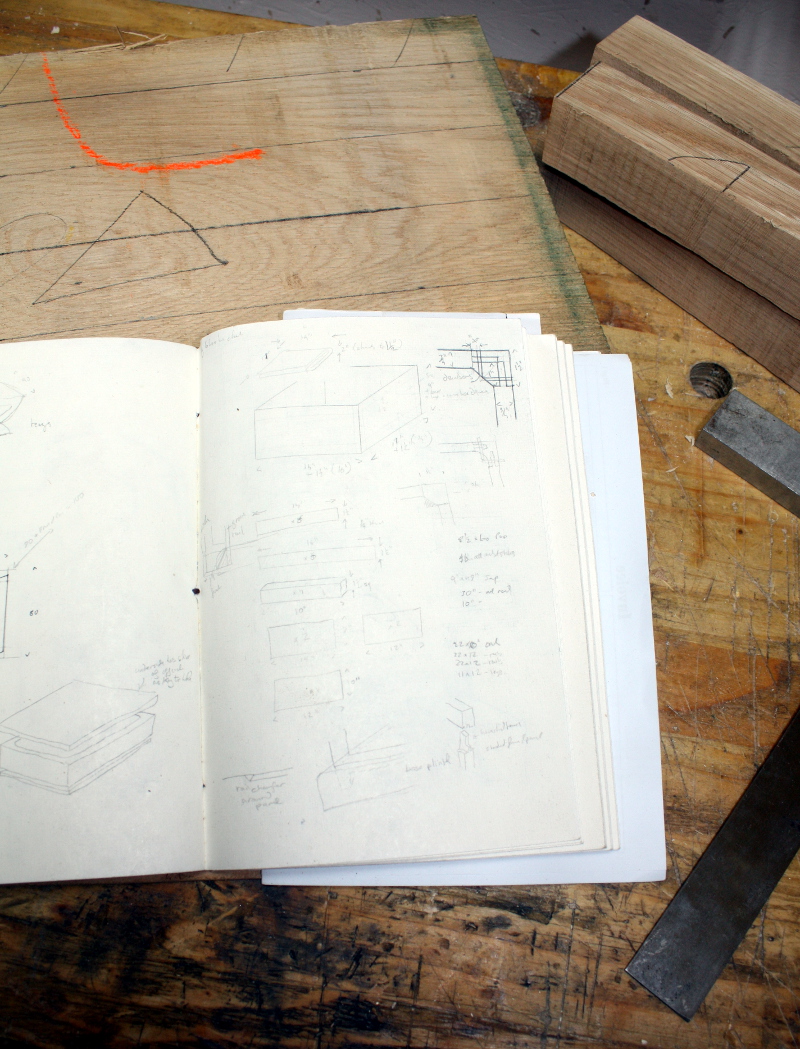
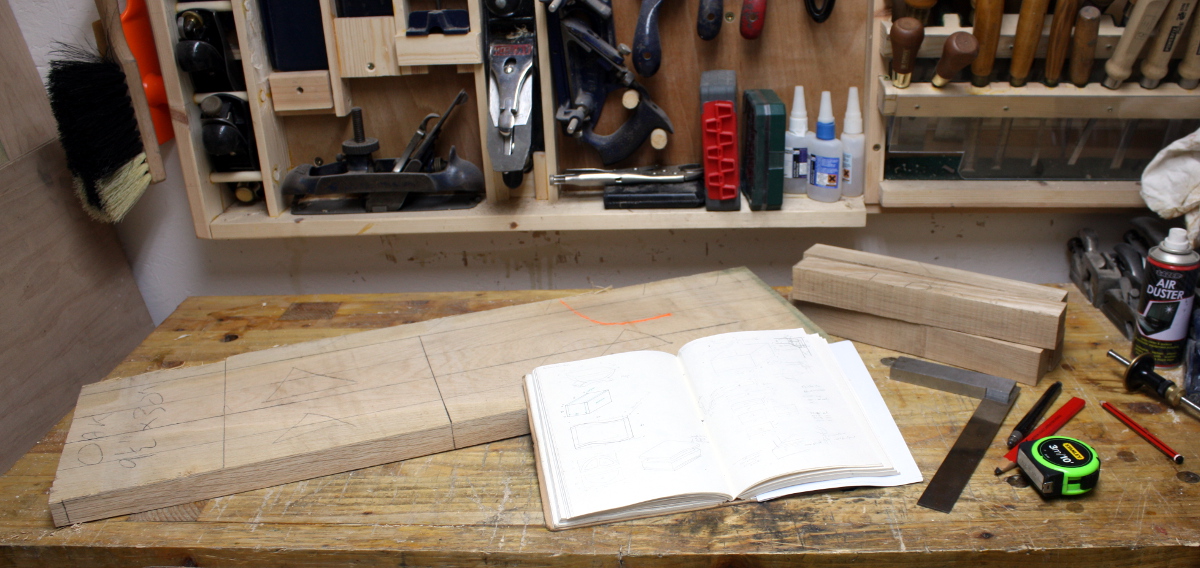
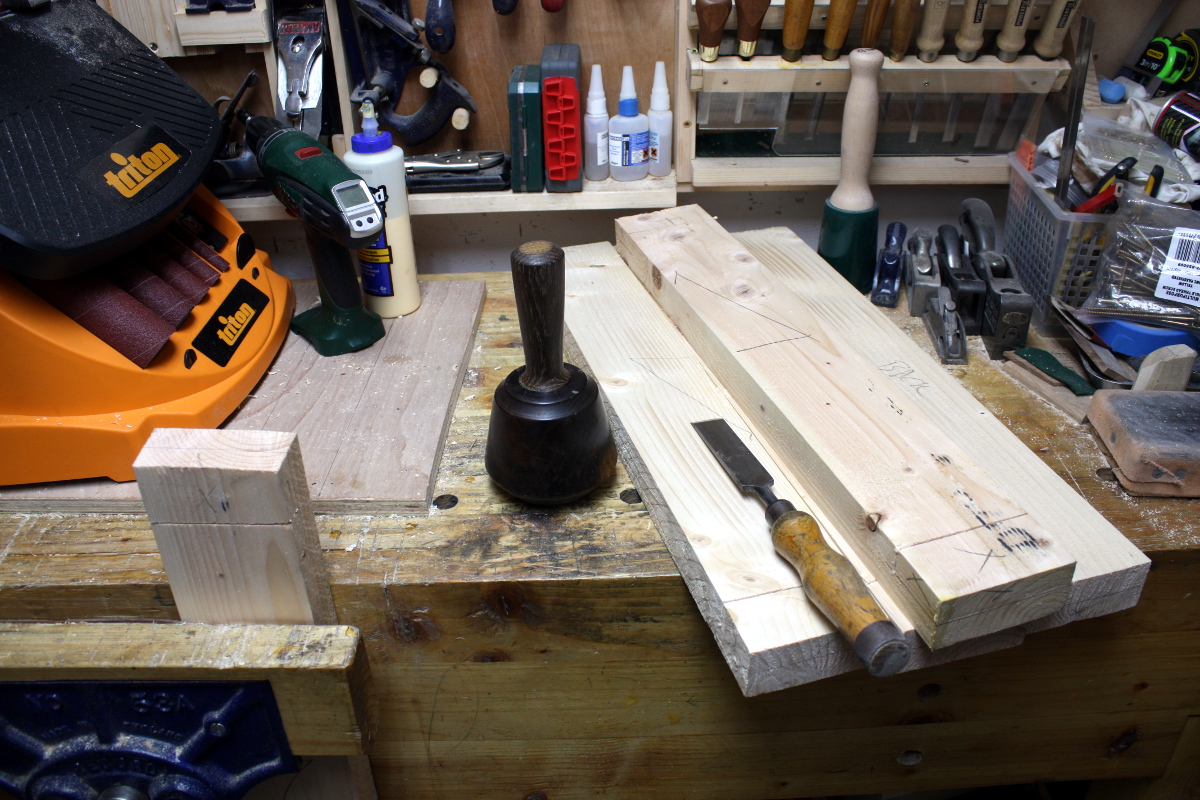
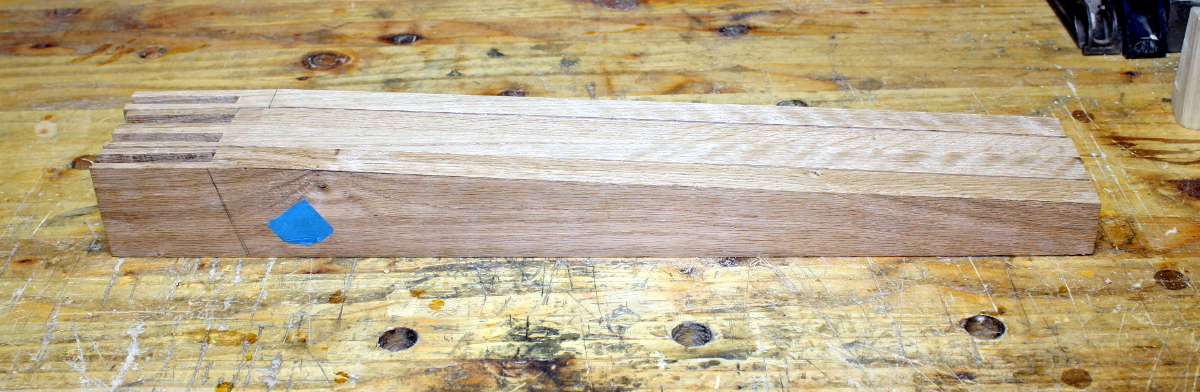
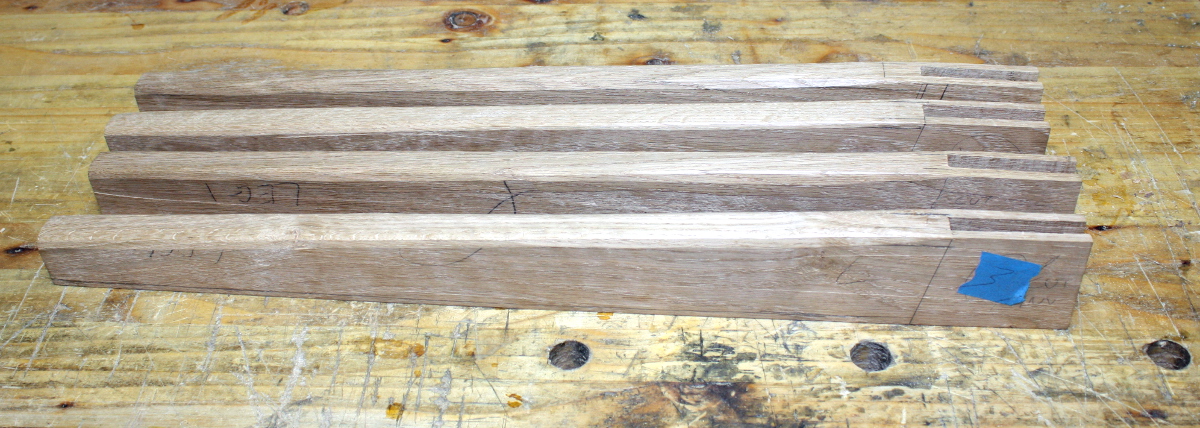
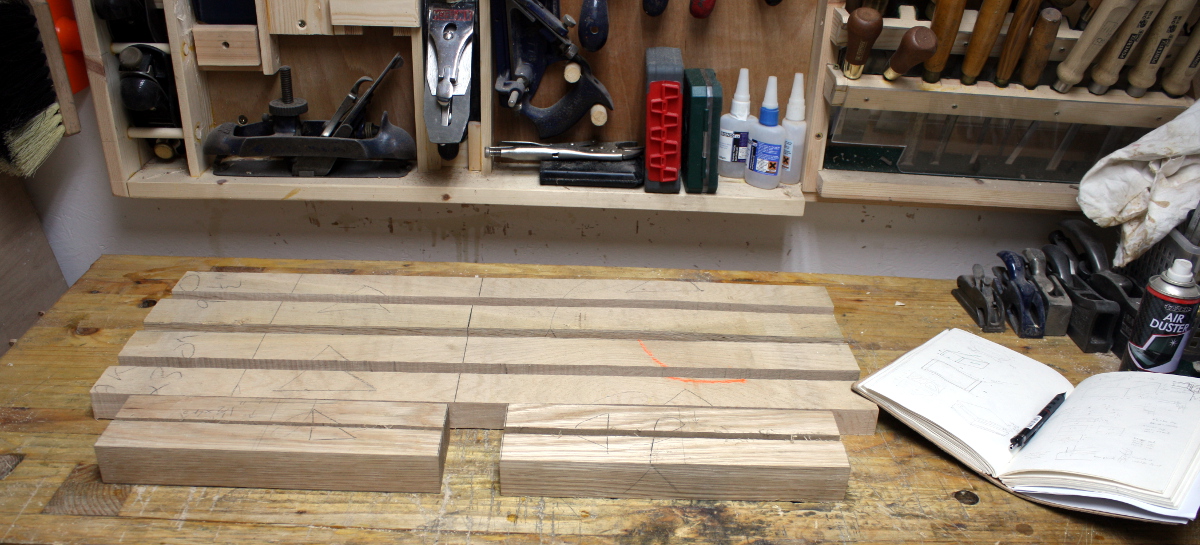
Then on to the next project and picking out the wood from the board to match the plans. This will be a blanket chest – if you know what that is, the scale might seem strange, but there’s a reason for it (just run with it being a very small chest for now). I had a 9×30″ oak board that I could get all the rails and stiles from, even if it has a nasty bow a few inches from one end; but I want a final thickness of three-quarters of an inch and it’s just over an inch now so I can get that bow out. The posts I already had gotten from some 8/4 oak at the end of last week.
The bandsaw might be fussy but it does let you get rips done fast… even if you then have to spend a while with the #5 to get the edges back to being clean again.
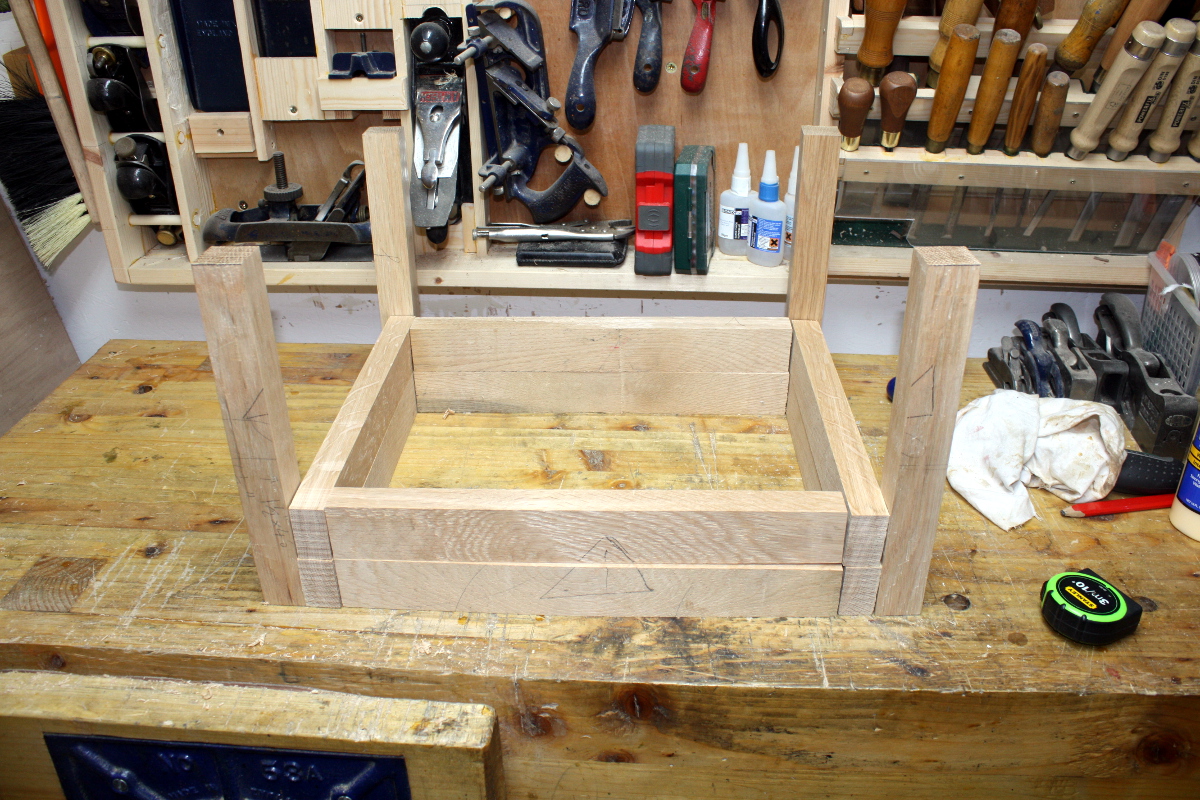
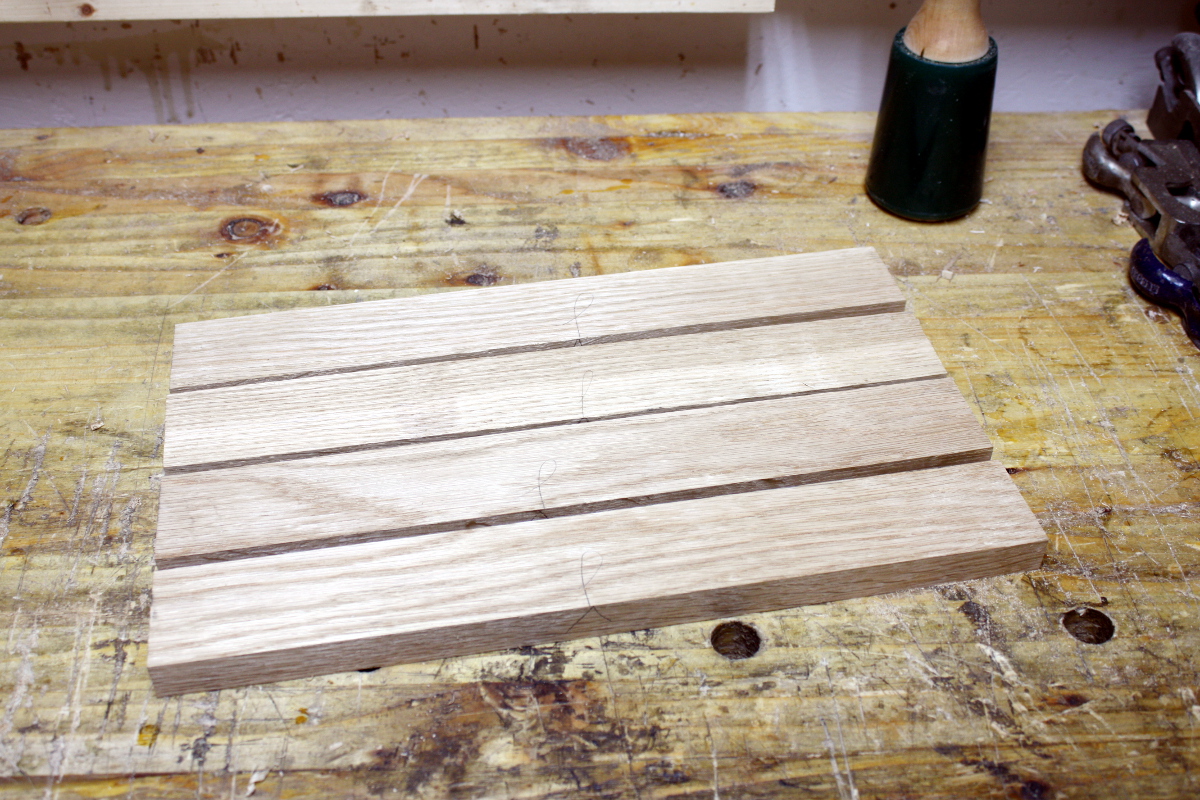
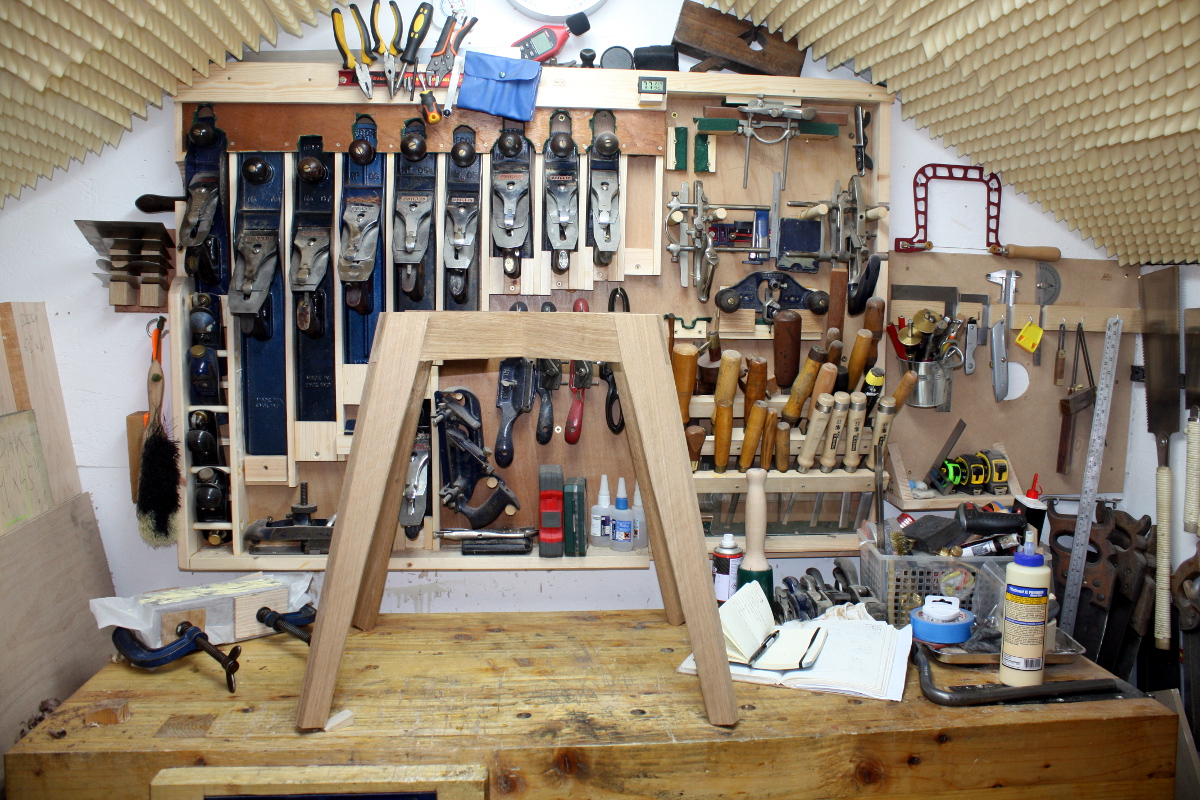
Just trying to get a feel for the overall size there (it will be smaller than this – the joints aren’t cut and the oak’s not thicknessed yet). There will also have to be panels, this is just the frame, but one thing at a time. And I have an idea for the floorboards as well.
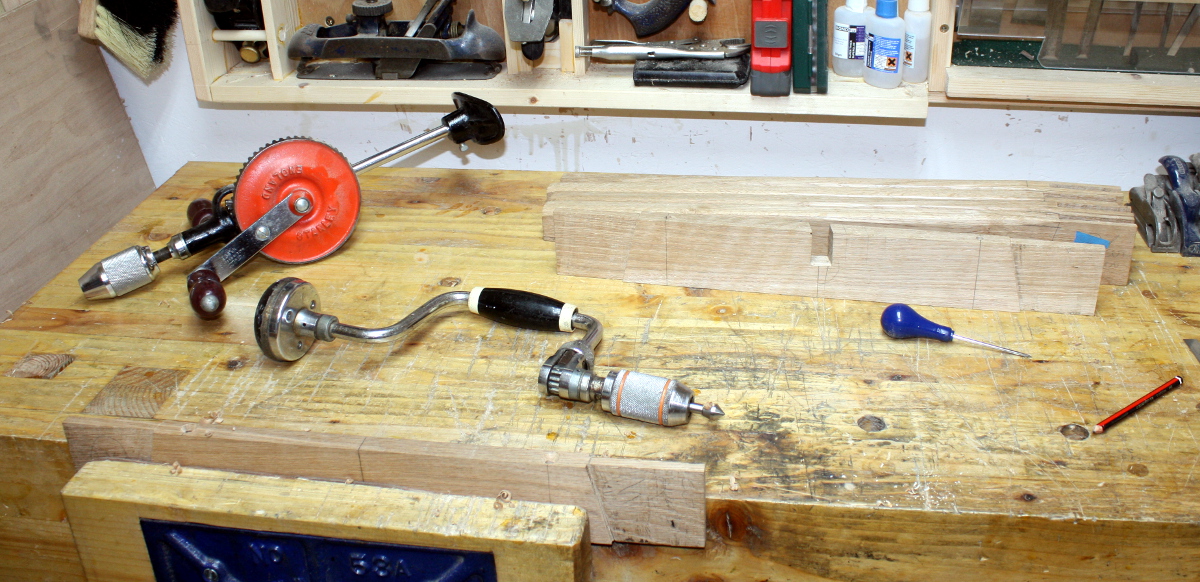
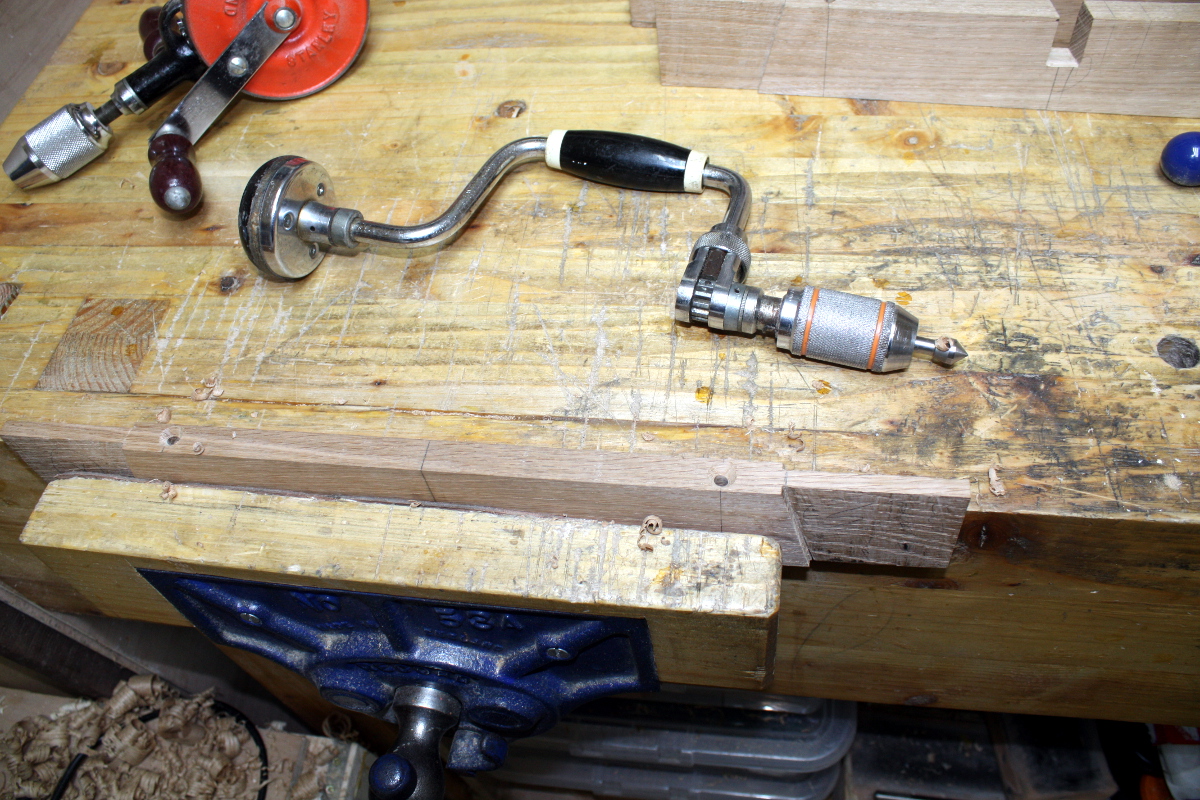
Finally going to get to use the pigsticker on this one 🙂
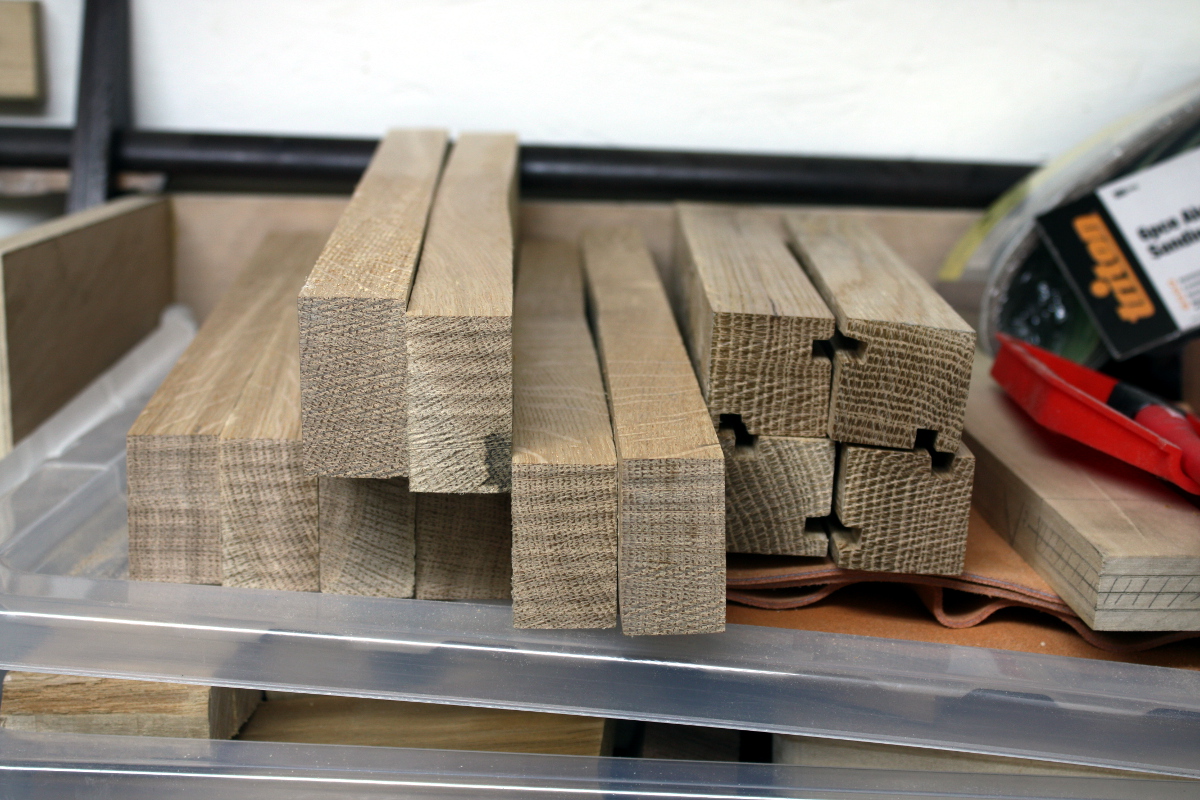
All the grooves cut in the posts. I’m wondering whether to thickness the rails and stiles before or after grooving. I’m leaning towards after. I didn’t dive into the morticing either, it’s too late in the day at this point for that, I’d wind up morticing the wrong groove somehow.
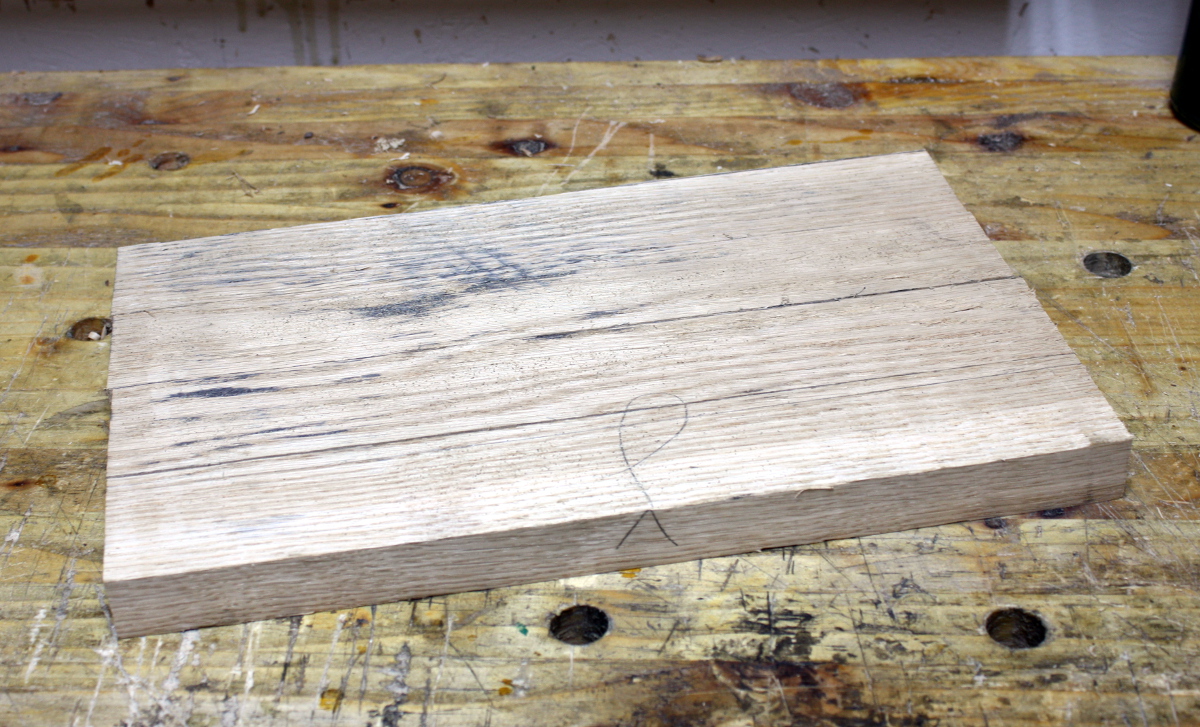
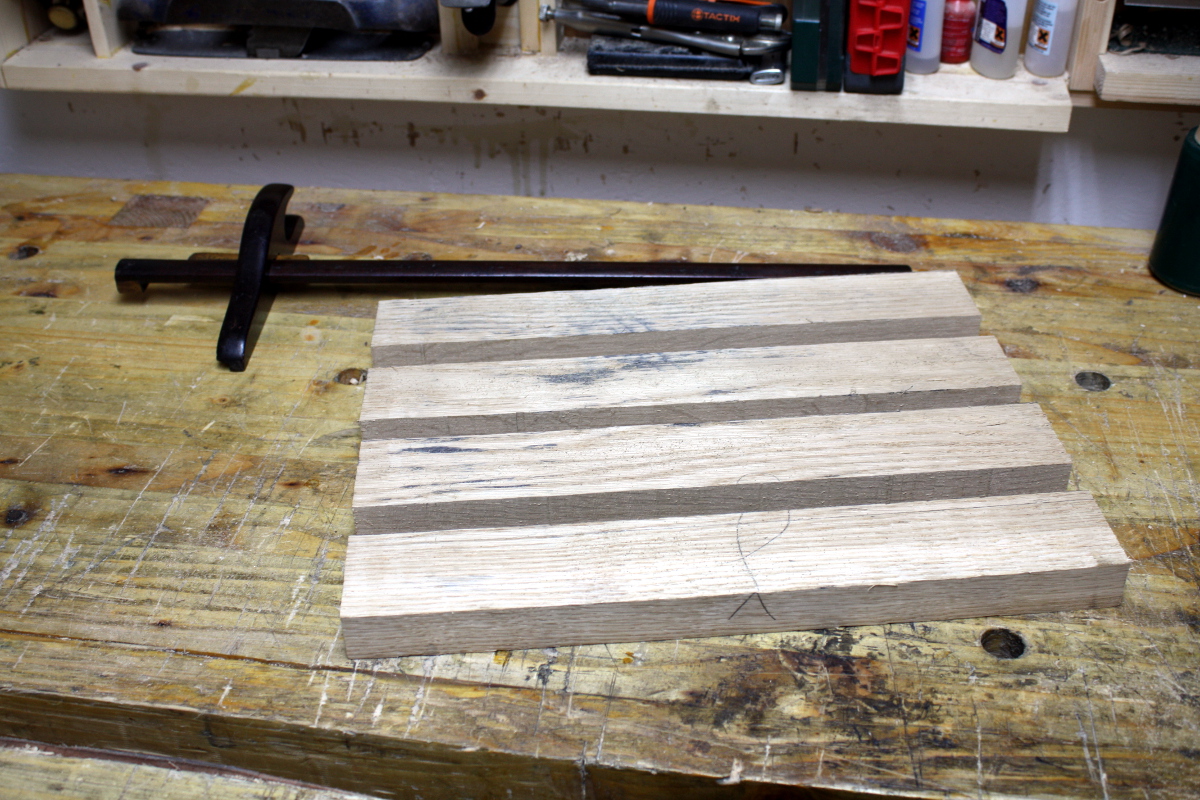
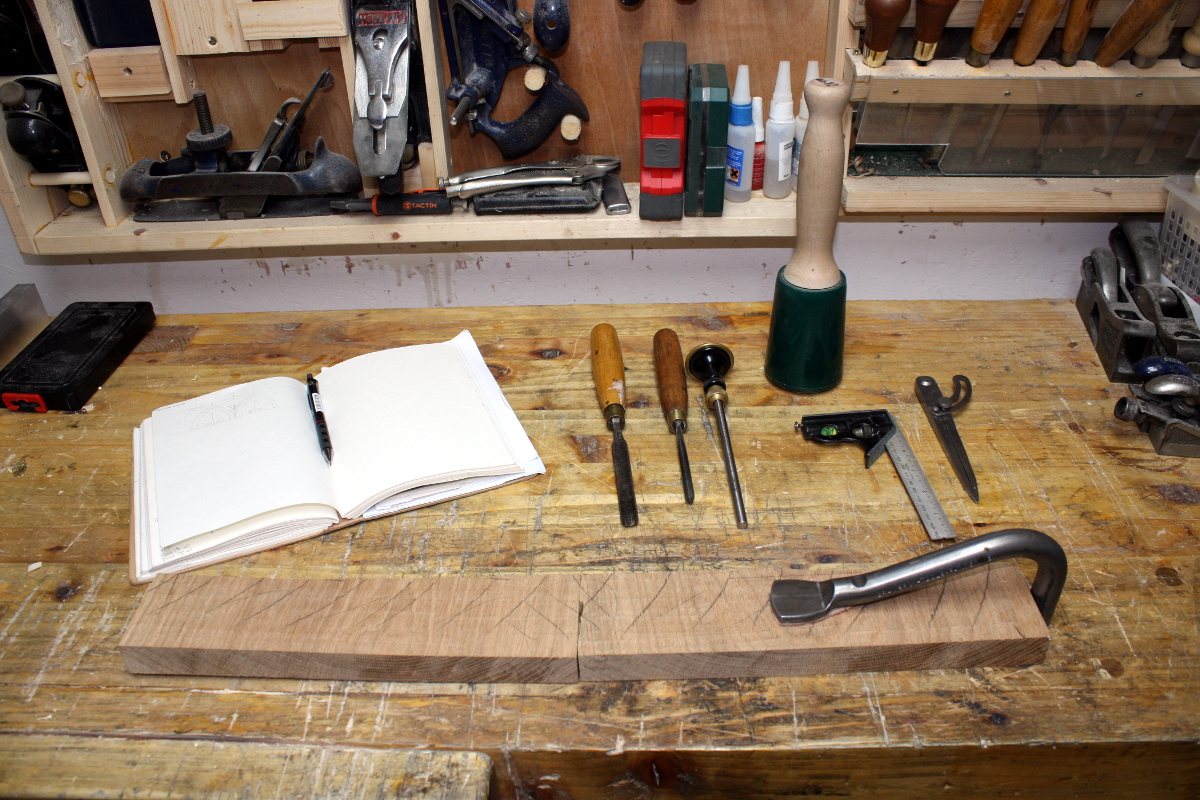
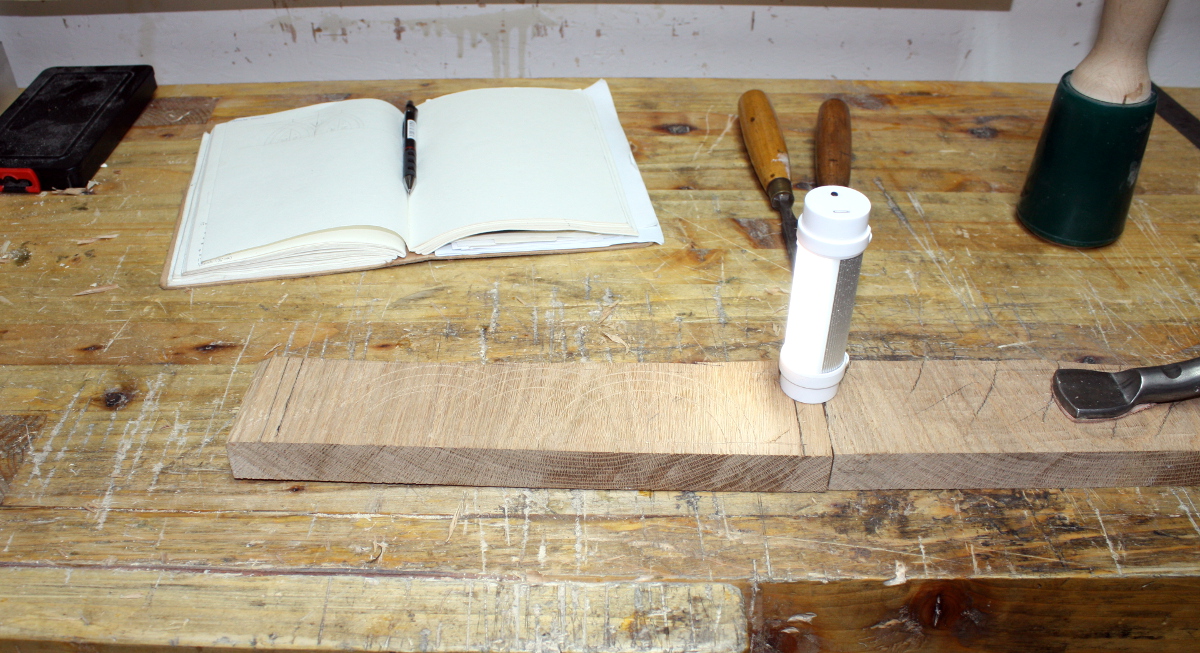
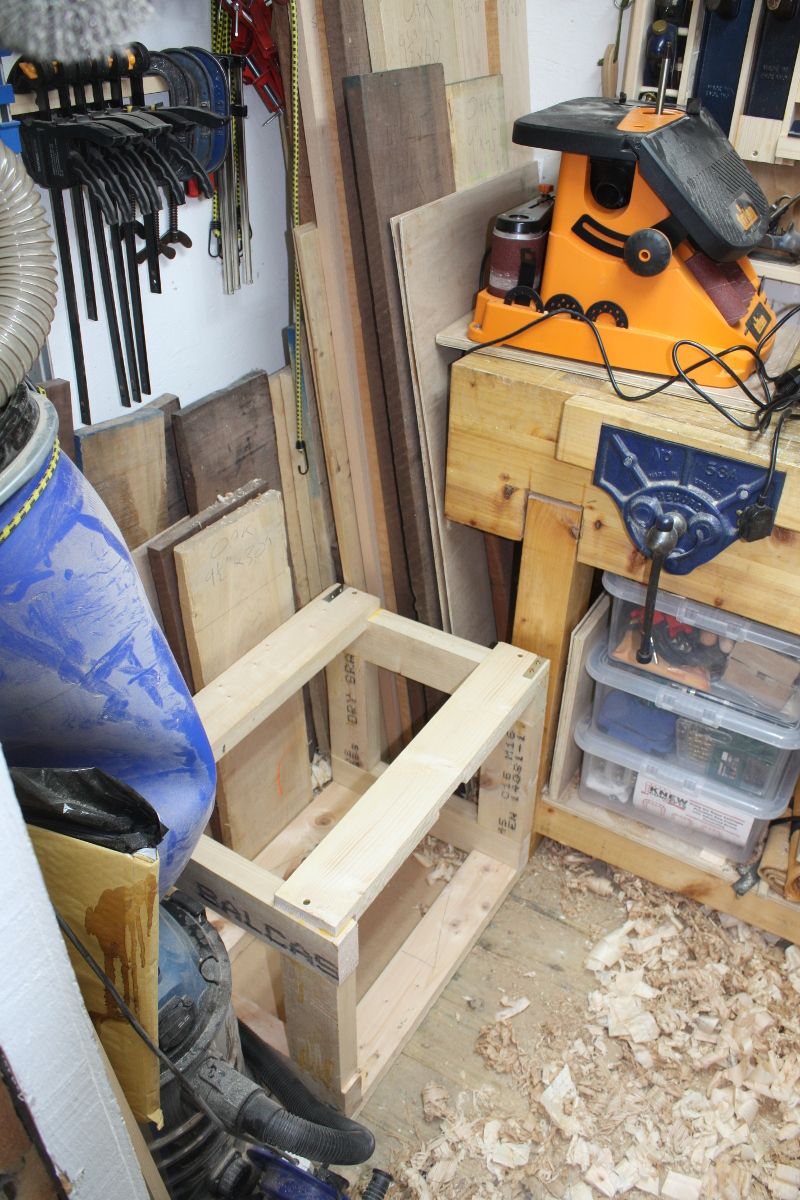
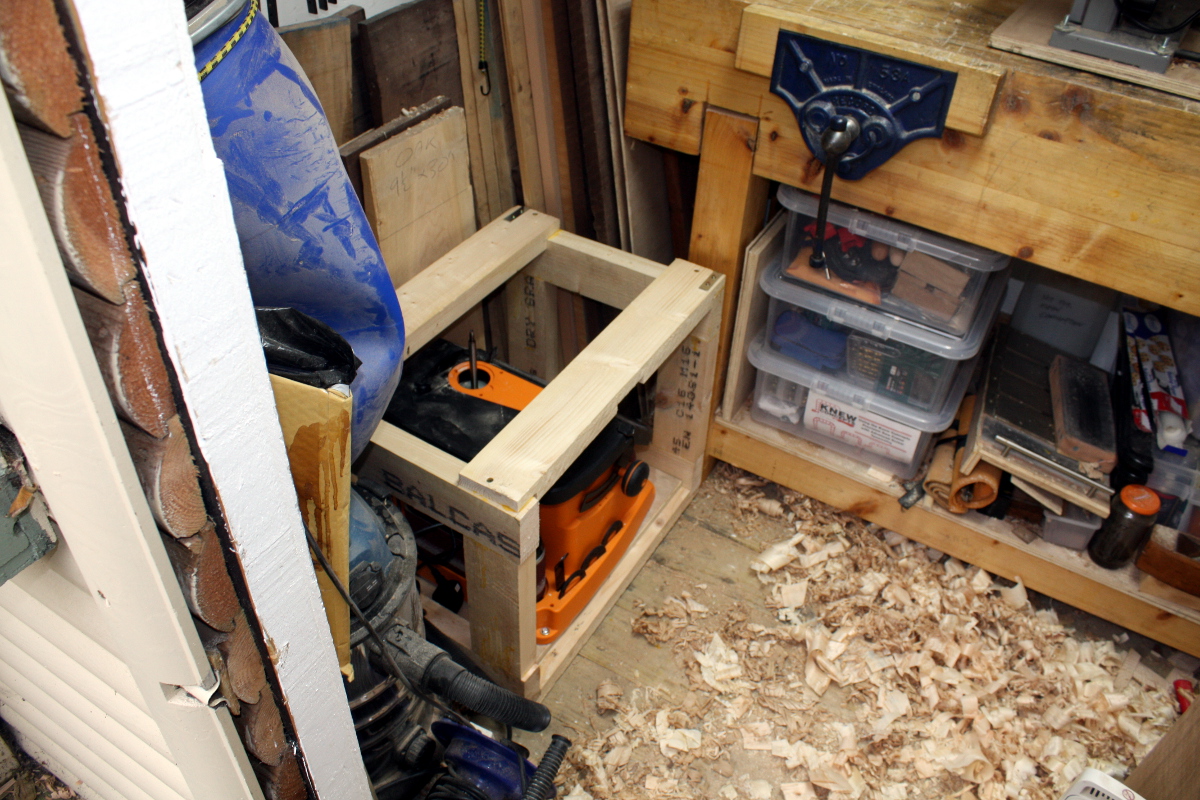
So, last job of the day, glueing up a blank for another bandsaw box.
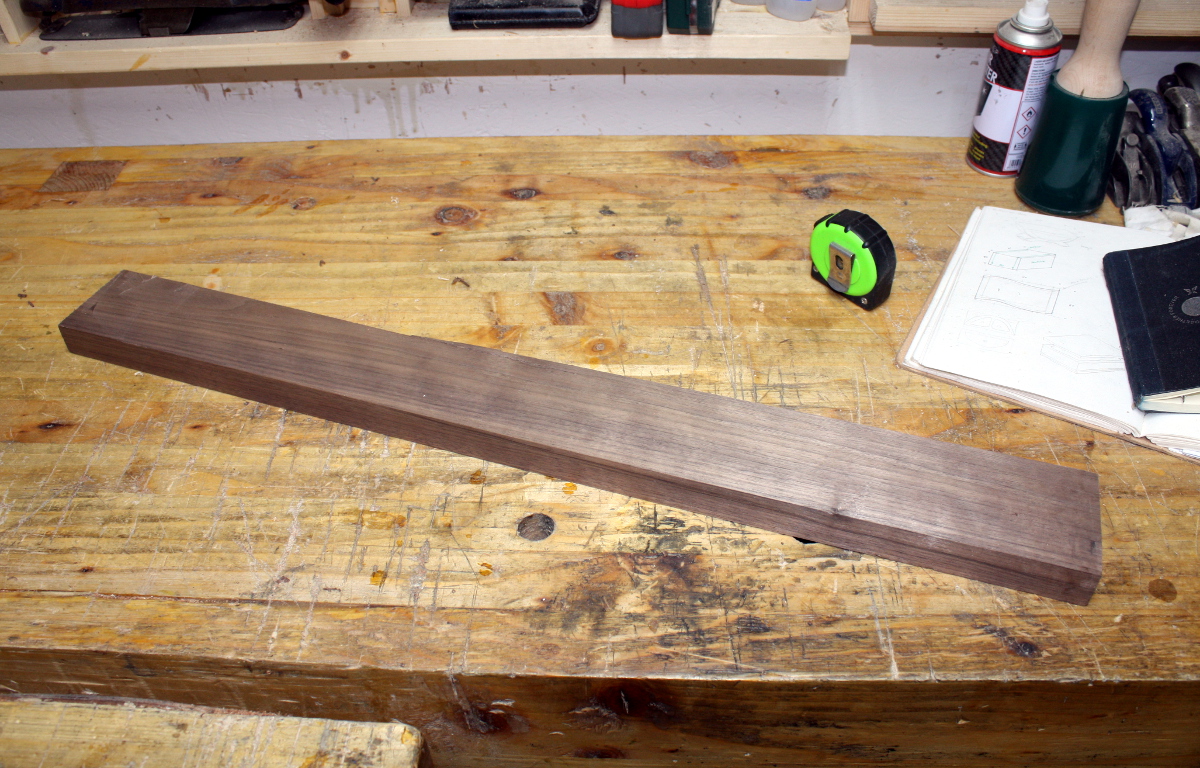
An offcut of walnut from a long rip that went badly (you can just see where the saw wandered there). It’s a bit small for anything else really, but for a bandsaw box it’s grand. Also, walnut. It’s basically cheating using this stuff (and at nearly €90 per cubic foot, it’s definitely pay-to-win cheating).
And I’ll leave things there for the evening. The last piece of hardware I need for the table should arrive on Monday, and I might be into the finishing before the end of the week if I’m lucky, as well as making progress on the chest and the bandsaw box.
Like this:
Like Loading...