30
May 20

ex-Xmas Tree Xmas Tree Decorations

So a few years ago, some woodworkers on a podcast made an April Fool’s joke about how they always picked the same species of xmas tree so that they could mill it up for lumber after the holidays and make a chest of drawers out of them. Which was funny, until another woodworker went and actually did it (with small boxes not a chest of drawers, because there’s a lot of timber in a chest of drawers):

And this was important because until this point, the several xmas tree trunks in the back yard were just there because I had been too lazy to make a second trip to the recycling yard with them. See, after the holidays I take our now-long-dead-and-drying tree into the back garden and hack off all the branches with a hatchet and bag up the branches and the two kilograms of needles that have fallen off them on the ten-yard trip from living room to back garden. Those bags go to the recycling center because if you tried to just shove the tree into the car to bring the whole thing there, you’d be cleaning pine needles out of the car ten years later.

But now, there was a reason I was keeping those trunks 😀

And what better time than during a pandemic lockdown to do something with them? So, first up, take a glazier’s hacking knife and debark them and lop off the top foot or three until we get past the really bad shakes and checks on the surface (these things have just been drying outdoors untended for up to five years now).
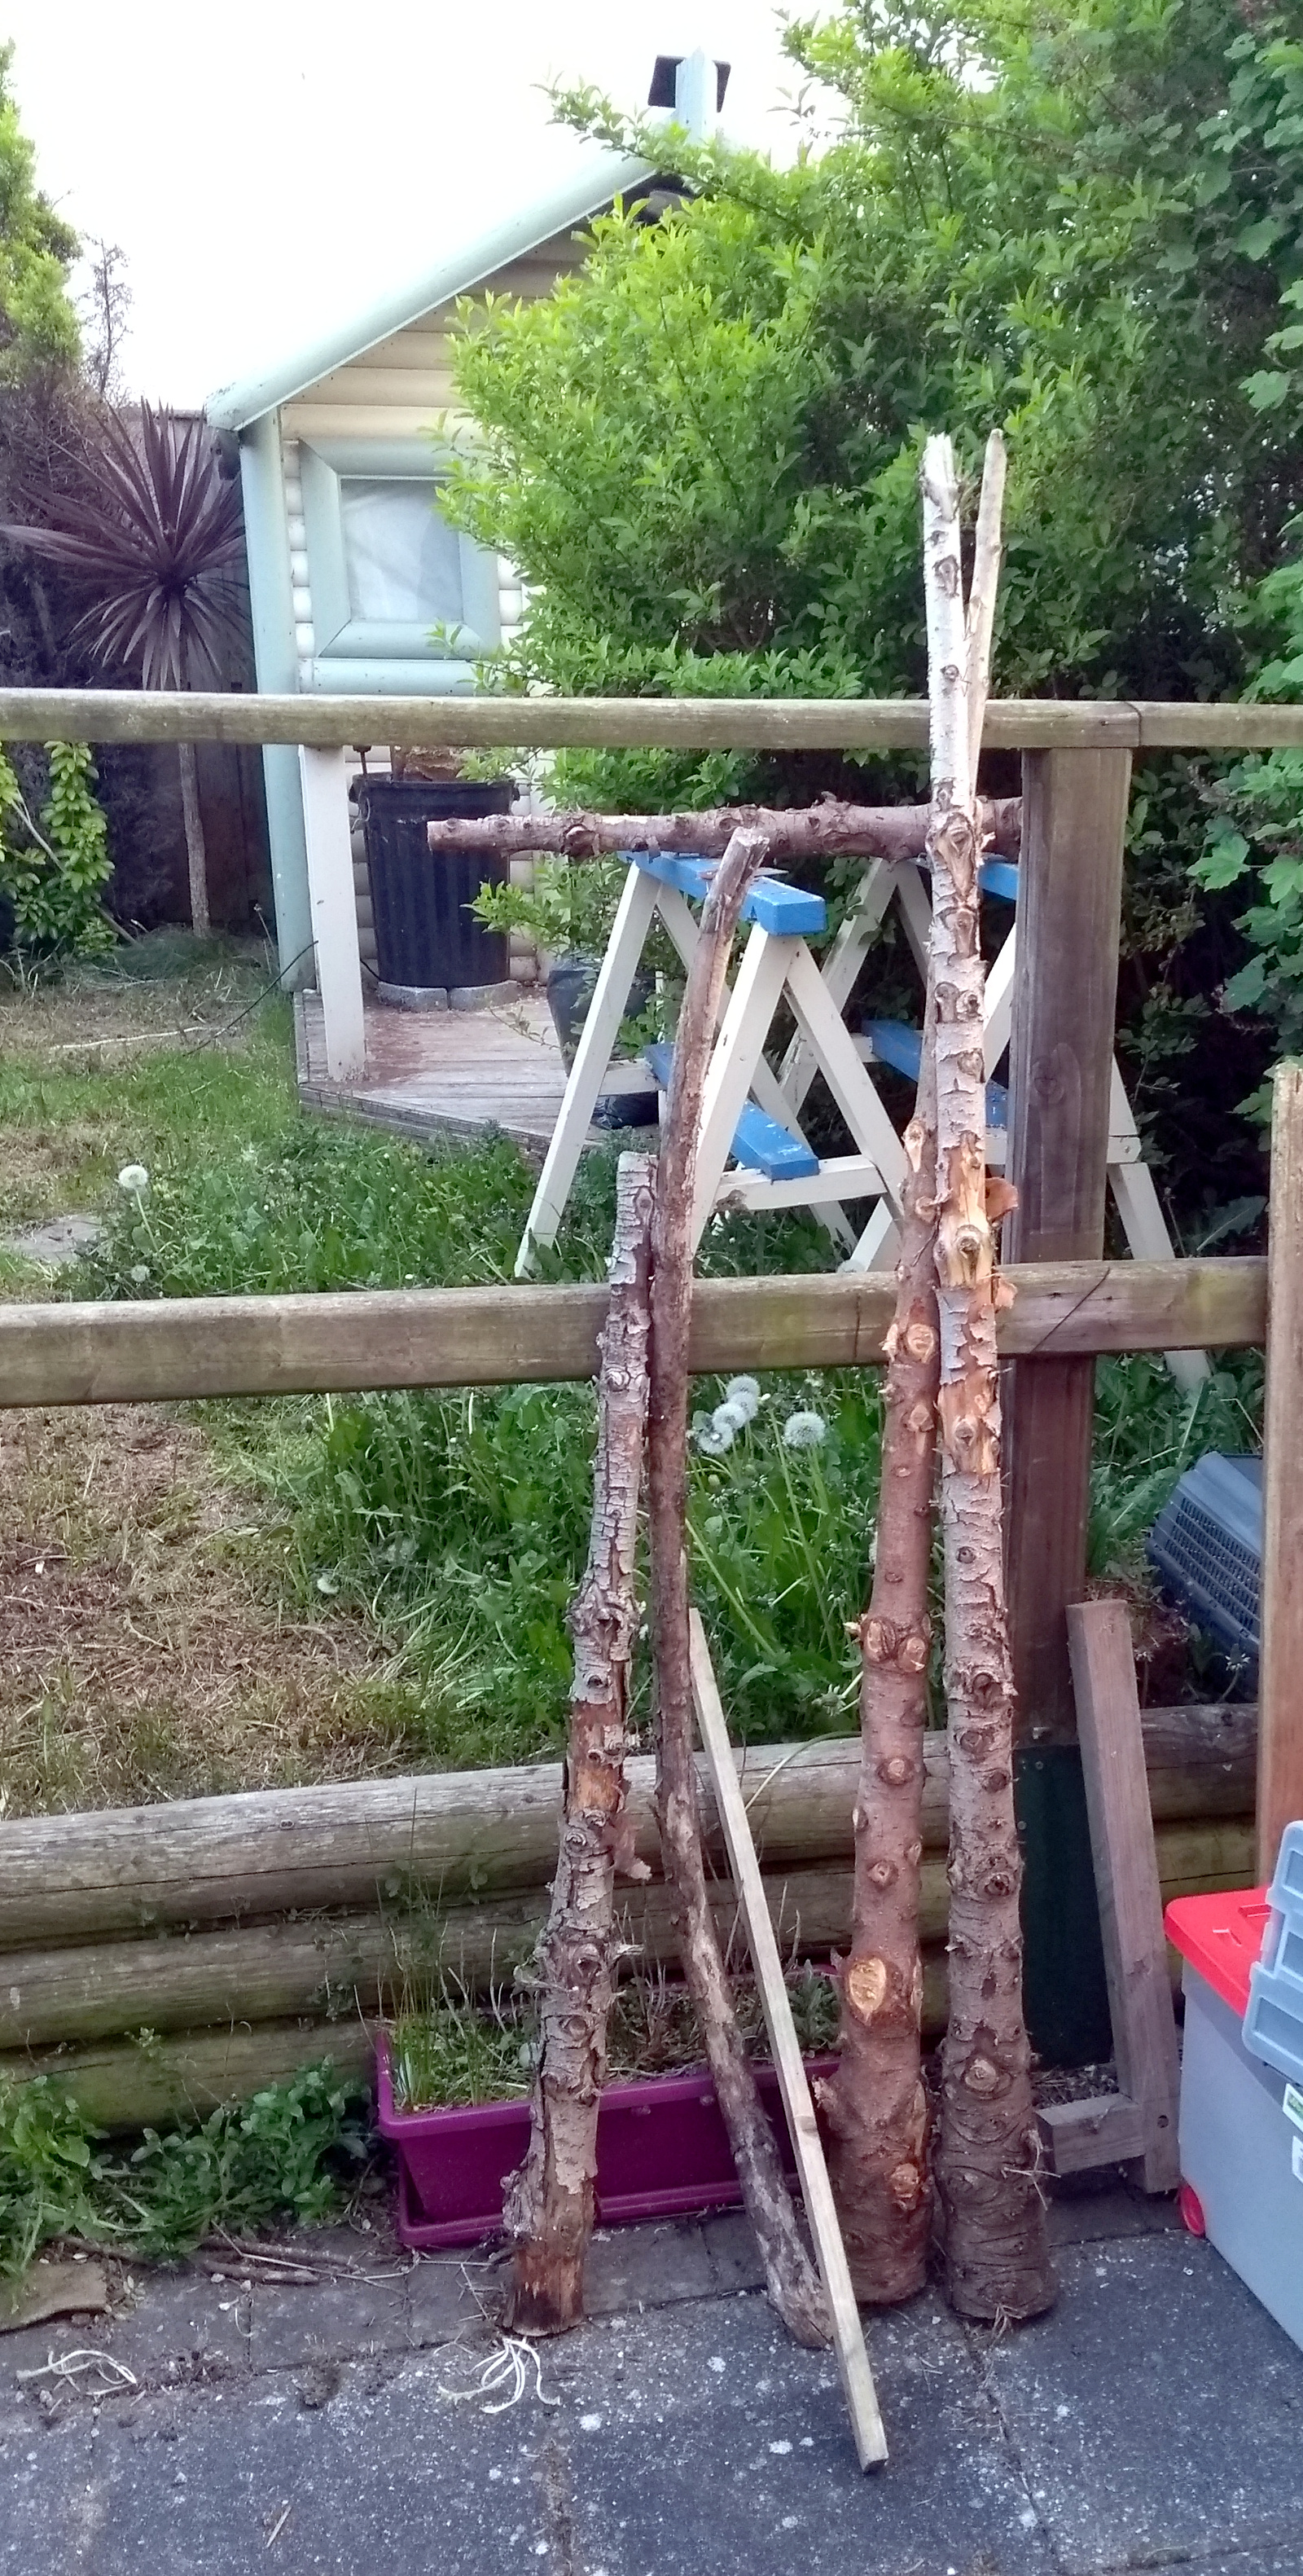
Then I took the more manageable-in-my-shed lengths into the shed and cut out all the pieces that looked salvagable, trying to get at least one chunk from every trunk so we’d have every year represented. The bandsaw rendered the rest into firewood.
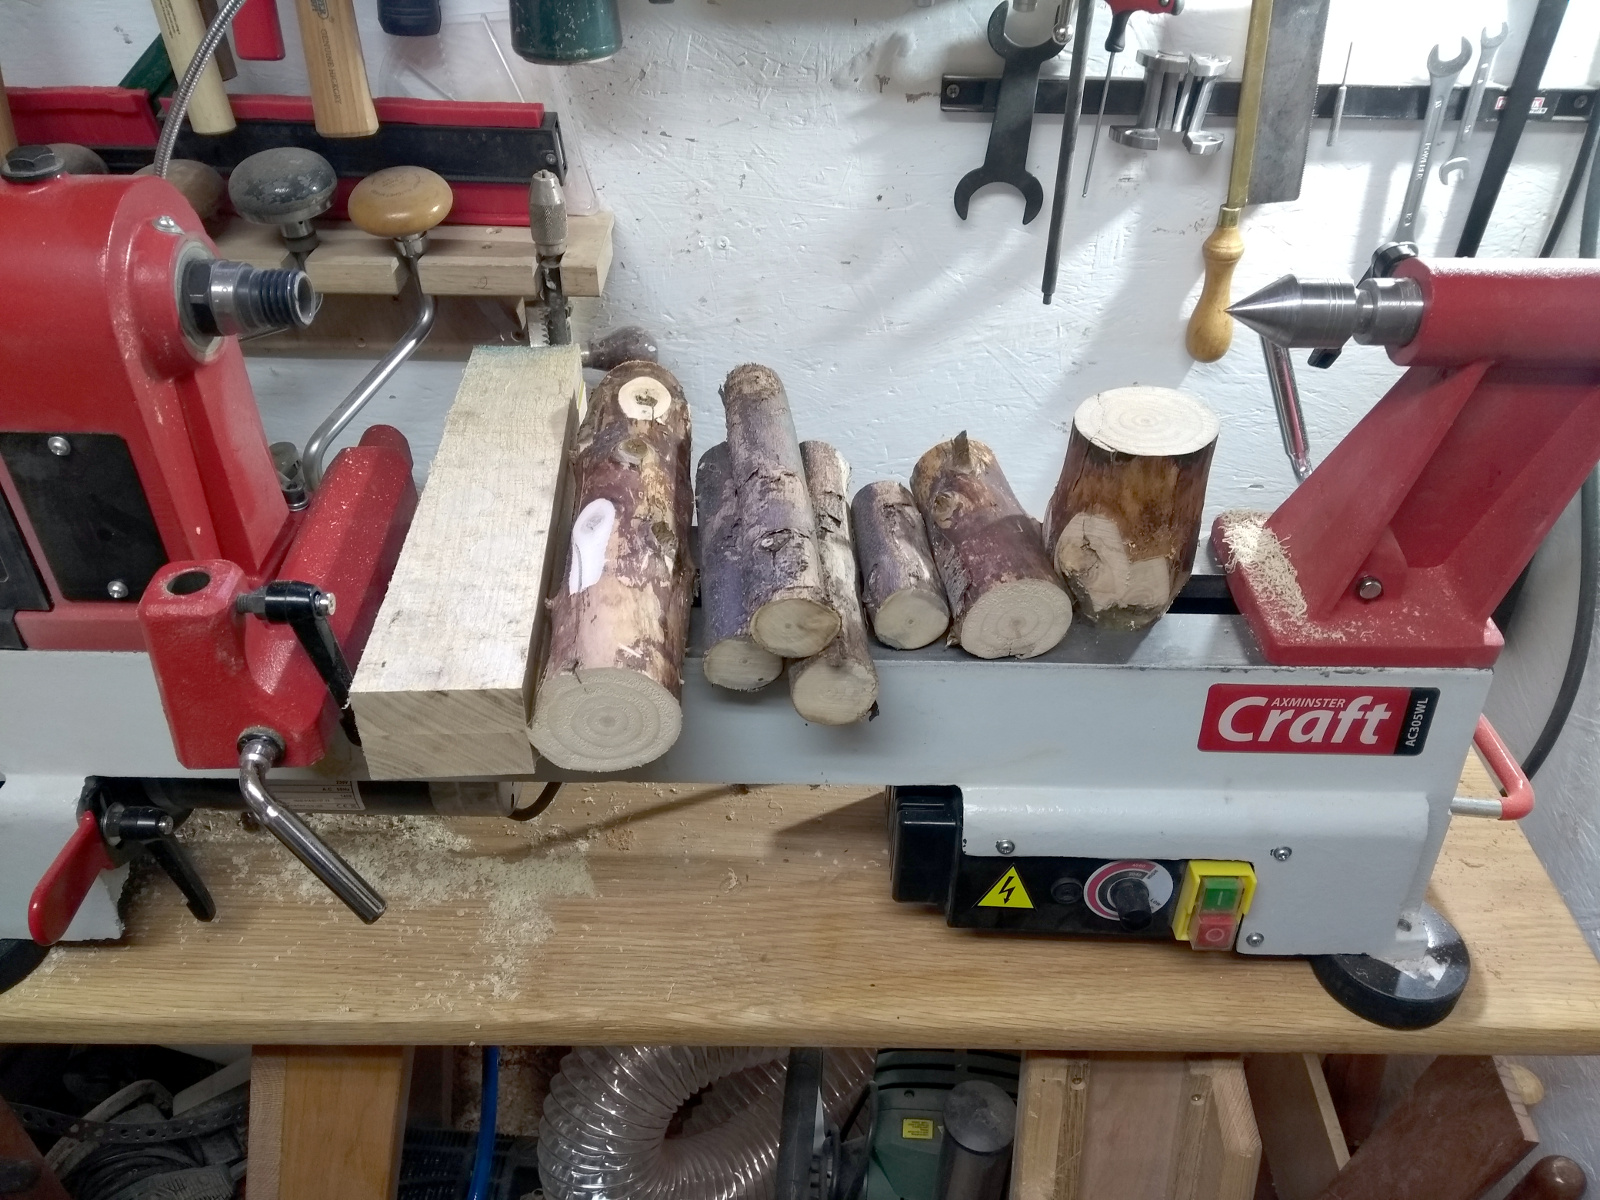
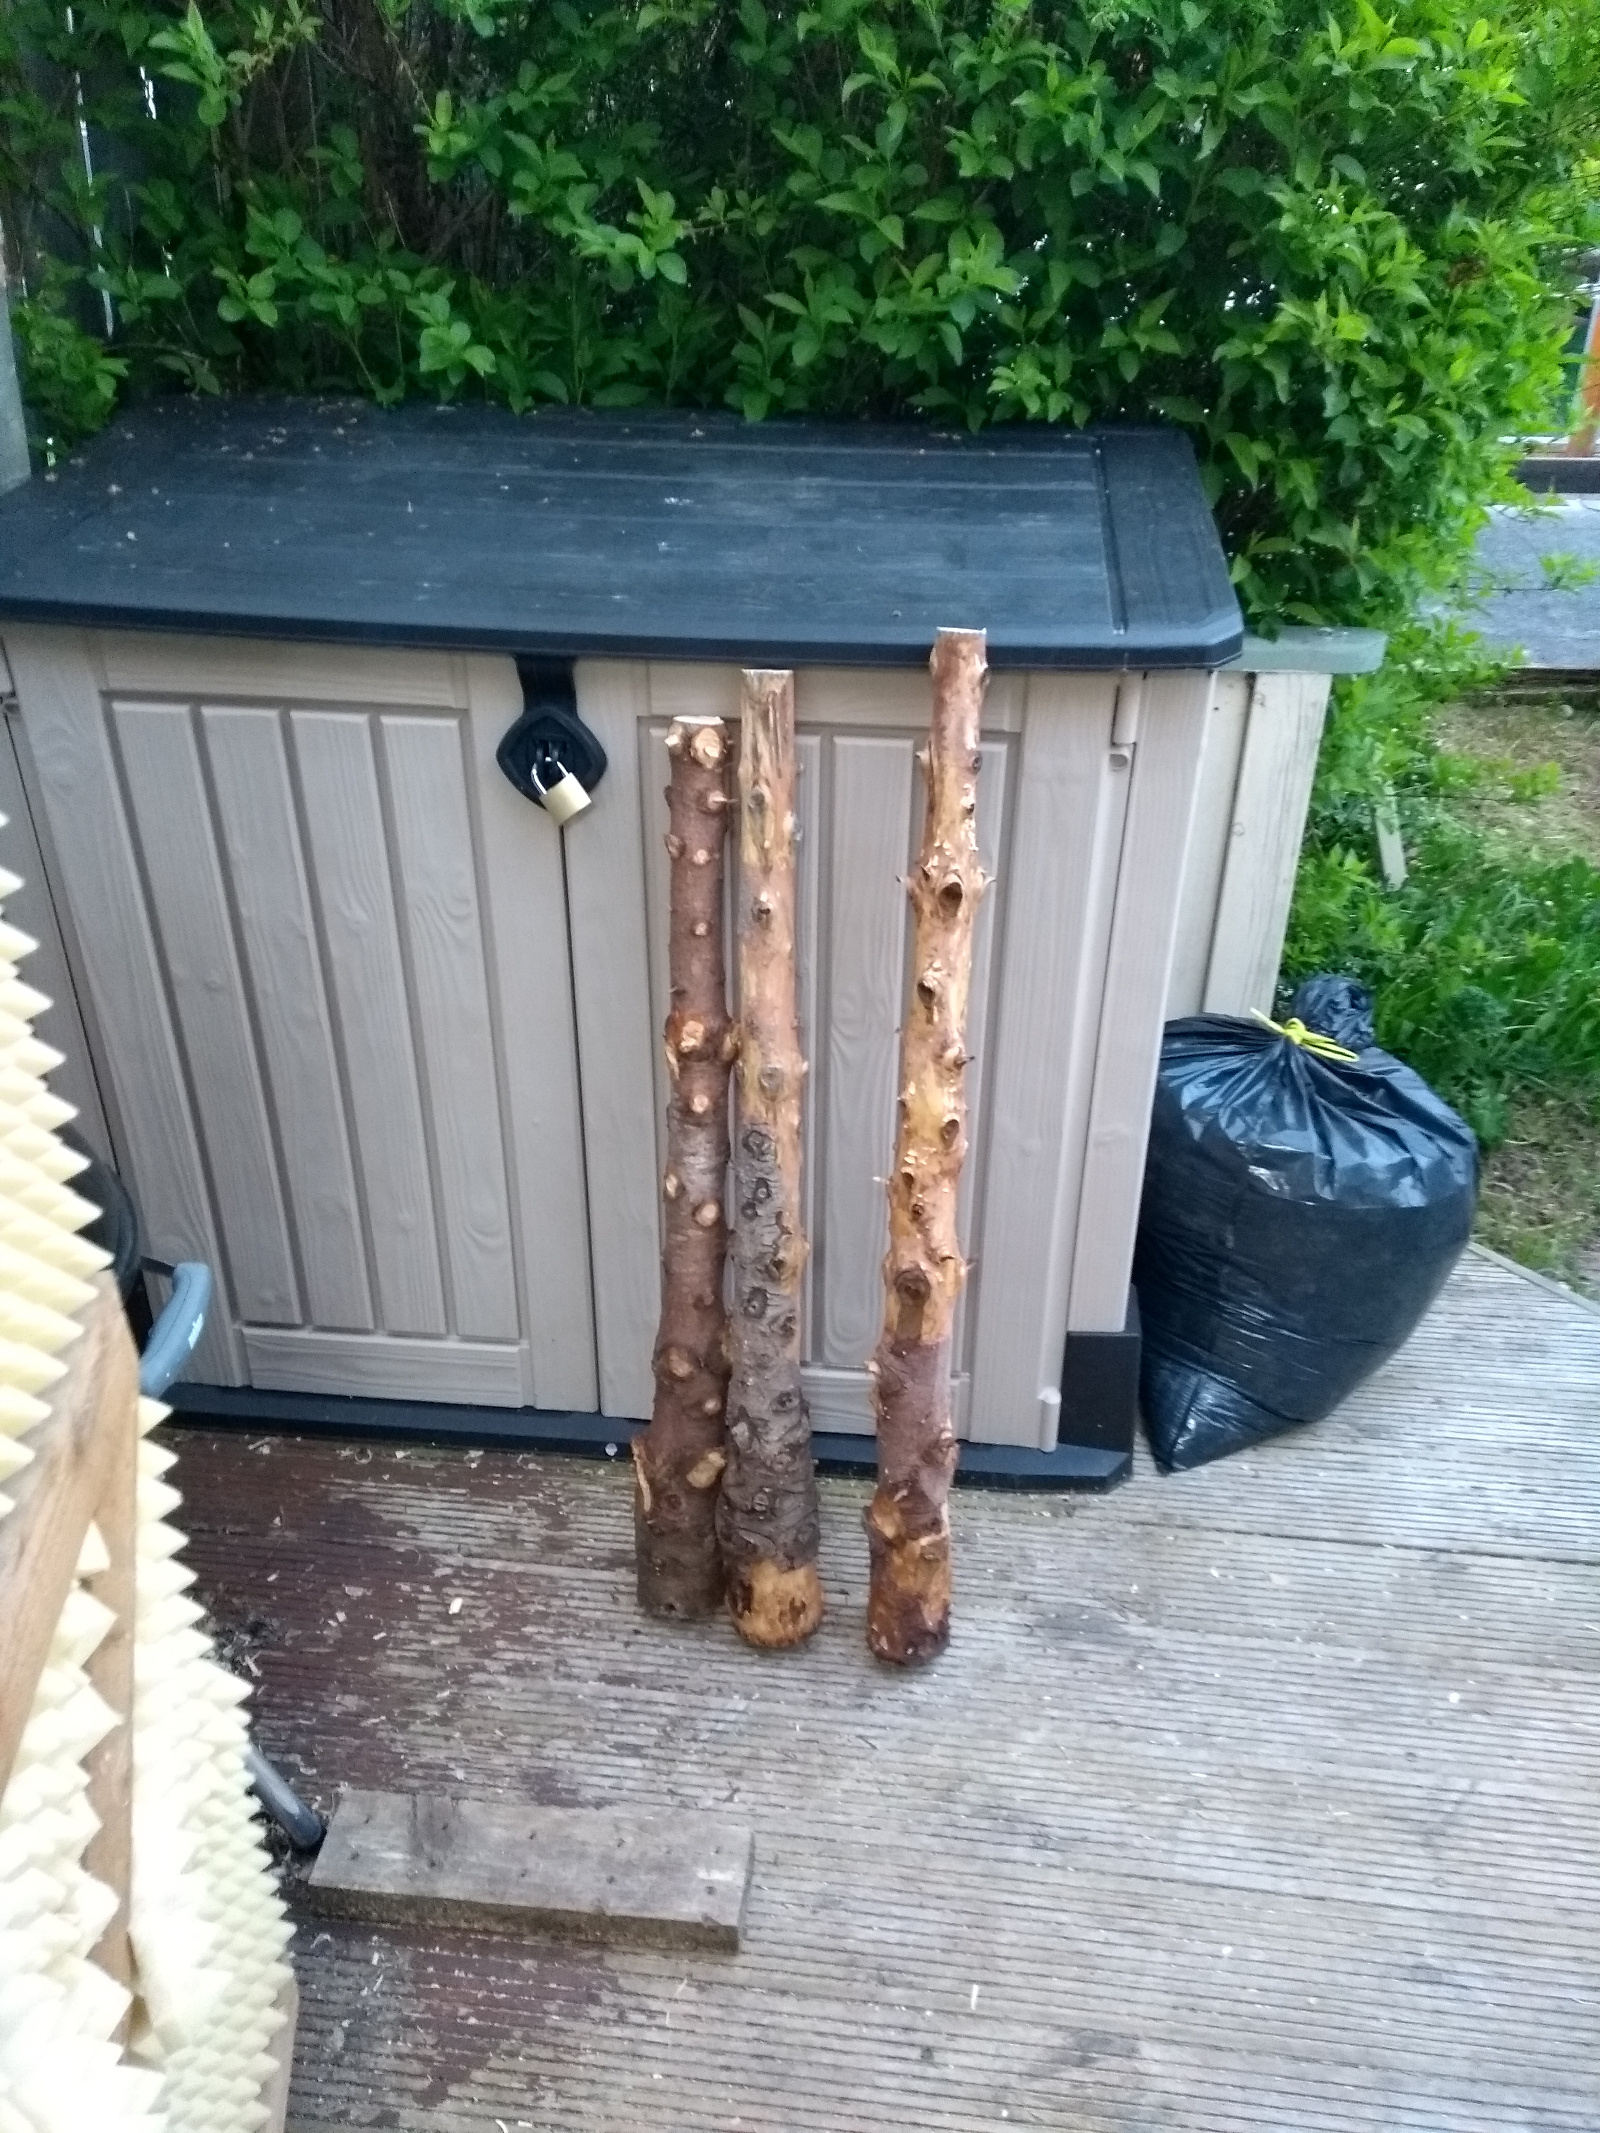
The oldest two trees just resulted in a handful of chunks but the most recent trees yielded a lot more material (that binbag is shavings btw, I had to empty the extractor that day)
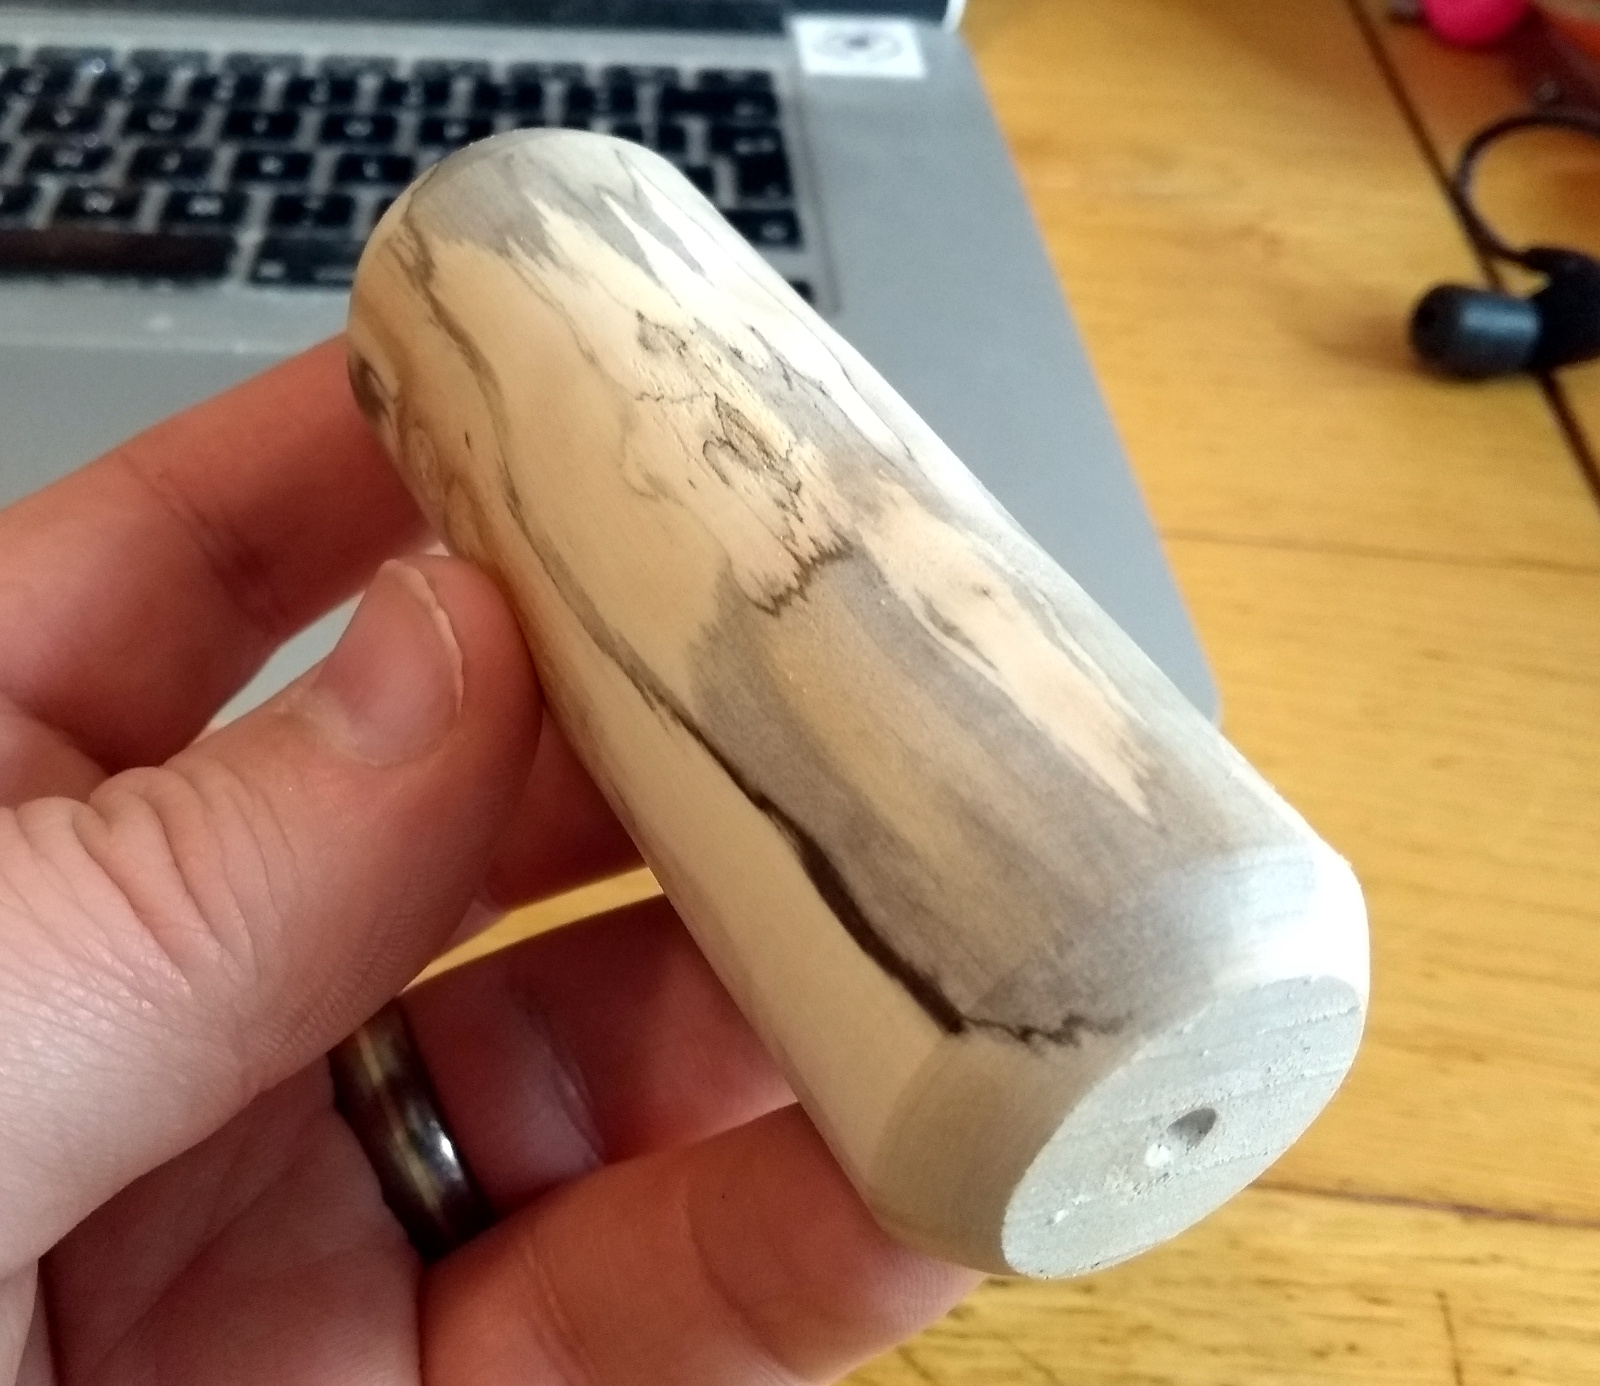
Some of the smaller pieces turned out to be spalted when rough-turned, which is kindof pretty in a monochrome sort of way.
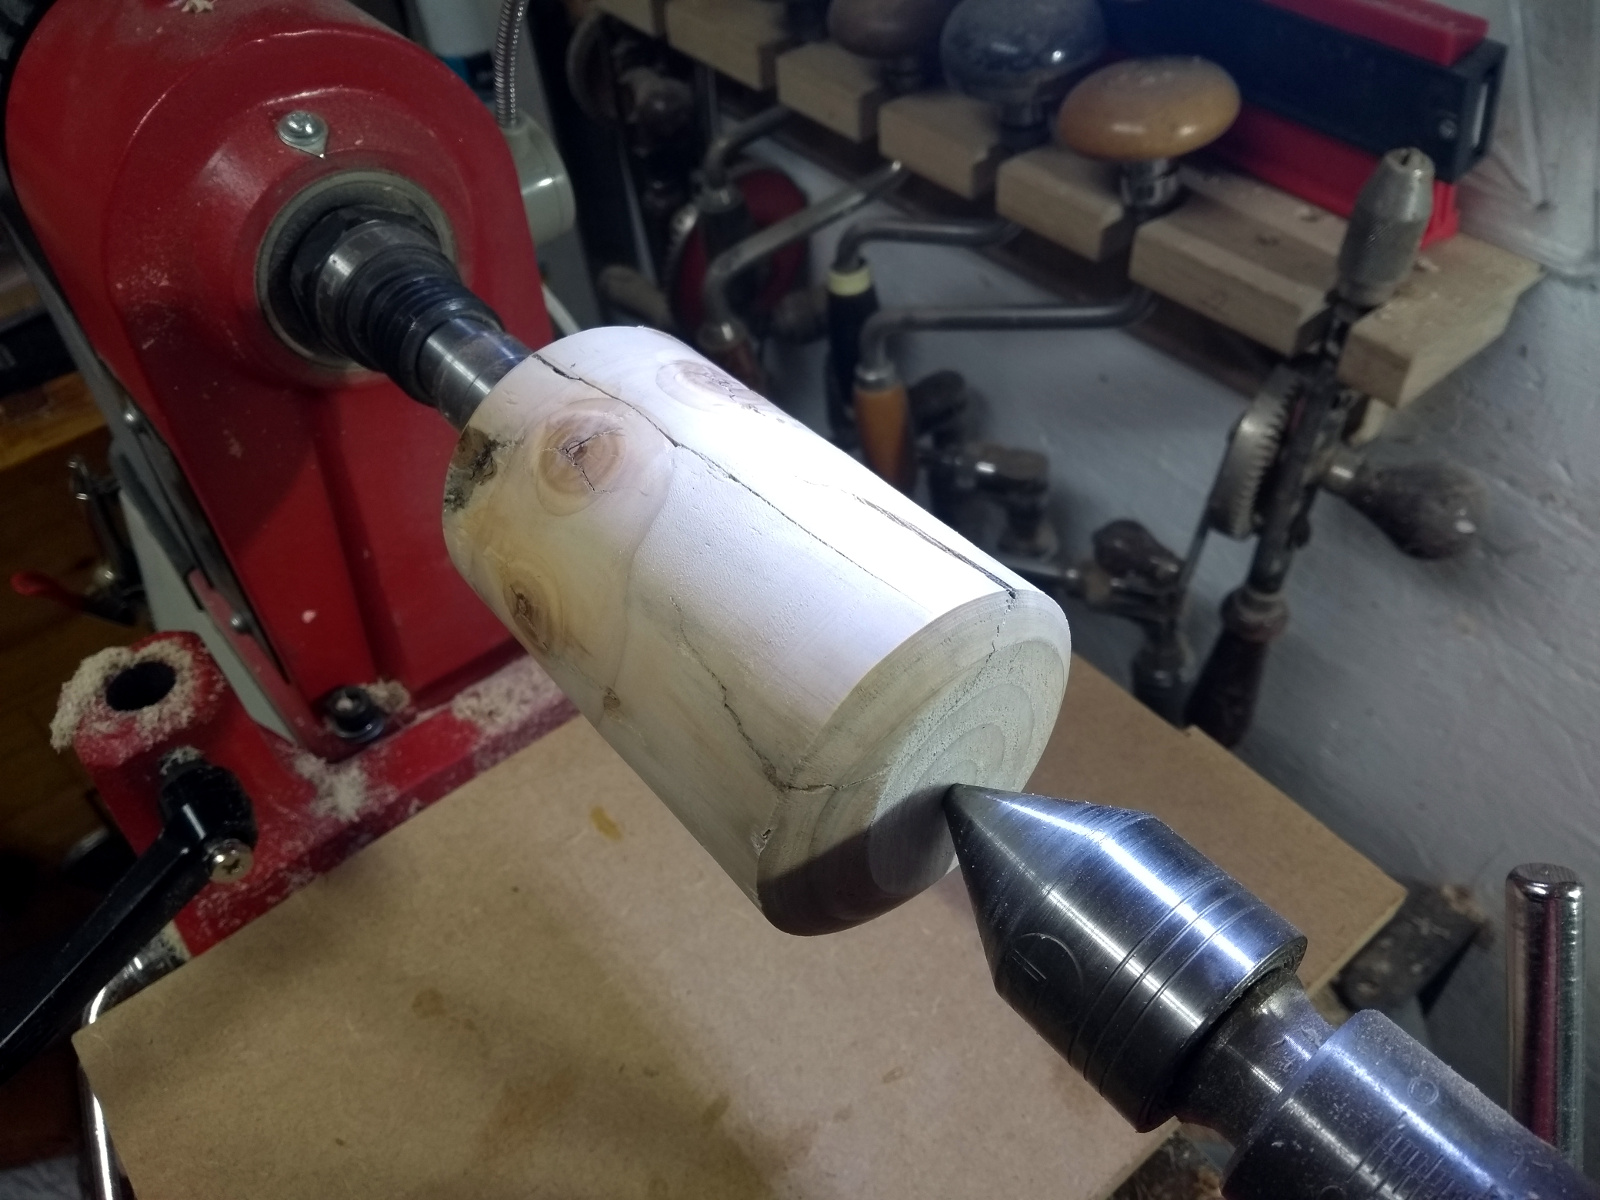
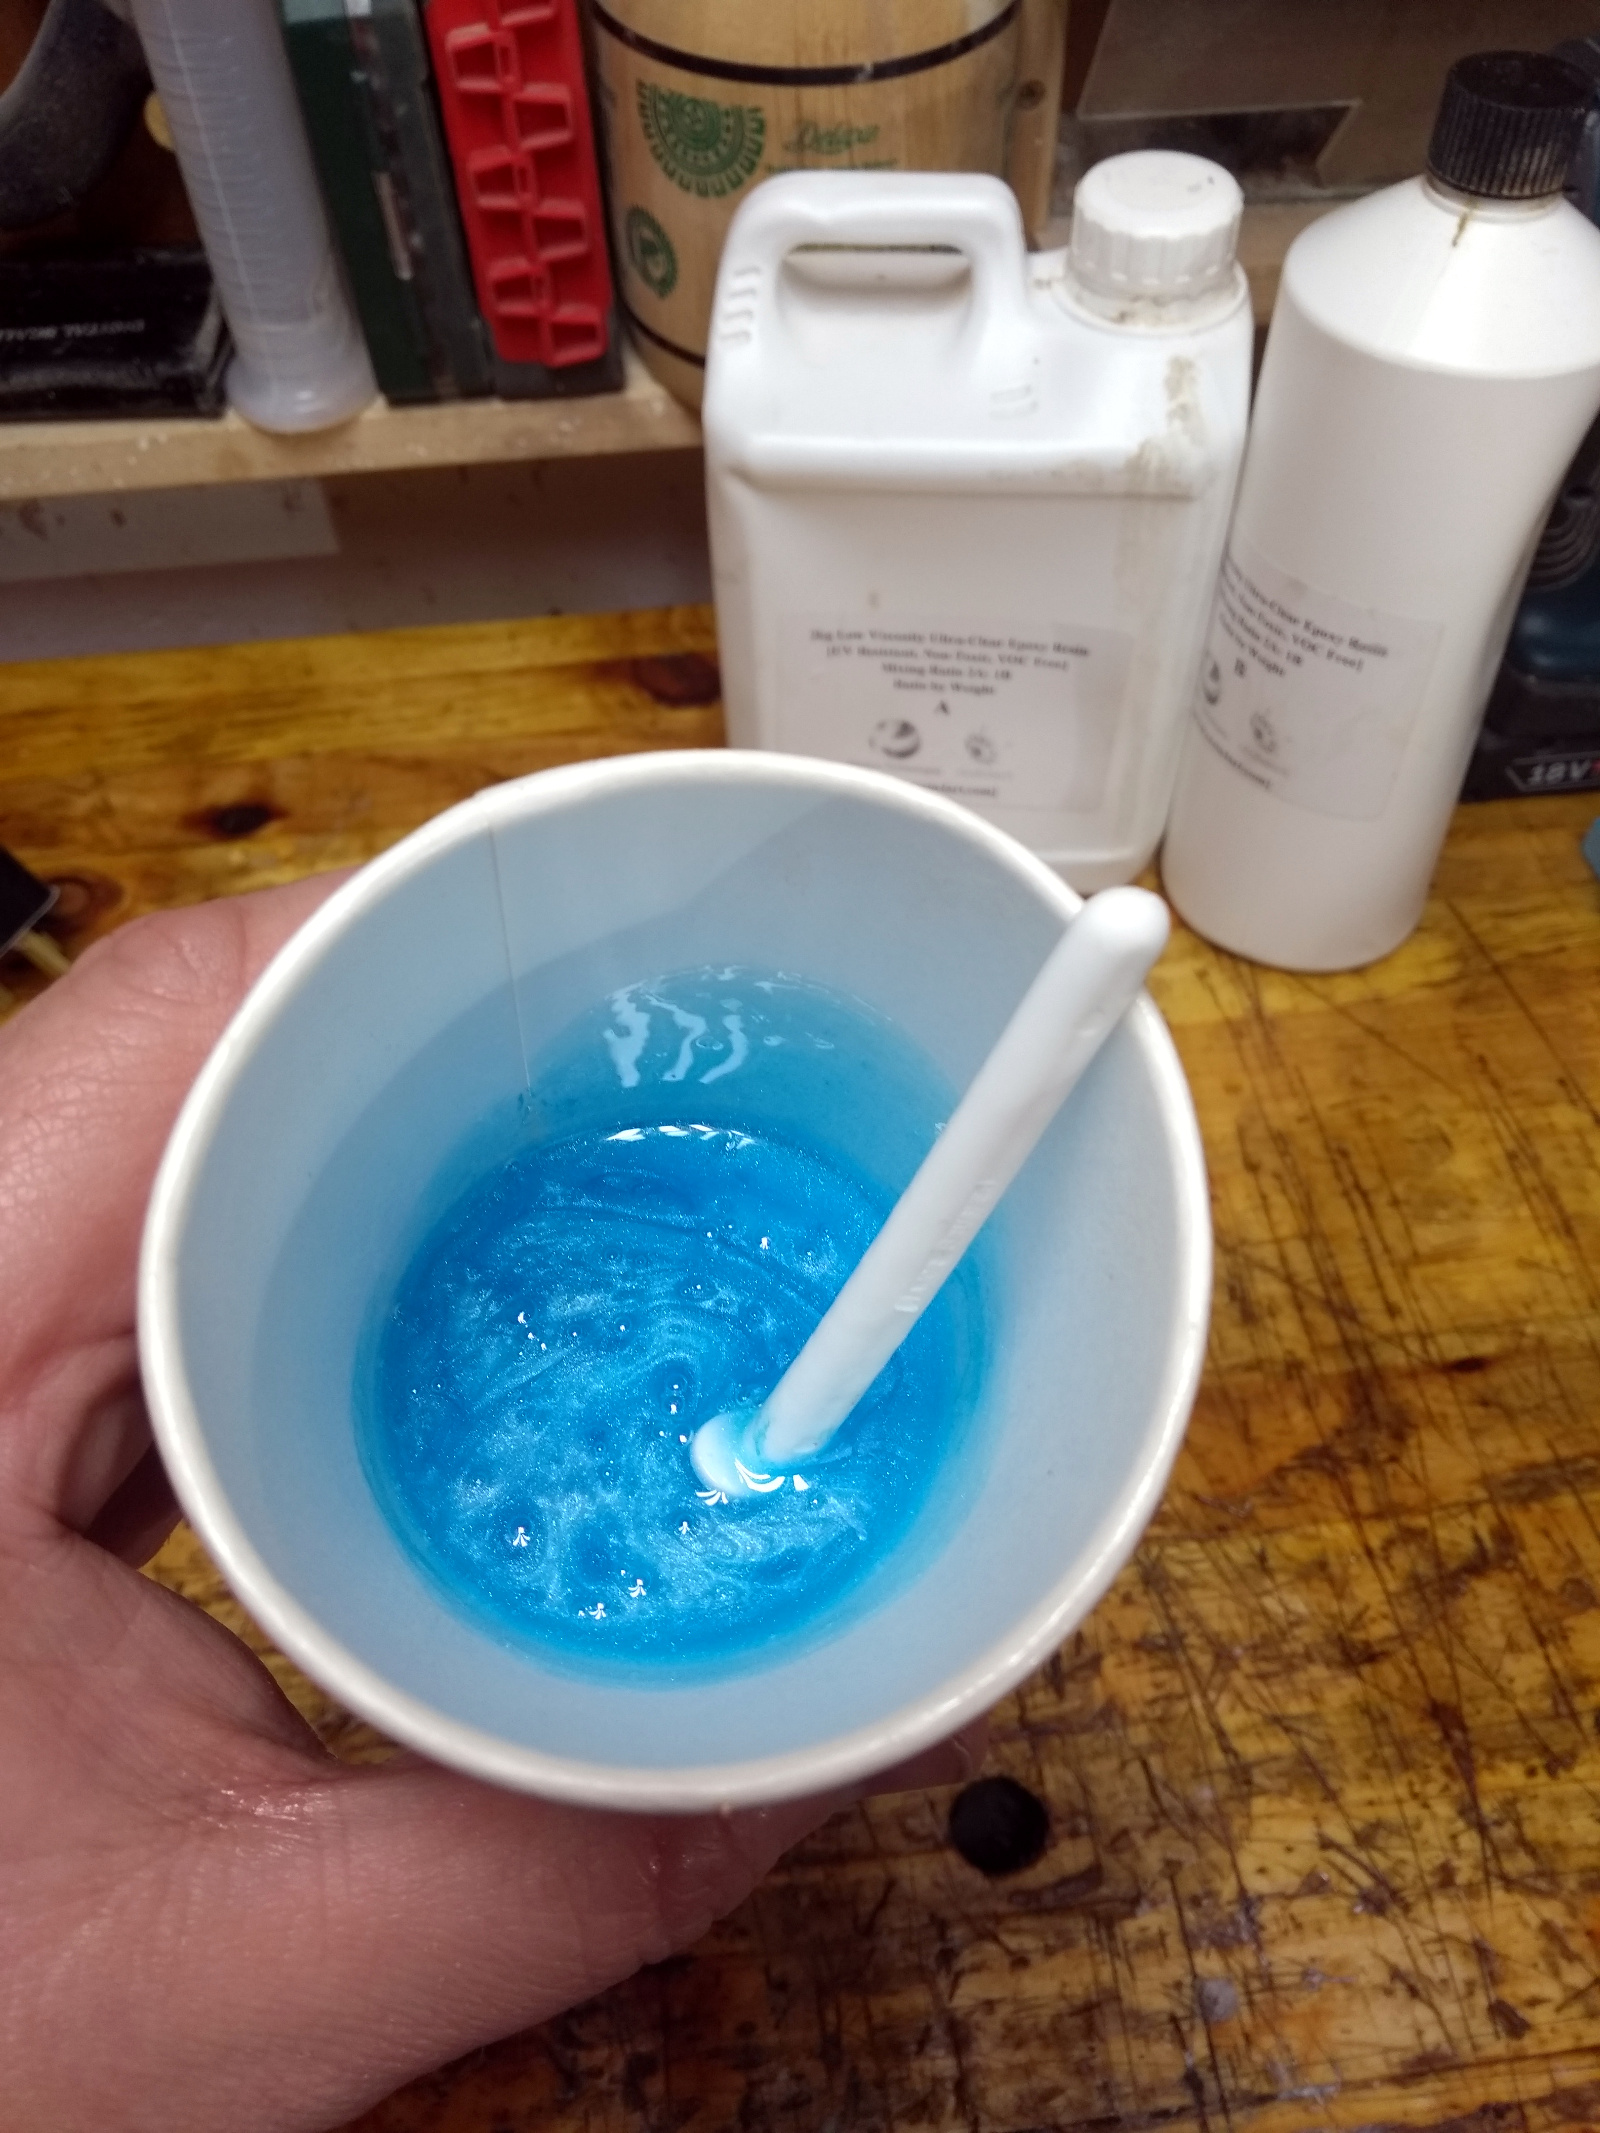
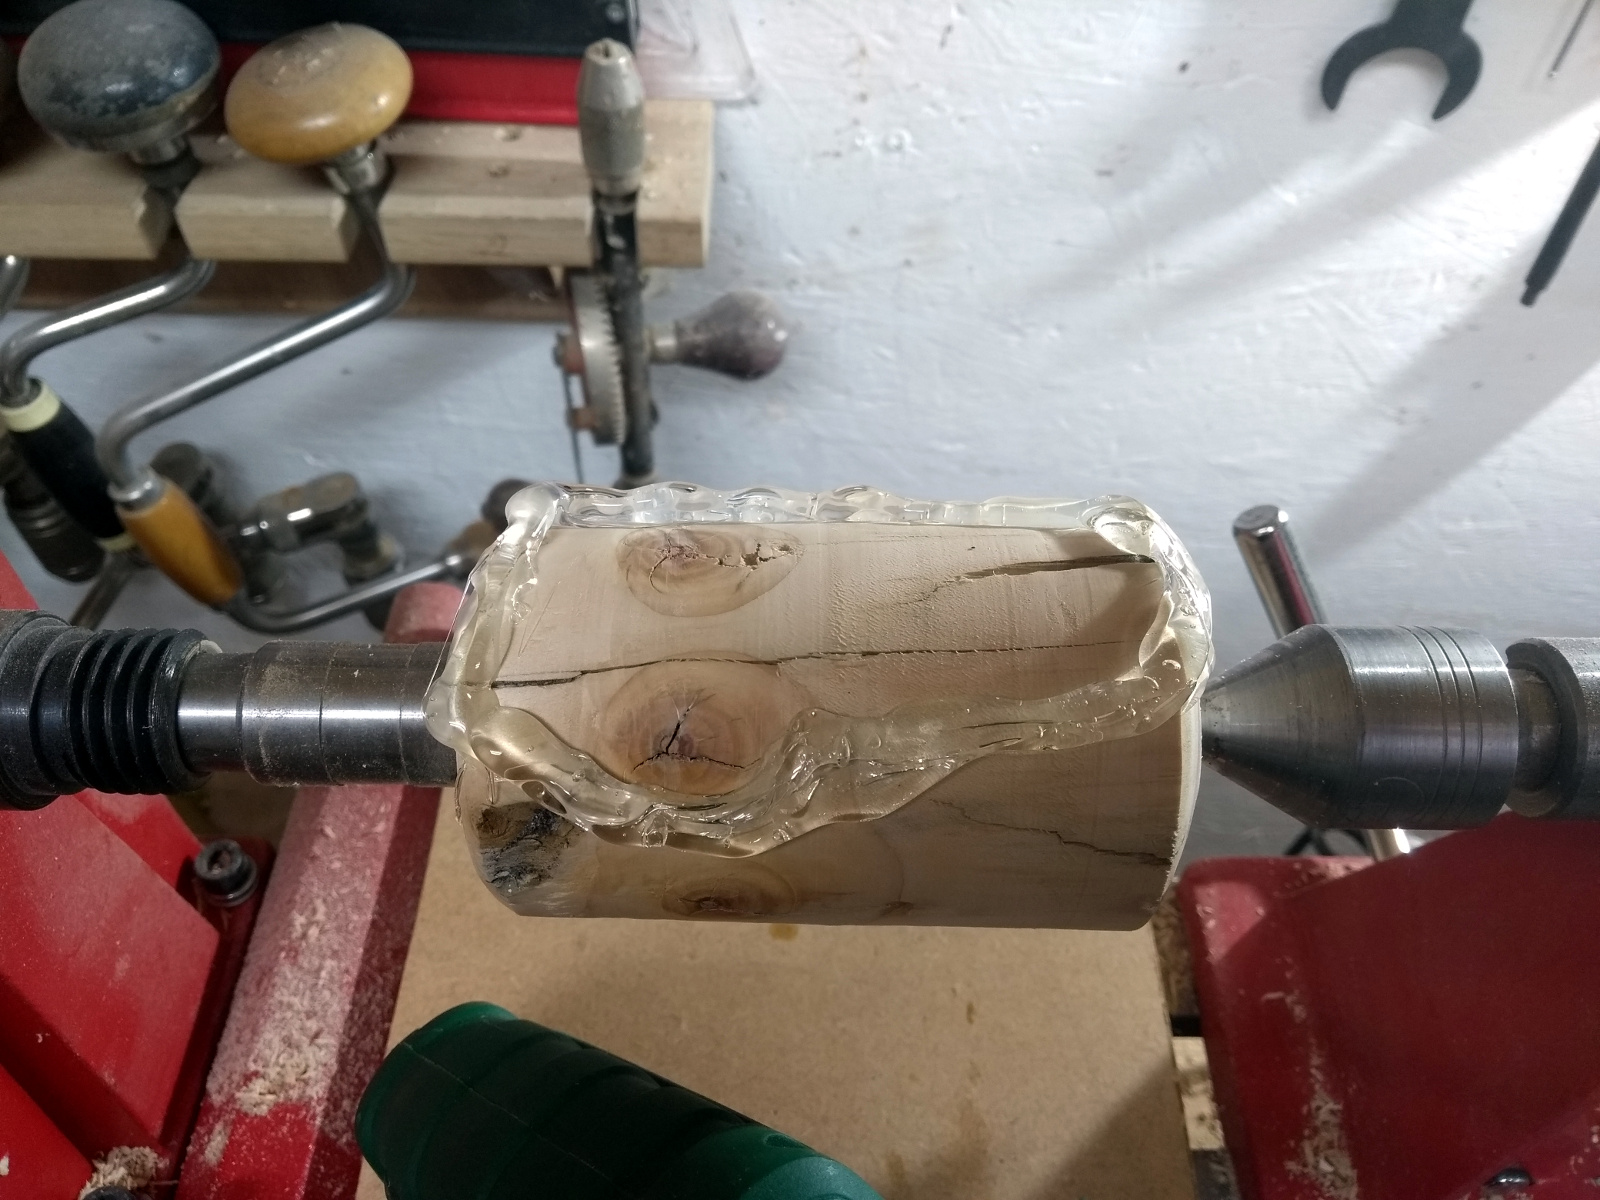
The shakes in this piece were just too large to ignore though, so out with the hot glue gun to make a dam and it’s resin time!
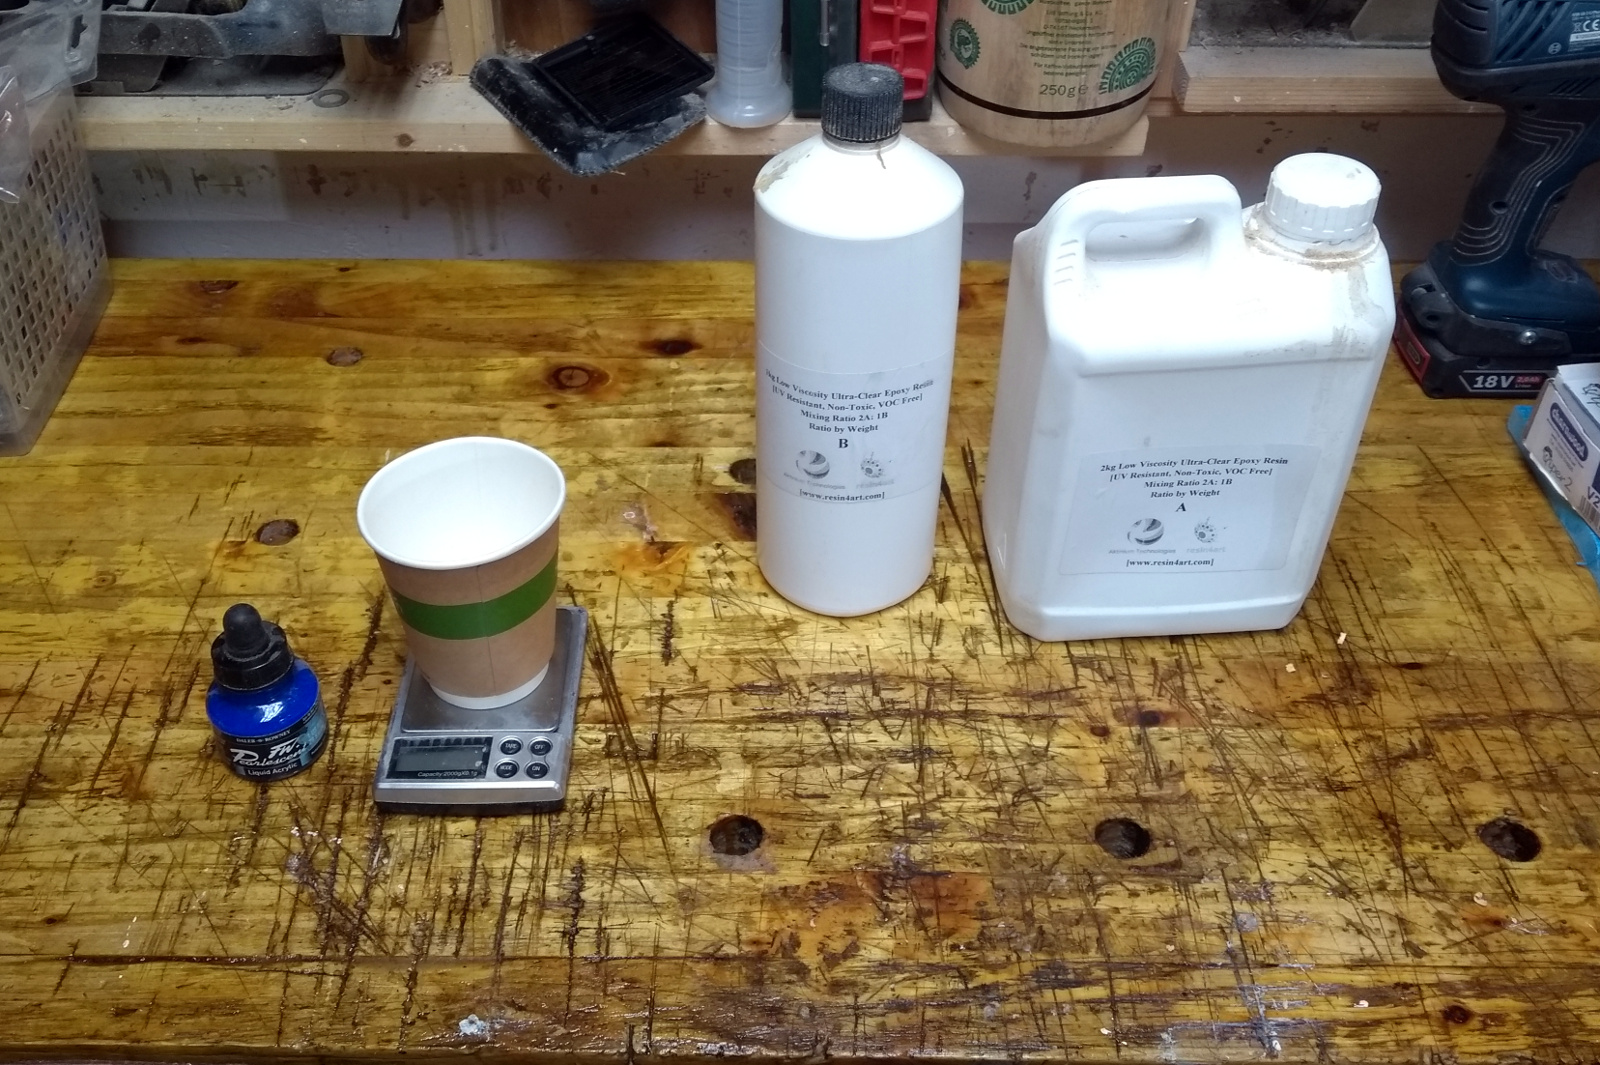
Daler-Romney pearlescent acrylic ink in sun-up blue, in case you’re interested.
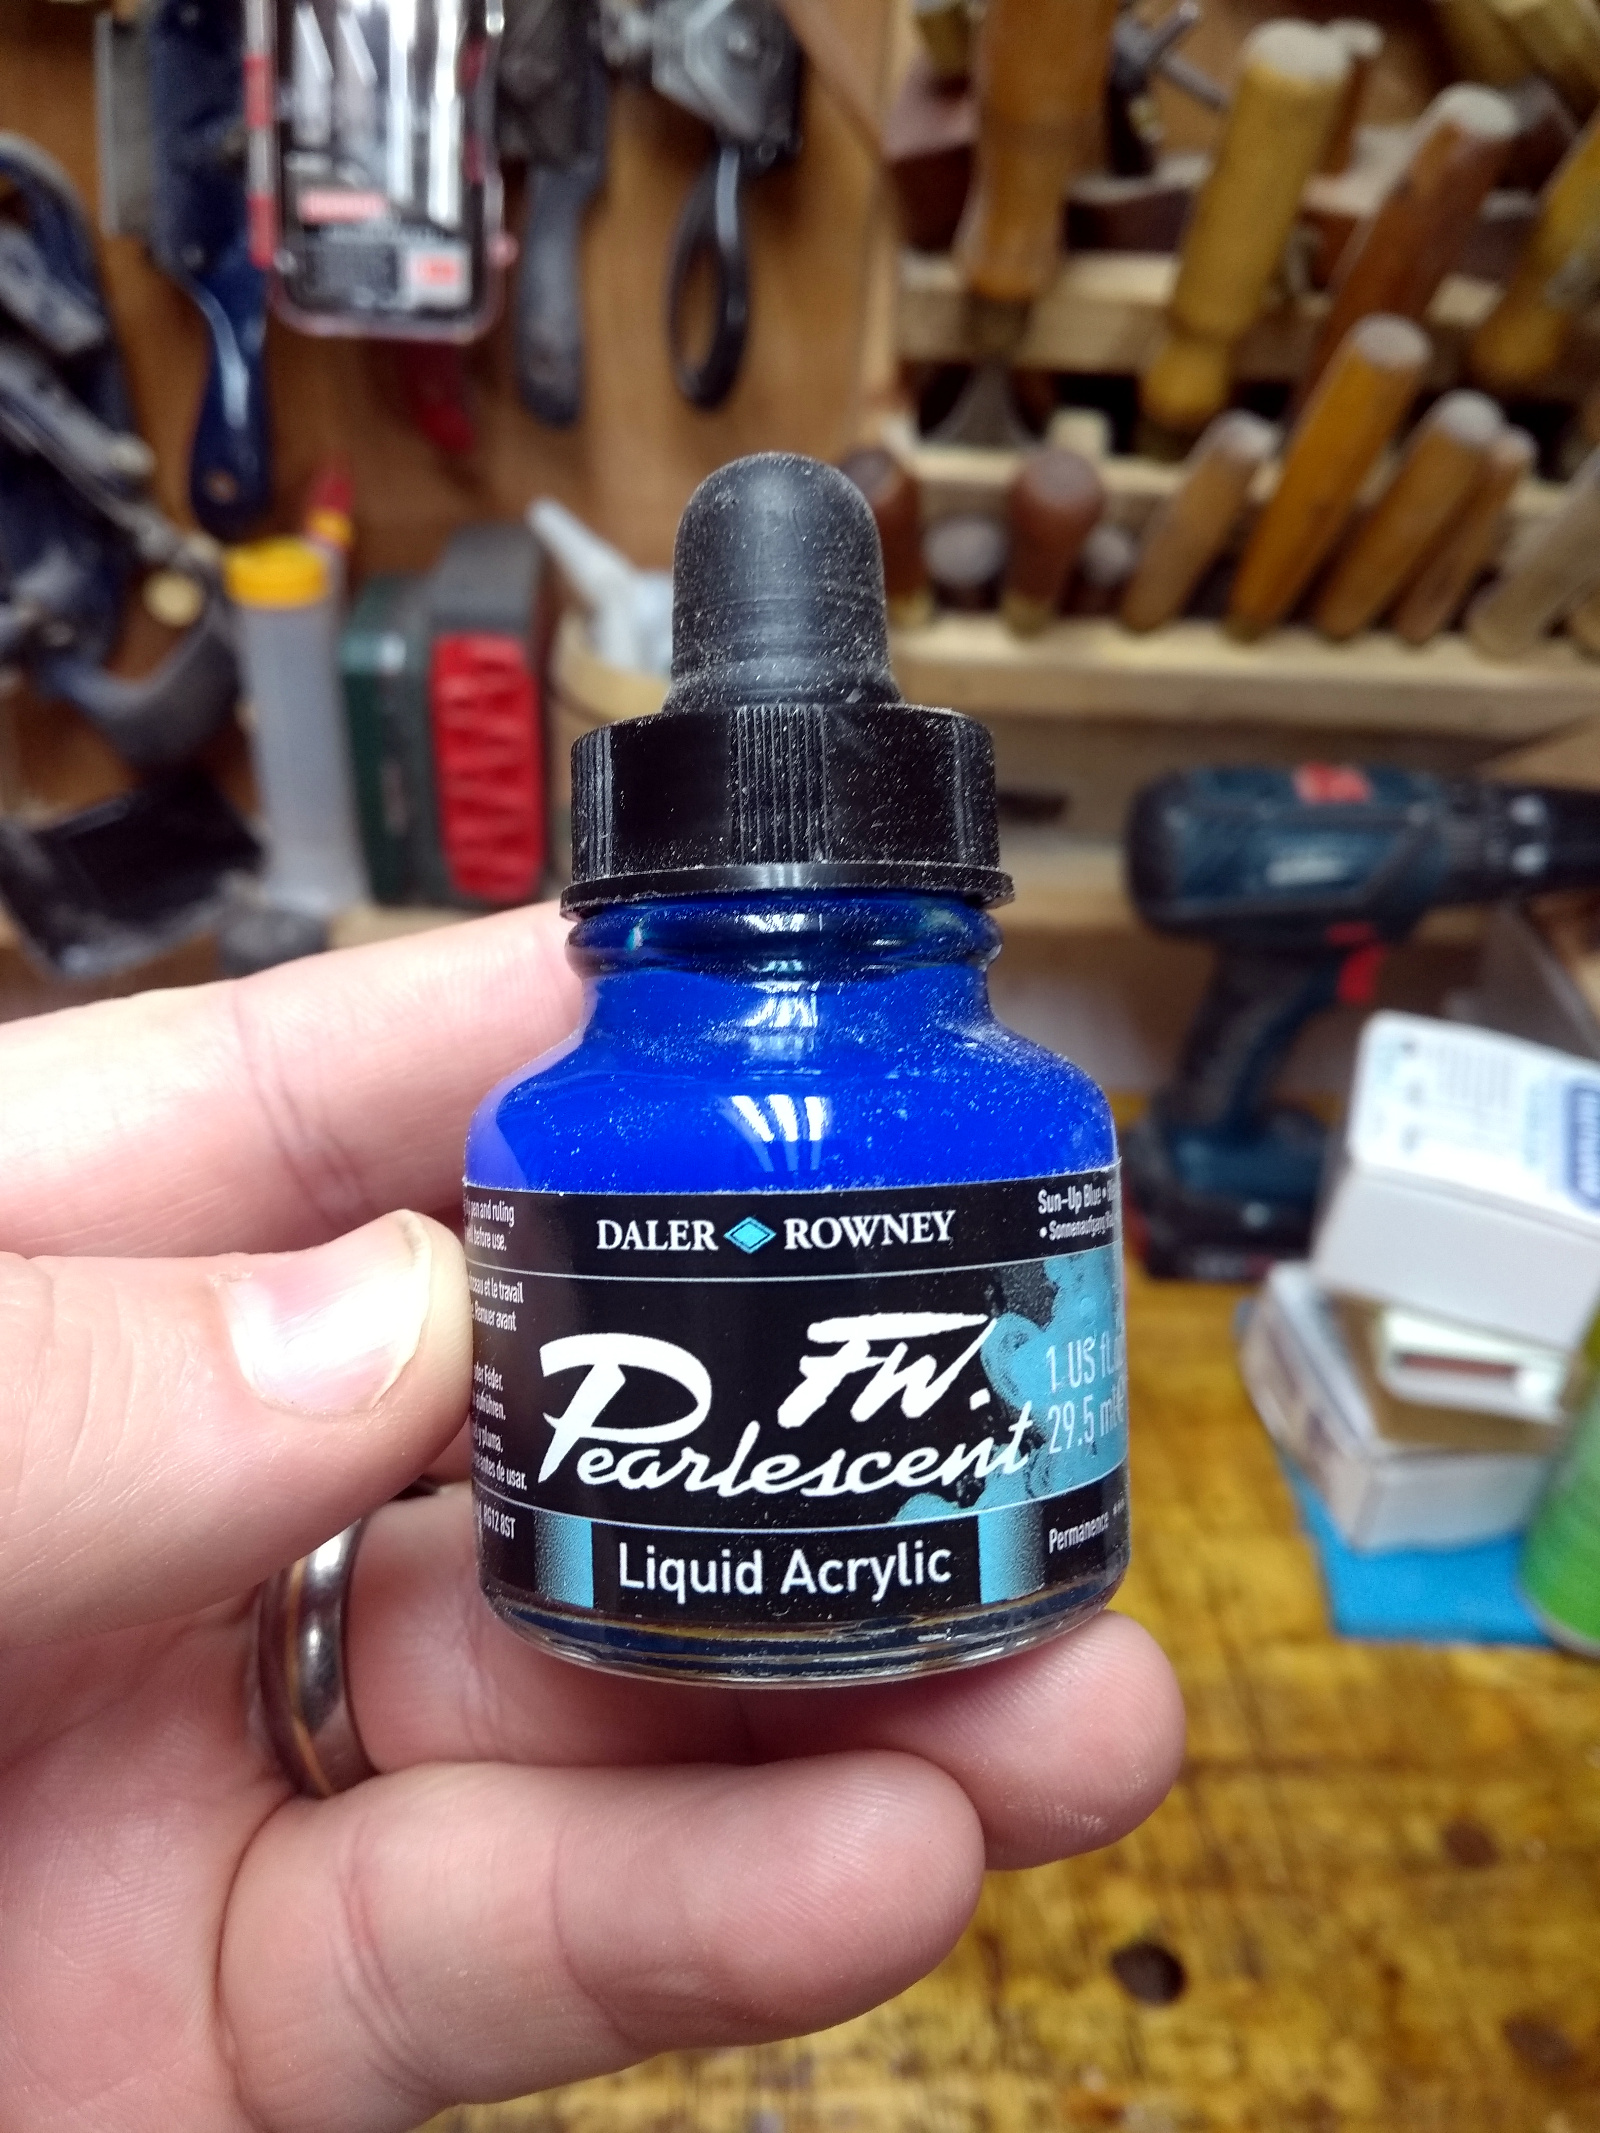
It’s pretty nice stuff, and handles very well. I may need to get a few more of these. The resin pour proved messier than expected though…
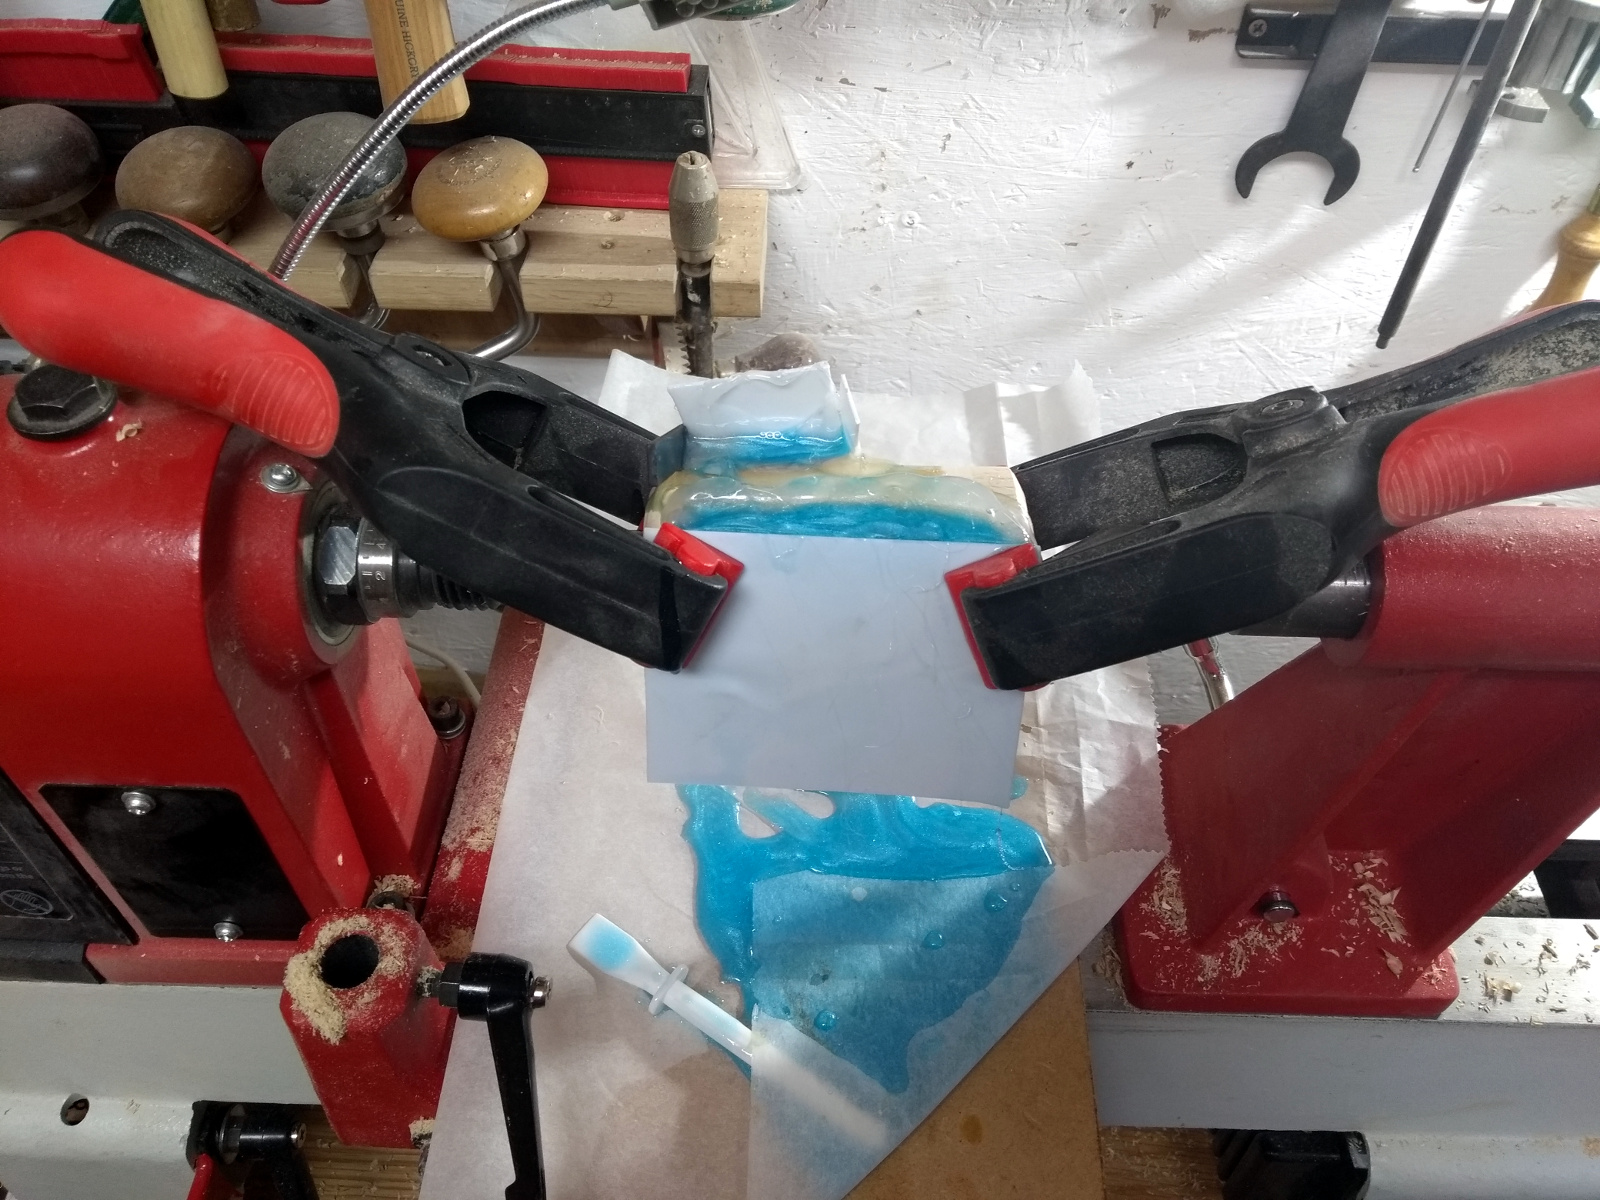
And yes, the whole damn thing did in fact leak all over the live center, lathe bed and drive center and why yes, that was so much fun to clean up, how did you guess?

You couldn’t even really see the resin and its colour in the end. But it held the piece together while I chucked it up then put a jacobs chuck and 7mm drill bit into the tailstock and drilled out the center for an insert from a kit (bought mine from The Carpentry Store). I turned a small test shape to see how the wood handled, sanded it, sealed it, thought “no, that needs colour” and stained it then thought “wait, sanding sealer and stain should have gone on in the opposite order, oh bother”, and then promptly bent the ferrule learning how to get the head and ferrule into the tube running through the center.
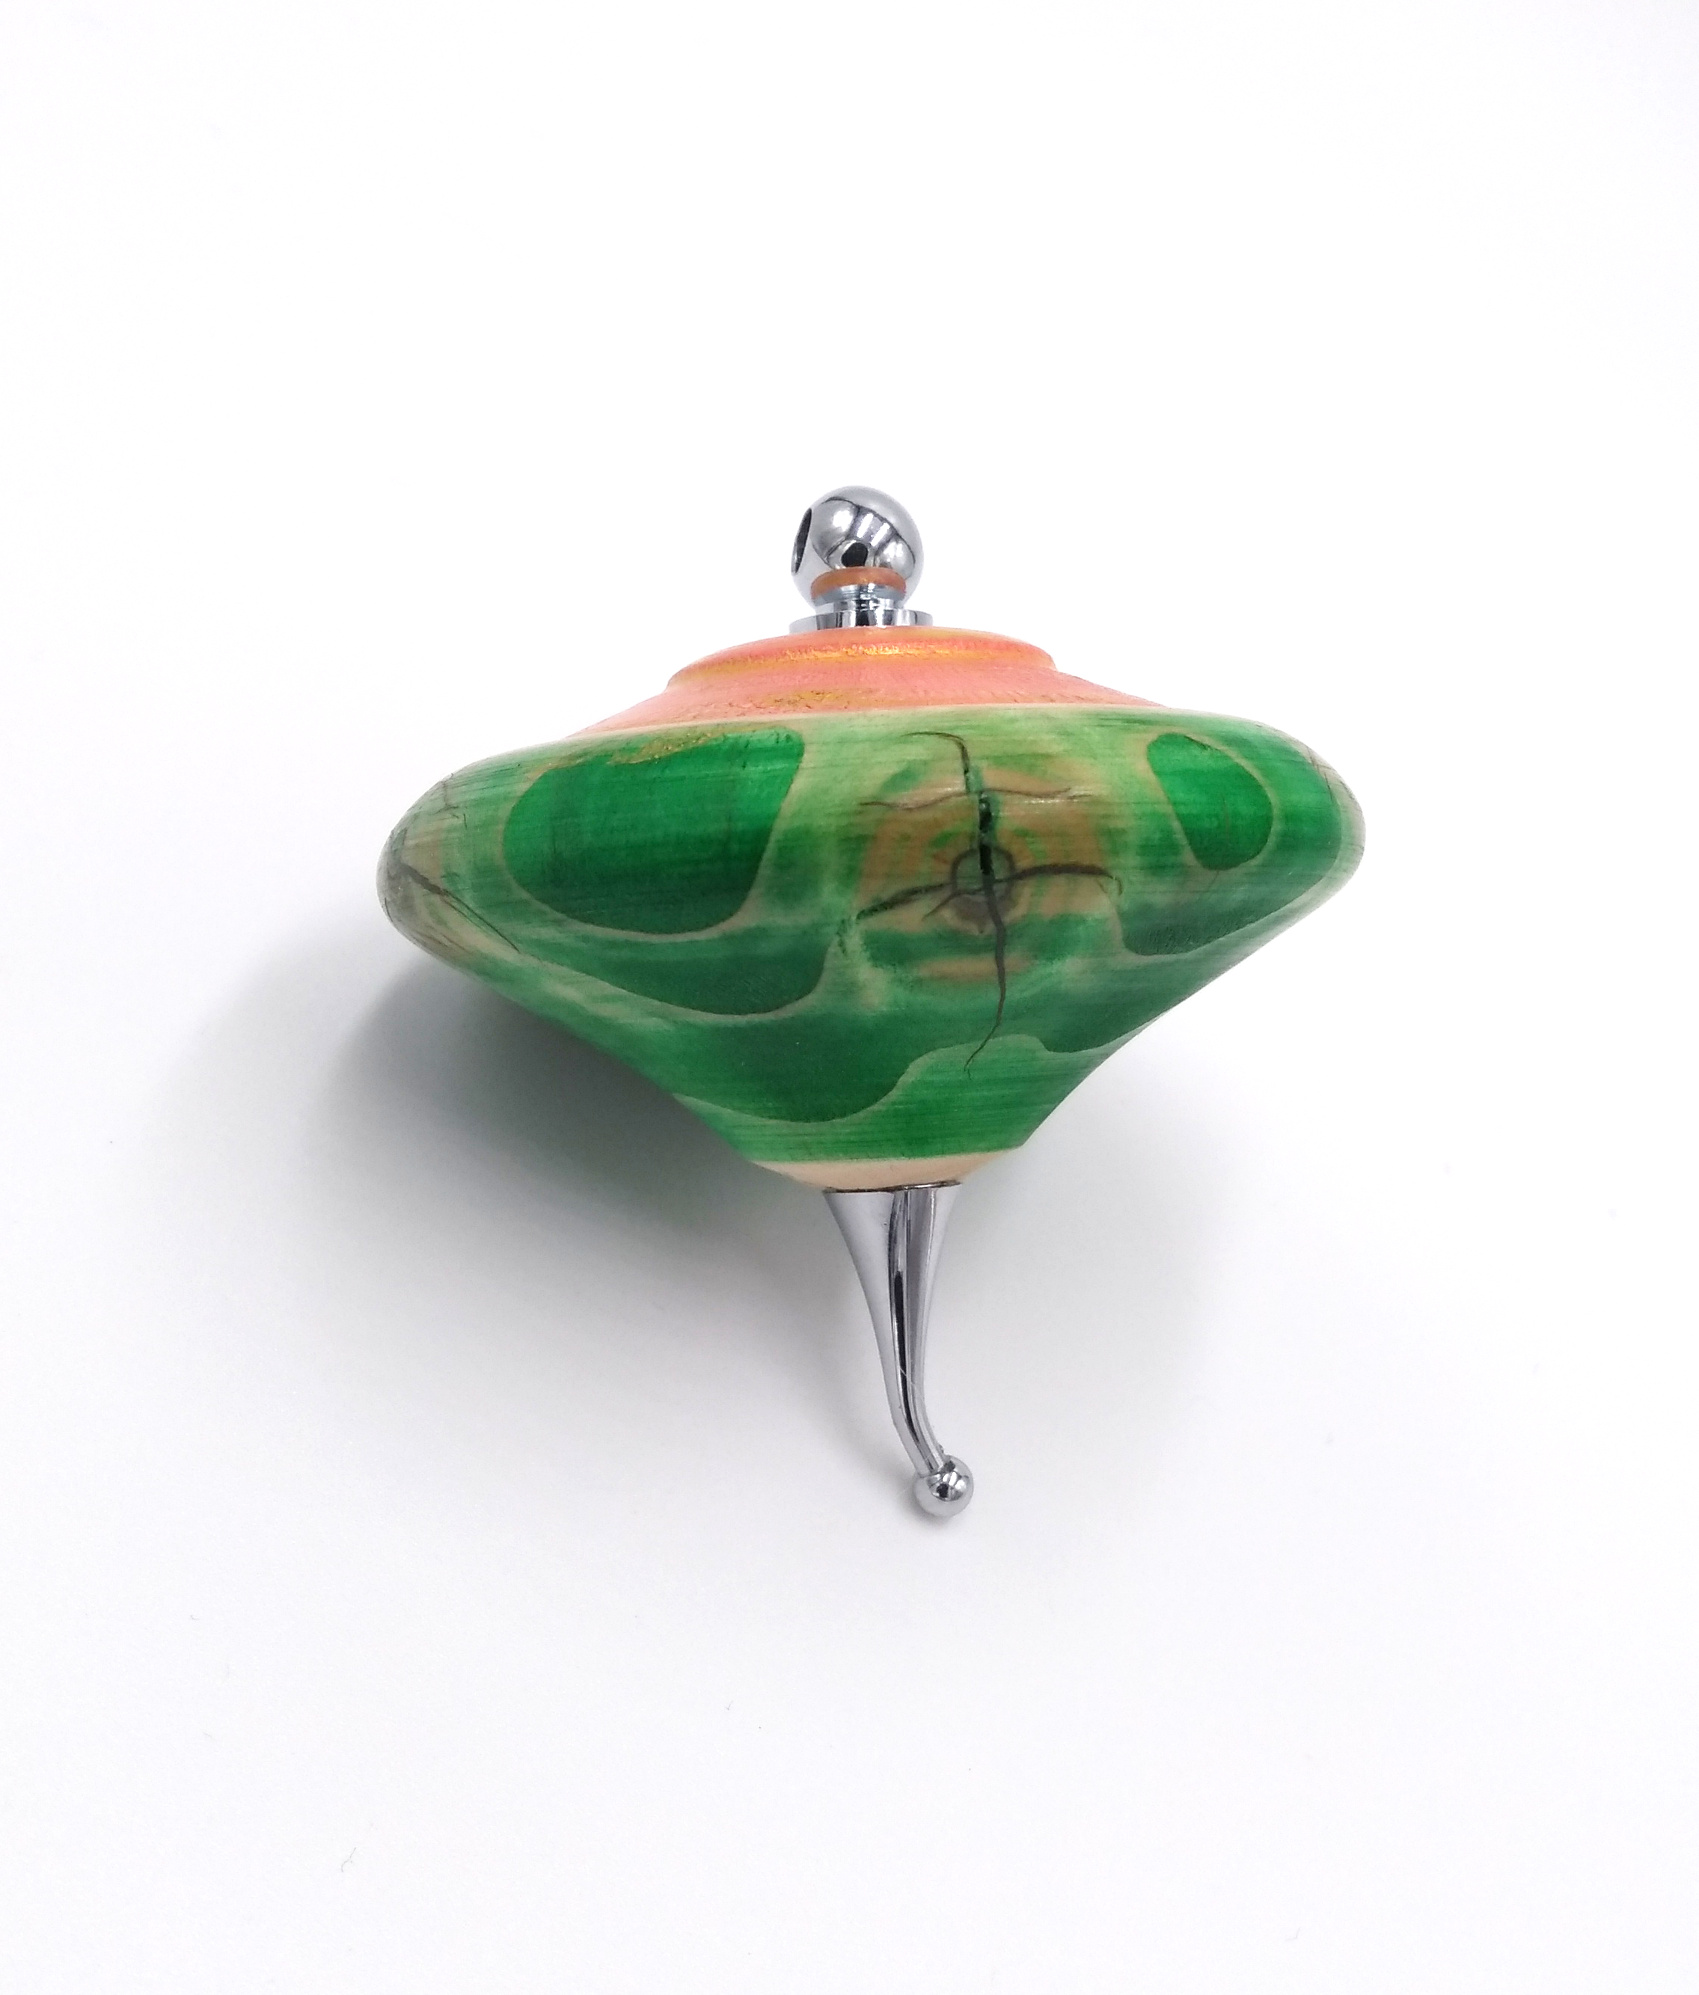
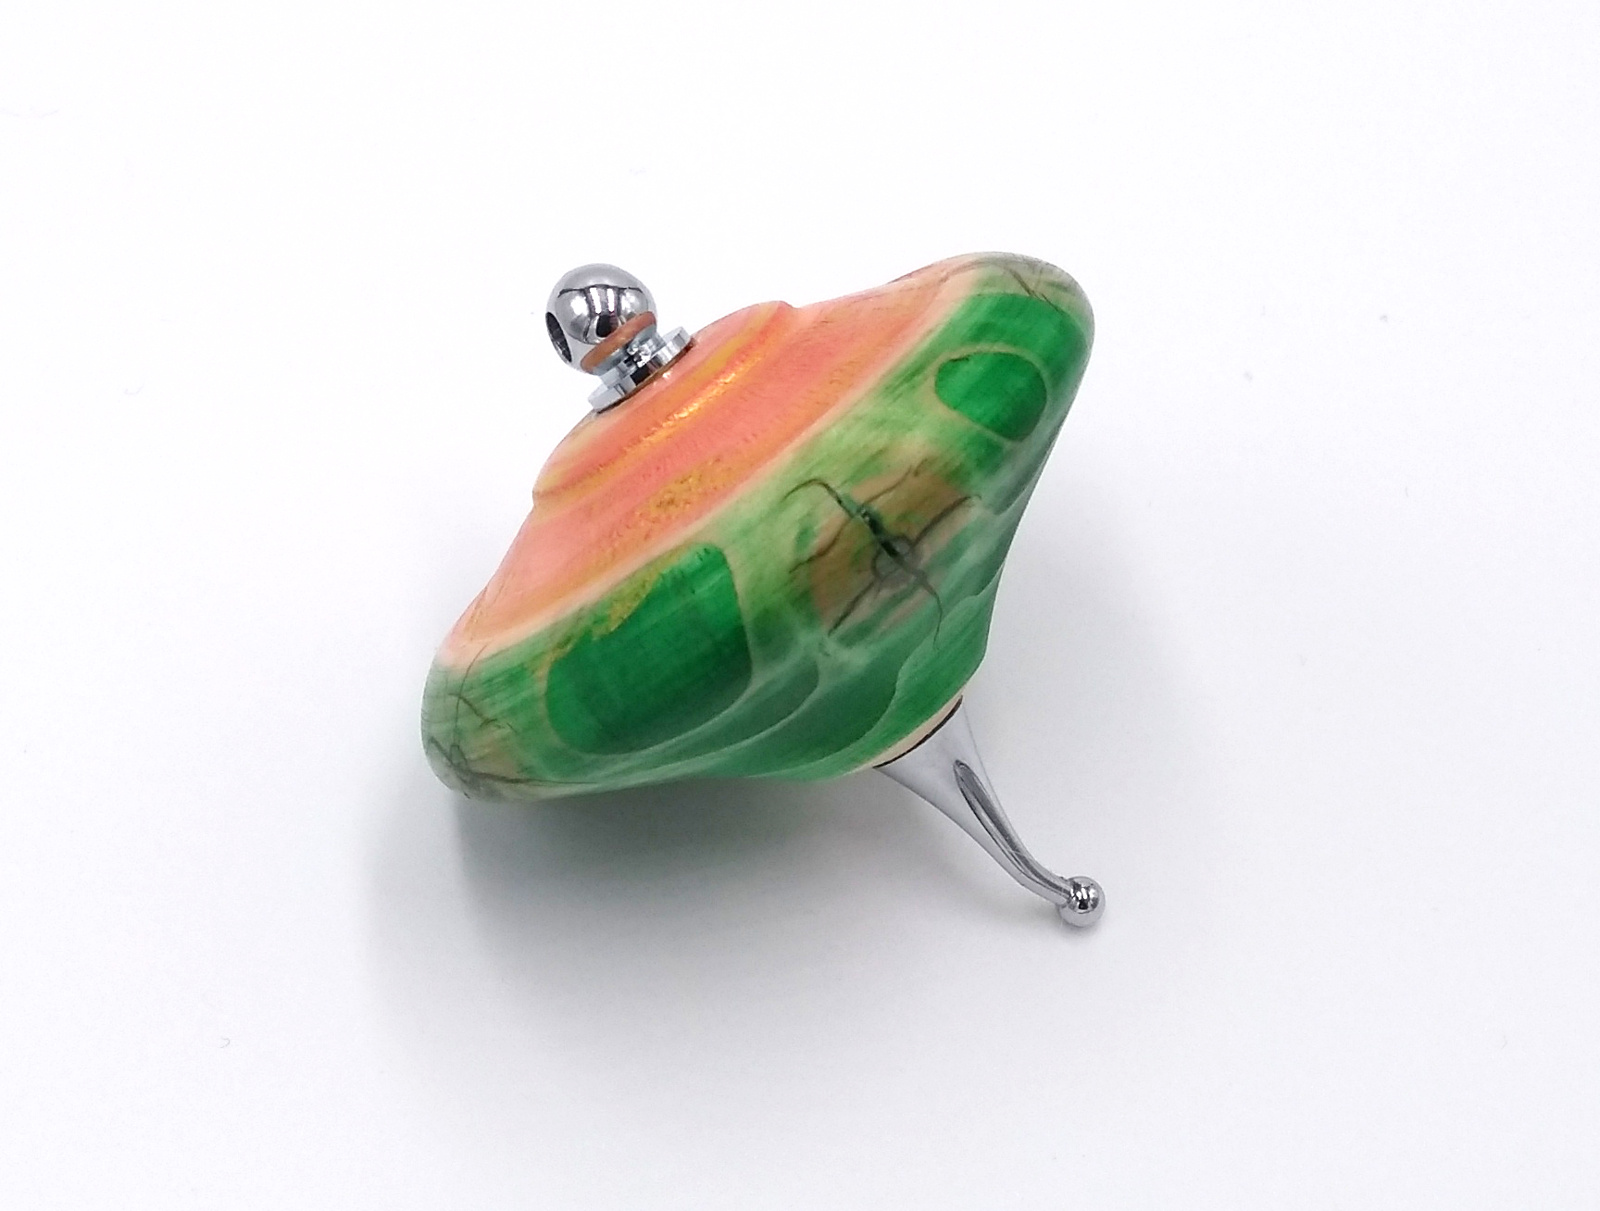
Still. It’s only a test piece, I have three-and-a-bit trunks to play with still. And the stains don’t react too badly to pine (and it’s interesting to see how they react when you seal the surface first), and the buff-it gold compound I used as embelleshing wax works nicely (gold because, you know, xmas colours). So I learned a few things (like don’t try to pour resin into a crack in a piece while it’s still on the sodding lathe). Worth doing.

So there you go, an ex-xmas tree xmas tree decoration 😀

13
Apr 20

Busy day

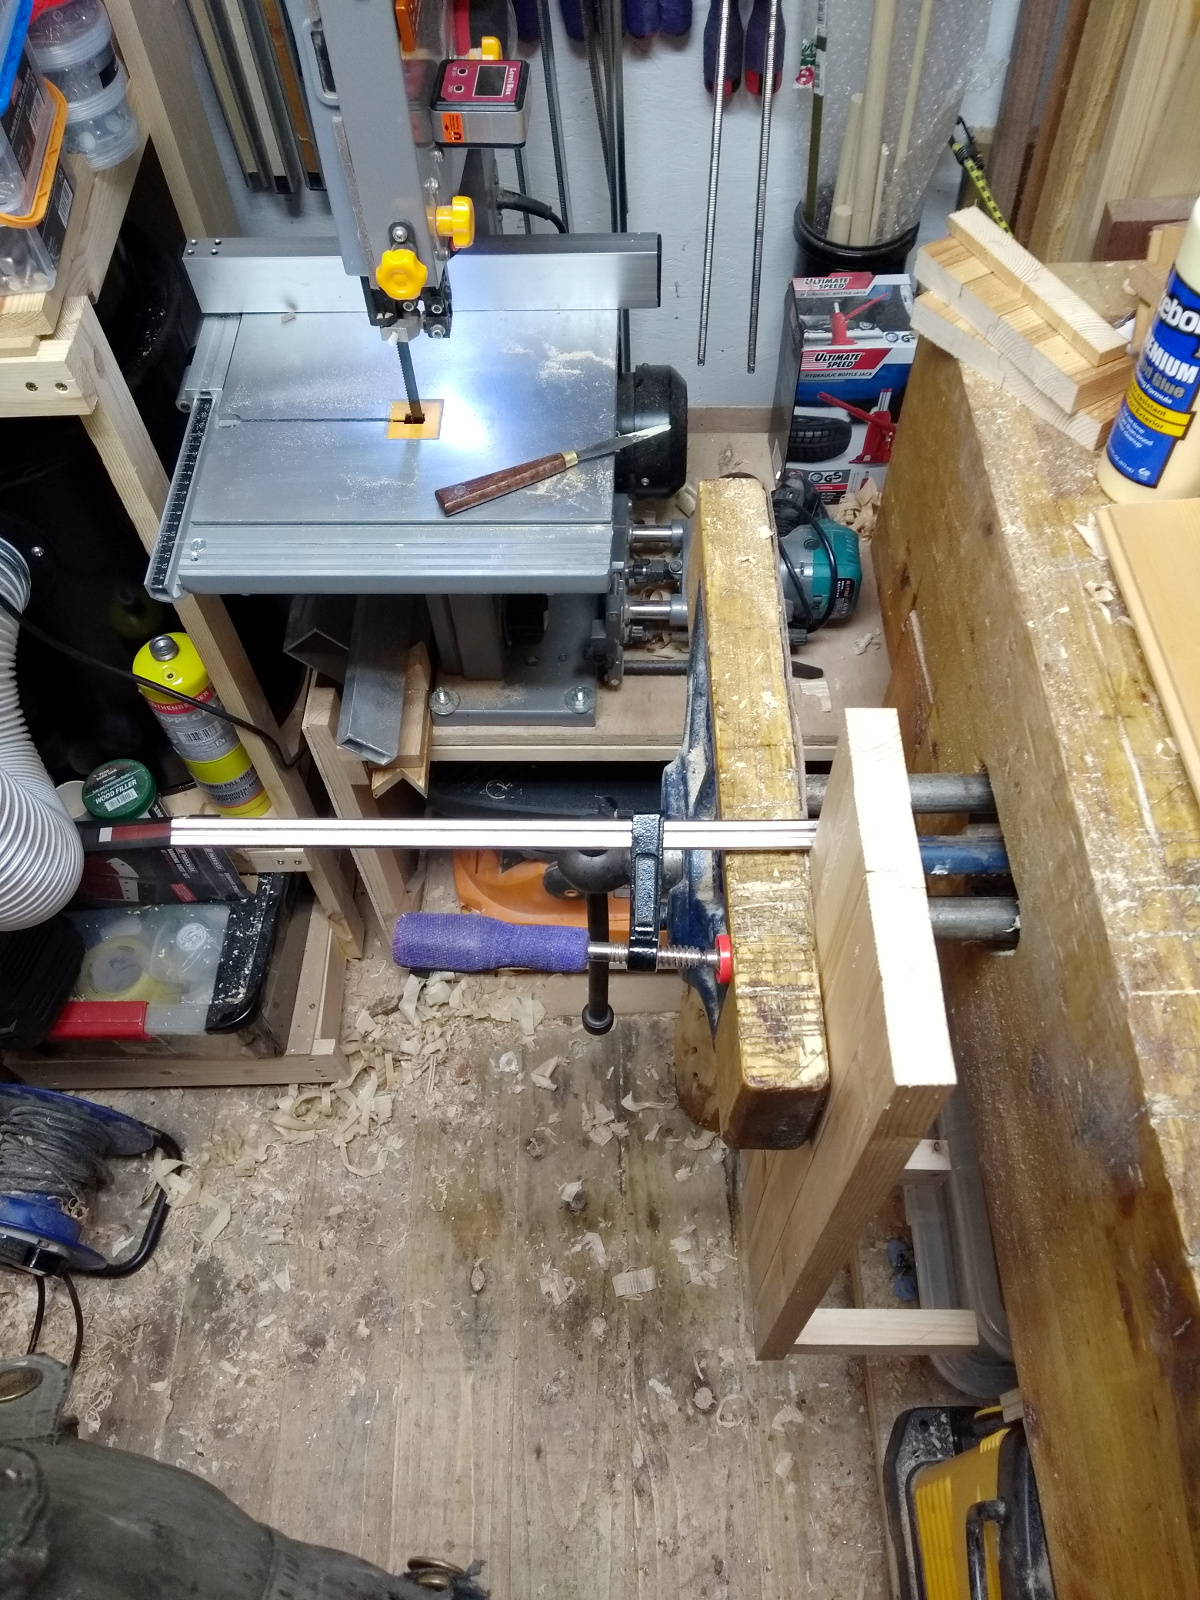
Well, I’ve never clamped anything to this side of the vice before….

I couldn’t move the boxes beneath the bench out of the way because there’s nowhere for them to go, and I didn’t want to spin the piece around because I was using the nailgun and I’m not quite ready to point anything at myself that has the word “gun” in the title just yet. But this worked well enough.

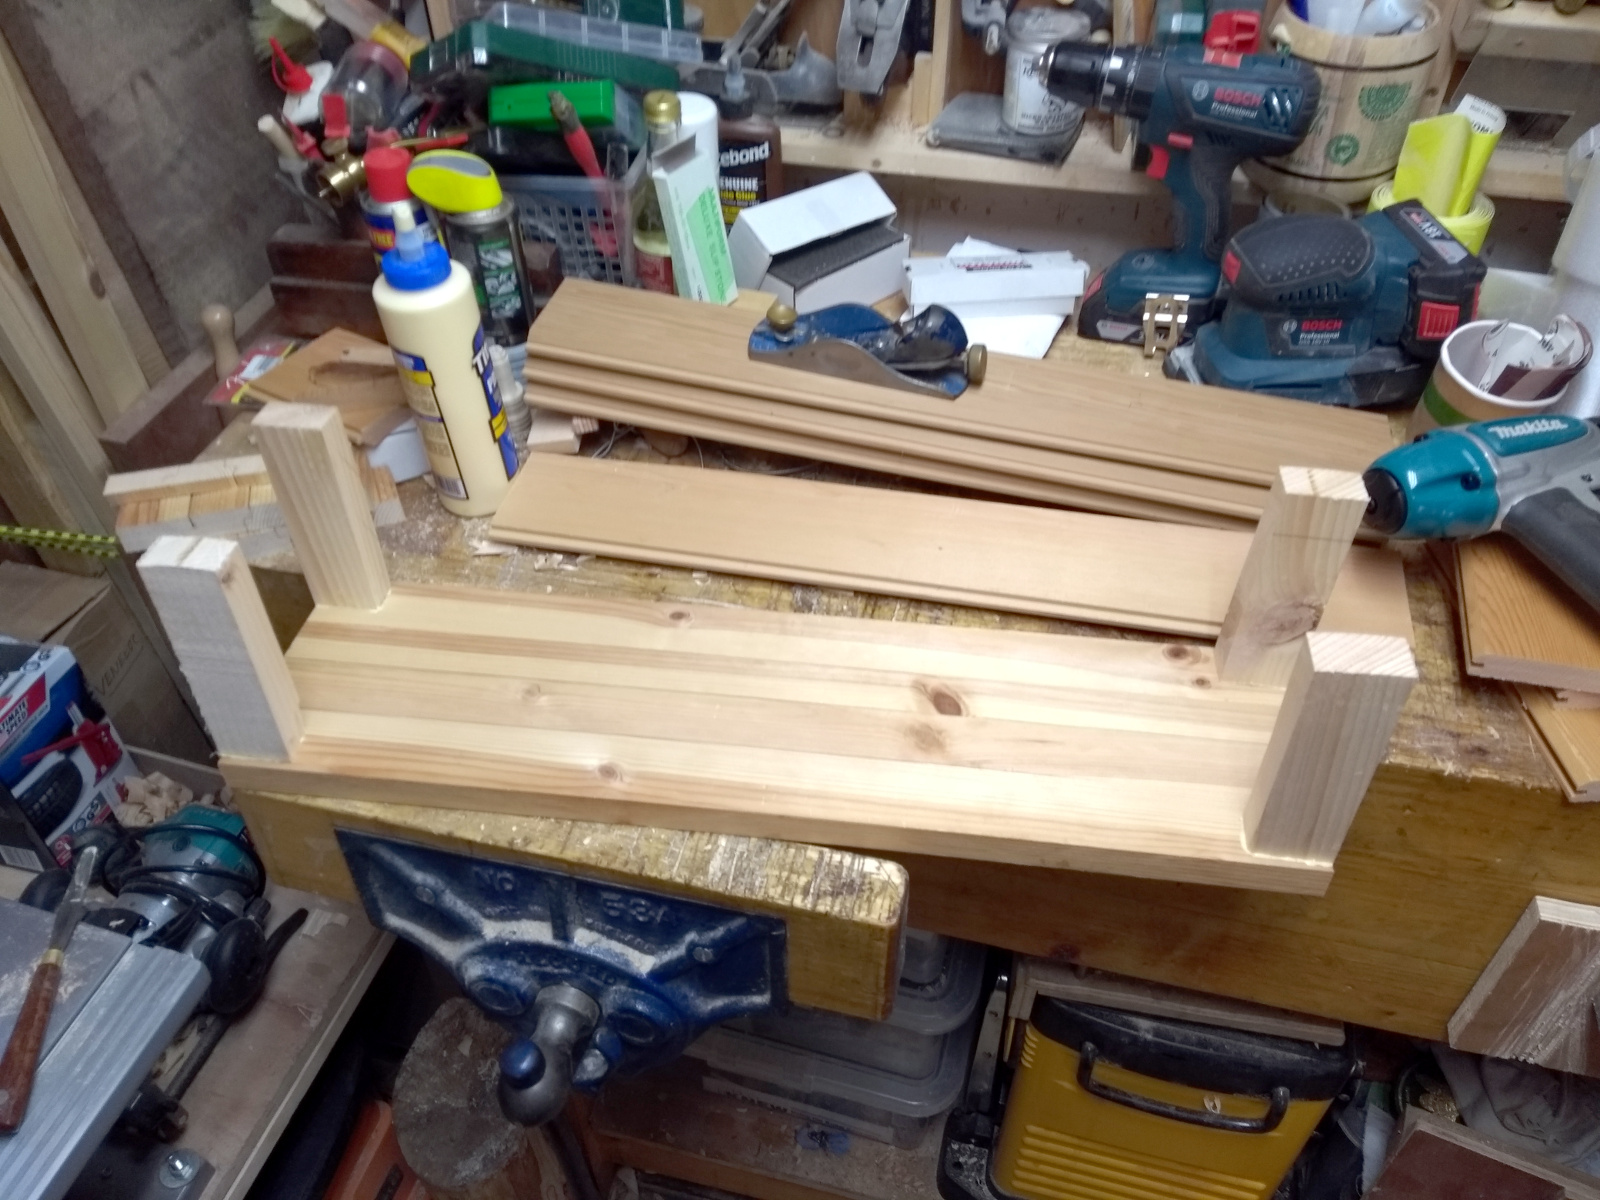
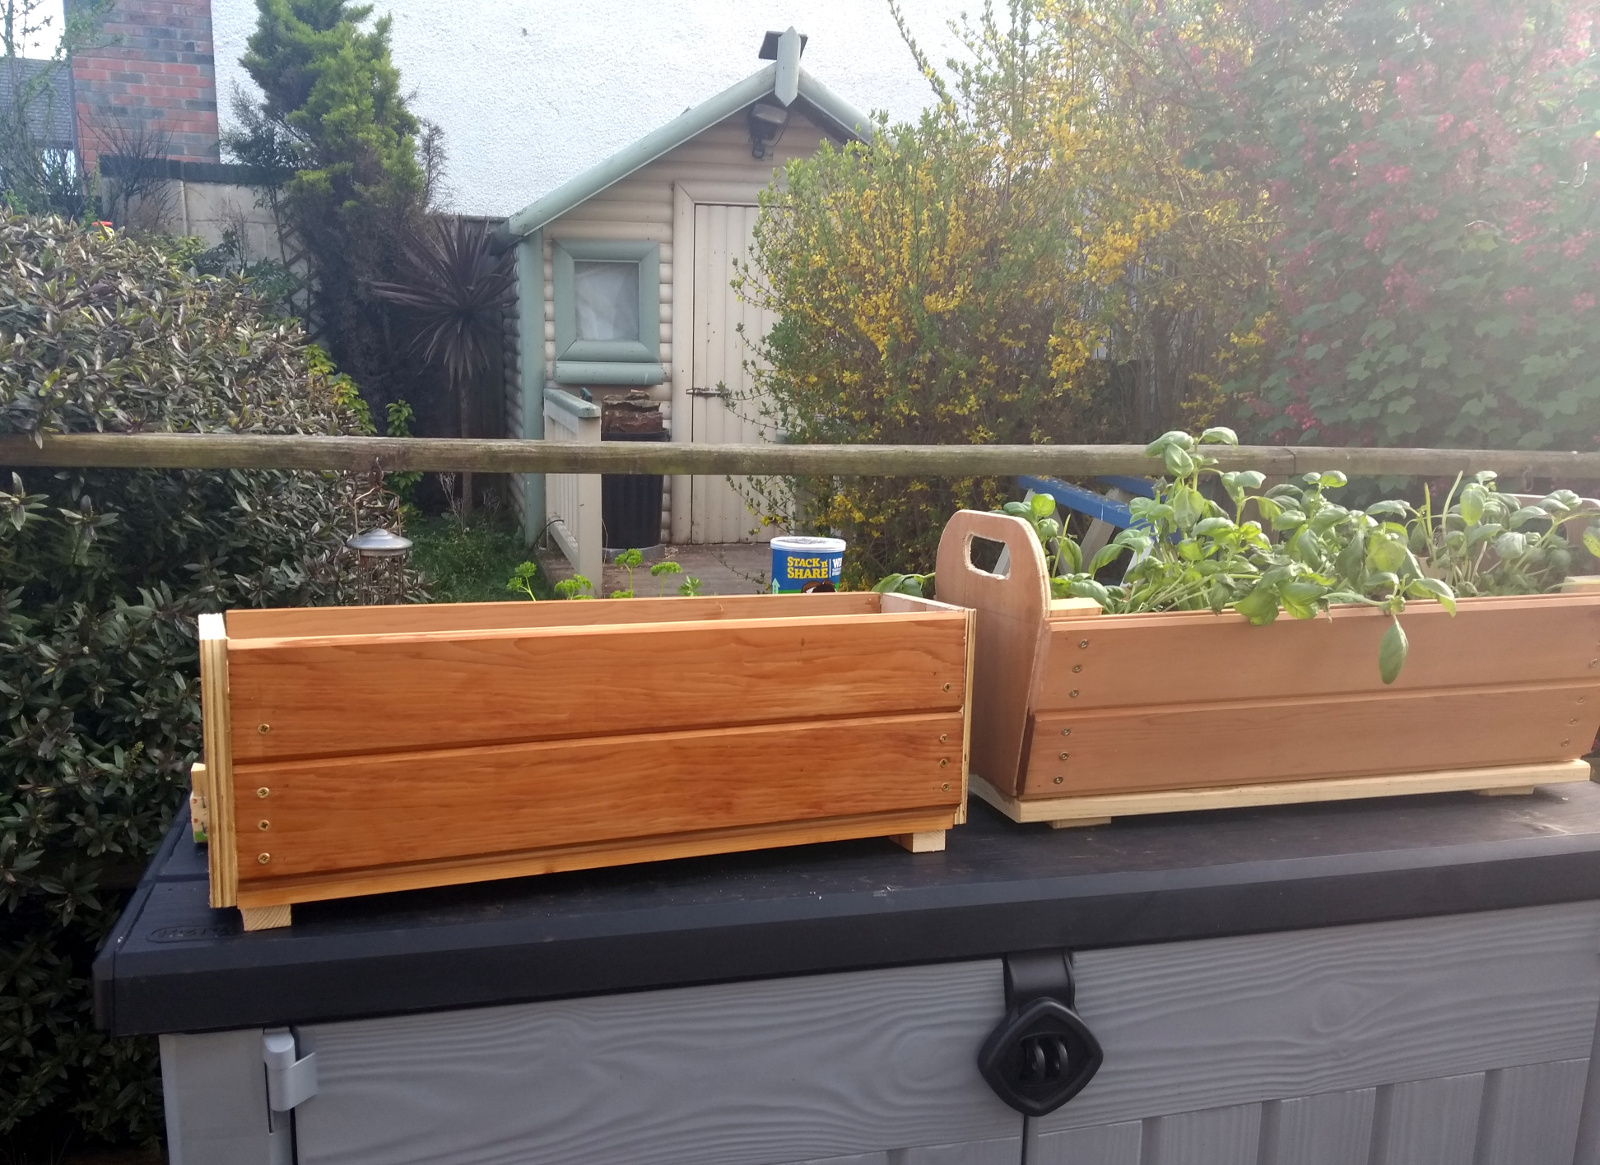
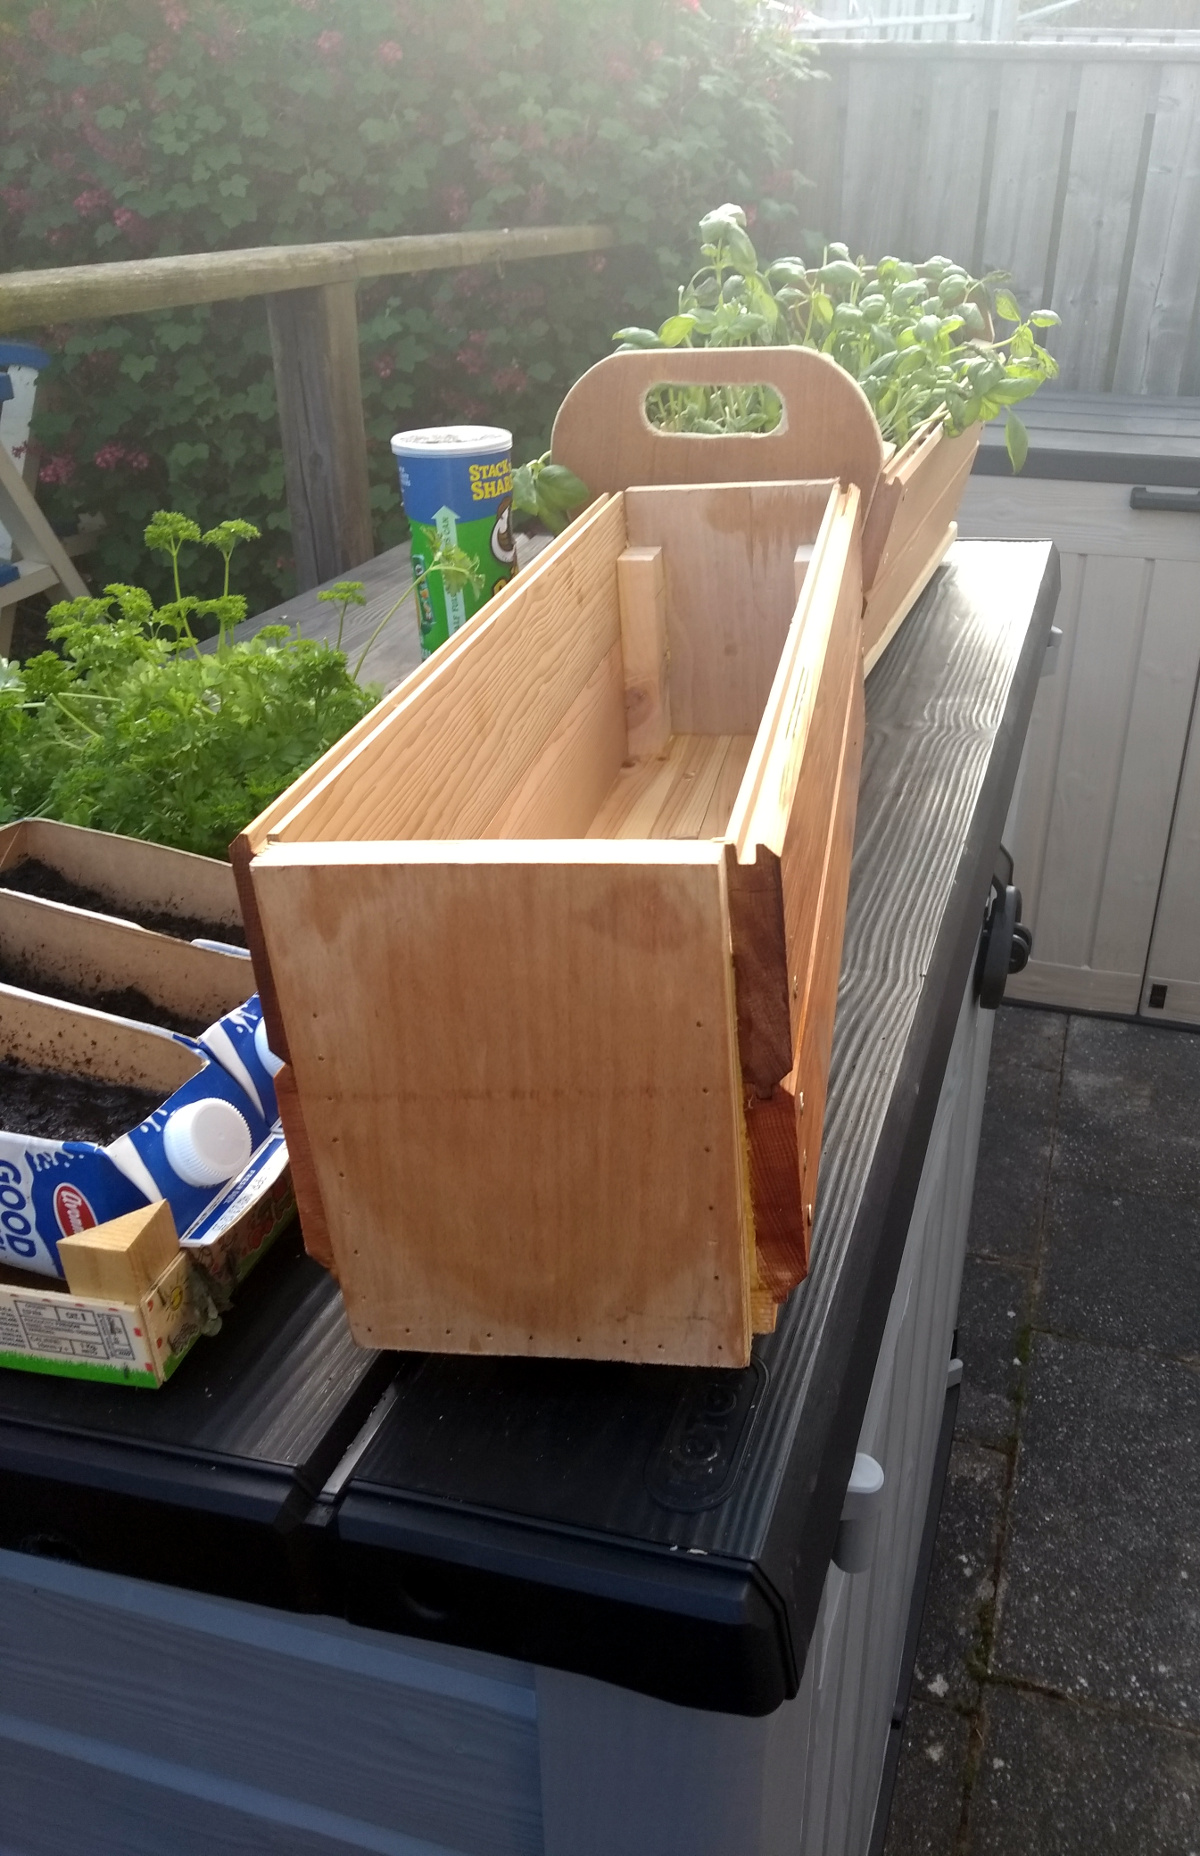
It’s just scraps of pine – that base was actually a board that was in the living room for the last four years and I’d forgotten about it because it was up on top of a bookshelf. Some glue, a few brads and on we go.

Again I didn’t have brads of the right length here so glue and screws provide the holding strength and the brads just pin everything in place long enough for me to get the screws into it. The posts don’t make it up to the top of the edges this time; not all offcuts are long enough. Oh well.

It’s very rough-and-ready and I don’t think it’ll last more than a year at most, but welcome to making do in the Lock-in. It’ll be grand. I slathered it with some BLO so I’ll fill it with compost, coffee grounds, eggshells and plants tomorrow.

Did get a bit of turning in as well today.

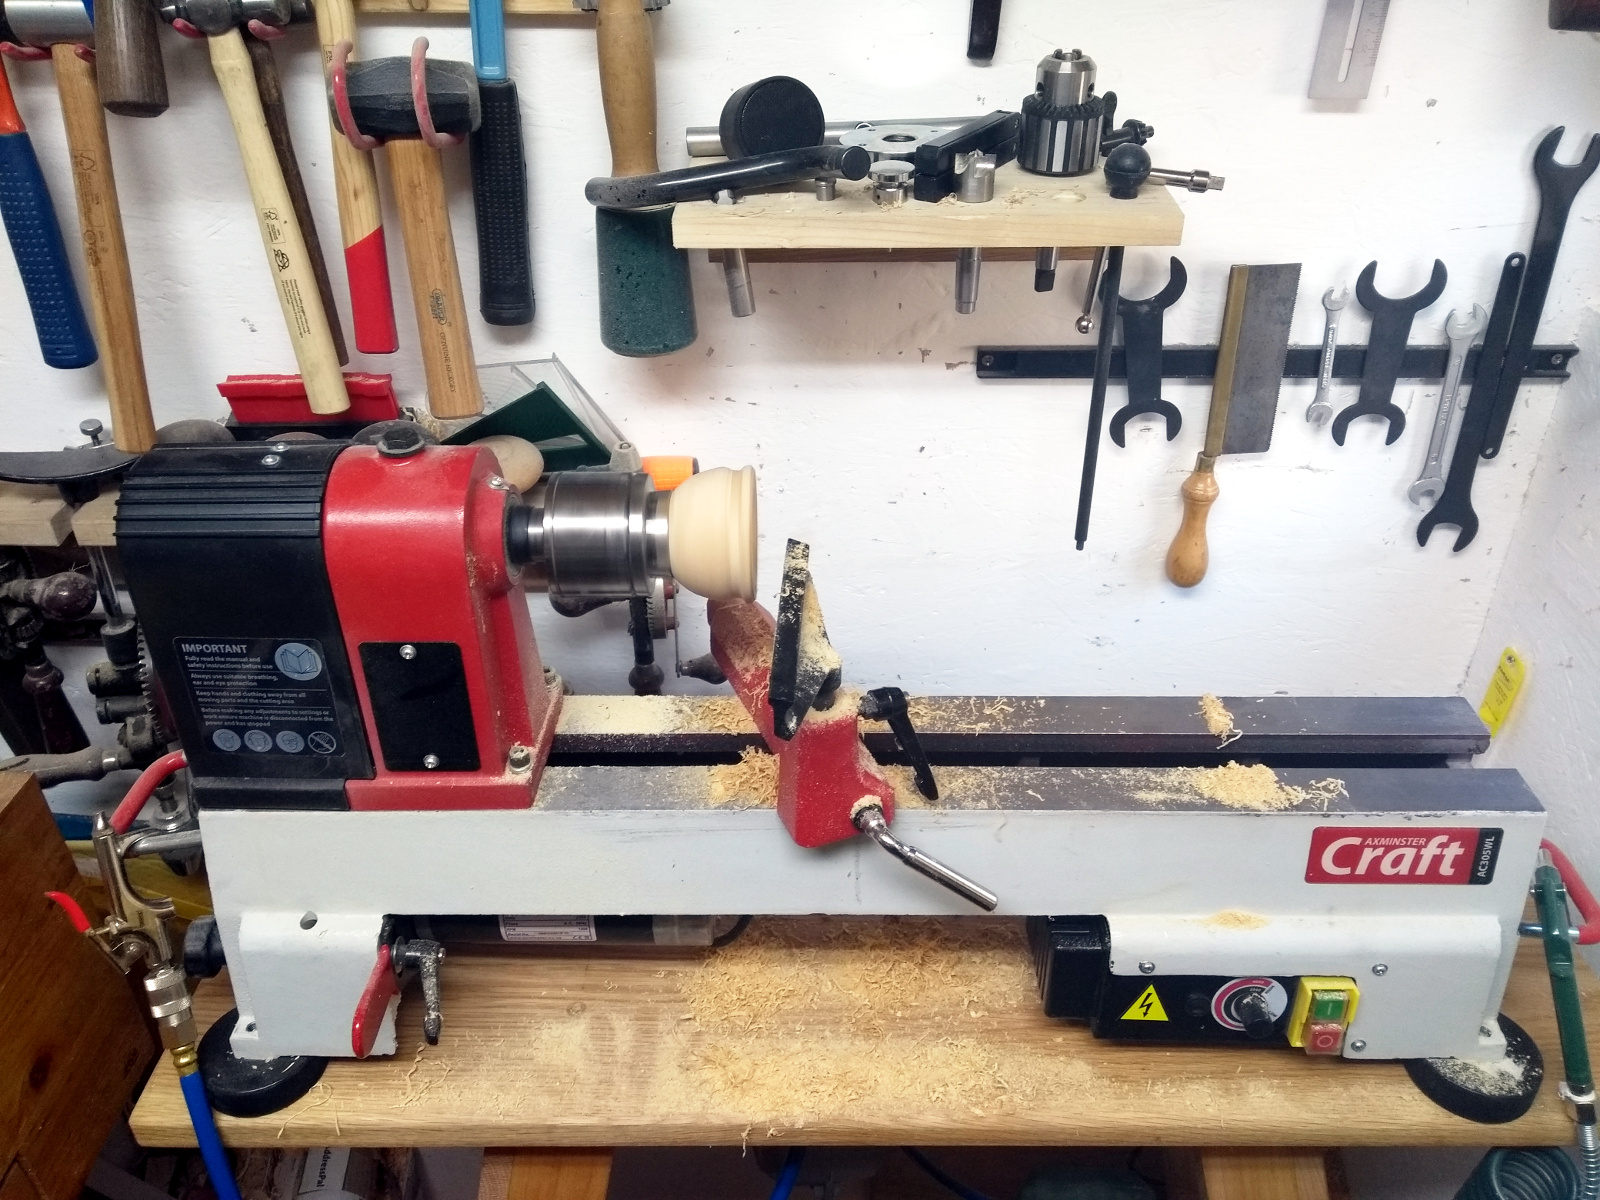
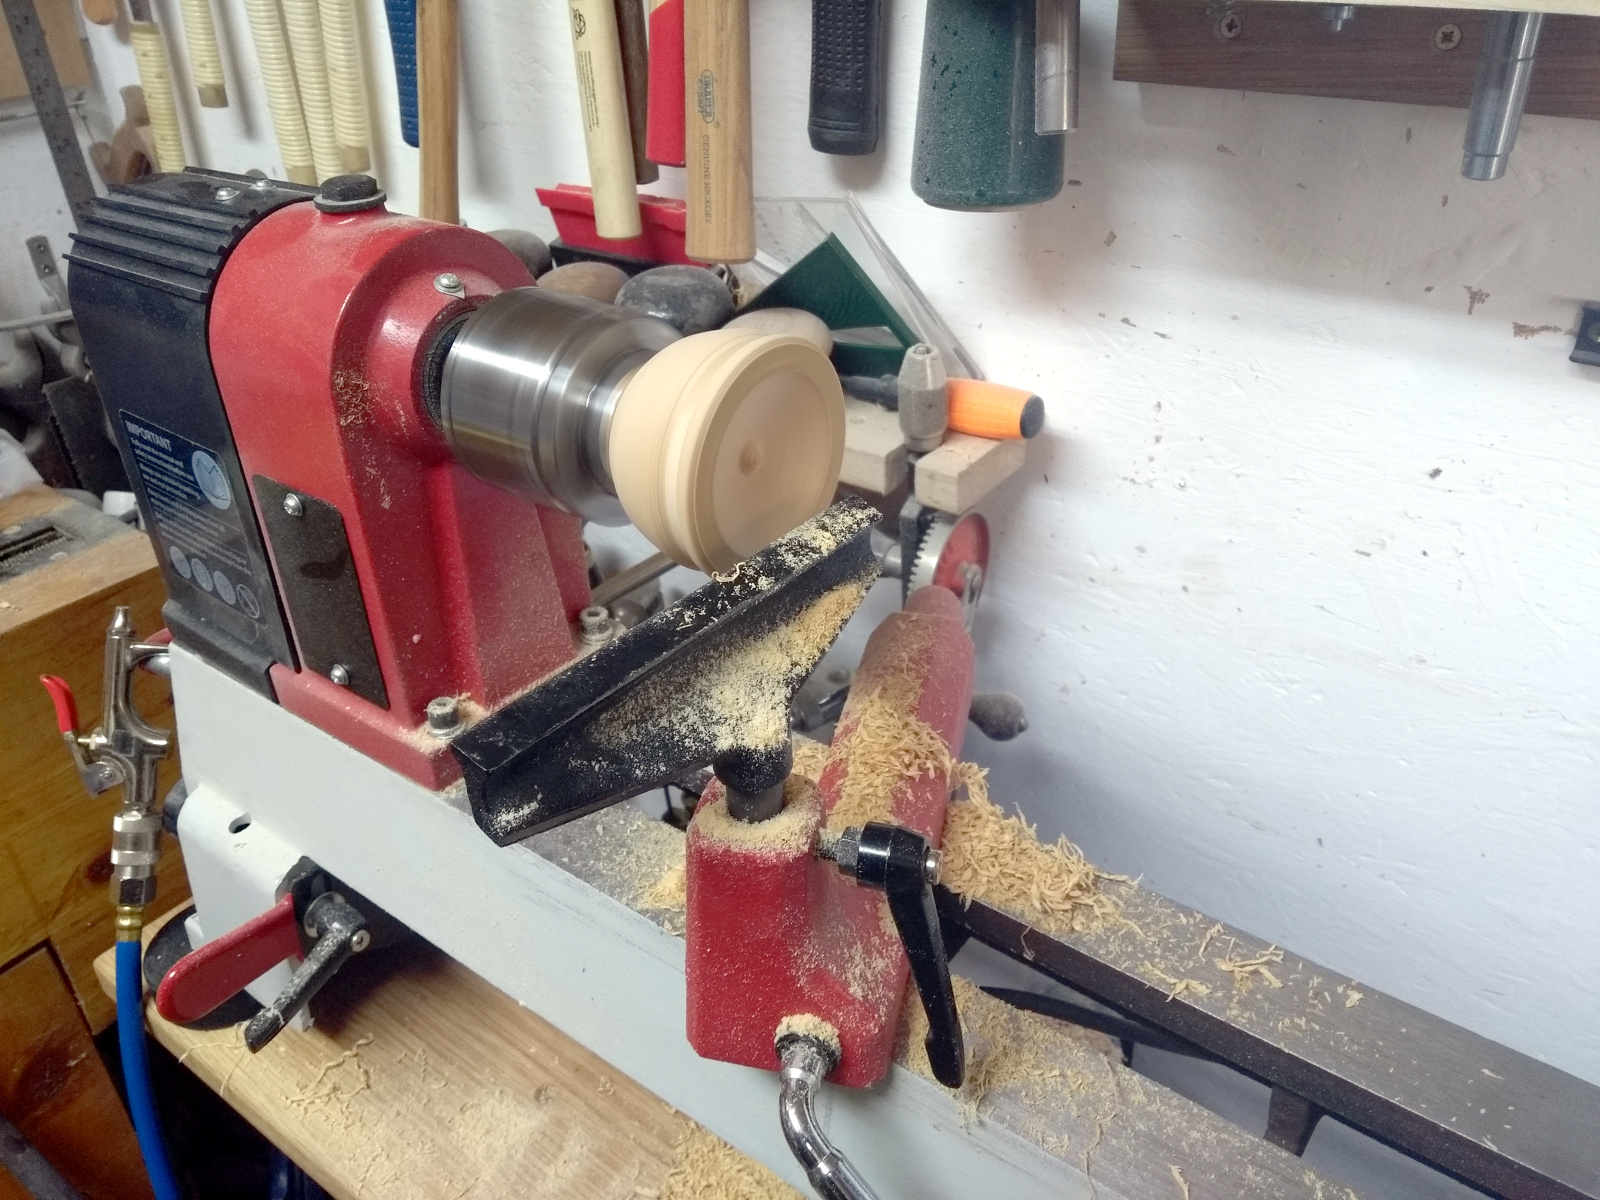
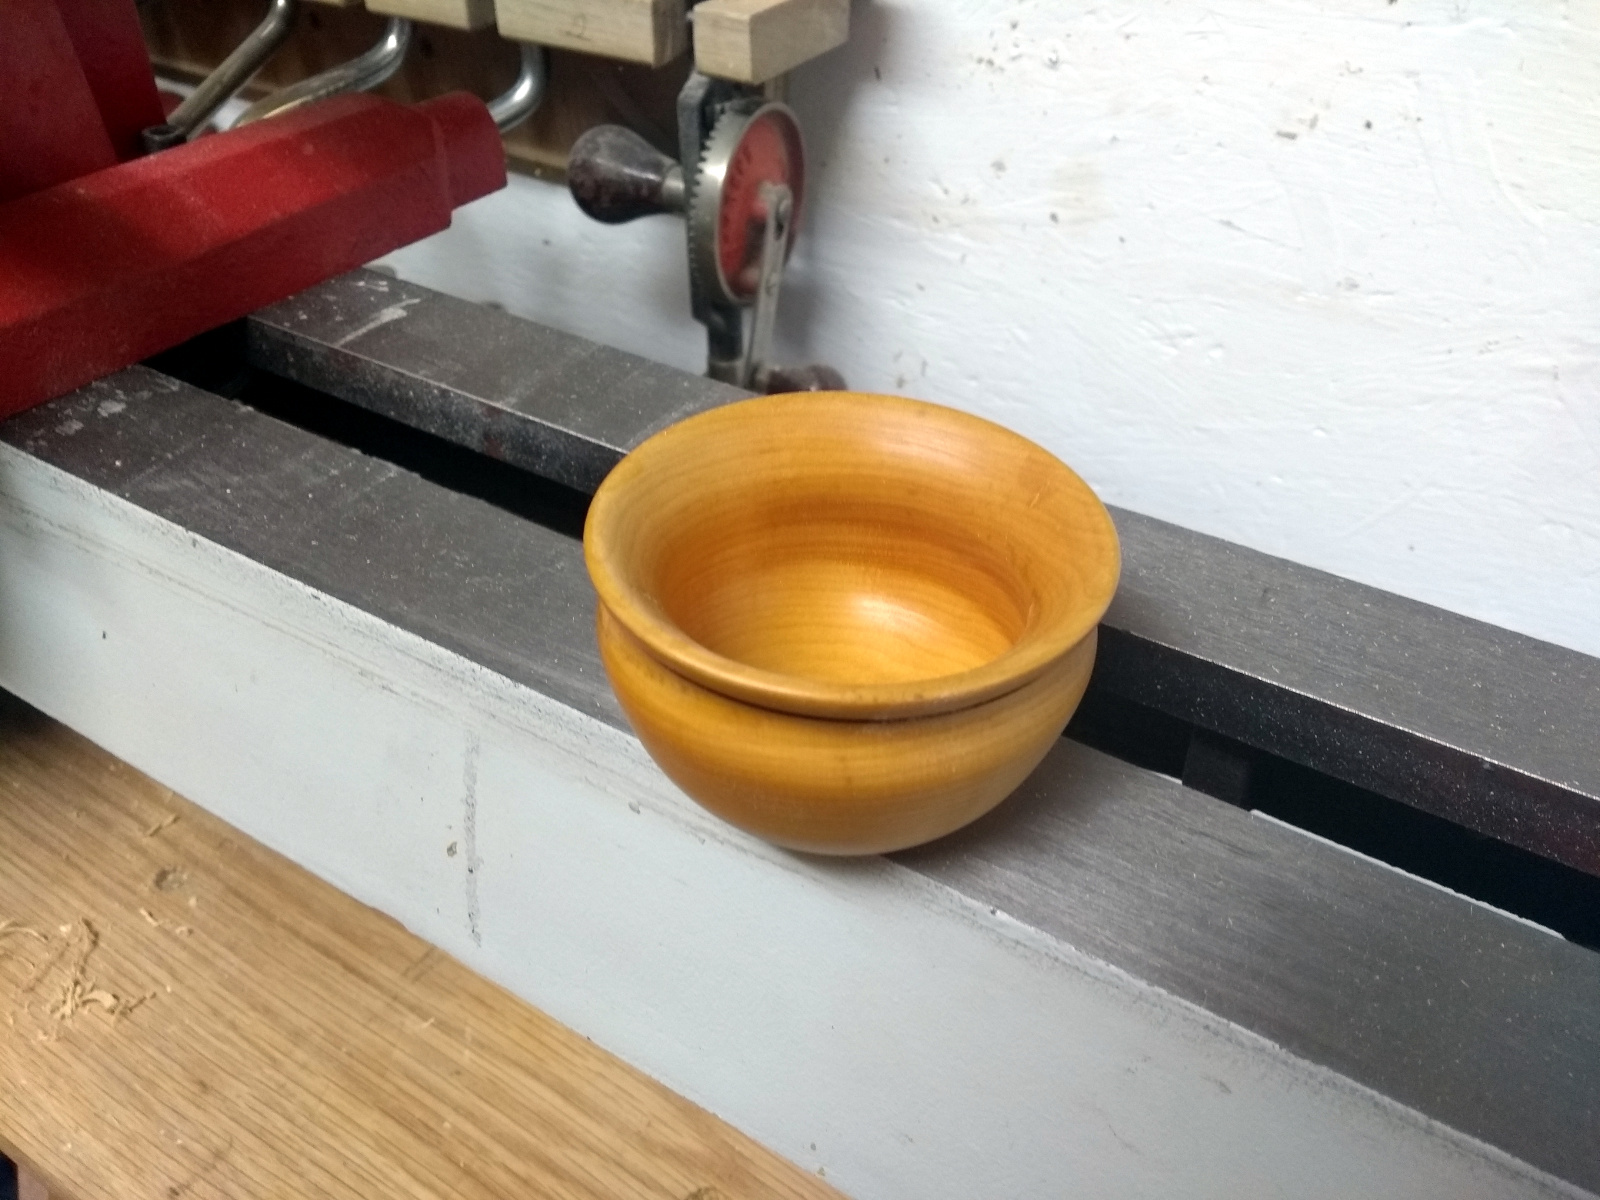
I didn’t use the big jaws after all, I wanted to get this piece done quickly so I skipped the experimental bit and just repeated yesterday’s process.

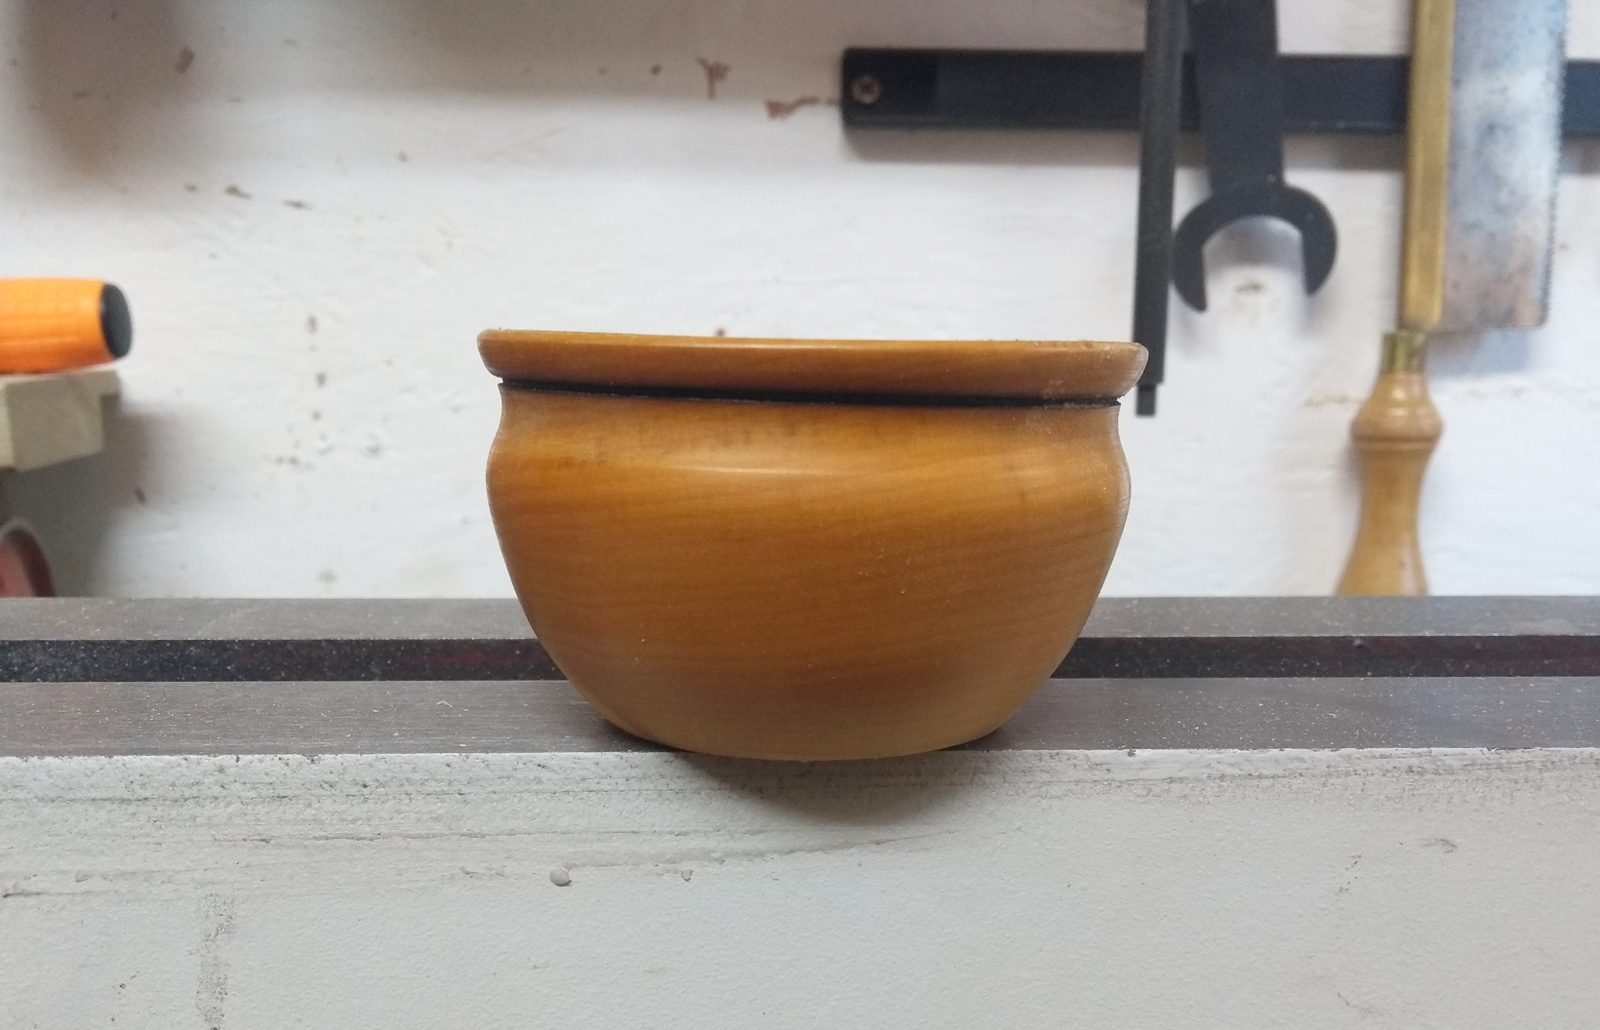
I was a bit more aggressive with the hollowing out this time, with the result that the walls are a bit thinner than the first bowl. And it went pretty well, with almost no catches (and I could recover the one I did get), though I did find myself wondering for a good 20-30 seconds what was wrong with my scraper when cleaning up the bottom of the bowl before I realised I had the sodding thing upside down.

Sigh.

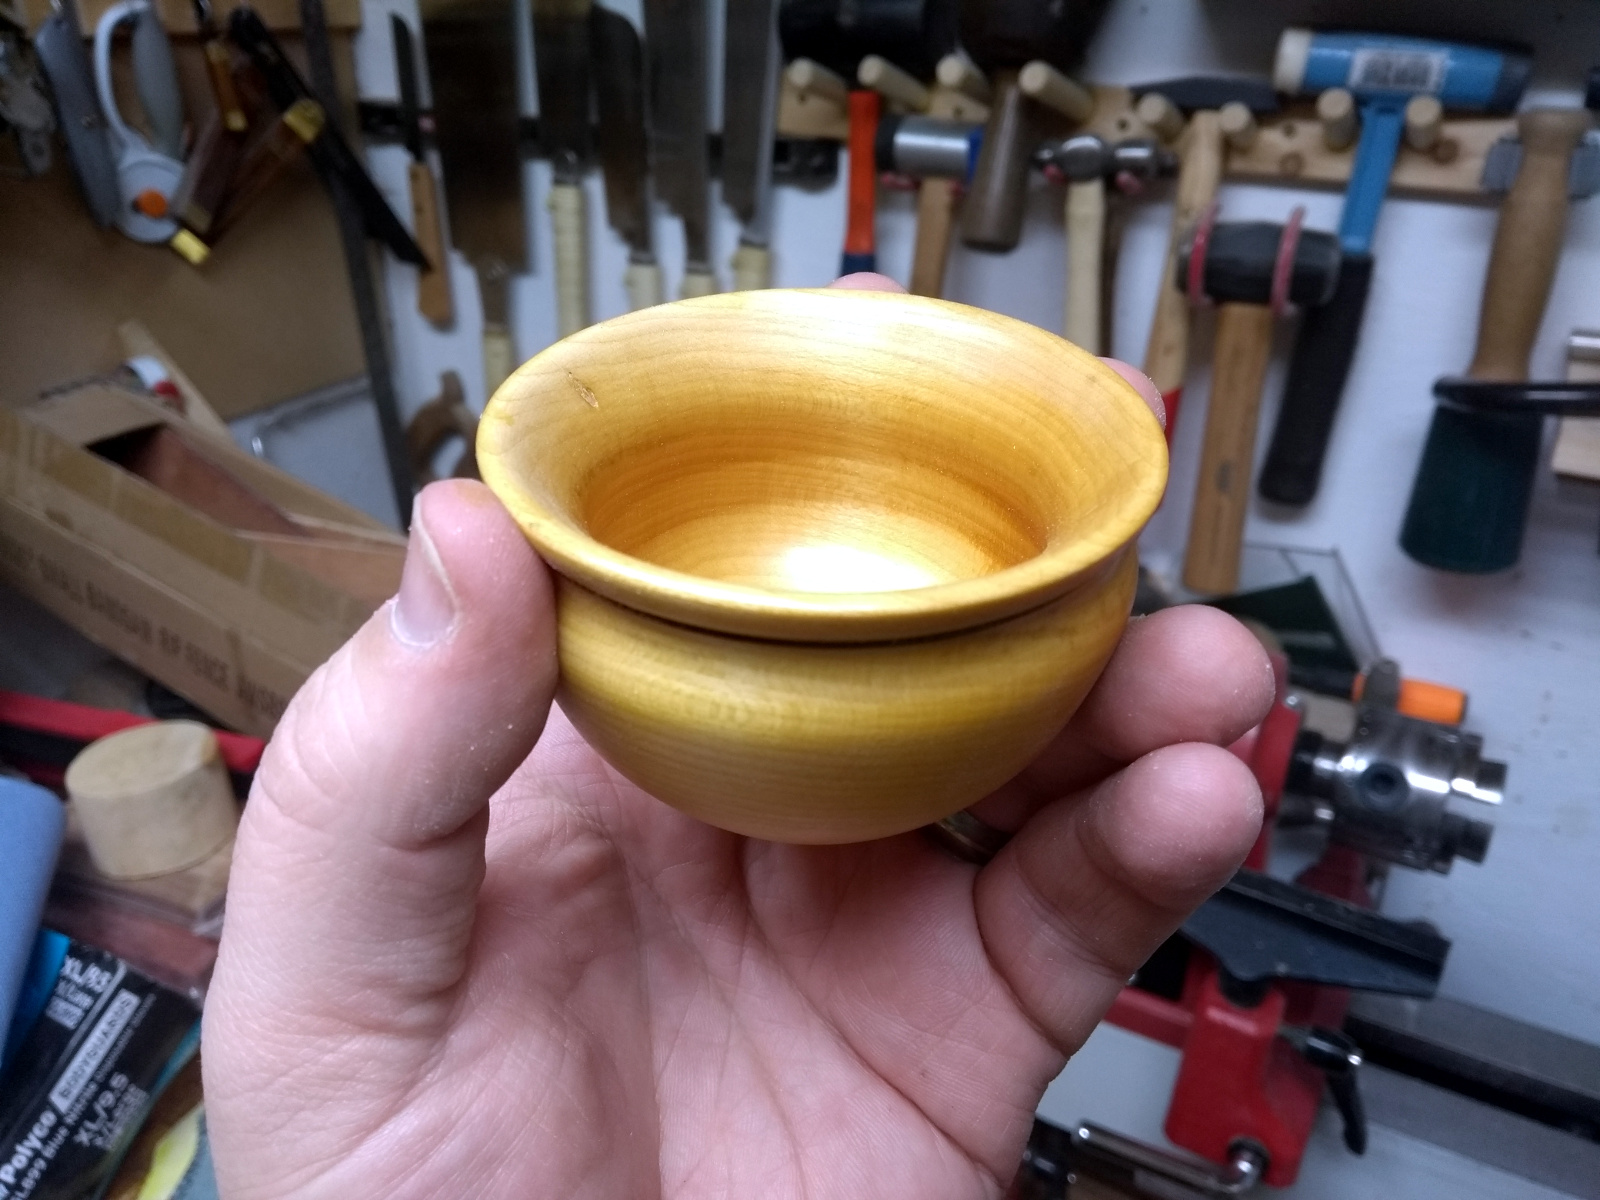
Still, turned out nice.

I like the burn line beneath the rim as well, I only put it in on a whim and it came out well.

It’s only a little thing but it’s grand for use as a salt pig. I like that urn-like shape as well, though the hollowing out with a bowl gouge and a scraper is a bit awkward. I’ve sent away for a few bits and pieces to make up my own carbide scrapers, they might help with that. But for now I’m having fun with this, and I have a few more blanks to get through, as well as an entire green log to break down and make things for Fernhill with. Maybe a bowl would work for that, it could act like a natural birdbath….

Dropped it off with some shopping to Mom&Dad who’re cocooning away at the moment. Who of course immediately picked it up bare-handed, so lots of handwashing all round required. Next time I’ll disinfect it before putting it in a box…


14
Jul 19

DIY intermission

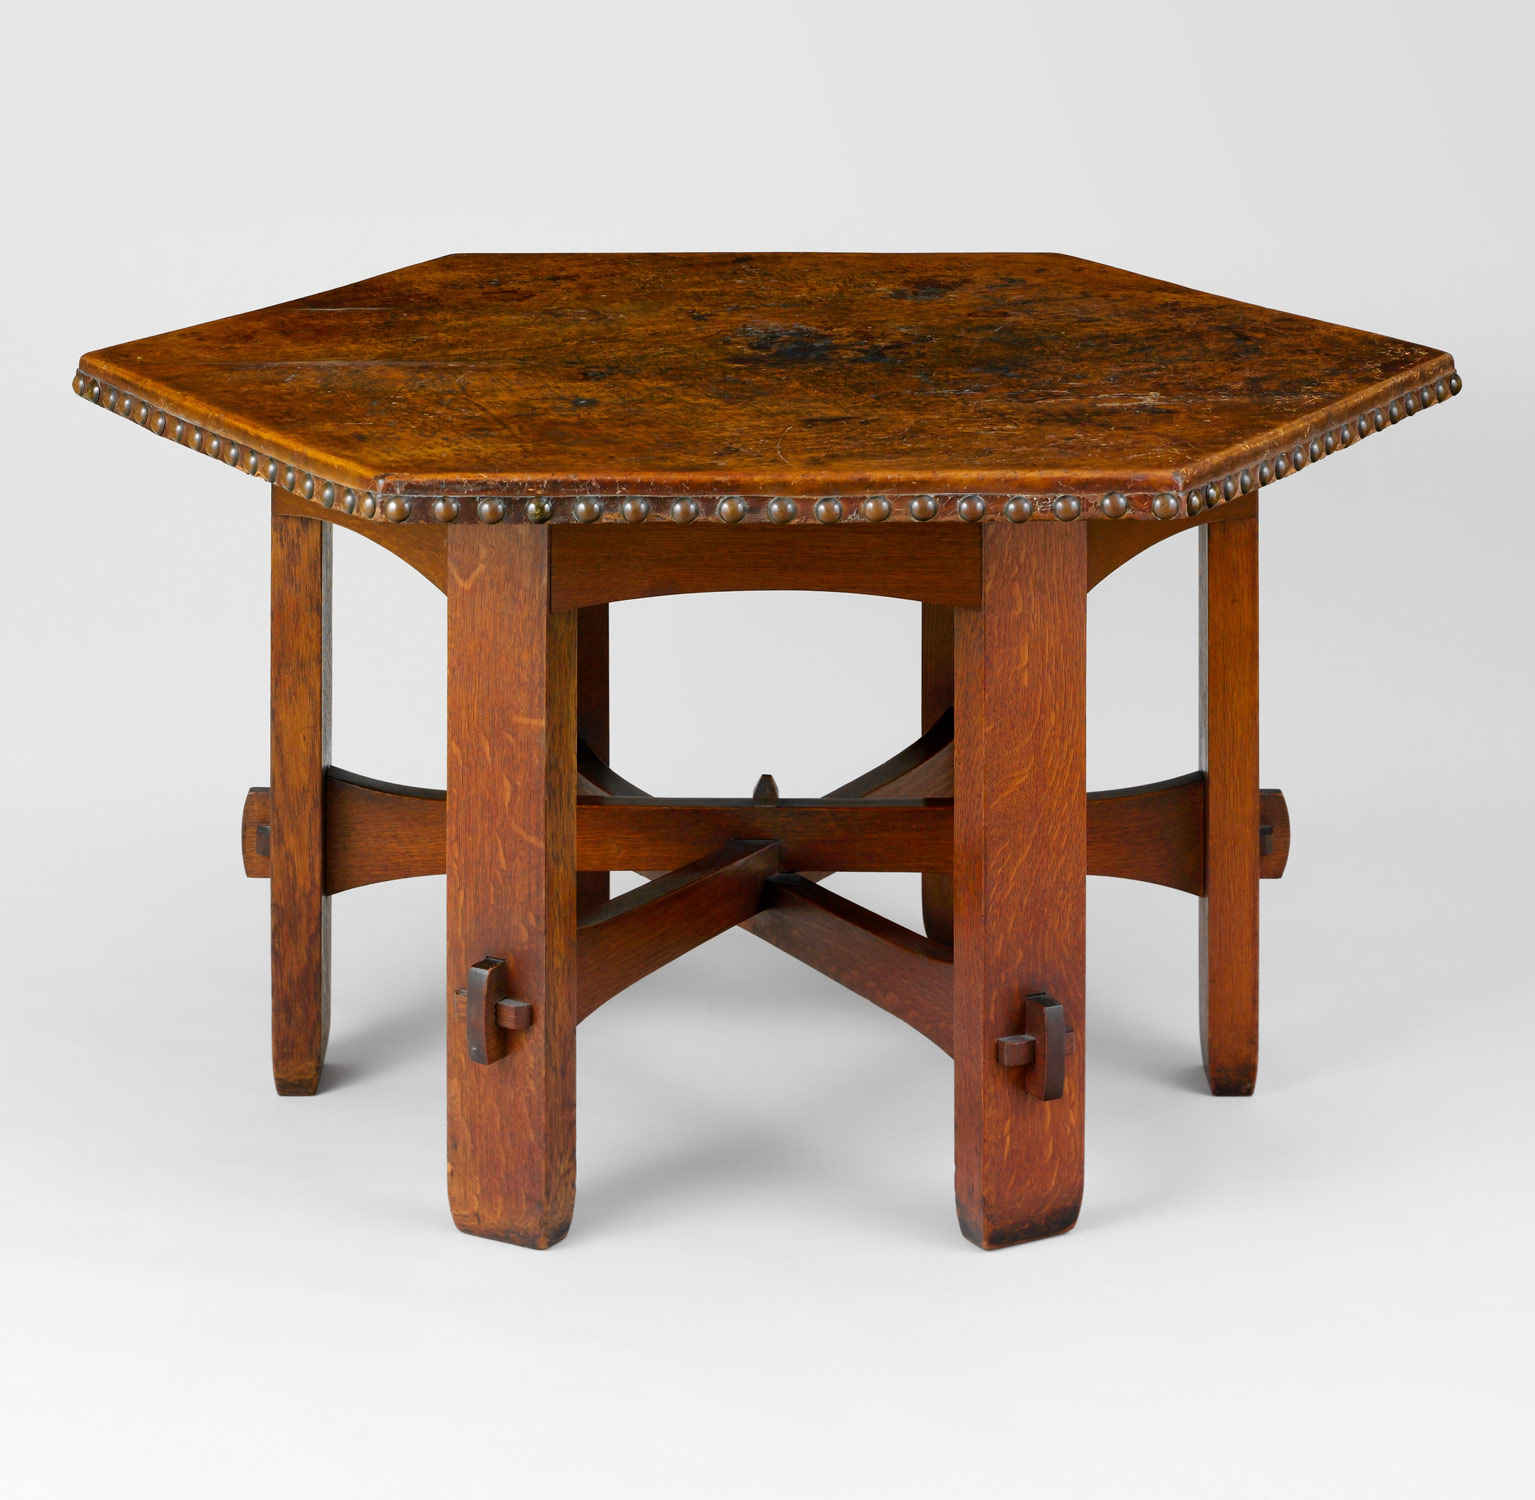
Funny thing about DIY, it gets all the Tim-the-Toolman-Taylor jokes and all the Daddy-Pig jokes, but at the core it’s a repeat of the Arts-and-Crafts movement of the late 1800s and early 1900s which led to things like this:

From the Met Museum : https://www.metmuseum.org/

I mean, it’s not to everyone’s tastes (I don’t like it much personally) but you can’t really argue it’s incompetent or that it’s inferior because it wasn’t just an aesthetic, it was a philosophy – one of using more traditional craftsmanship rather than industrial processes and moving away from the previous mass produced furniture (sorry Henry, but Ford didn’t invent mass production, High Wycombe got there at least six decades earlier and they might not have been the first) which people felt wasn’t as good as human-made furniture (as in, wasn’t as nice to look at, wasn’t built well, and so on). 
If that sounds a bit familiar, well, have a sip of your artisanal coffee and suspend laughing at hipsters for long enough to admit that actually, compared to the burned toast flavoured sludge we used to have for coffee in the 90s and the starbucks of today, coffee made by someone who knows what they’re doing is actually a lot better – and there in a nutshell is the core of the arts and crafts movement (and the DIY movement and the hipsters and probably a few other movements over the centuries since industrialisation). 

Anyway. DIY in this case is a lot less airy and a bit more safety-oriented; the mass-produced MDF kitchen our fridge is in is quite old and after the first decade or so MDF doesn’t really hold up so well it turns out. Or at least old MDF doesn’t, the process may have changed since then so the material is now more robust, but this stuff  is tearing apart and right now there’s a six-foot tall fridge freezer sitting on a shelf where one corner has torn out of its fastening and the whole arrangement has taken on a distinct tilt that I’m not at all in favour of. So an emergency support is getting shoved in until it can be fixed properly.

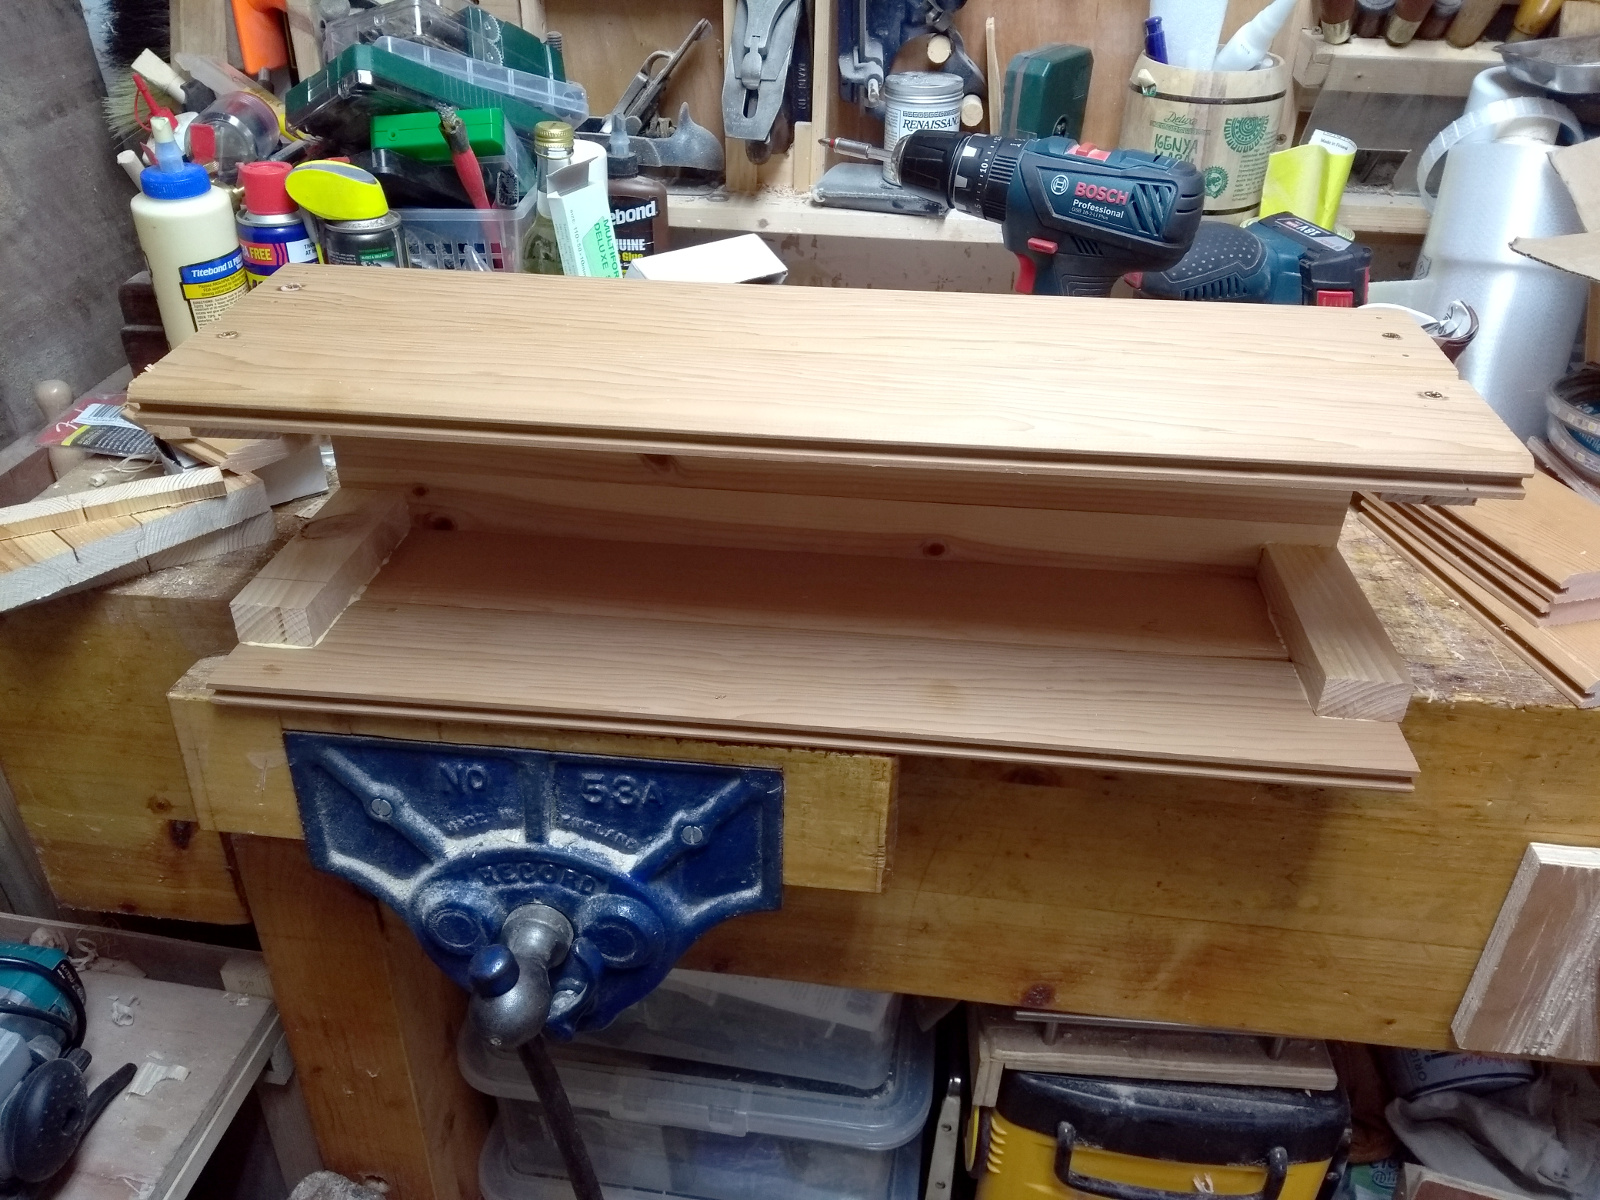
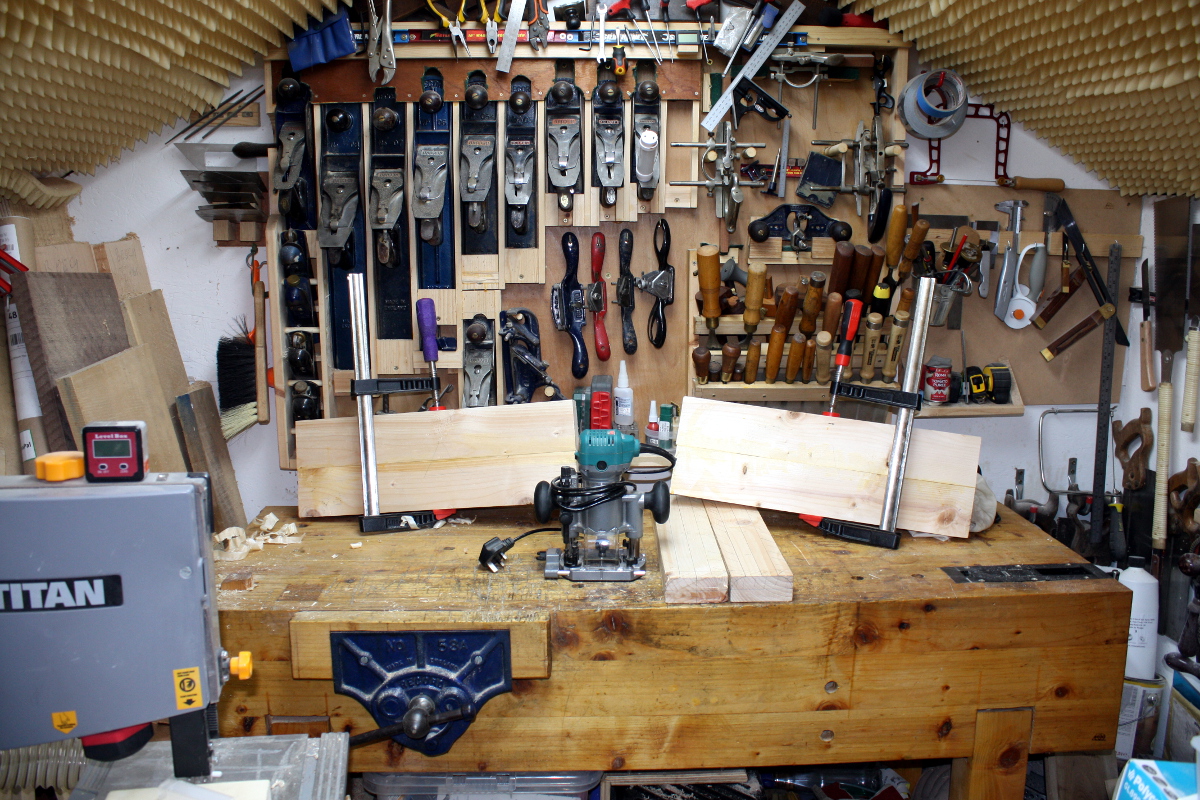
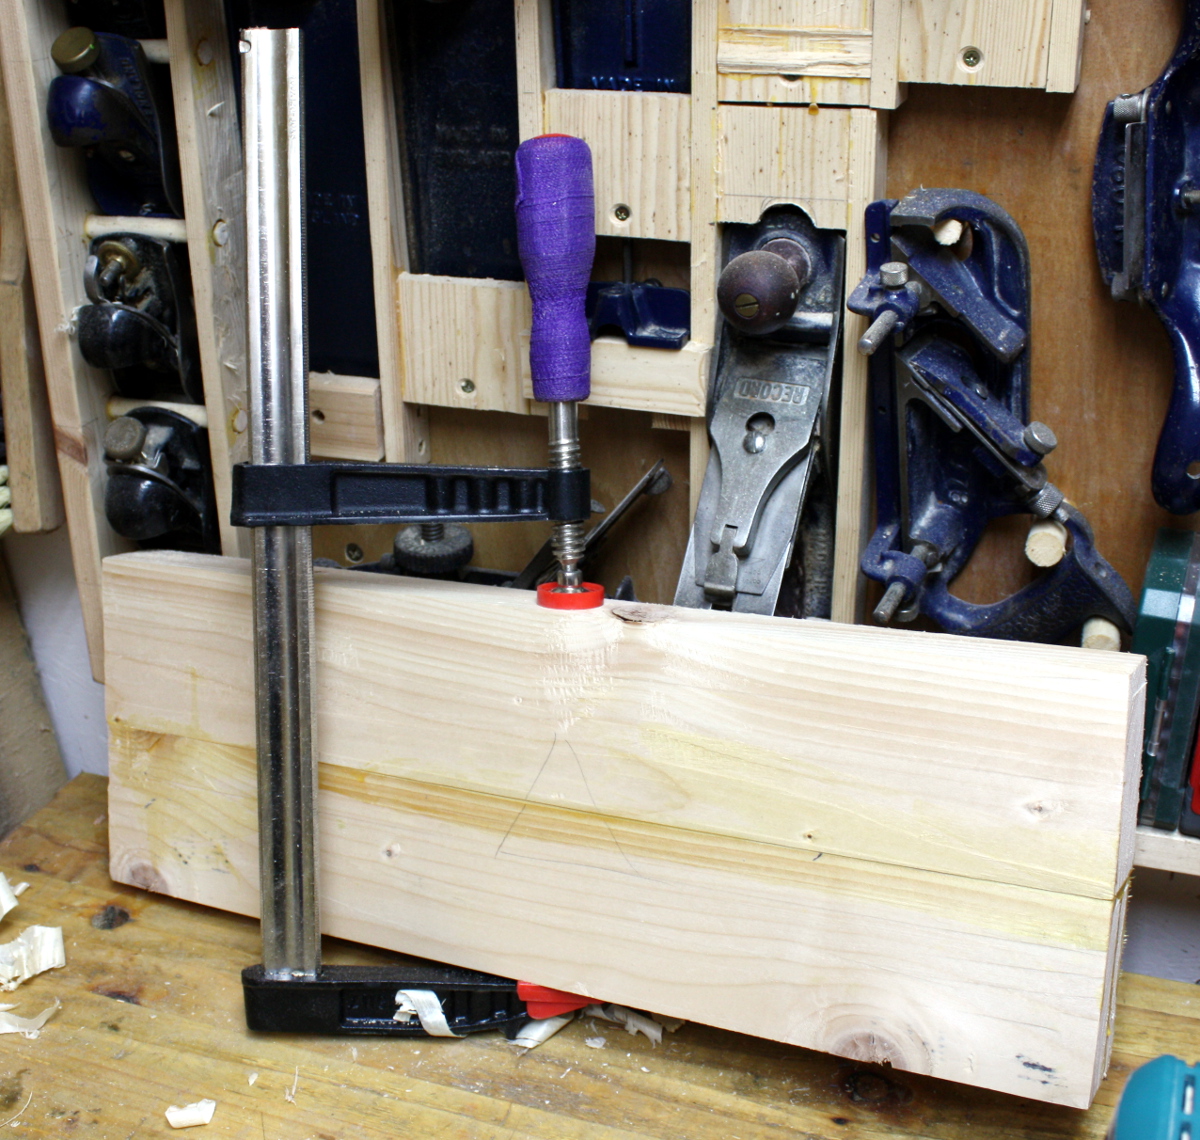
This is when it’s handy to have some CLS 2x4s around. A bit of planing, some measuring and cutting and a pair of edge joints later…

BTW, you’ll notice one F-clamp has a black and red plastic handle and the other has a purple one – that’s a Rob Cosman trick, it’s hockey stick tape to give more purchase on the handle. Gotta say, it works a treat and I’ll be getting more and doing it to all of the clamp handles. 

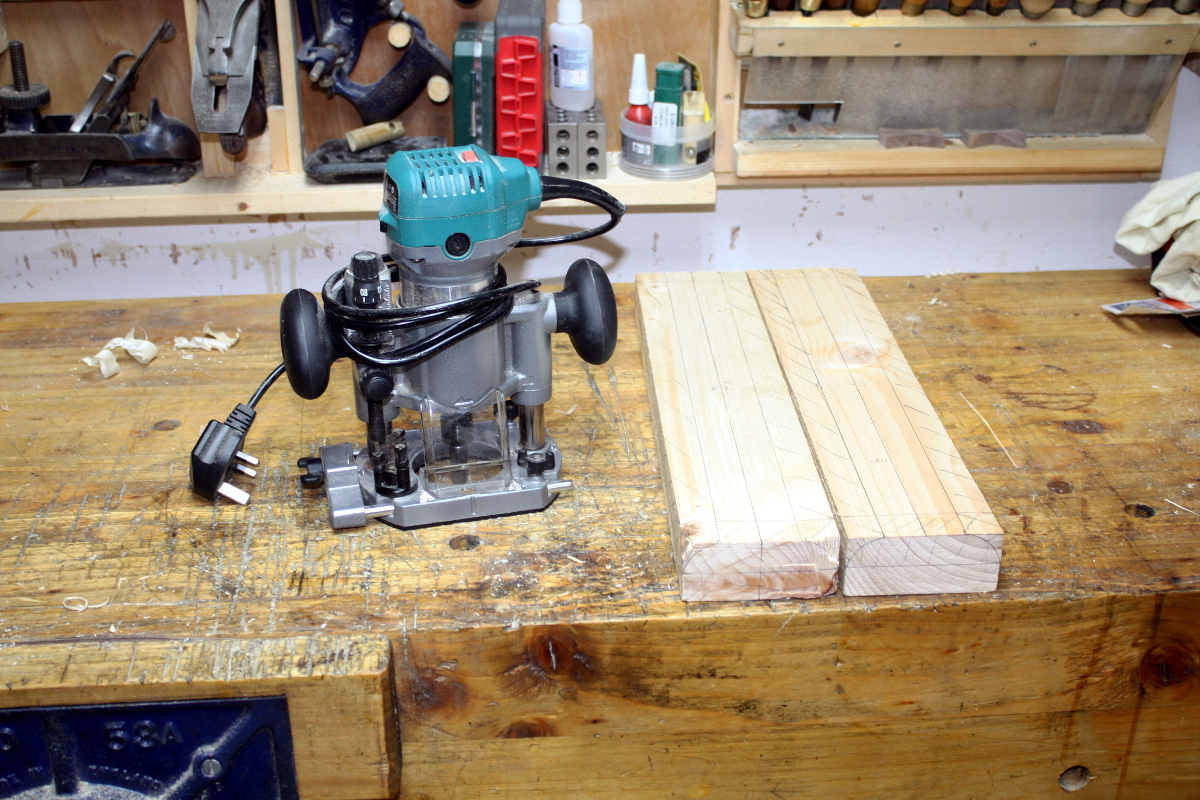
Glue will be cured by tomorrow and then I’ll scribe the sides of those uprights against the faces of the feet and then I’ll route out a cavity to set the overall height. Might have to trim or plane the edges of the uprights slightly for that, not sure. We’ll see. 

Really don’t like that tool, but it’s the best fit for this job. Have a new cutter in it as well, the one I intended for the sea in Calum’s desk, a Radian Tools three-flute cutter. Either it’ll be brilliant or it’ll shatter when it hits a knot, but either way I’d rather find out here than on the walnut desk…

Once I’ve routed the cavity to the right depth, I’ll glue and screw the feet to the uprights. Might shape them a little first just so it’s not completely ugly. Then drive them in below the shelf to support it and the fridge until we can get a more permanent fix. 

Also, new toys!

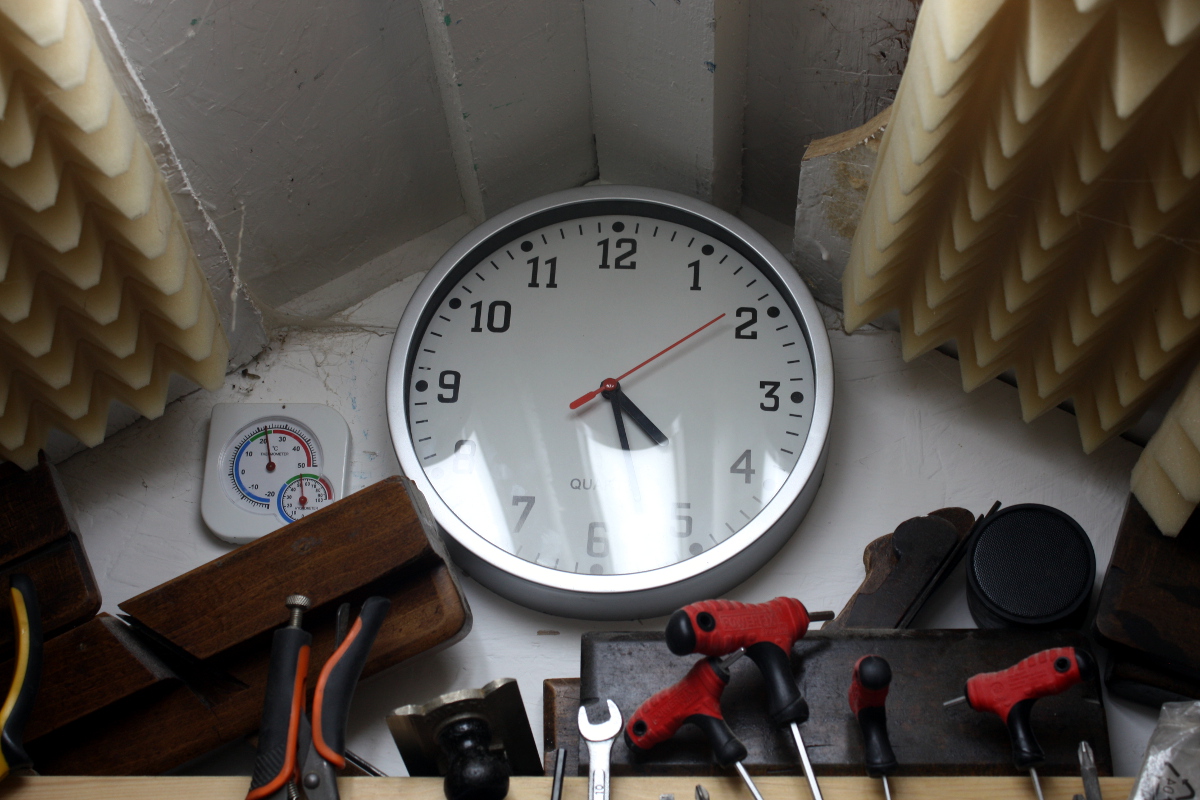
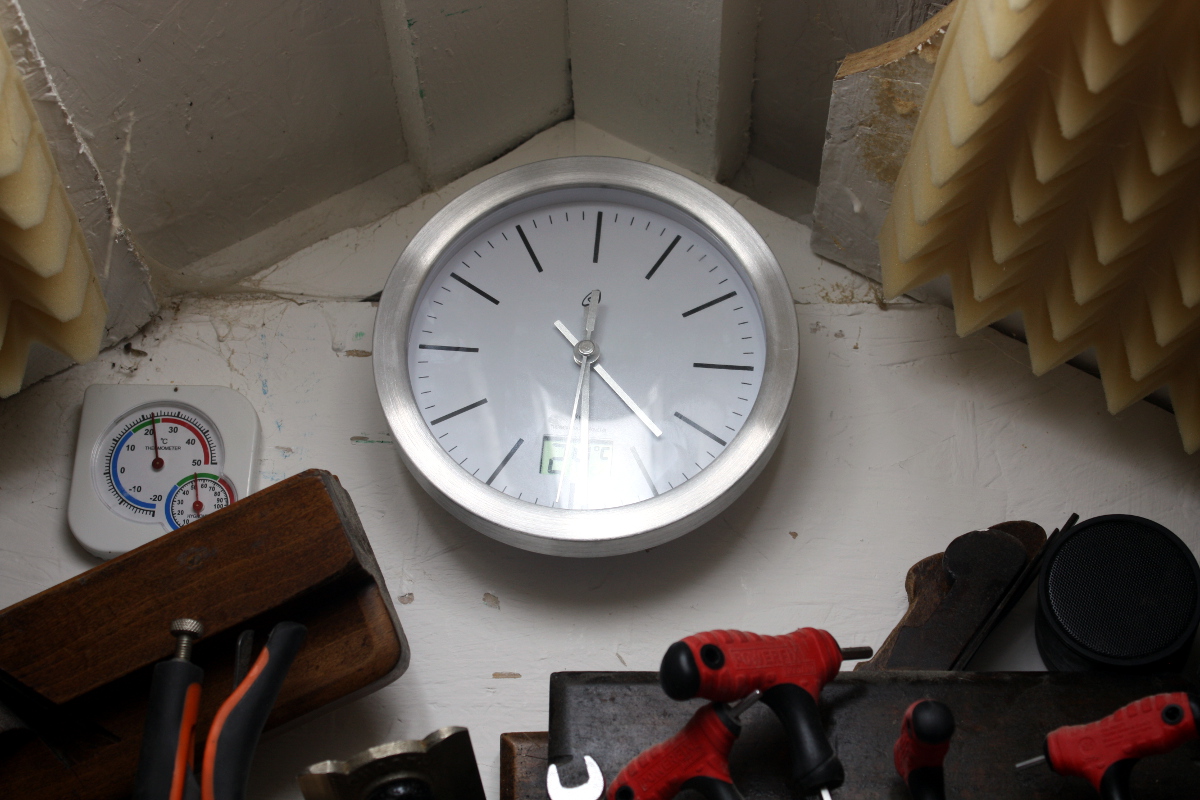
Lidl were selling radio clocks (as in, synced to the german VLF atomic clock transmitter so you never have to adjust the time even if the batteries run out and you don’t replace them for a while) so out with the older larger clock and in with the newer quieter one with the built-in temperature and humidity sensor. Atomic-level accurate clocks with digital thermometers and humidity sensors sold for a tenner as a loss leader to sell you vegetables and own-brand staples. Mass production does have some advantages…

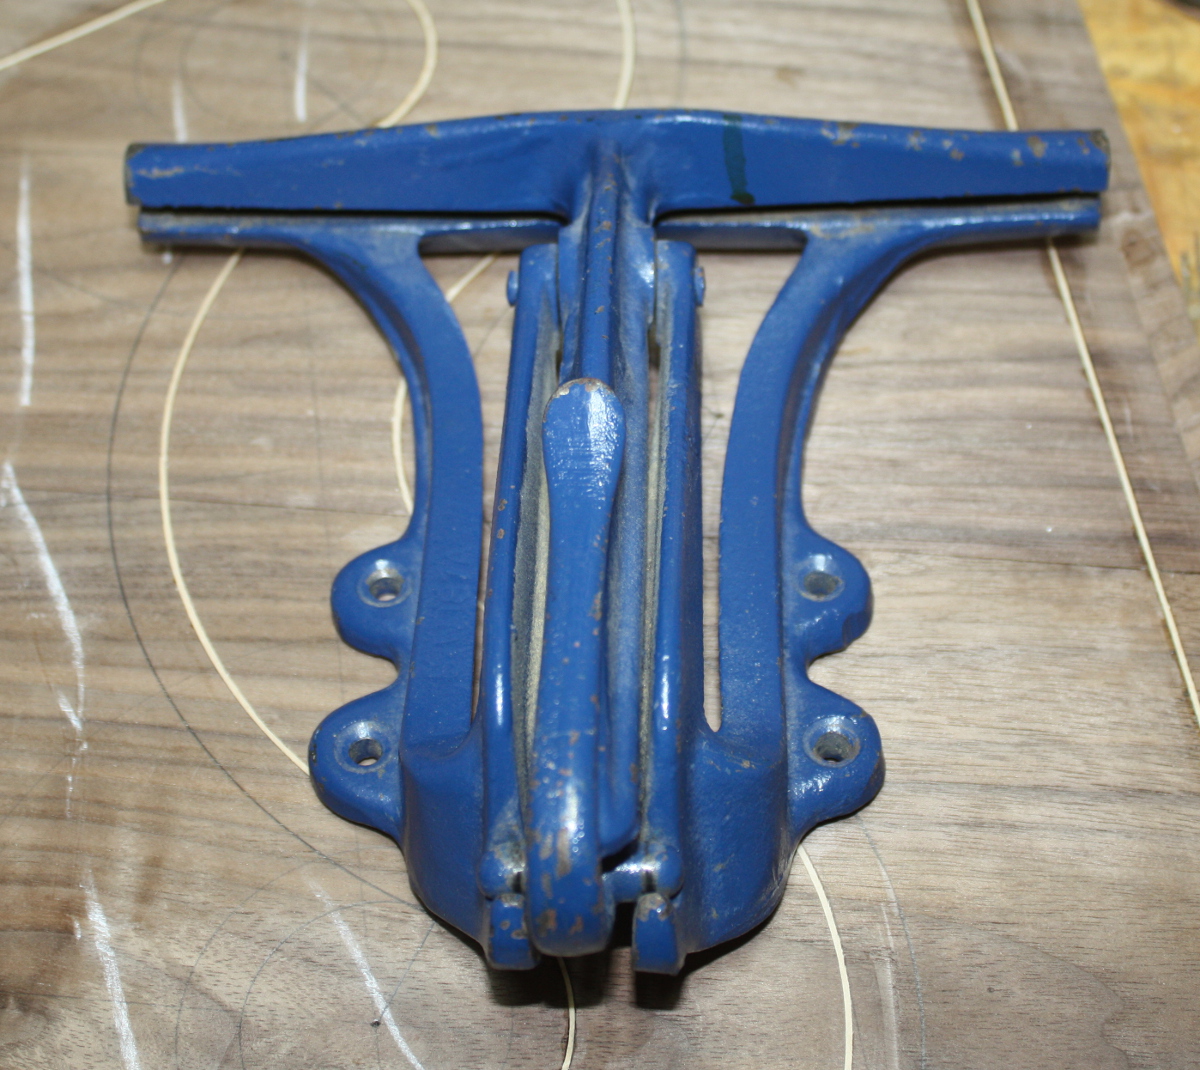
And a new vice. I keep putting off sharpening my saws because they’re a pain to clamp in that small pine stick with the saw kerf that gets clamped into the bench’s face vice, and then when it is clamped properly the teeth are down at bench level and it hurts my back to be bent over the work like that but I need to see what I’m doing to do it and it’s fiddly. So I’ve left the western saws I have on the wall for over a year now and they’re not bad tools and I keep wanting to learn to use them right but I keep coming back to the japanese saws because the western ones aren’t sharp. So, a dedicated saw sharpening vice, found on ebay for €25 including P&P:

It’ll get bolted to a small plank, then the plank goes in the face vice on the bench, so the top of the vice will be much closer to my face and I can see what I’m doing. Fingers crossed it’ll work.

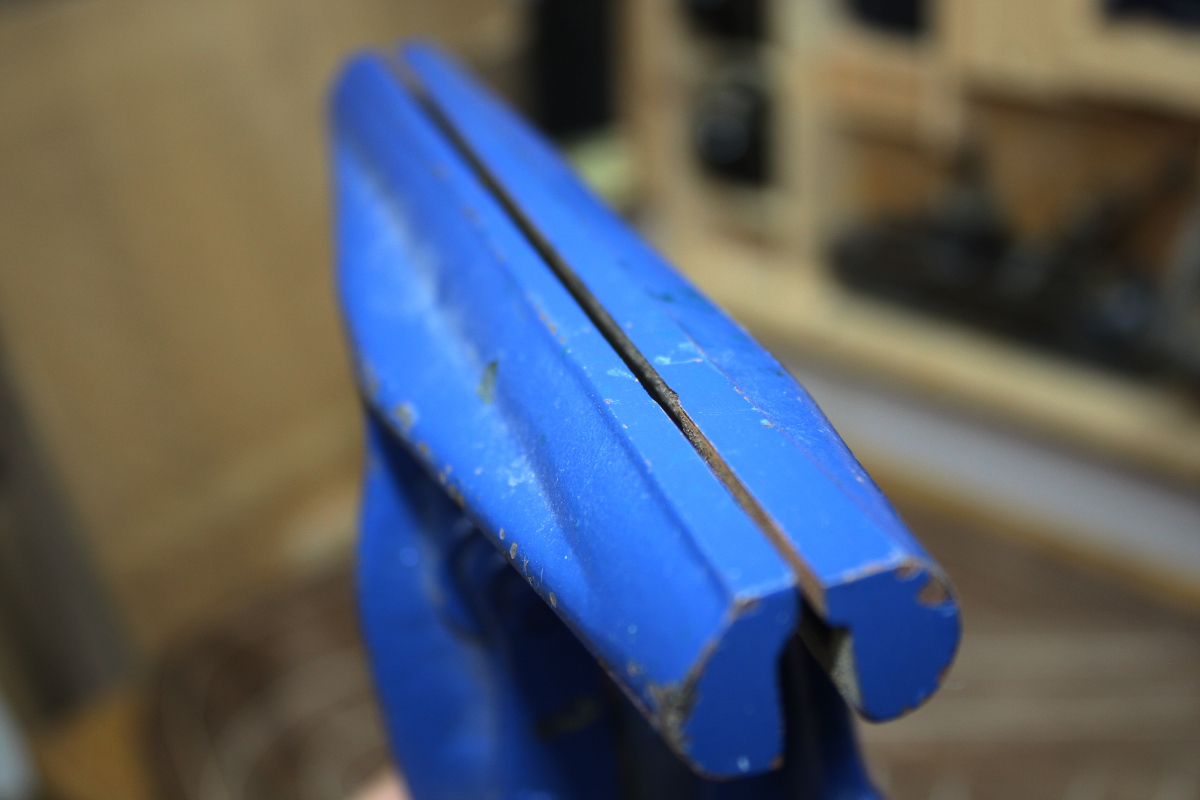
That’s it fully open btw; just enough for a saw plate and then you clamp it shut with a sprung cam. Has a lot more in common with a luthier clamp than it does with a screw vice. 

Not a lot other than that little bit done today. Today was too sunny and it was a weekend so we took the little BBQ on a field trip to Powerscourt waterfall…

Not allowed chop ’em down and make furniture from them though, oh well 😀