08
May 21

Pen practice

Friend of mine got married recently and he made his own wedding pens. Which were very pretty.
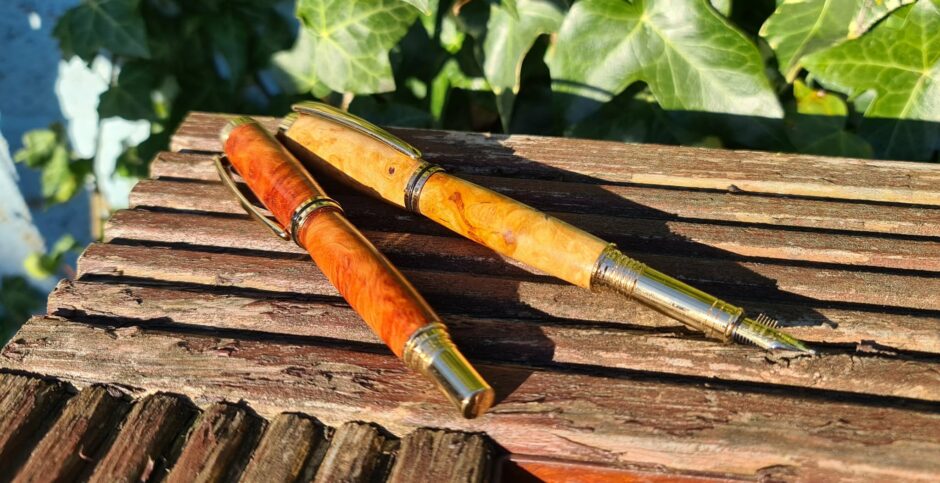
So I thought I’d like to try making a fancy pen or two. I got a pen turning kit a while ago, and made a single pen before six other things cropped up, but I did enjoy it so I’d been planning to make more and this got me off my ass to do so. First up, made a shedmade pen press, then went onto Feinesholz and Taylors Mirfield and spent a lot more money than I normally would on these things, and got some nice kits and blanks and tooling. First though, I wanted to get a bit more practice in before ruining a few hundred quid’s worth of raw materials, so I picked out one of the acrylic blanks I got when I bought the lathe, one of the padouk wood blanks I got at the same time, and thought I’d like to use the third pen kit to try out making a segmented pen blank.
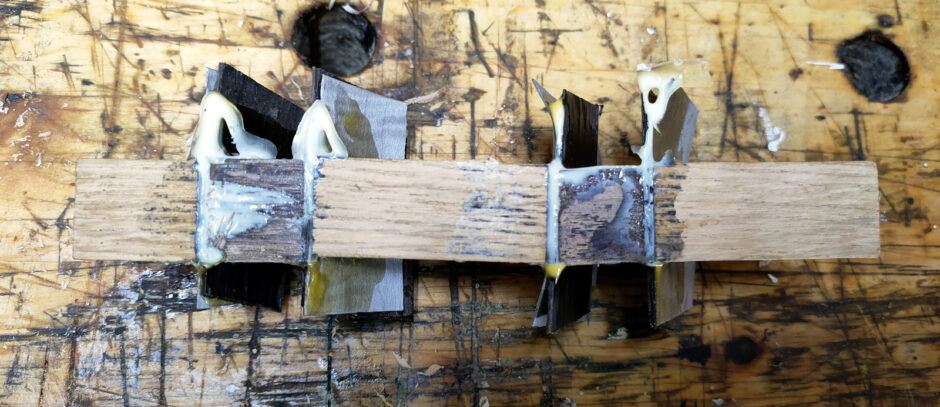
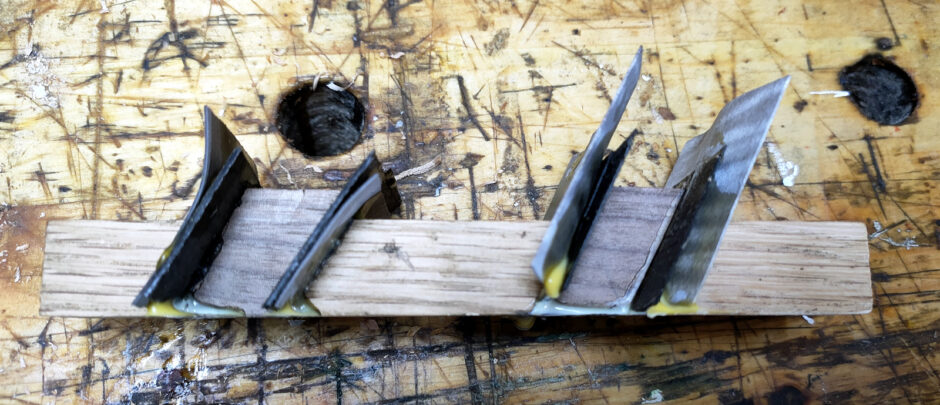
I think it’s fair to say that that glue-up could have gone better 😀 Oak, walnut, ebony veneer and a steamed pear veneer that has been stained silver gray. Looks unusable, but the nice thing about pens is that they don’t use much wood really, so this was recoverable.
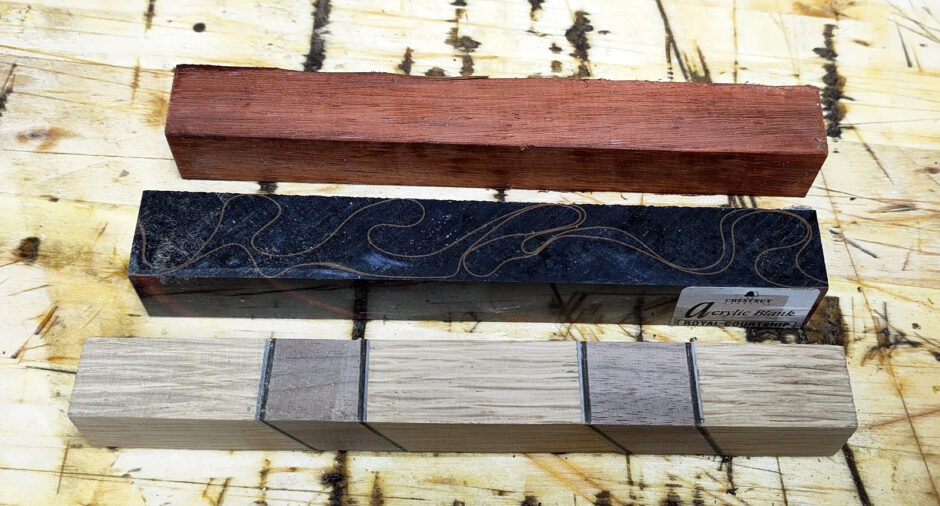
Cut them to the right length for their brass tubes, drilled and epoxied in the tubes. I saved the offcuts from the padouk and acrylic blanks, I had an idea there.
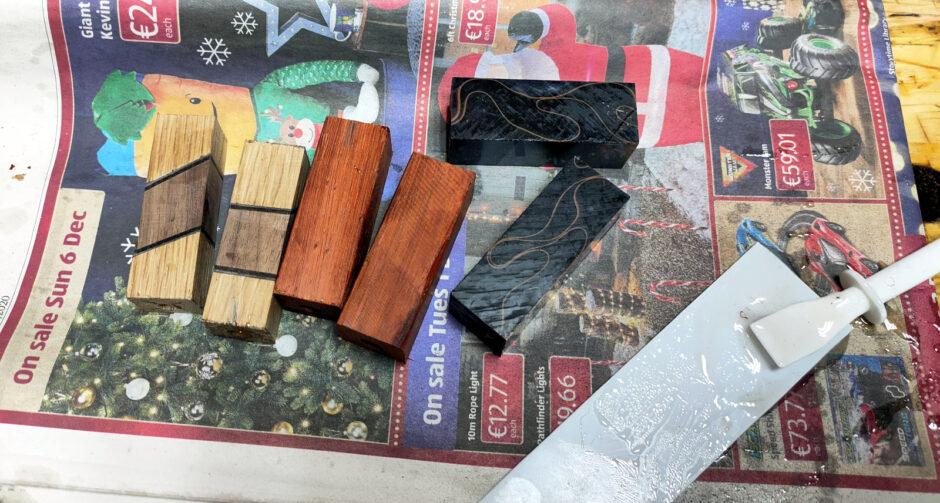
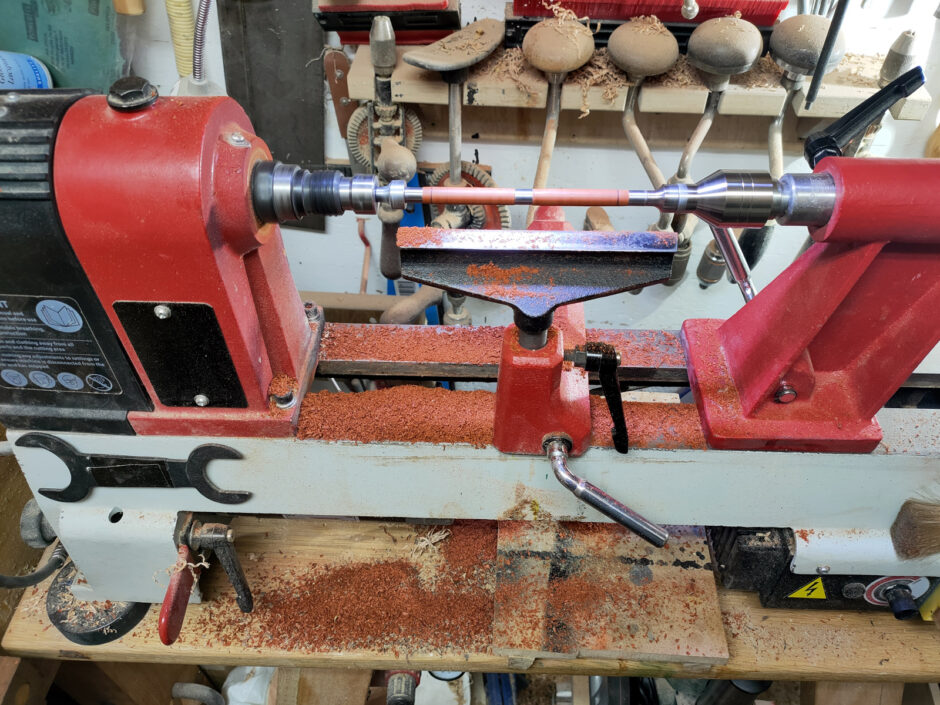
Then on to turning, starting with the segmented blank.
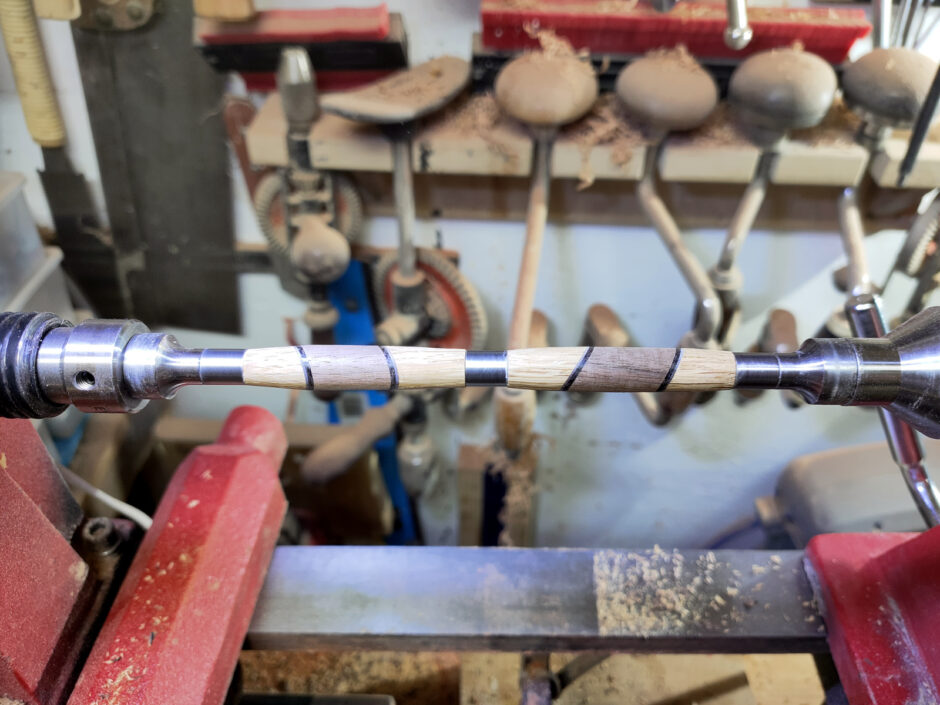
I rather like the turning with pens; it’s good practice with the skew and it’s not like these will have complex shapes. Mostly you’re just working to ensure the ends match the bushings. Then it’s on to sanding.
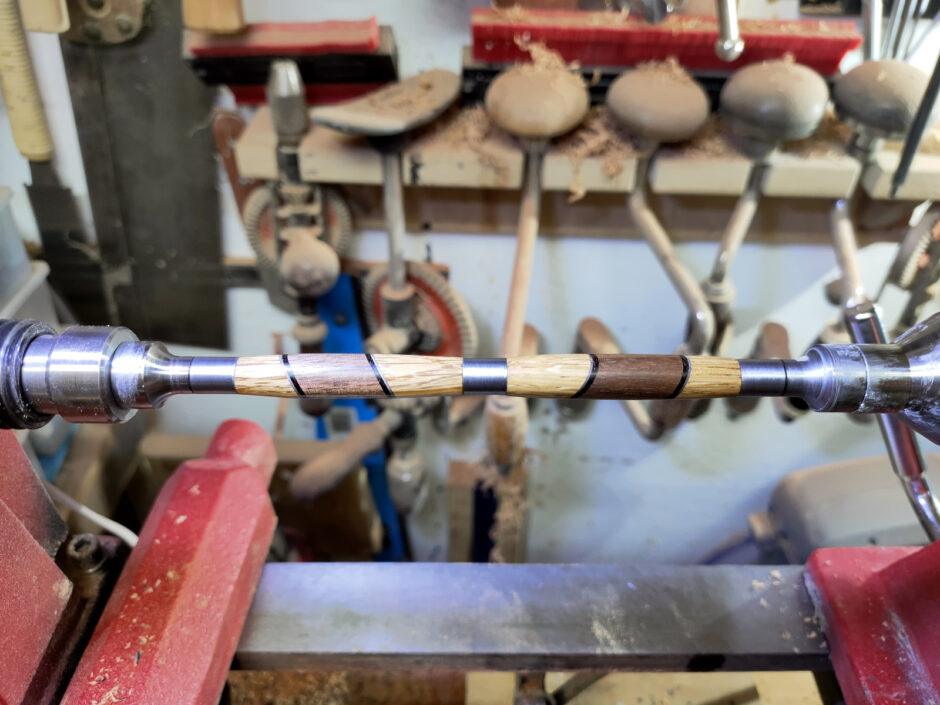
This is just sanded up to 800 grit with poppyseed oil, then sanding sealer and sanded with 2000 grit. Hampshire sheen wax over the top and call it done. I don’t know if I like the idea of a CA finish, it seems plasticy for wood, but I’ll have to give it a go at some point. The finish on these turned out a bit too matt after a day, so they needed something, whether CA or acrylic lacquer or melamine lacquer. But these are just for practice anyway. On to assembly.
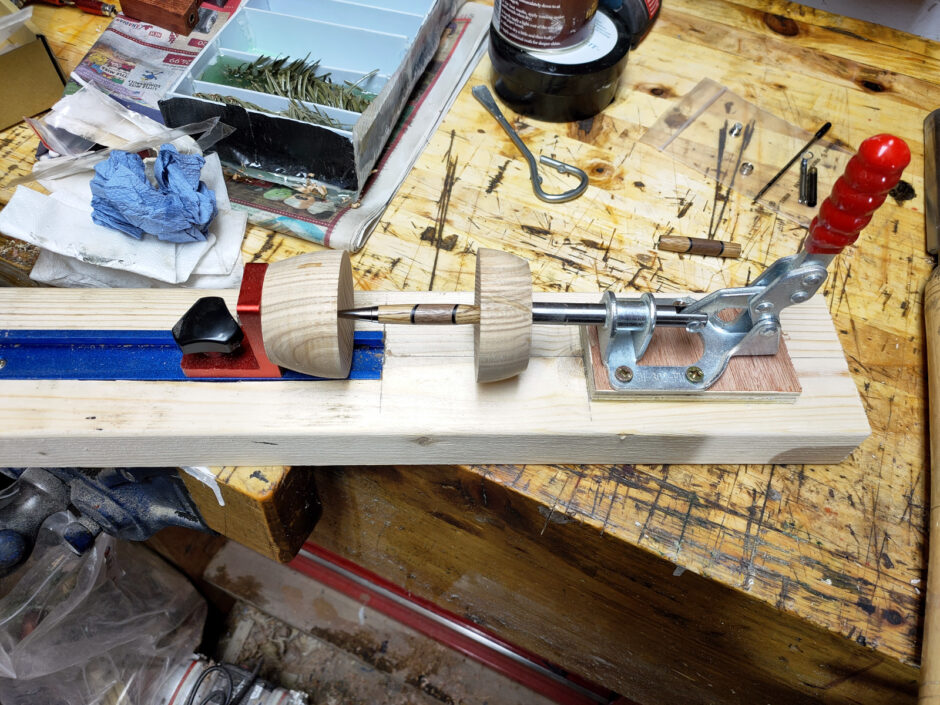
I can report that the shed pen press works quite well. A longer handle might make it easier, but this is totally manageable.
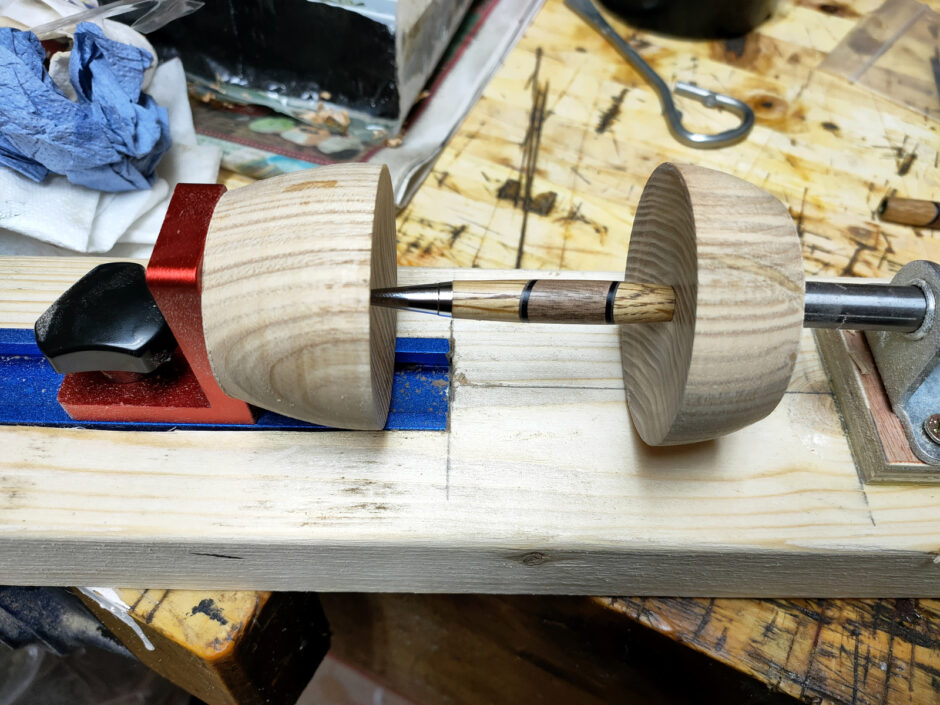
Not terrible. Next day, on to the padouk blank…
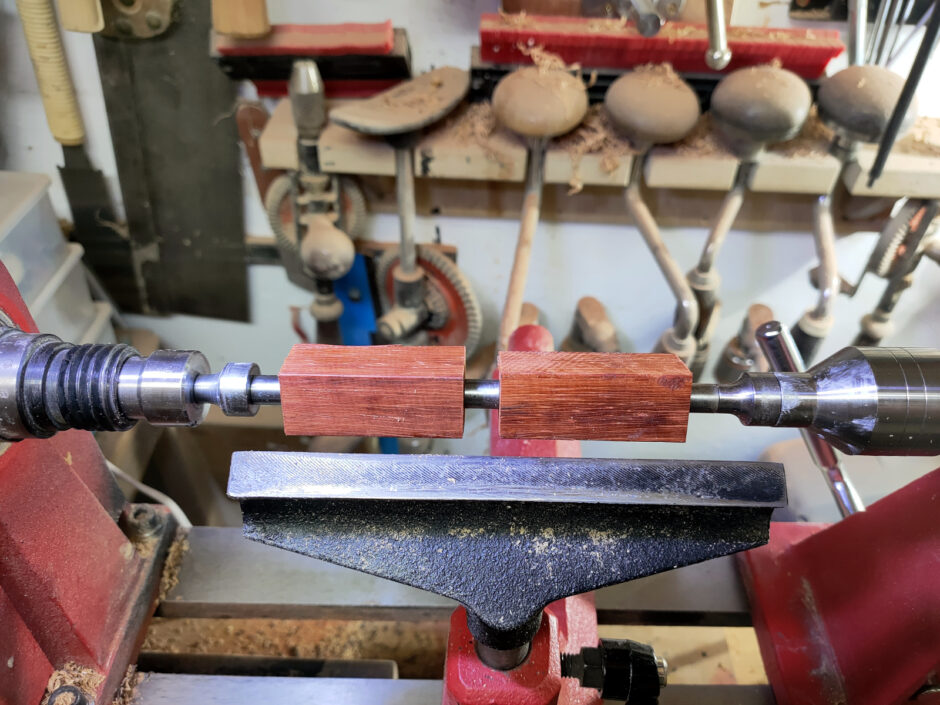
Well, that’s a fun colour to clean up 😀 Not stained or dyed. For those who don’t know the timber, it’s an african tropical hardwood that’s that bright vibrant red when fresh cut, but it will dull over time and with UV. Still though, lovely colour.

Again, sanded to 800 with poppyseed oil, sealed, 2000 grit, then hampshire sheen wax.

Not horrible. Finally, acrylic and this one I was wondering about because I’ve not turned acrylic on the lathe before.
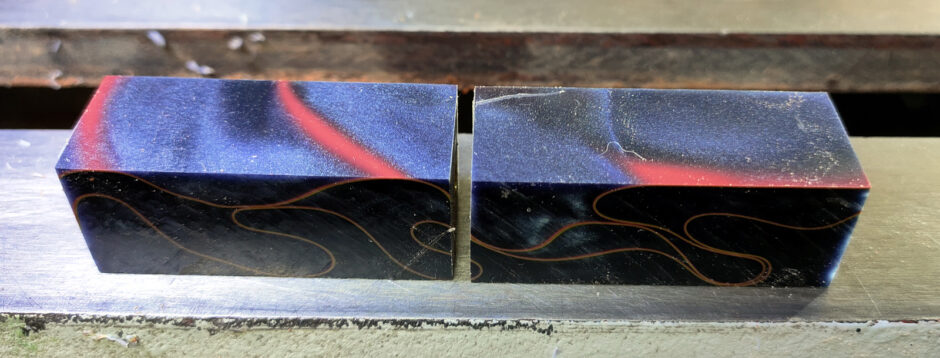
Also, didn’t want to waste the inch left over from cutting the blank to size, so I drilled that too and used a keyring kit to do something with it while also practicing cutting it.
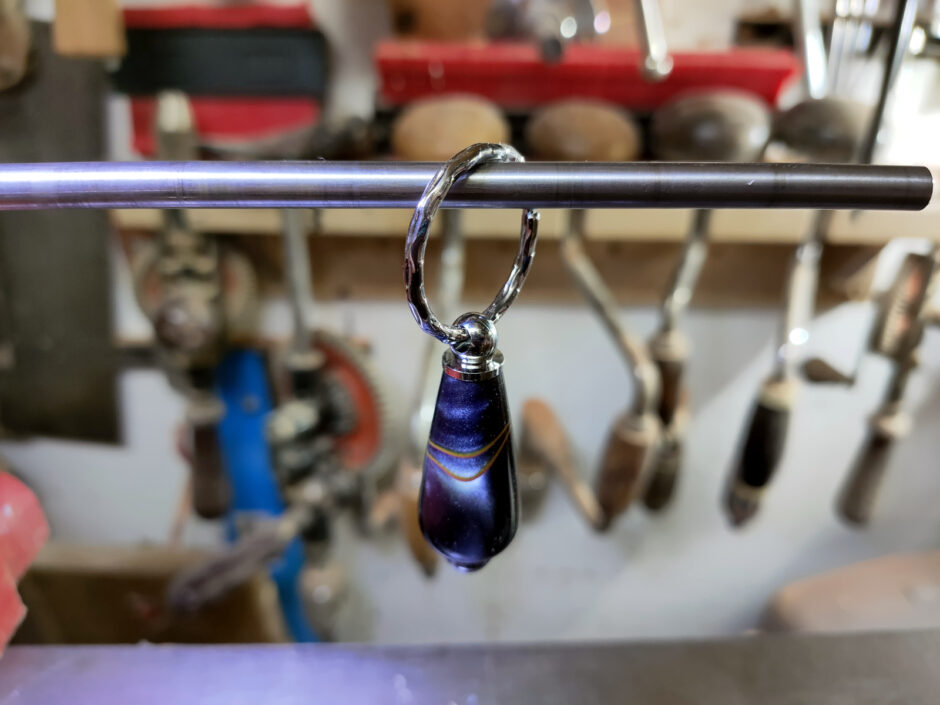
Finishing is remarkably easy – sand with 800 paper first, then work your way through the micromesh sanding pads in order up to 12000 grit and that’s pretty much that. You can put on a layer of melamine or acrylic lacquer but it’s not critical for solid acrylic like this, it’s already plastic 😀
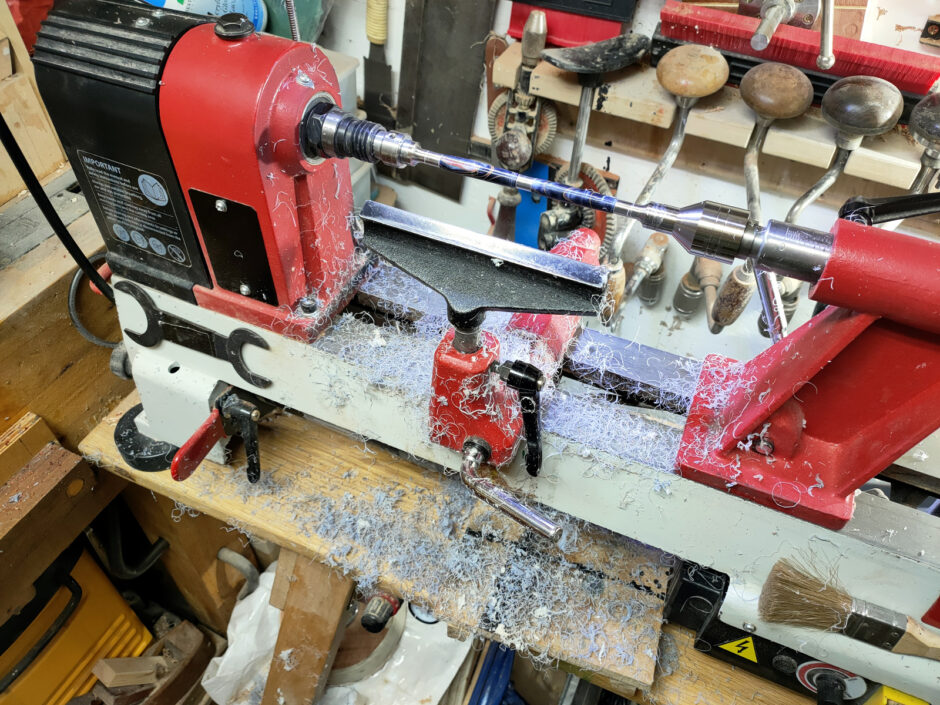
The mess from turning the pen is a bit less fun with this one, but it’s still managable at least.

Before sanding:
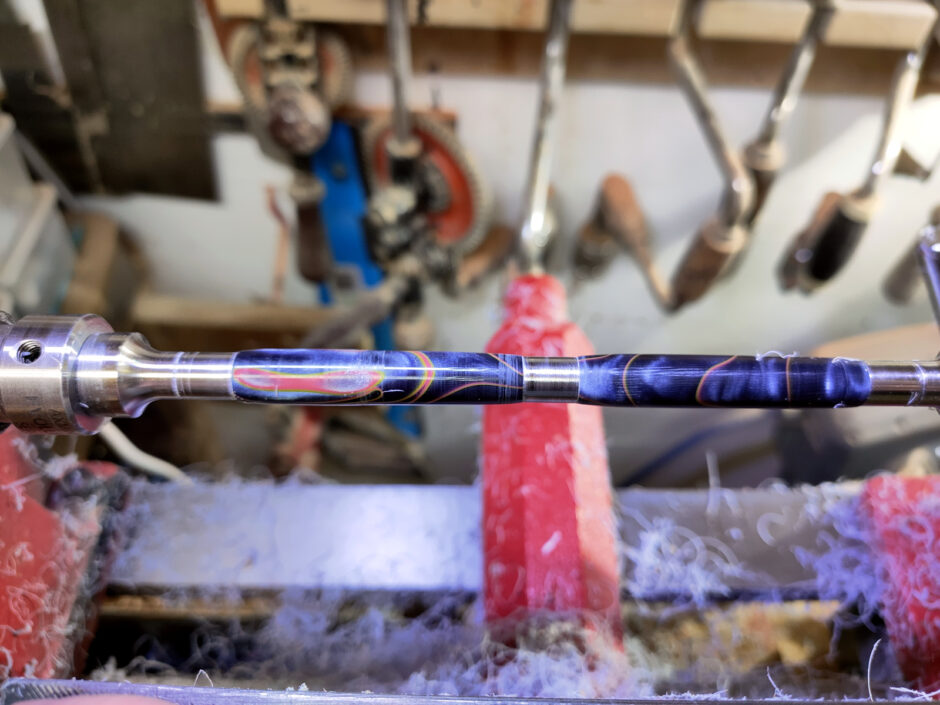
and then after sanding to 12000 on the micromesh as before but then also continuing on with yorkshire grit and yorkshire grit superfine:
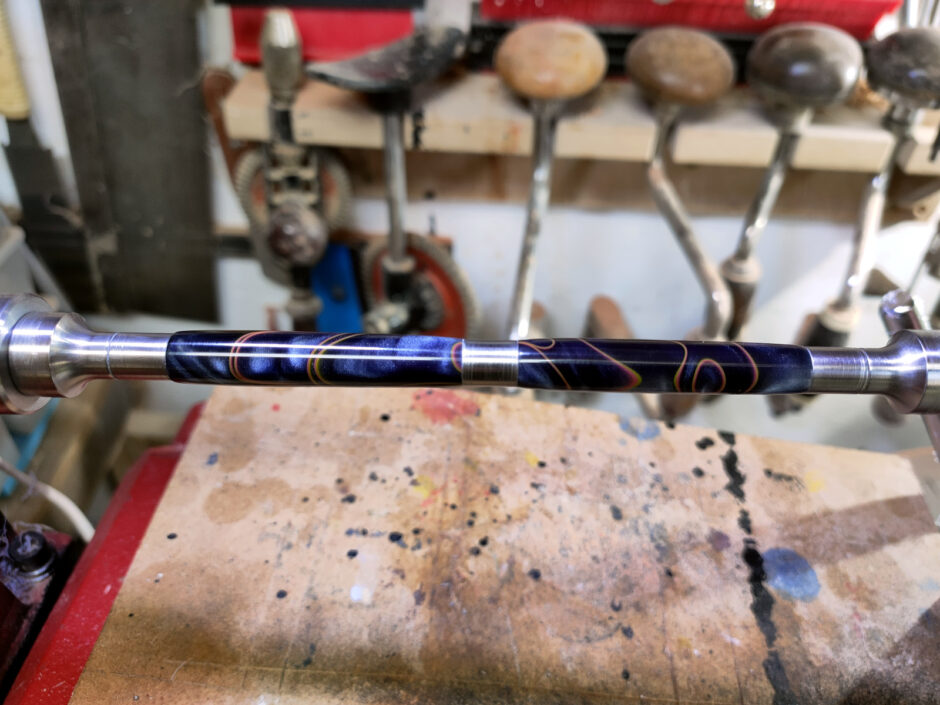
Another quick experiment here – not sure which of these would be best:
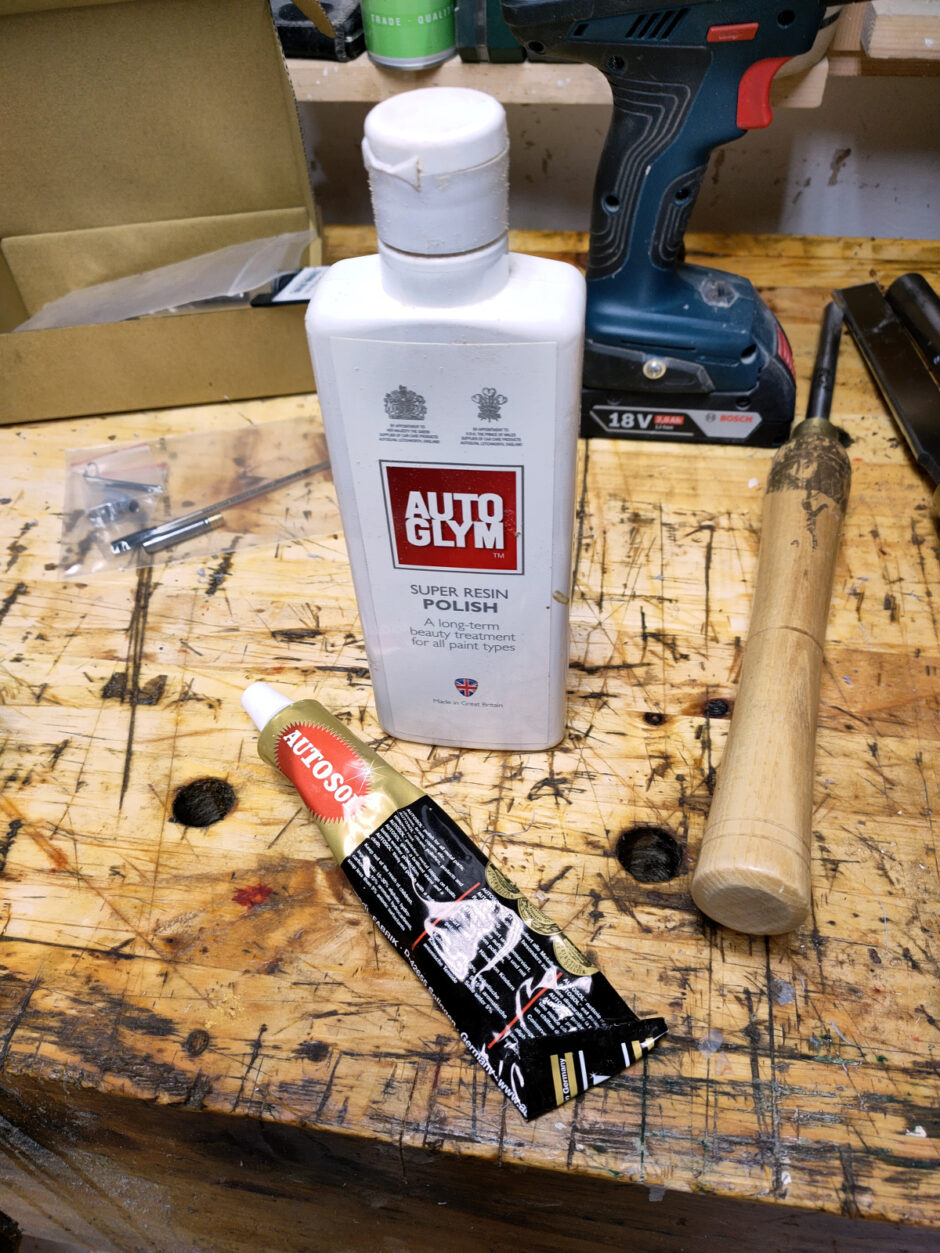
Autosol on the left, resin polish on the right:
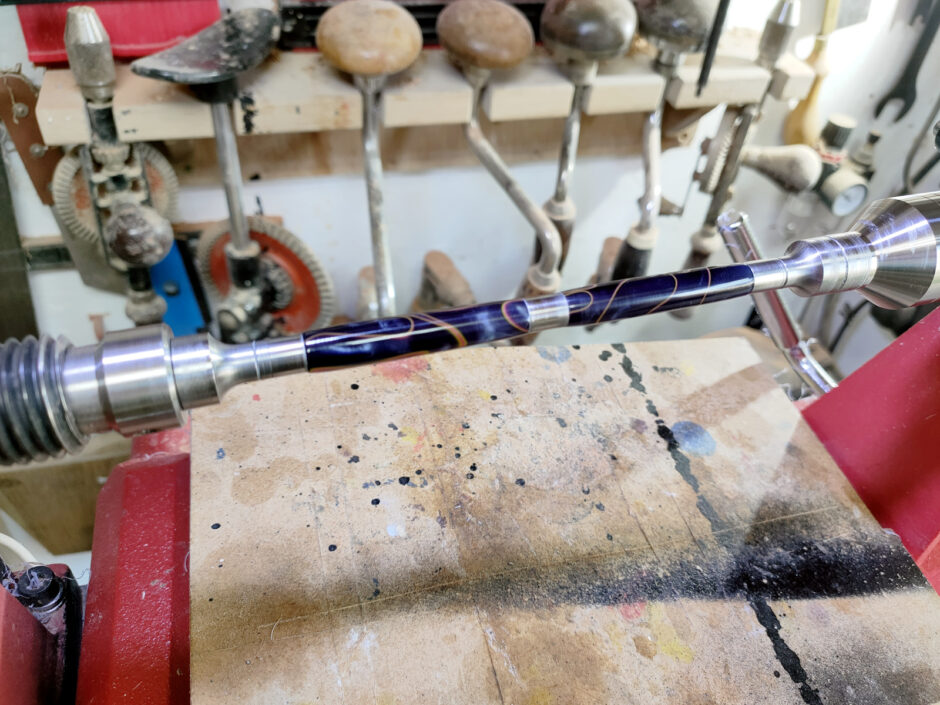
And at this scale, I can’t tell any difference. I know they showed up different for the resin when making Calum’s desk but I guess that wasn’t as hard as this blank. There’s no appreciable difference between the two here. So I gave it one coat of microcrystalline wax and called it done.

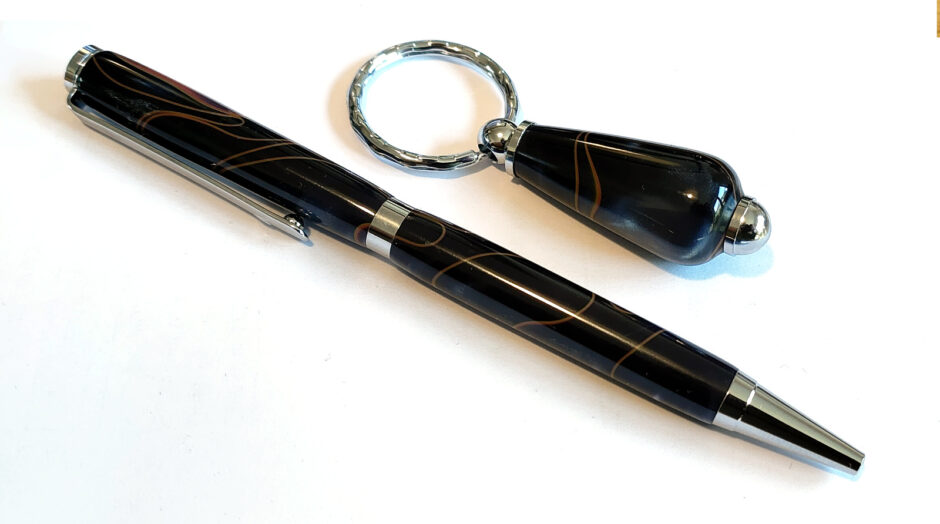
Pen doesn’t look too bad, but the whole “set” looks even better:
Next up, the fancy sketching pencil and then the fountain pens…
14
Apr 21

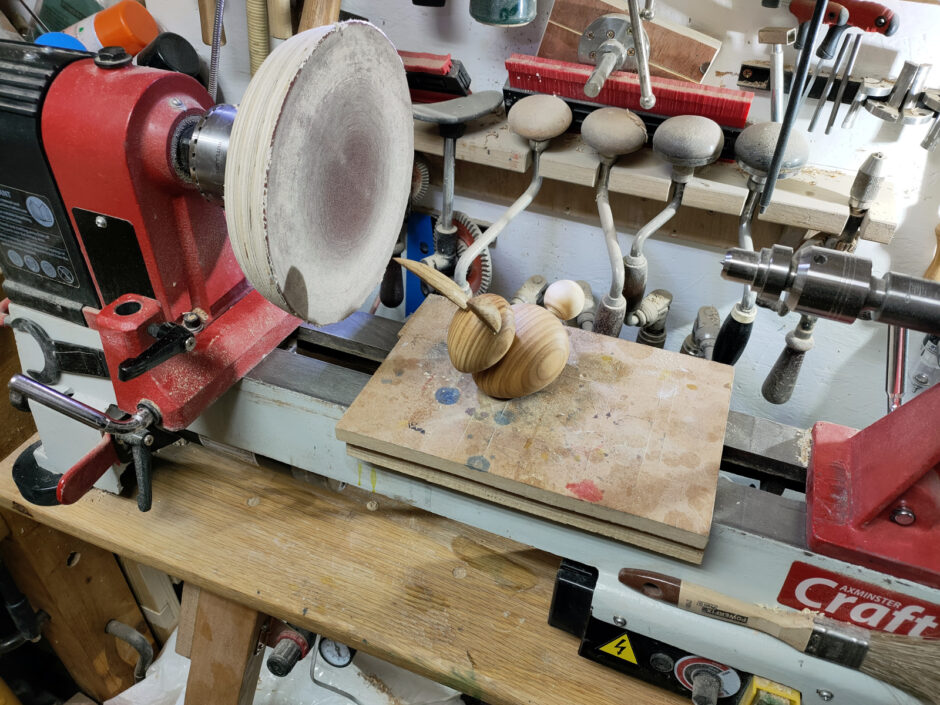
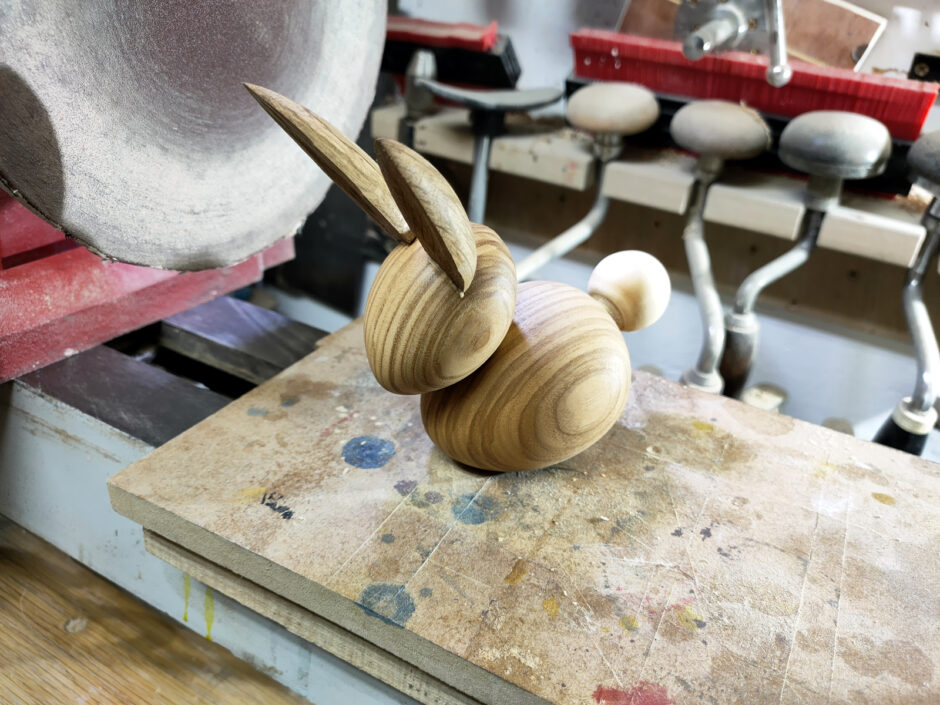
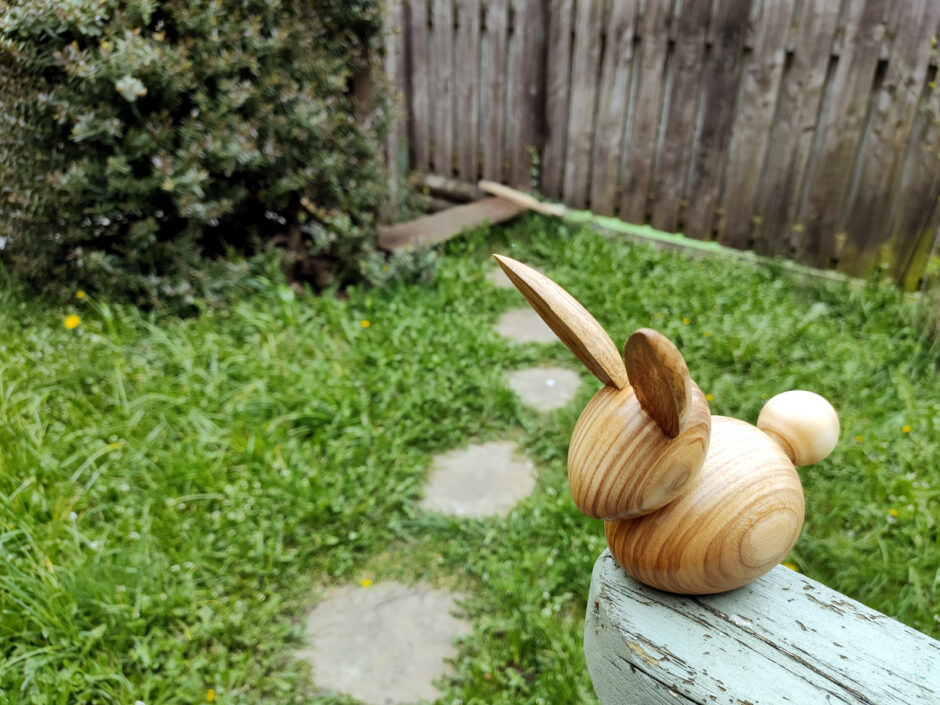
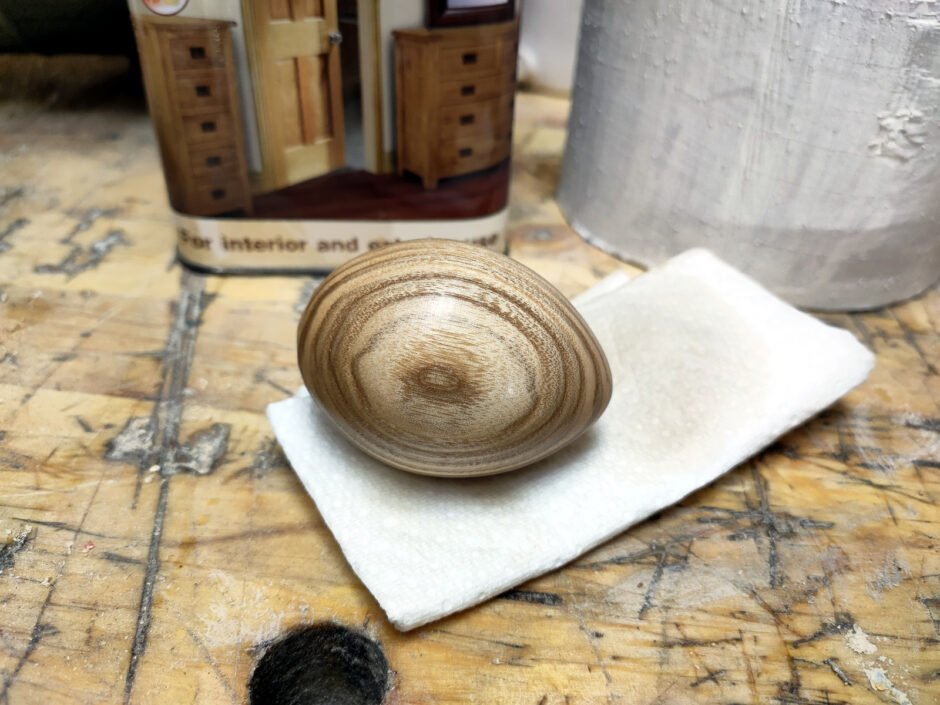
Turns out, you *can* make a rabbit from an egg…

I like a lot of Rebecca DeGroot‘s stuff, it’s very nicely weird and creepy.

So when she did a how-to video for making an easter rabbit, I thought I’d have a go.

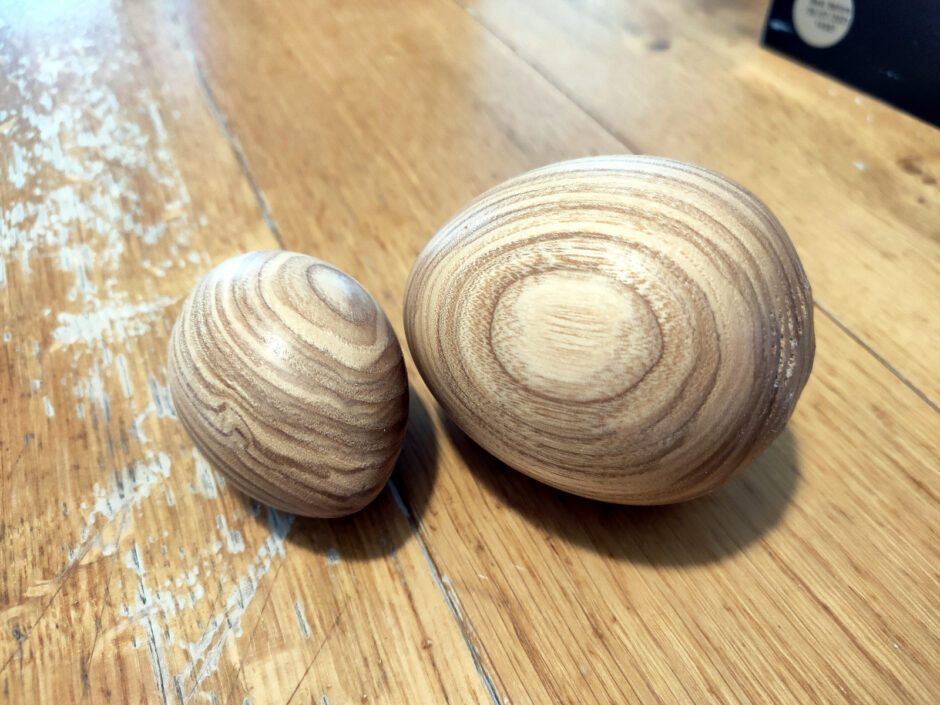
So, first up, turn the body and head from some sycamore spindles I had after the snowman production line at solstice. The head and body are basically just eggs…

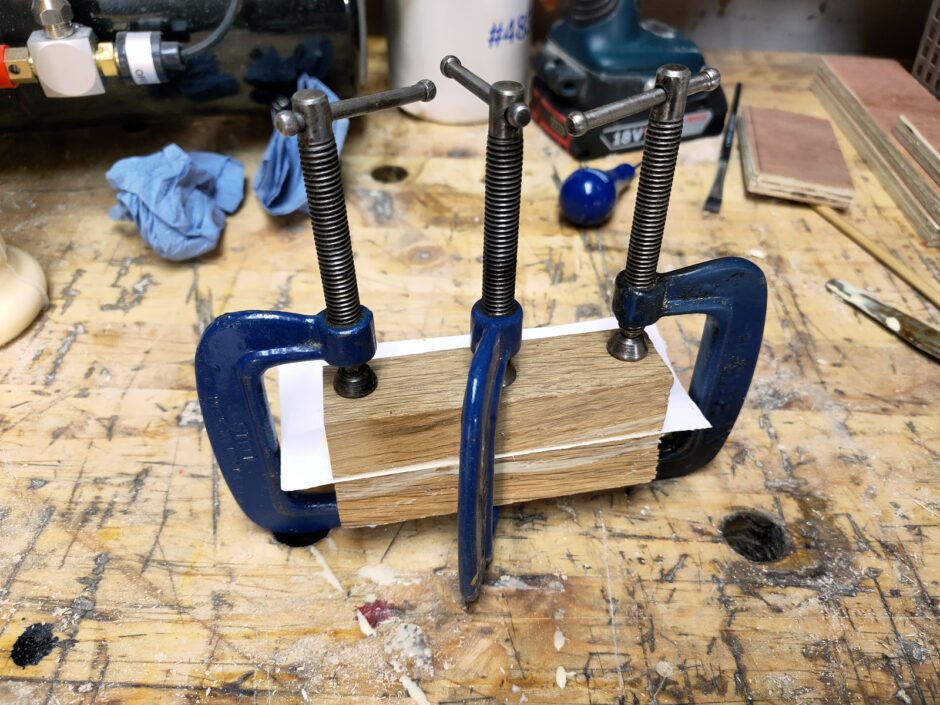
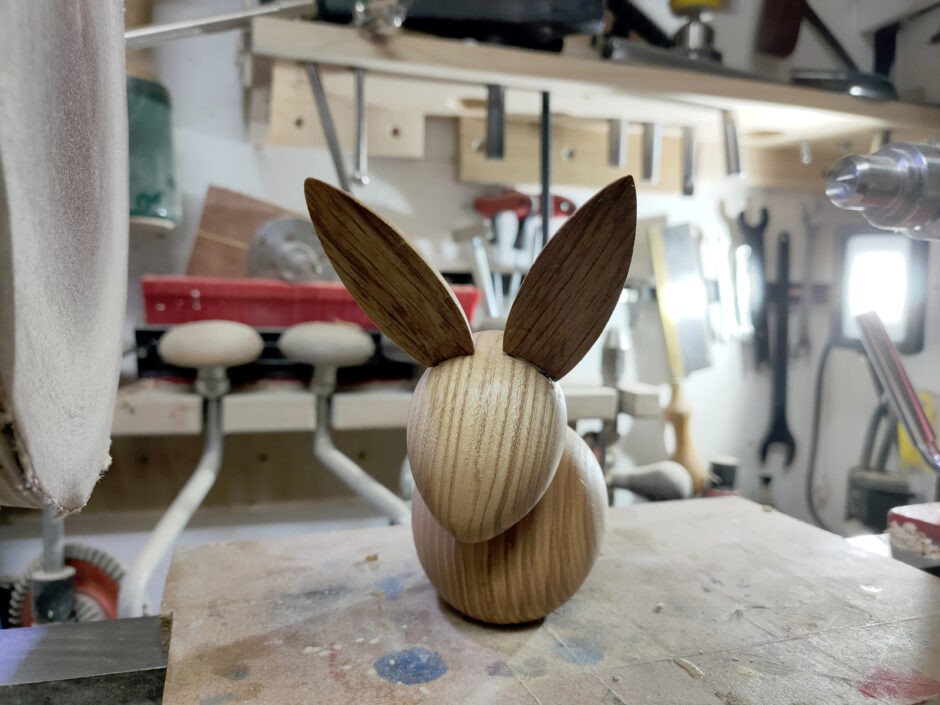
The ears are made as a long pointy egg as well, but from a blank which is a glue-up with a piece of paper between the two halves.

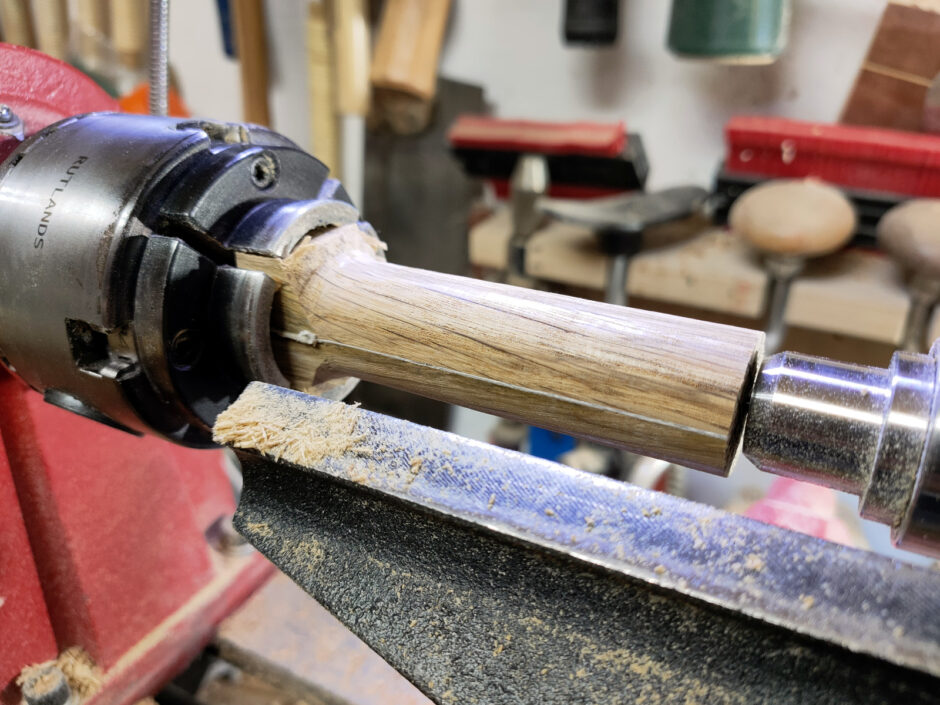
Similar to how you’d do an inside-out turning blank, but just two pieces here instead of four or more. Once the shape is turned, you just split the shape along the paper line and sand off the remaining paper (newspaper will do, but any heavy paper works well). These were just some oak offcuts I had to hand.

So with the head, body, ears and tail turned (the tail is just a chunk of old xmas tree trunk turned to a sphere with a tenon), you sand flats on the bottom of the body, on the bottom of the head and the top of the body, and you dremel the base of the ears to fit to the head (and I dremelled a small hollow into the ears as well because why not). Then drill between head and body for two dowels, and between head and ears for bamboo skewers (because I don’t have dowels that narrow). Glue everything up and…

That sanding wheel and platform are proving very useful for this sort of composite piece.

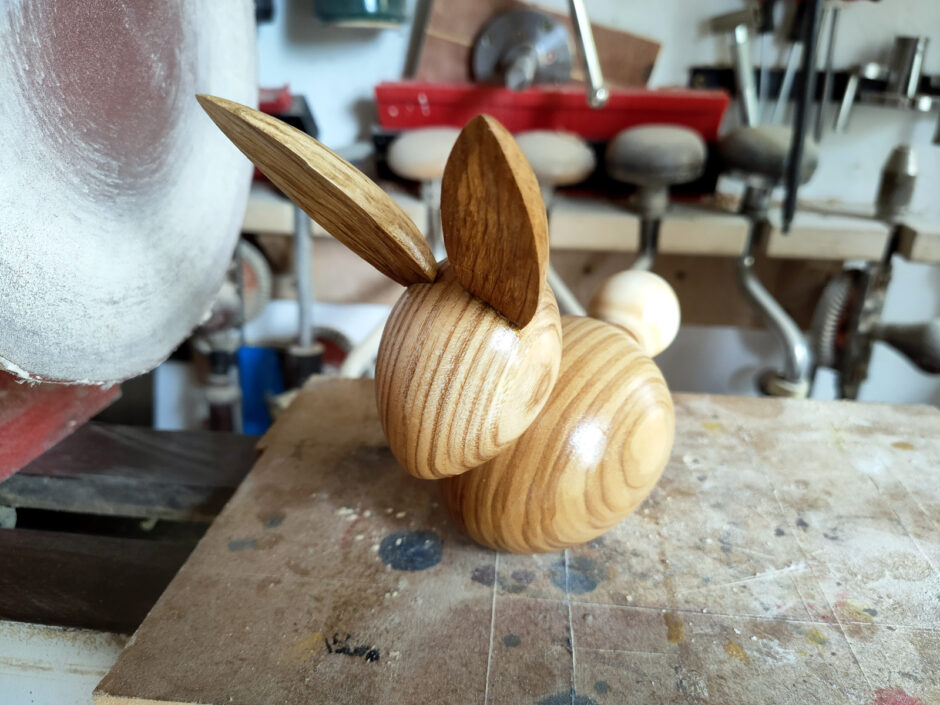
For a finish I just went with a coat of acrylic rattlecan lacquer.

Didn’t turn out bad at all.


10
Feb 21

Could things just stop breaking please?

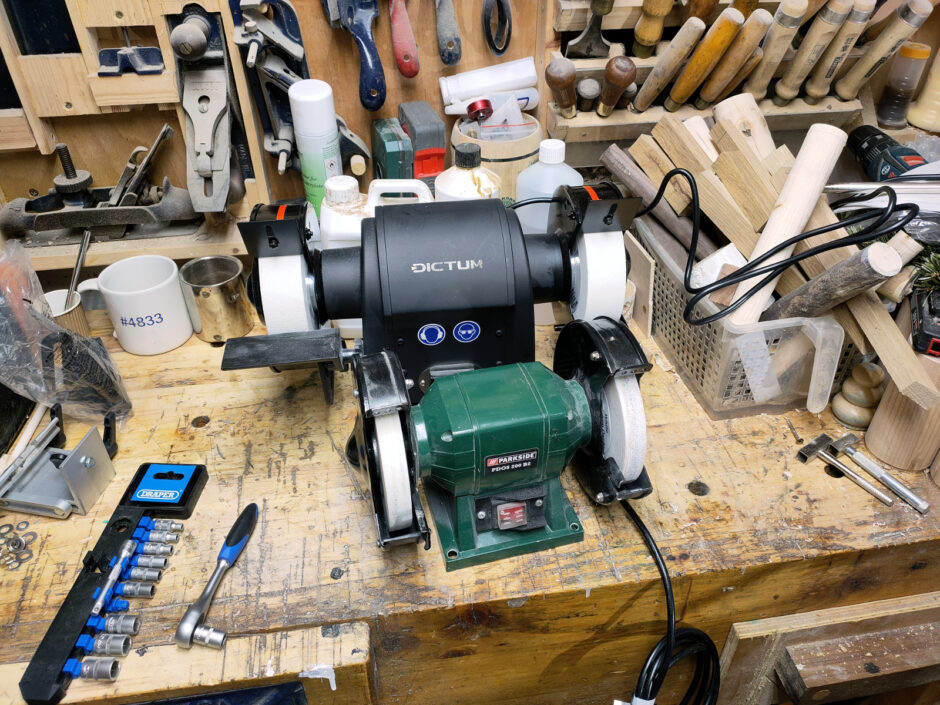
So immediately after buying it a nice new jig and making it a new backing board, the lidl grinder gave up on the grinding life. There’s something about noticing that your bowl gouge is bouncing on the stone and then realising that that’s happening because the stone is wobbling while doing around four thousand rpm in front of your face that will trigger both a sharp step to the right out of the line of fire, and will bump up the schedule for buying kit for the shed.

I probably shouldn’t be so annoyed, I got a good five years out of that and I paid about €35 for it from Lidl, so I definitely got my money’s worth. And I’ve since taken it apart and the problem seems small enough that it can do light duty with a wire wheel or a buffing wheel later on, but for now it’s gone into storage along with the wheels (which were grand, they’re axminster wheels and are sound).

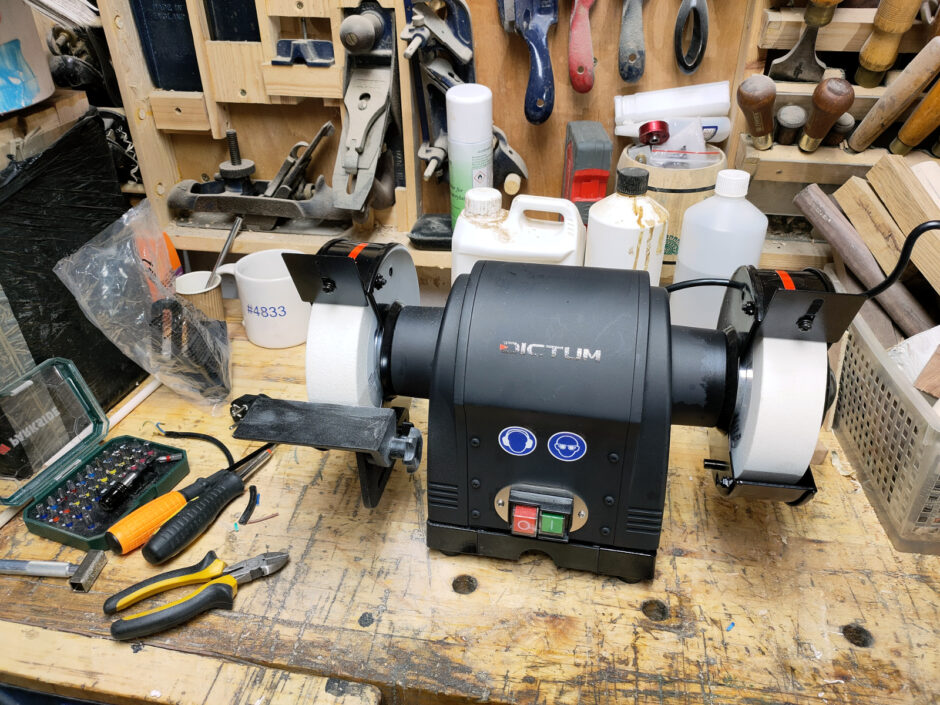
But I’m not a fan of the idea of exploding stone wheels in the shed given that there’s so little room that I’d get hit from all directions at once with the ricochets. So the plan to buy a slow-speed grinder was brought forward by a few months, and the plan was to buy a Creusen 7500TS because I’d used one in the woodturning course last year and they’re solid little beasties. But right now between covid and brexit, they’re out of stock all over the EU and the UK. So, plan B was the Dictum own-brand low-speed grinder, the DS150L. Placed an order and a bit over a week later, the large box shows up at the door along with Dictum catalogs to drool over.

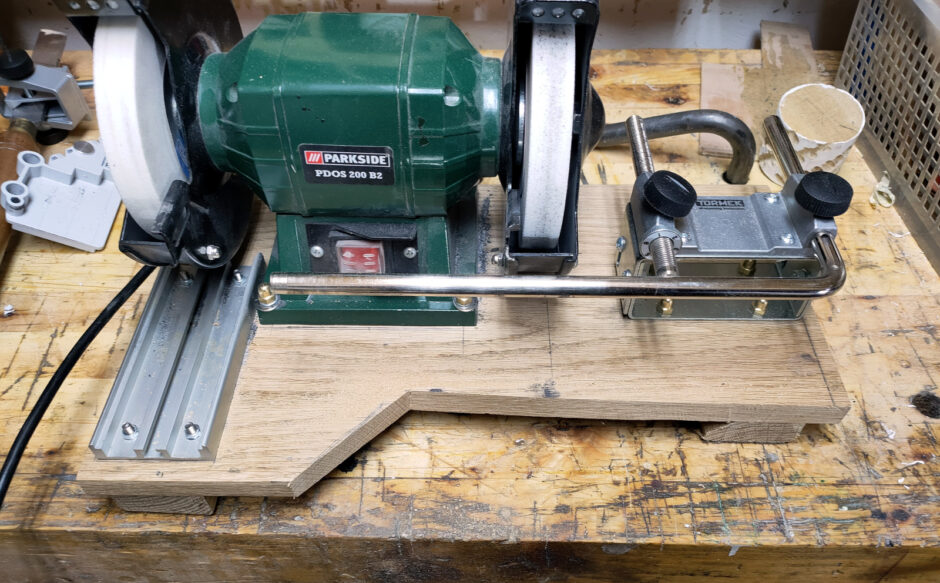
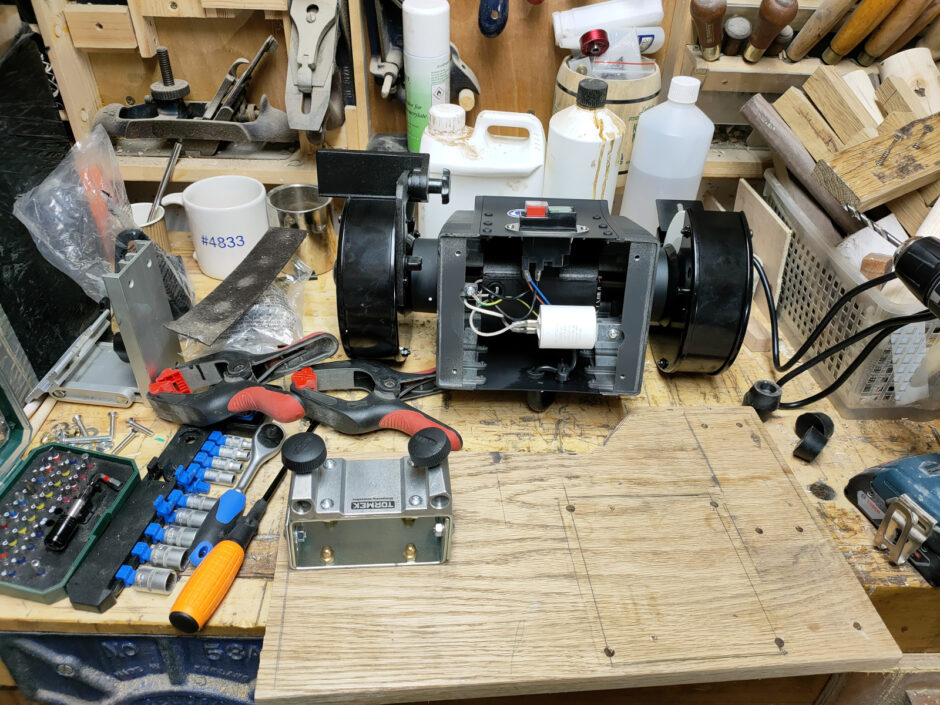
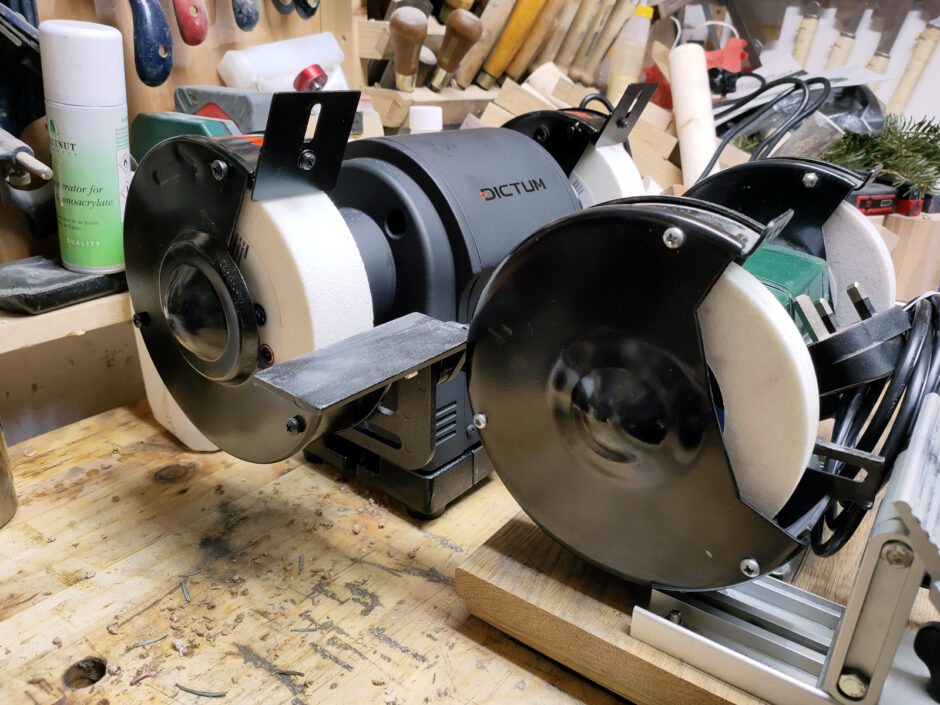
It’s an absolute unit of a thing. Initial assembly took a little while and the sparkguards are a no-go because the bolts that attach them are so long they impinge on the wheels. Granted, I could grind them down, but honestly, given that I never use these things without a full faceshield, I’m not sure they’d give me anything. The spark arresters are a welcome addition and I left off the right hand table because that’s where the Tormek jig will go.

This thing is very very solidly built. Cast iron base, what looks to be a mild steel body. The tray thing on the bottom is thin plastic but you can’t just discard it as it’s the main cover over the inside and the electrics.

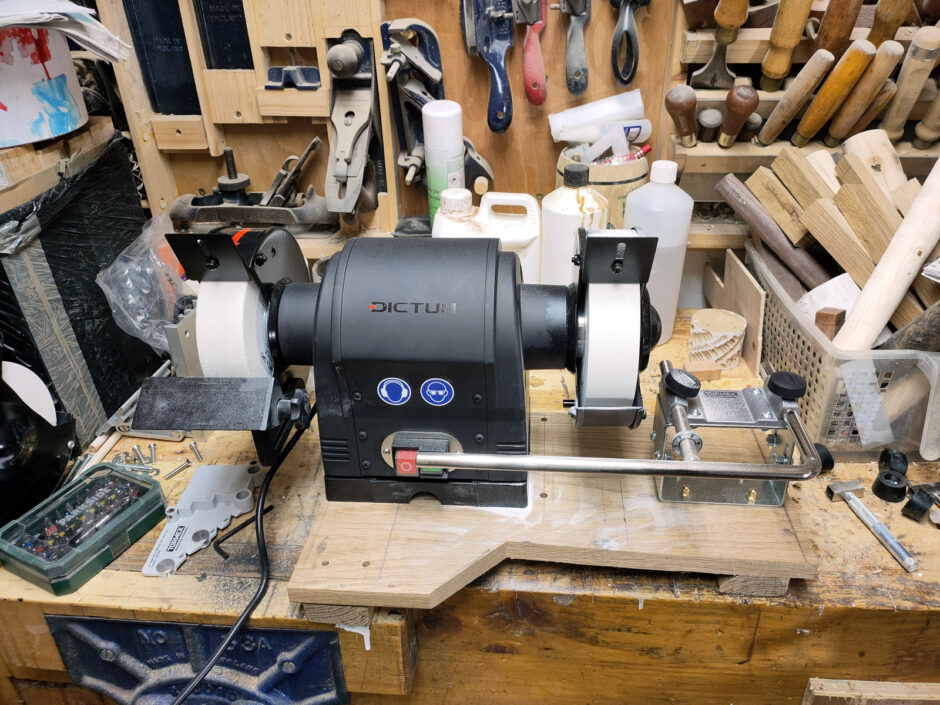
I did have to dissassemble it to put it on the backboard because it comes with heavy rubber feet so it can just sit on a bench and there are slots in the cast iron base to bolt it to a benchtop that way; but I wasn’t comfortable with that while it hangs on the wall. Maybe in a future shed 😀

Did I mention that it’s very very big? I honestly didn’t think I’d be able to reuse the backing board, but it just squeaked in there.

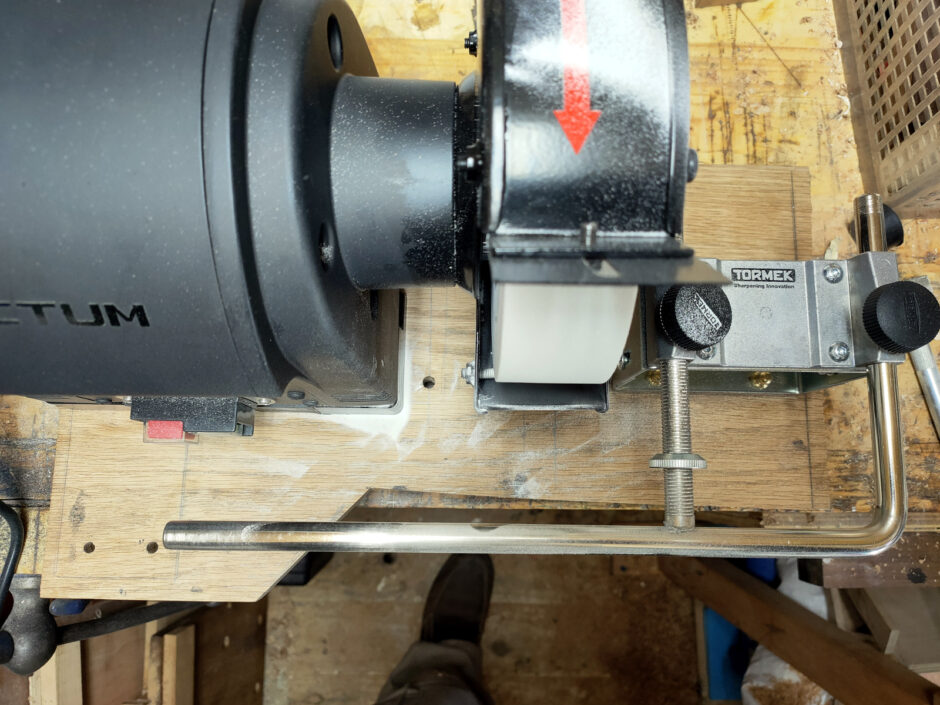
Okay, the entirety of the left wheel is now hovering out in free space while the right wheel has almost three millimetres of spare board left once everything is mounted, but it does fit.

You might also notice that the BGM-100 stand for the Tormek jig bar is now at full extension where as it was as short as I could make it with the Lidl grinder. Everything works, but it feels comically large compared to the old machine. And there’s a huge surface area to work on when sharpening, which is a nice bonus.

And it runs just so sweetly. Quiet, fast to get up to speed, and so solid and vibration free. If it lasts as long as the Lidl special, I’ll be very happy with it. I might even buy a CBN for it later this year if it works out (and if they come back into stock – again, covid and brexit is making a dogs breakfast out of a lot of companies’ stock levels).

With tools sharpened again, I made my first pen and a nice little box as birthday gifts for Claire, and now I have nothing in the must-do-first list in the shed so I’m thinking about the next thing I want to tackle, and well timed, this finally arrived as well…

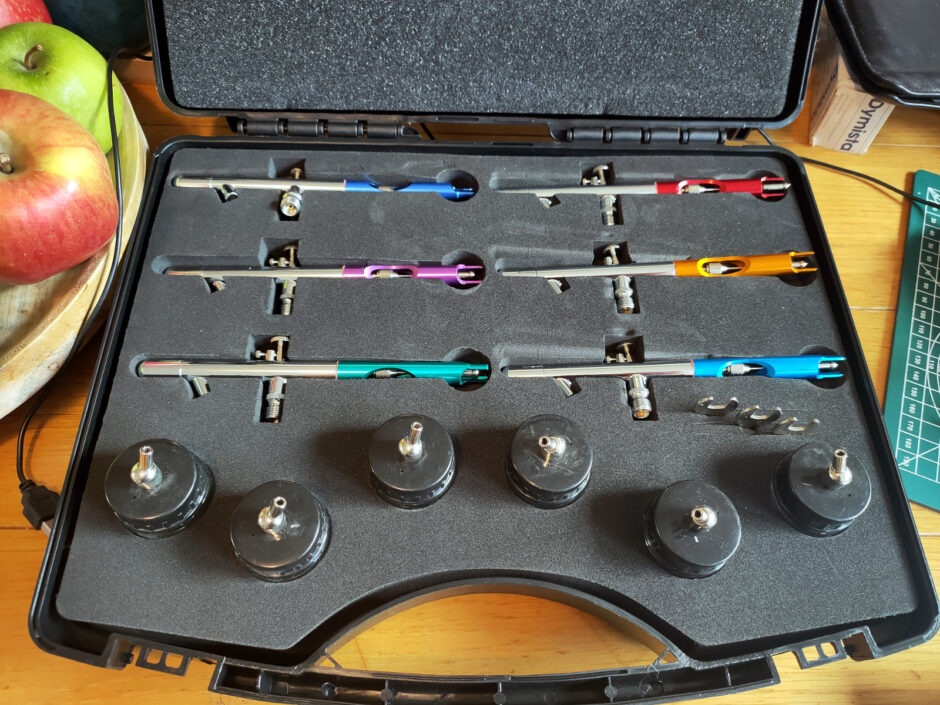
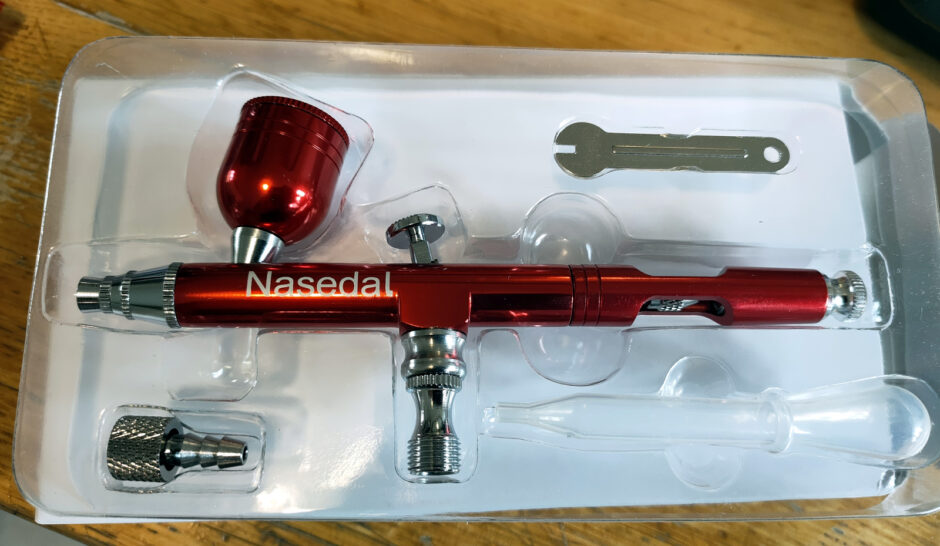
China’s cheapest, but now I have an airbrush for every chestnut stain in the shed, and a gravity-fed cup for the iridescents and other paints and a second one for in the house because if they’re seven quid each, why not, and I do actually use them for fun outside of the shed anyway 😀

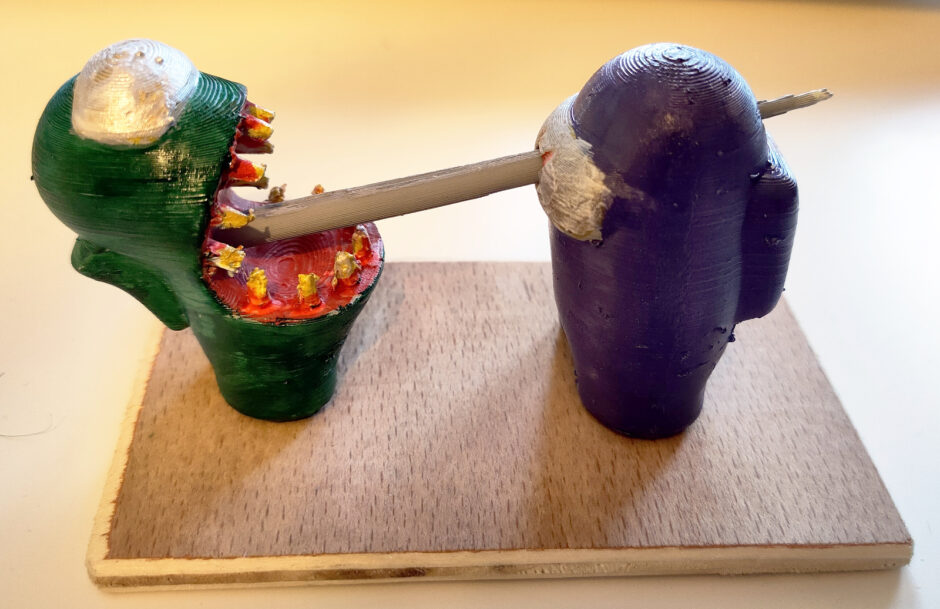
(3D printed models, not complete yet, much more work needed on painting and details)

‘Course, I’m also back to the Lidl air compressor because my little Draper 6L compressor gave up the ghost and now dumps the entire tank out through an internal valve somewhere inside the mechanism after pressurising. It should still be under warranty but I’ll give you three guesses how fast the company I bought it from is replying to my emails…

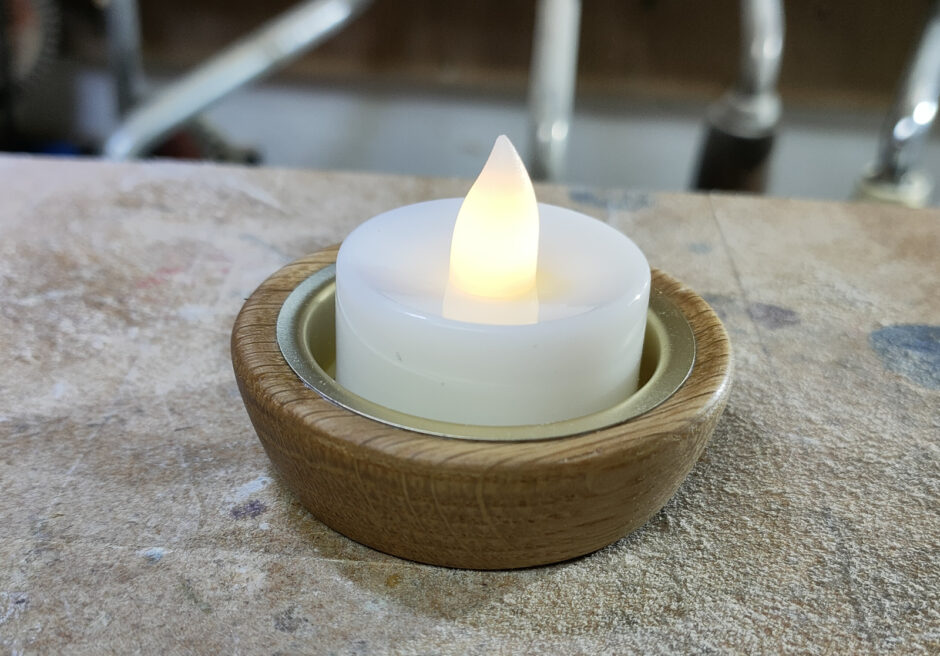
I did manage to make something from all the offcuts from the new baseboard for the old grinder though, so it took a full year, but I finally made something from offcuts that would otherwise have been burned 😀