Friend of mine got married recently and he made his own wedding pens. Which were very pretty.
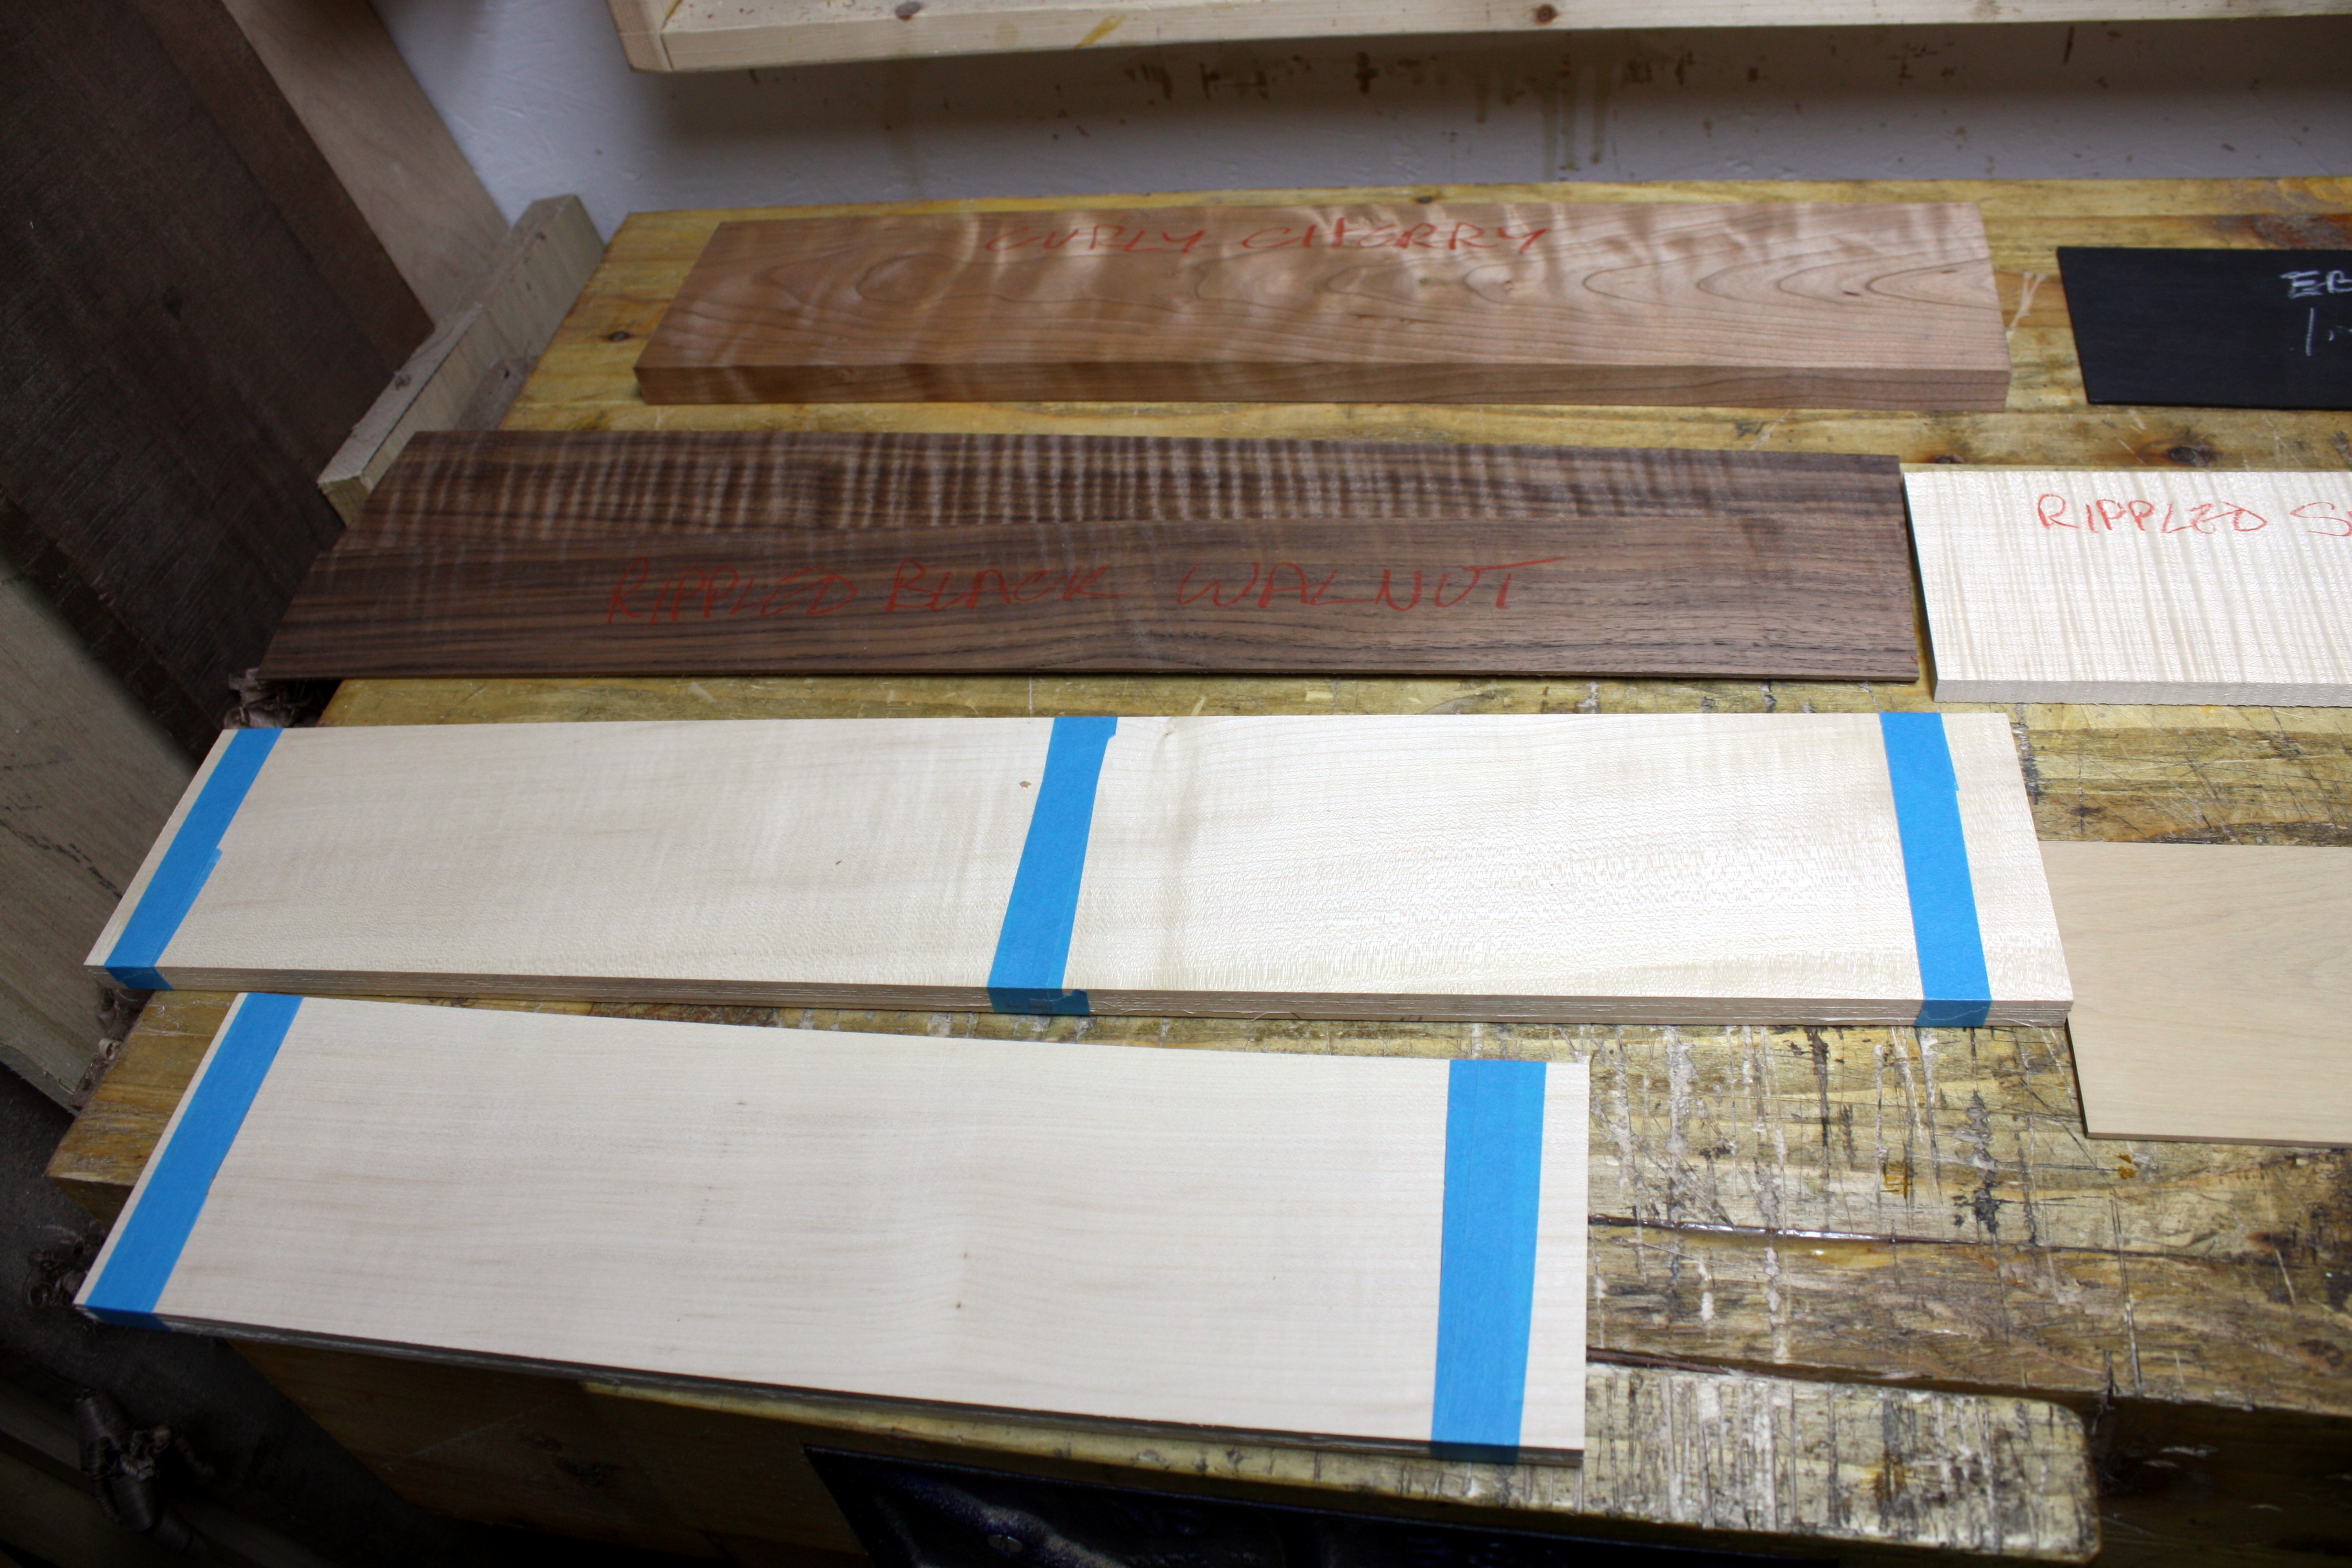
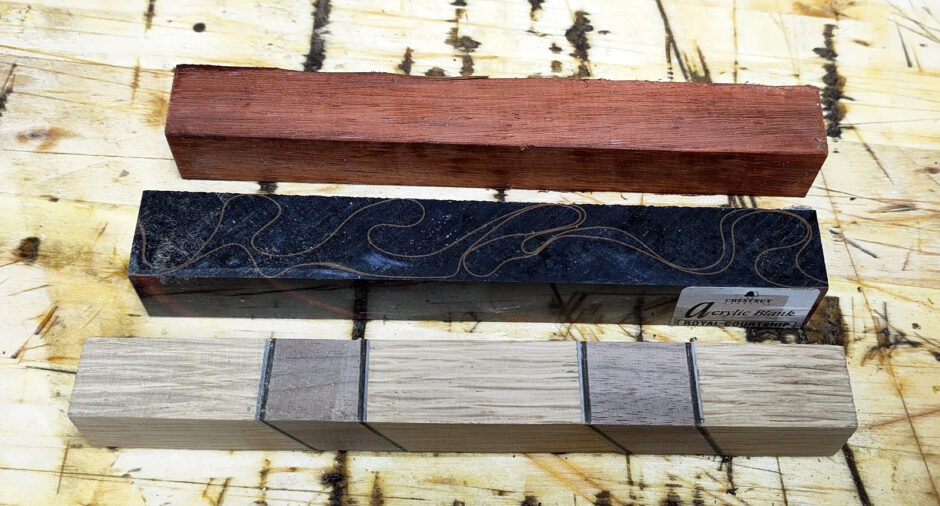
So I thought I’d like to try making a fancy pen or two. I got a pen turning kit a while ago, and made a single pen before six other things cropped up, but I did enjoy it so I’d been planning to make more and this got me off my ass to do so. First up, made a shedmade pen press, then went onto Feinesholz and Taylors Mirfield and spent a lot more money than I normally would on these things, and got some nice kits and blanks and tooling. First though, I wanted to get a bit more practice in before ruining a few hundred quid’s worth of raw materials, so I picked out one of the acrylic blanks I got when I bought the lathe, one of the padouk wood blanks I got at the same time, and thought I’d like to use the third pen kit to try out making a segmented pen blank.
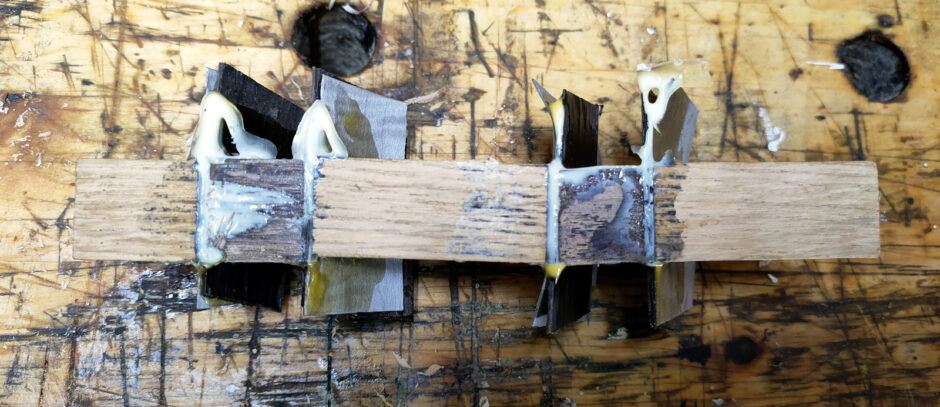

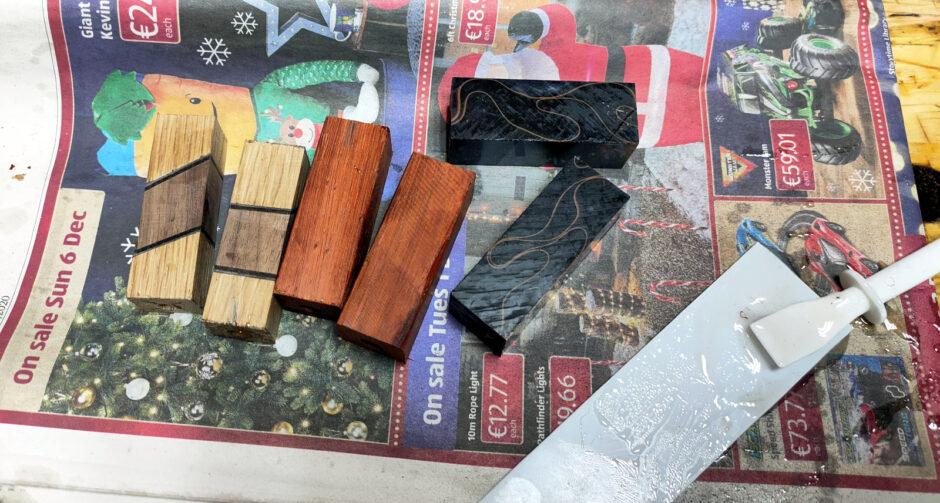
I think it’s fair to say that that glue-up could have gone better 😀 Oak, walnut, ebony veneer and a steamed pear veneer that has been stained silver gray. Looks unusable, but the nice thing about pens is that they don’t use much wood really, so this was recoverable.
Cut them to the right length for their brass tubes, drilled and epoxied in the tubes. I saved the offcuts from the padouk and acrylic blanks, I had an idea there.
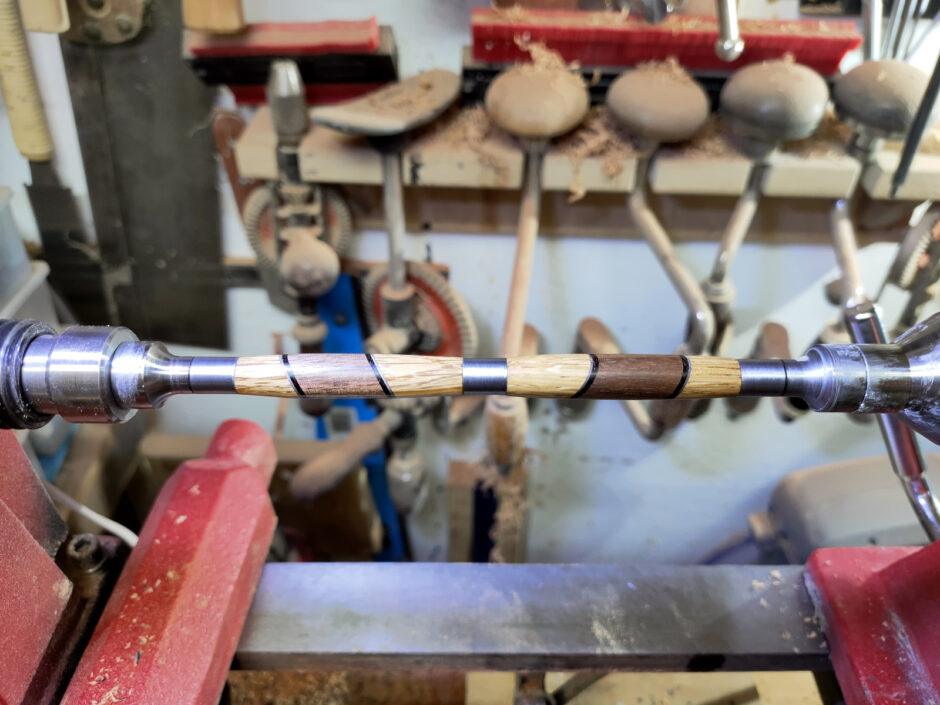
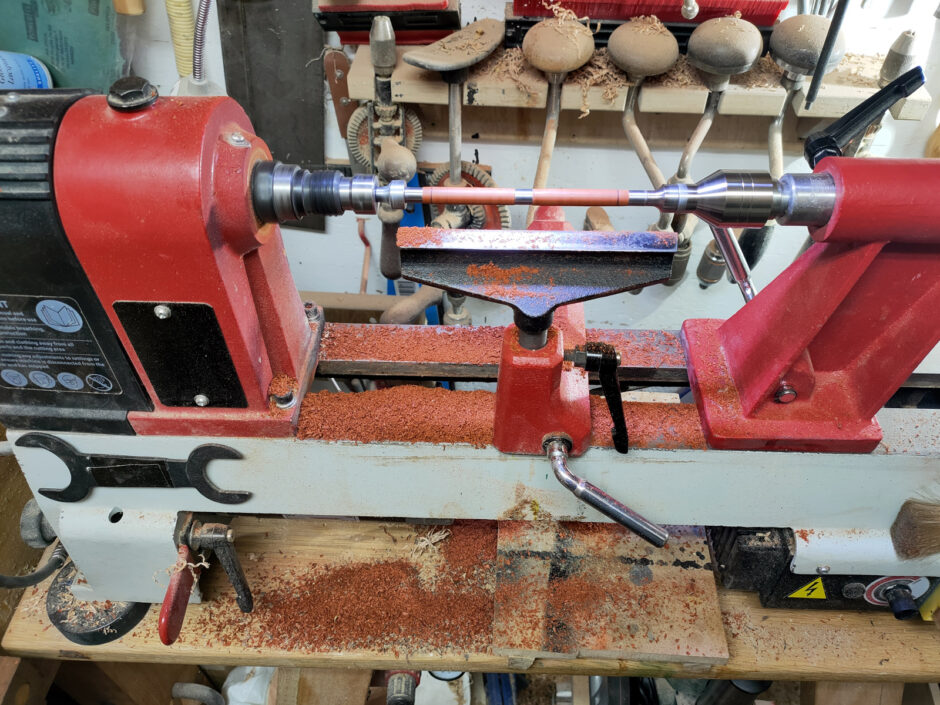
Then on to turning, starting with the segmented blank.
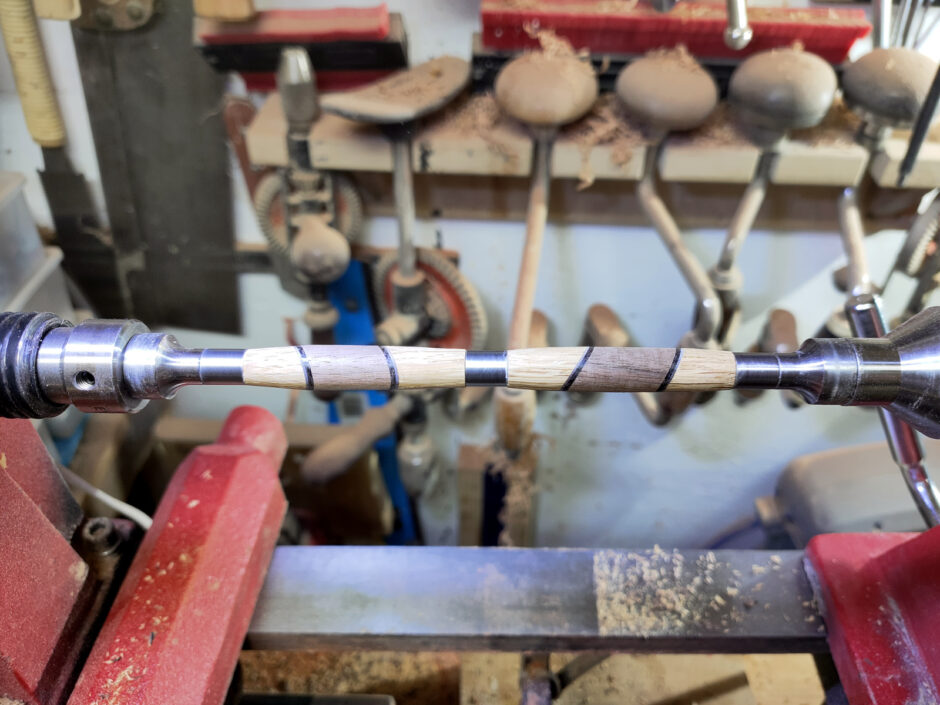
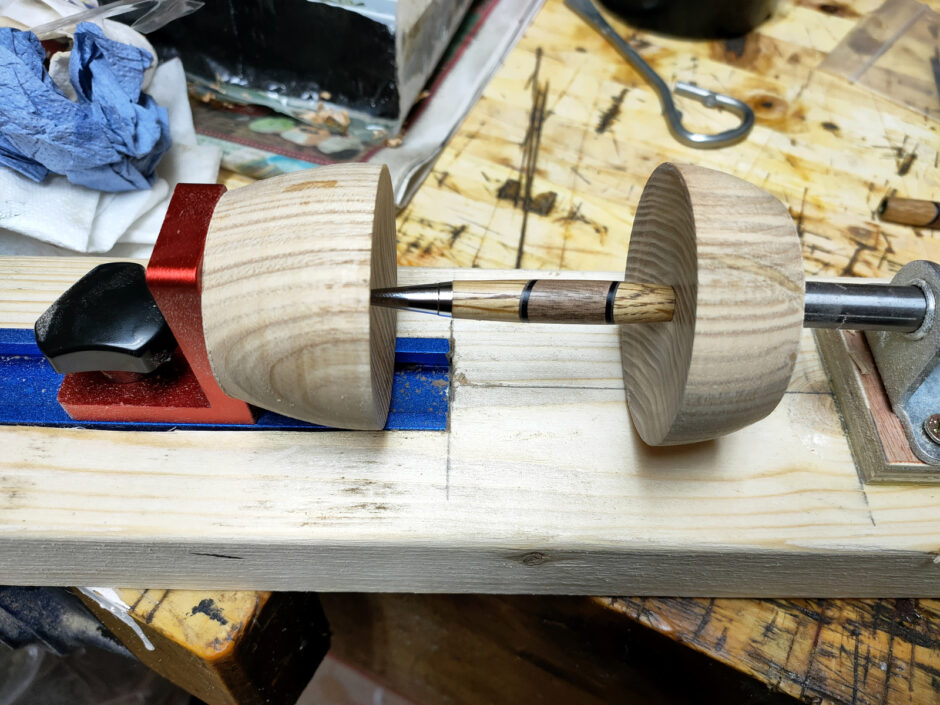
I rather like the turning with pens; it’s good practice with the skew and it’s not like these will have complex shapes. Mostly you’re just working to ensure the ends match the bushings. Then it’s on to sanding.
This is just sanded up to 800 grit with poppyseed oil, then sanding sealer and sanded with 2000 grit. Hampshire sheen wax over the top and call it done. I don’t know if I like the idea of a CA finish, it seems plasticy for wood, but I’ll have to give it a go at some point. The finish on these turned out a bit too matt after a day, so they needed something, whether CA or acrylic lacquer or melamine lacquer. But these are just for practice anyway. On to assembly.
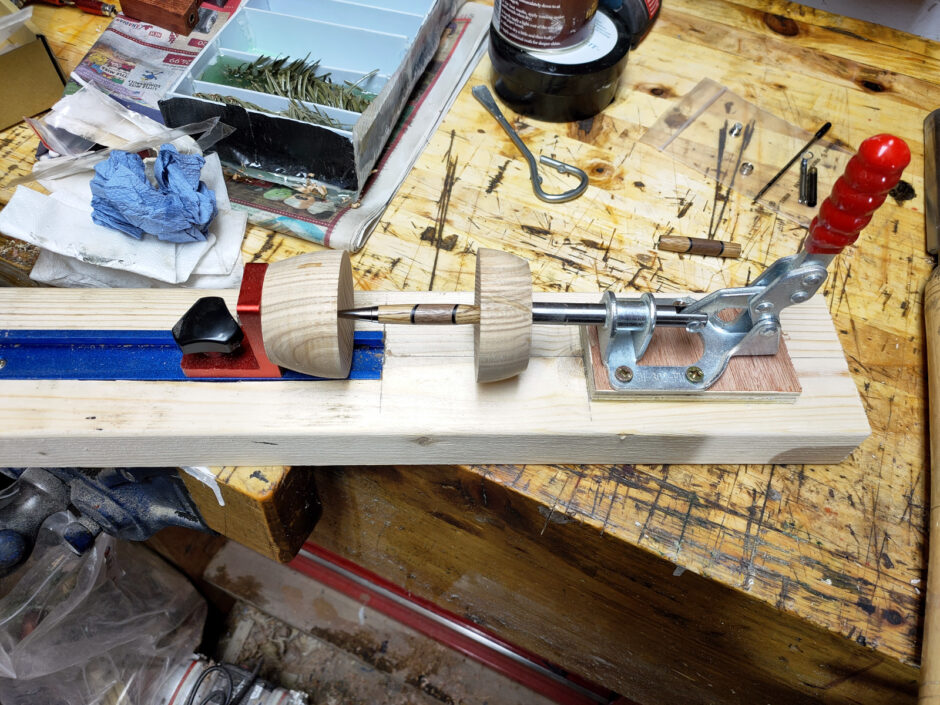
I can report that the shed pen press works quite well. A longer handle might make it easier, but this is totally manageable.
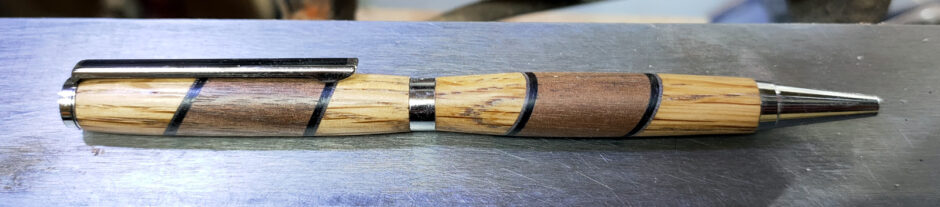
Not terrible. Next day, on to the padouk blank…
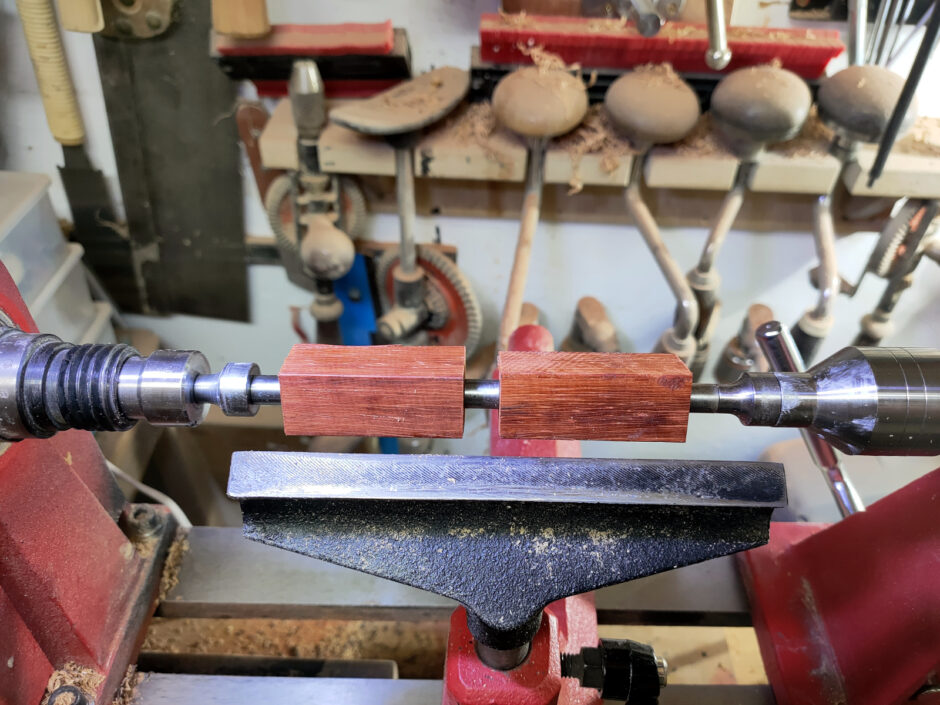
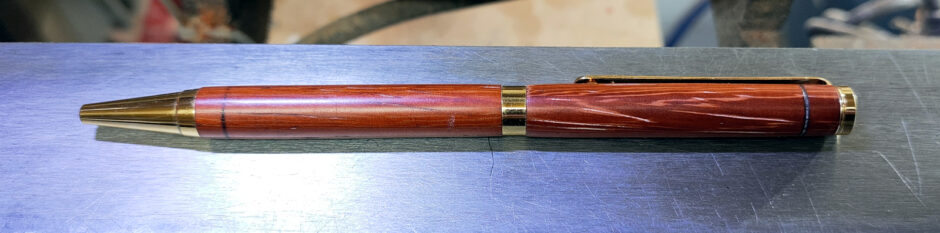
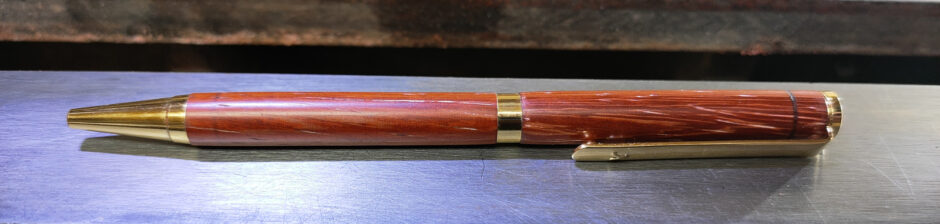
Well, that’s a fun colour to clean up 😀 Not stained or dyed. For those who don’t know the timber, it’s an african tropical hardwood that’s that bright vibrant red when fresh cut, but it will dull over time and with UV. Still though, lovely colour.
Again, sanded to 800 with poppyseed oil, sealed, 2000 grit, then hampshire sheen wax.
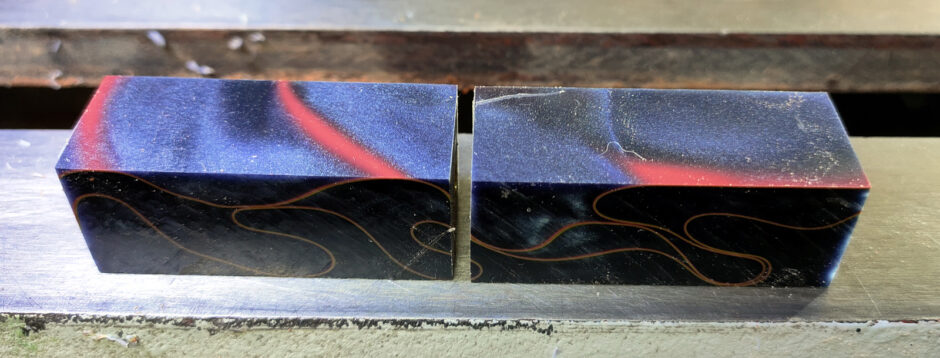
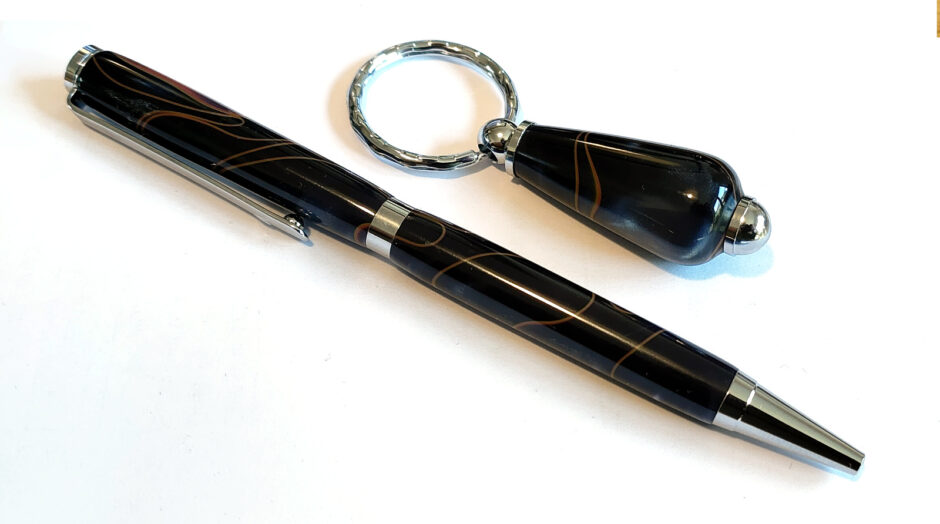
Not horrible. Finally, acrylic and this one I was wondering about because I’ve not turned acrylic on the lathe before.
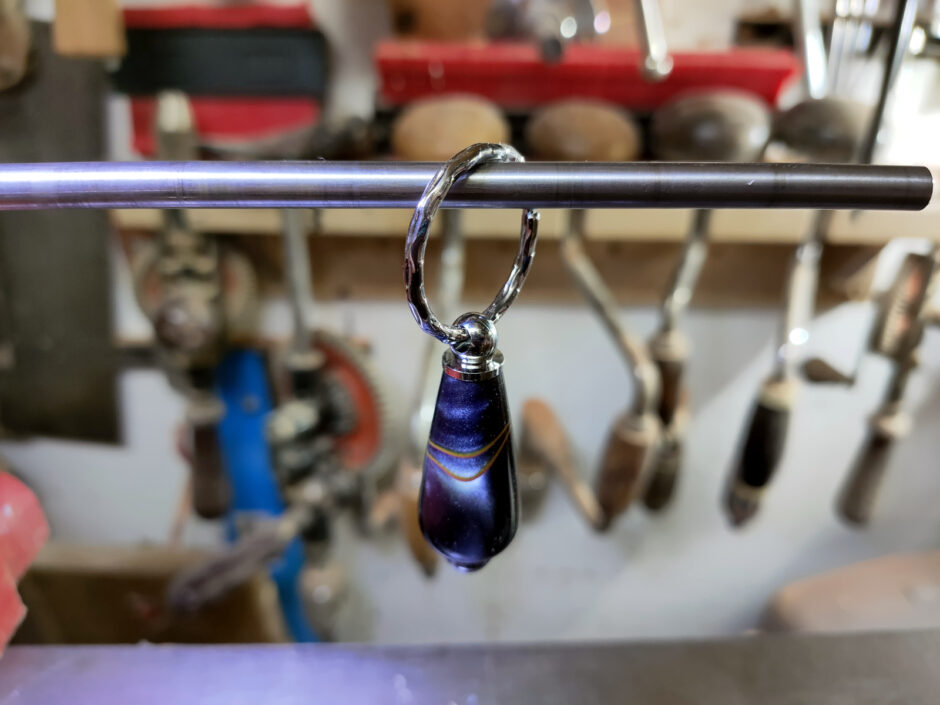
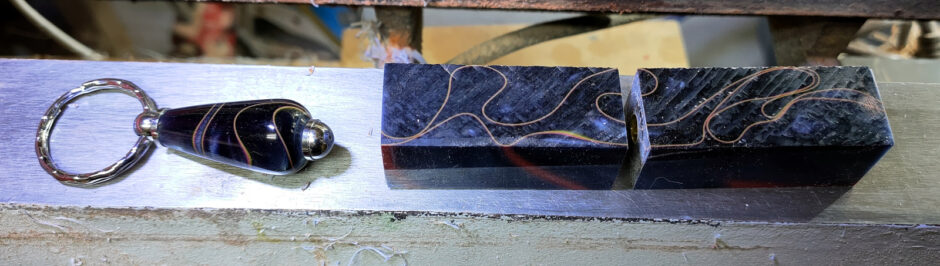
Also, didn’t want to waste the inch left over from cutting the blank to size, so I drilled that too and used a keyring kit to do something with it while also practicing cutting it.
Finishing is remarkably easy – sand with 800 paper first, then work your way through the micromesh sanding pads in order up to 12000 grit and that’s pretty much that. You can put on a layer of melamine or acrylic lacquer but it’s not critical for solid acrylic like this, it’s already plastic 😀
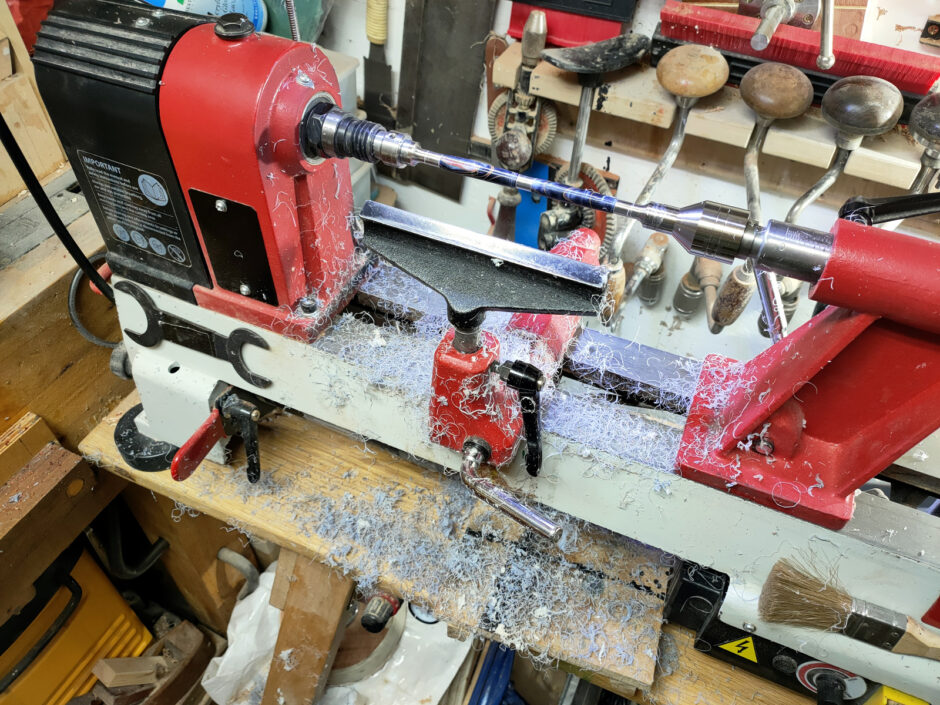
The mess from turning the pen is a bit less fun with this one, but it’s still managable at least.
Before sanding:
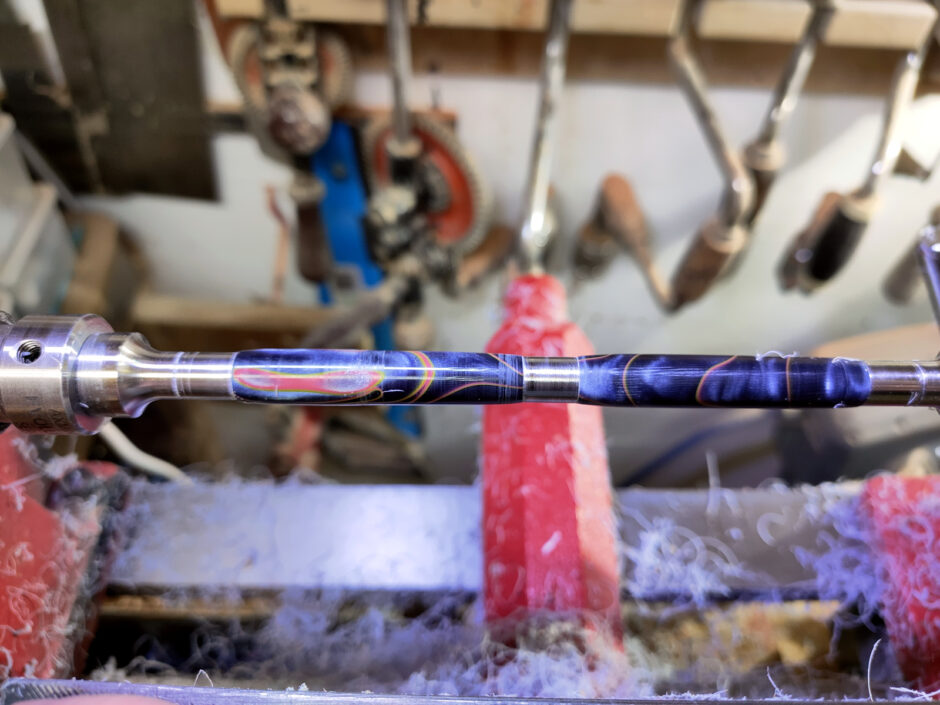
and then after sanding to 12000 on the micromesh as before but then also continuing on with yorkshire grit and yorkshire grit superfine:
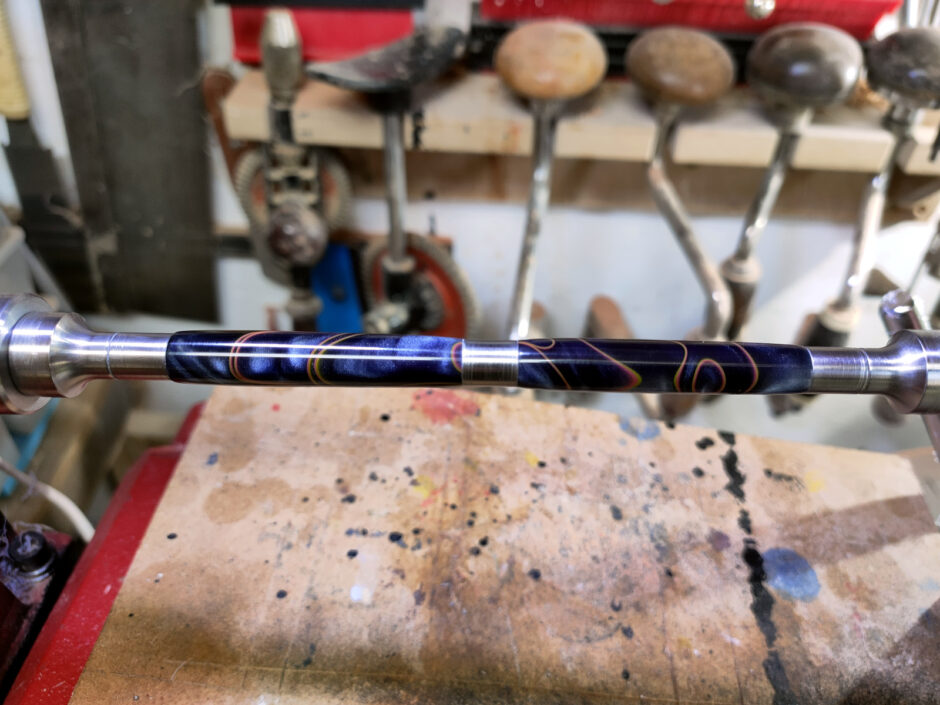
Another quick experiment here – not sure which of these would be best:
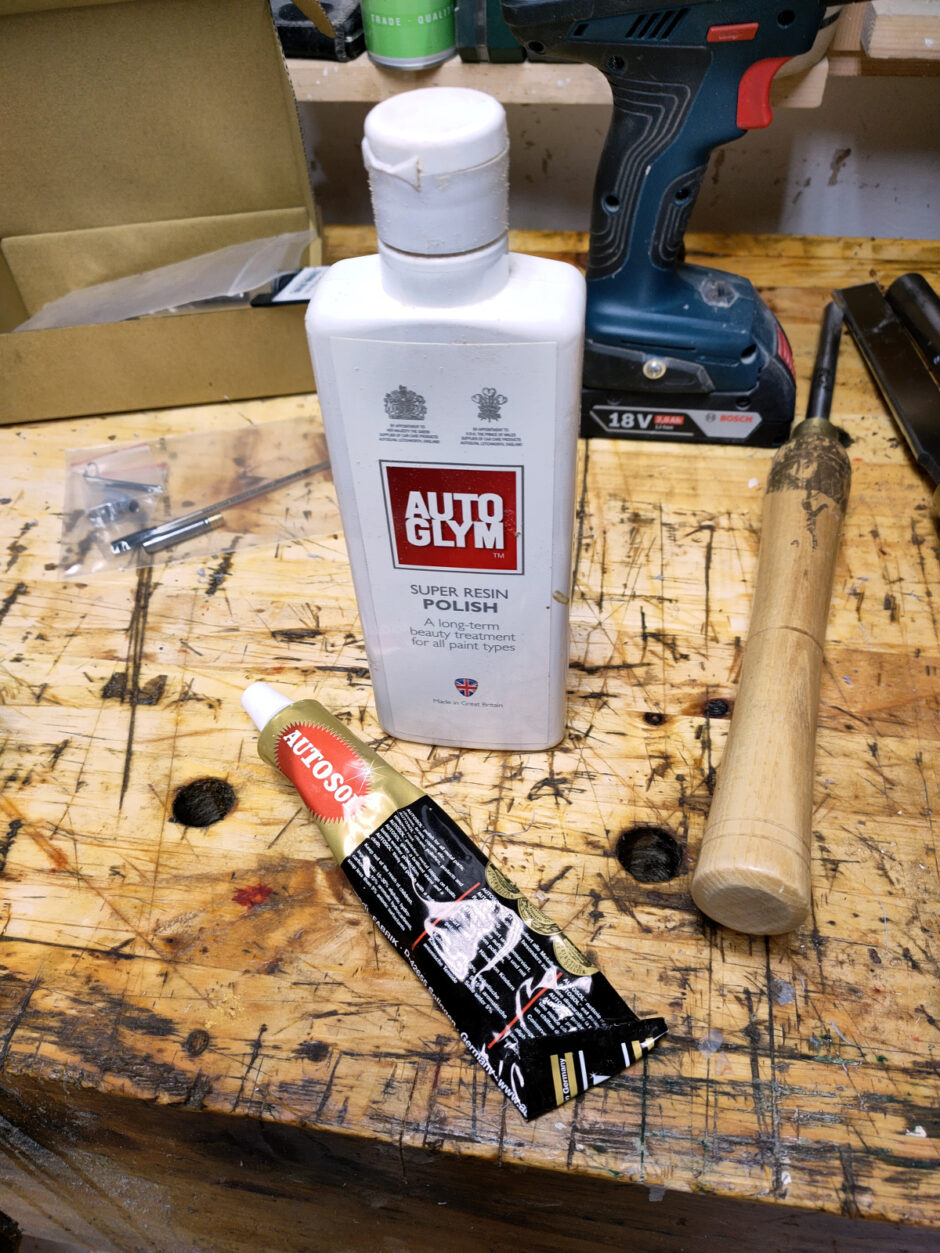
Autosol on the left, resin polish on the right:
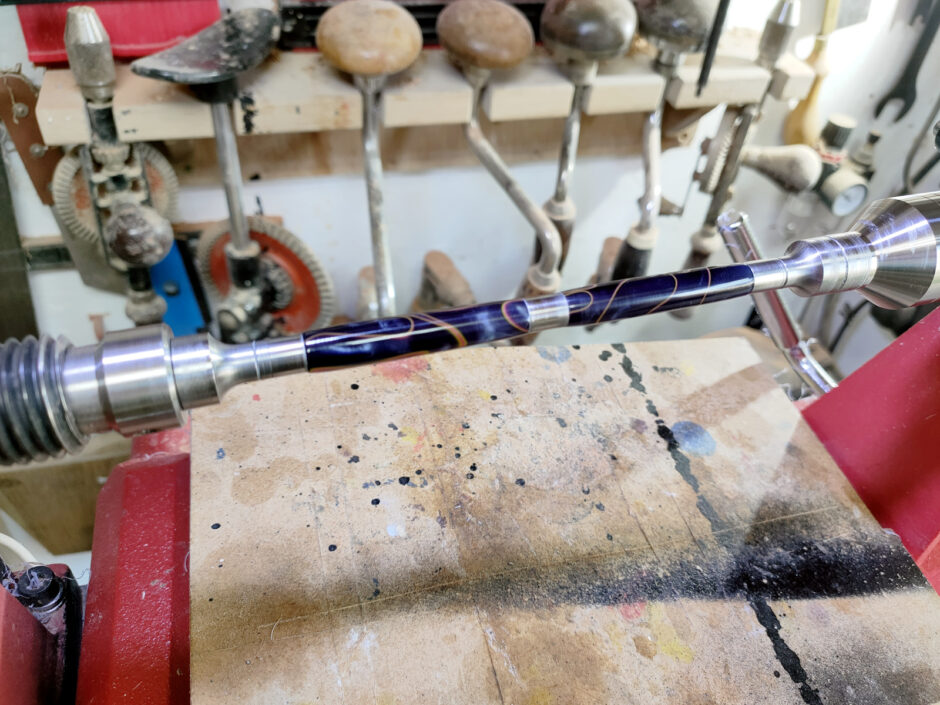
And at this scale, I can’t tell any difference. I know they showed up different for the resin when making Calum’s desk but I guess that wasn’t as hard as this blank. There’s no appreciable difference between the two here. So I gave it one coat of microcrystalline wax and called it done.
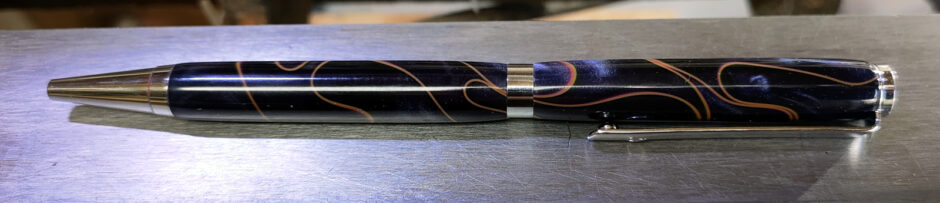

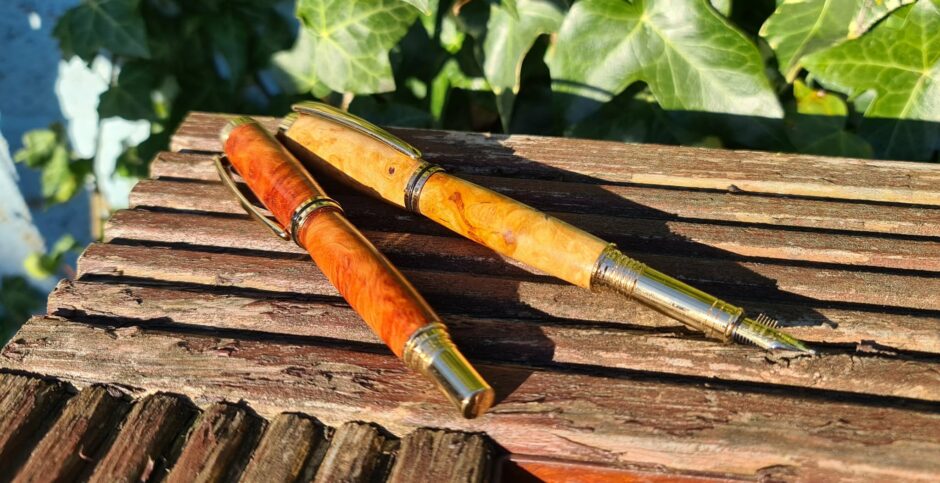
Pen doesn’t look too bad, but the whole “set” looks even better:
Next up, the fancy sketching pencil and then the fountain pens…