12
Oct 16

Repairs

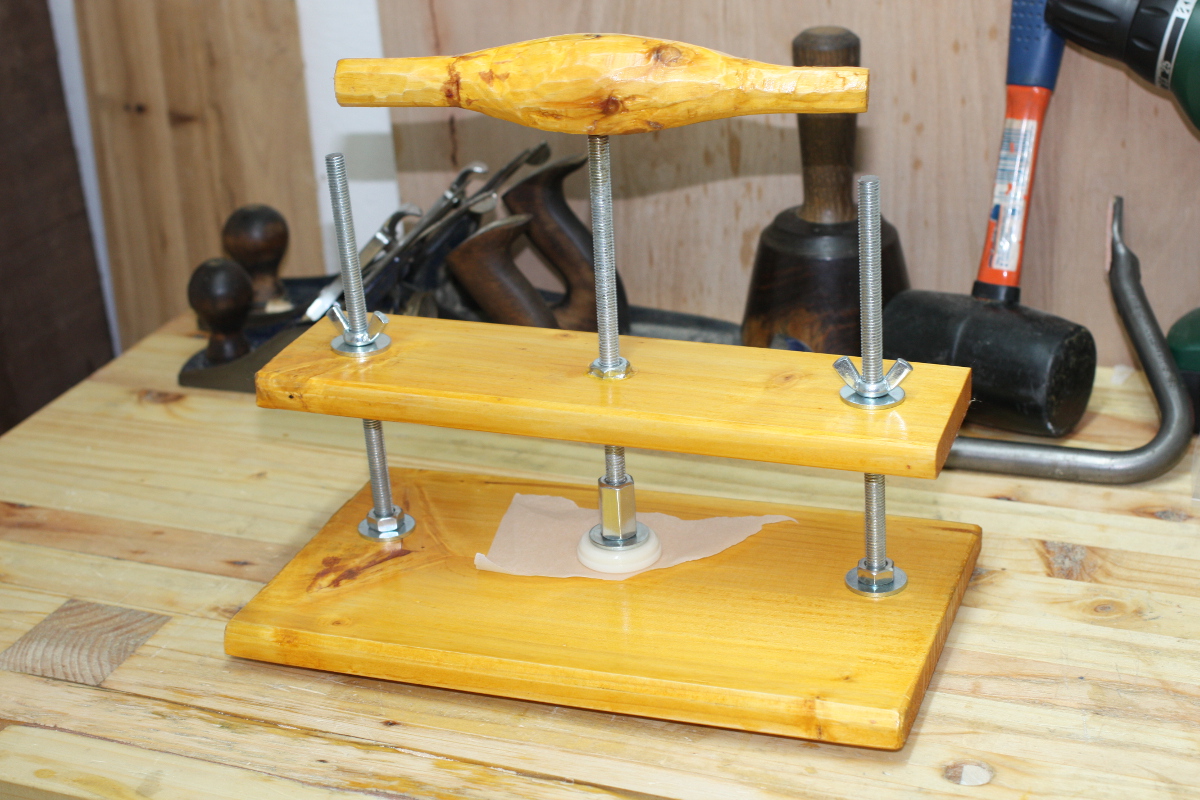
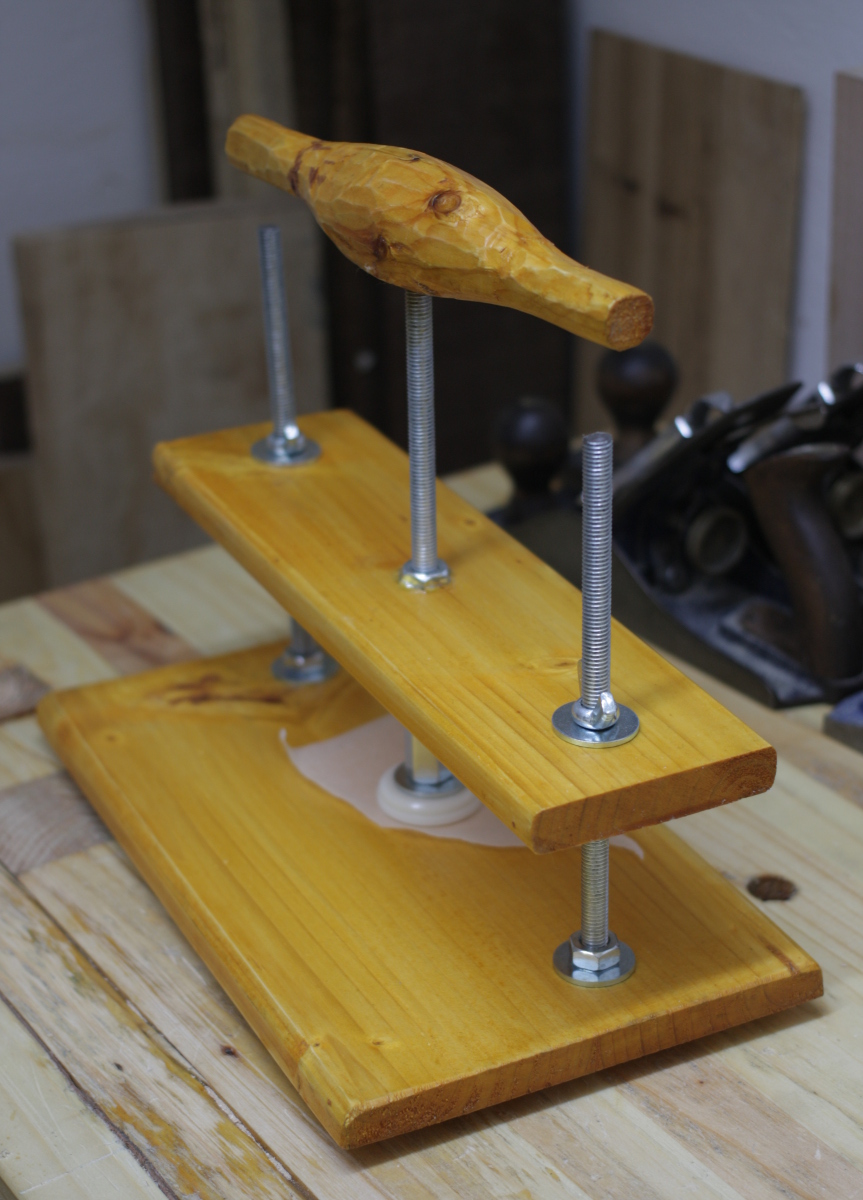
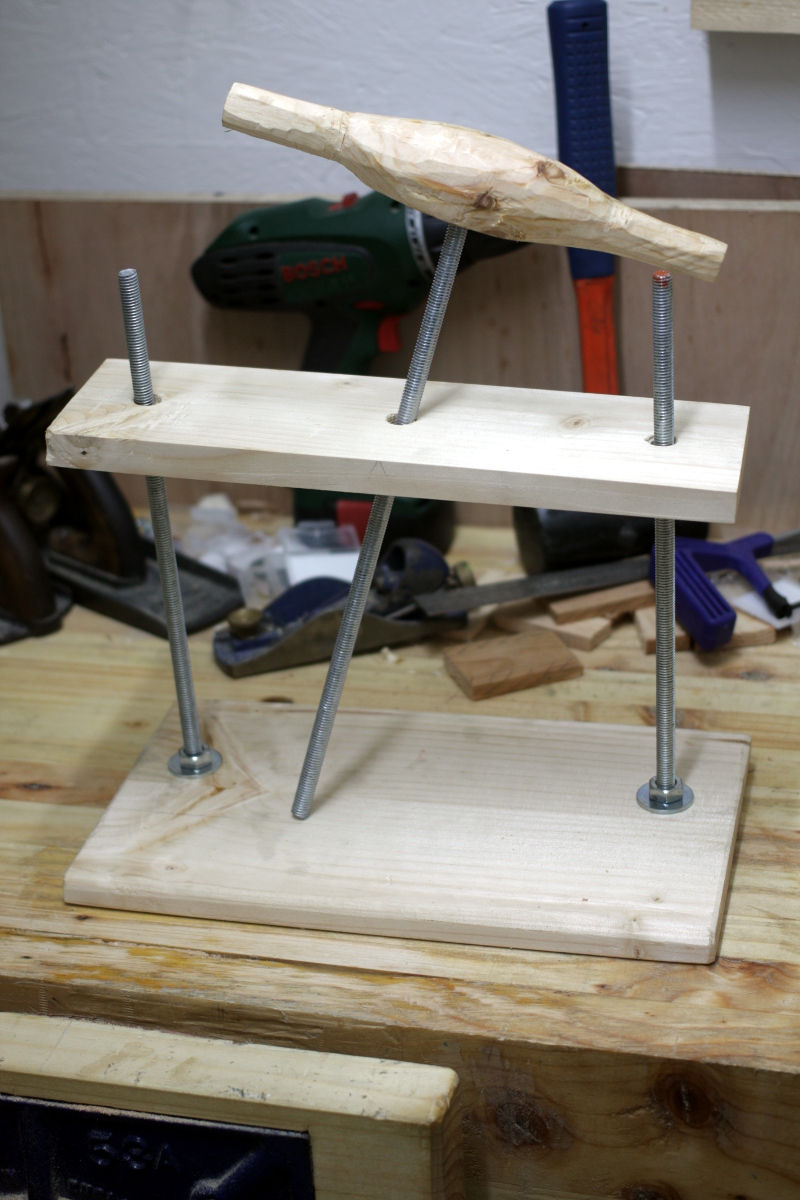
I shouldn’t let four-year-olds near finished cheese presses 🙁

So he was spinning the handle happily and it generated so much pressure with the crossbar cinched down that the nut in the center broke its epoxy bond and pulled right out of the crossbar. Doh. And the pusher plate is epoxied at one end and the handle at the other. Double doh. So I think about it at work and eventually discount the idea of drilling a hole and soldering in a pin because really, you’d want to weld that and I have no welder. Also, metal droplets at several hundred degrees centigrade hitting all those wood shavings beside all those finishing chemicals… er, no.

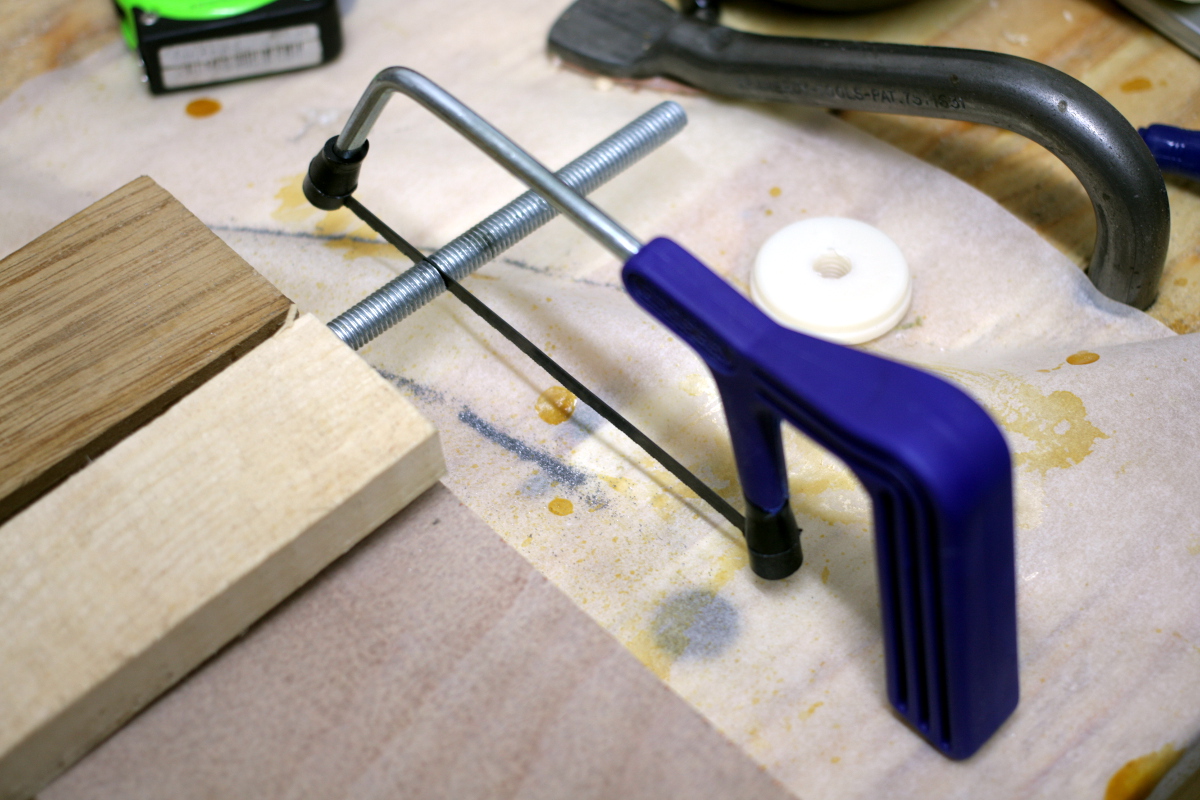
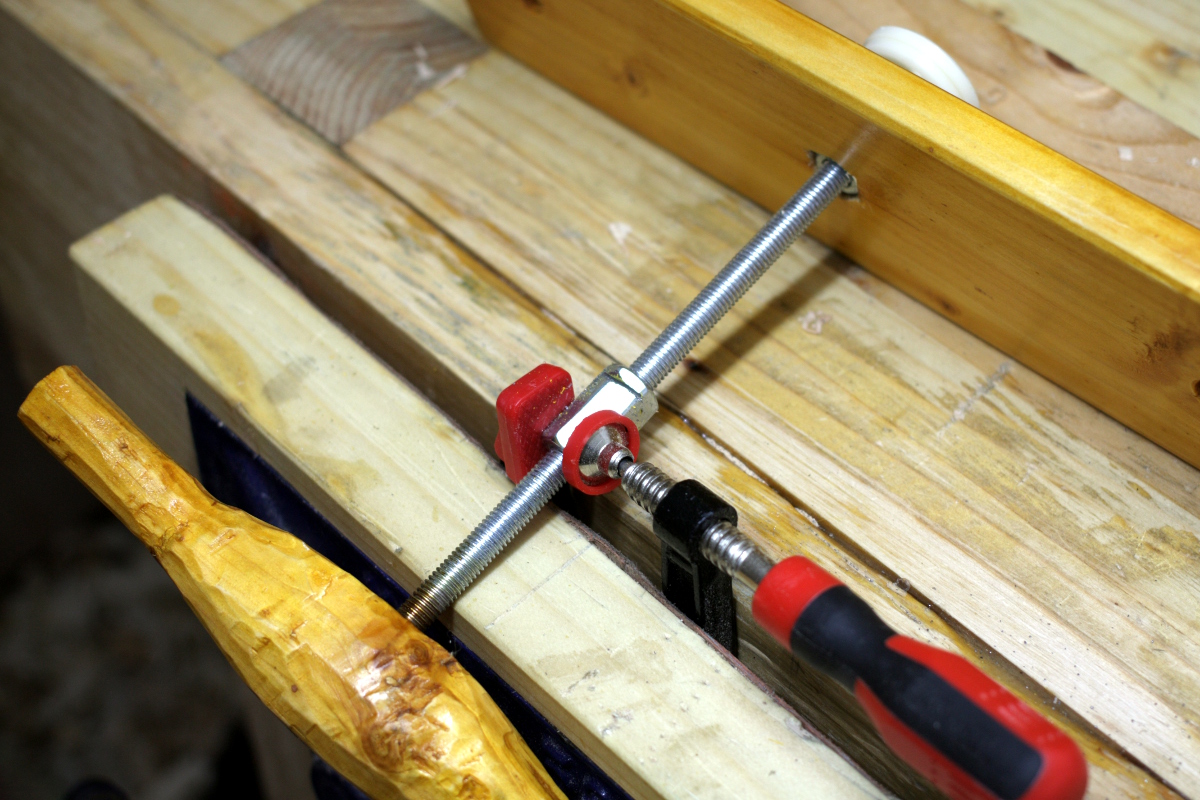
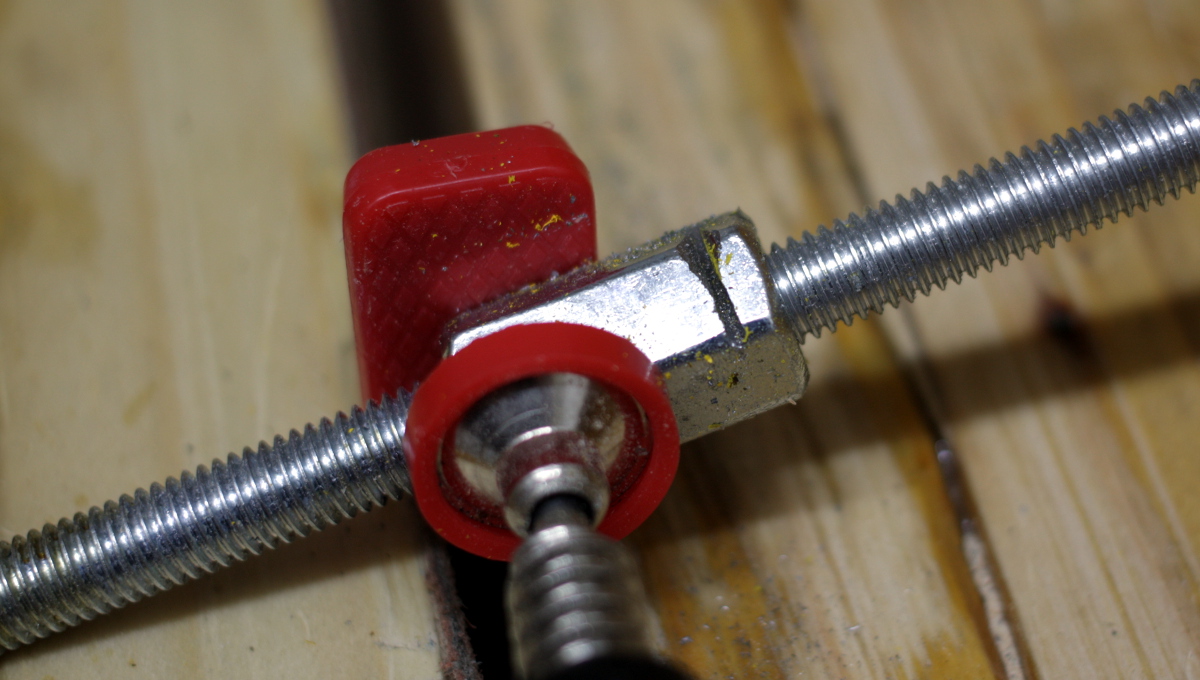
So instead I clamp a clamp in the vice (workholding for this was painful), and cut a slot in the nut with a hacksaw (a new fullsize one because that Draper dross was unusable) and widen it with a file:

img_9520a

img_9521a

This takes a while to do, but I have a cunning plan…

img_9523a

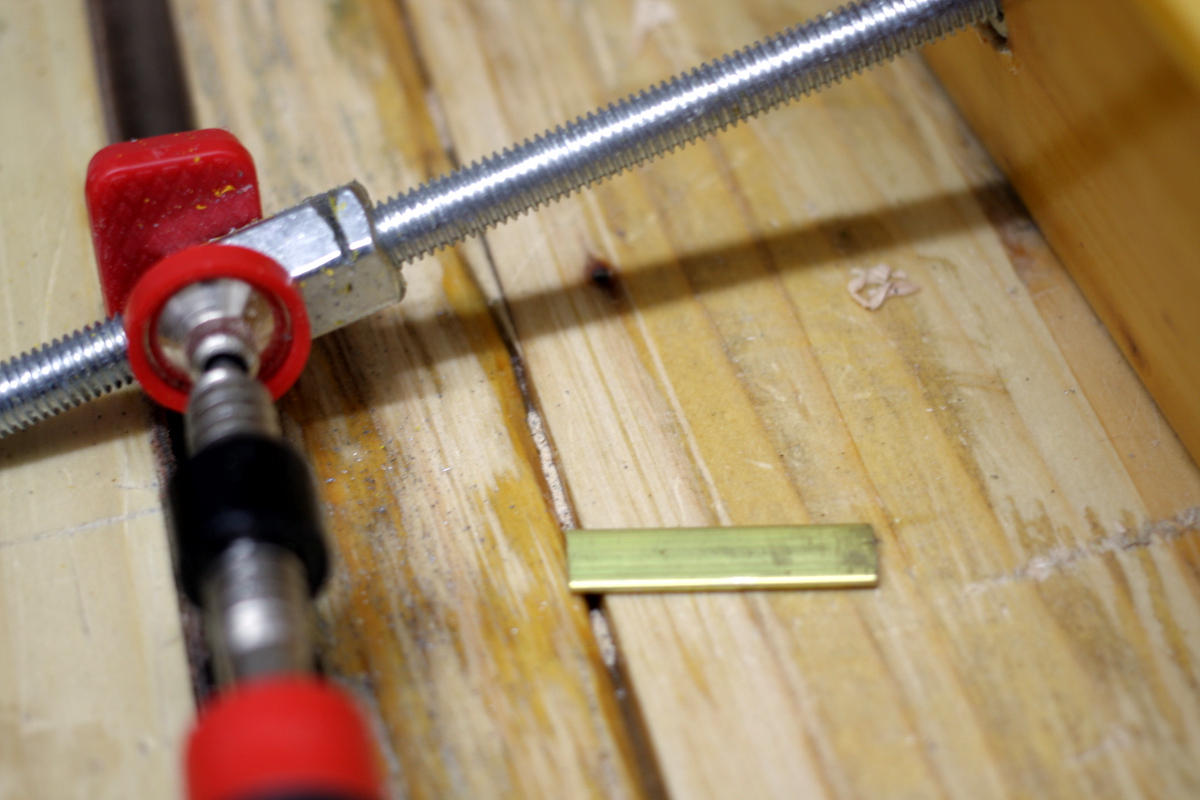
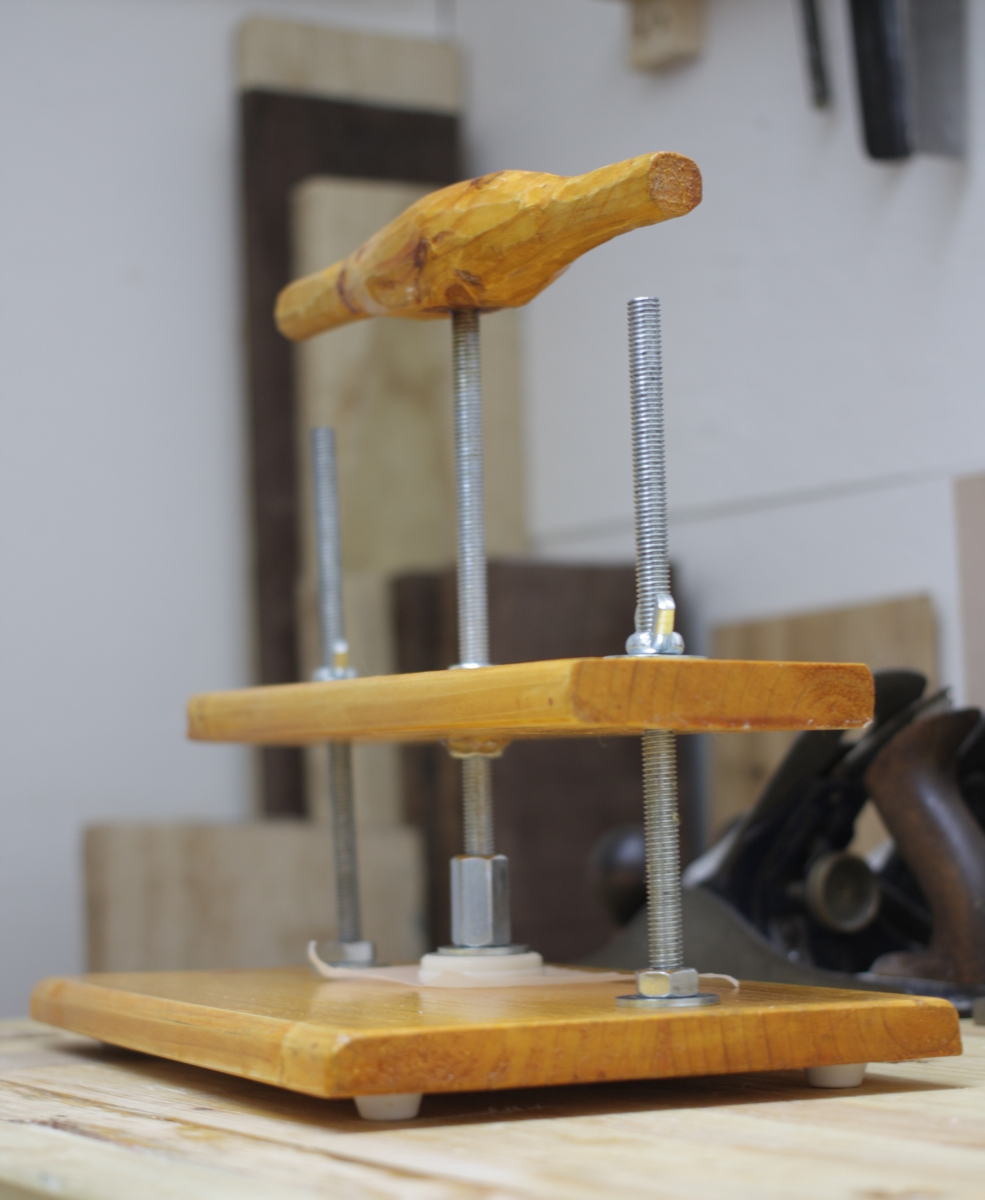
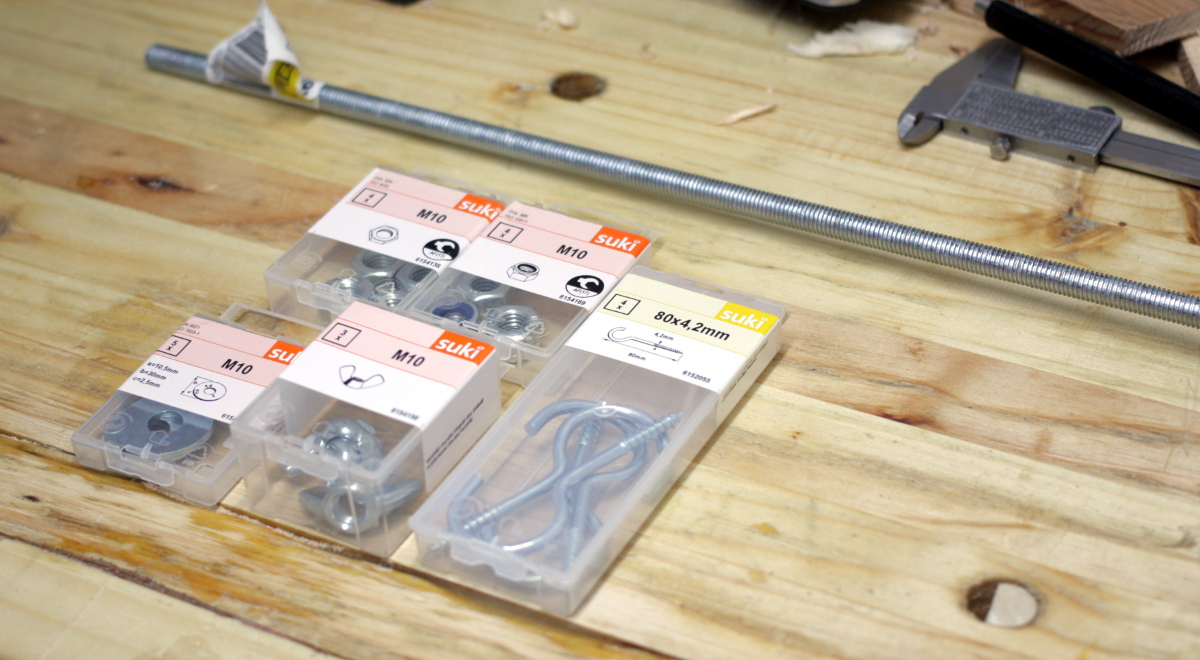
I had to get some brass for the cot anyway for drawer bearing surfaces, so I got a little extra and cut a small piece off it (the rest will get used in a few other things). I couldn’t find any JB weld, but I could find an araldite metal epoxy, so I mix up some of that, fill the slot with it, shove the brass in, slather some more epoxy on that, and then swear many, many times at all my clamps as they all fail to clamp it in place, and I eventually resort to tape.

img_9524a

I’ll give that a few days to cure and then I’ll cut a fairly precise (ha!) mortice in the crossbarwith the marking knife and a small chisel and epoxy the nut and the bar back into the crossbar. Hopefully that will act as an anchor for the nut in the crossbar. We’ll see…


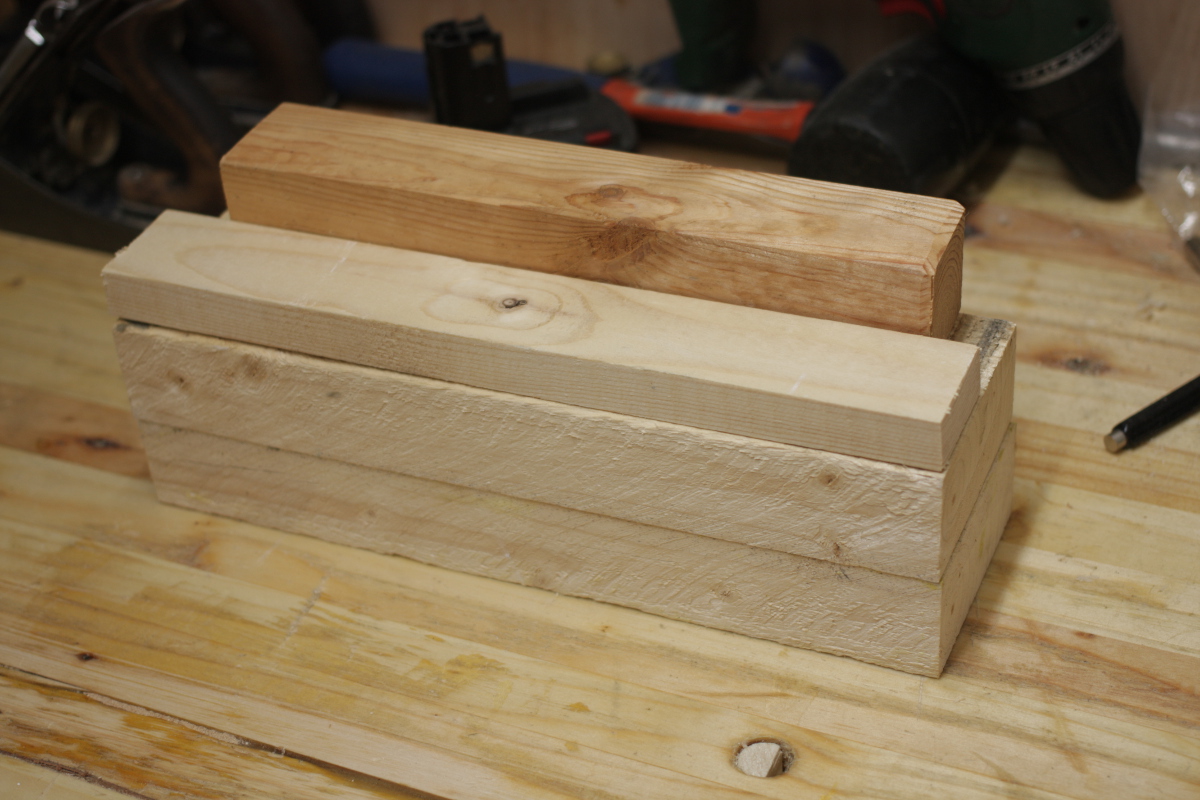
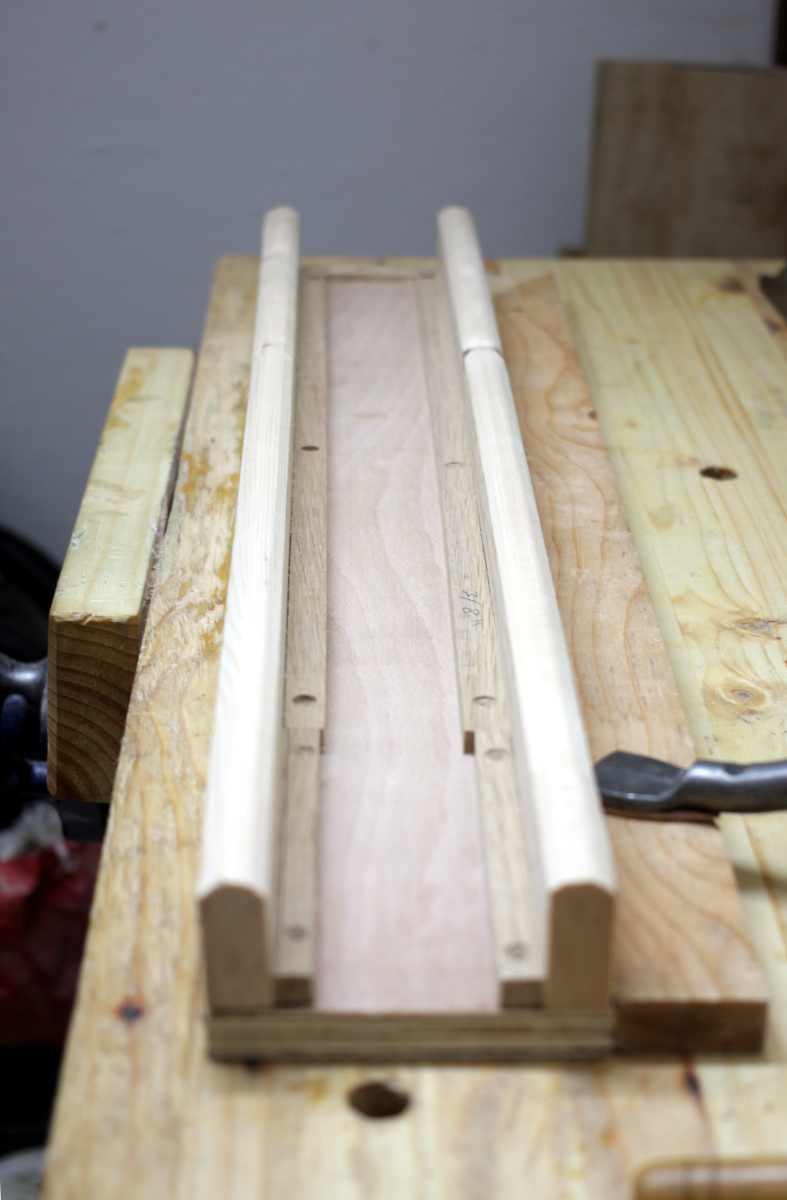
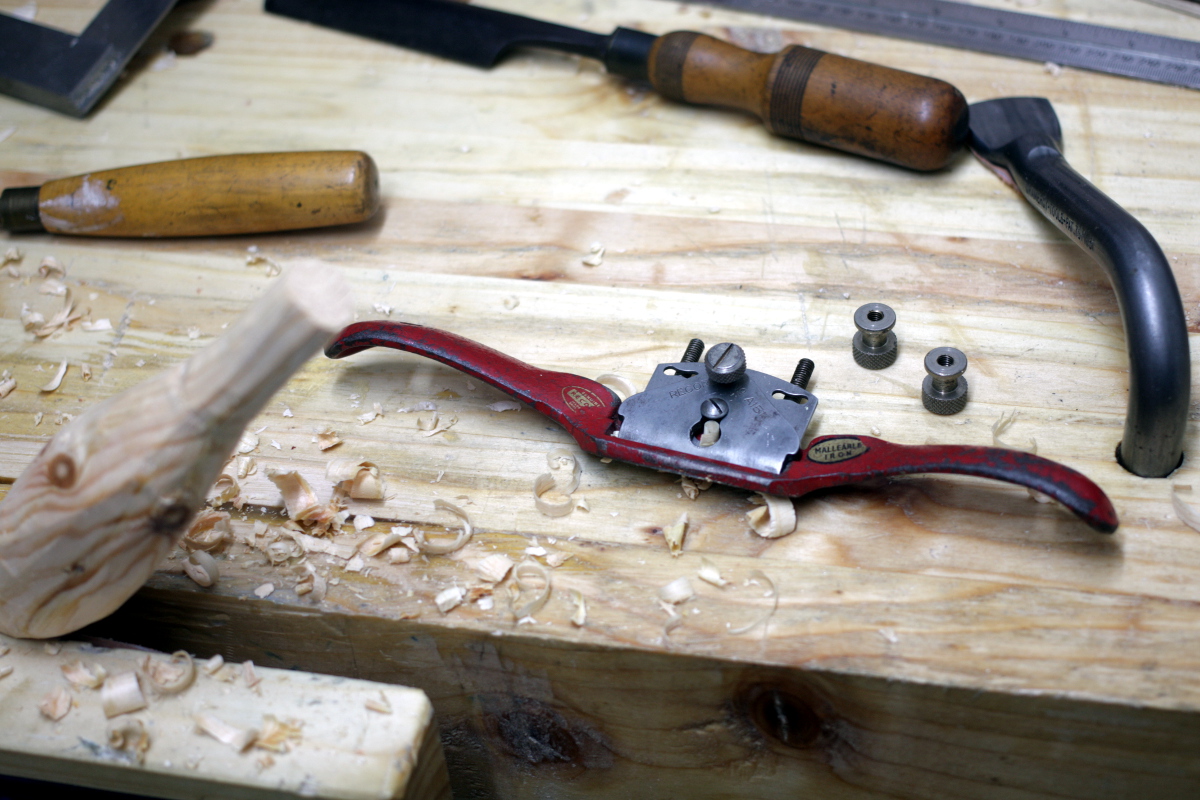
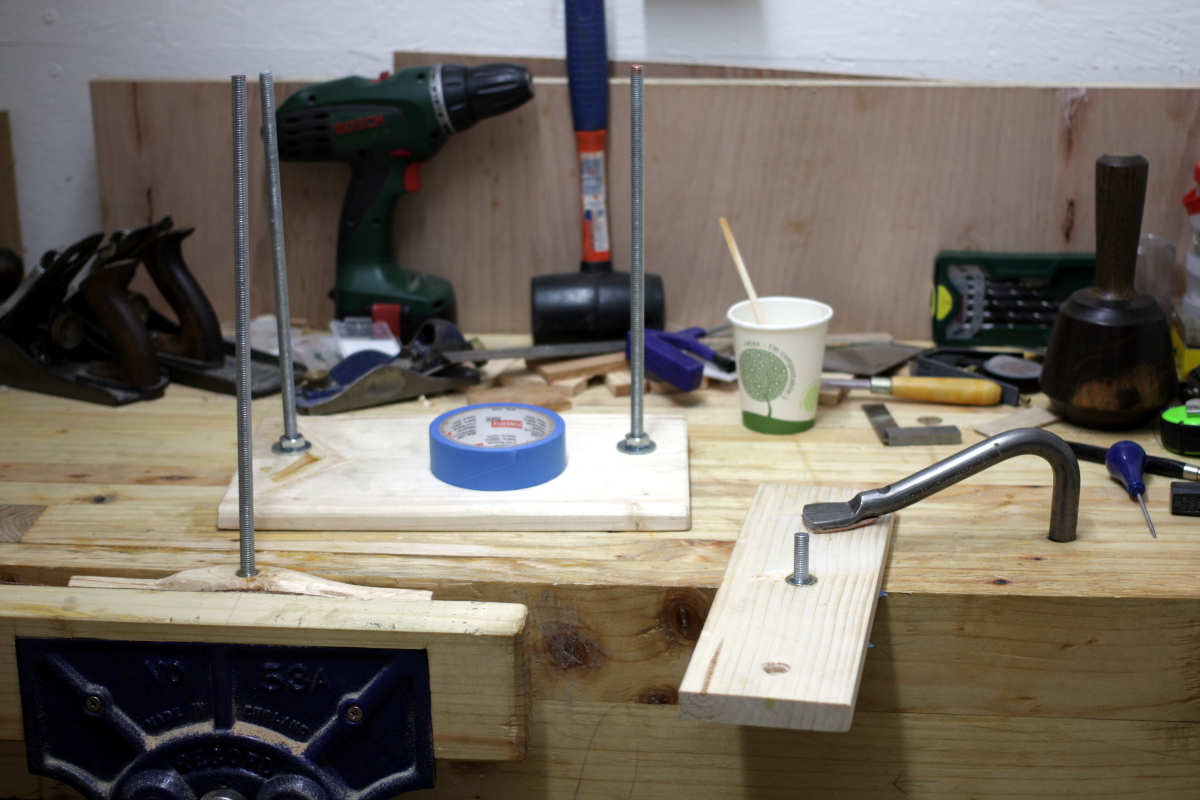
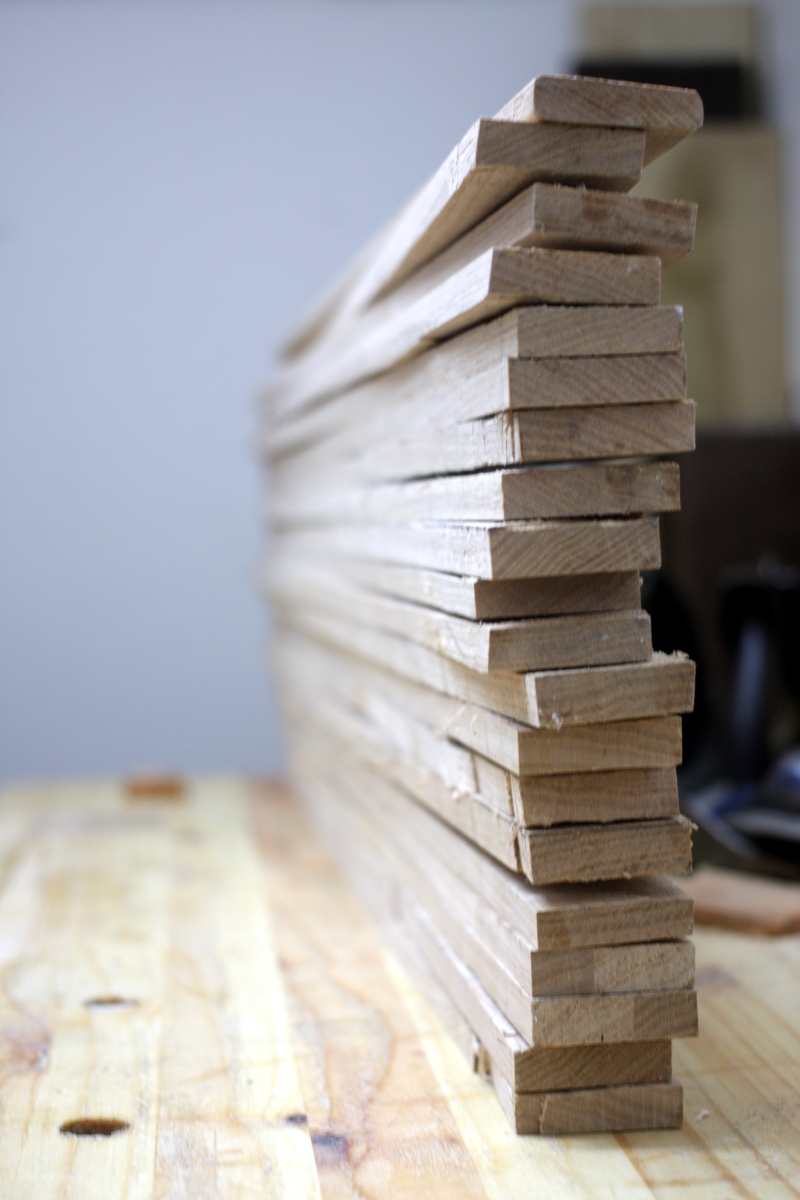
Then on to the slats and thicknessing.

img_9529a

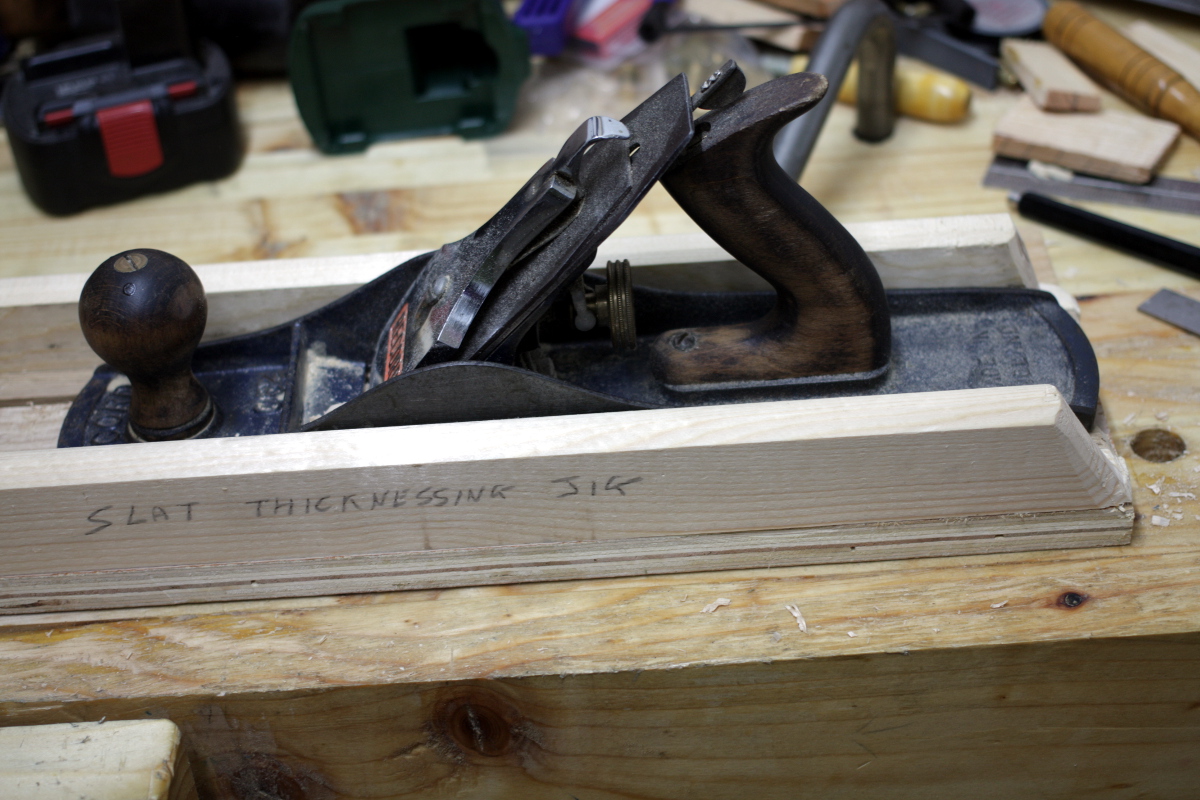
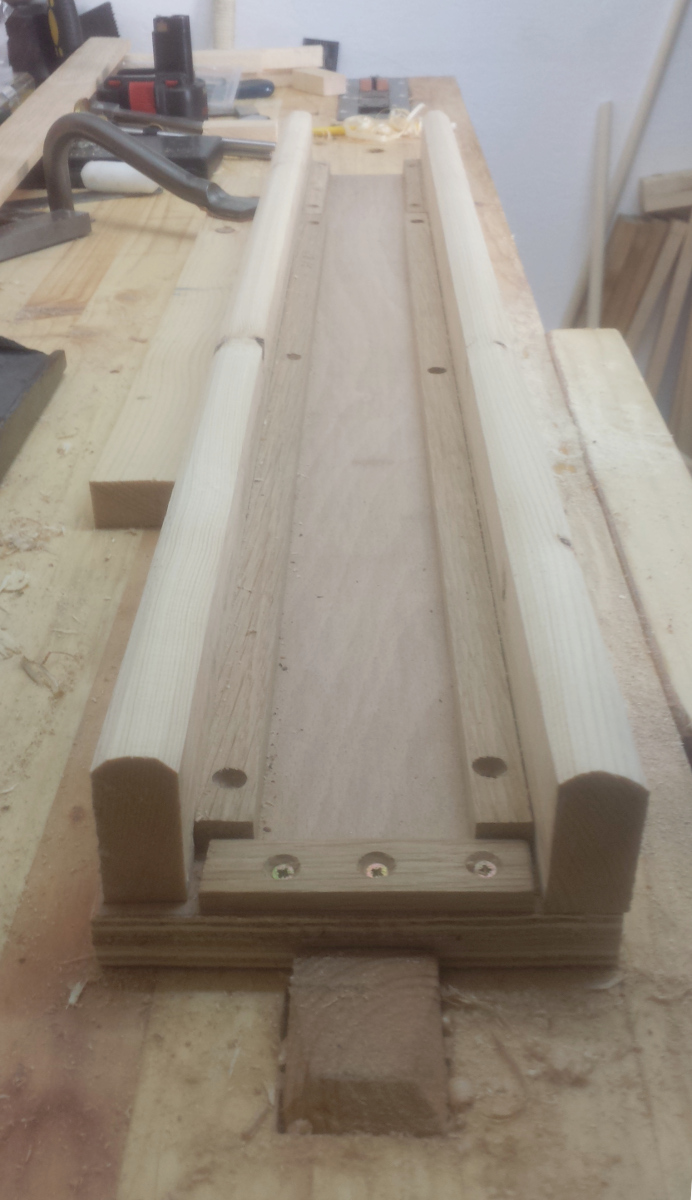
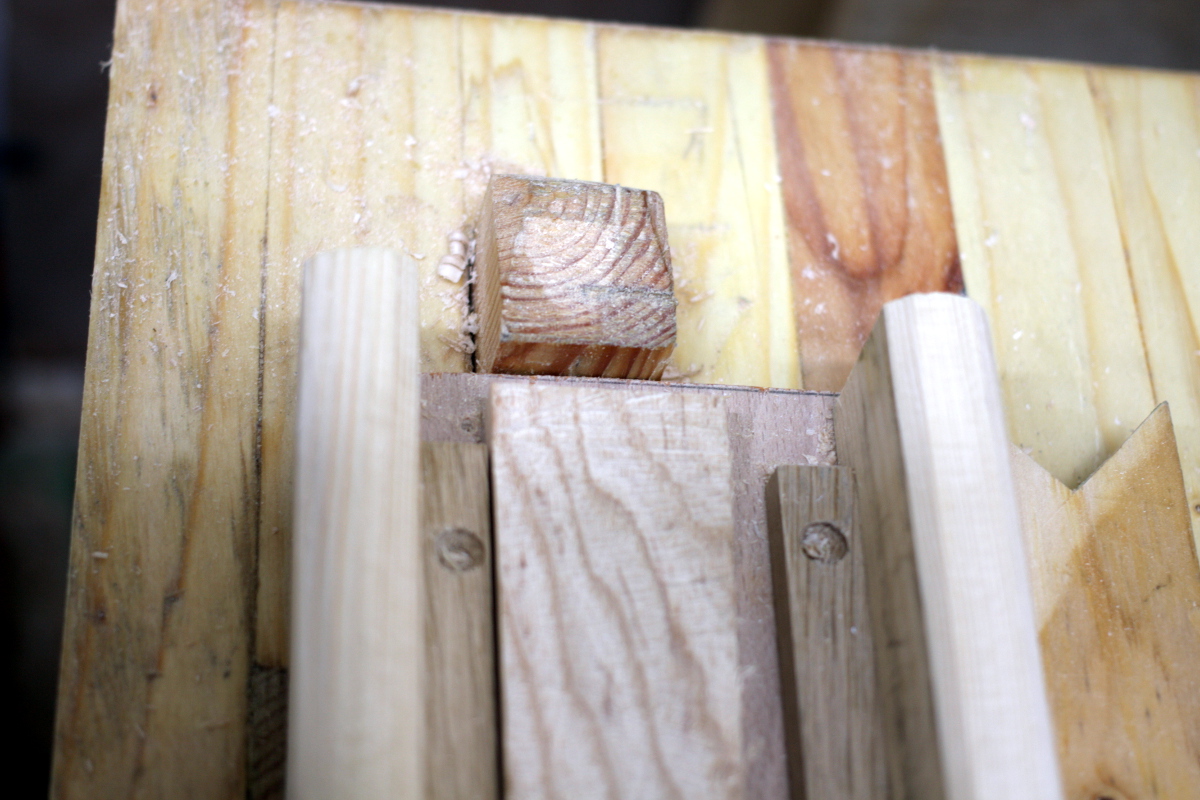
It’s very simple. You put the slat in the jig, you put the plane on the slat…

img_9531a
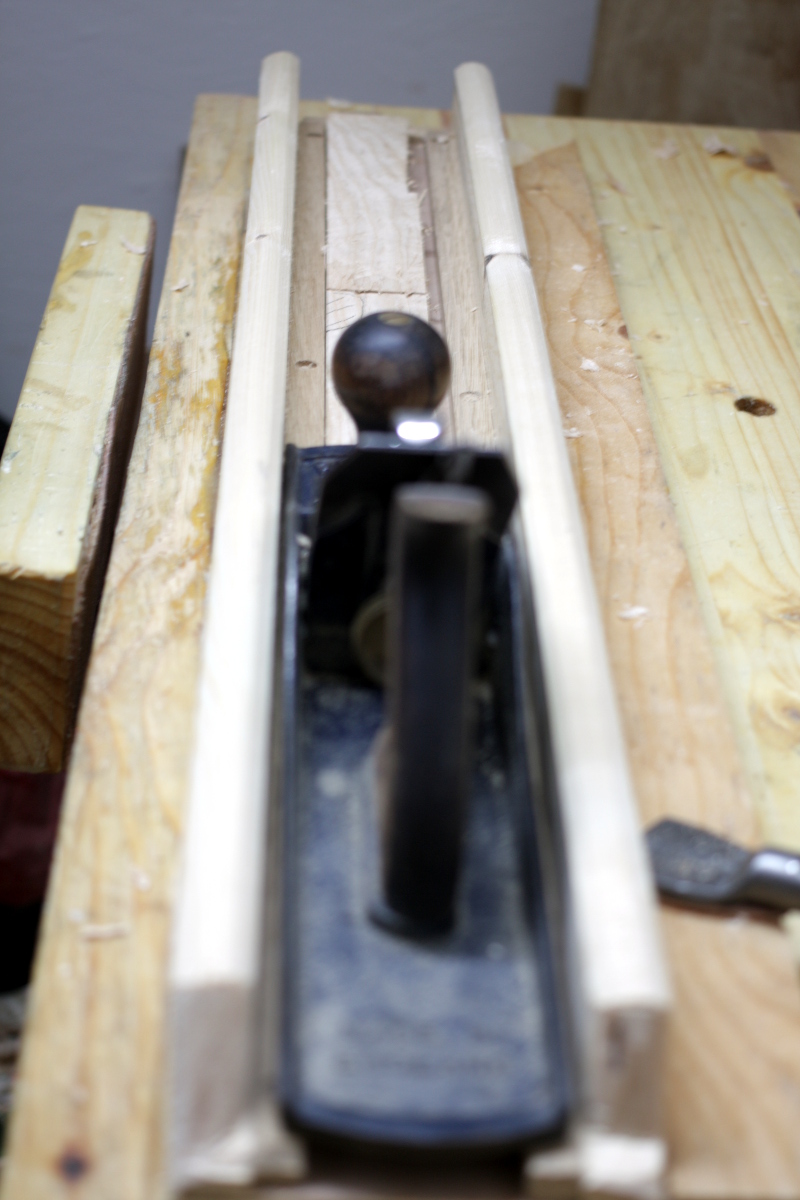
…then you push the plane back and forth until the slat is at the right thickness…

img_9532a

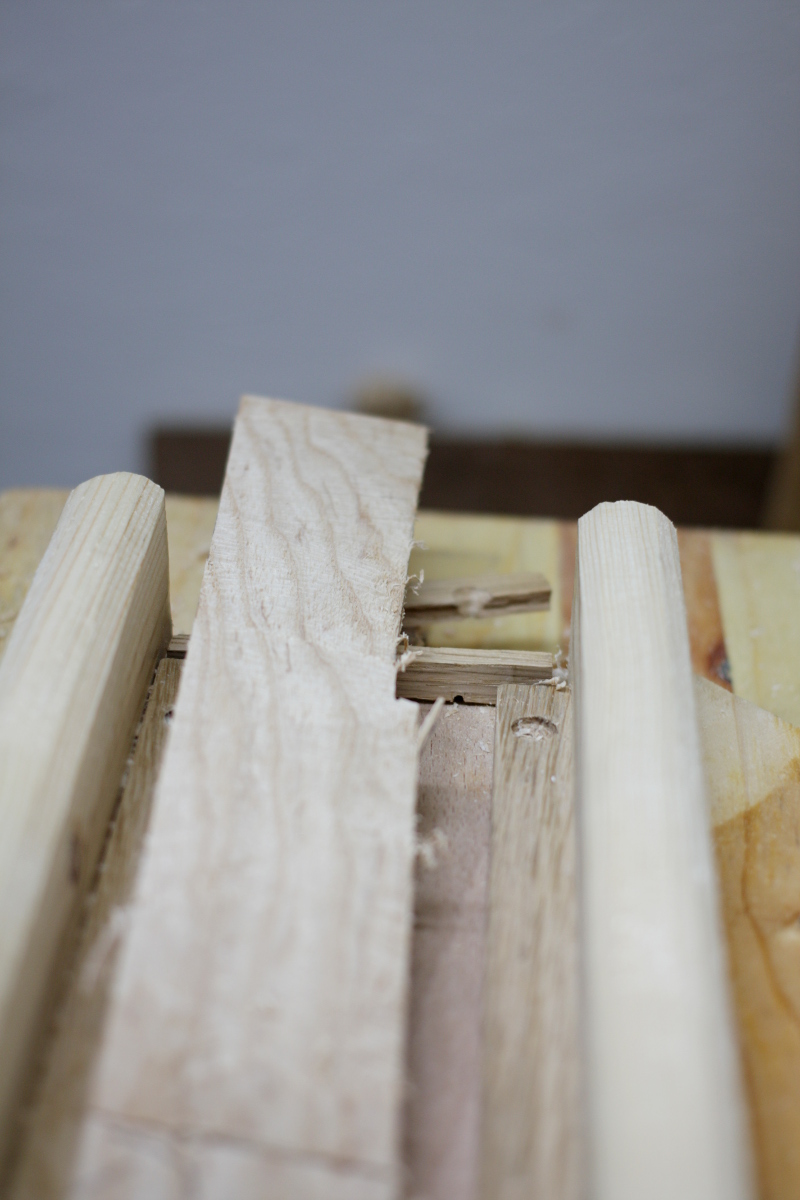
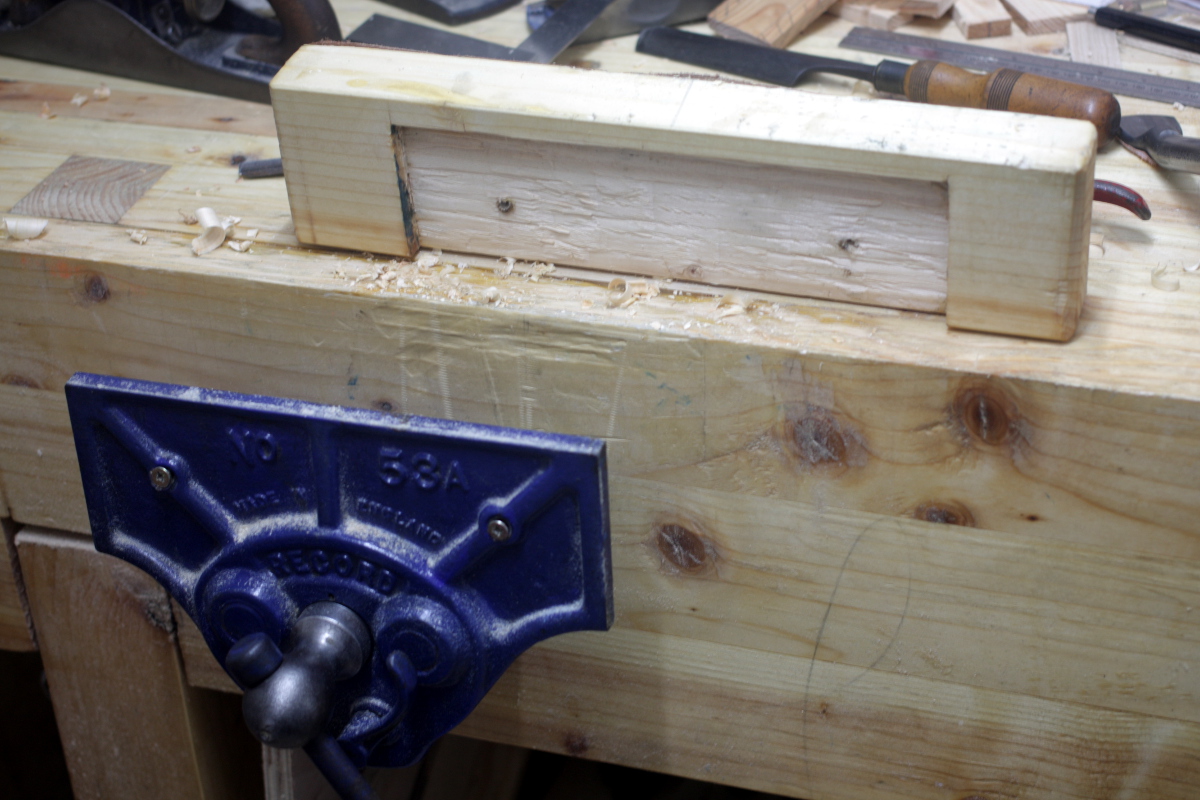
…or until the blade of the plane chatters, catches on the slat because the slat is slightly bowed, and smashes through and over the stop at the end of the jig destroying it. Oh, bother.

Well, what good is a planing stop that can’t act as a stop when planing, right?

img_9533a

/sigh

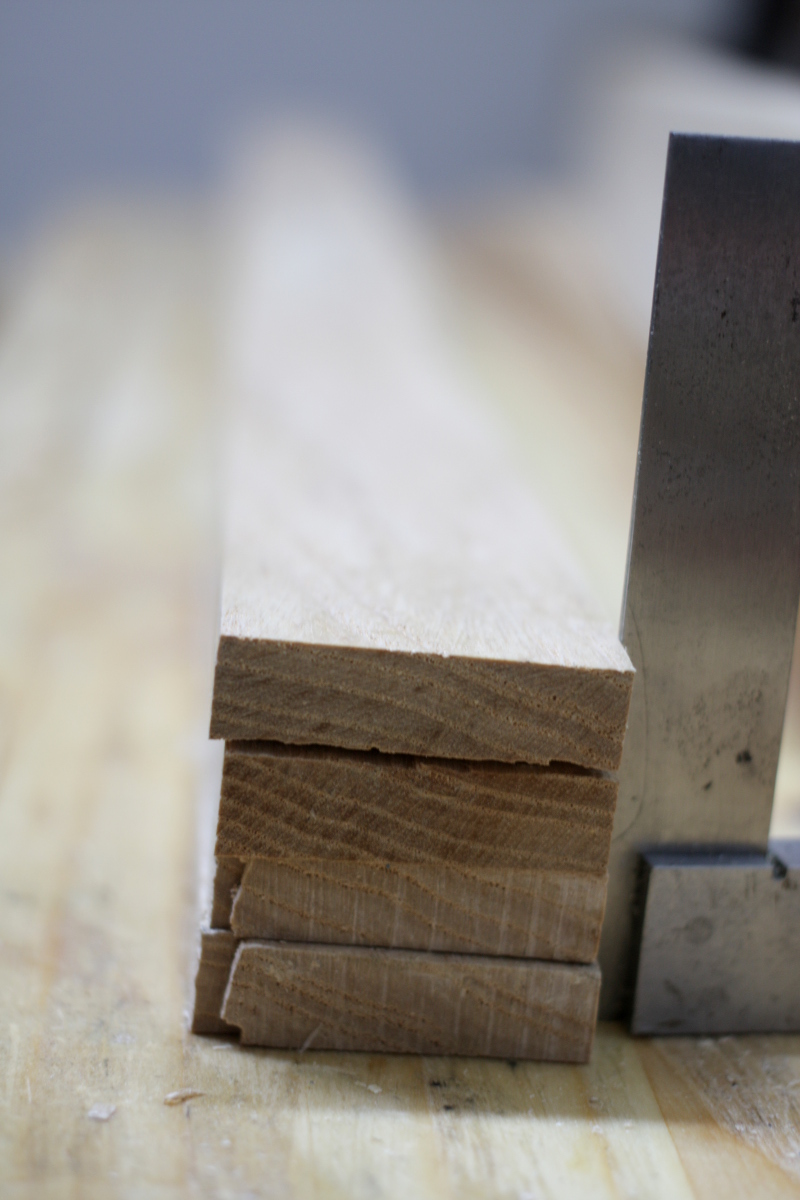
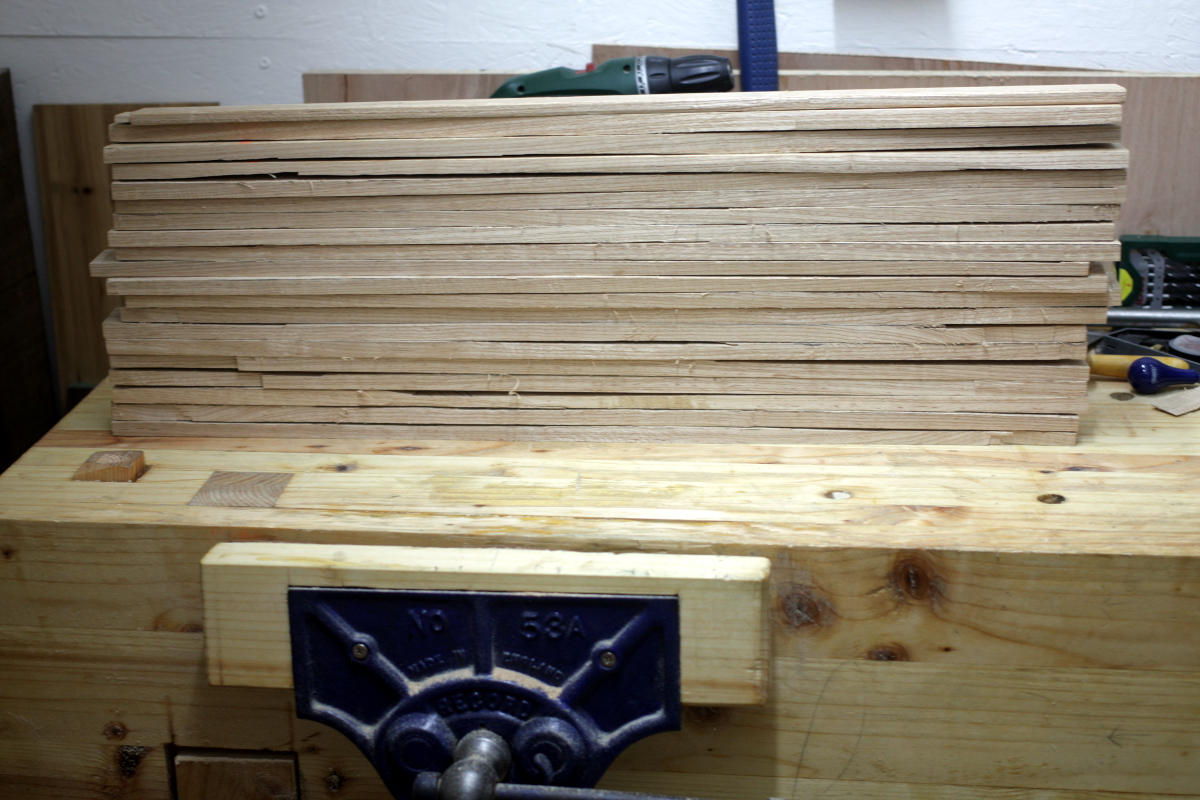
Still, it worked and let me get on with it. So now I have four slats planed to thickness and with squared edges (though there’s some slight bowing…)

img_9535a


11
Oct 16

Done

So first off, a small message to Draper. Don, you’re a very sad individual. And now a message to Draper, the tool company. This sucks:img_9503a

Yeah, it’s a junior hacksaw, but the operative word here is saw and I think you could almost be sued for false advertising for calling this piece of worthless dross a working saw. It’s for the bin, and I’ve now got to go find a decent hacksaw to work on saw sharpening. Ugh.

Anyway. That pain in the toolbox aside, the cheese press is now done. It came out too tall yesterday so I trimmed it down a bit last night and then did the finishing. Four coats of shellac, cured overnight and then some briwax and buffing the next day. Then I assembled everything, epoxied on the pusher plate on the main screw and added some feet to the base and that was that.

I’m not saying this is fine furniture, you understand – in fact, to manage expectations, this is what this started out like last thursday:

img_9372a

And in the meantime I’ve painted the shed (twice) and finished off the resawing of the slats for the cot. And today the cheese press looks like this:

img_9506a

img_9510aimg_9508a

I mean, it’s not horrible for a pair of 2×4 offcuts and a short length of threaded rod.

Anyway, wee man was a bit ill today so no real shed time; I did get to go out for a half-hour or so, and clean up after the press and set up for planing the slats.

img_9511a

Someone asked – the thicknessing jig is the width of my #5½ plus a quarter-inch between the walls (and I really need to cut a 45° angle on the near walls to stop myself barking my knuckles on them) so it rides happily on the rails without being slewed. It’s butted up against the planing stop on one side and against a batten&holdfast at the back:

img_9517a

In operation it’s quite simple – put the slat blank into the center, put the jack plane on top of it, shove jack plane to the far end, repeat until the jack’s not cutting anymore (flip the board at some point to be sure you have two reasonably smooth sides). You can optionally hit it with the smoother towards the end if you want.

Twenty slats (well, nineteen since I did #1 already at the start) to thickness, and then plane to get their edges square. This is going to be my planes’ eye view for a while I think…

img_9514a


08
Oct 16

Twenty

So the early start plan kinda went to pot because of other duties, but I did manage to get to woodies and get another tin of the willow colour of paint to do the second coat on the shed. And then, annoyingly, got the second coat out of the remainder of the first tin. Gah. Oh well, I’ll find something for it. Meanwhile the shed’s looking okay, but I didn’t manage to get the first coat of the cream colour on it, so that might make getting everything finished tomorrow a bit of fun.

img_9443a

img_9449a

Can’t say that it looks like a massive difference with the second coat, especially as the colour darkens very noticeably on drying, but this stuff really does need the second coat when you look at it close up.

Then on to getting the cheese press done. I picked up the needed bits of threaded rod and such at woodies while getting the paint.

img_9456a

The threaded rod will get cut into 1′ long sections to form the two side supports and the main screw and the various washers and nuts will secure it (the hooks are for my bench brush which is in need of a better home than hanging on the quick-release of the vice).

img_9457a

The more difficult part of this has been getting a 2×2 chunk of wood down to something that vaguely looks like a handle if you squint and are blind. I was able to saw out a big chunk of the waste, and carve the basic shape very roughly with the gouges, but trying to get it even close to smooth was being a pain so out came the spokeshave, which promptly tore the crap out of the surface no matter how I twiddled with it. So I took a tip from Richard Maguire’s spoon rack series, took off the adjustment knobs completely, and set it by keeping the base flat on the bench and letting gravity put the blade in contact with the bench, then tightening the clamping screw. And it worked like a charm. It went from biting and skipping and destroying the face of the wood to looking like an actual woodworking tool being used by someone who was competent. Not sure how it managed that last bit, but I wasn’t complaining much. Before long I had an ugly lump-shaped chunk of tree branch and figured I should stop before I broke it too badly.

img_9466a

Some butterfly nuts on the two side supports to cinch the crossbar on to the top of the cheese vessel, and a chunk of wood on the bottom of the screw to push against a plate in the cheese vessel and that’s your cheese press, more or less. First, some nuts needed epoxying and there was a small void to fill on the face of the board.

img_9467a

Tomorrow I’ll clean up the boards and get them flat and shellac them, add the block on the end of the screw and I think that’ll be it finished. It’s not a very fancy thing after all. I’d like to put some springs on the side bits of threaded rod, but I couldn’t find any. Oh well, easy retrofit.

Of course, that last spokeshave session had a casualty…

img_9459a

I know I said I’d make a hardwood vice face later on, but I think it might be sooner than I thought. I re-screwed it on, but I don’t want to glue it and I’m not sure those two screws are going to last. I’ll have to think about this one.

First though, on to resawing ash for slats. One or two of the resawing boards tonight were pains in the fundament with the blade wandering out of nowhere, but I was able to use the disston to get the line back on track and finish the cut without losing a board. Which let me write a very nice number indeed…

img_9462a

20 slats out of three boards, with another three definitely unusable and another one as a very marginal call (ie. use it if we really need just one). That’s all the original plan called for. I don’t doubt I might find I need another two or four more, but I’ll try not to 😀

img_9464a

img_9465a

In case anyone was wondering, yes, you can resaw 1″ thick 8″ wide ash boards by hand, and it’s not actually the most strenuous job in the world… but it’s not a lot of fun either really, and it can be finicky keeping the blade from wandering. As soon as I’m able to house it, I’m going to get a bandsaw.

Now, for the coming week, it’s planing in the thicknessing jig to get those 20 slats all down to size…

2016-09-25-12-20-38a