04
May 21

Cosmic splatter

So I wanted to try turning a nice royal blue bowl with white liming wax. Picked out a chestnut blank, and roughed out the shape, and discovered it had an odd yellow discolouration in the wood that I’d not seen before. Rather unattractive too, not a nice shade of yellow (think bile, not sunshine). And when I stained it…
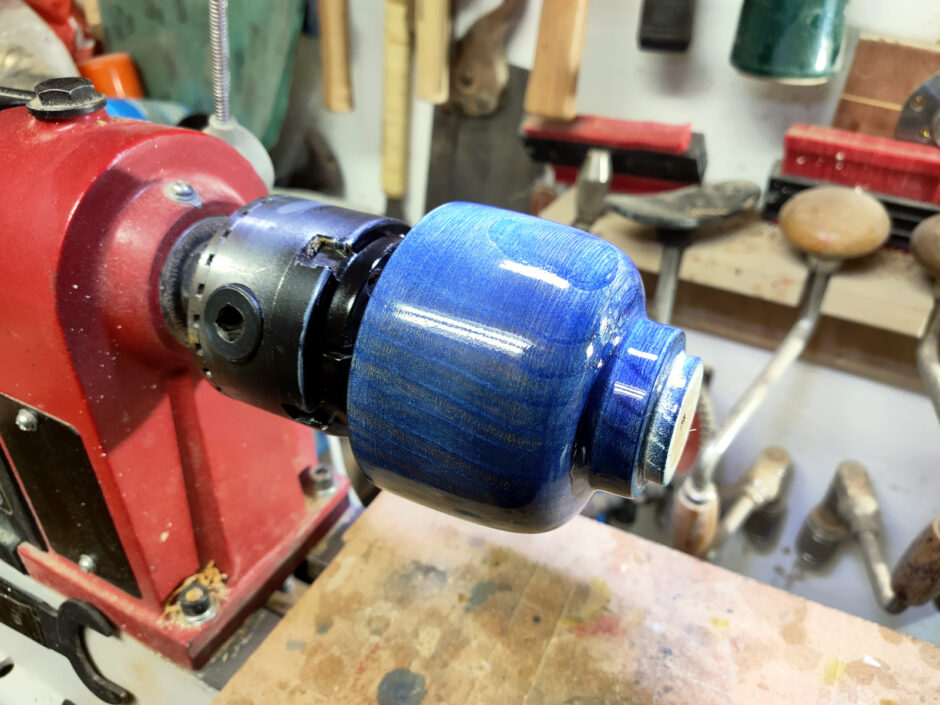
That’s not the richest of royal blues and it’s going green in places. I tried sanding back and applying a few more layers of stain:
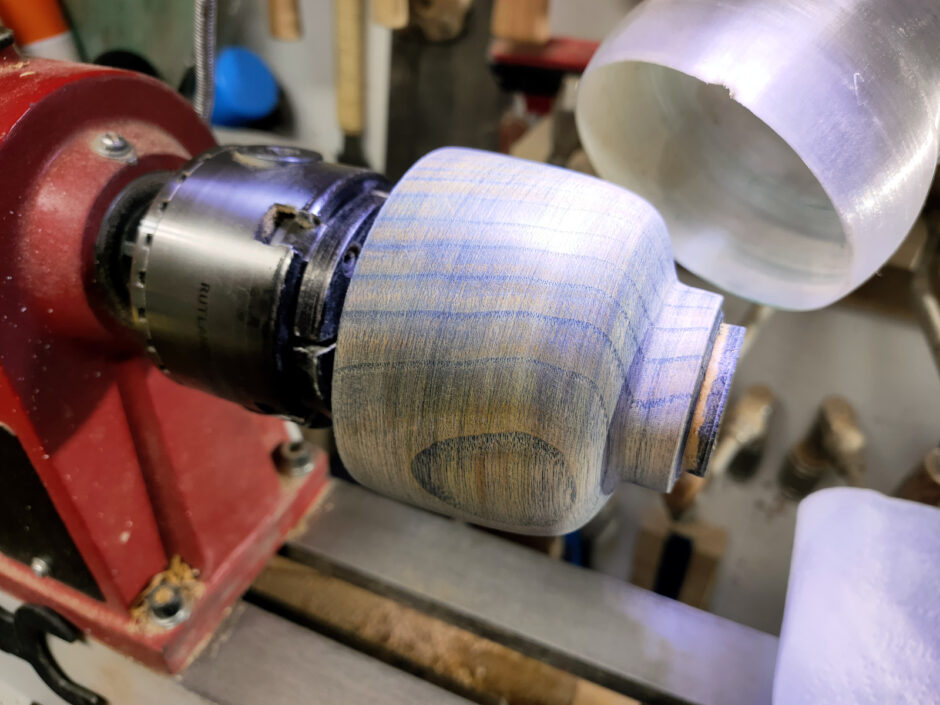
but…
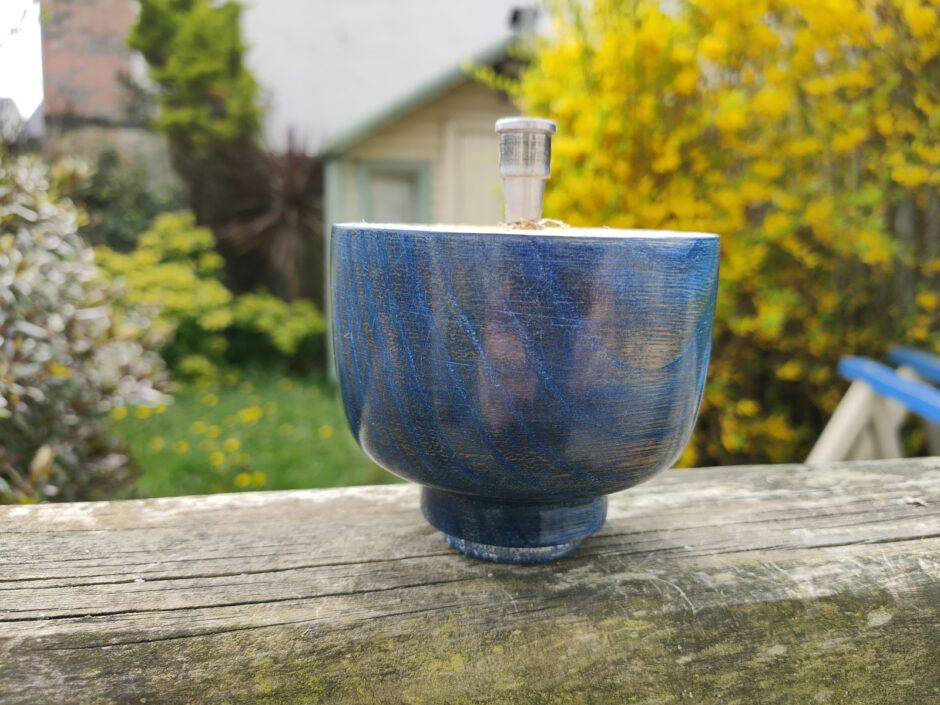
Just not nice. No deep colour, the endgrain’s popping but the rest of the bowl’s not right.
So, if at first you don’t succeed, drop the plan and do something different 😀
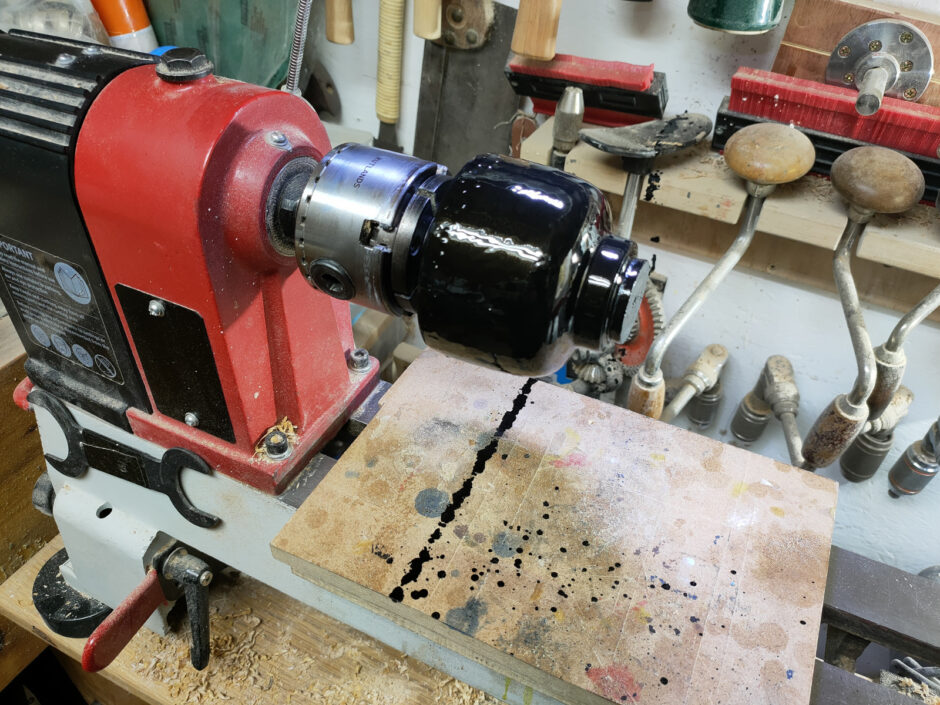
Ebonising lacquer all over the bowl (and my wall, my chest drill, me and a bit of the roof. Doh). Two coats of this in fact.
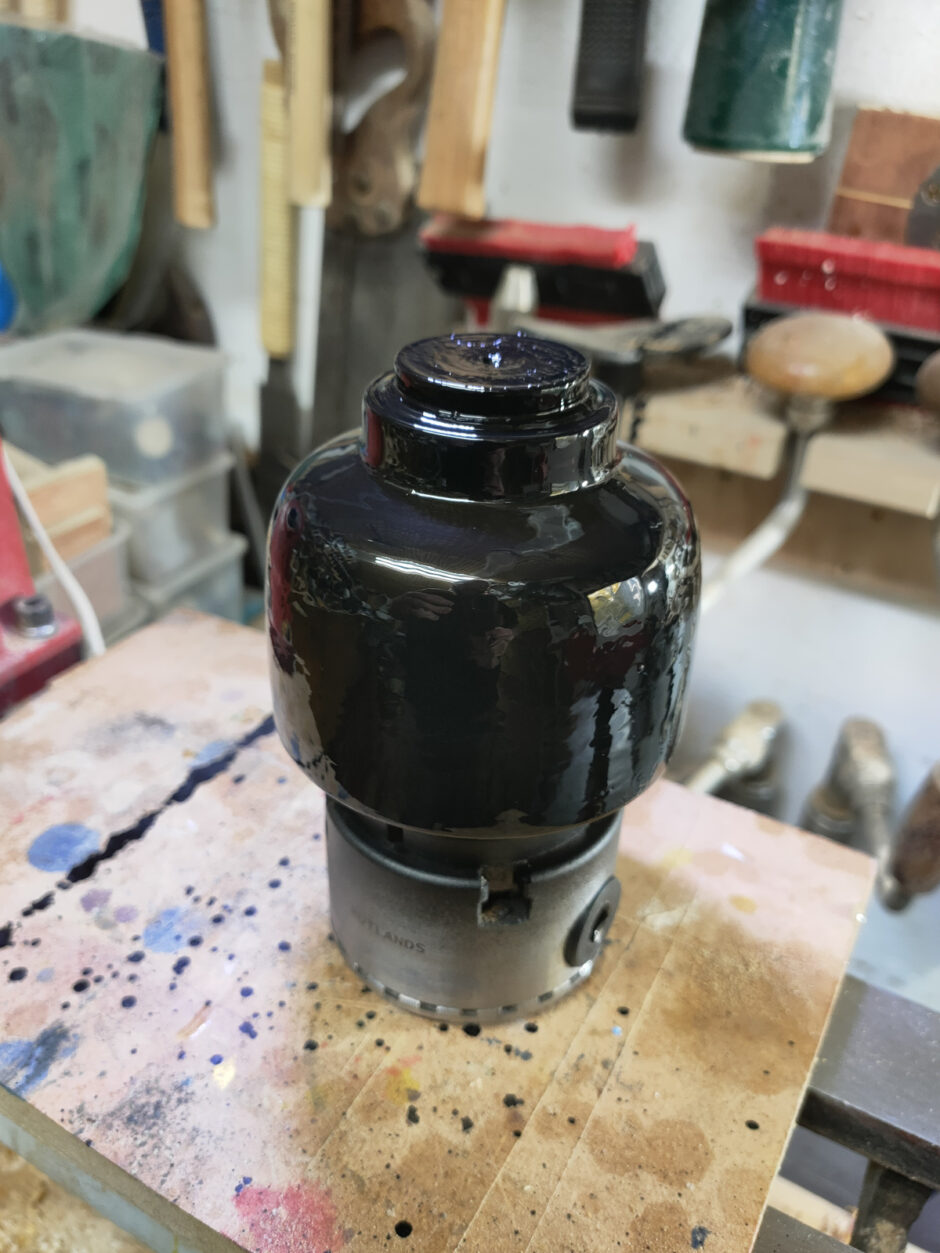
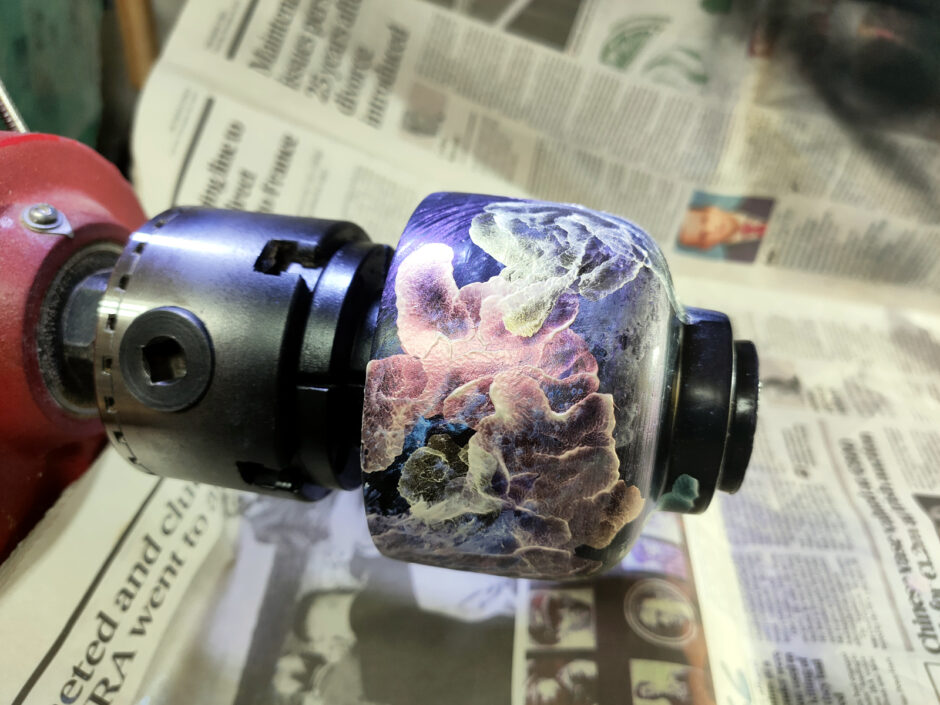
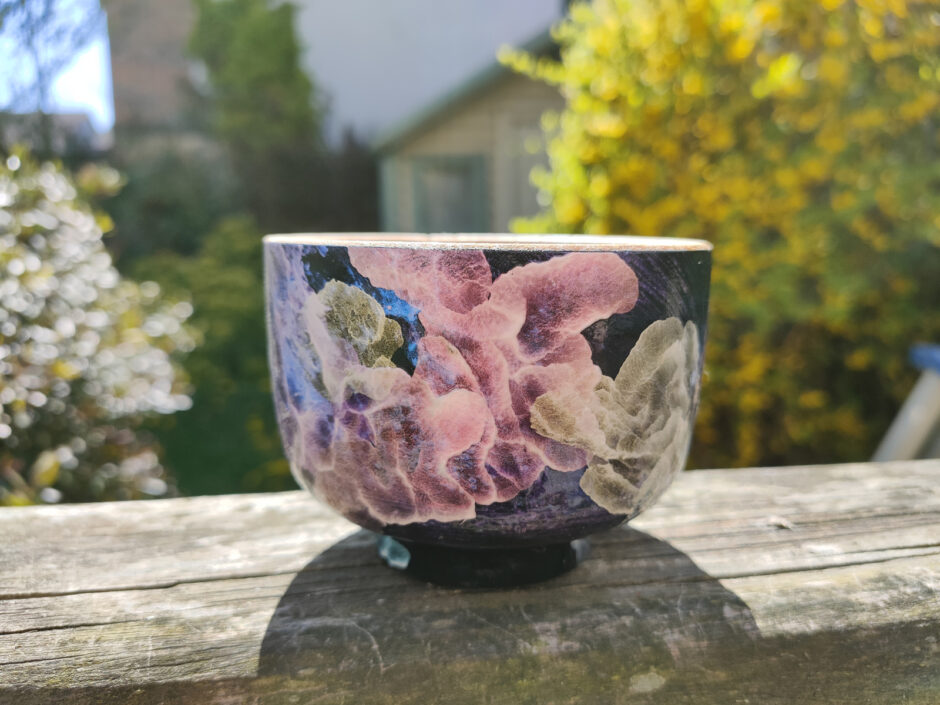
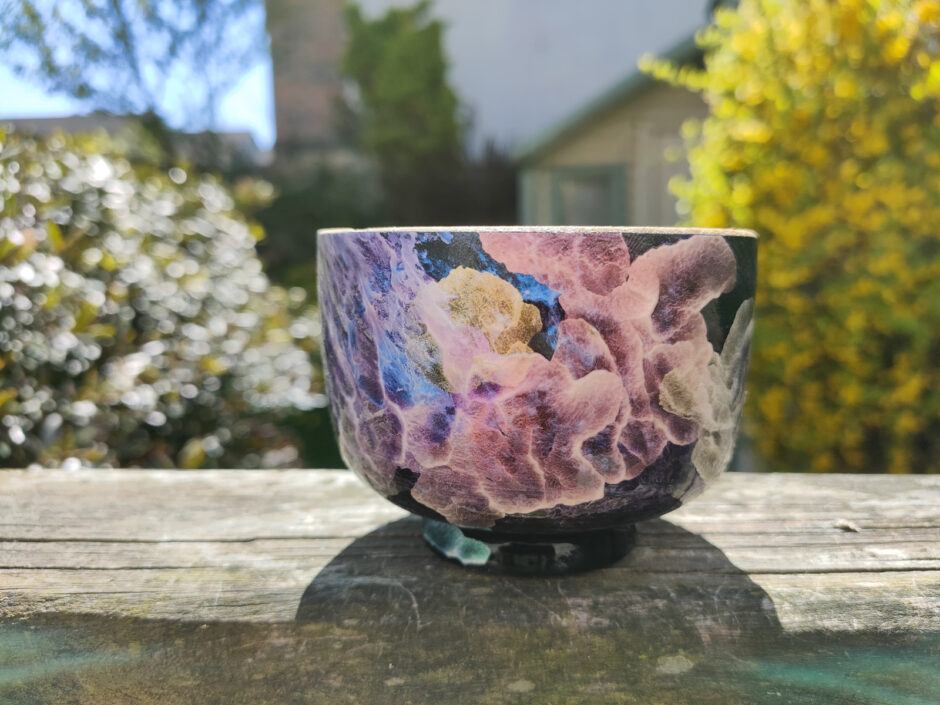
And then the point of this – out with the pearlescent acrylic paints (by Amsterdam in case anyone’s wondering). Dab a bit on the surface, then blow around with an airbrush until you get a very thin layer and a nice abstract pattern. There’s a trend of this in woodturning at the moment – look for “Cosmic Clouds” on youtube and you’ll find it – but I did try to apply the paint with the airbrush as well and I hadn’t thinned it correctly so I got spatter when I tried that first. Not great. Lots of airbrush cleaning followed. I do have some iridescent paints (not the Jo Sonia ones that everyone on youtube is using because those are a bit spendy over here right now, but Pebeo Studio ones) that I must try this with as well, but for now, just pearlescent.
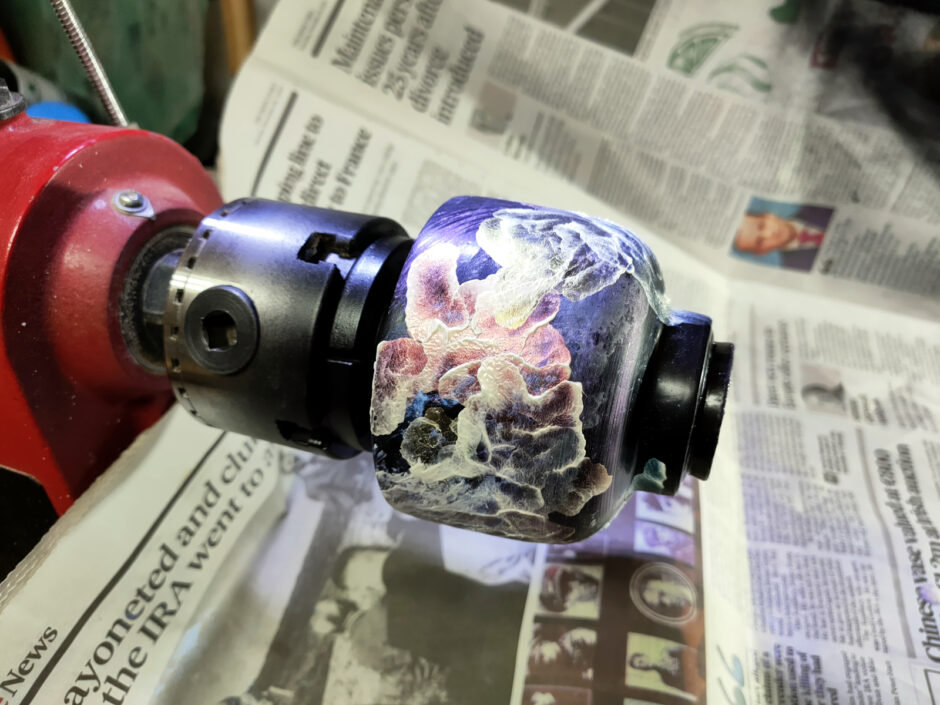
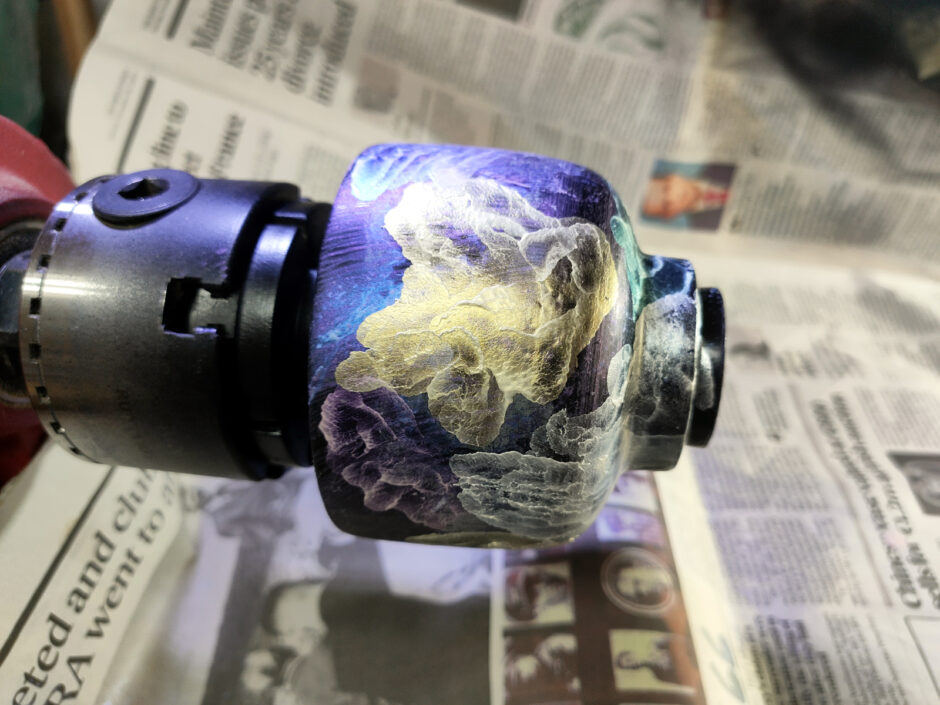
Left to dry for a day or two and the white lines vanish away and the paint’s colours get more pronounced, albeit slightly.
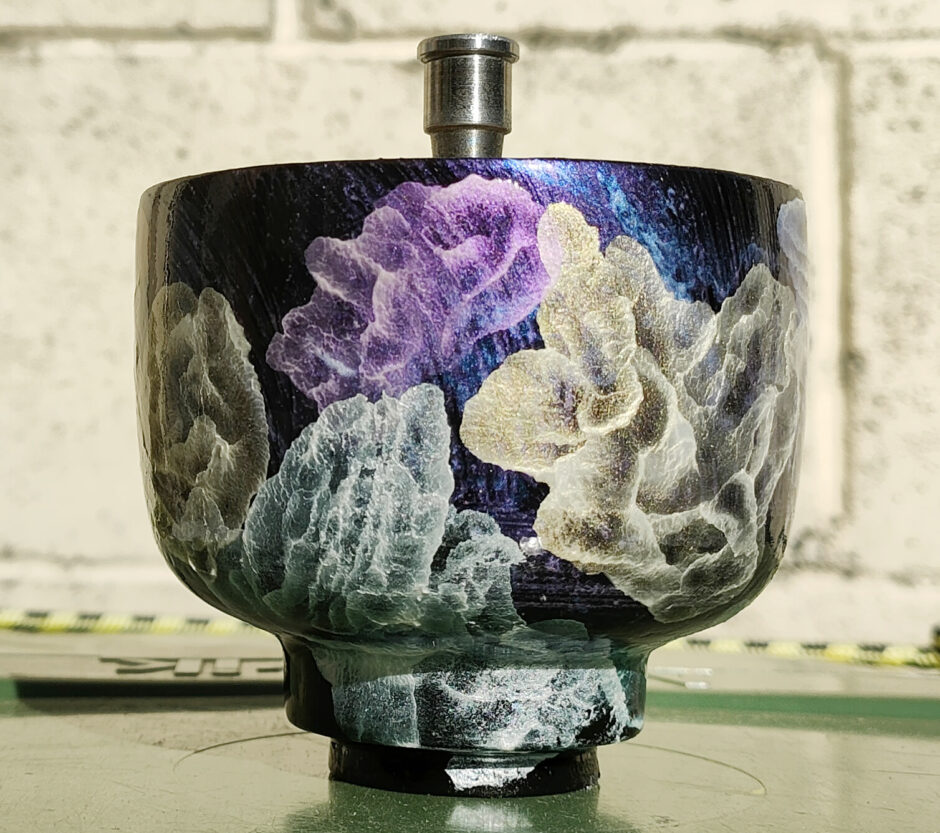
So I figured I’d hollow it out and finish it. It had Opinions on this idea…
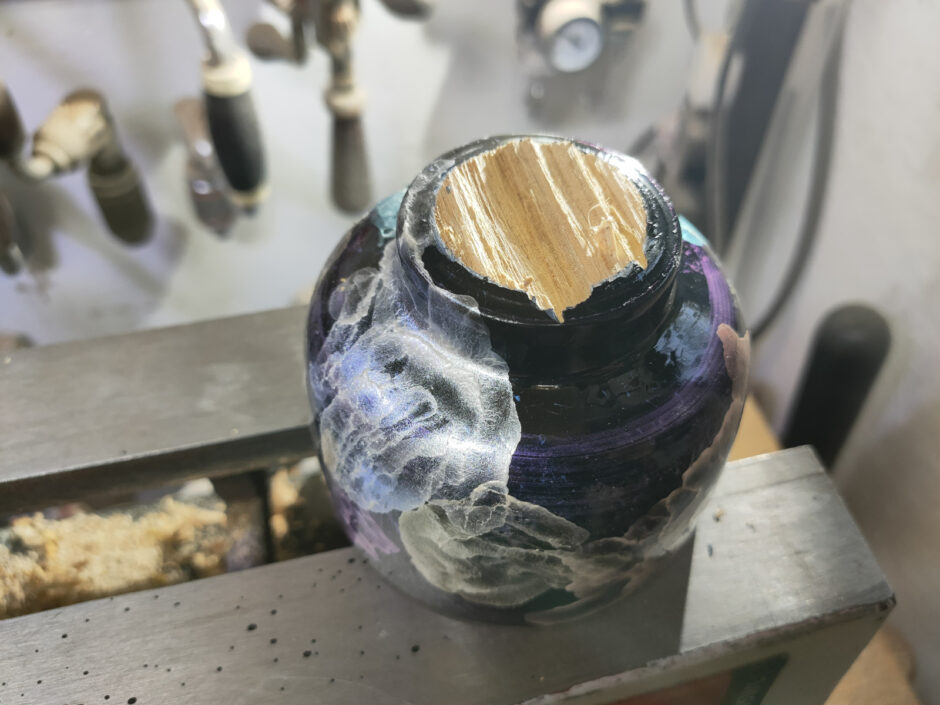
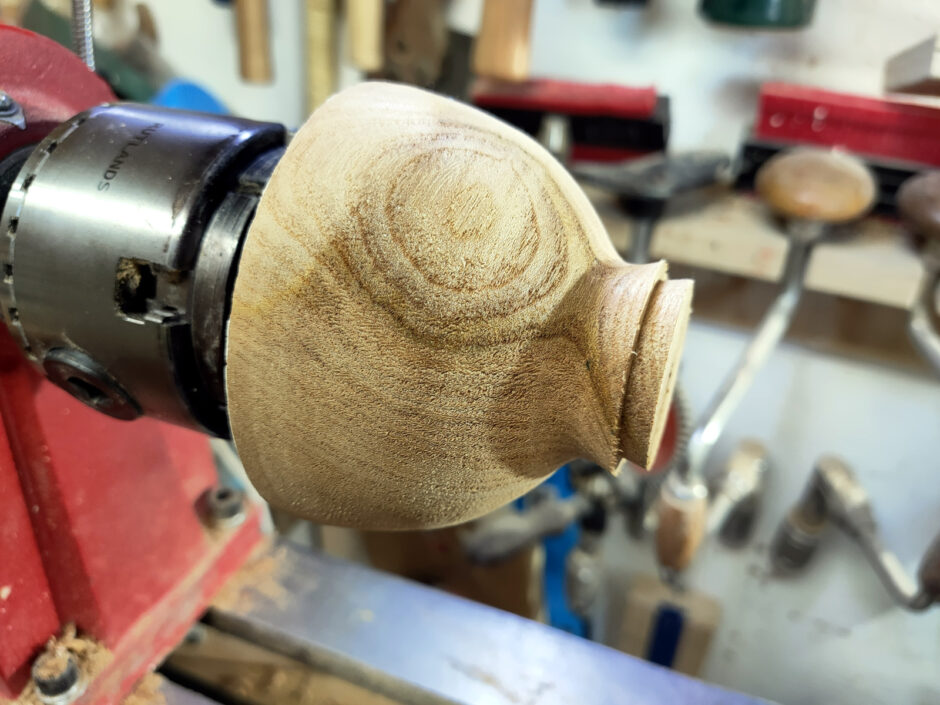
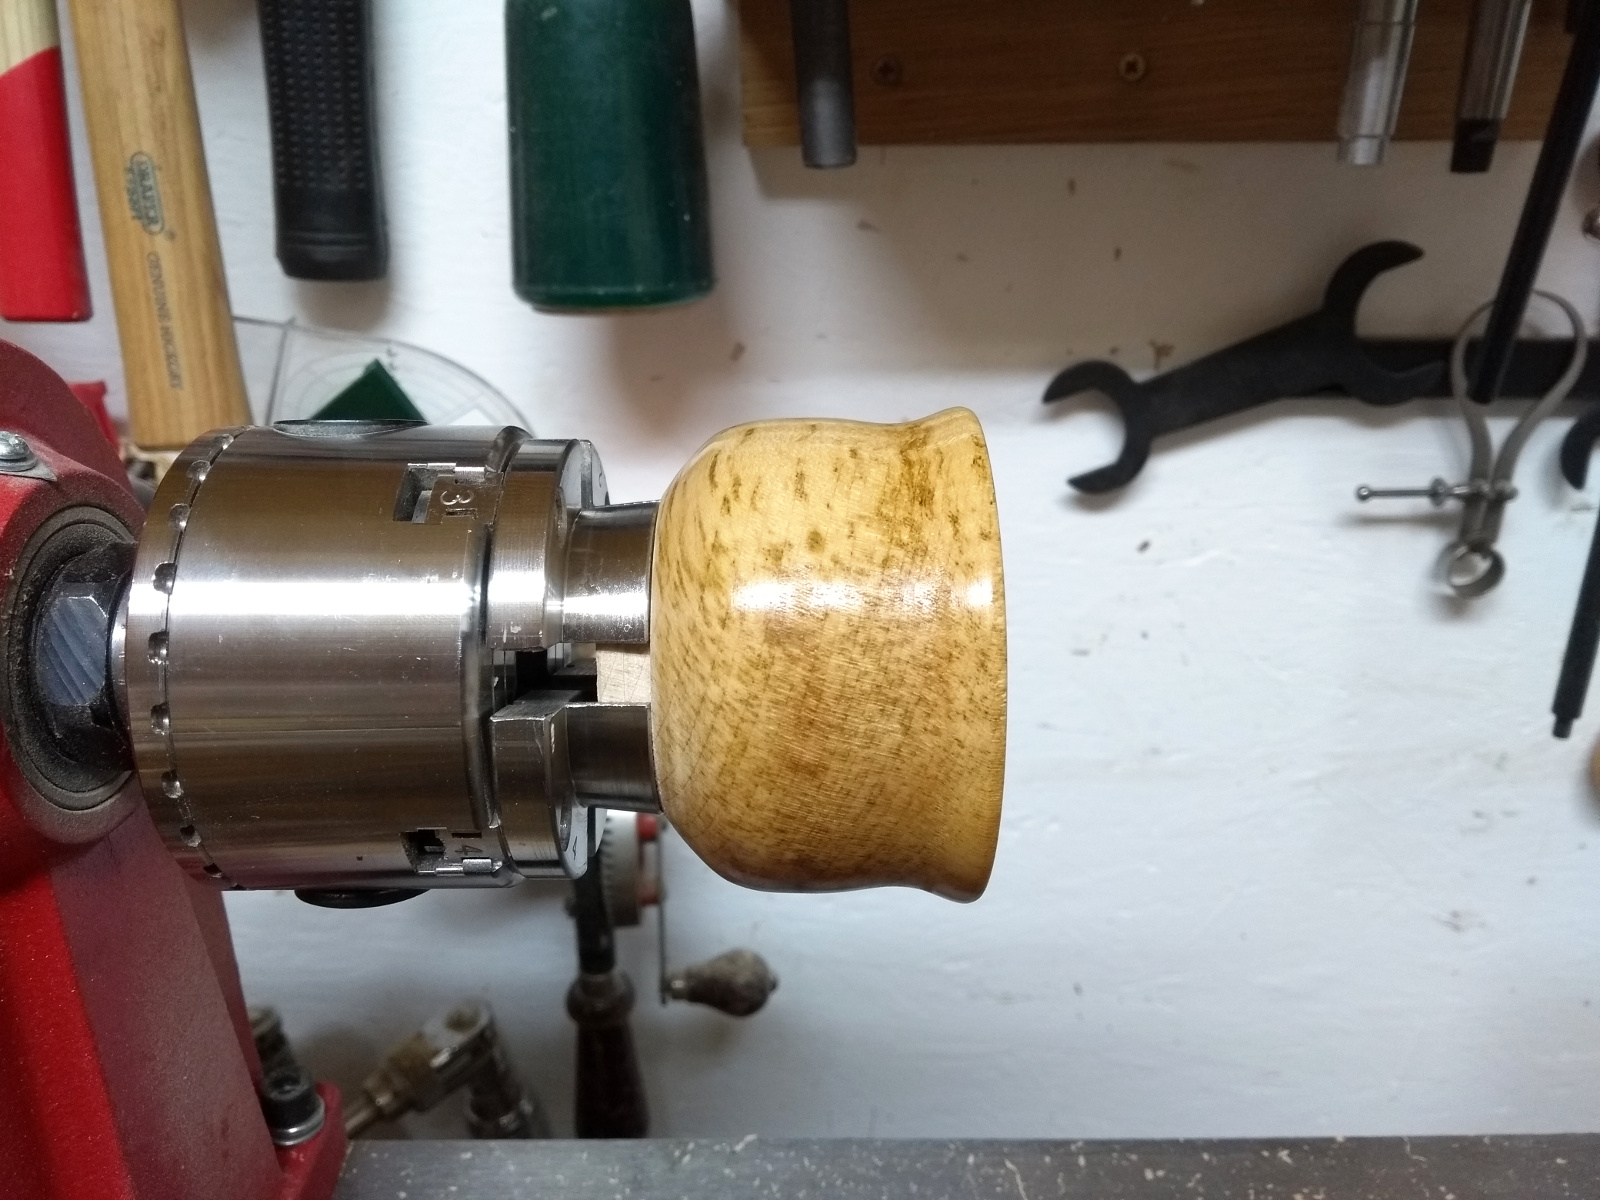
The entire tenon snapped clean off when I started hollowing. I hadn’t even had a catch, just some chatter:
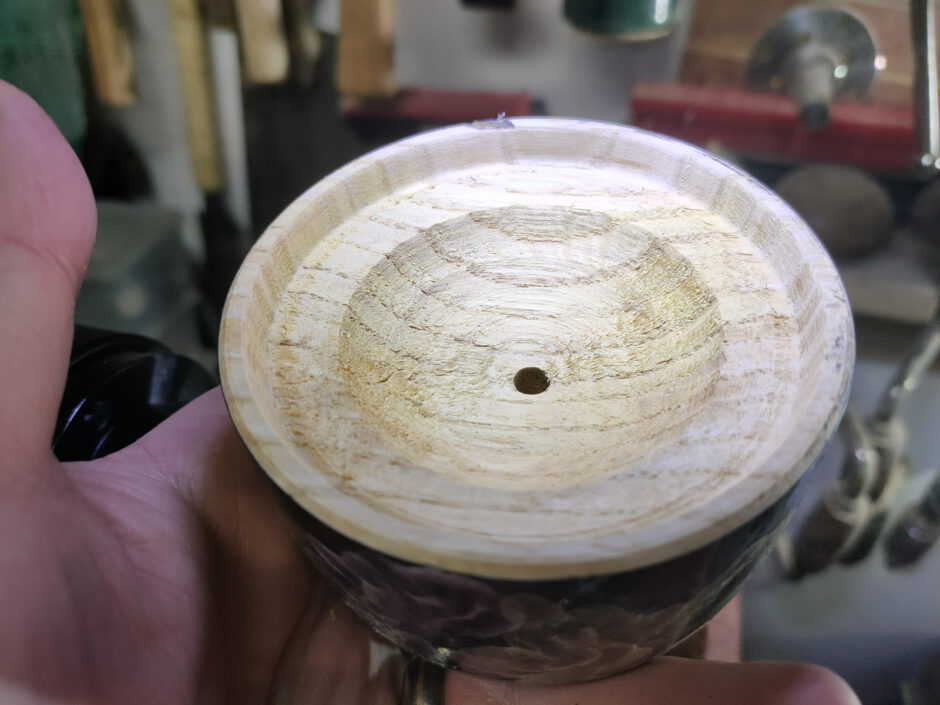
Possibly not the best chunk of wood in the storage box. I was able to remount it on the screw drive and turn a small recess in the remains of the foot then grip it with some expanding jaws:
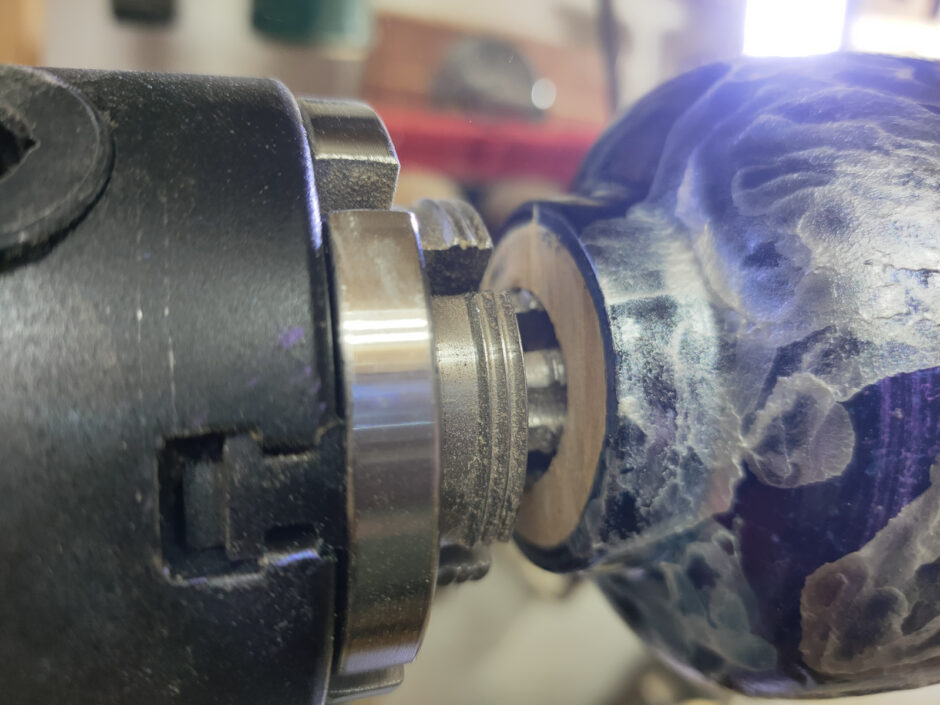
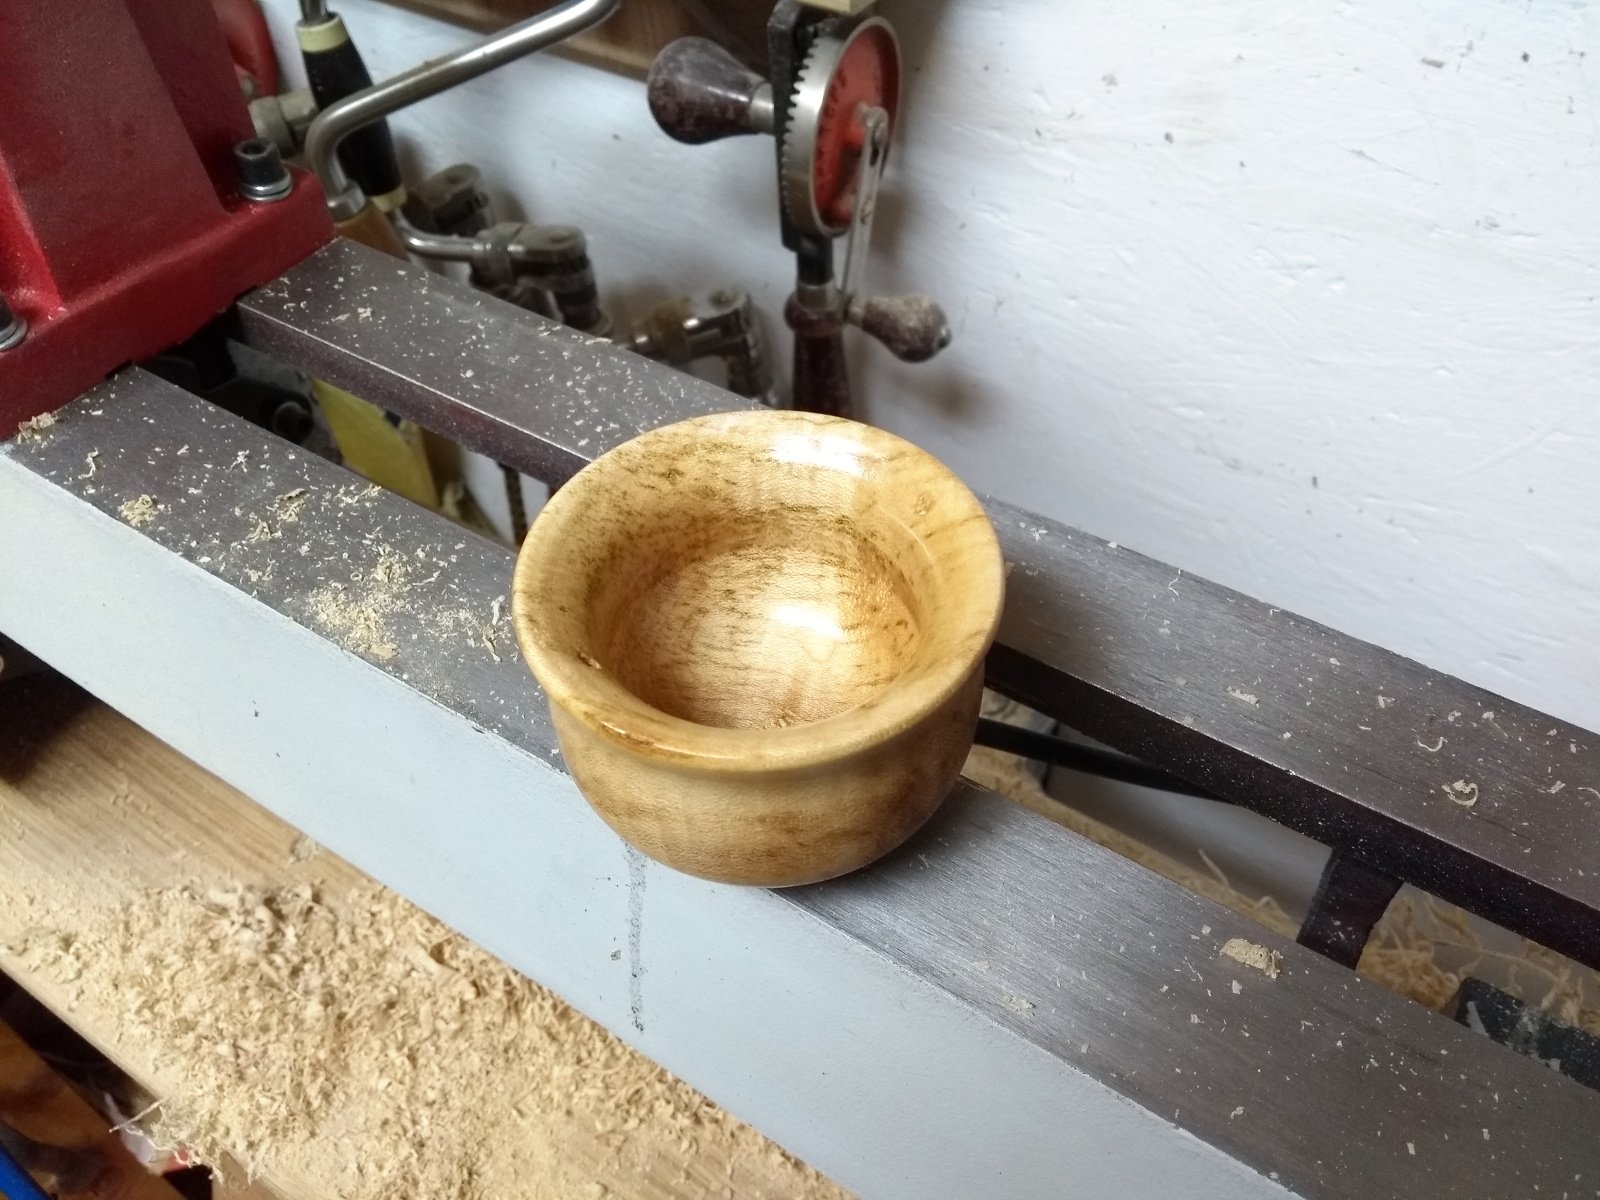
And I was able to mostly hollow it out that way with small cuts, but it’s not exactly as thin-walled as the last bowl. But it’s a test piece using possibly not-so-good timber, so I’m okay with that.
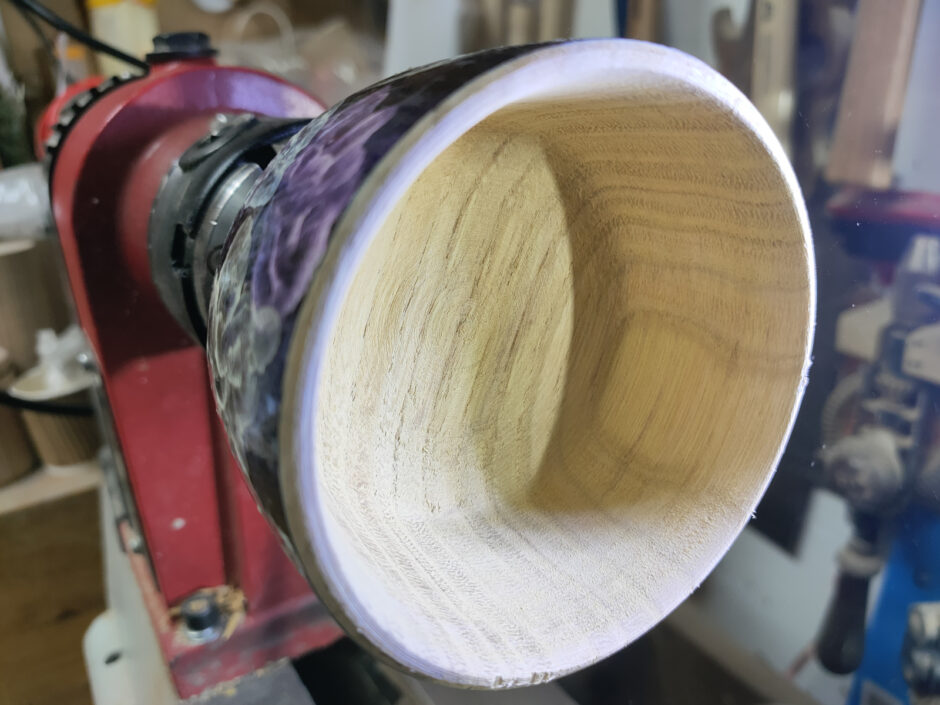
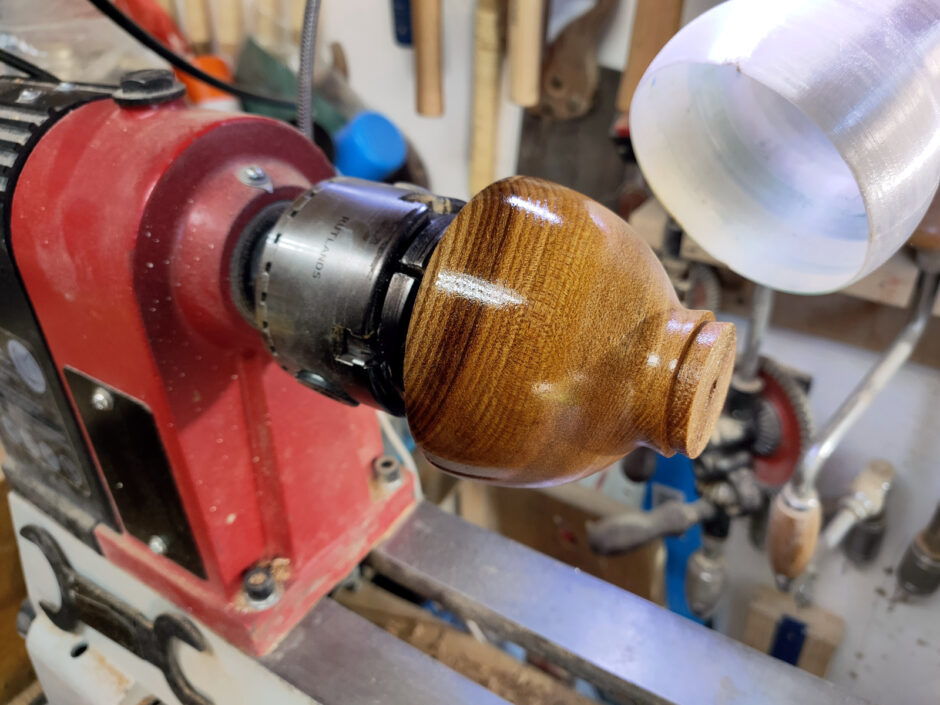
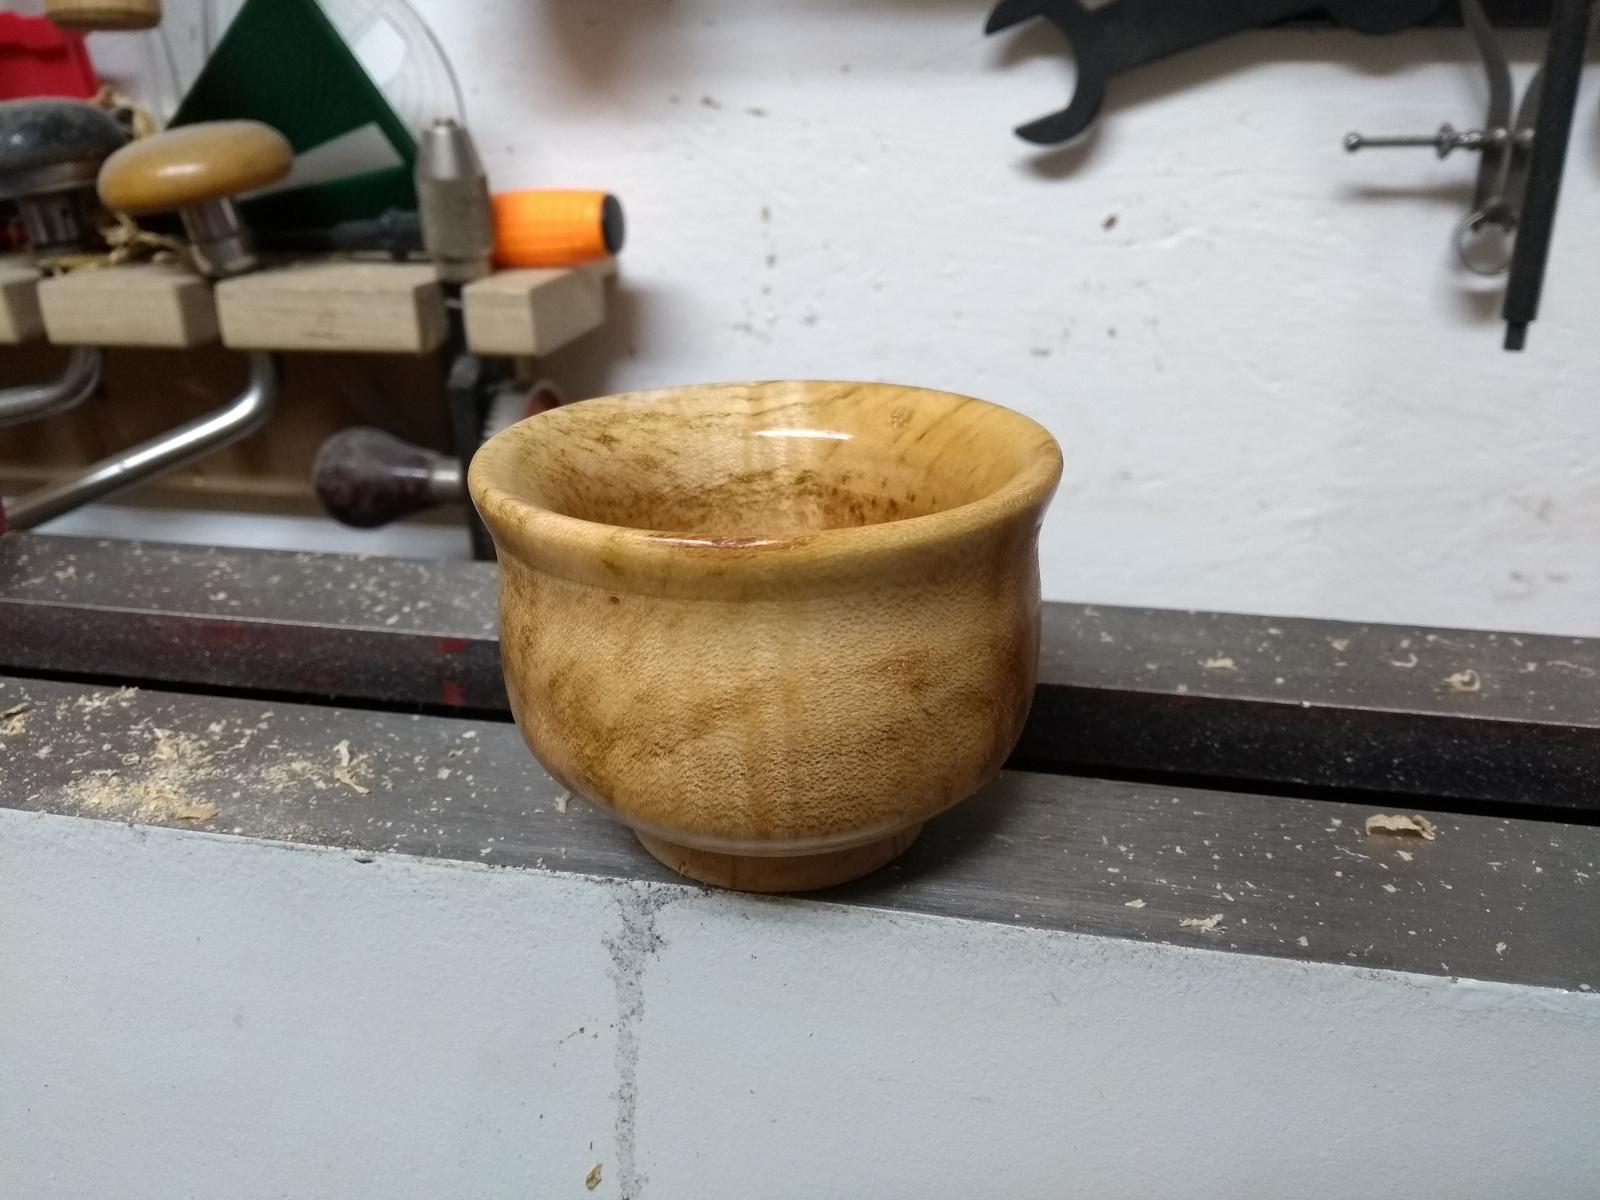
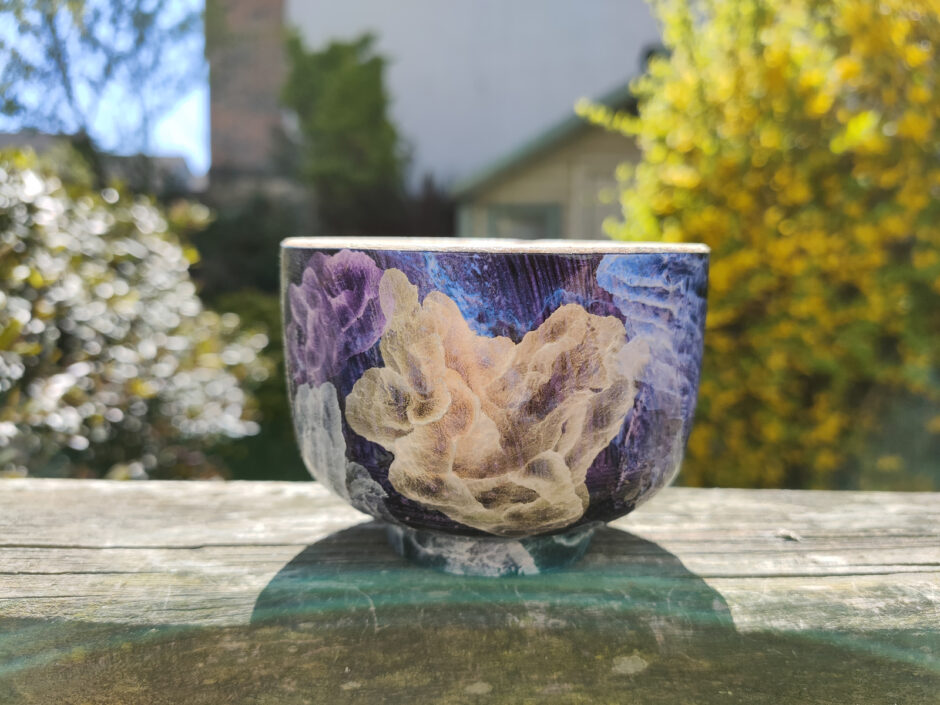
Reversed it and fixed up the foot on the push-plate, and gave it a coat or two of acrylic lacquer along the way as well. Doesn’t look too terrible in the sunshine. Must do another one of these again, maybe with a better piece of timber next time. And the iridescent paints. Or a mix of the two…
03
May 21

Thin walls

So I’d been working on the shape of the bowls I was turning and trying to get the basics down, and a friend who’s been turning a lot longer than I have (hi Tom!) suggested a skill test – turn a thin-walled bowl. I managed to do that on two of my first bowls but I’d not turned anything with thin walls since.

So, trying again a year later with a small chestnut blank.

Nice simple open shape for this, no closed bowls or hollow forms just yet 😀

Using a tenon below the foot because the blank just seemed a few millimetres thick.

Sanded, oiled (just a coat of danish oil), yorkshire grit and hampshire sheen wax. Not doing anything very special because at this point, I expect it to explode mid-hollowing 😀

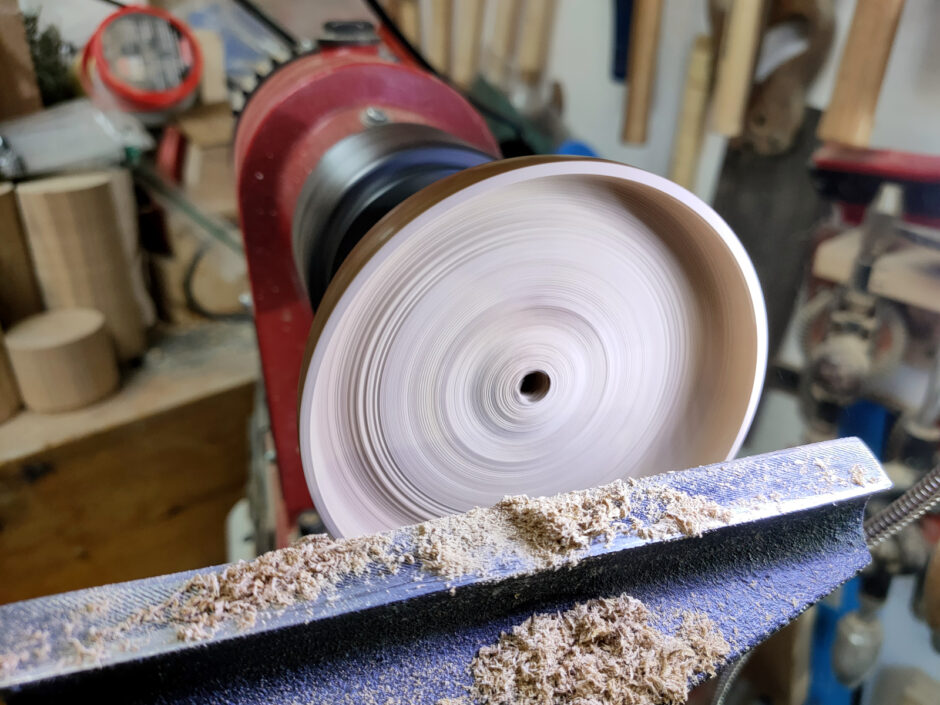
Reverse it into the chuck, face it off.

And now it gets hairy. Tom’s advised technique was to hollow out the top centimetre to the desired thickness, make all my finishing cuts for that centimeter, then do the next centimetre down (instead of roughly hollowing the whole bowl and then doing a finishing cut, because the bowl would be so thin that it would flex on the lathe, and the risk of a catastrophic catch gets much much higher.

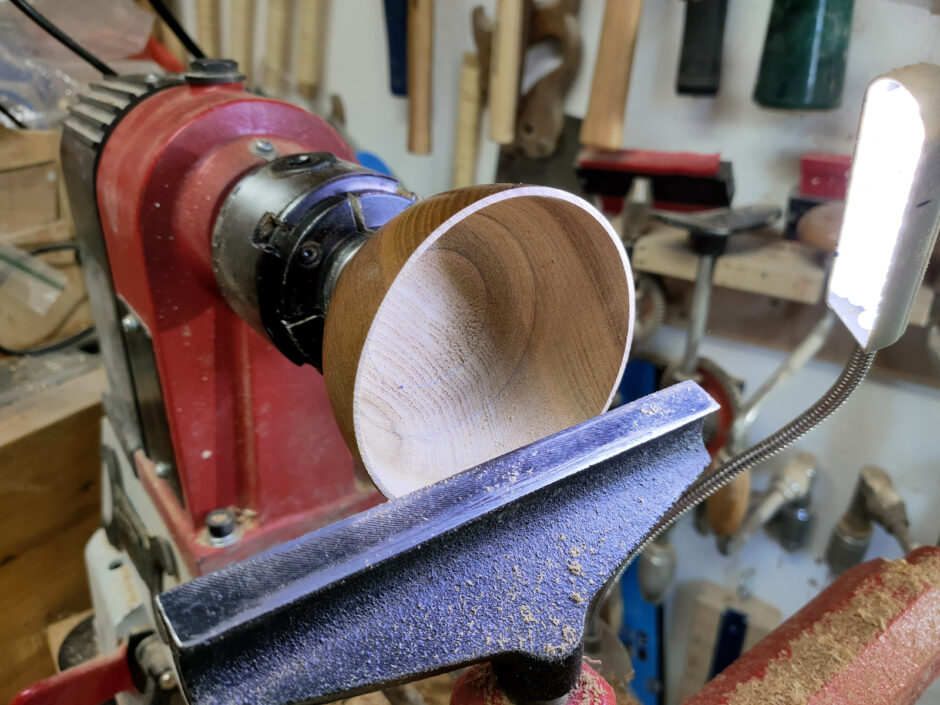
First cm went okay…

Second cm was okay, starting to get stressed….

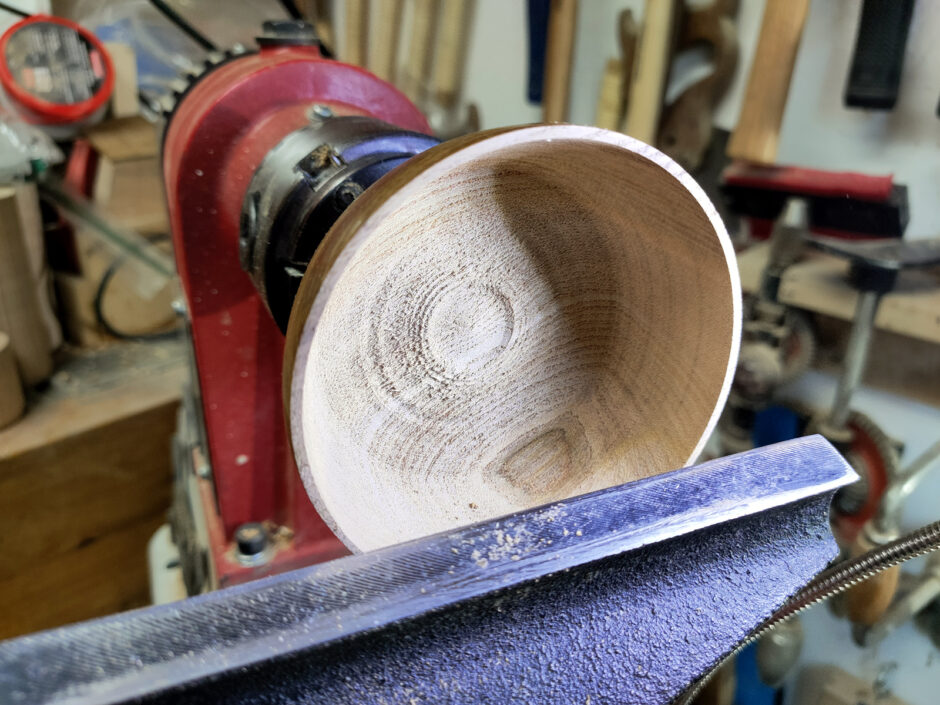
Third cm down, now just dreading a catch out of nowhere and a ruined bowl. Squeaky bum time. One last cm to go…

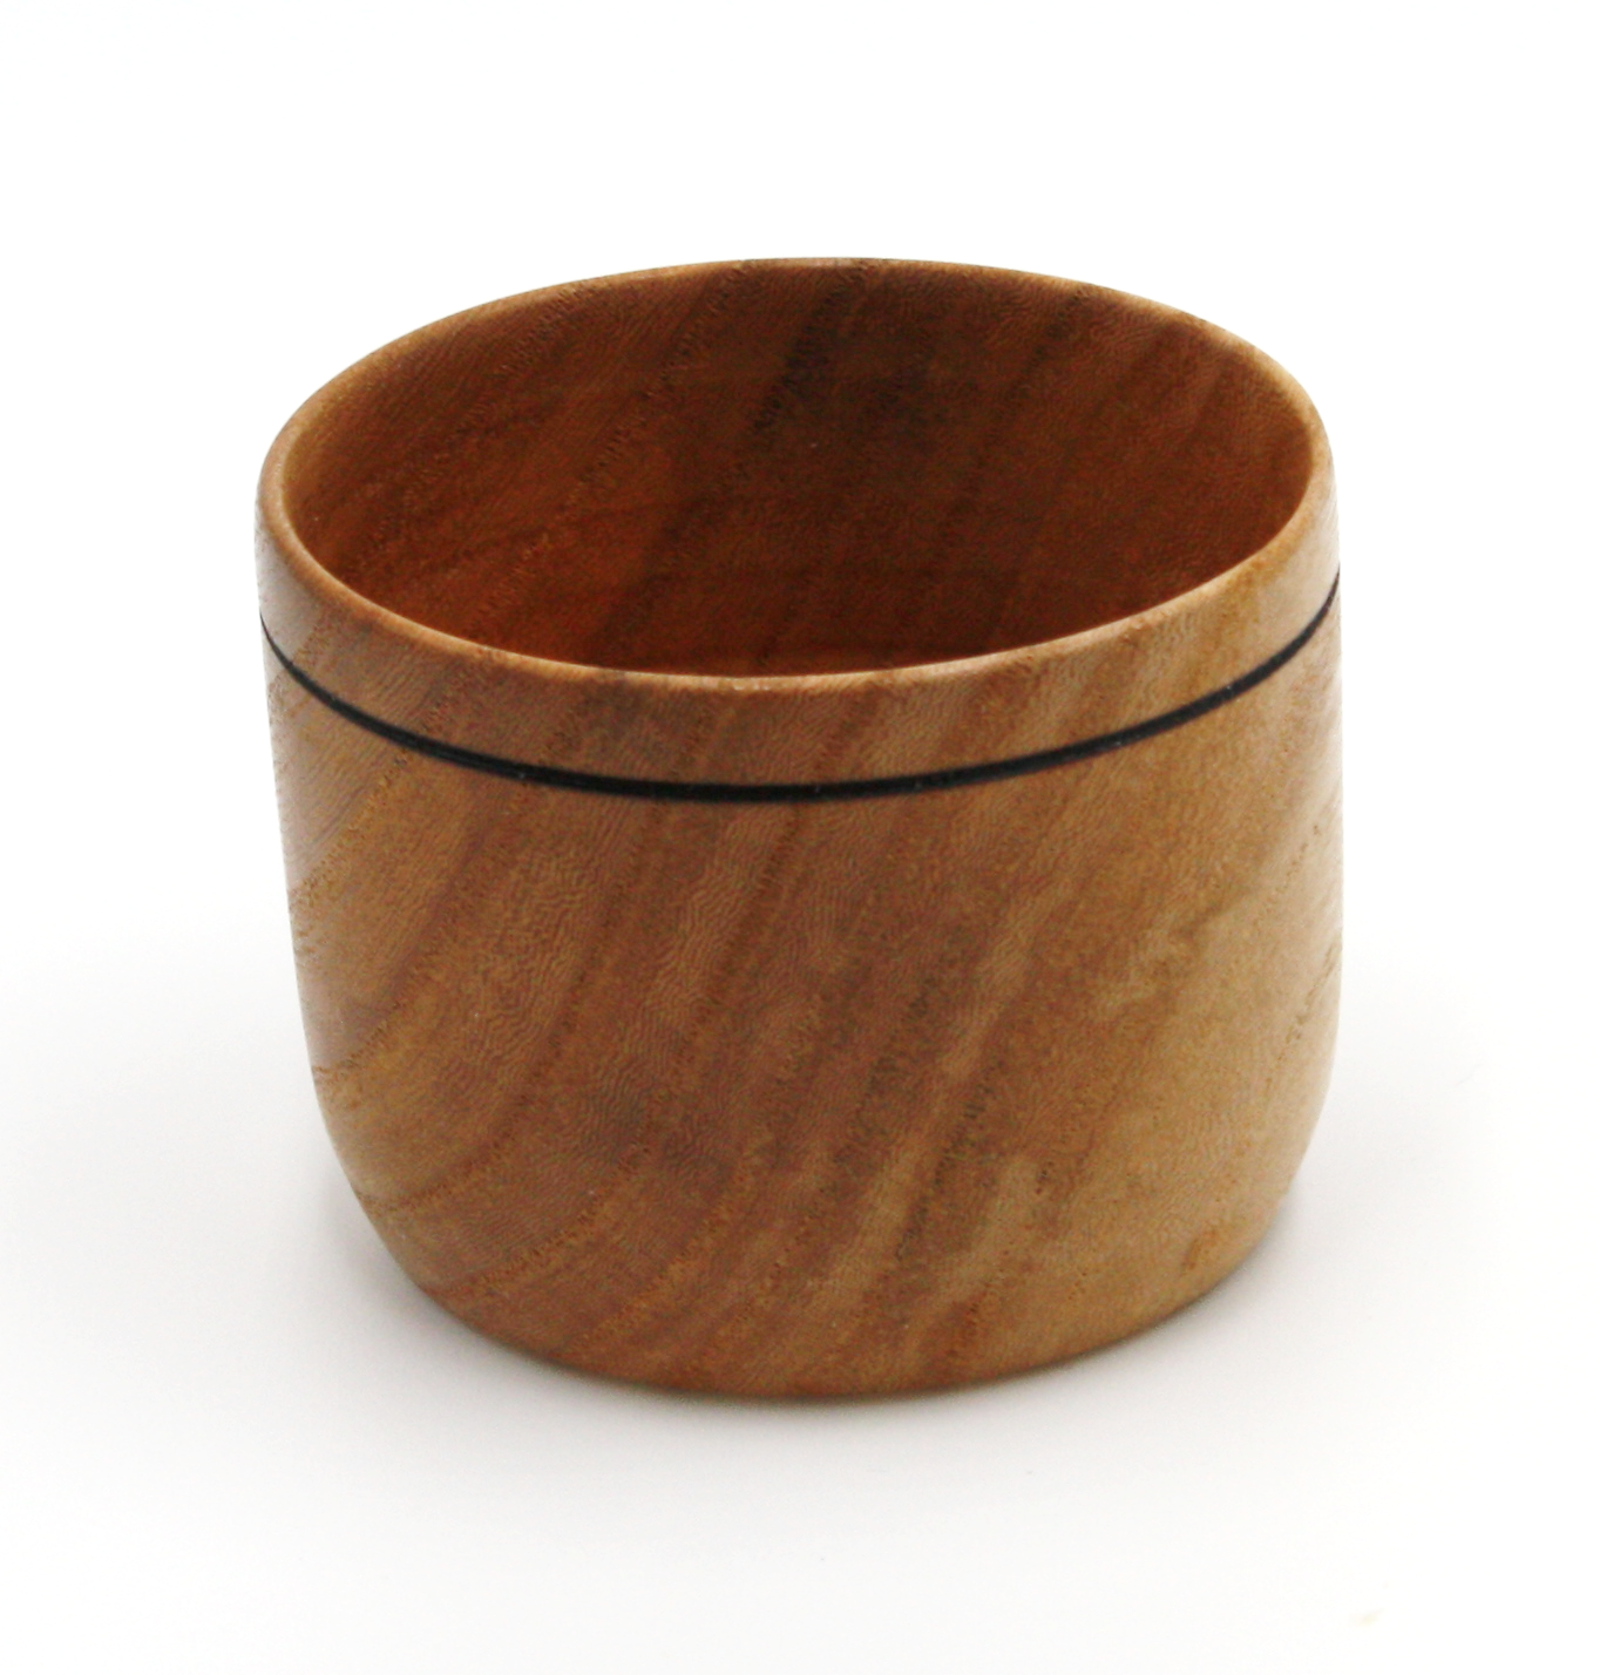
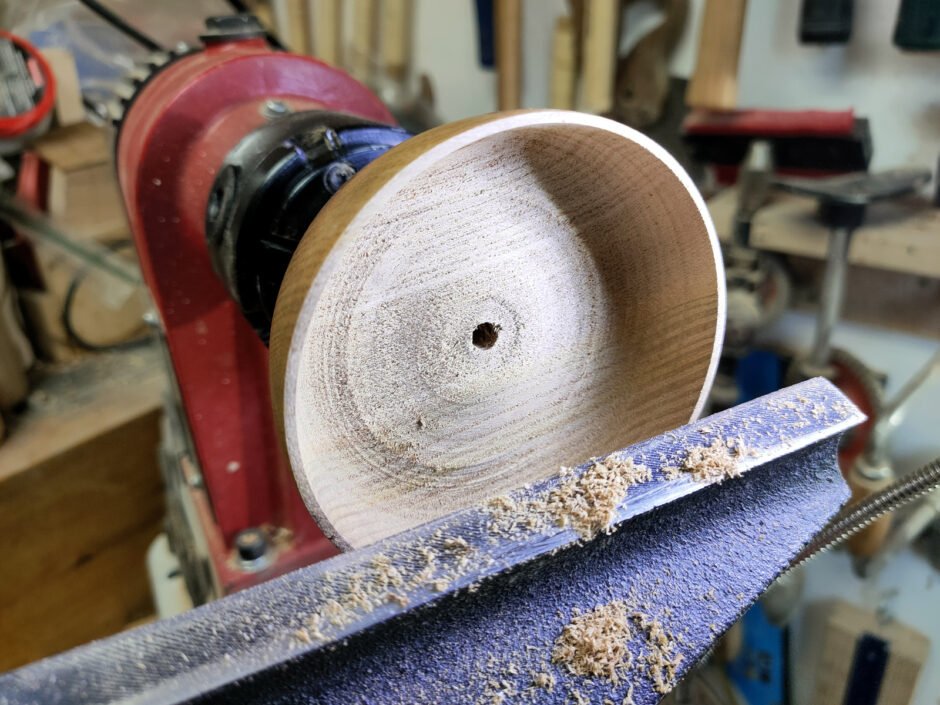
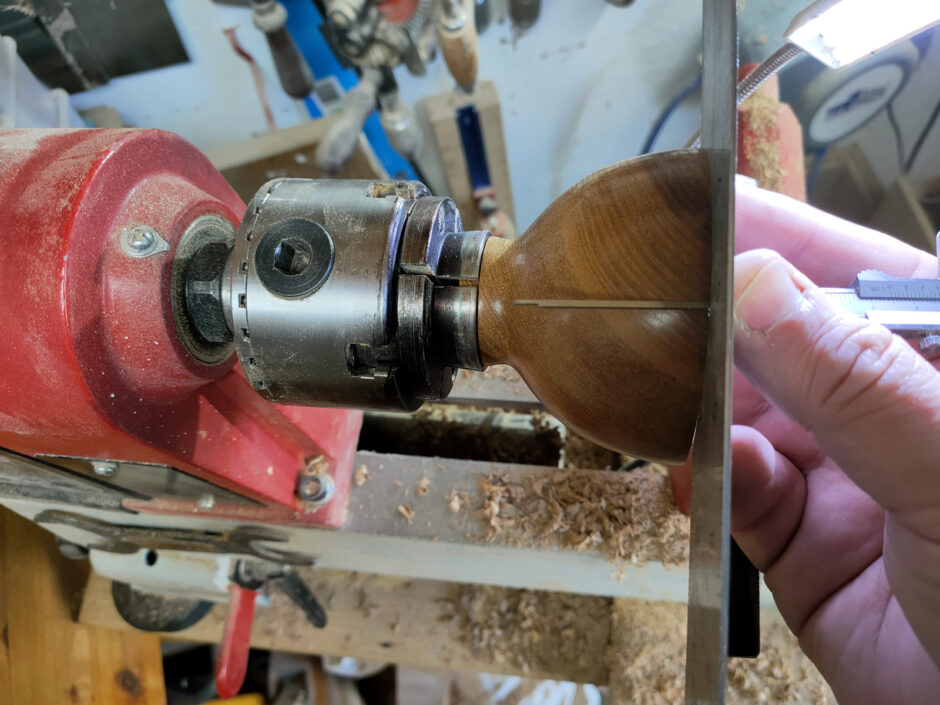
And it didn’t explode and I’m rather surprised to be honest. There are tool marks to remove and two high ridges (the pencil lines there mark them) to take care of:

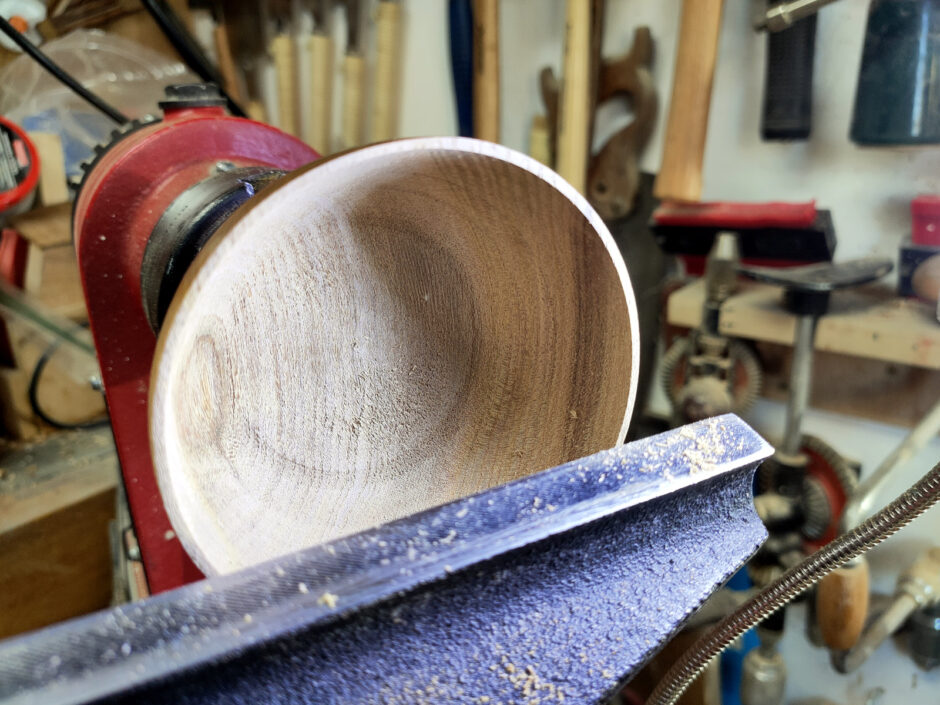
And that’s ready for sanding.

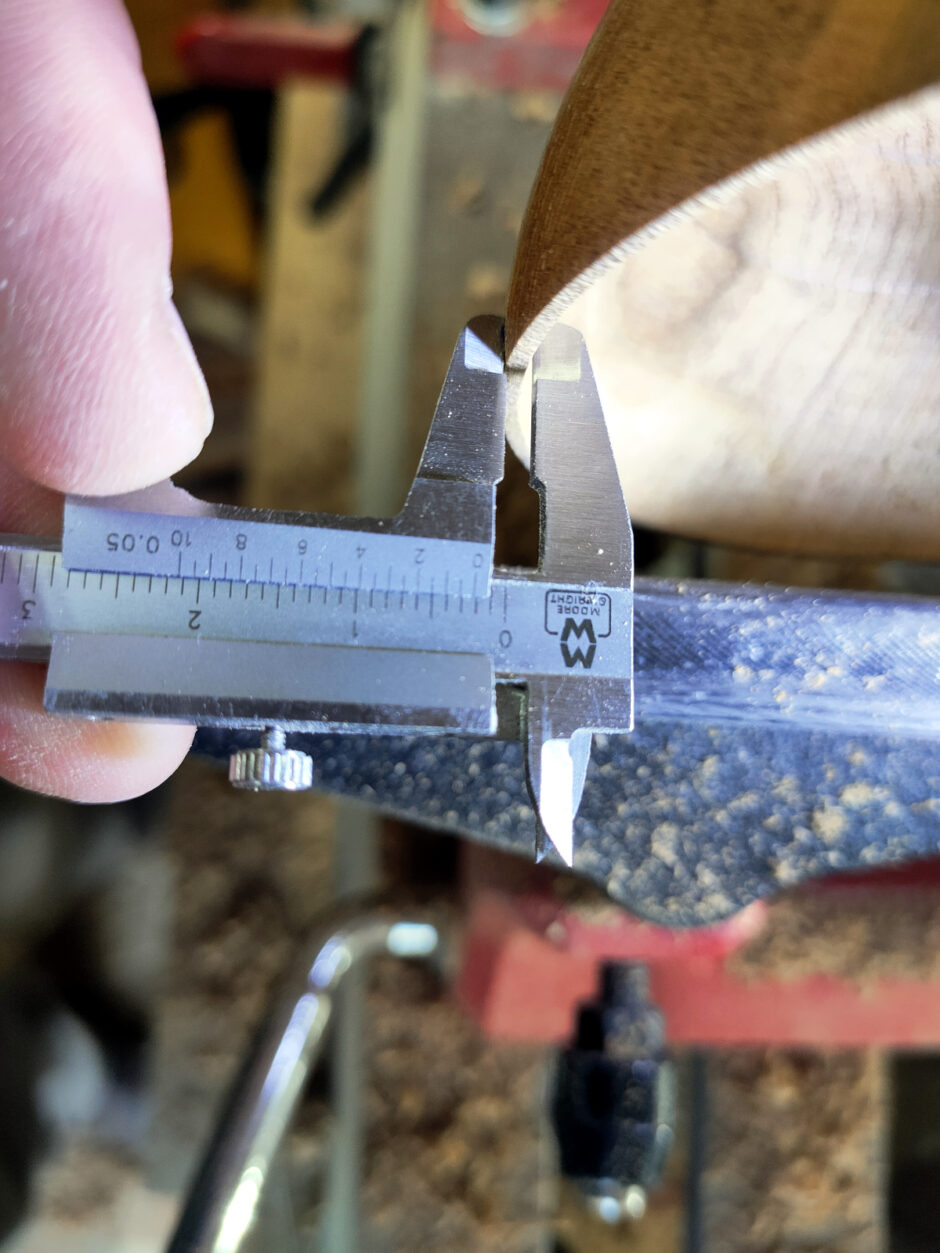
Just over 2mm before sanding at the rim. And the depth was okay as well.

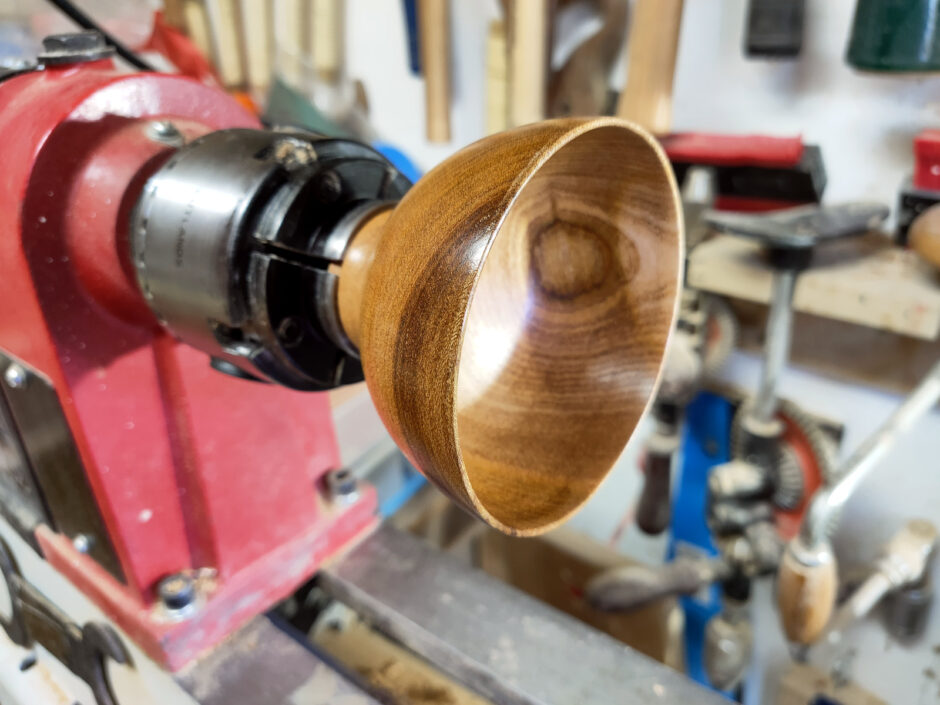
Sanded with poppyseed oil to 320 inside the bowl and hampshire wax to make it look nice:

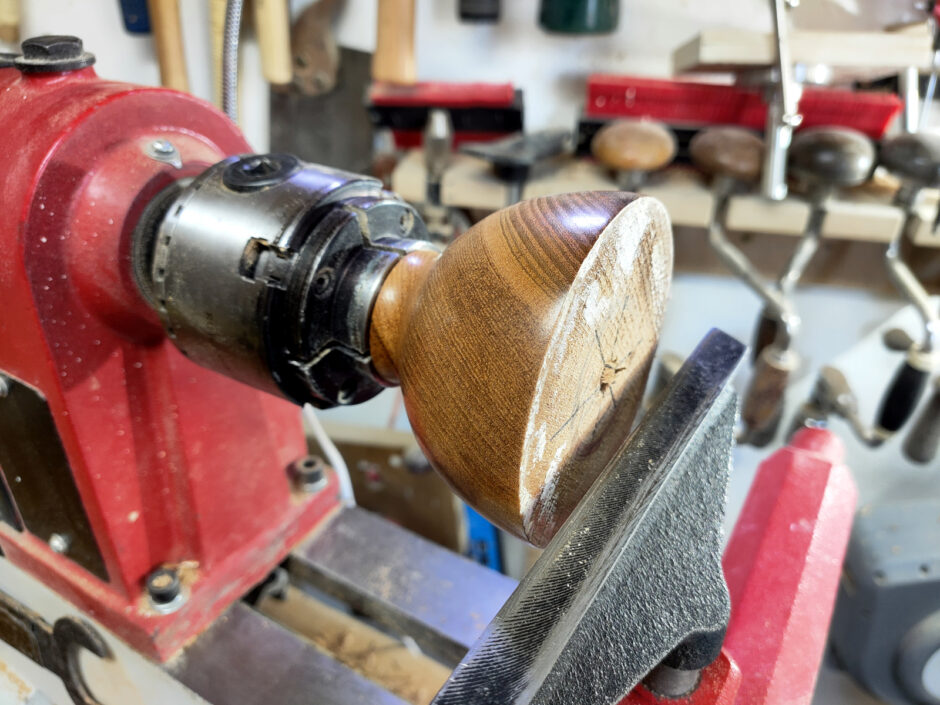
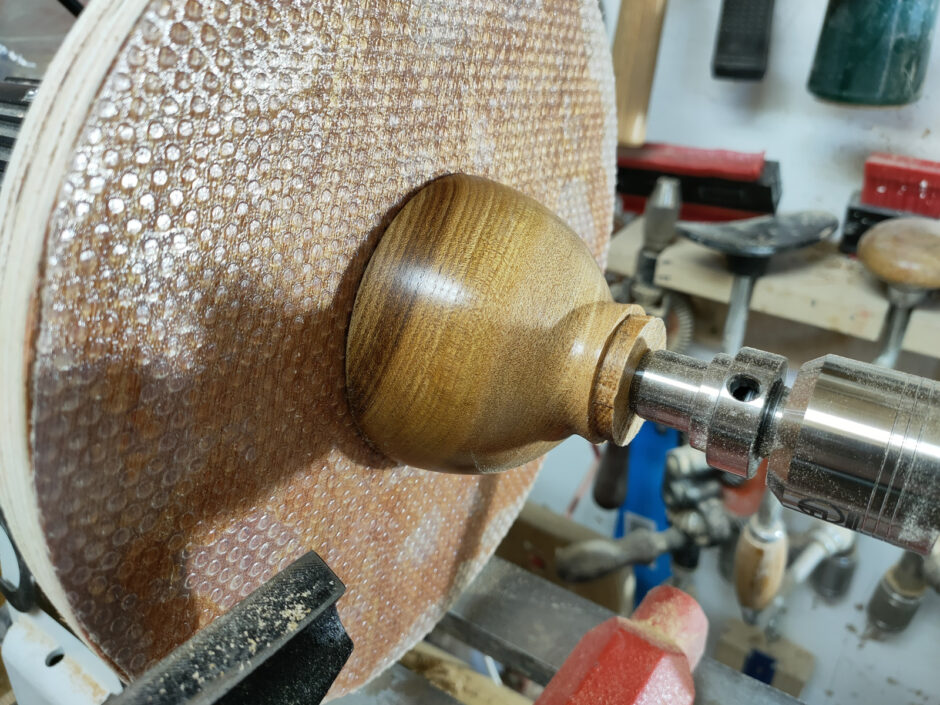
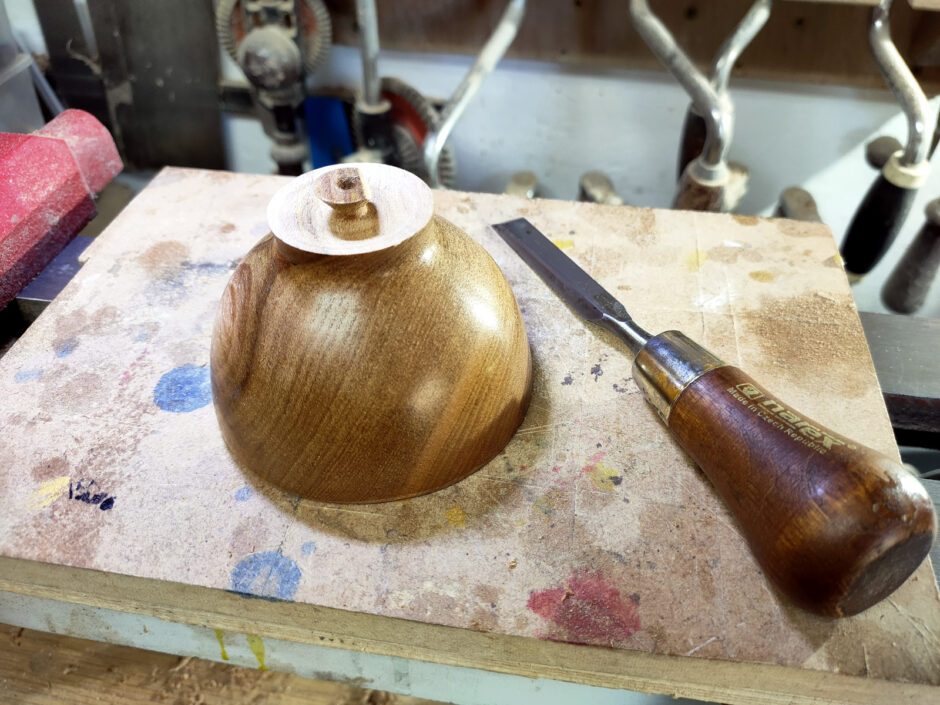
And then reverse it again and use a push-plate to remove the tenon and shape the foot.

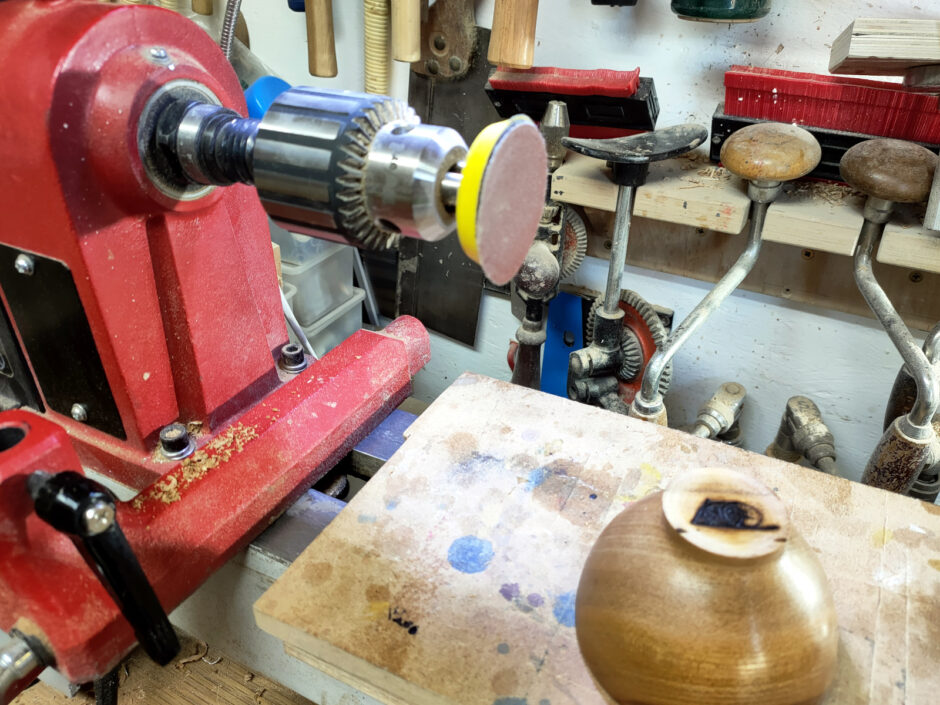
I can’t really get in any further than that even with my finest detail gouge so I carve off the little stub with a chisel.

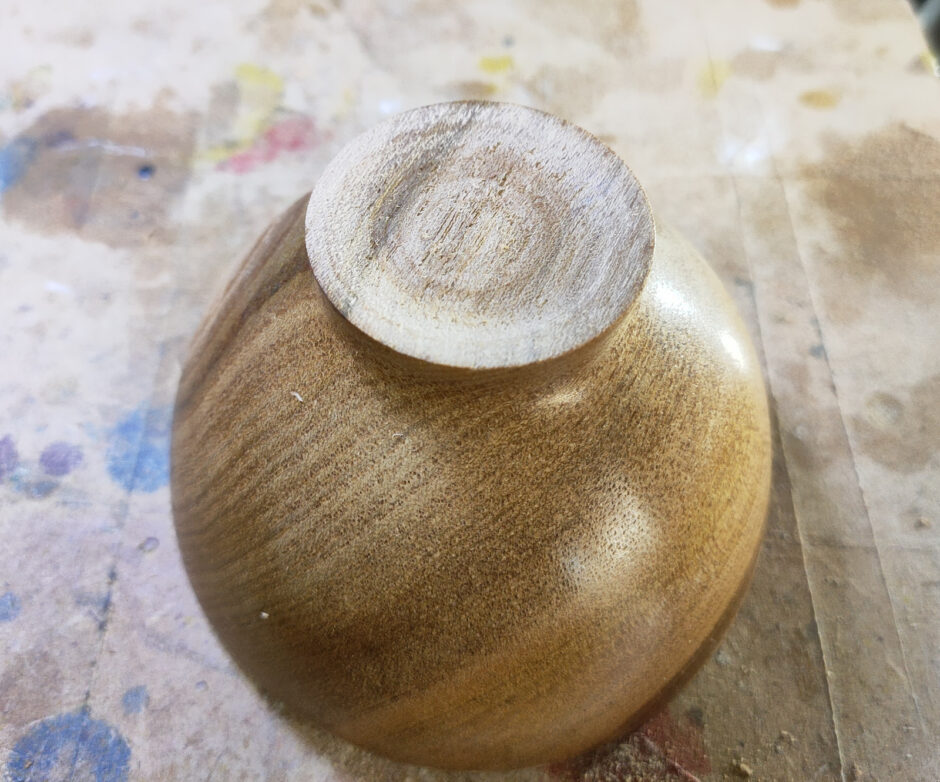
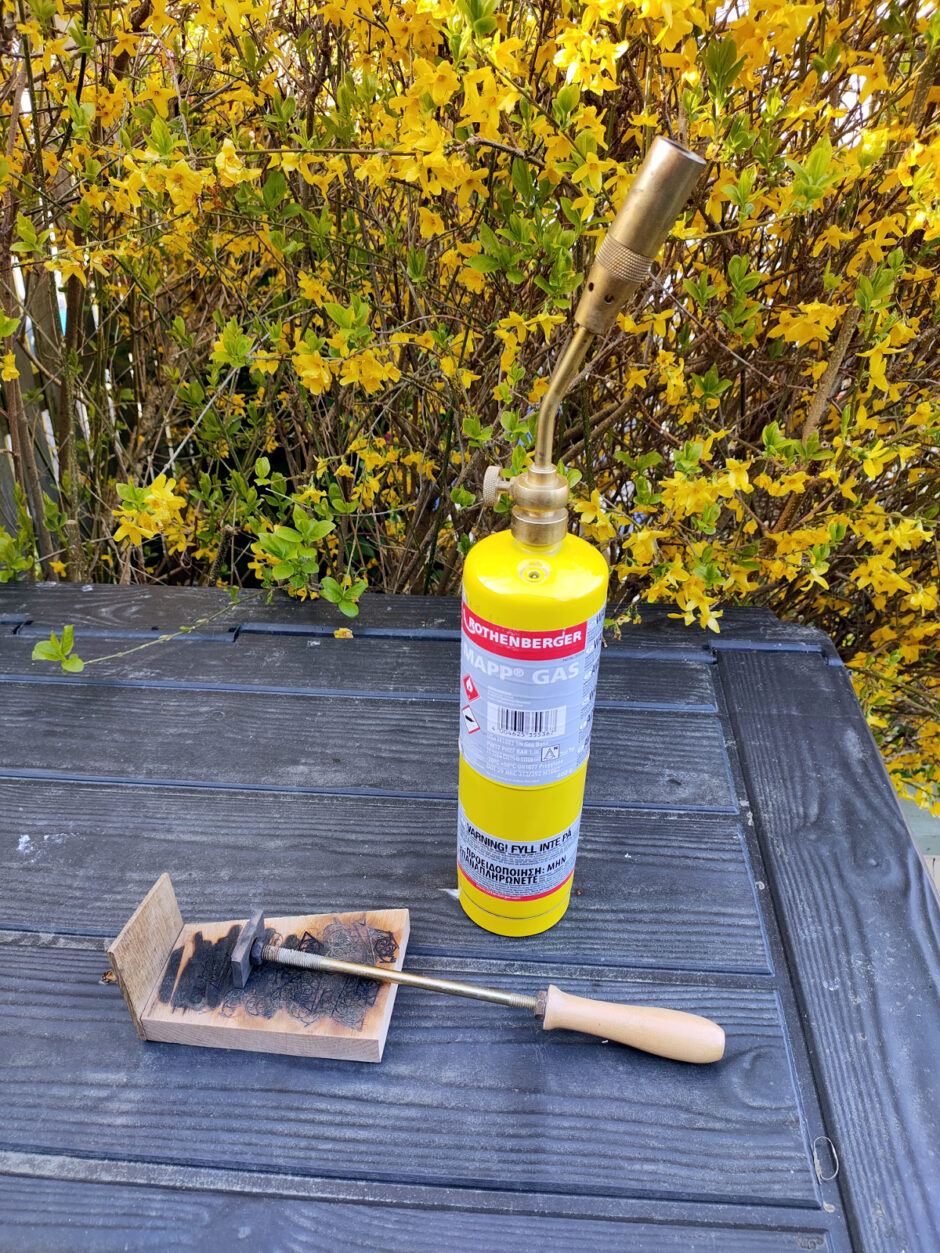
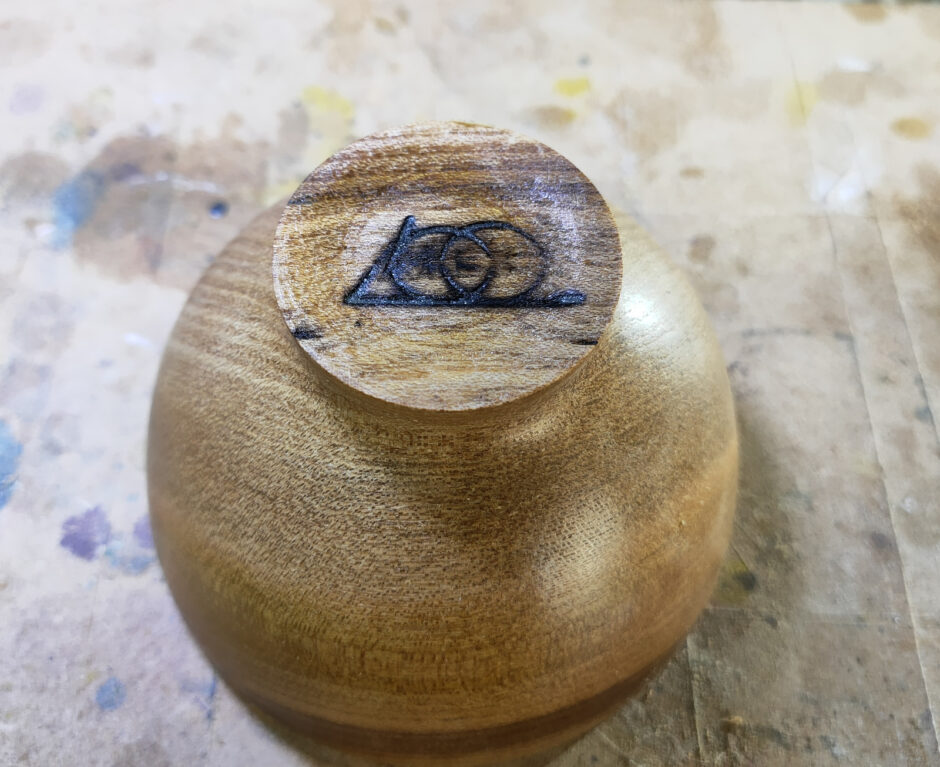
And a bit of sanding and branding…

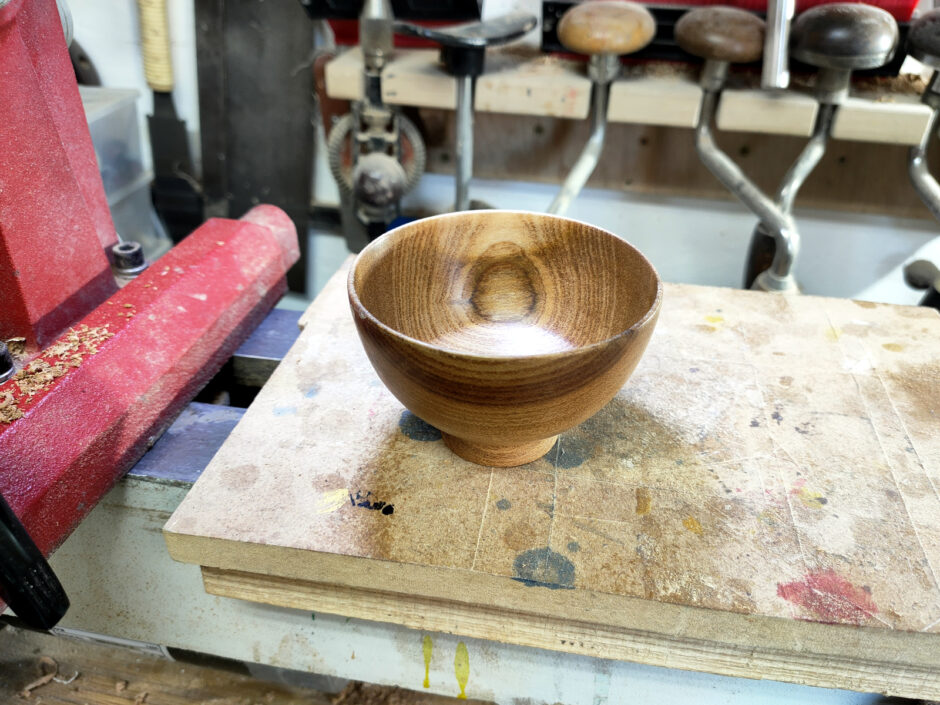
And that’s that. One skill test, done. I’ll have to keep practicing this, and a bit more regularly. But it’s nice to know I can do it at all…


09
Apr 20

First bowl!

So the woodturning course I was taking was cancelled because of Covid19 before we got to the bowl turning part of the course. But I had a large variety sack of bowl blanks arrive from homeofwood.co.uk at the start of lockdown, and I’ve been wanting to try bowl turning for a while, so I read about a dozen books on bowlturning (like The Practical Woodturner and others), bingewatched about thirty hours of youtube intruction from a dozen different turners, set the pucker factor to maximum and picked out the smallest minature blank I had…

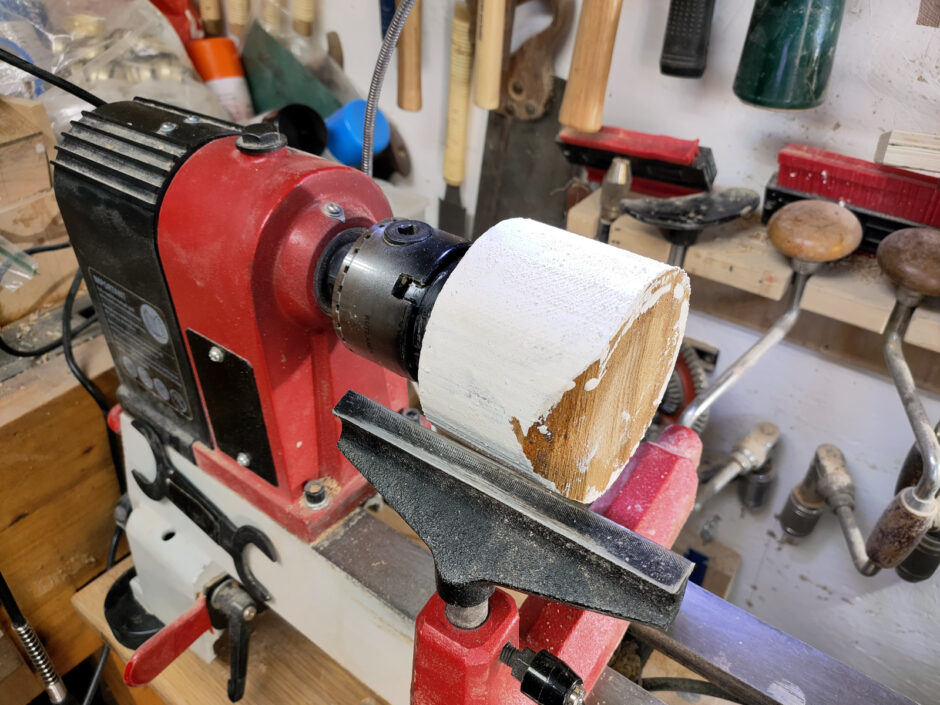
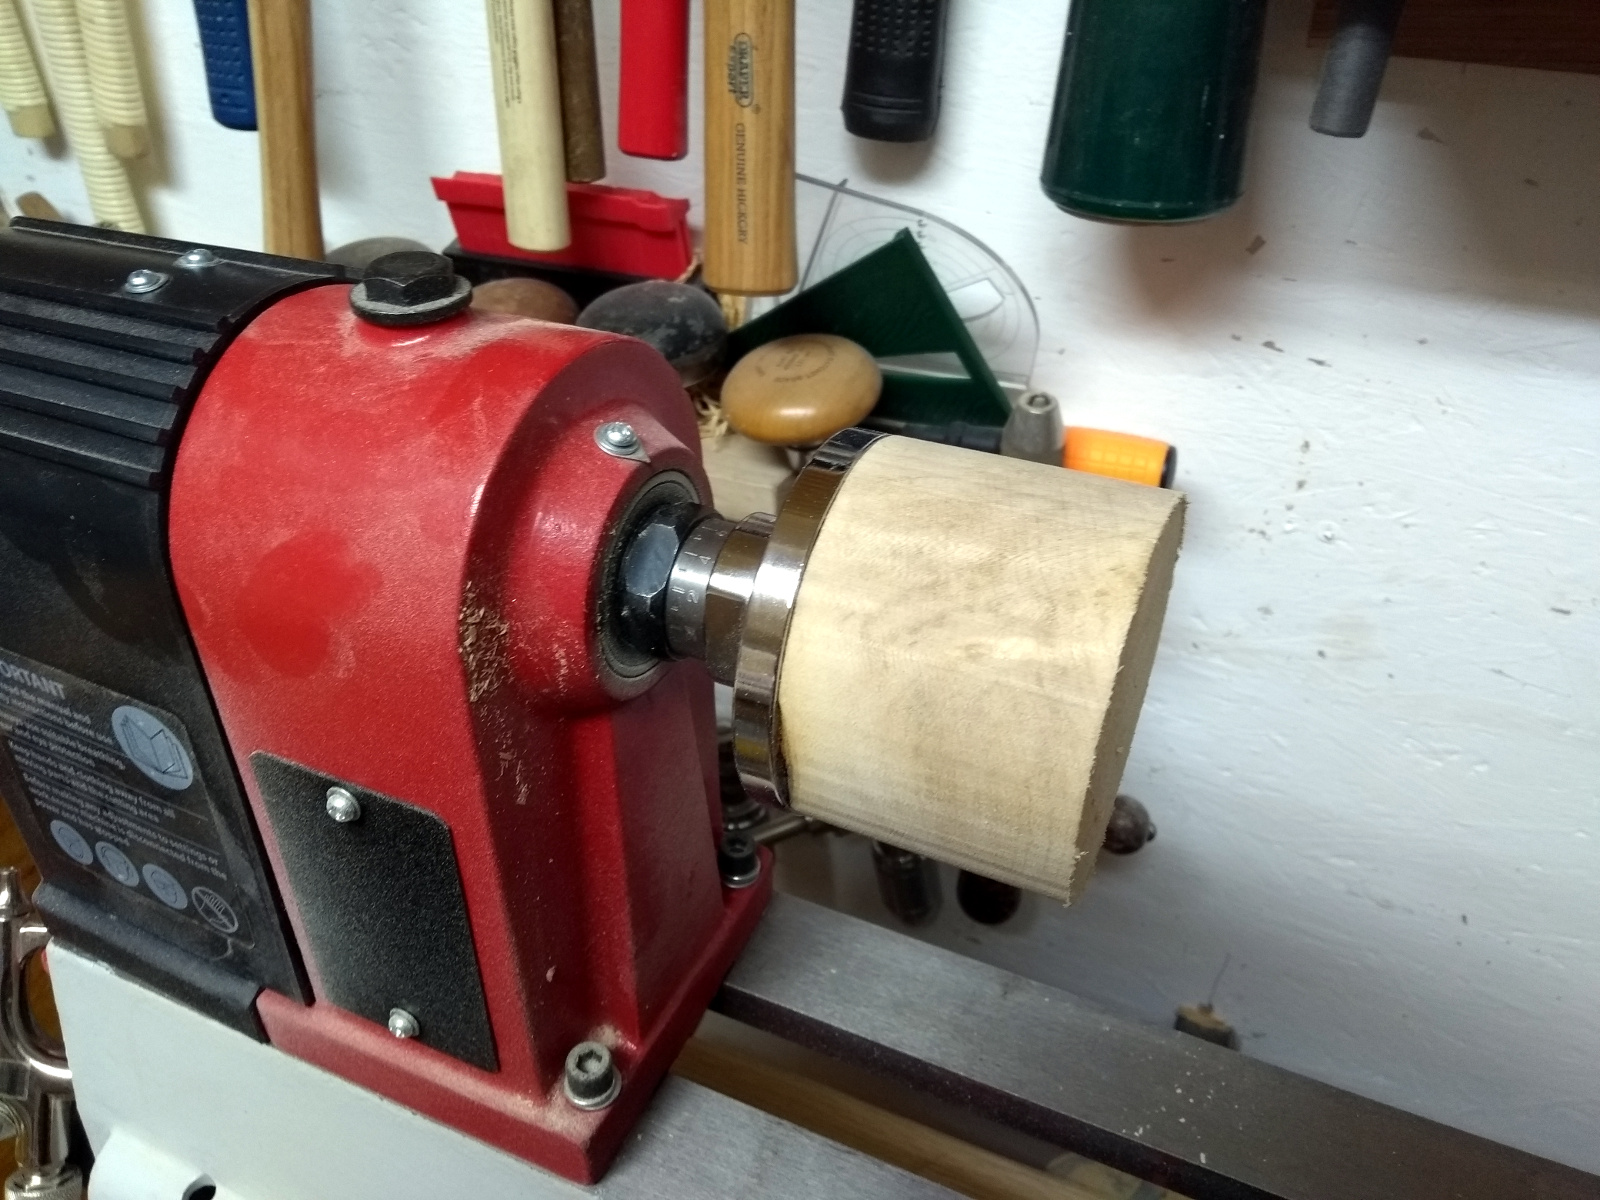
That’s a three-inch blank on a three-inch faceplate 😀 But we can still do more overkill…

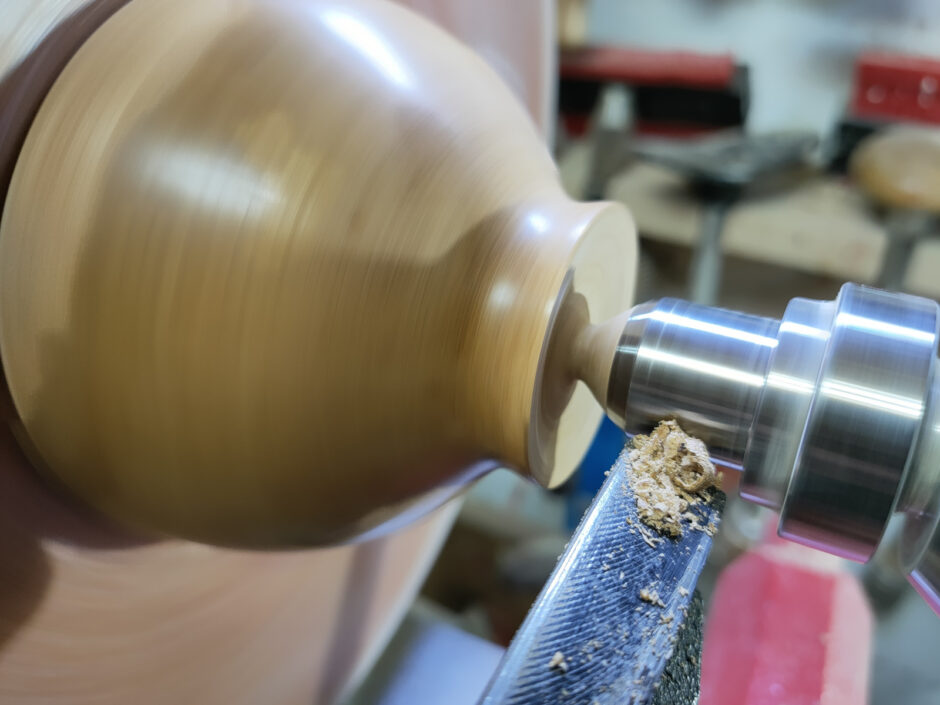
Tailstock support on a three inch blank 😀 Well, first bowl, might as well do belt and braces. So I turned the tenon (and it didn’t look too bad I thought), then I took off the faceplate, chucked the blank up, realised I’d skipped a step, put the faceplate back on and turned the outside of the bowl.

I didn’t have any plan for the shape by the way, that was just something that felt right as I was doing it. Then I took off the faceplate and chucked it up and immediately found that the chuck itself was vibrating because the tenon wasn’t exactly central. A quick pass or two with the spindle gouge cured that, and then I started hollowing out the bowl with the bowl gouge and quickly discovered a few things:

  • I need a lamp in the corner of the shed pointed at the headstock. I had to jury-rig a torch to be able to see inside the bowl to see what I was doing. Daylight might help, but this was after dark here.
  • I really need to remove the tailstock to do this, it’s way too scary having your hands near a live center when worrying about catches in a bowl.
  • Being able to rotate the lathe stand in the shed would be a major bonus on any larger bowls. Happily it’s not bolted to the floor; less happily, the compressor and pillar drill would have to be moved which is awkward. Maybe I could put a shelf down at the feet of the lathe stand when I can get more plywood after the lockdown ends.
  • Bowl turning is a bit scary.

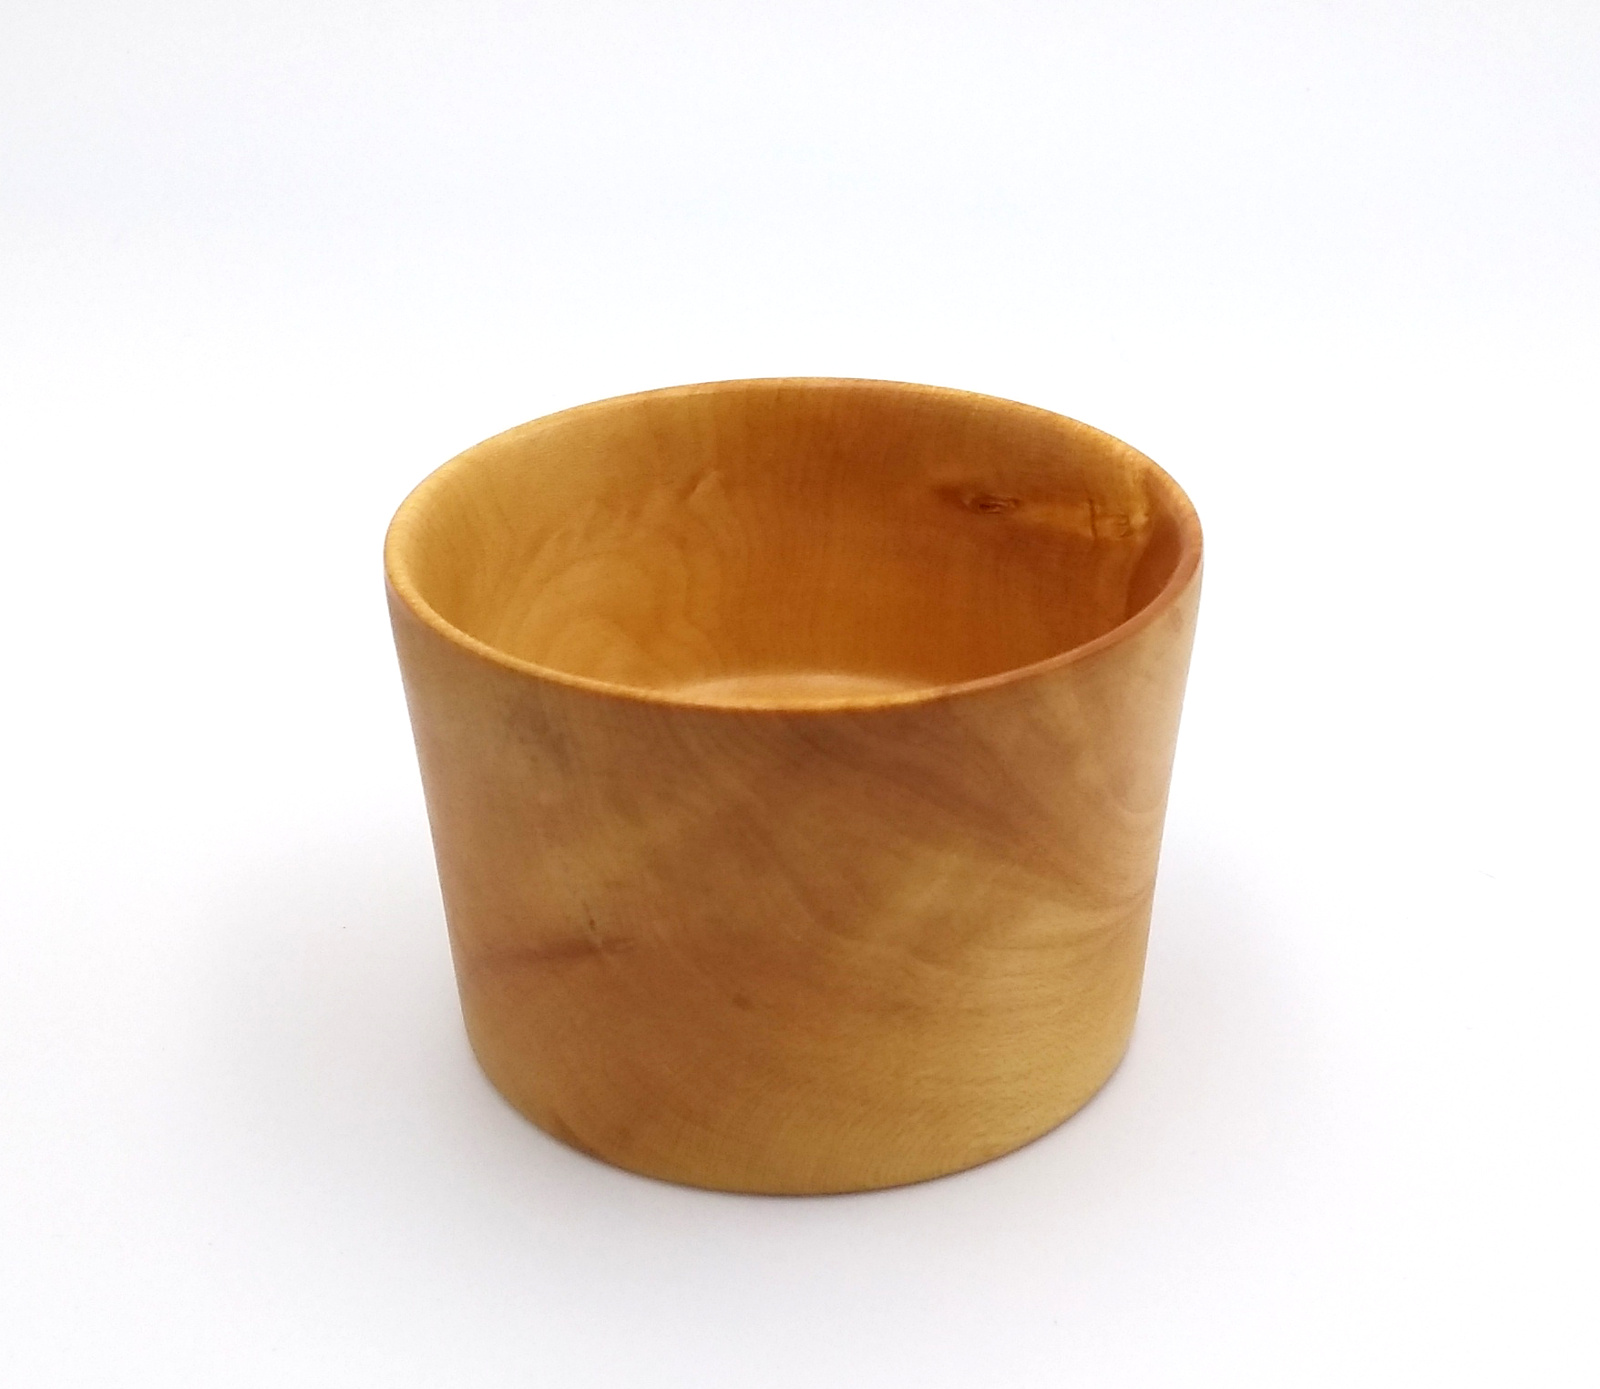
But after a while of taking small bites with the bowl gouge and then a final scraper pass, I was able to move on to sanding. Up from 120 to 400 grit, and then burnishing with a handfull of shavings – and doing that inside a bowl with just two fingers at high rpms is hilariously scary. I wanted to keep the colour light so I gave the bowl a coat of poppy seed oil (also food-safe, which is nice because I think this would make a good salt bowl).

And then a single coat of blonde shellac and I called it finished.

I’m rather pleased with that 🙂
I mean, the walls are too thick to be elegant and too uneven in thickness to be able to call the thickness a design choice, and I didn’t even get the bottom of the screw holes from the faceplate out of the rim, but for a first bowl, I’m happy with that 🙂

Now for that 11 inch by 4 inch blank in the timber storage box…