Slow week for the shed, not much time spent there. The lathe stand is the thing at the moment, have to get that built so I can get the lathe out of the hallway, and start to tidy the shed back up again. So the plan is to make something that is a bit minimalist instead of overbuilding the carp out of it. Most of the designs I came across were basically an inverted T with the lathe mounted on top and all the weight available piled on the bottom in the form of sandbags, bricks, concrete and so on, which is okay, but if I do that I won’t have room to get into the shed afterwards and it’d still be tippy even if I bolted the thing to the floor because I’m a bit taller than the average 1930s person and so the centers of the lathe should be 47″ above the floor.
So instead I’m going to build what will effectively be a tall sawhorse following Paul Seller’s plans:
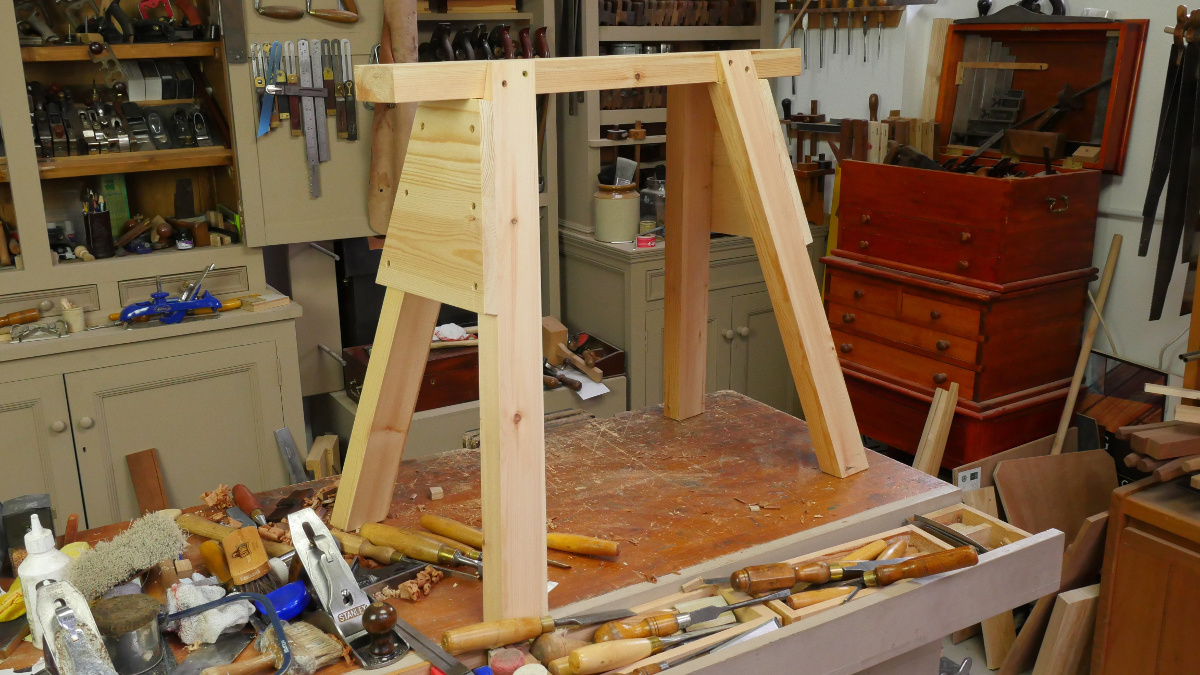
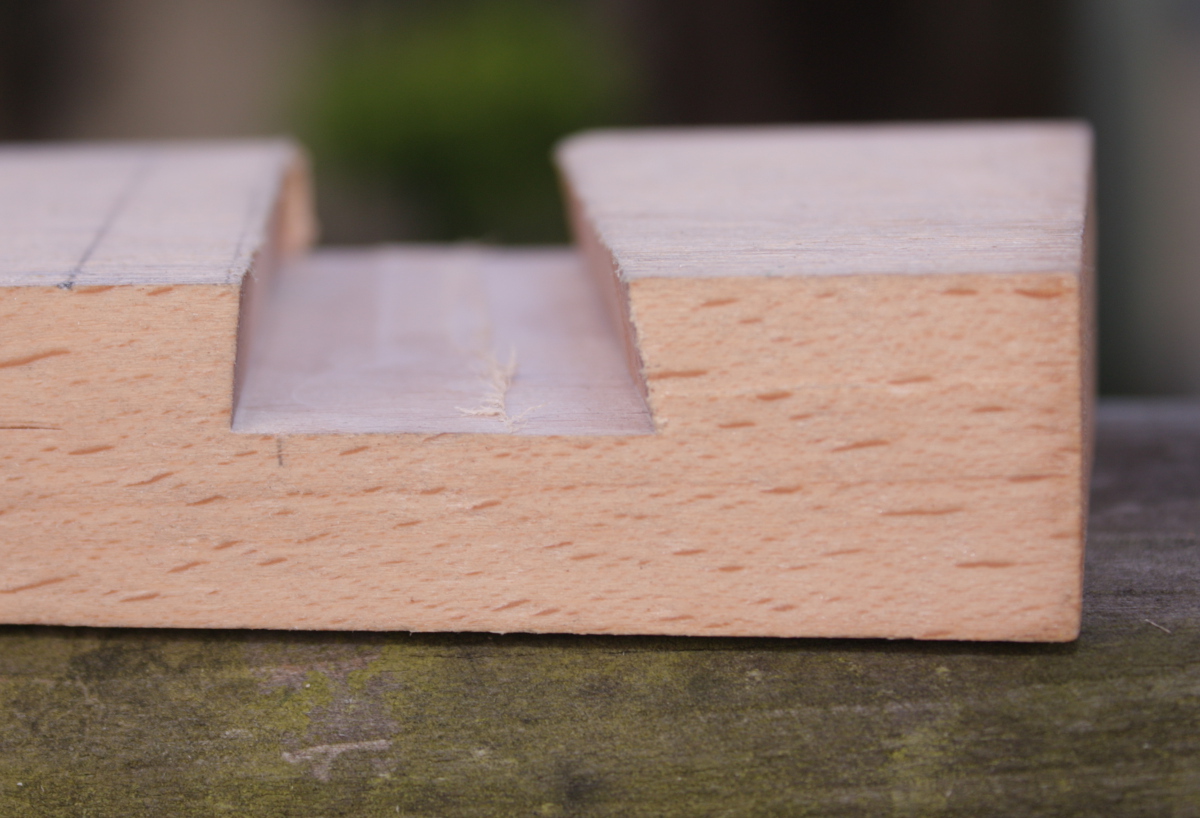
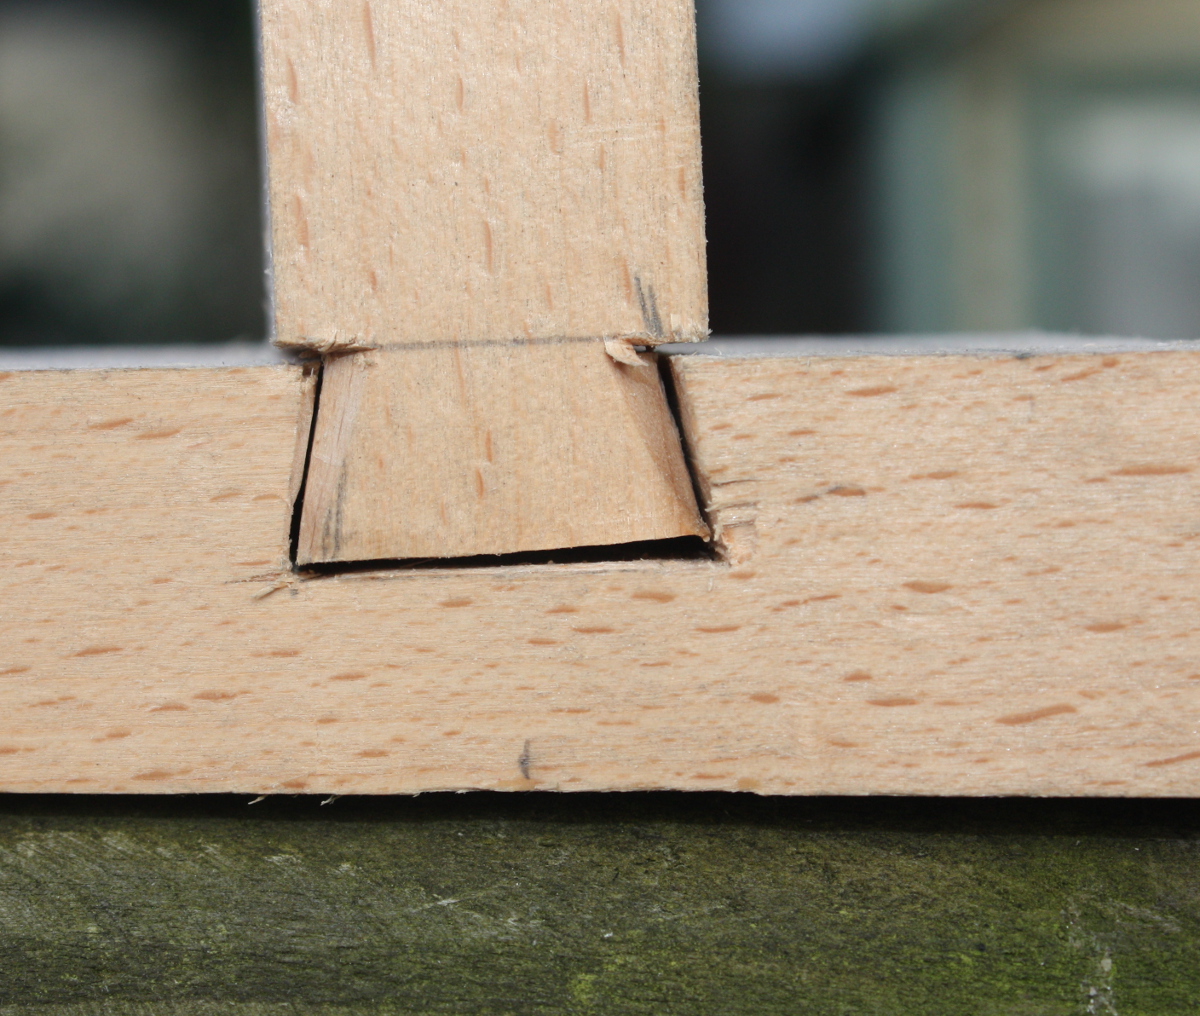
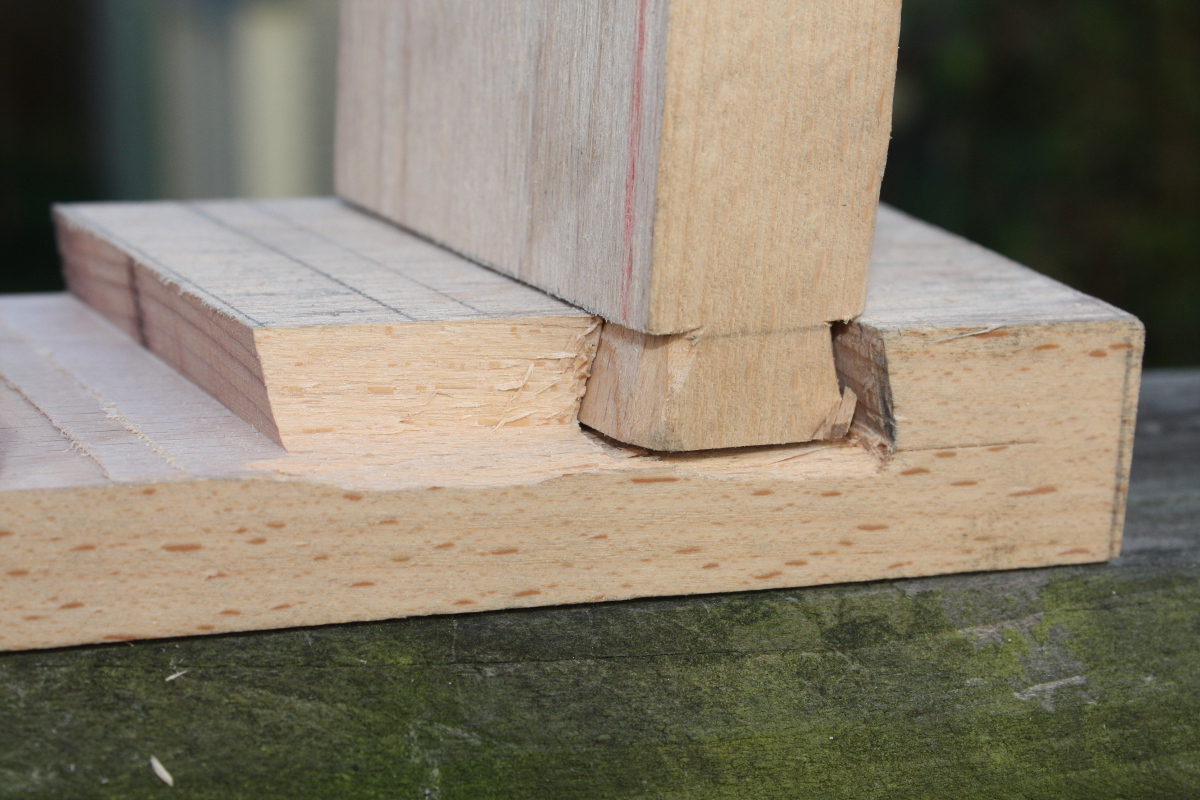
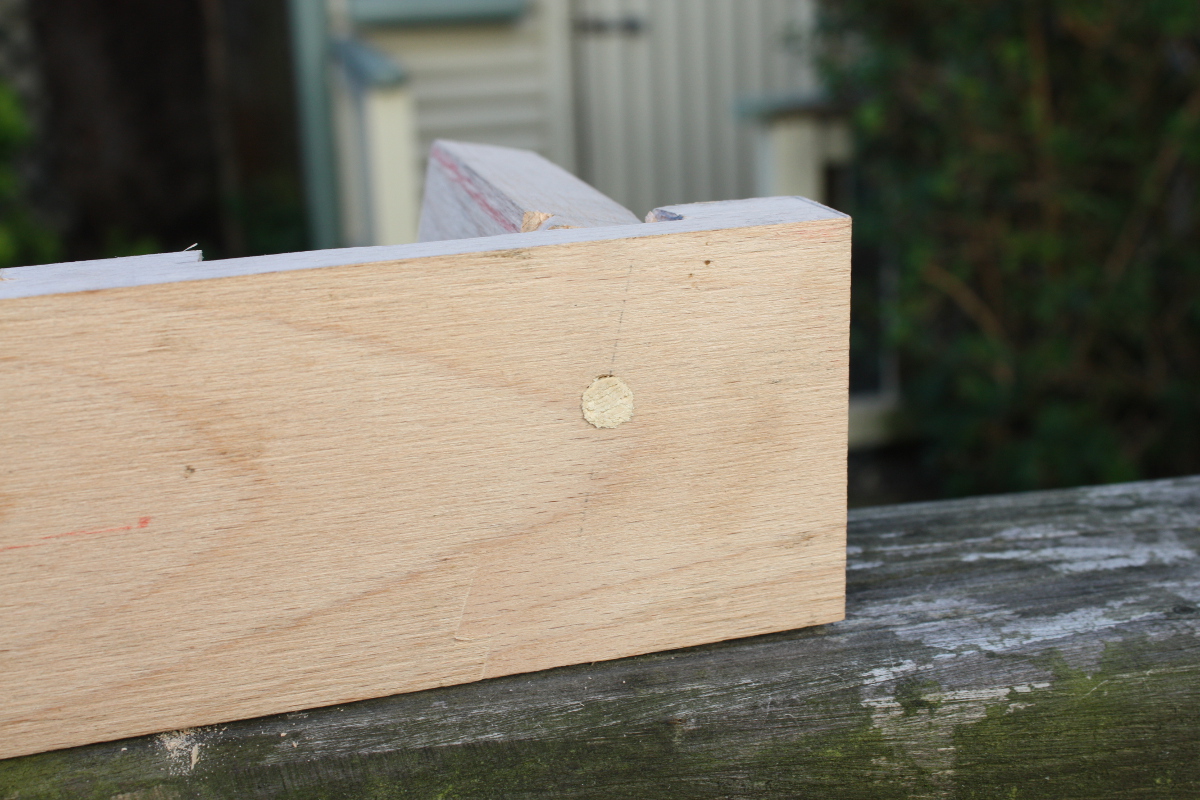
Since the tops of the legs get a birdsmouth cut in them, the weight of the lathe goes down via compression into the legs and since they’re both spayed and raked, they resist vibration via geometry. I’ll also have the legs standing on some 19mm thick boards that will tie the front legs to the back legs and the two back legs together (the two front legs won’t be so I can stand closer to the lathe), and there will be an inch-thick board on top of the whole affair that the lathe bolts to and I’ll try to let the legs come up above the crossbar to mortice-and-tenon into that board to lock it all together.
Since I’m trying to get space in the shed, I’m using whatever material I have to hand, which means laminating inch-thick beech for the legs…
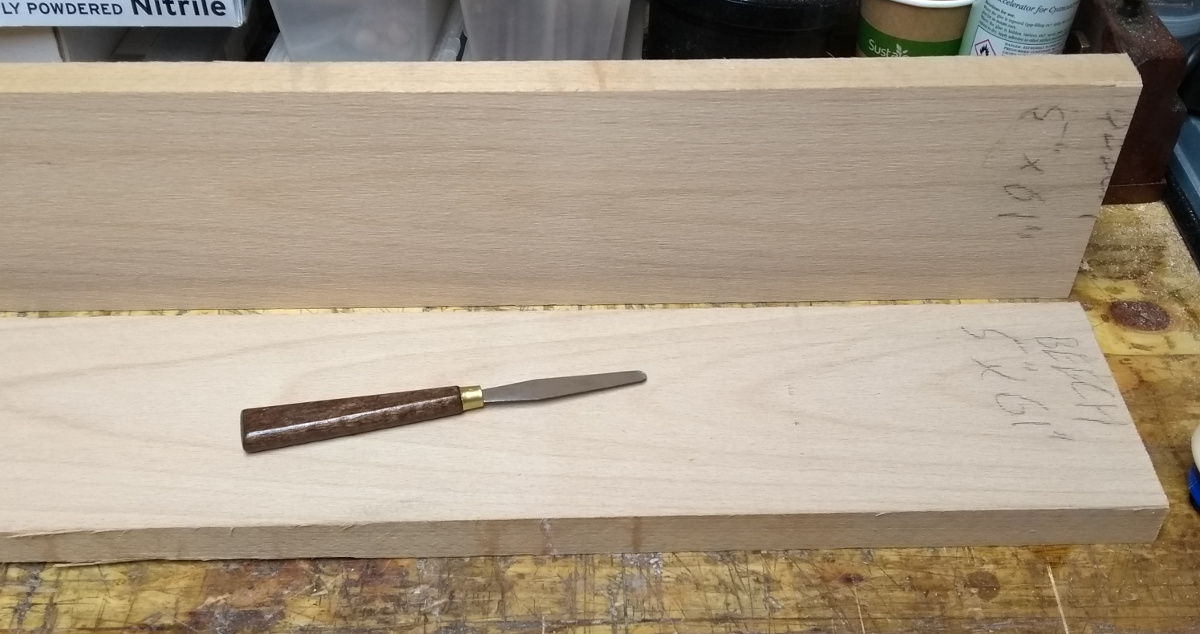
New toy idea here, that’s a #4 artist’s pallette knife, the blade is a bit flexible. Trying it as a glue spreader. It’s quite good, though this entire face was a big large for it really. Also, drill small hole in the handle, fill with superglue and a neodymium magnet and you can stick it on any old surface…
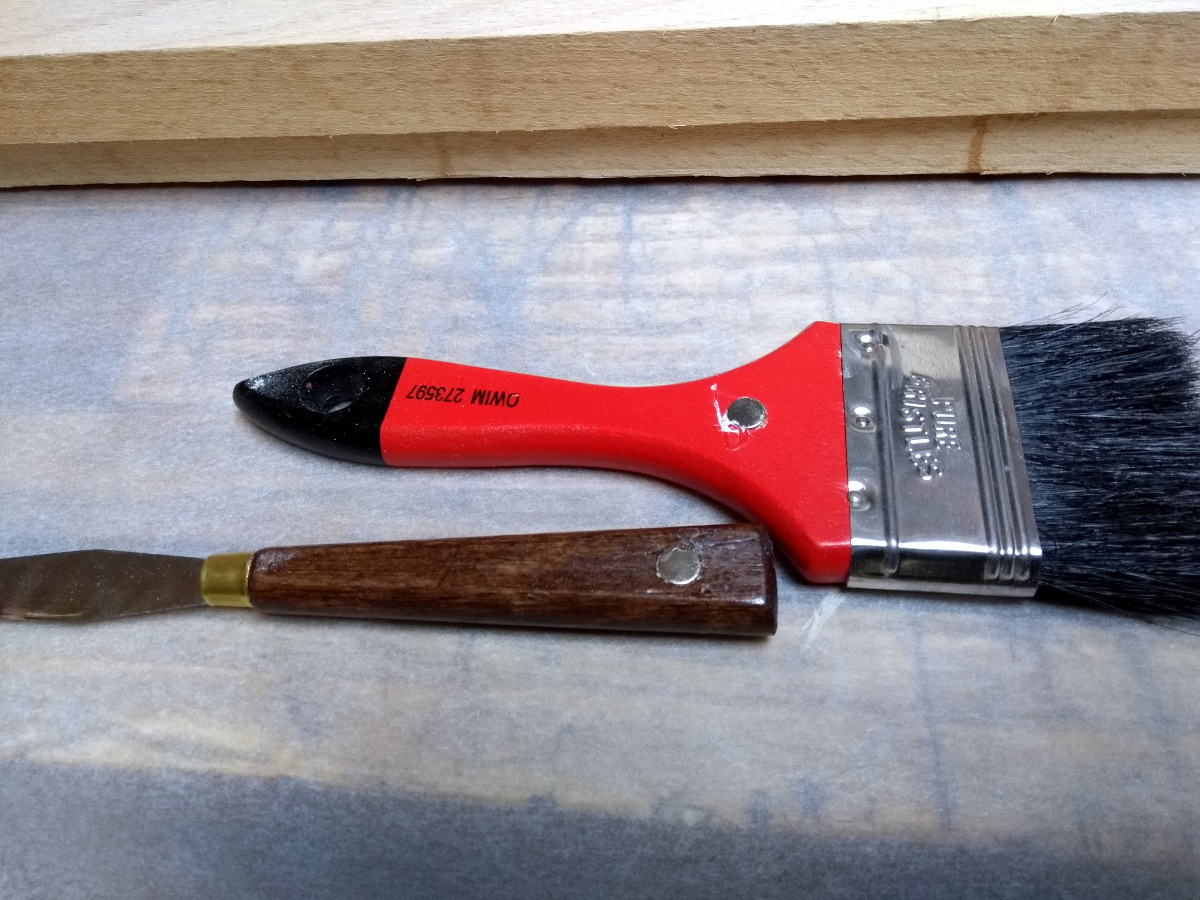
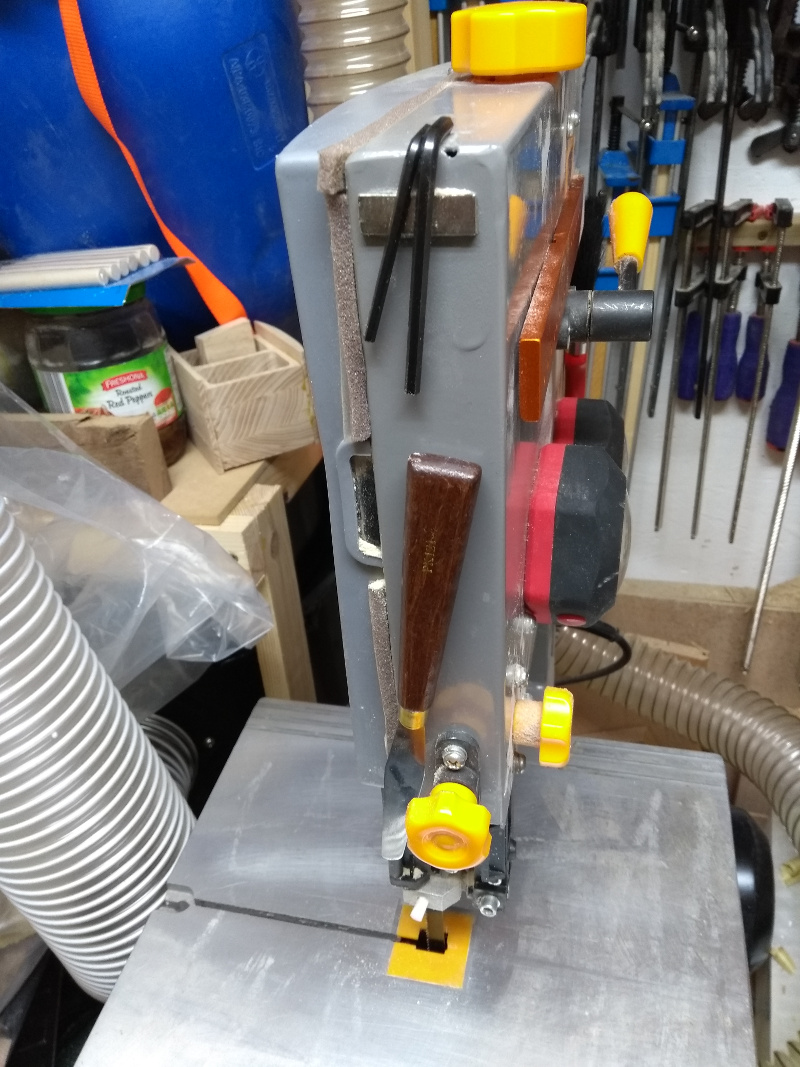
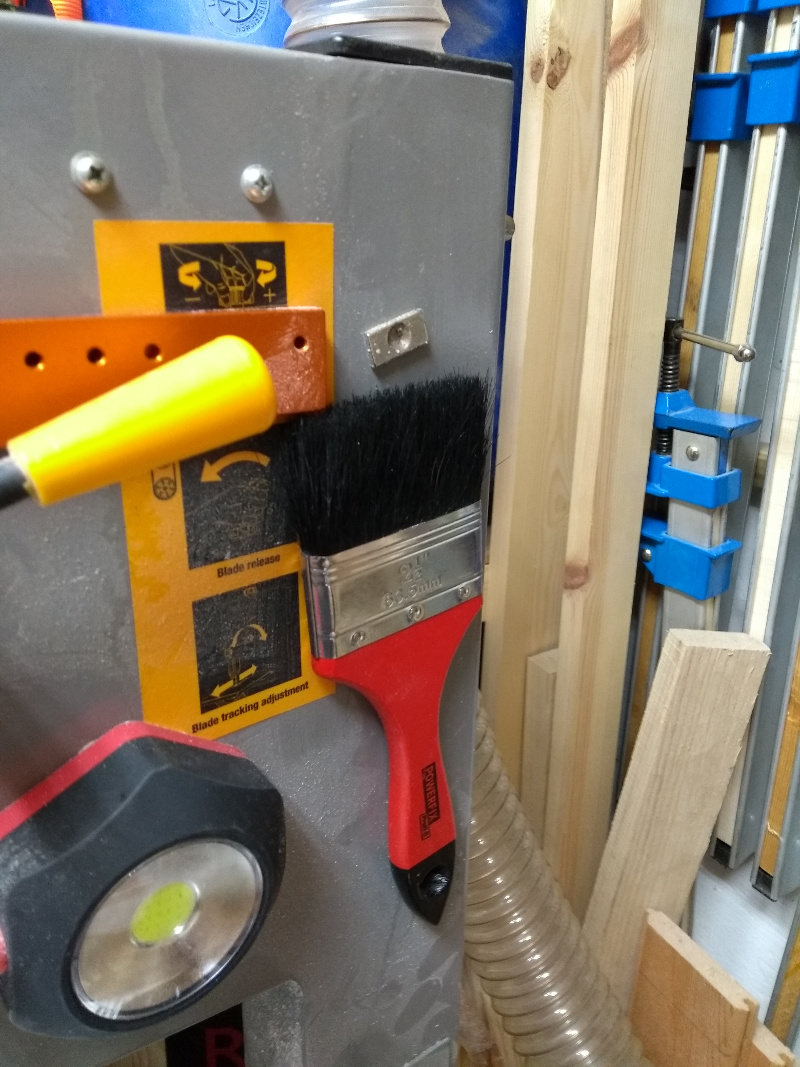
Works for paintbrushes too. Handy for places where you can’t screw a magnet bar to the wall.
Anyway, on with the glue-up and out with all of the clamps.
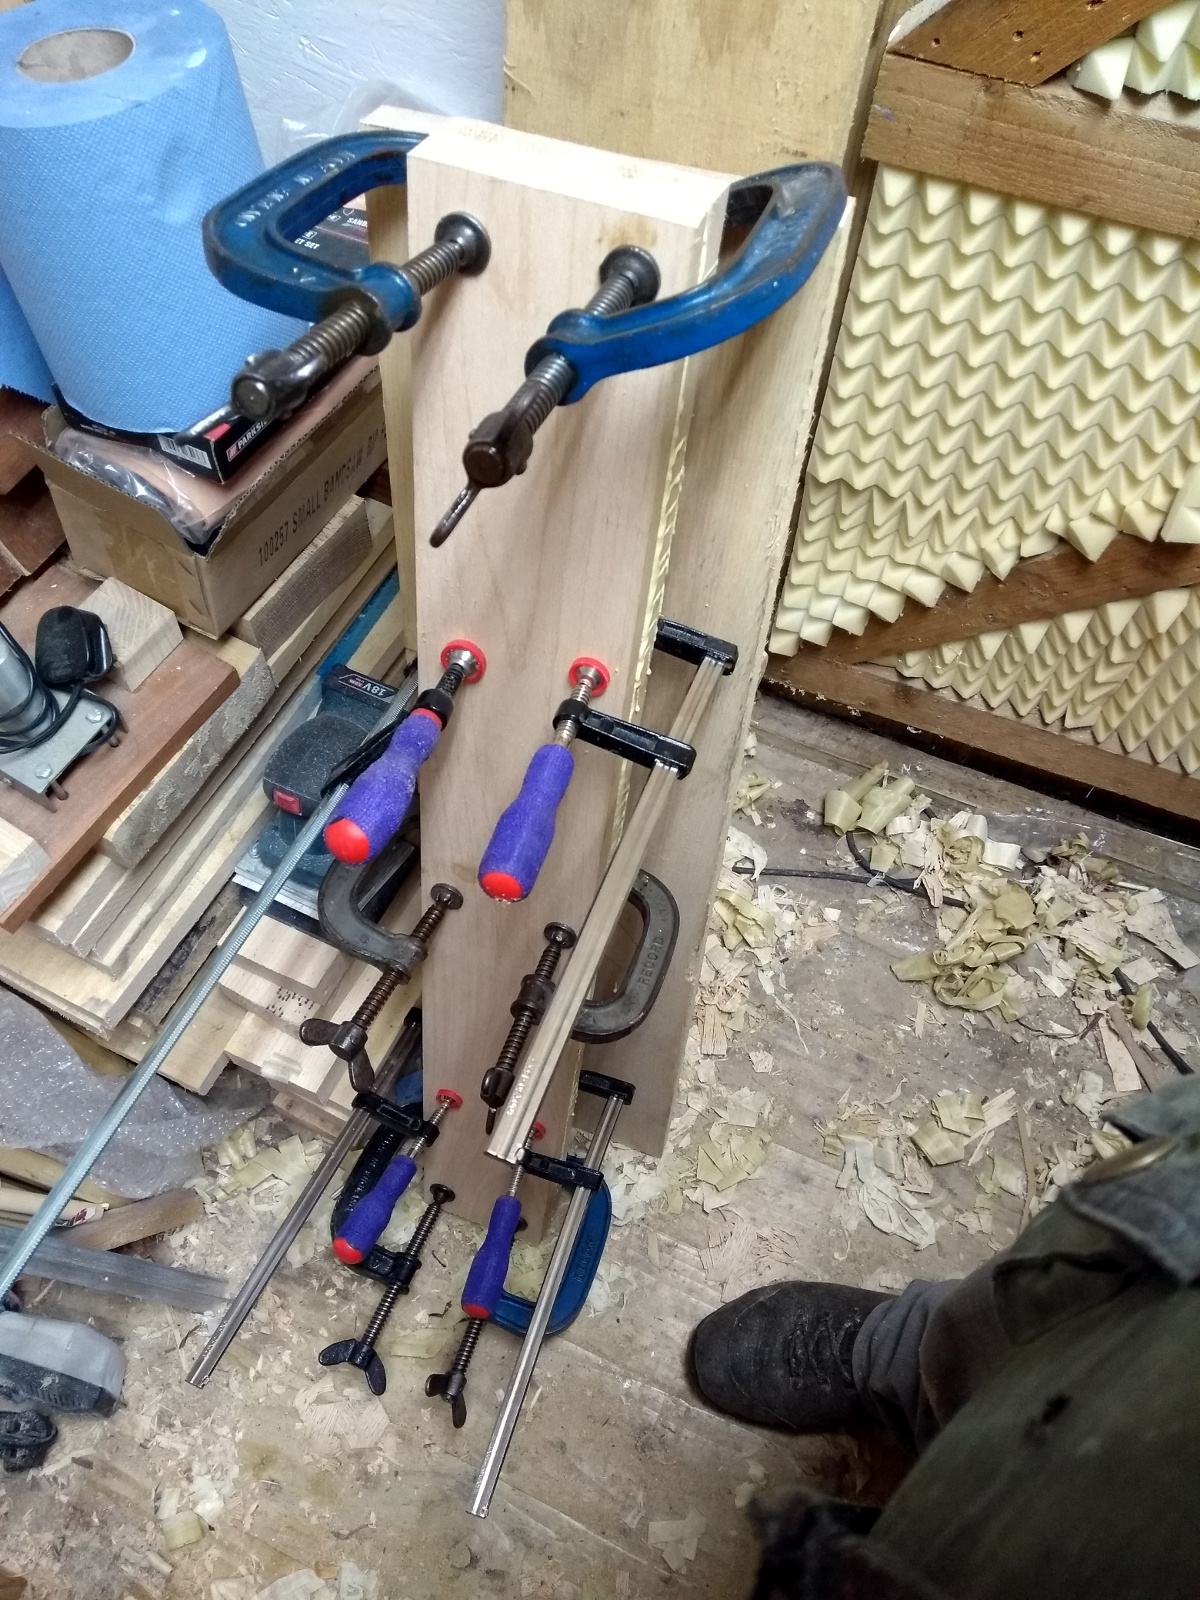
Getting good squeezeout here.
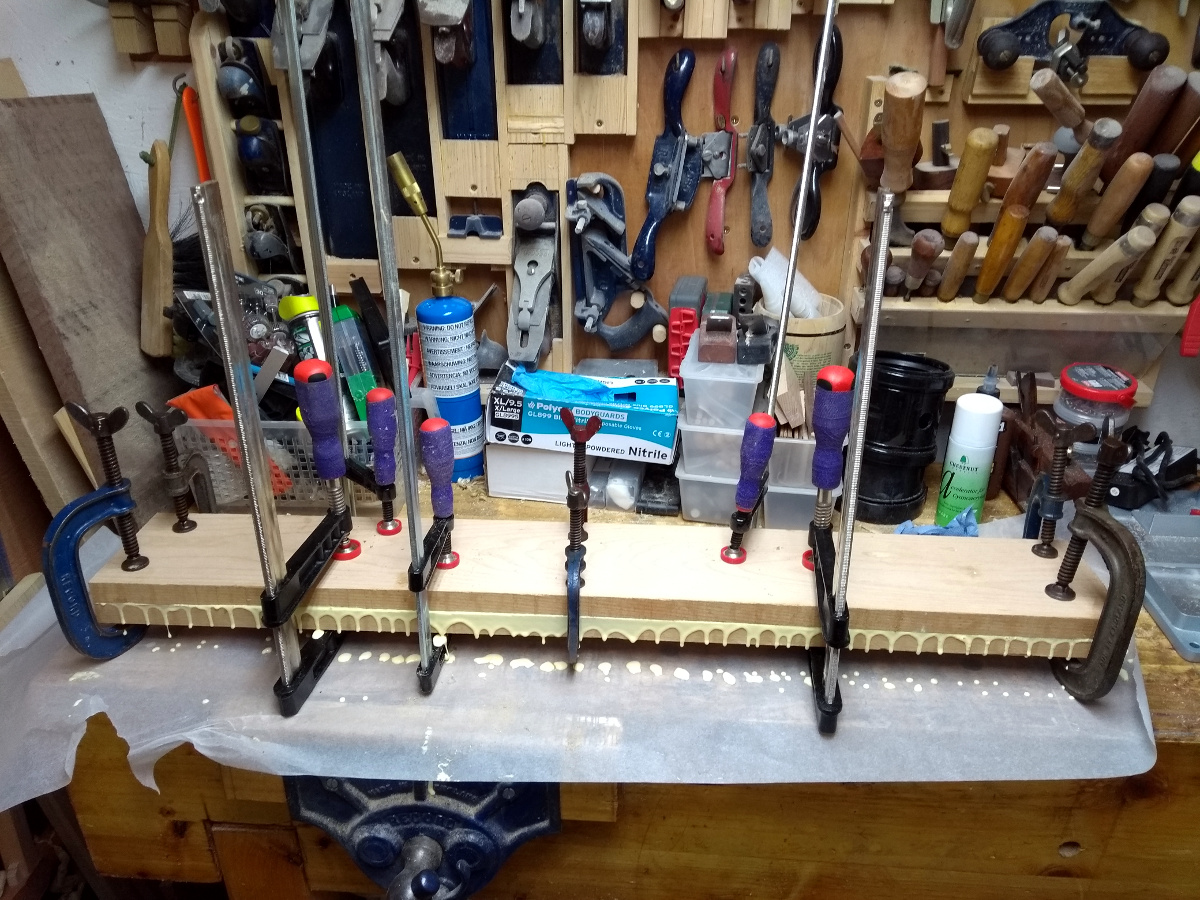
The purple hockeystick grip tape on the handles of those F-clamps was a good idea it turns out, it helps quite a bit. I’d done the glue-up for the crossbar earlier in the week from some 38″x6″ poplar boards that were about 5/4″ thick.
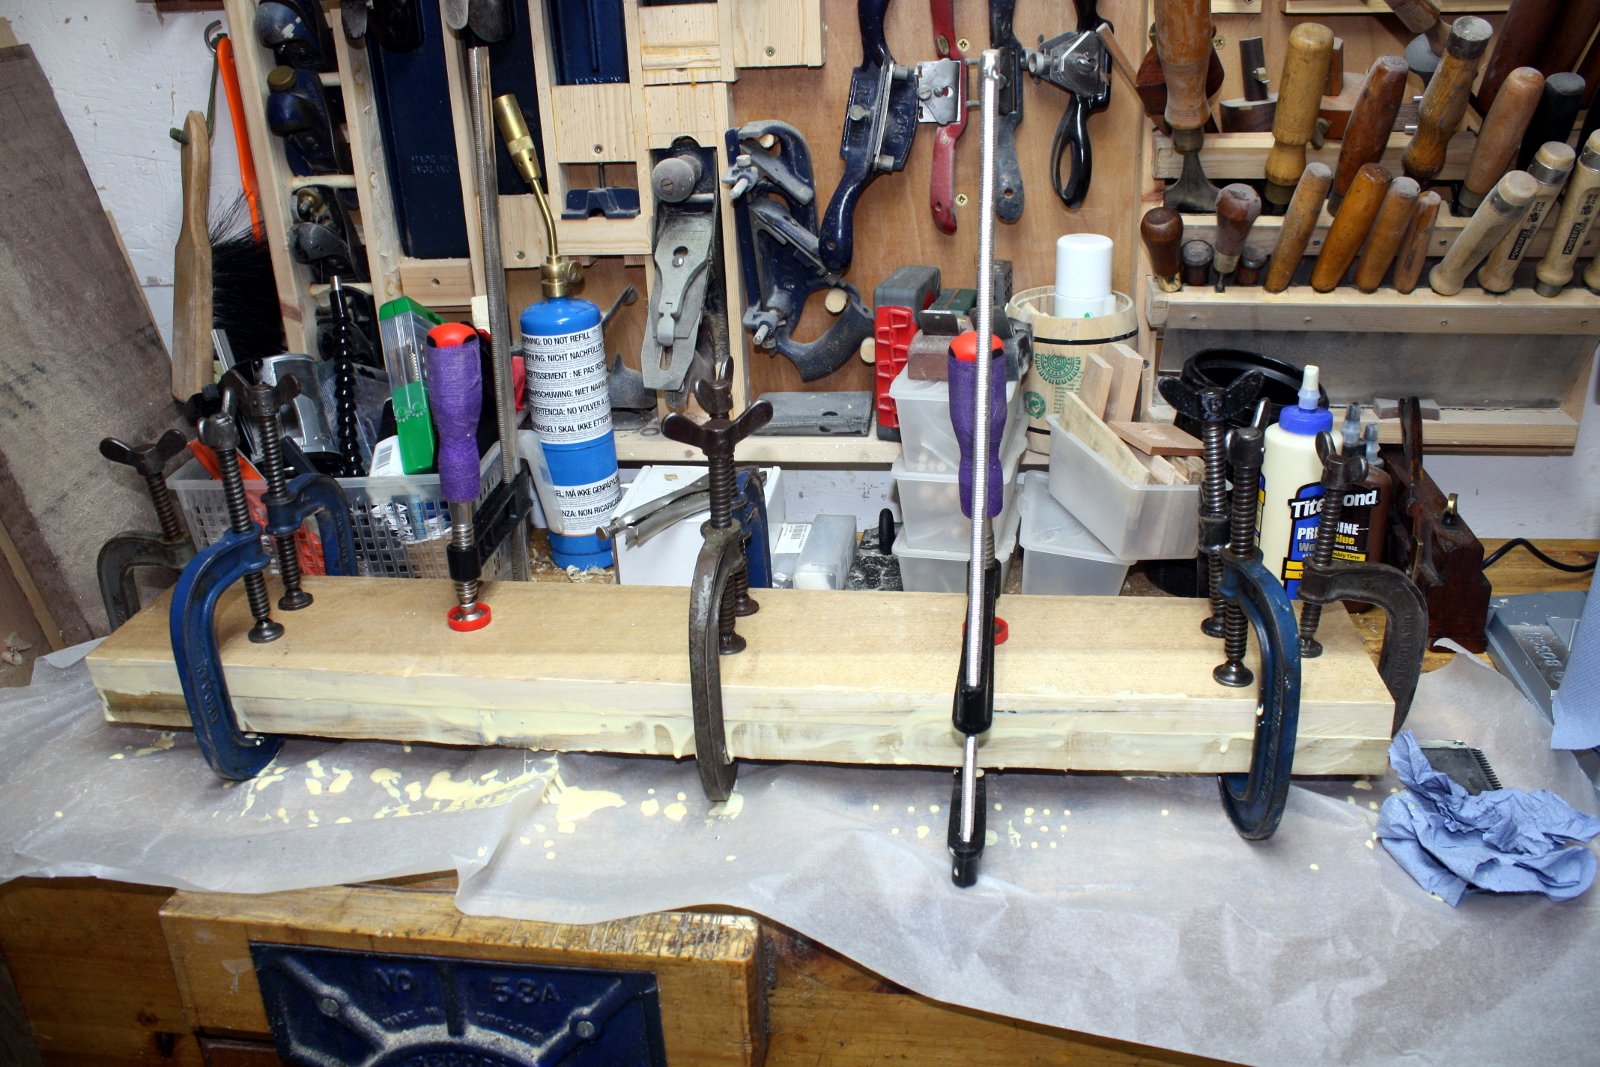
Once they’d all cured, the new record scrub plane (sid would have been overkill) got the sides into some sort of level affair and the #05 flattened one face on all the laminated parts. Did the same for the beech offcuts for the webs (I used 5″x61″ boards for the legs, but cut down to 40″ so I had some offcuts to hand) and the oak board for the top (I wanted something very rigid for that and that board was the closest thing available – it’s probably overkill but the idea was to free up space as well).
That laminated poplar crossbar is the one part I’m not so happy about, poplar being a little soft, but it was the only thing I had that was the right size unless I cut down a 16″ wide sapele board and I just couldn’t bring myself to do that. That sapele is just screaming out to be made into a desk or a table or something nice.
With one face flattened by hand on all the parts, I’m letting the donkey do the other side because I’m being lazy (I’ll do the edges by hand later).
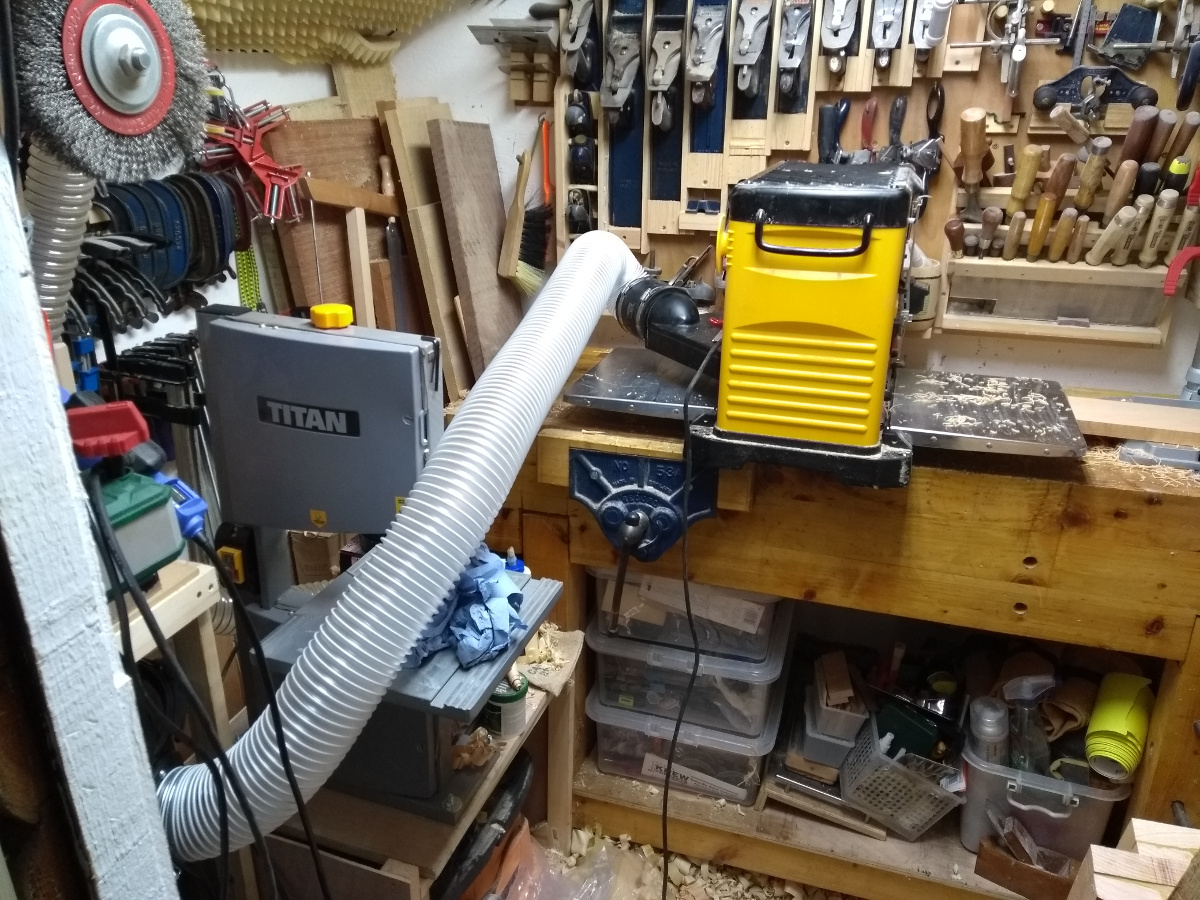
Not happy about that hose run, I need to buy some more 100mm hose I think and maybe 3D print off some quick-couplers for them, but I tested this with a single board this evening (all I had time for) and it worked. No massive amounts of dust and shavings everywhere, so that was a massive improvement.
Not sure how I’ll do the longer leg, top and crossbar boards though, I might need to do that outside, which would be rather antisocial after I get home during the week (when it’s usually after seven) so it may have to wait for the weekend. Or maybe I can get 40″ infeed and outfeed if I line it all up carefully. I mean, 40″ infeed, 40″ outfeed, 8′ wide shed, that’s a whole 16″ to play with there, right? Yeesh.
Oh, and also finally drilled that second holdfast hole in the leg of the vice now that the tumbledrier is out of the way…
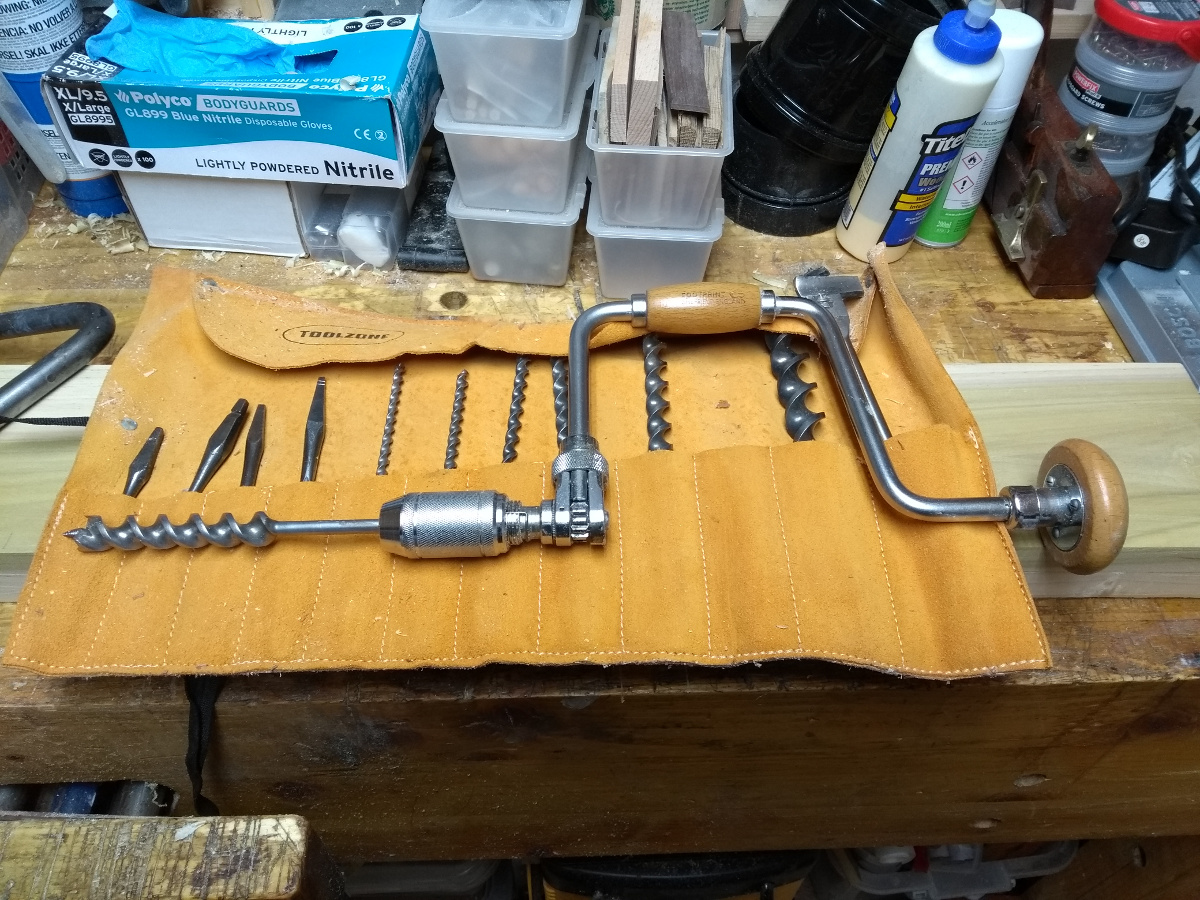
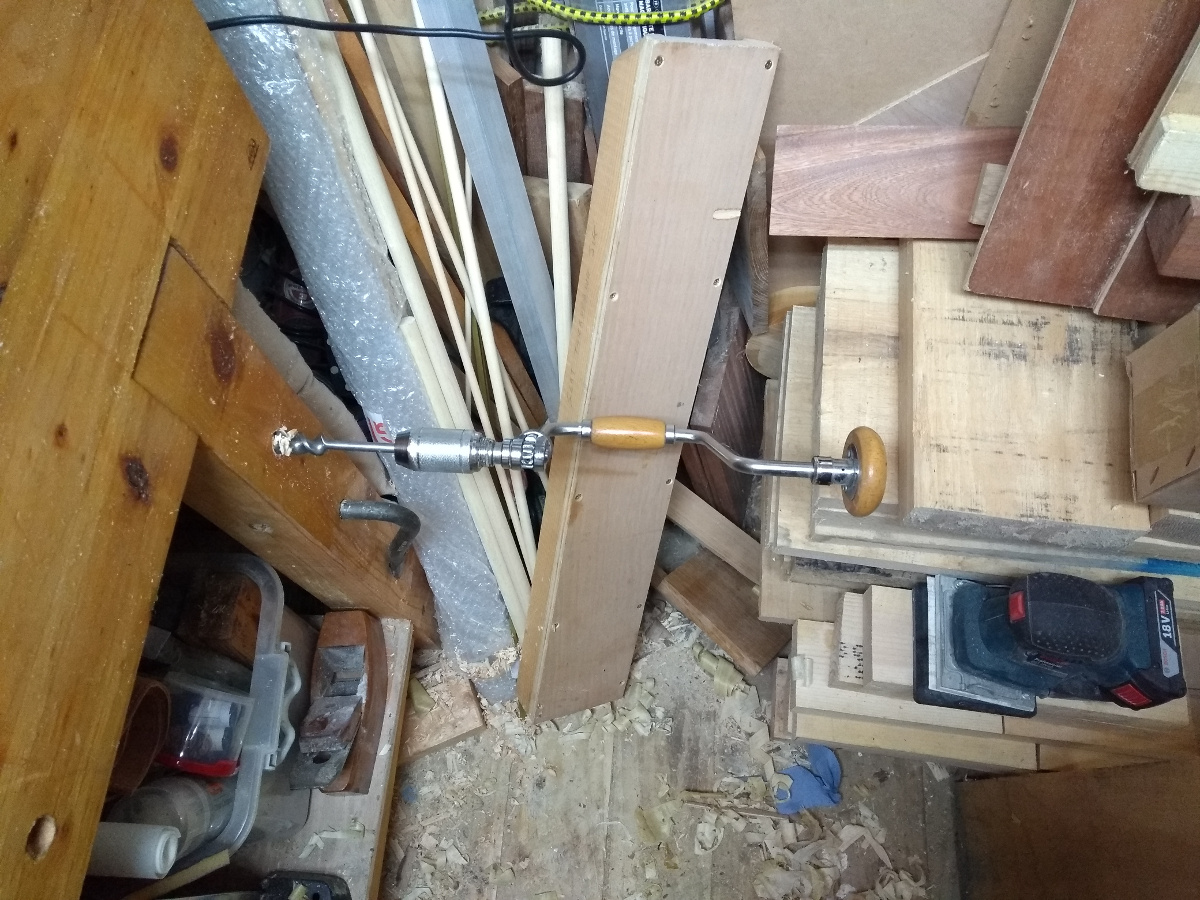
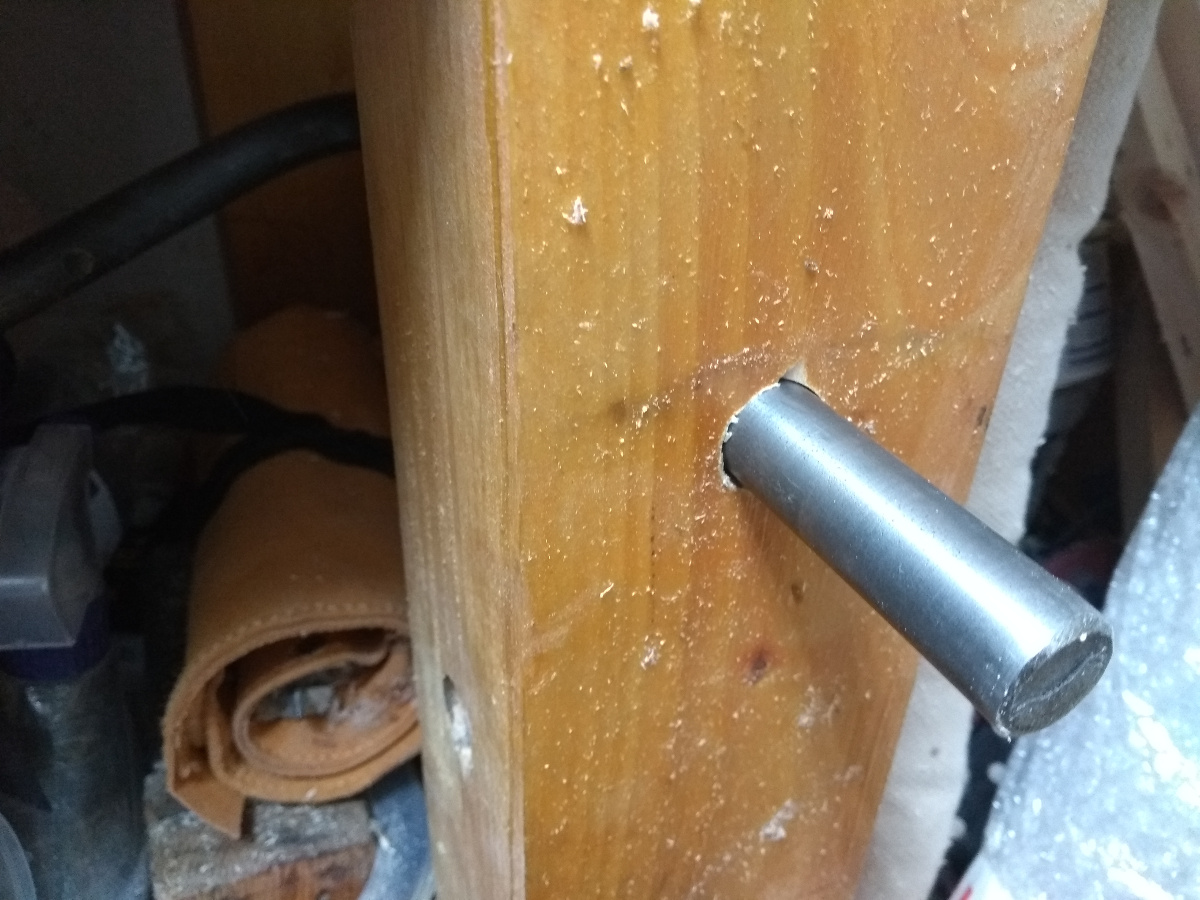
I’ve only been wanting to do that job since, oh, 2016? Progress…
