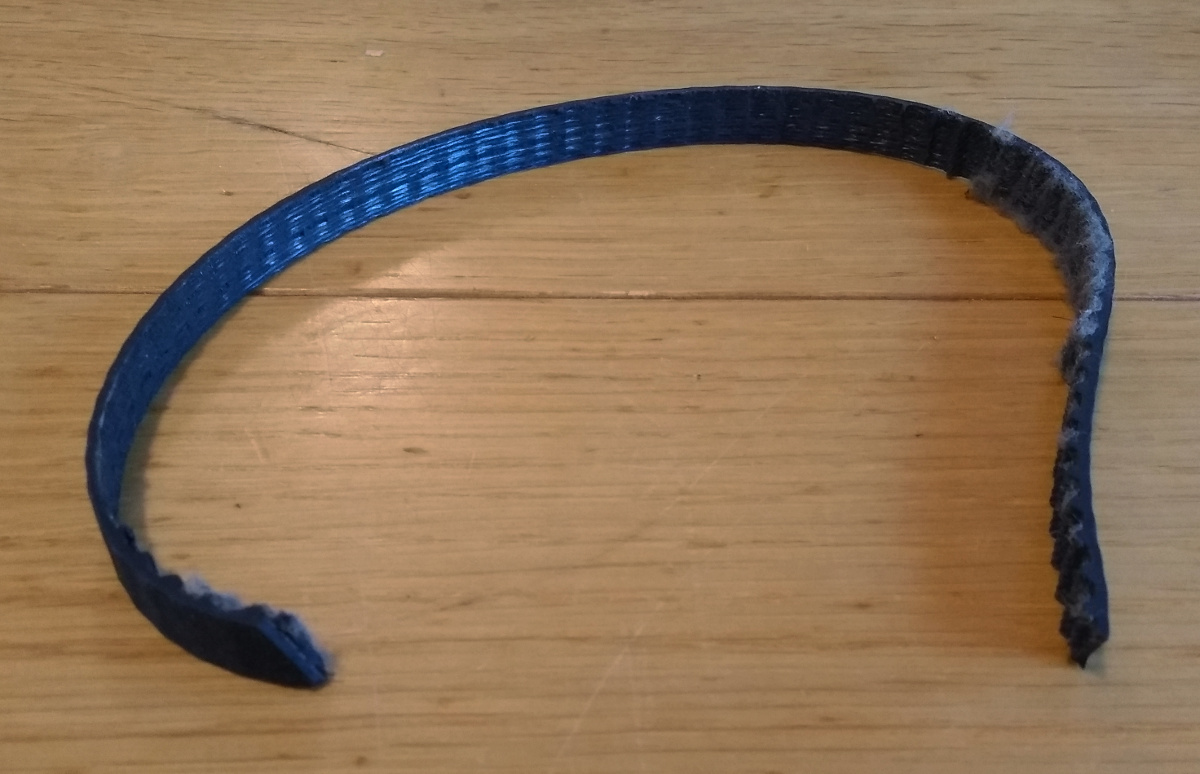
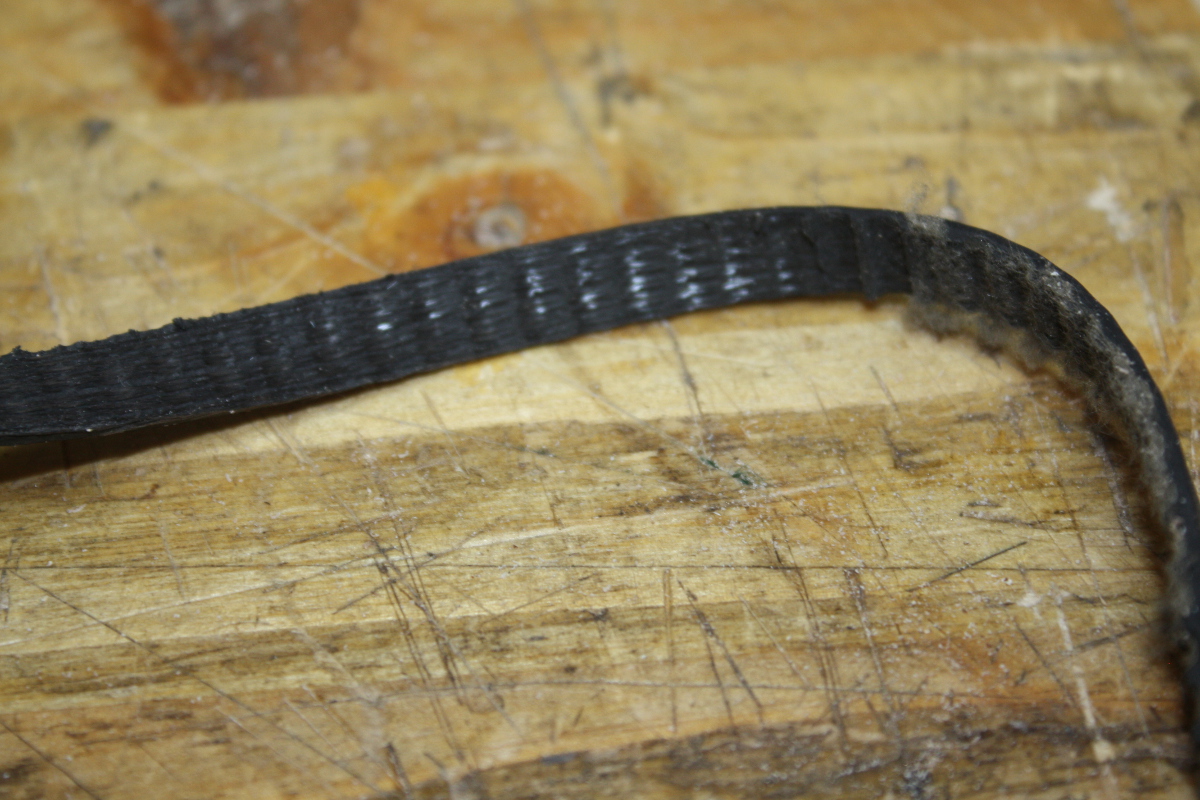
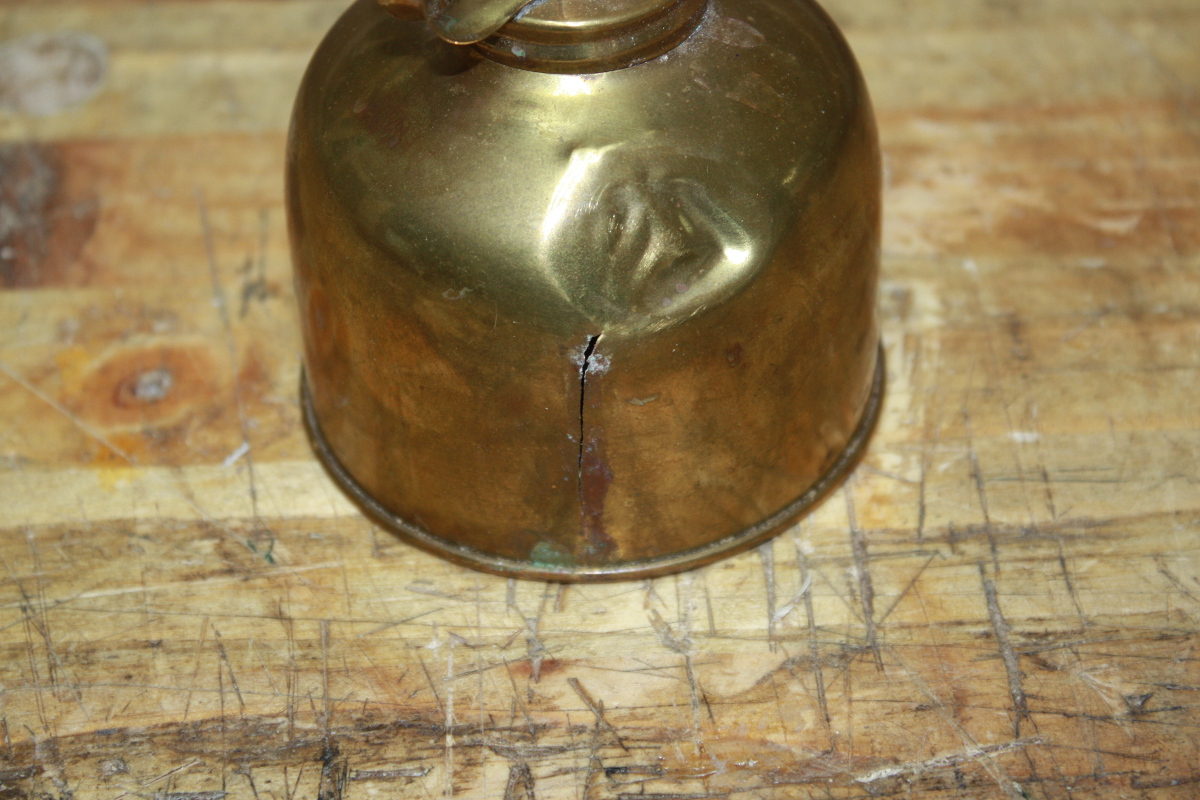
Started off with a quick check of something for Ralph who’d had a minor mishap over on Accidental Woodworker with his #044.
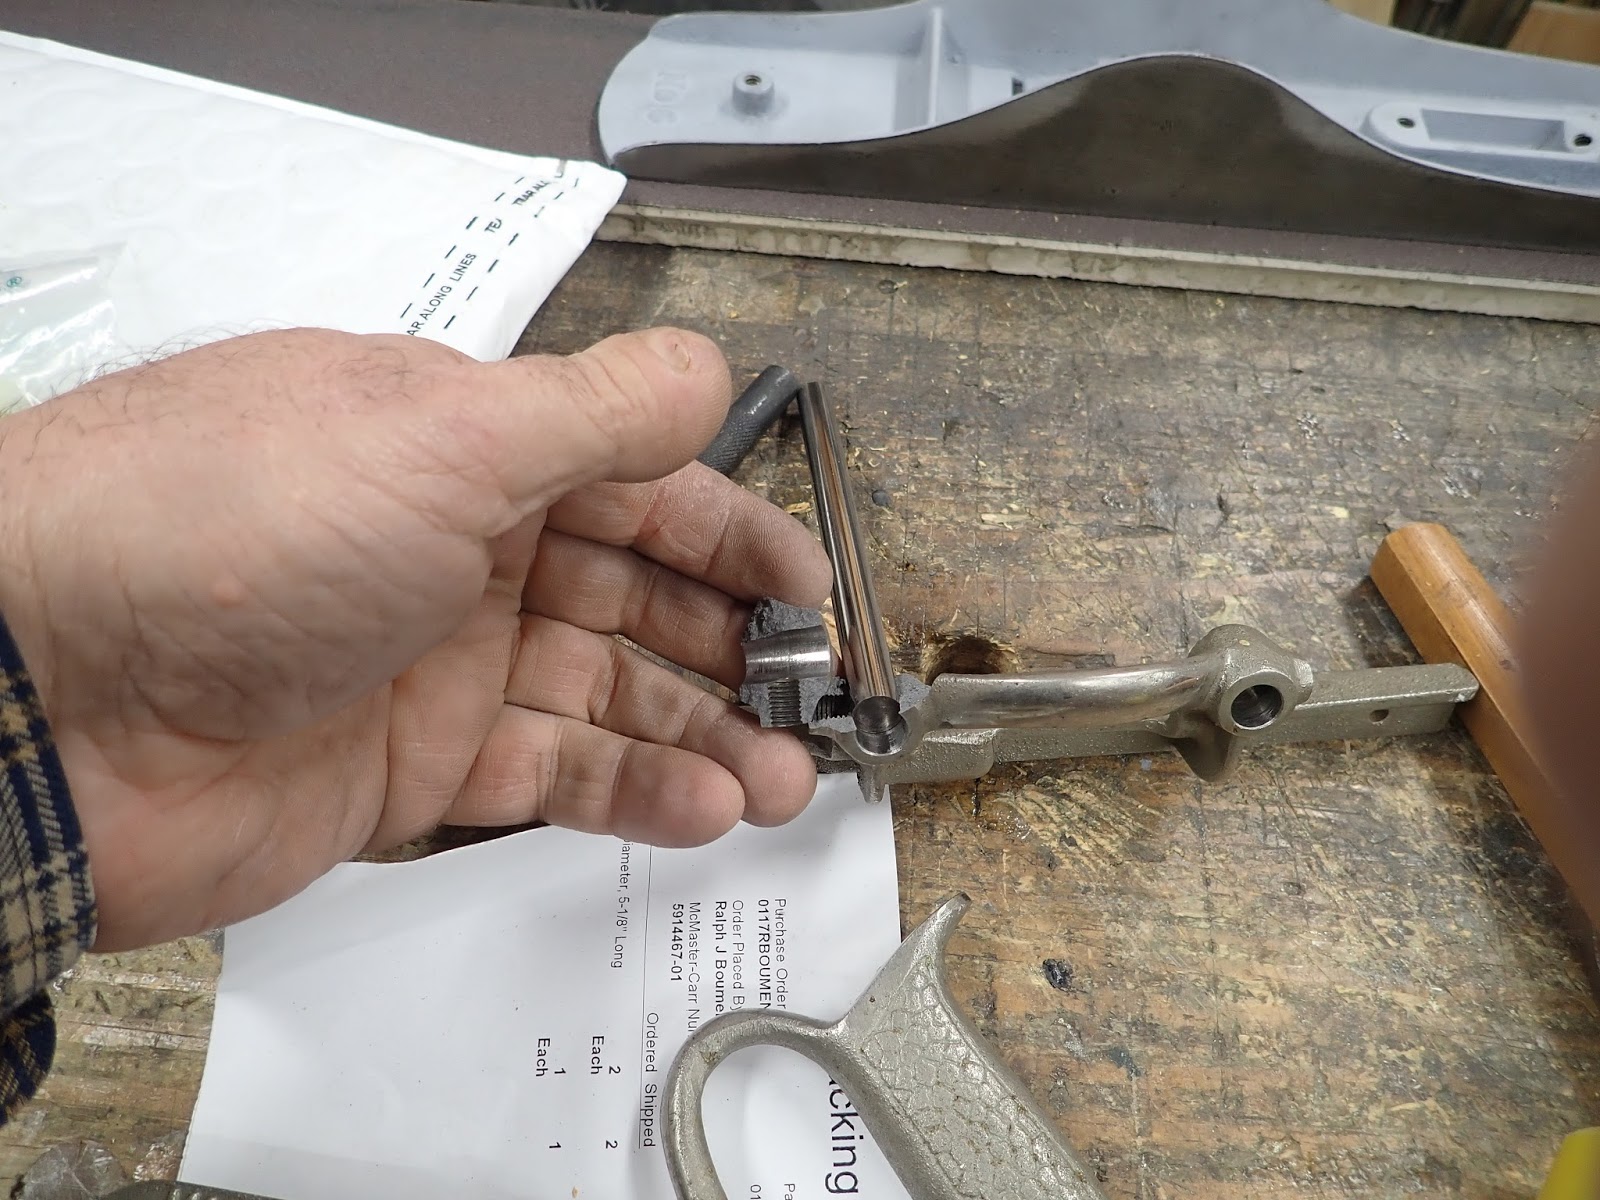
Ouch. Cast part weakness strikes again 🙁
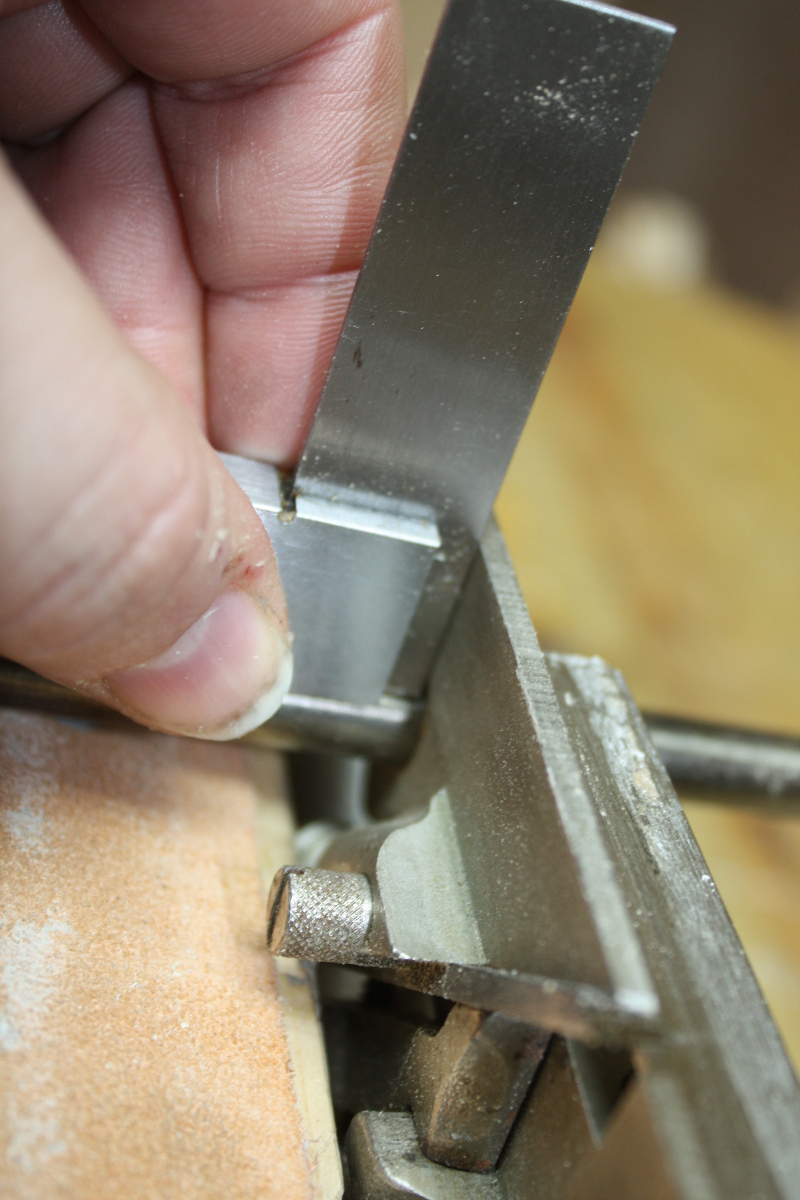
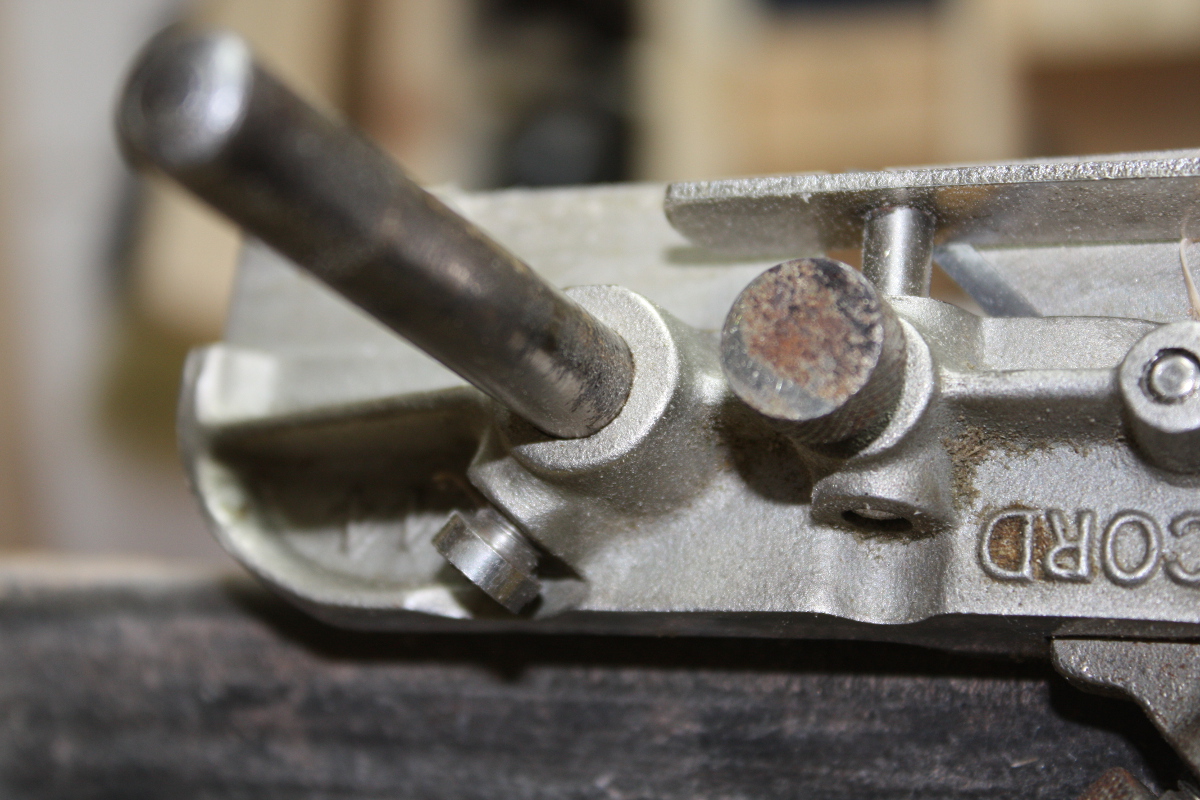
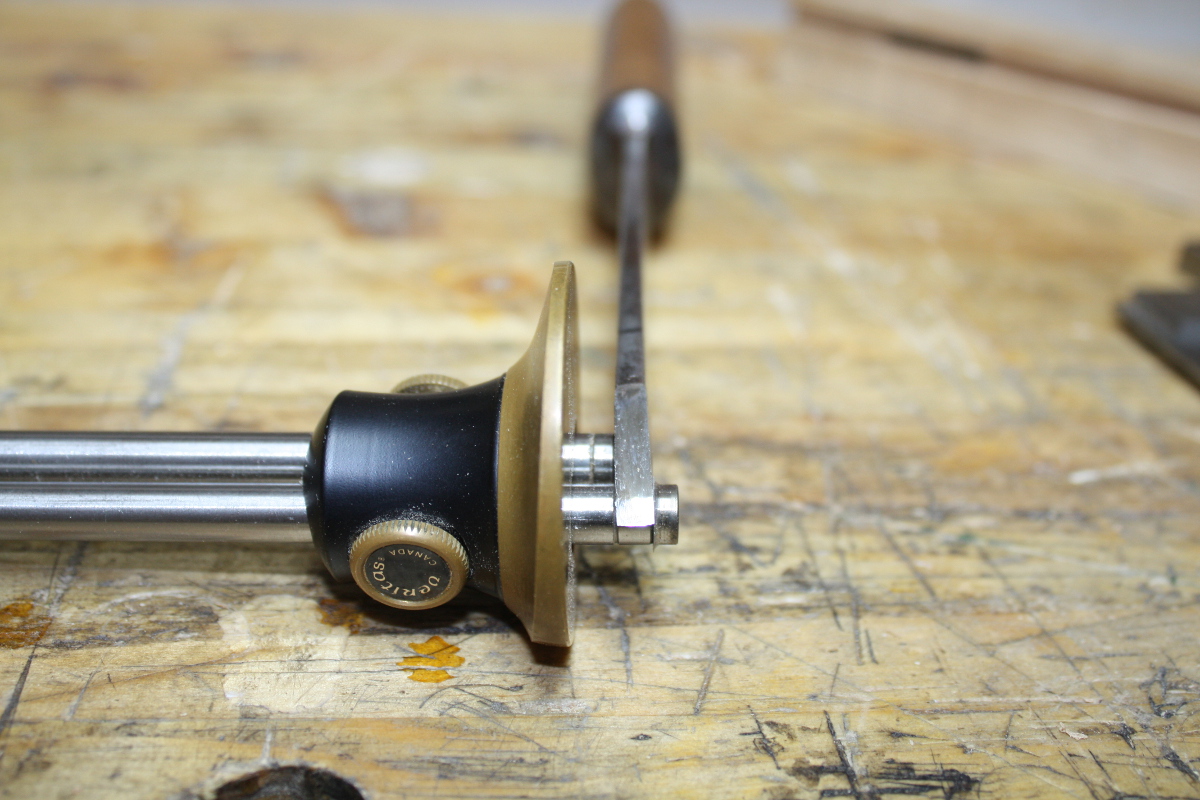
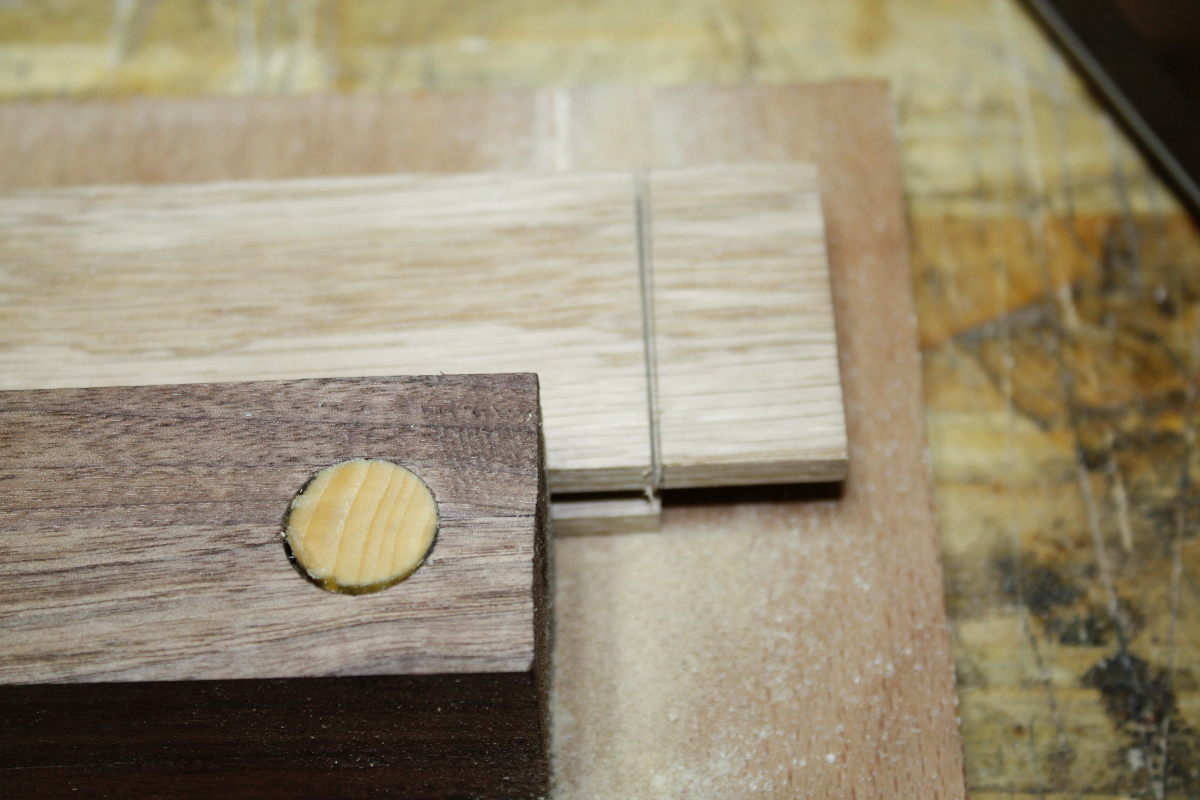
For Ralph, my #044’s rods are square to the fence to within 0.05mm (my thinnest feeler gauge):
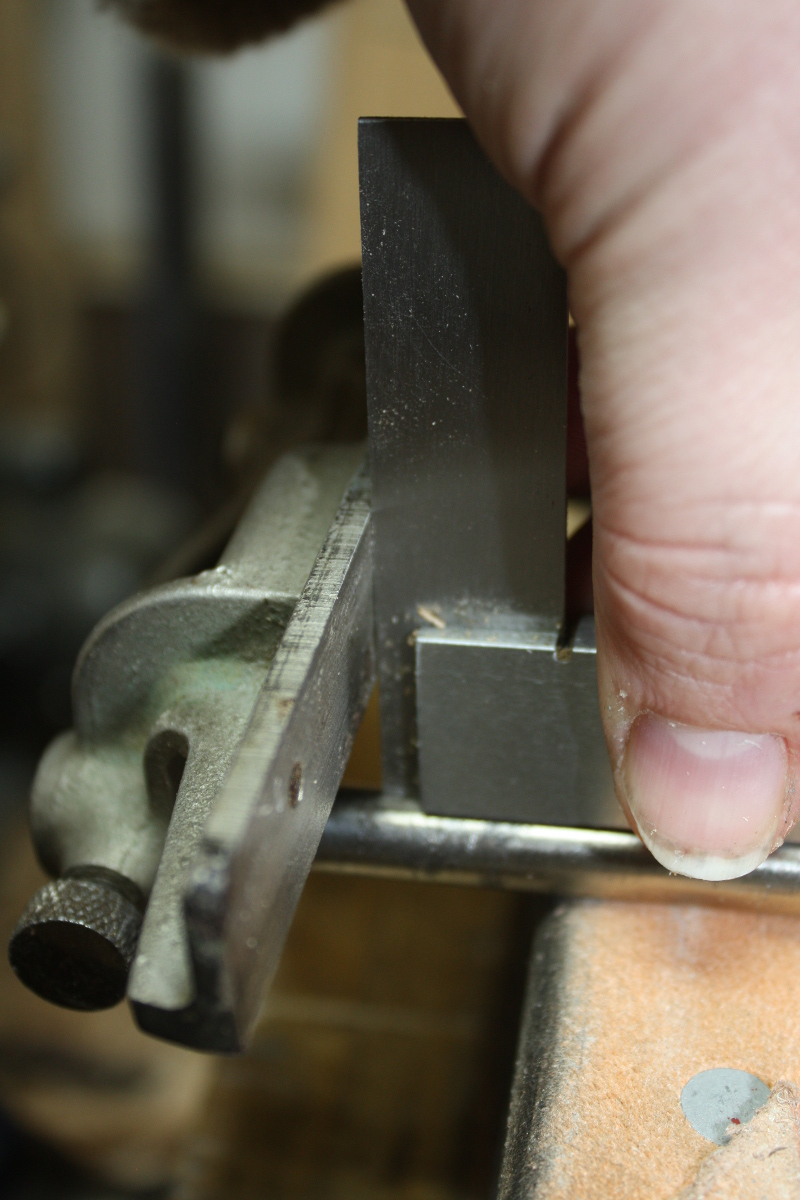
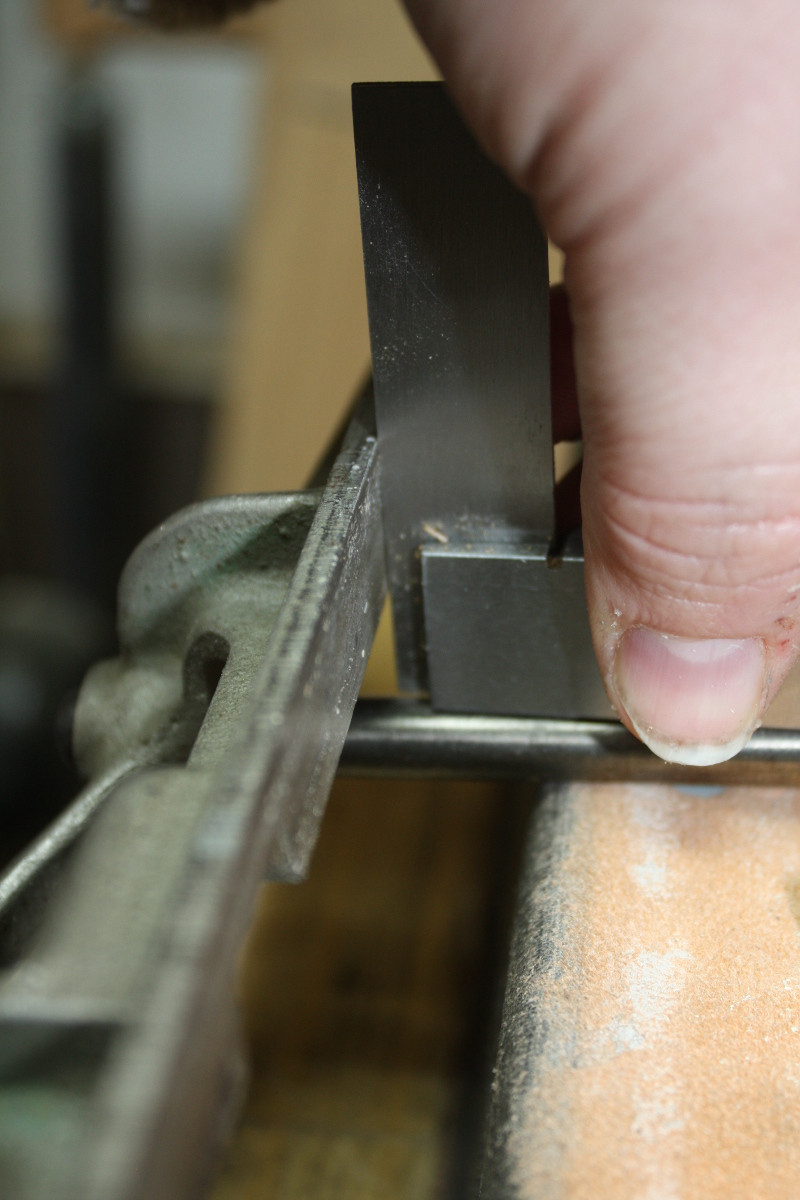
And square to the skate to the same tolerance:
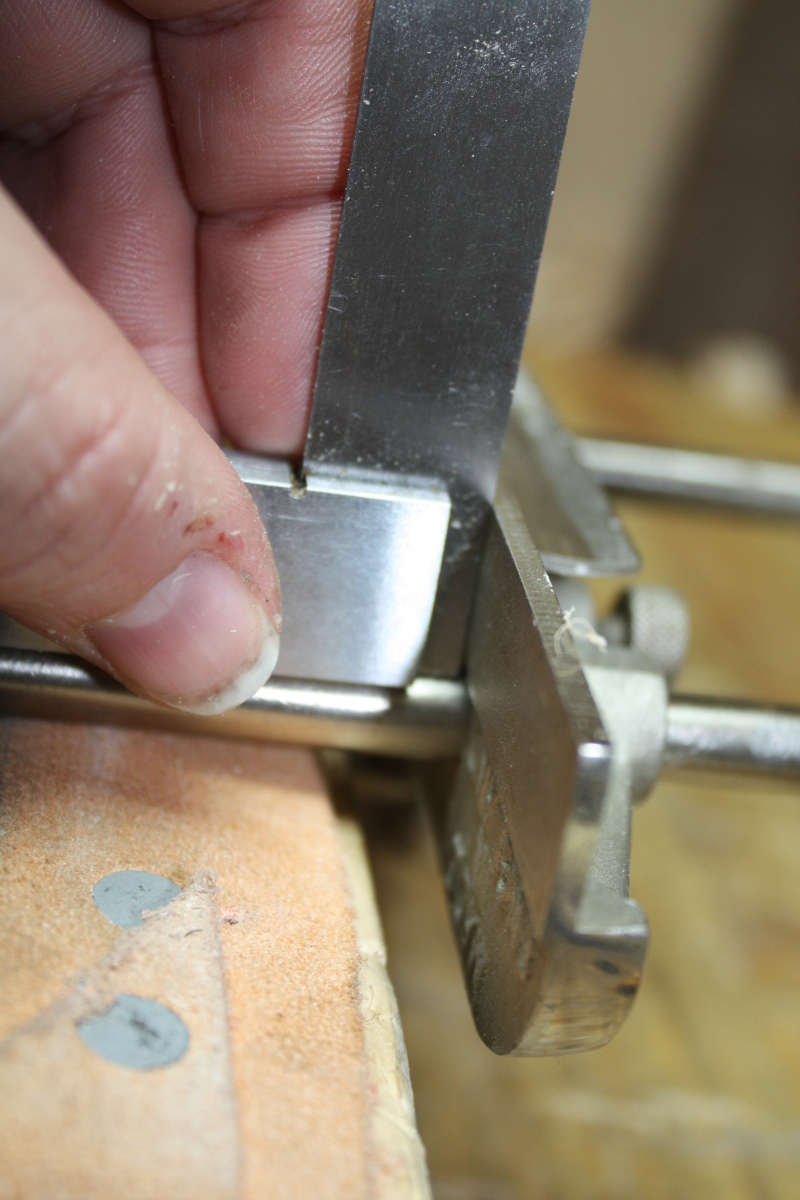
And there are gaps around the rod in the fence holes. It’s hard to gauge how much by because my feeler gauges are flat and don’t cope with tight radii well, but it looks somewhere around 0.1mm.
There is a discernible line around the rod in the plane body, but no discernible gap and I can’t get even the tip of the 0.05mm feeler gauge in there.

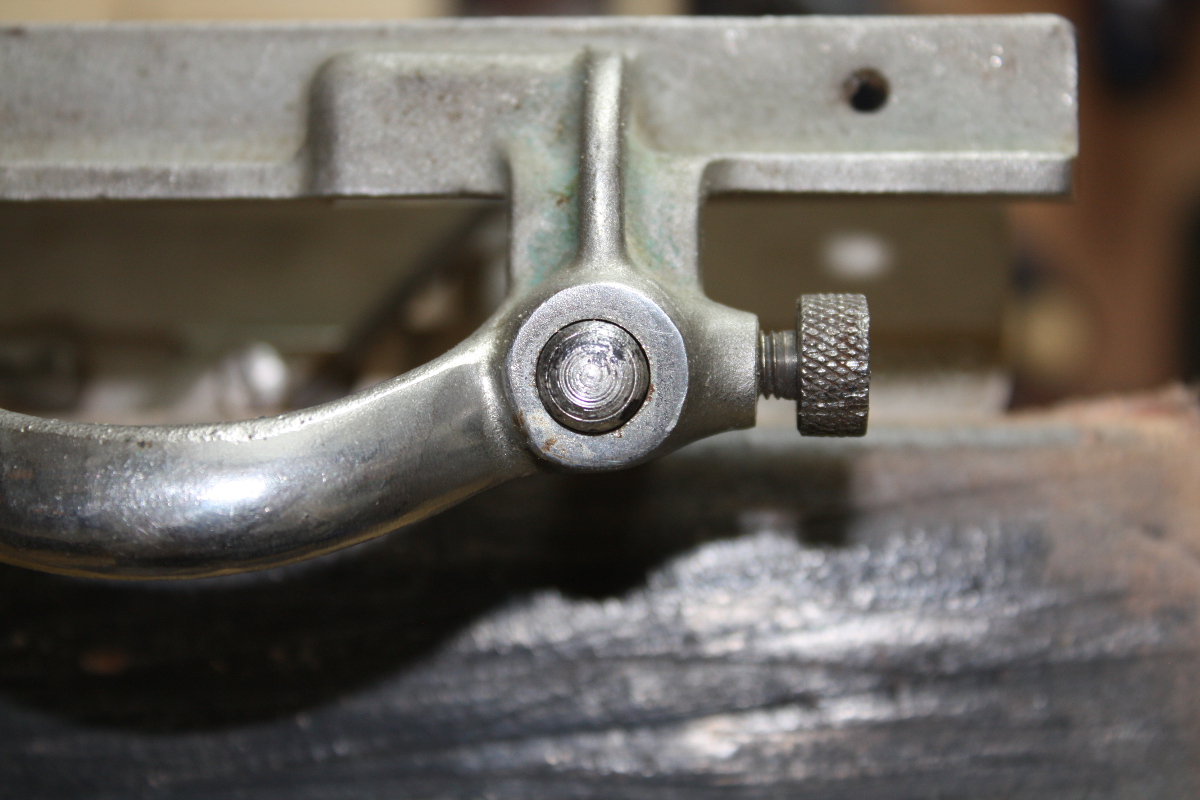
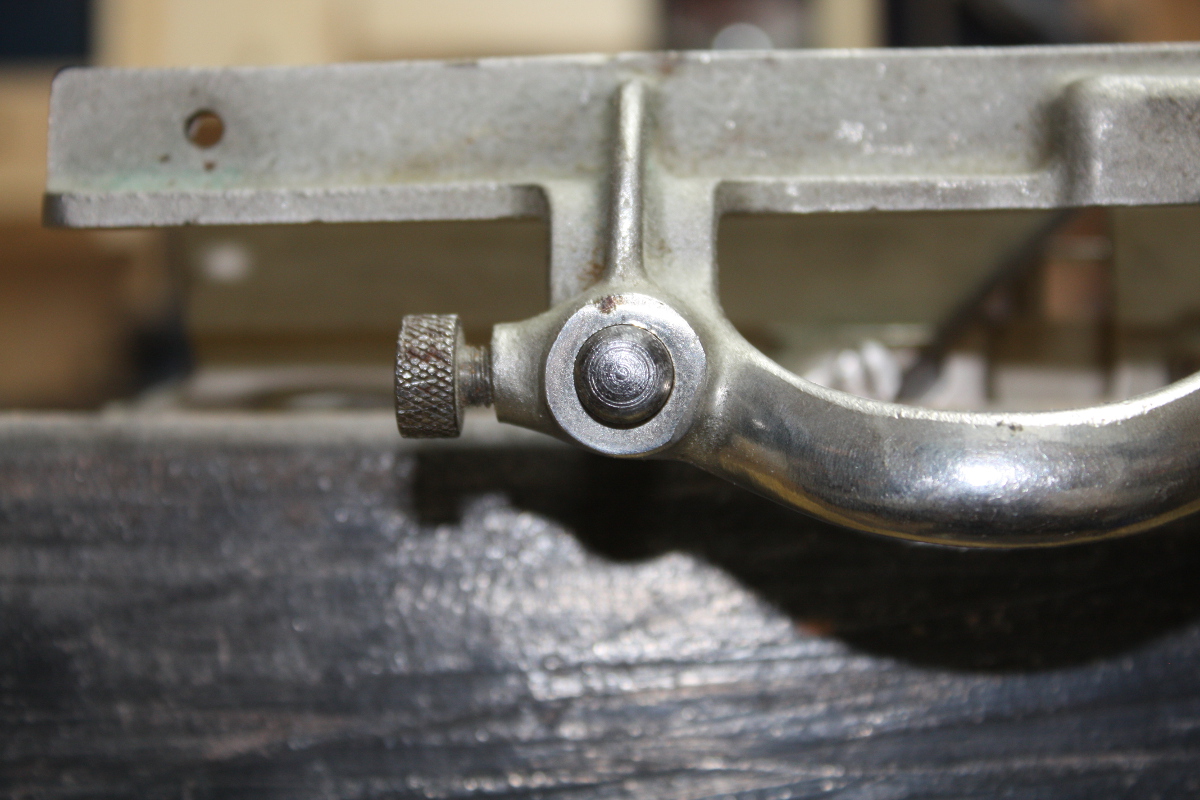
Incidentally, I normally have the fence rods a few inches proud of the body of the plane like that because its spot on the wall sees it stay in place using both the rods and the secondary fence on the plane:
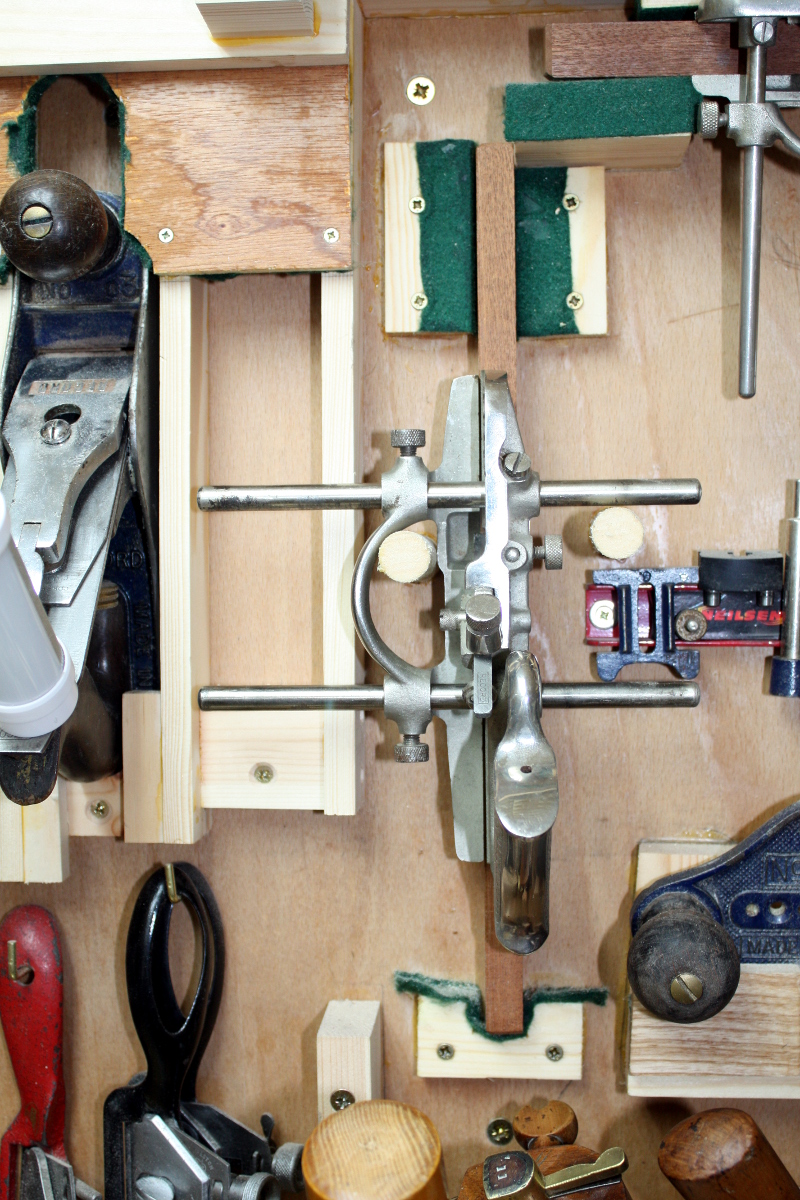
Hope that helps Ralph.
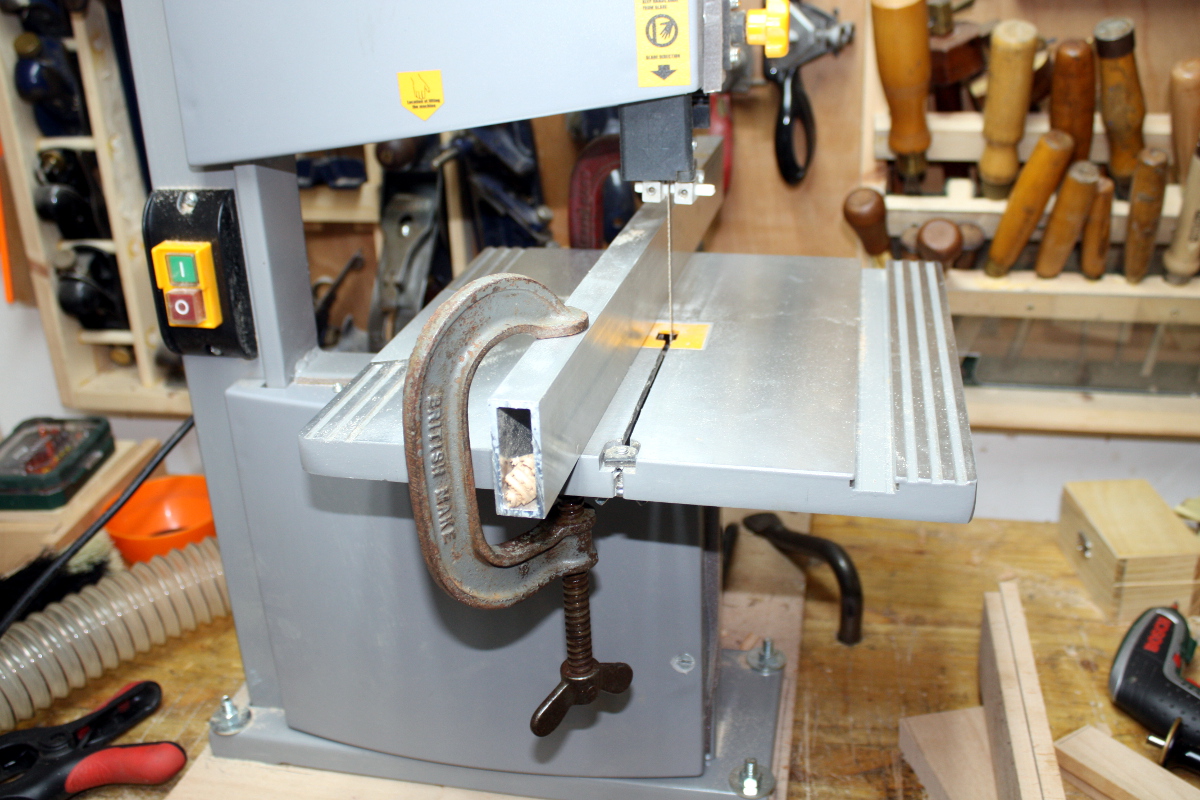
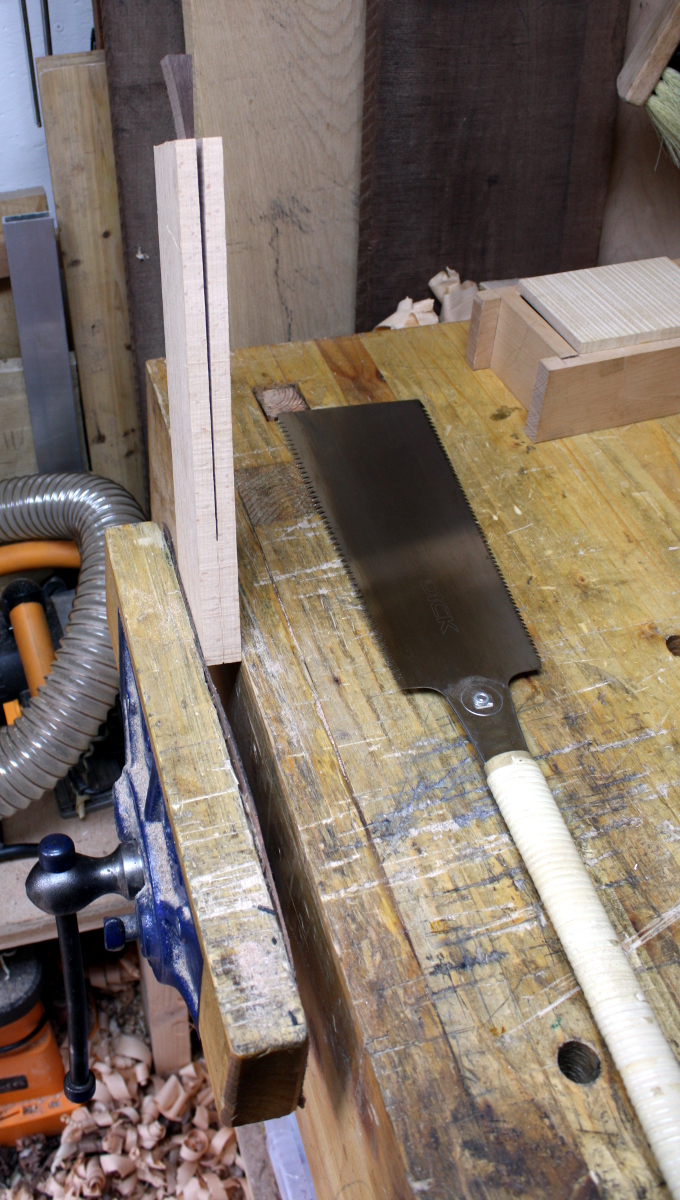
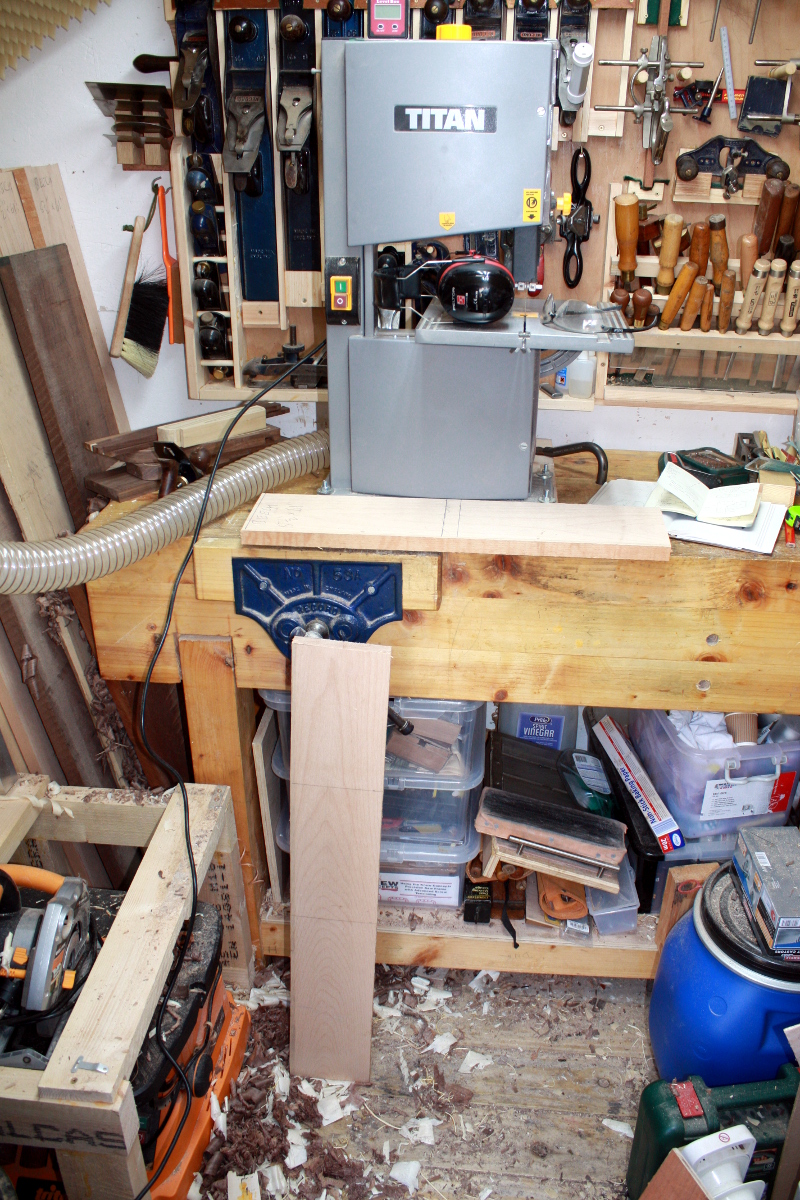
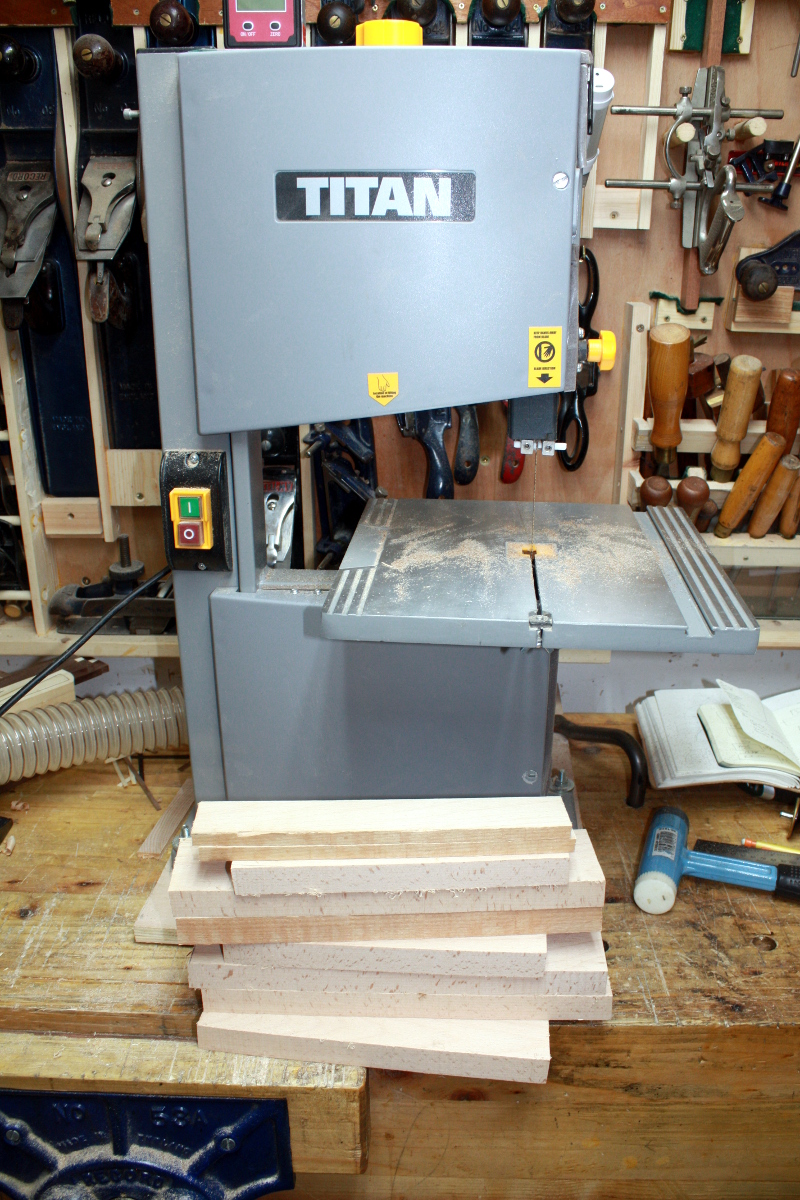
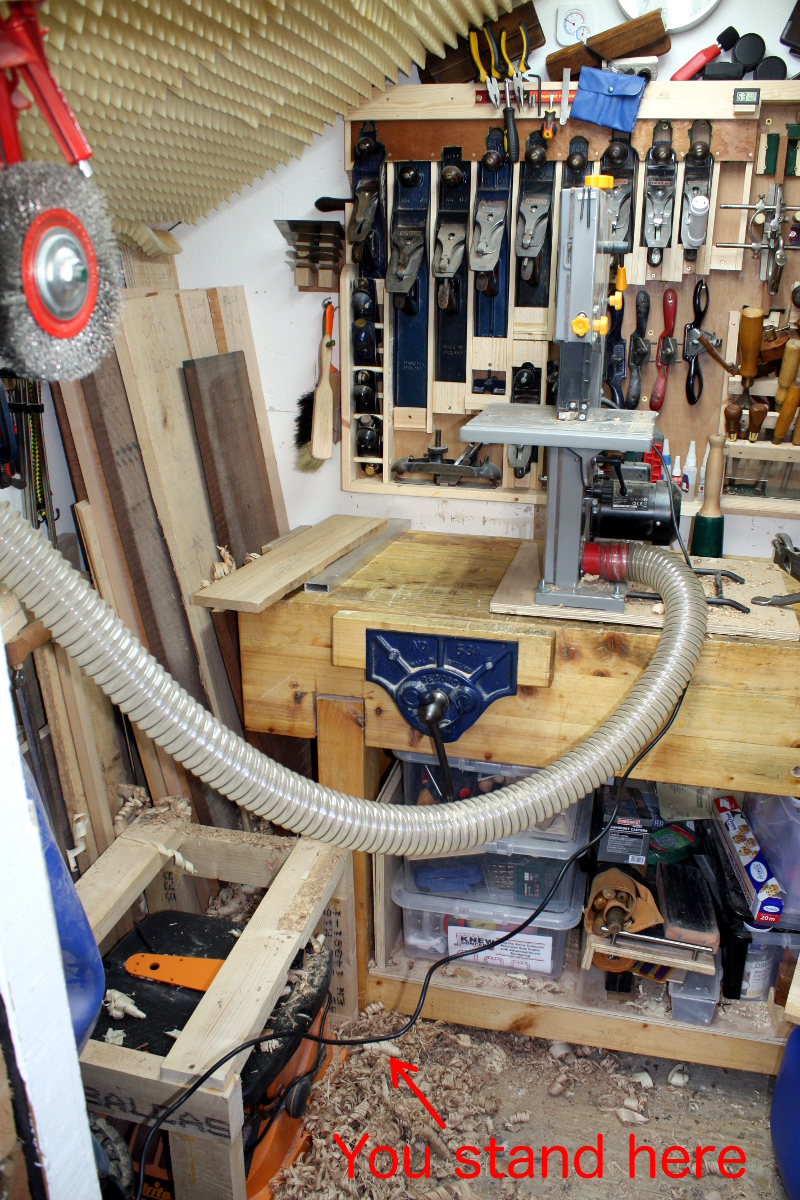
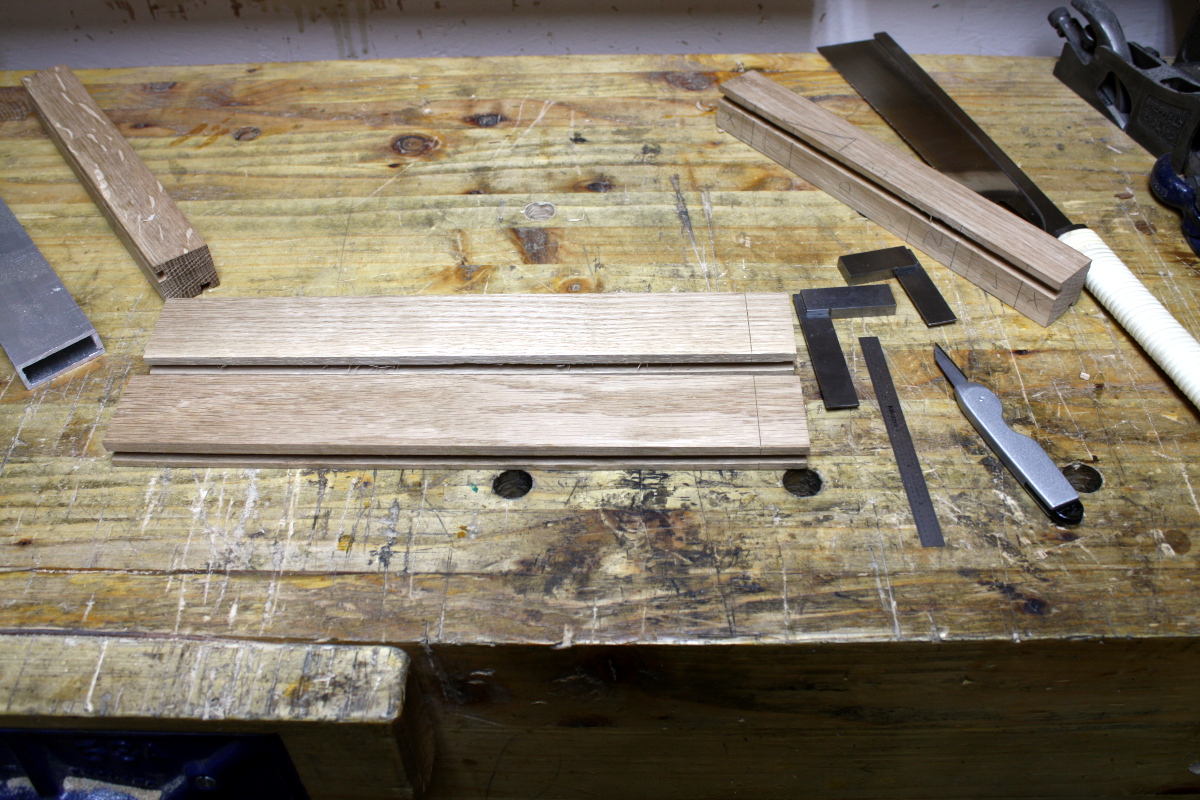
That done, I set out and marked off the lid frame parts and ripped them out with the bandsaw. It’s not that I don’t like ripsawing, it’s that it’s awkward in a confined space and for rough cuts there’s no great advantage to it. When I have floorspace enough for a sawbench, that may change. For now, a few awkward noisy moments at the bandsaw — and I do mean awkward because it means standing in an 8″x8″ square in the corner between the sander behind me, the vice to the left of me and the dust collection and power cord in front of me, feeding the work through the blade. It’s not quite dangerous, but it’s not my idea of fun either.
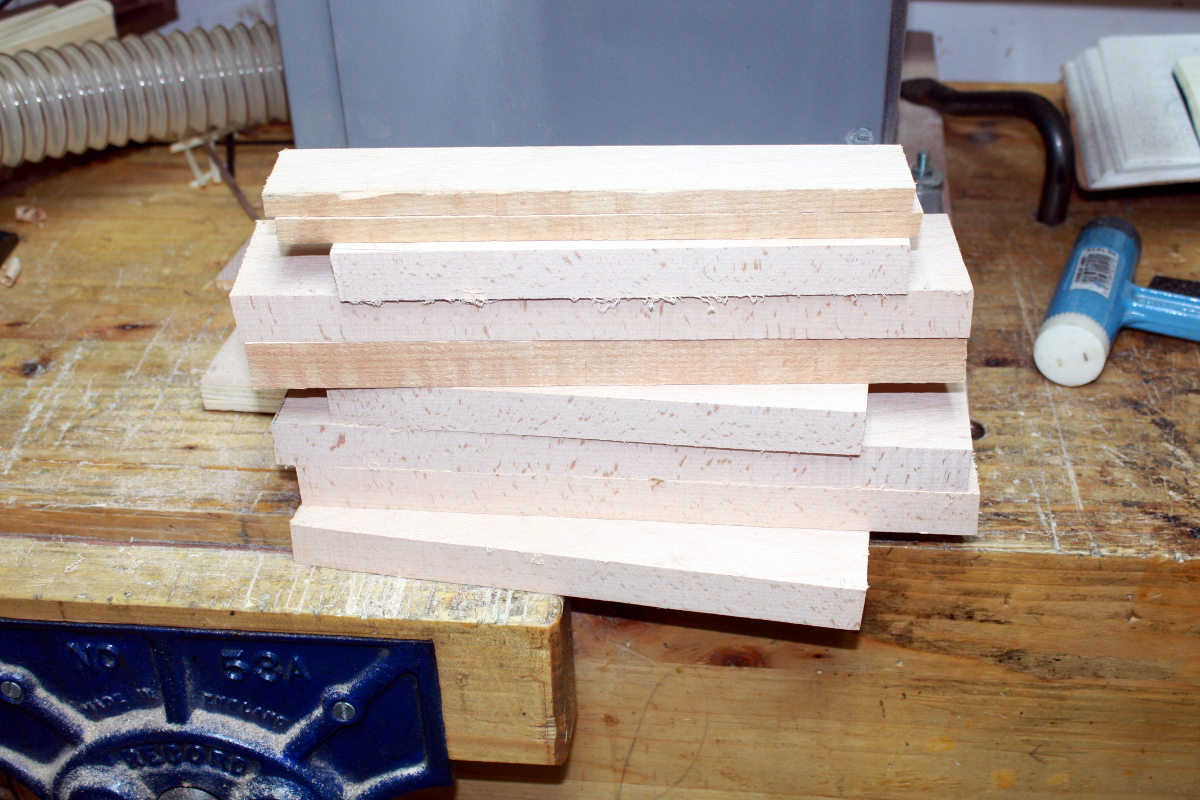
That done, out with the plane and clean up and true up the edges and that’s the frame parts set – I’ll crosscut to size later.
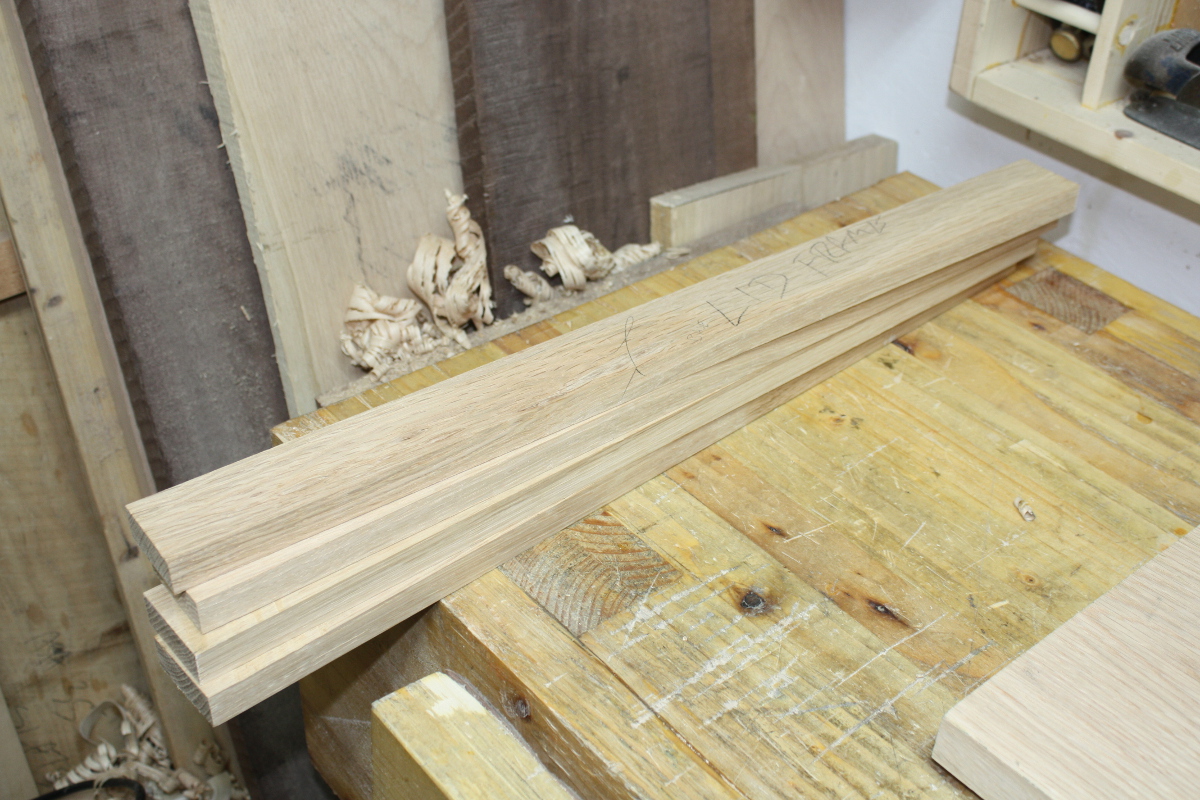
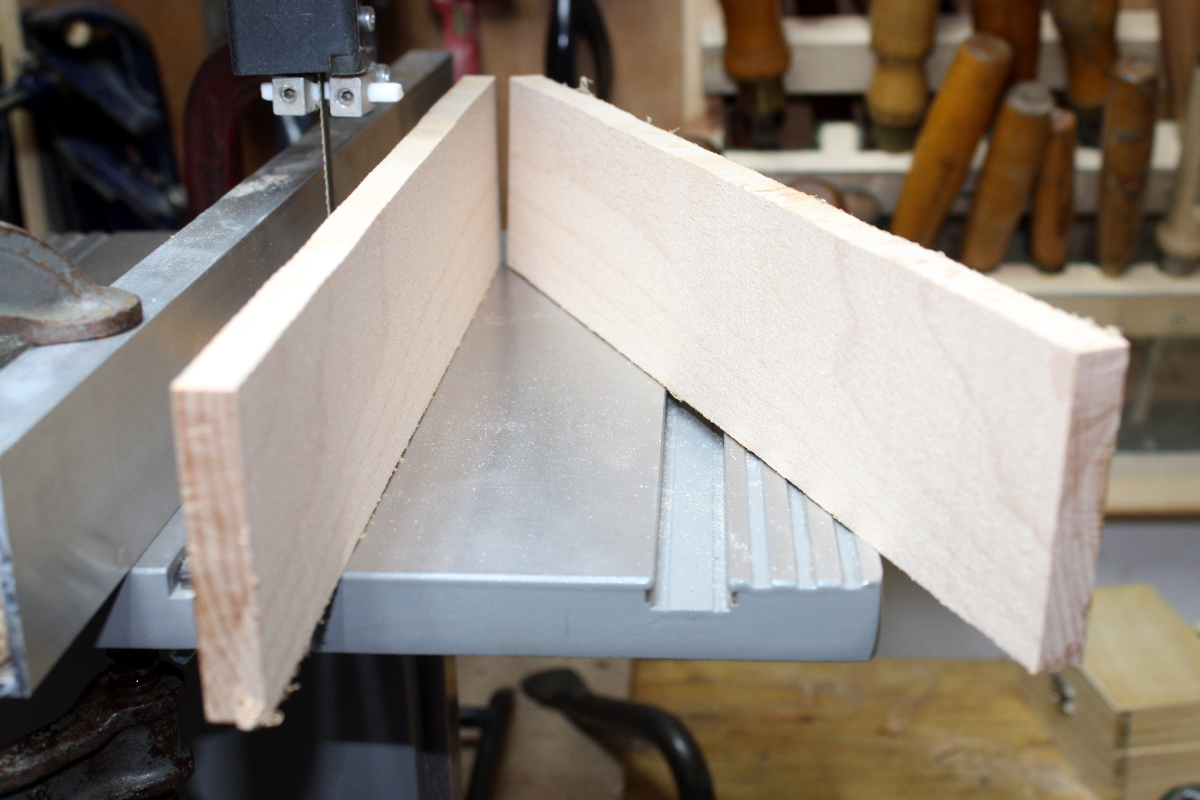
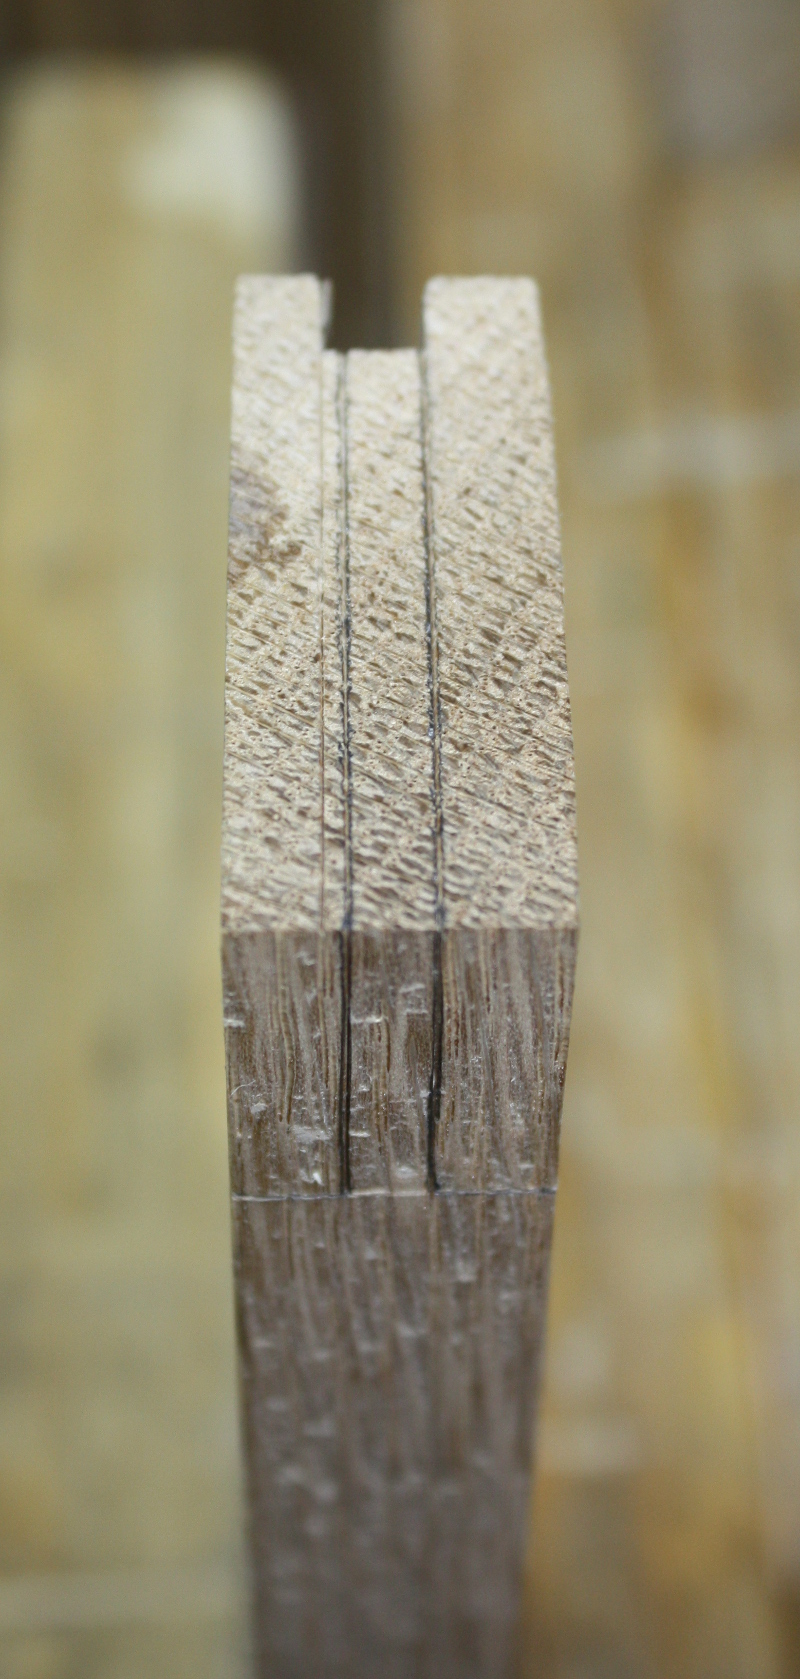
First, a quick check of my lid idea; sit the lid on a quarter-inch spacer, butt a frame part against it and take a peek at what will be the cross-section of the lid (sortof) to be sure it’s not horrible.
Eh, it’ll do I think. On to the tenons…
…with just a quick stop to go to the post office and pick up a few new toys 🙂
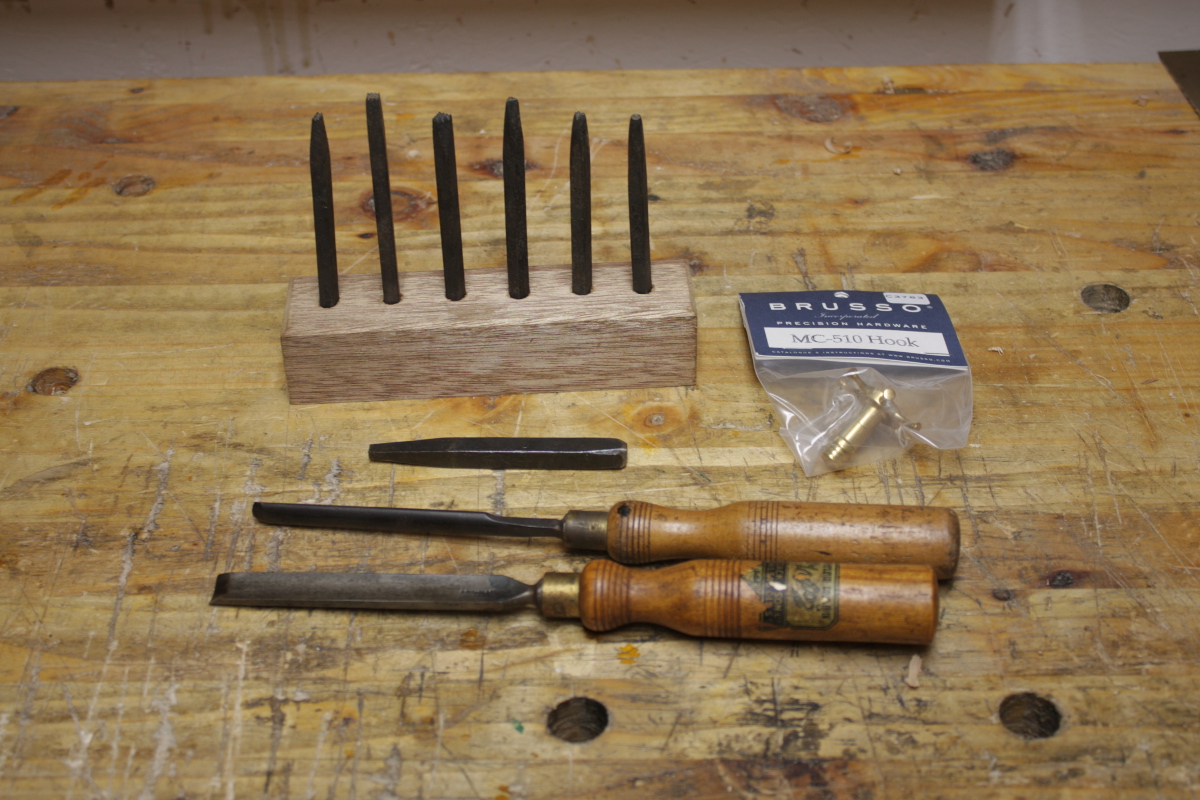
Some new punches for the whole 17th Century New England carving idea, and a pair of gouges that were going cheap for the same plan; and some brusso hardware that was going for a bit under quarter price. Shame Rutlands didn’t have more of those to be honest, I tried to get more but that was the last one in stock.
Mental note – when knocking punches into a thin piece of material for your reference block, don’t hit the damn thing too hard…
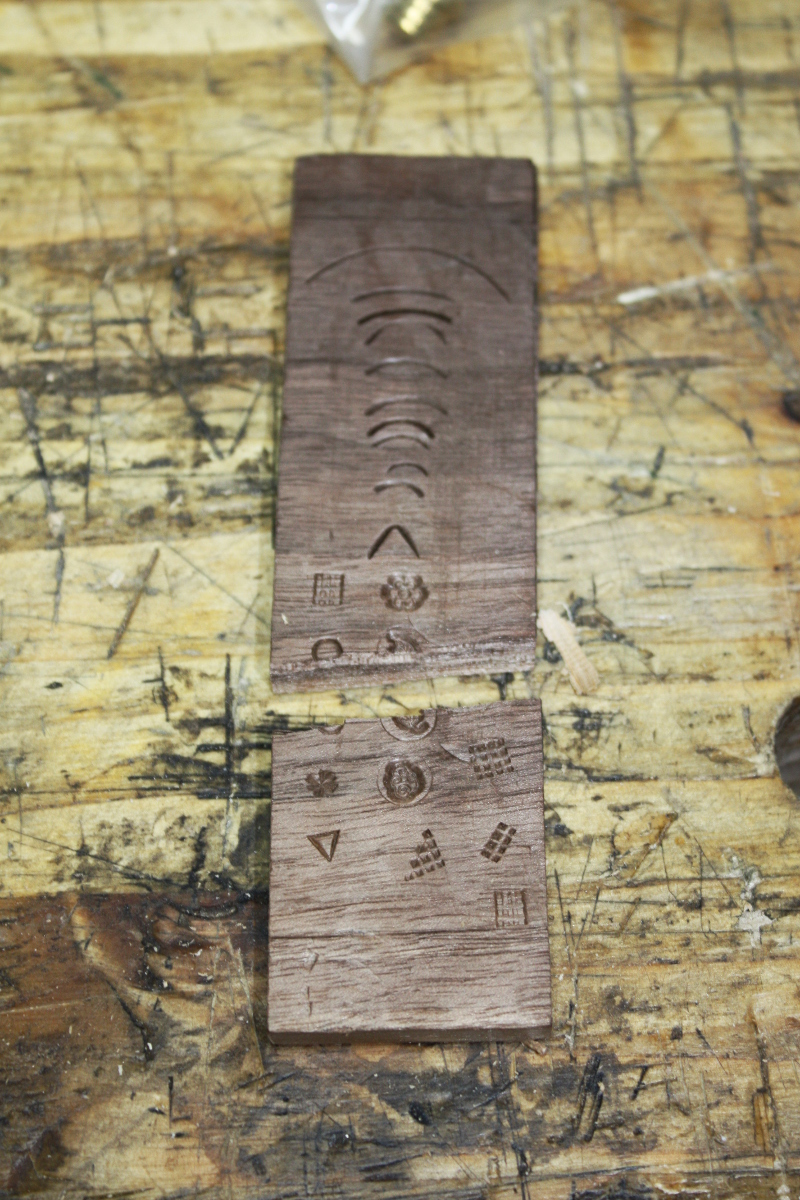
Oh well. On to the tenons…
Started with the long rails at the back and with the shoulder lines. Nothing special here, just come in by an inch, nick it, then use the square to mark off the shoulder line all around the piece. Then the cheek lines get set by taking the chisel I chopped the mortice with and setting the mortice gauge width with it:
Pretty standard stuff, and you’d think that you’d just line the gauge up with the inside of the groove and away you’d go…
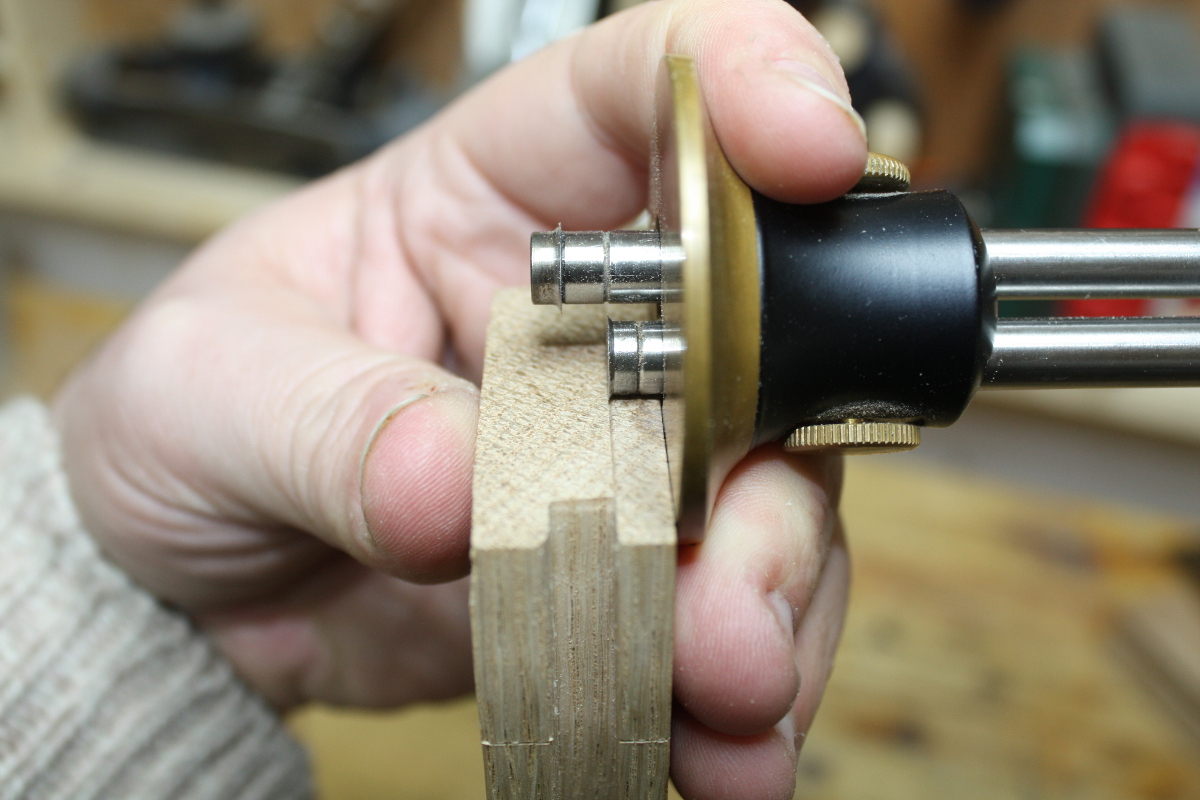
Problem is, that doesn’t work because my mortice isn’t the same width as the groove, which is my fault; I assumed that if you have a three-eighths iron and a three-eighths chisel, they’d be the same size. Welcome to one of the quirky features of old imperial-measurements tools – there’s no guarantee that an inch chisel is an inch wide because with old chisels widths were kindof a best-effort sort of thing. When people in the last three countries in the world to not use metric (and the few others who are officially metric but use imperial overwhelmingly in common usage, like the UK) start saying stuff like “who can remember 25.4mm? 1 inch is so much easier to remember! Who makes a 25.4mm chisel?” they’re sortof forgetting that nobody ever used to make a 1 inch chisel either. They’d make almost-an-inch chisels and nobody cared (or cares now) because you set the gauges with the chisel and most of the time nobody cared if the chisel was 1 inch or 1.032 inches because you cut pieces to fit other pieces and so long as they did, the exact size of the groove or mortice didn’t matter. The only time it really causes a problem is things like this where you build things assuming that something called a 1-inch chisel is the same width as something else called a 1-inch iron and it isn’t.
So when I found my morticing chisel wasn’t the same width as the groove, I nudged the mortice up against the wall of the groove away from the face to reduce the chance of something blowing out while chopping the mortice. So now that I’m cutting the tenon, I need to shove the tenon over a bit so that the groove on the rail lines up with the groove on the stile so the panel can fit, like so:
This is obviously not ideal. Next time I build one of these, I’ll pick an iron that matches the chisel and I’ll position the groove a bit more conservatively even if that means cutting the joints and then planing the stiles and rails down to final size after the stressful bits of grooving and morticing are done. But that’s next time. This time, I marked off the cheeks and then sawed them in the vice as normal and moved on to cutting the shoulders.
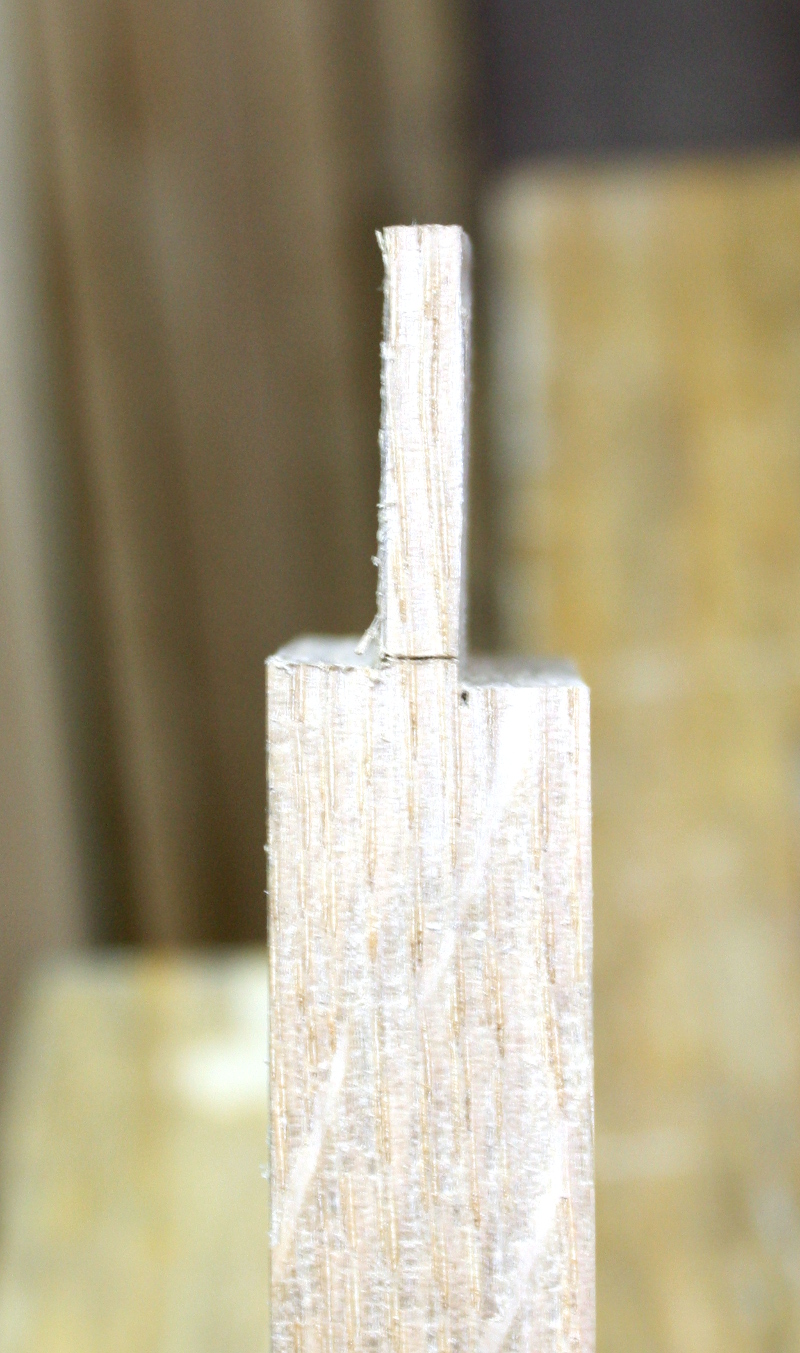
First use of the japanese saw bench hook in anger (and it works well). The shoulders are cut using something Richard Maguire was talking about in his latest video series and on his blog; the face shoulder is cut right on the line, but the non-face shoulder is cut on the wrong side of the line deliberately:
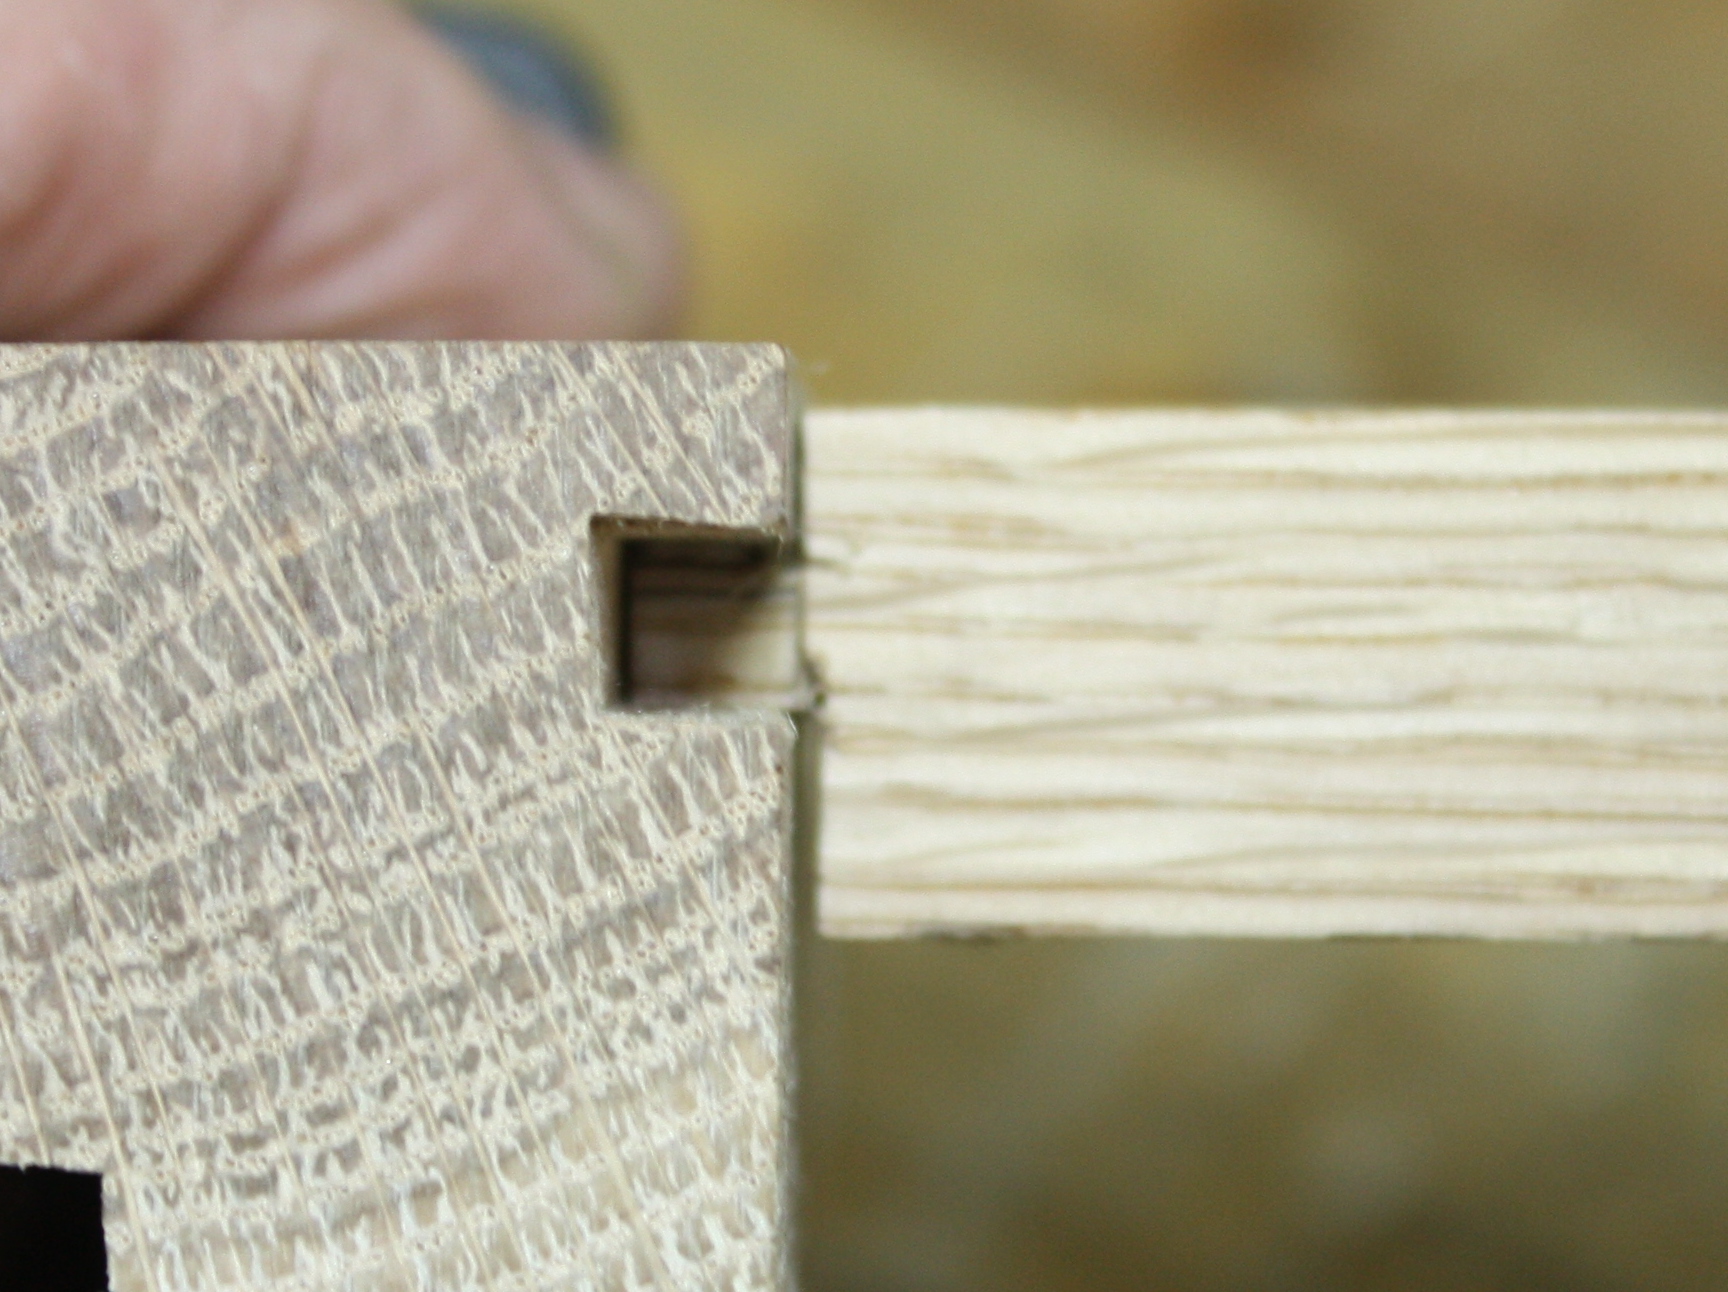
This is a bit cack-handed and it’s offset too much at the back (but that doesn’t matter hugely). If done right, you’d saw the face shoulder on one side of the line and the back shoulder on the other side of the line with maybe a kerf or two of a difference between the shoulders. You get an asymmetric tenon as a result:
And now when you drive the joint home, the back side does not close up at all:
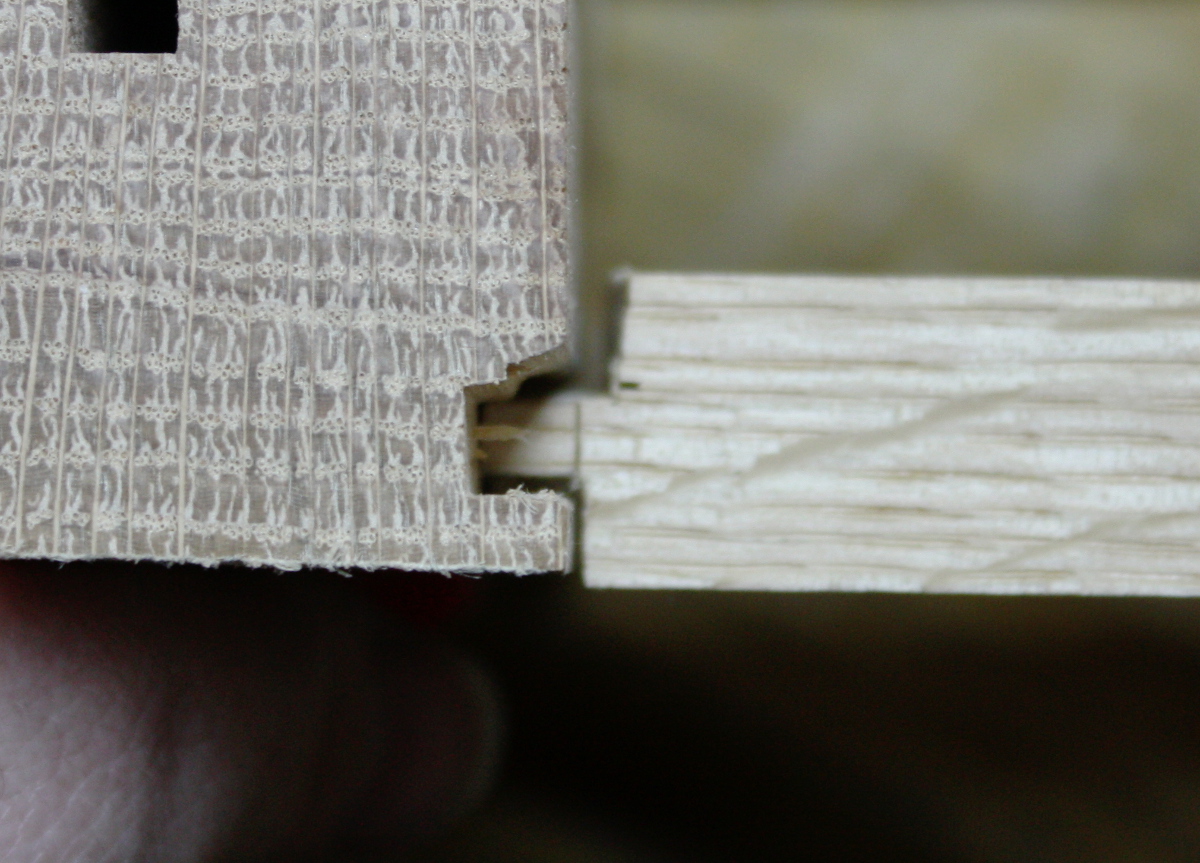
But the face side – and this is the point of this – is very tight and clean:
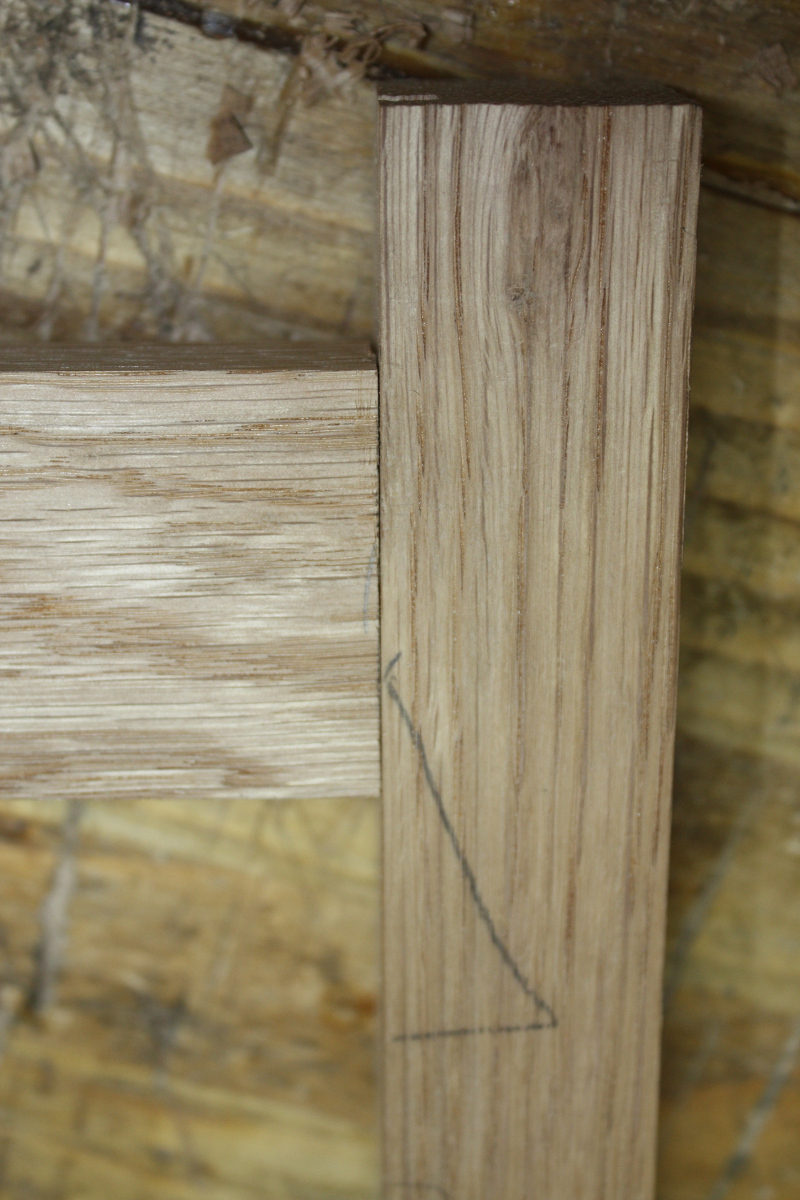
And because there are four of these joints in a square, when it’s all assembled and drawbored, all the joints are in tension and so they resist racking as a whole as well. Now I’ve not done a great job here (though all but one of my joints tonight fitted off the saw, which was nice), but even so I’ve got nice lines on the face sides with less effort than normal, so this technique’s a pretty useful one.
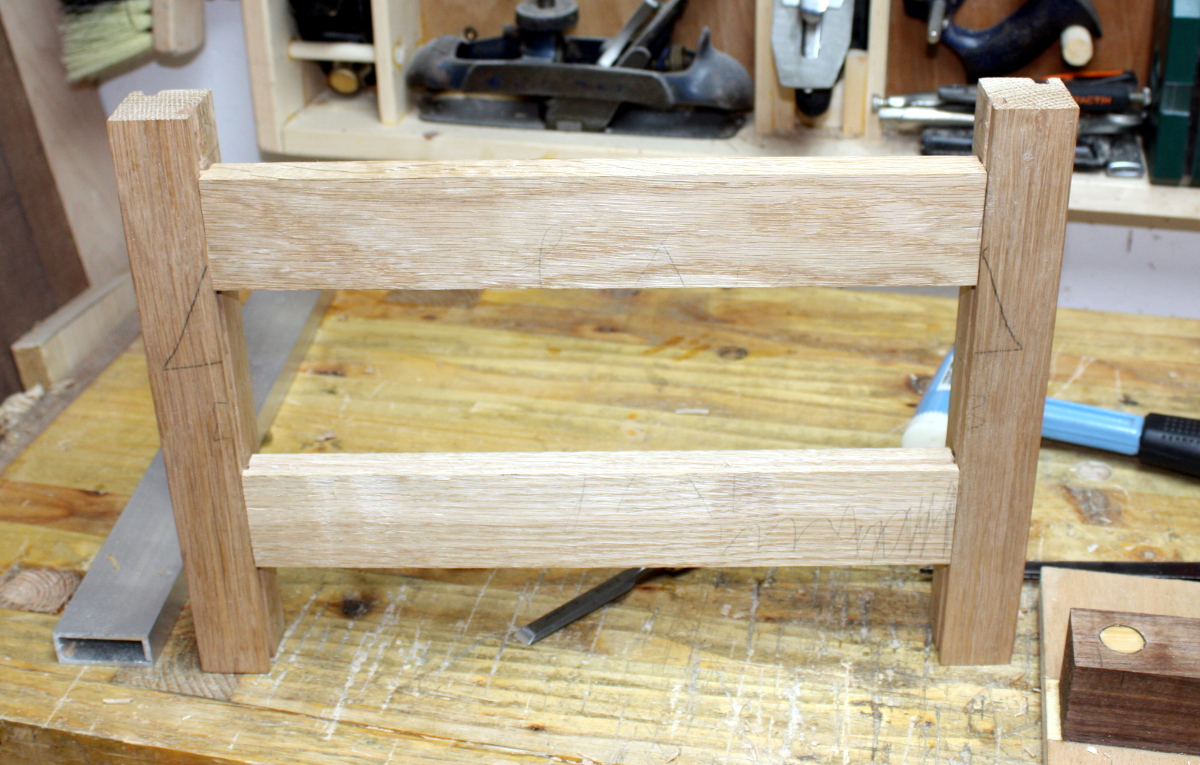
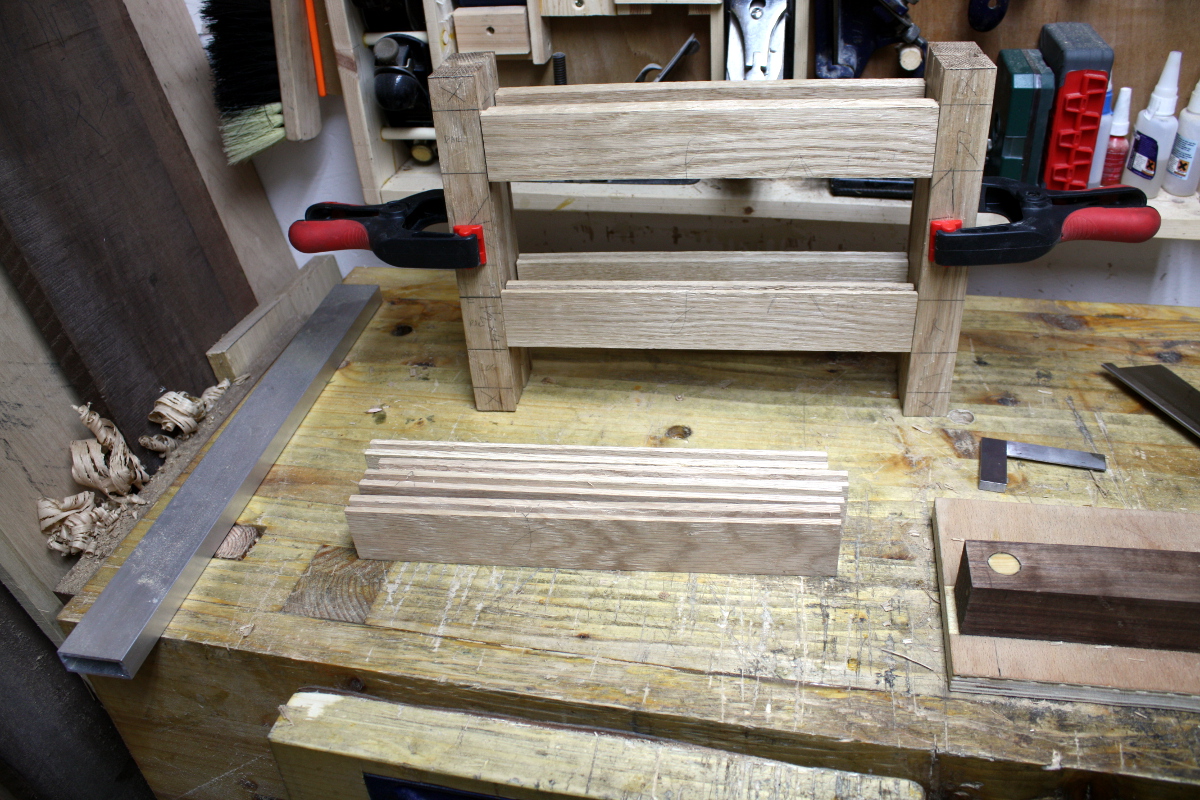
Back frame done…
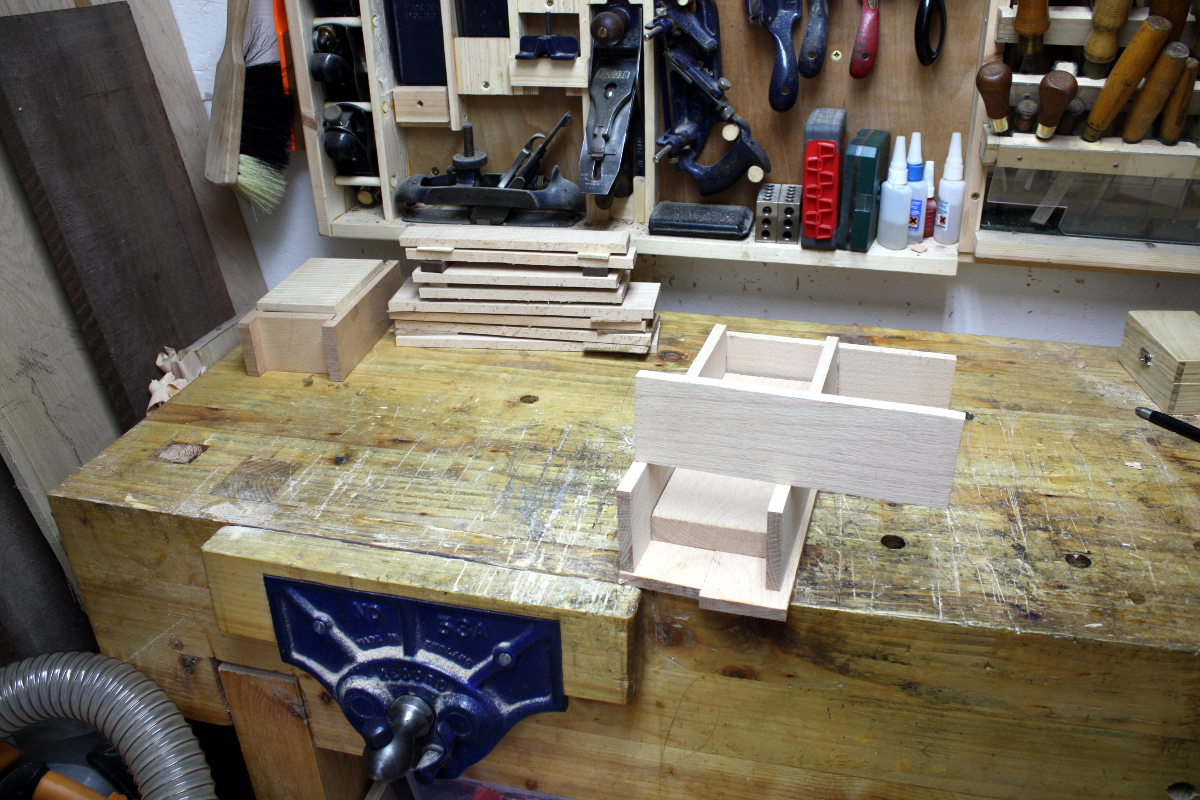
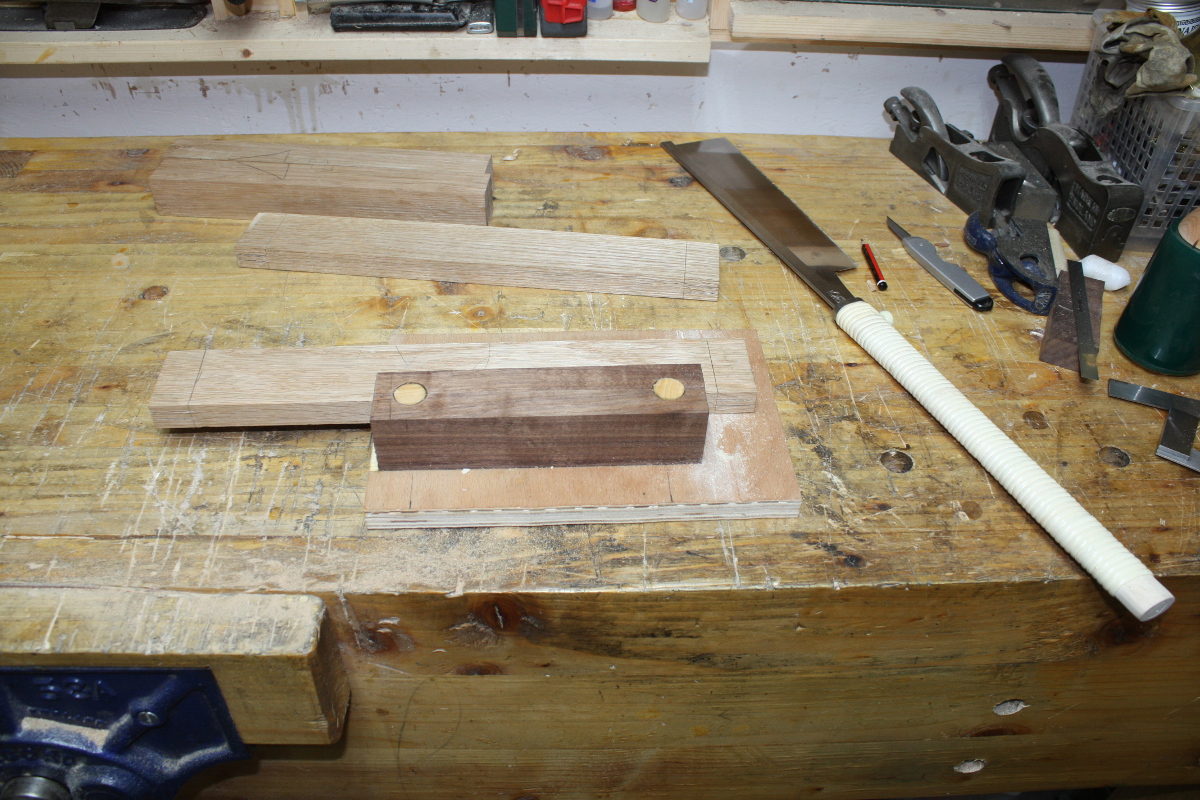
And front frame done and by this point it’s 2300h so I knock off for the evening. Looking at the frames together to get an idea of what the final size will be was encouraging.
They match up well enough.
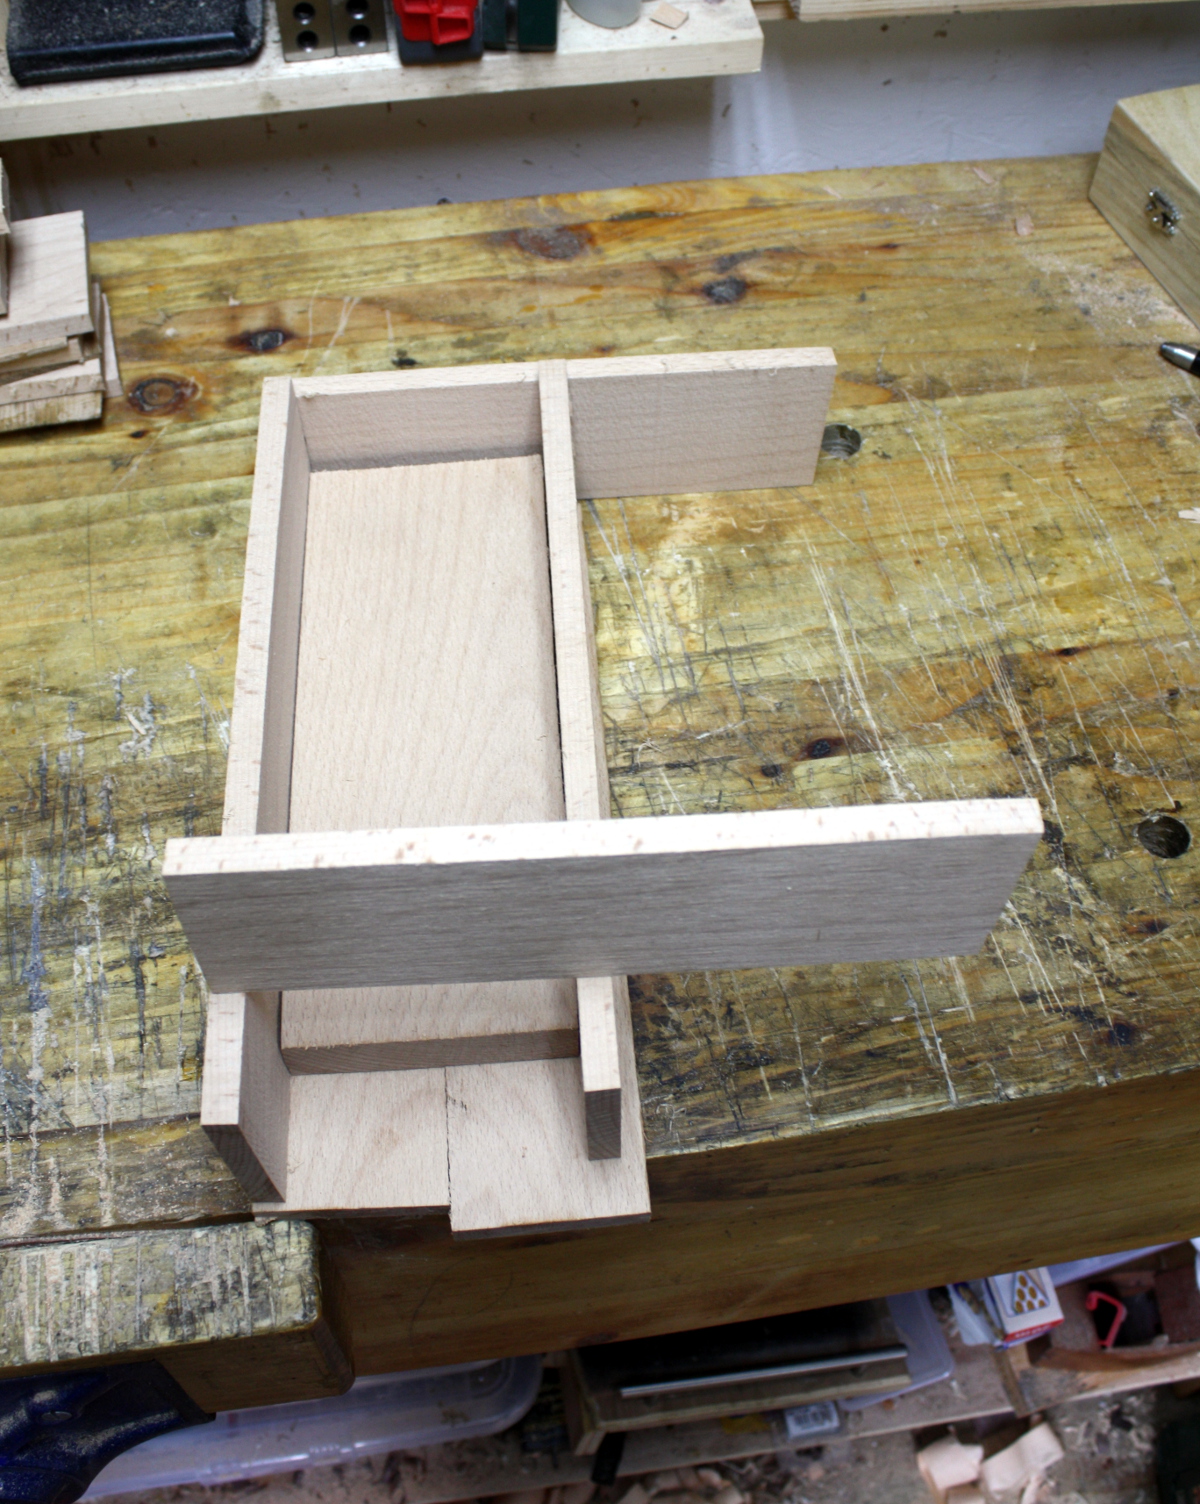
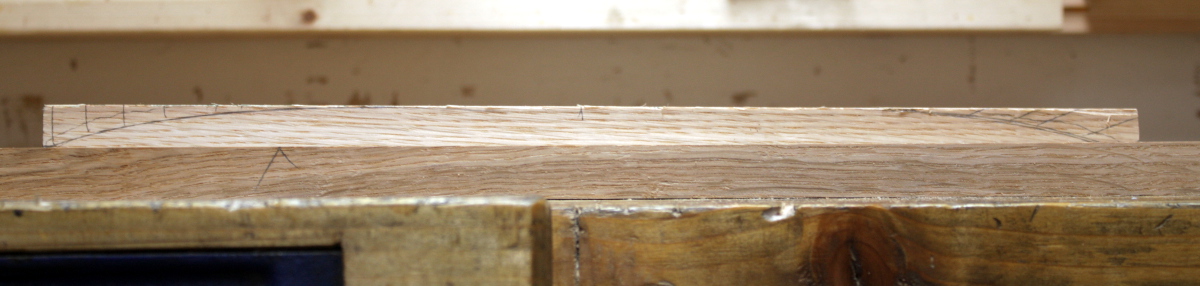
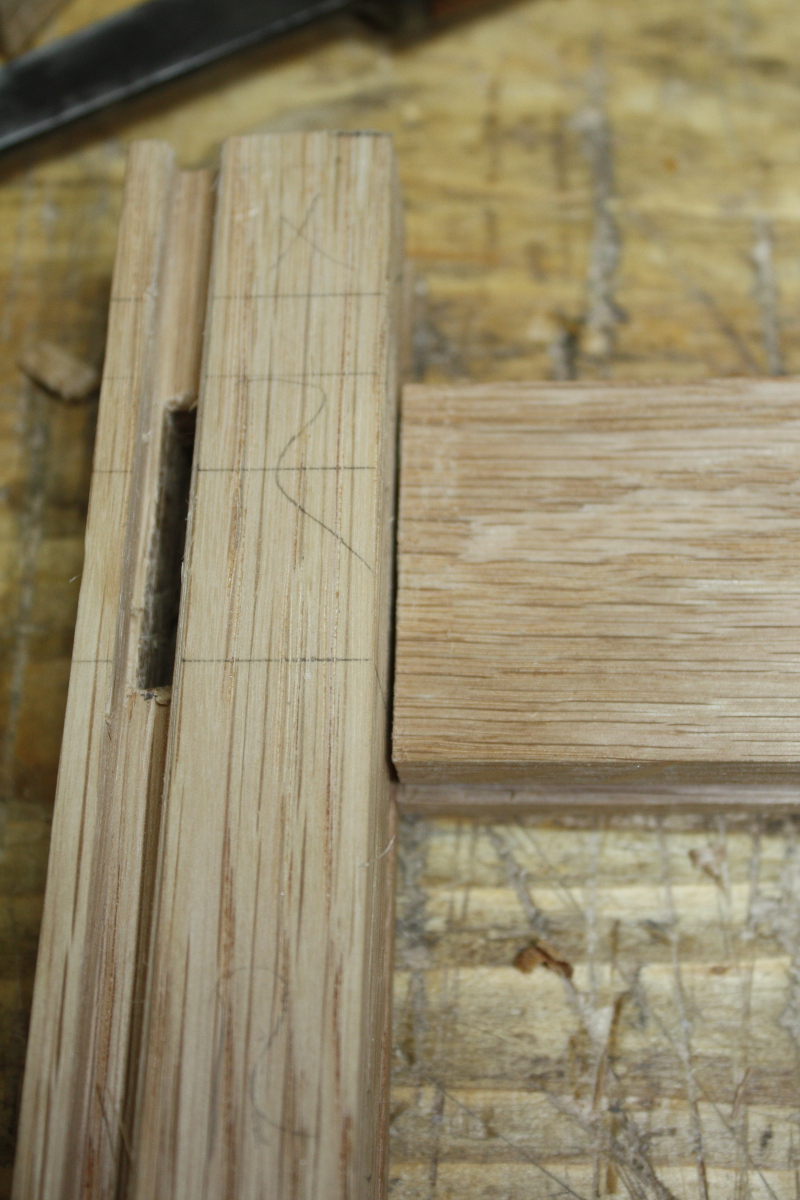
You can tell that the original sizes for rails have changed quite a bit because I had to remake them. I am wondering if that will affect the sides…
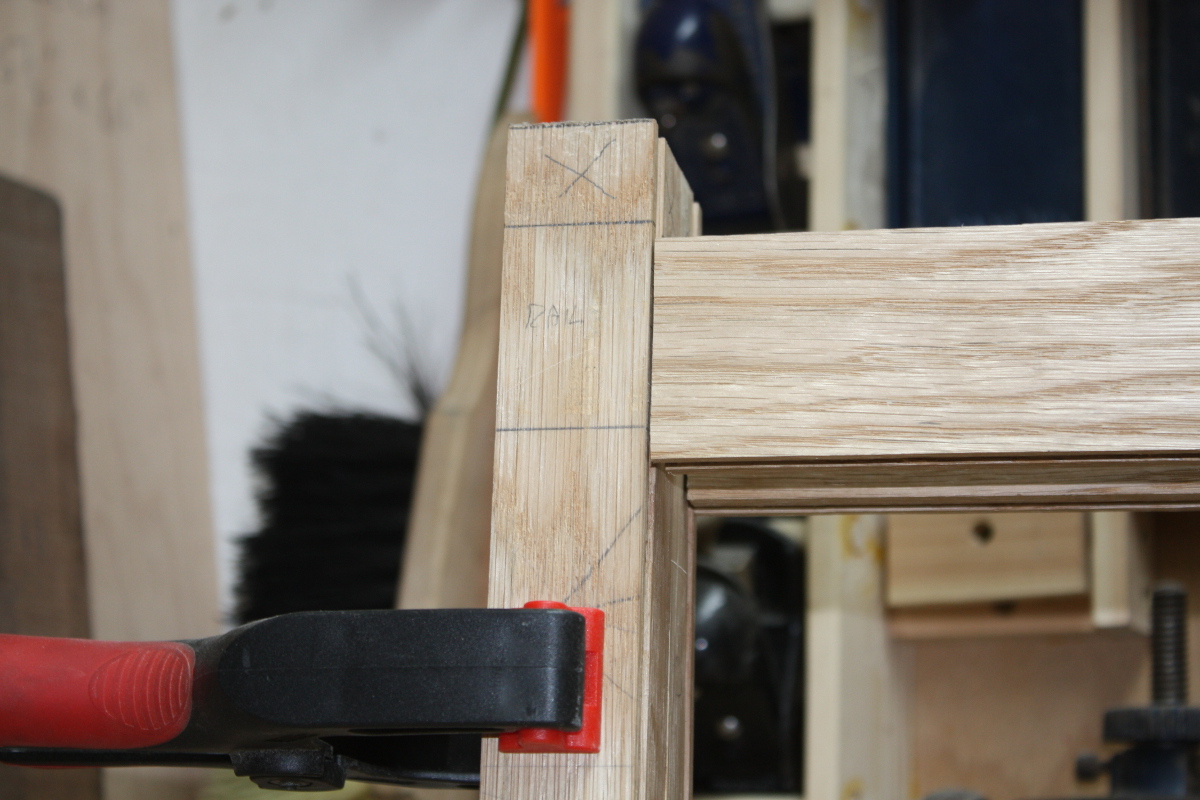
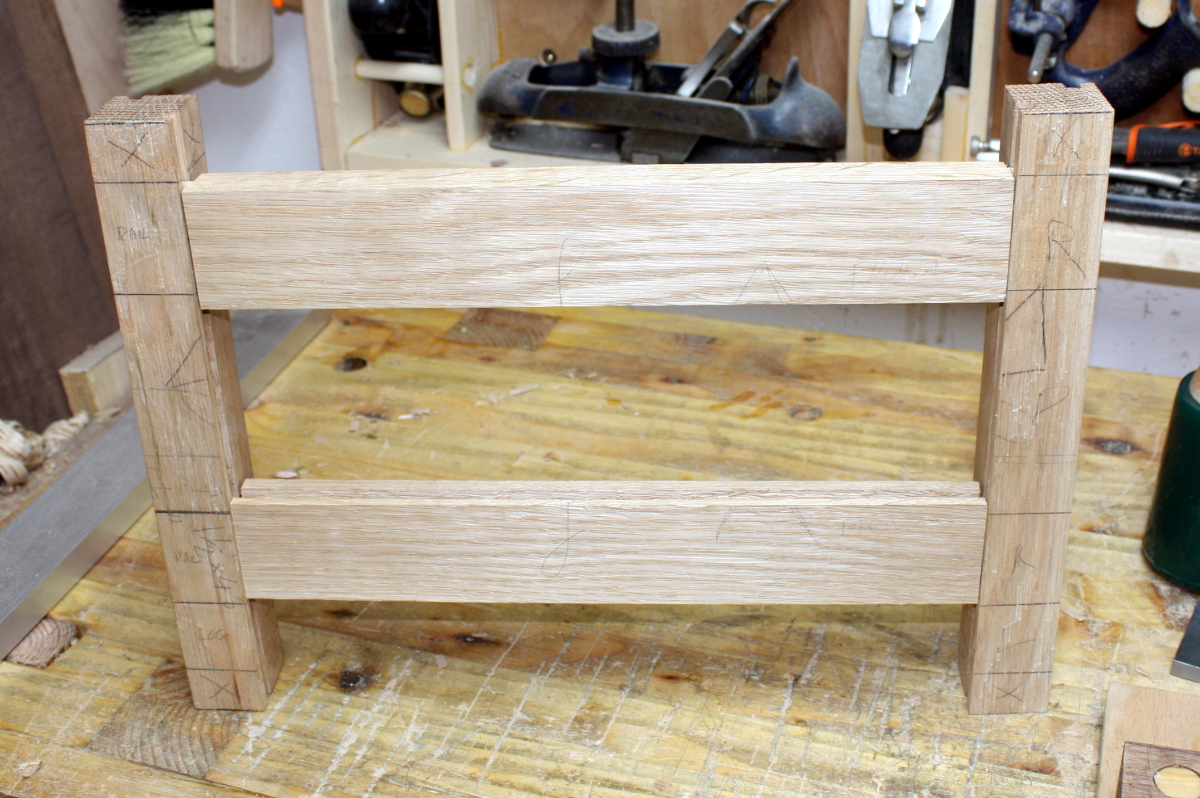
Some fettling may be required. Hm. I do have some room for that but not a huge amount. Also, I know it looks too tall and spindly but that’s because the horns (those bits marked X) haven’t been removed yet and won’t be till near the end (they strengthen the piece during construction).
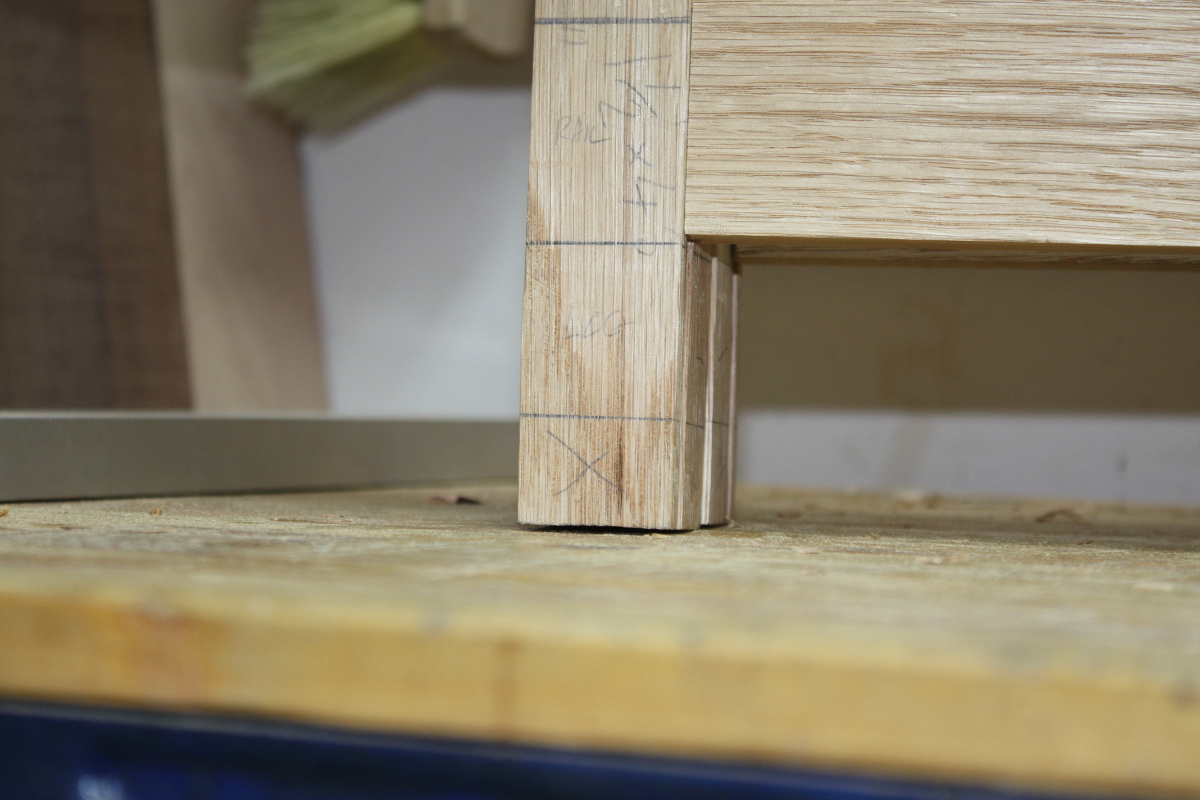
Even after removing the horns on the legs, I’ll still have quite a bit of material to play with to get the overall proportions fettled.
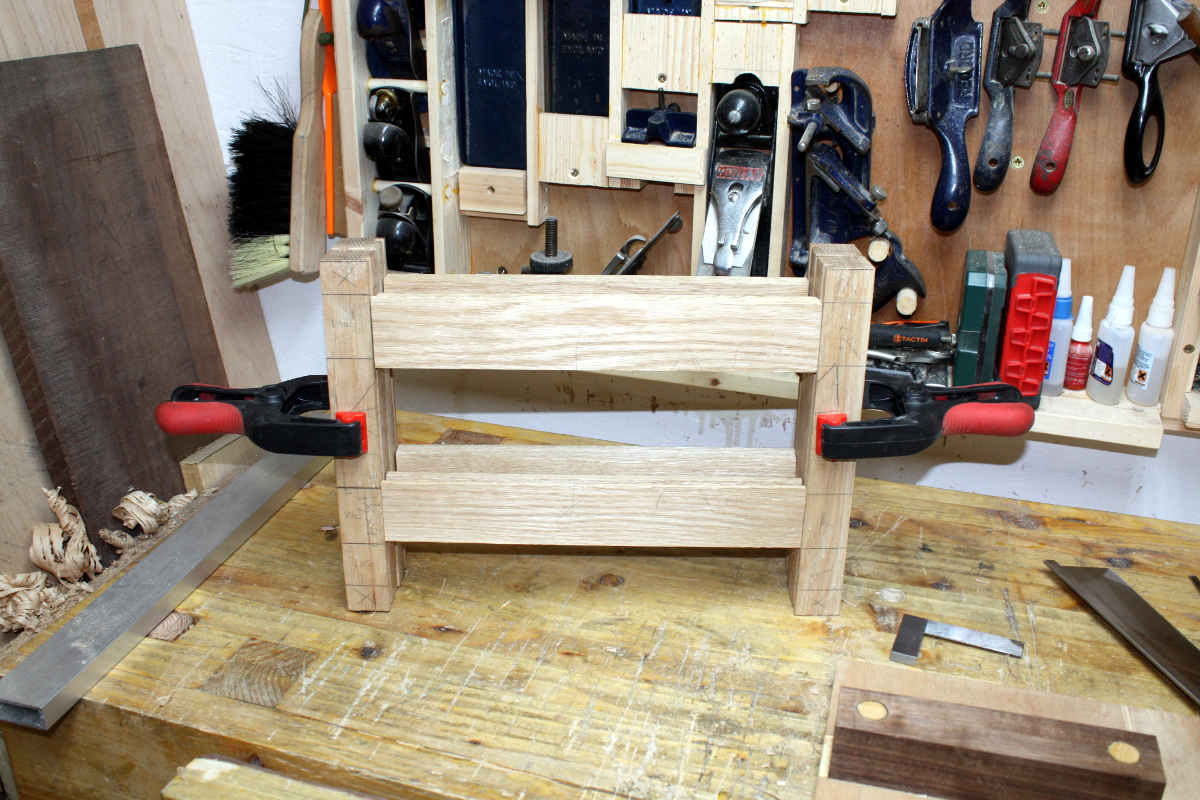
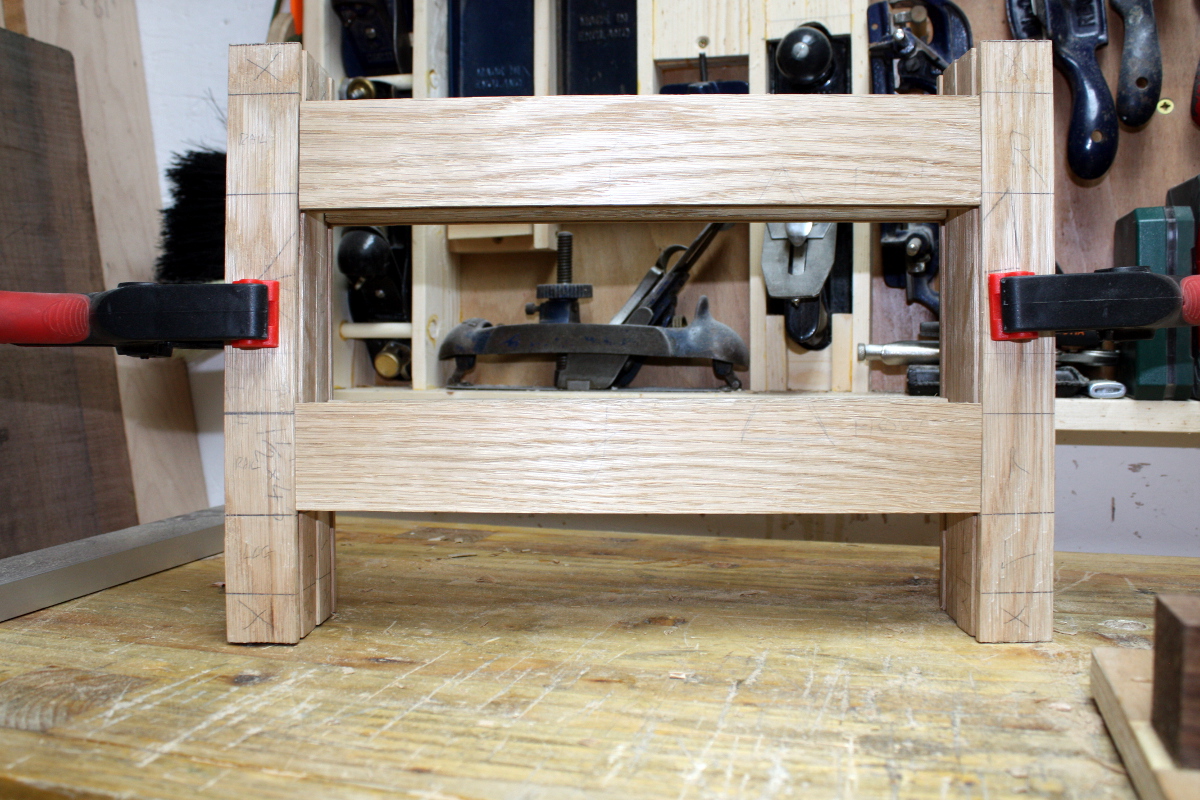
Some of those joints are pretty decent – even the back shoulder gap is quite small if you don’t go overboard on the offset and you still get the tight face joint as a result.
However, if you do go a bit cack-handed…
Yeah, not so good. Structurally fine, but messy as a messy thing. Not entirely sure how to handle this. I might have to make a frame to go on top of the box itself to mask that off (and the lid would then hinge off that frame). Kindof like edge banding does for plywood. Not sure. I’ll see later.
First though, I have to finish the tenons tomorrow by doing the side rails.
And then there are a few more jobs…
TDL:
Rip out lid frame parts- Groove lid frame parts
- Cut lid frame M&T joints and drill for drawboring
- Measure out lid panel size
- Groove lid panel
- Shape lid panel
Cut box tenons and drill M&T joints for drawboring- Groove bottom box rails for floorboards
- Crosscut floorboards to width
- Plane away inside corner on stiles
- Cut edge floorboards to fit around stiles
- Possibly build face frame for the top of the chest
- Assembly
- Hinges
- Finishing
Like this:
Like Loading...