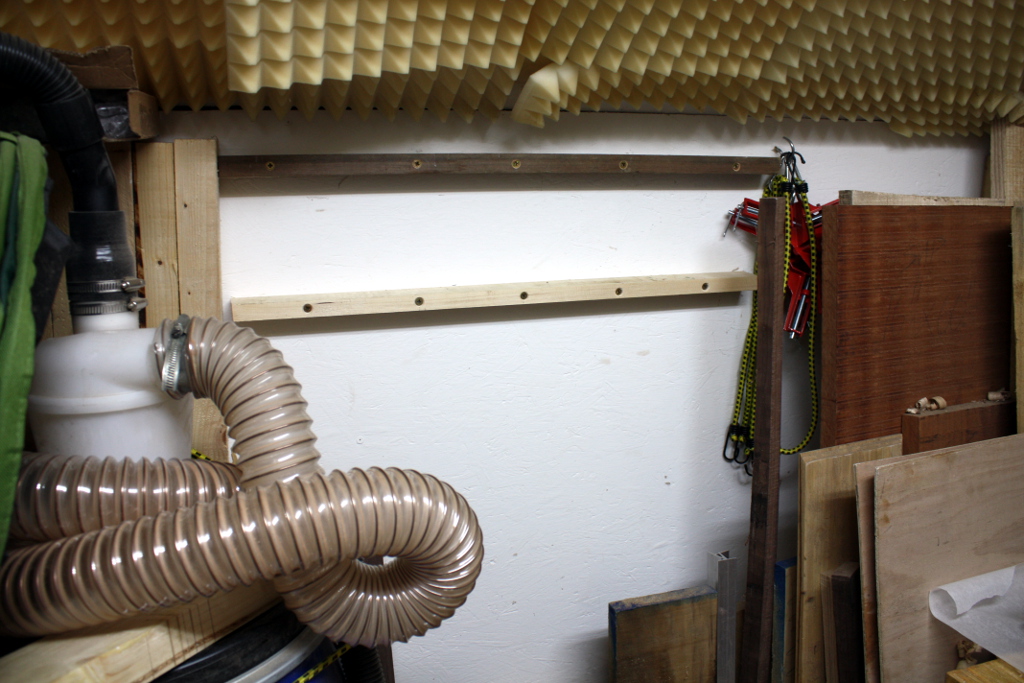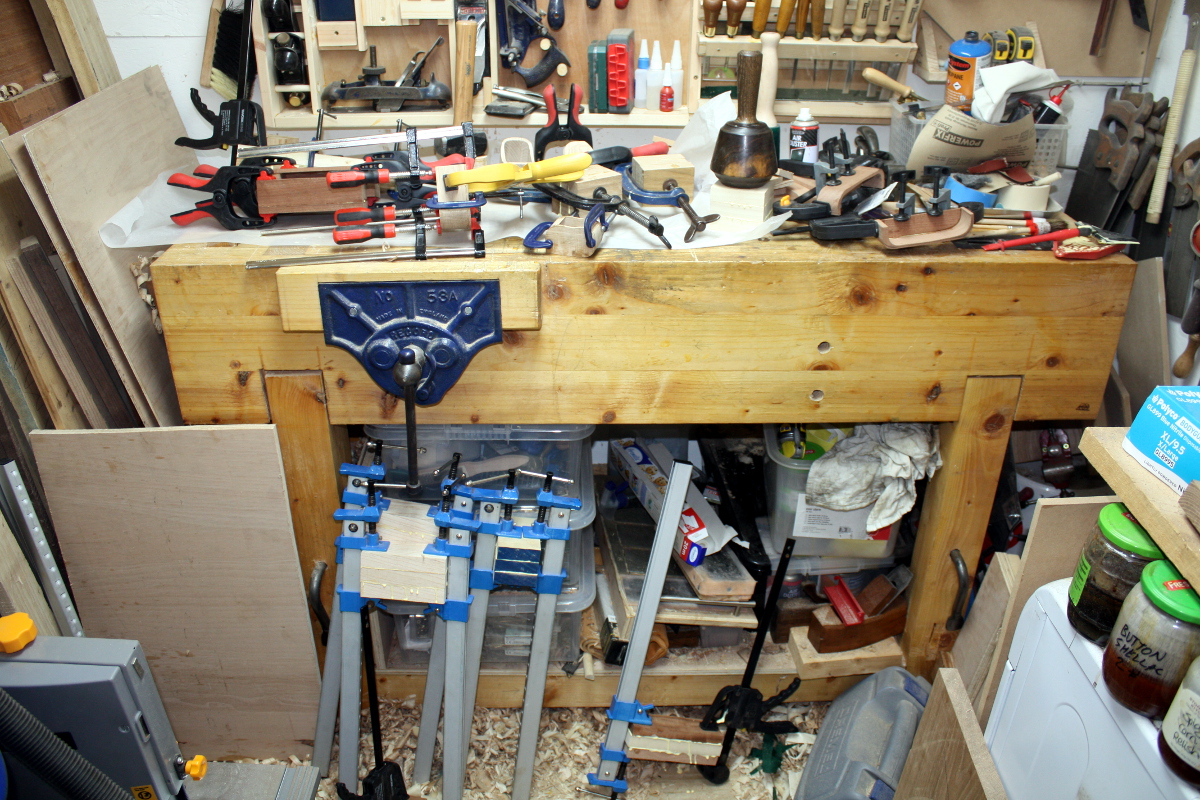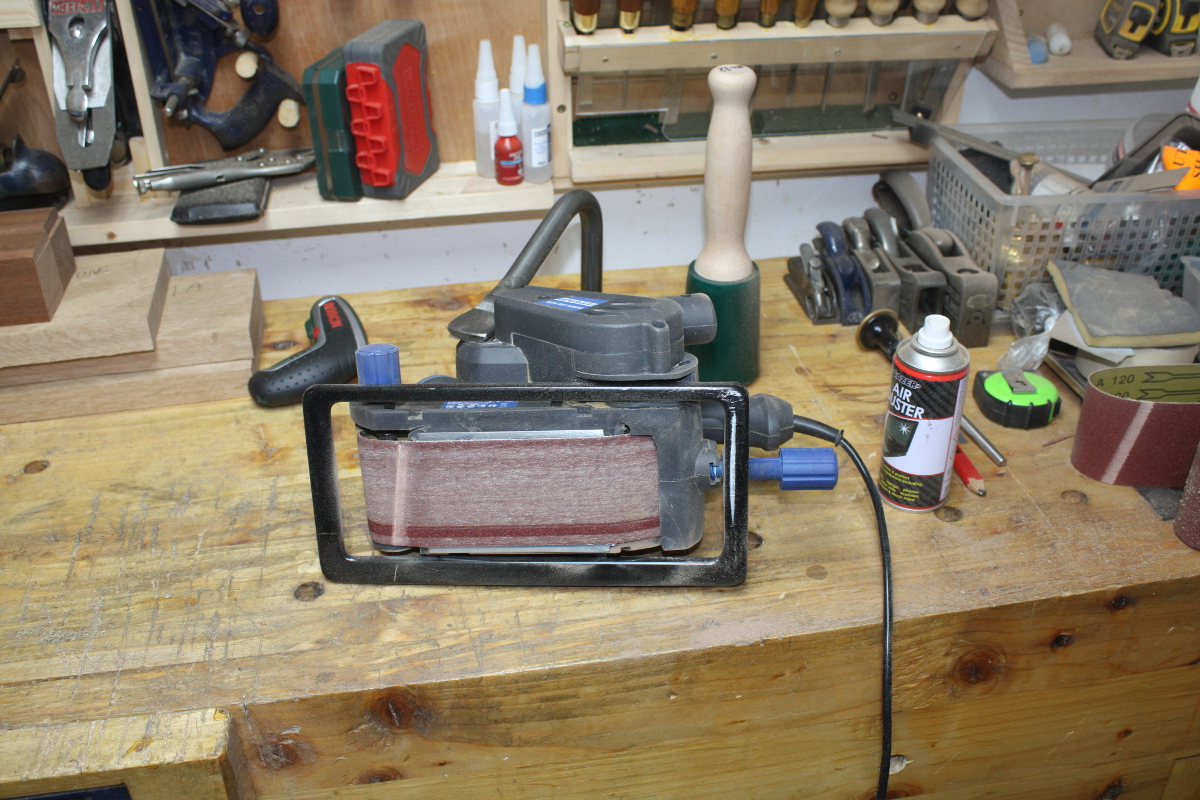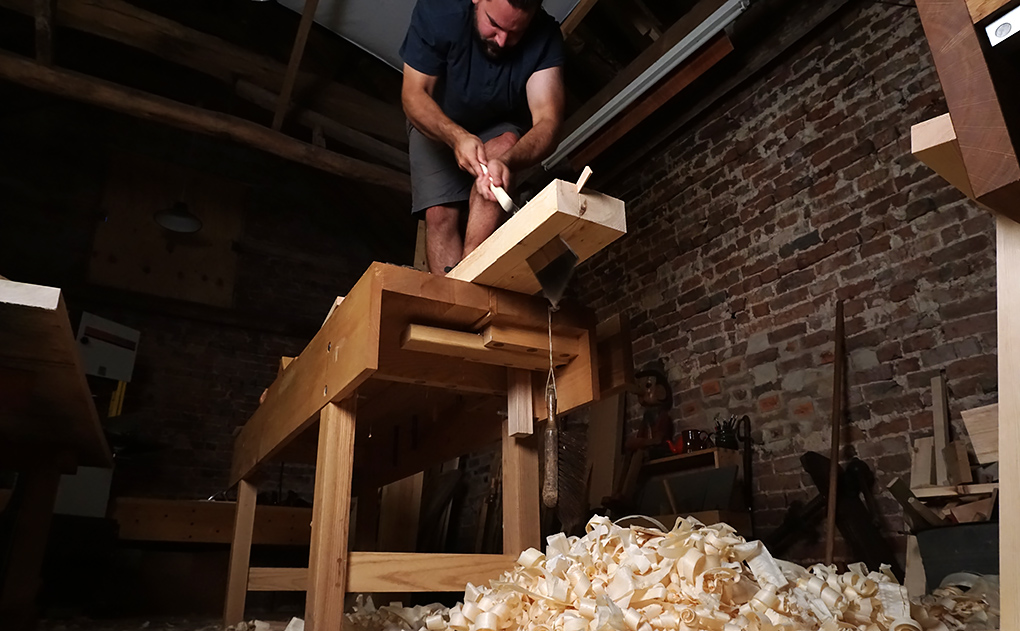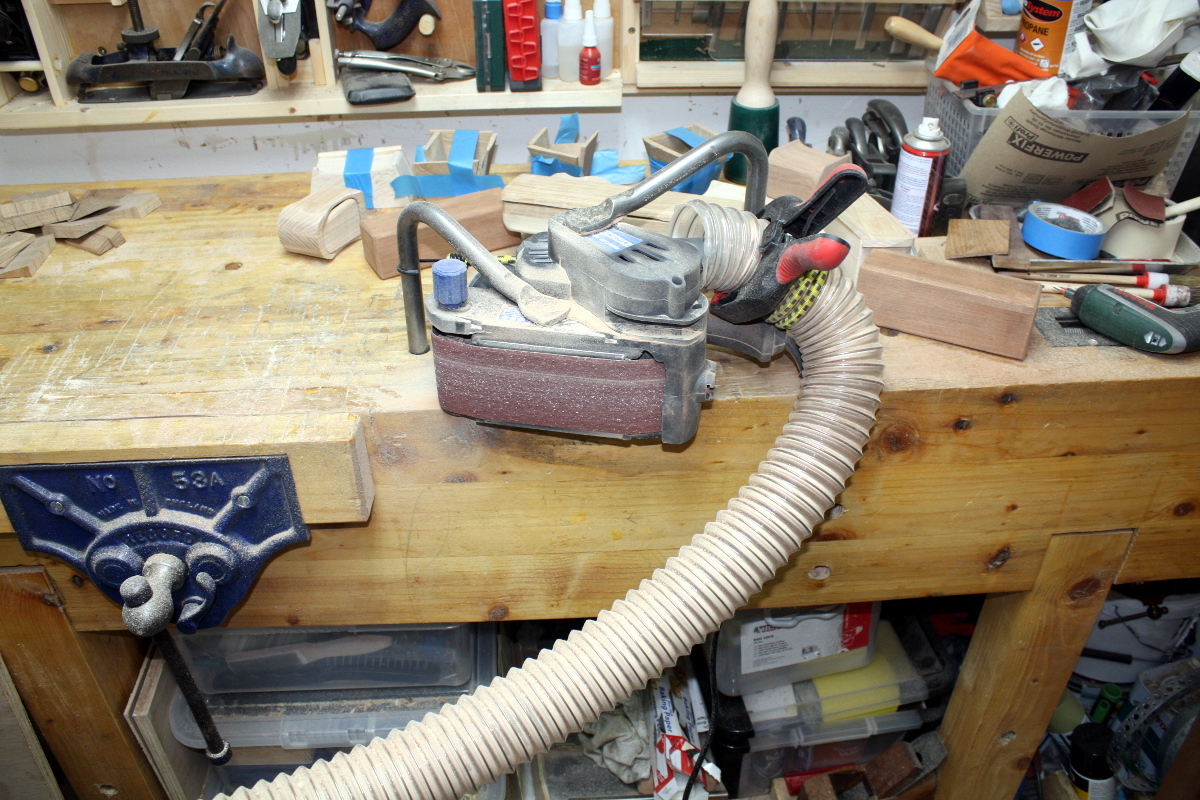
I seriously need a better sanding arrangement. Roll on black friday.
 Not to mention, the goggles could be more comfortable.
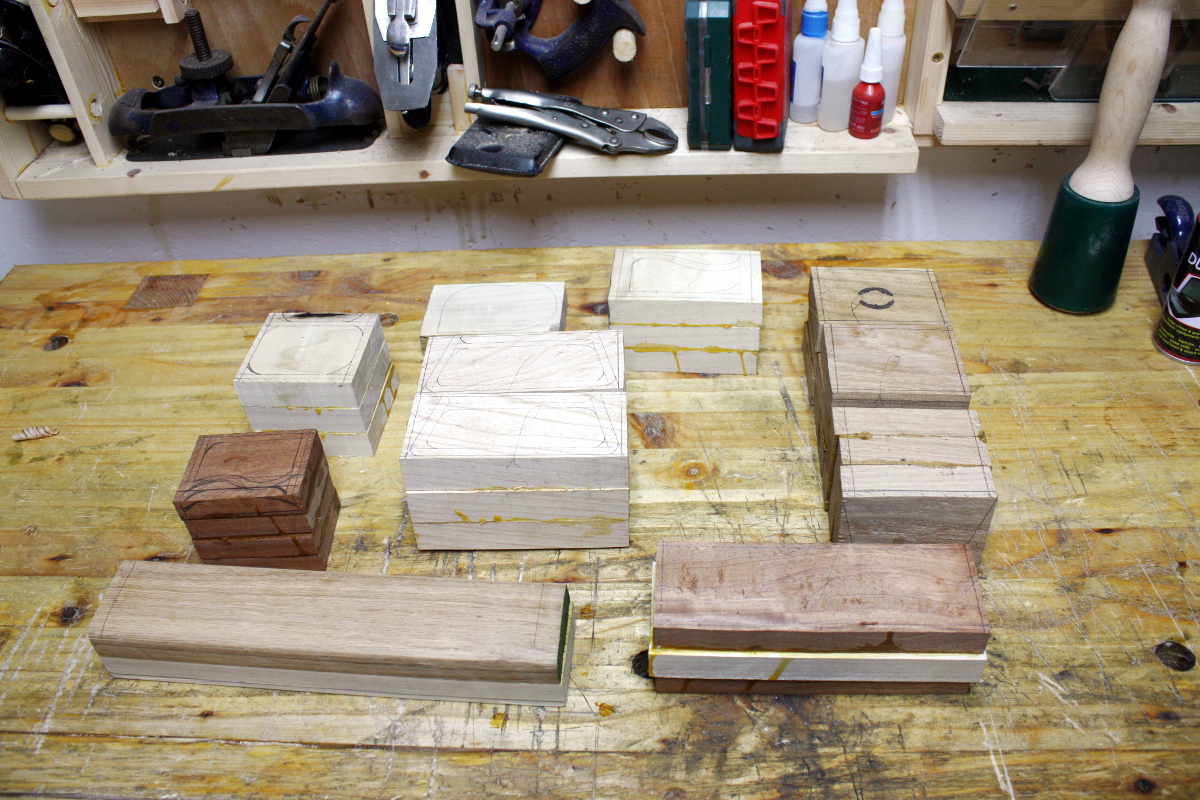
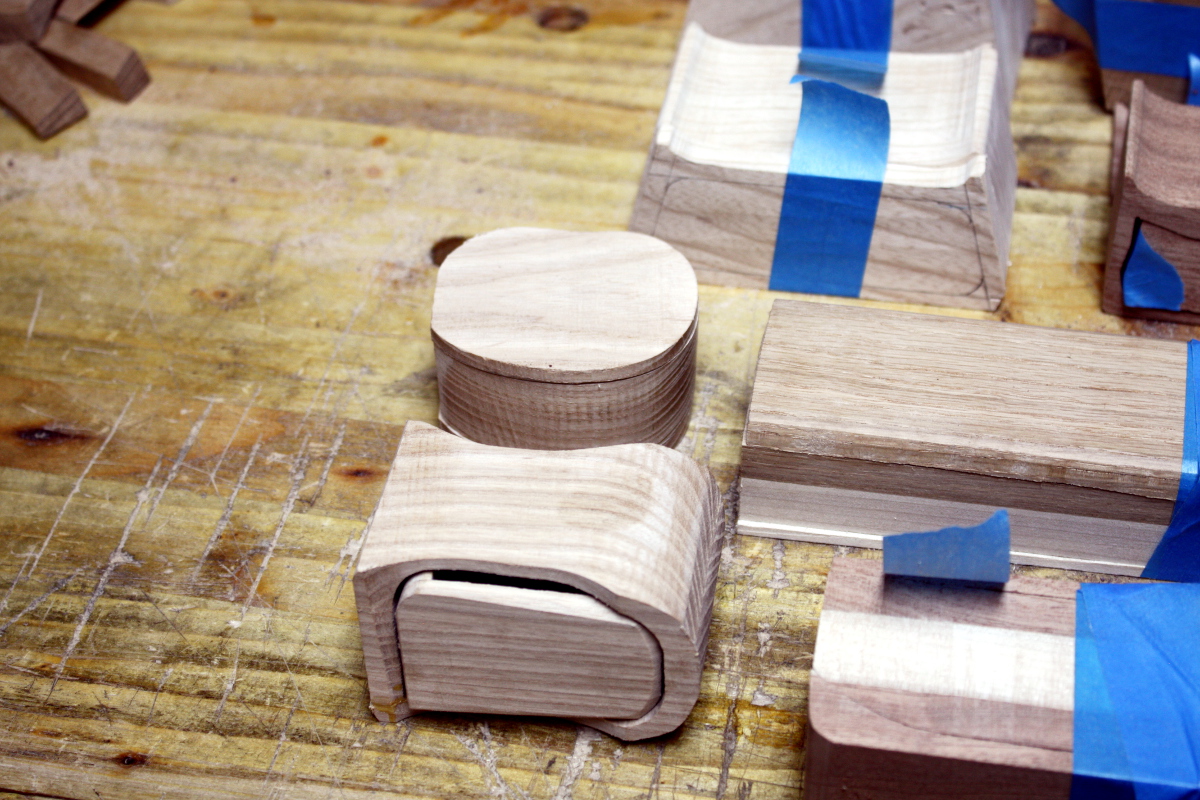
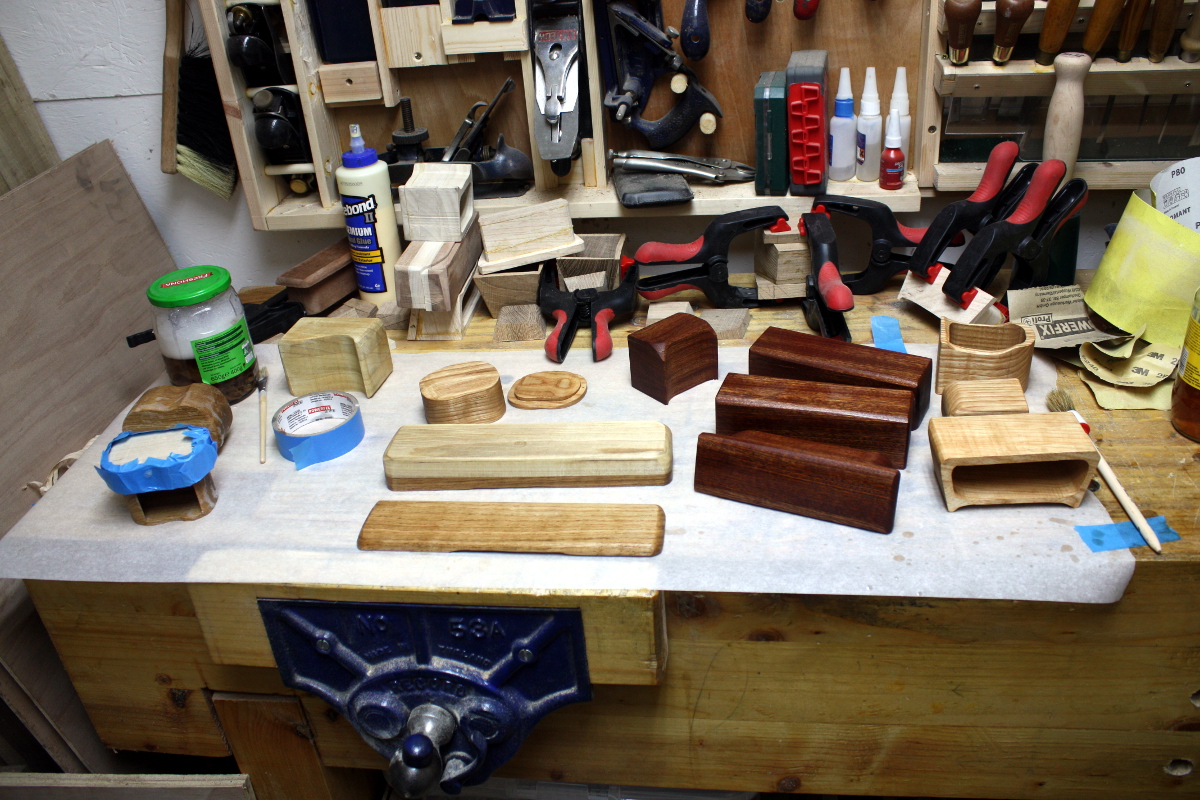
But at least the boxes have seen progress…
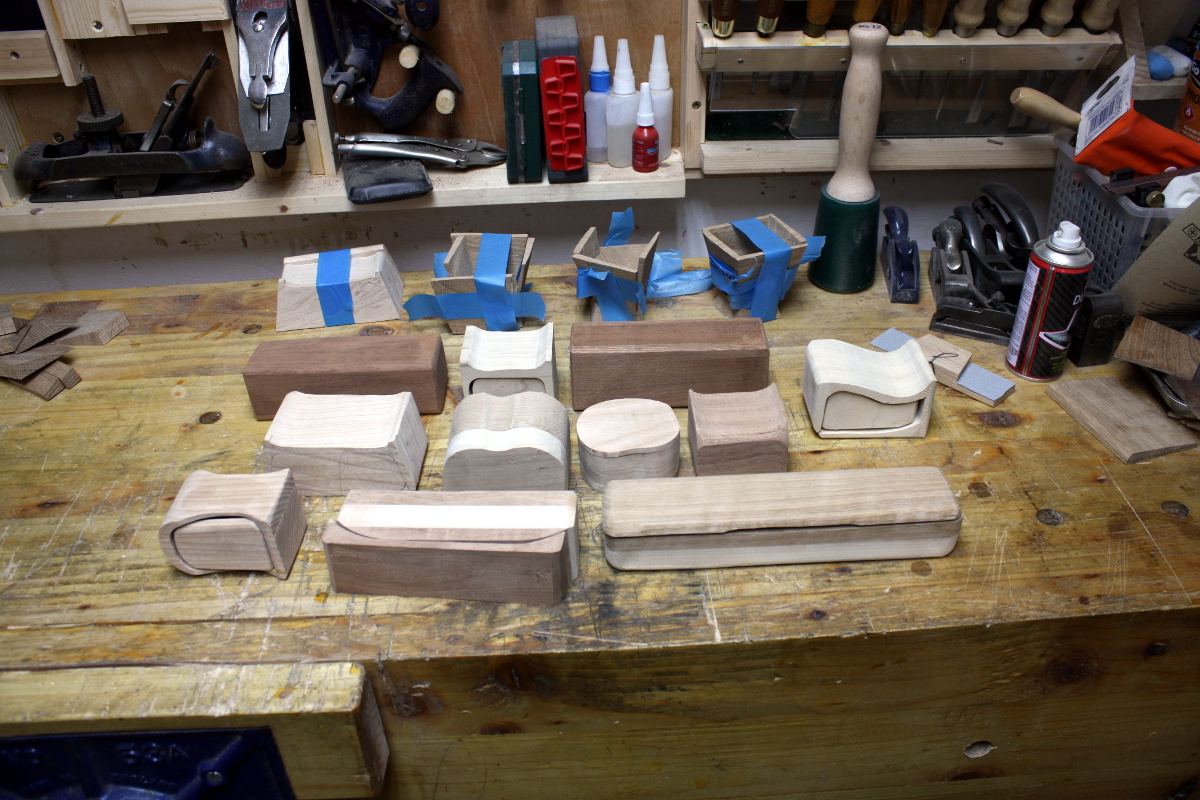 About a third were done with shaping-level sanding, about another third just had to have drawer pulls fitted, and the remaining third were still being assembled or needed serious shaping (meaning another belt sander session).
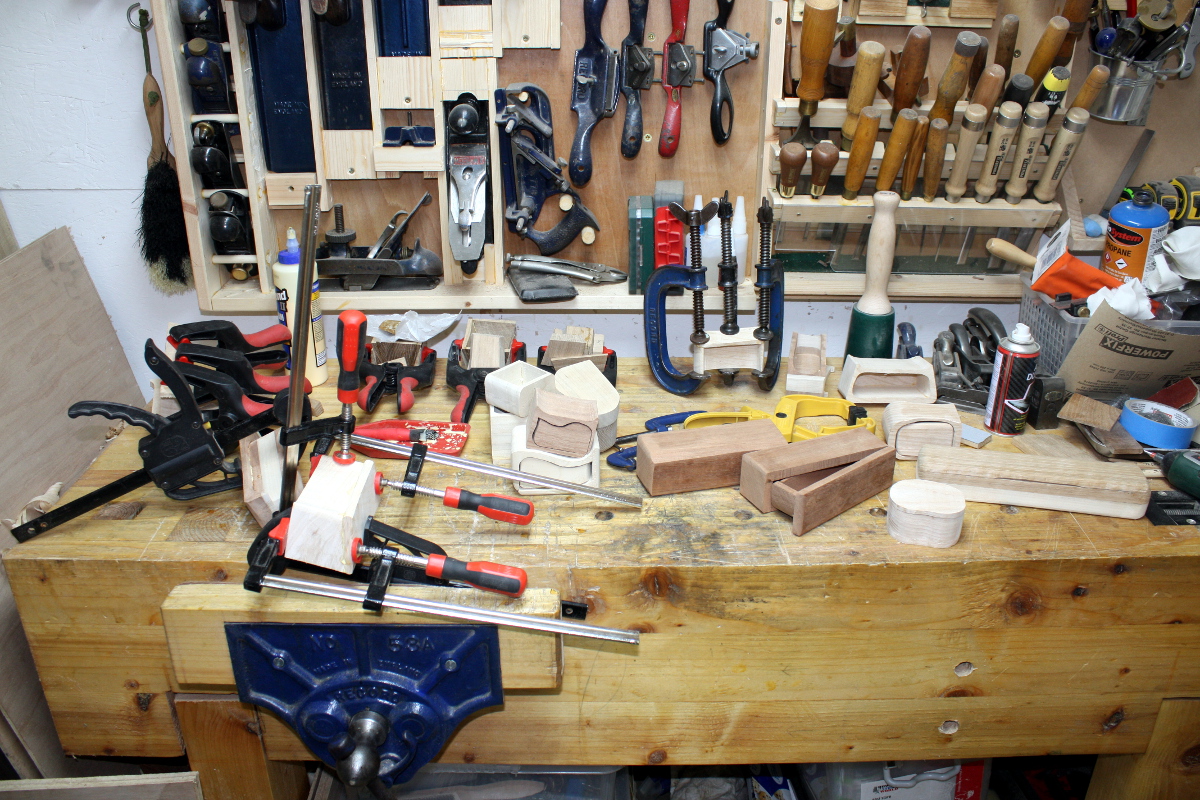
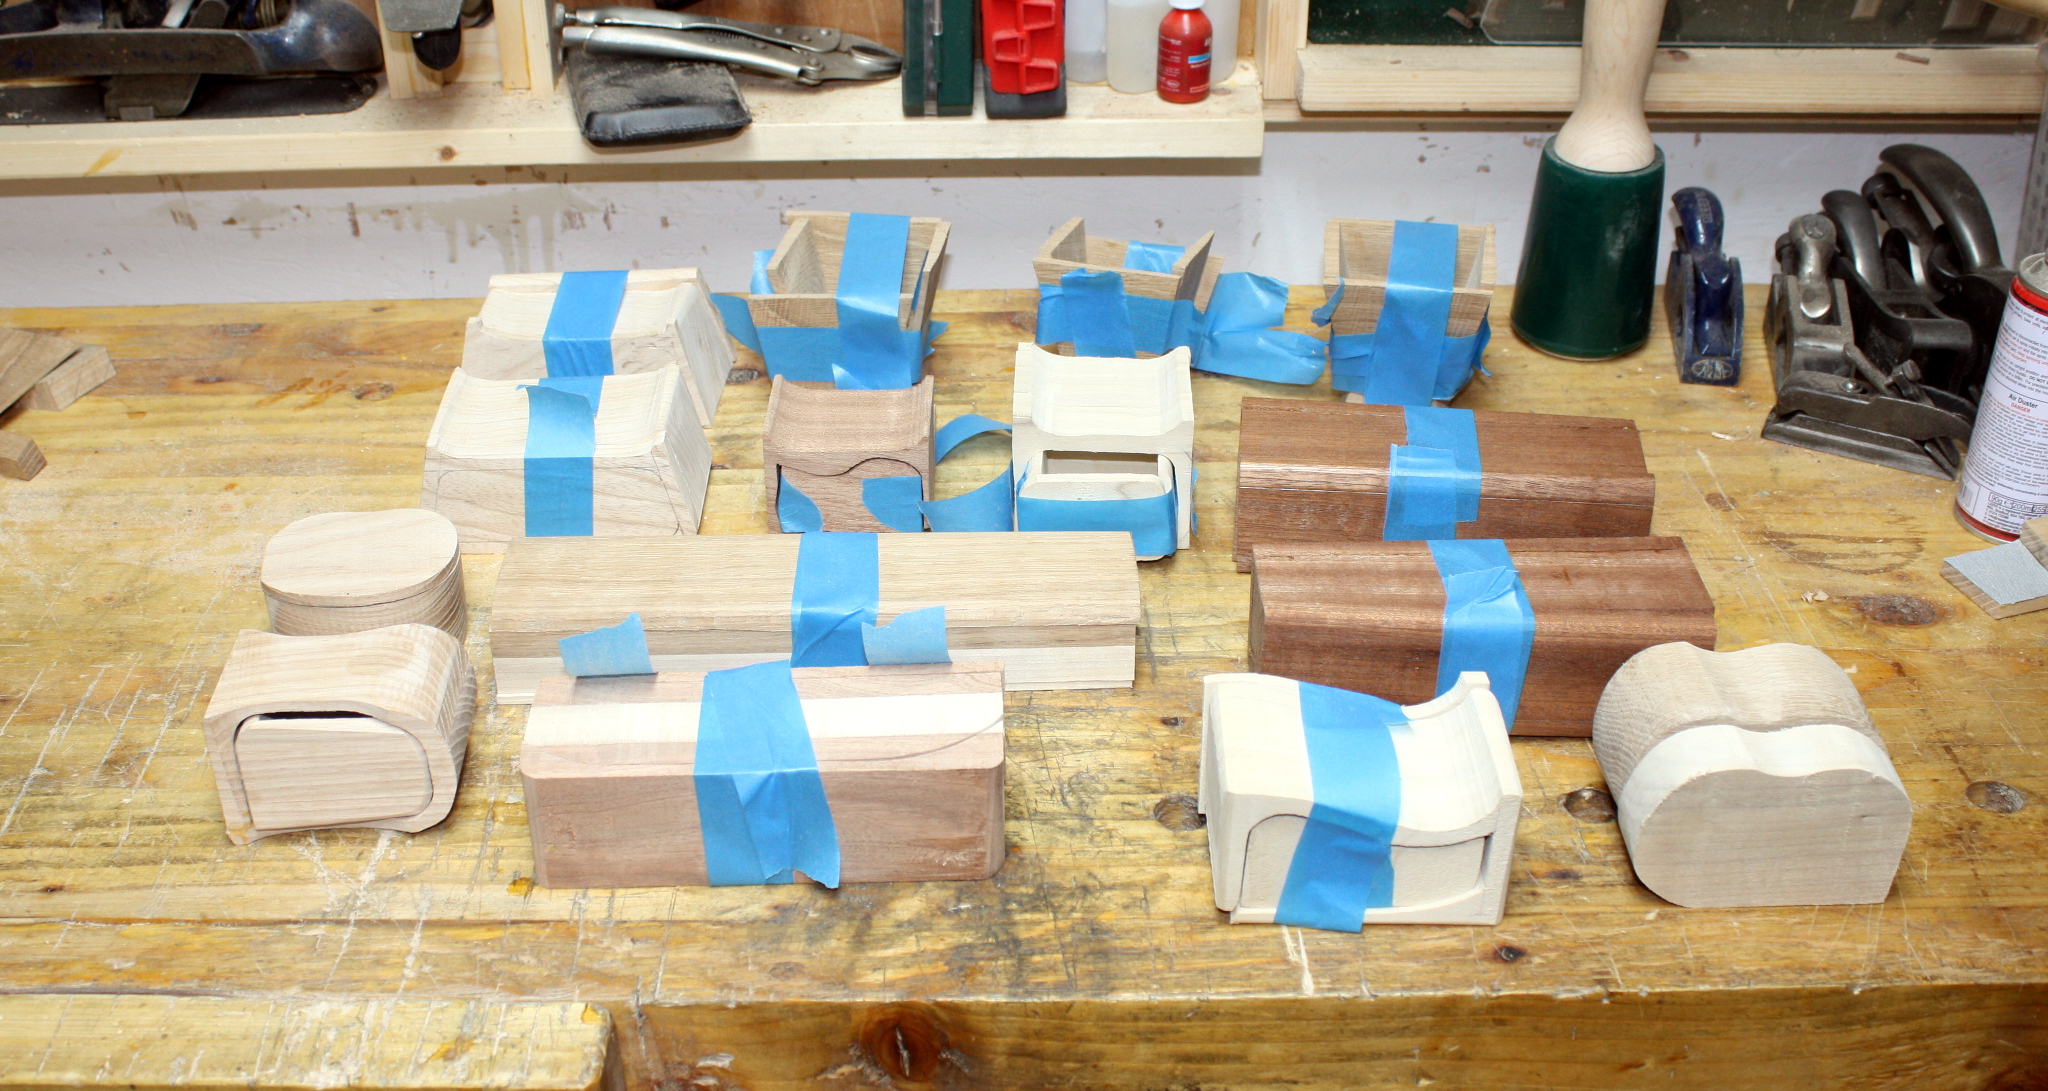
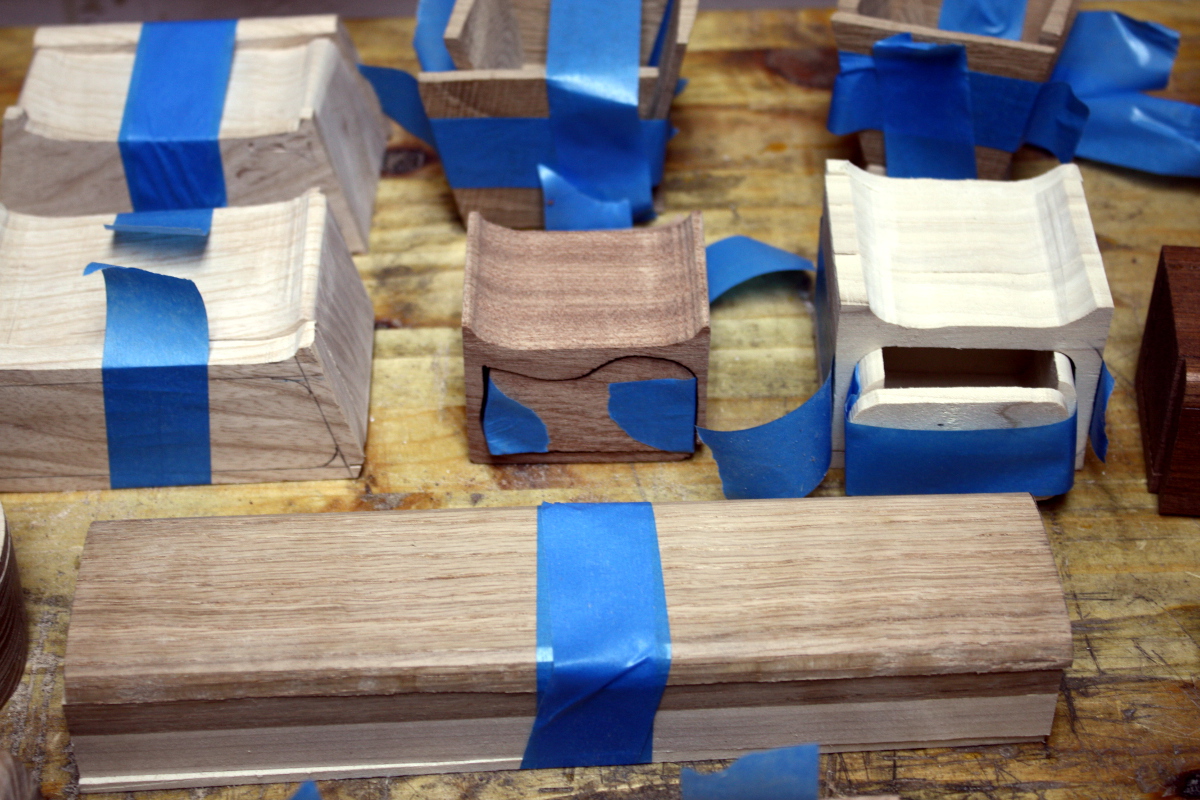
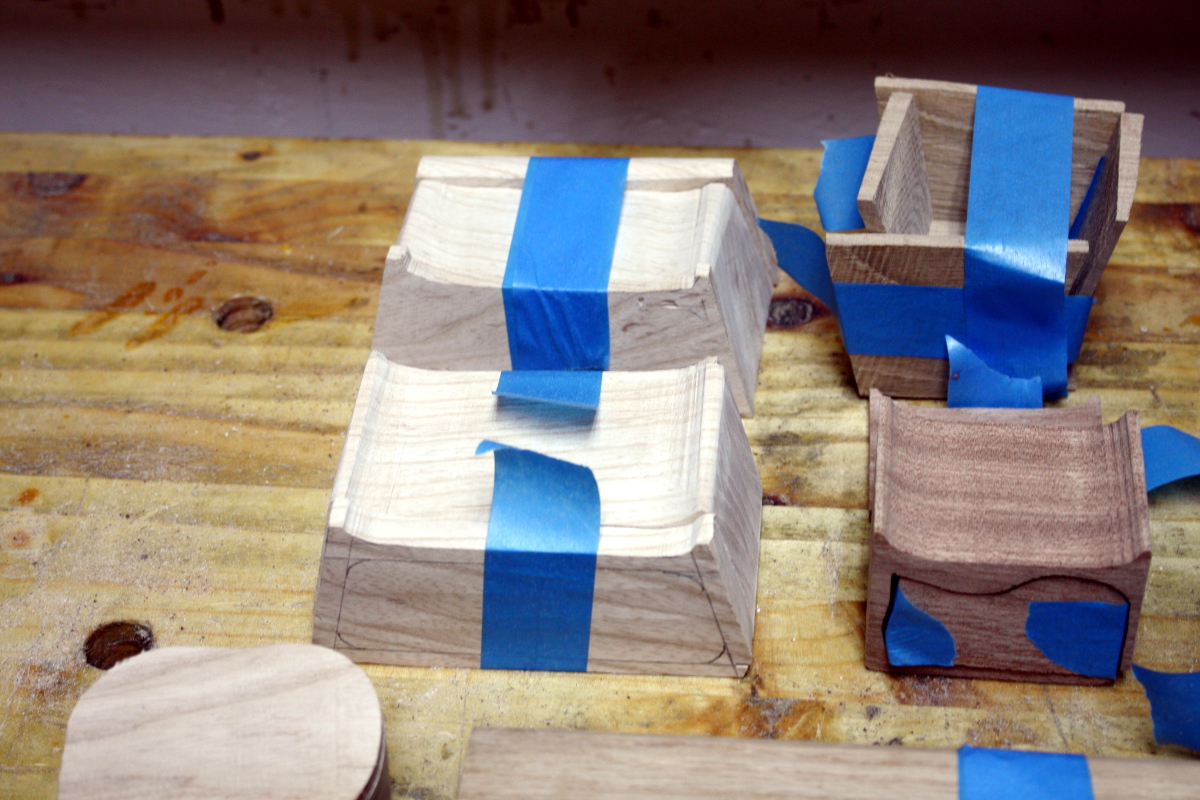
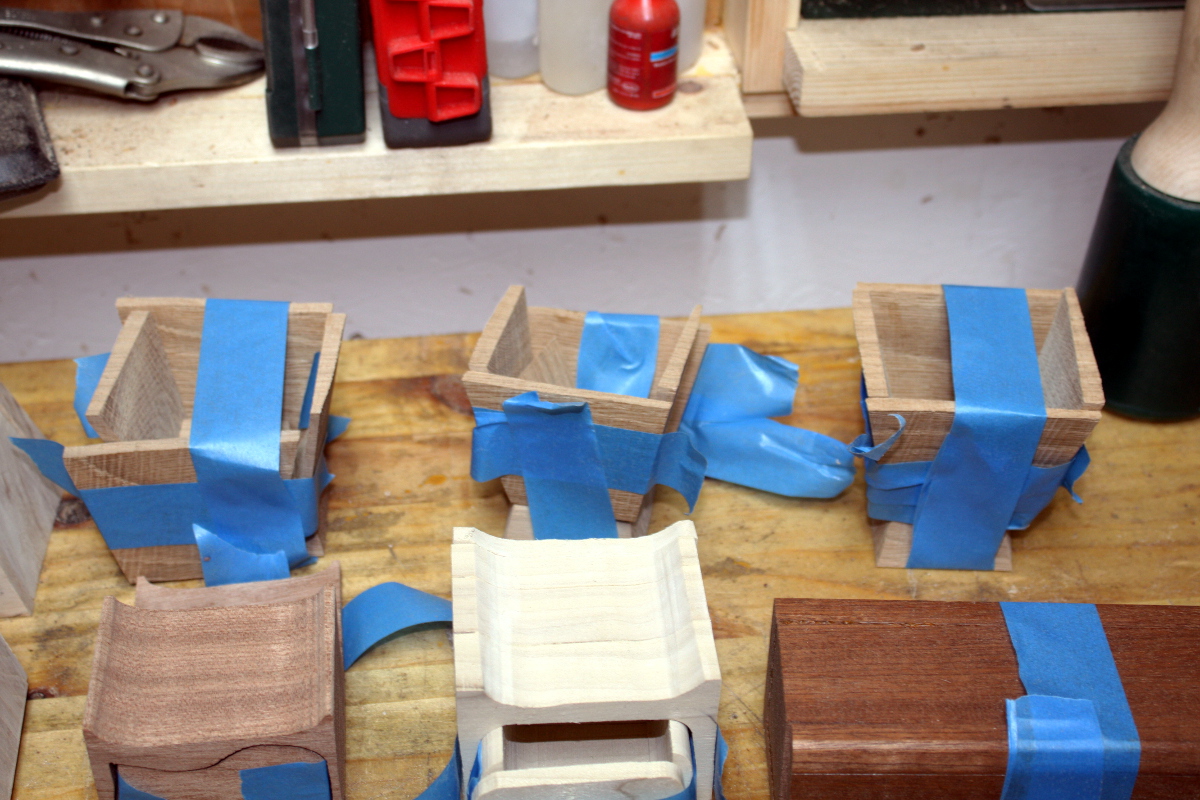
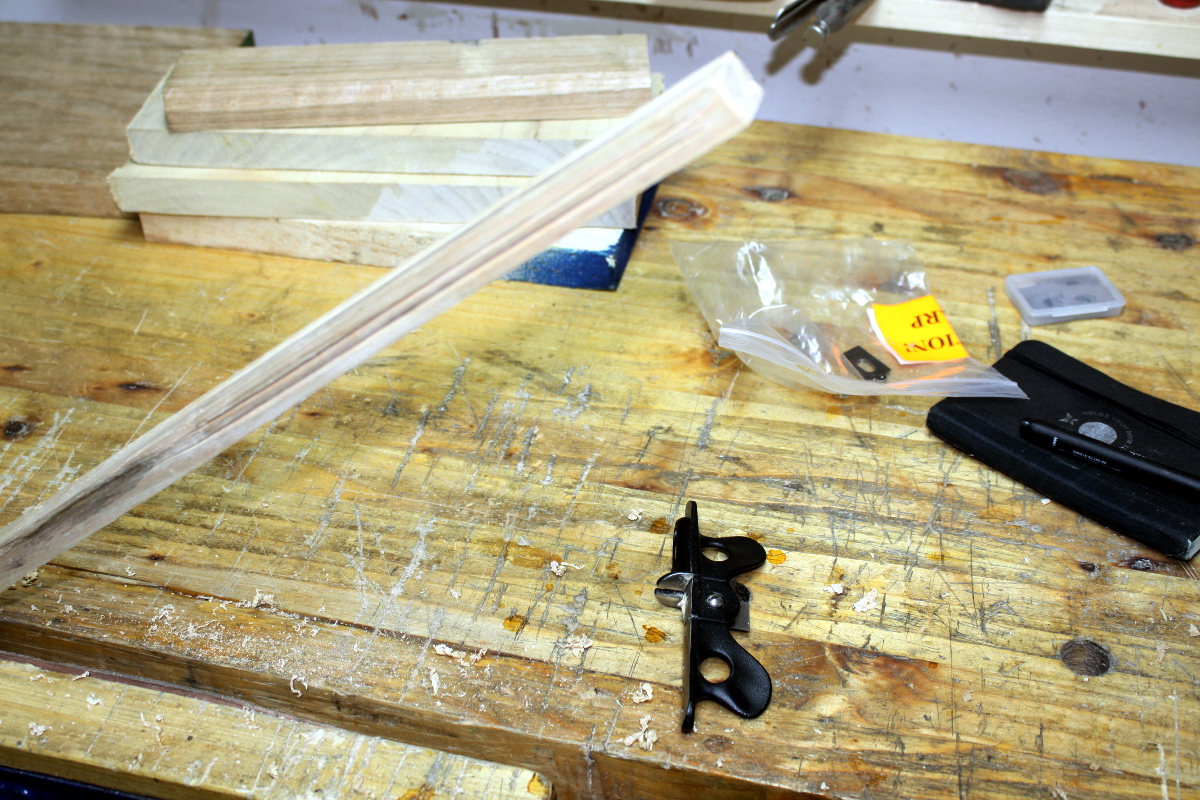
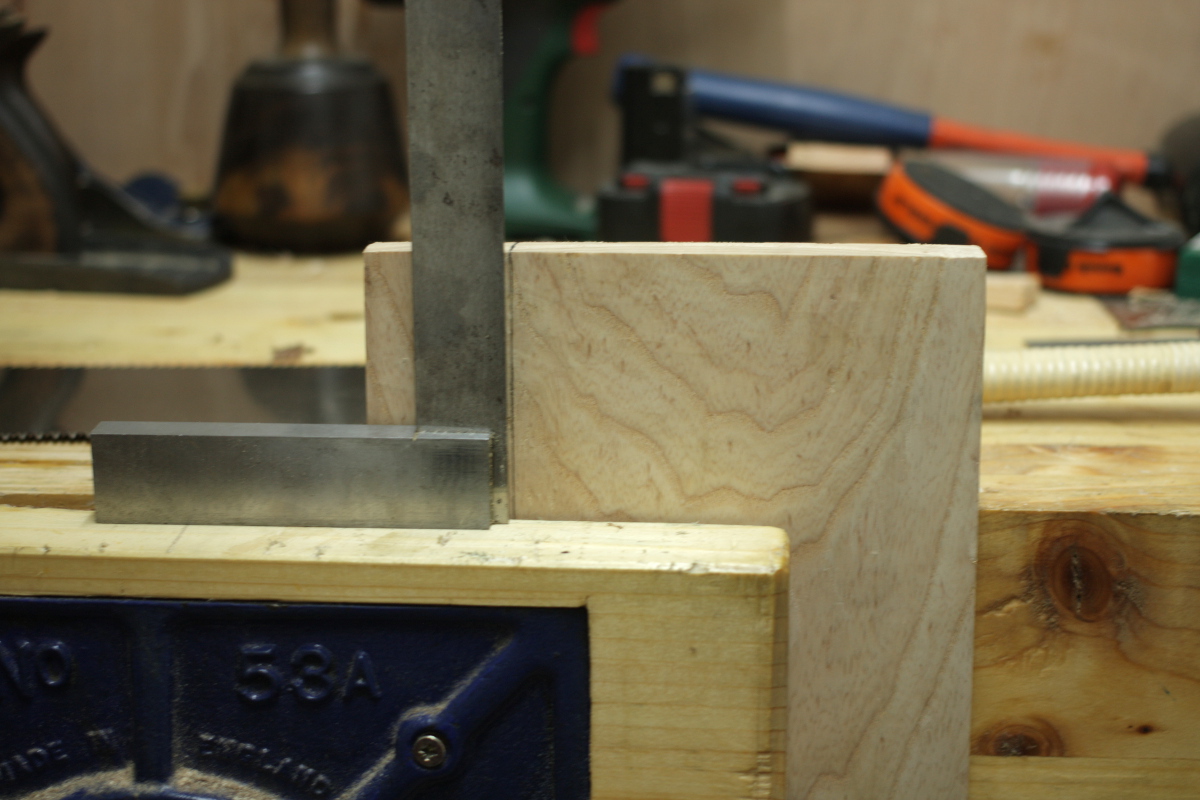
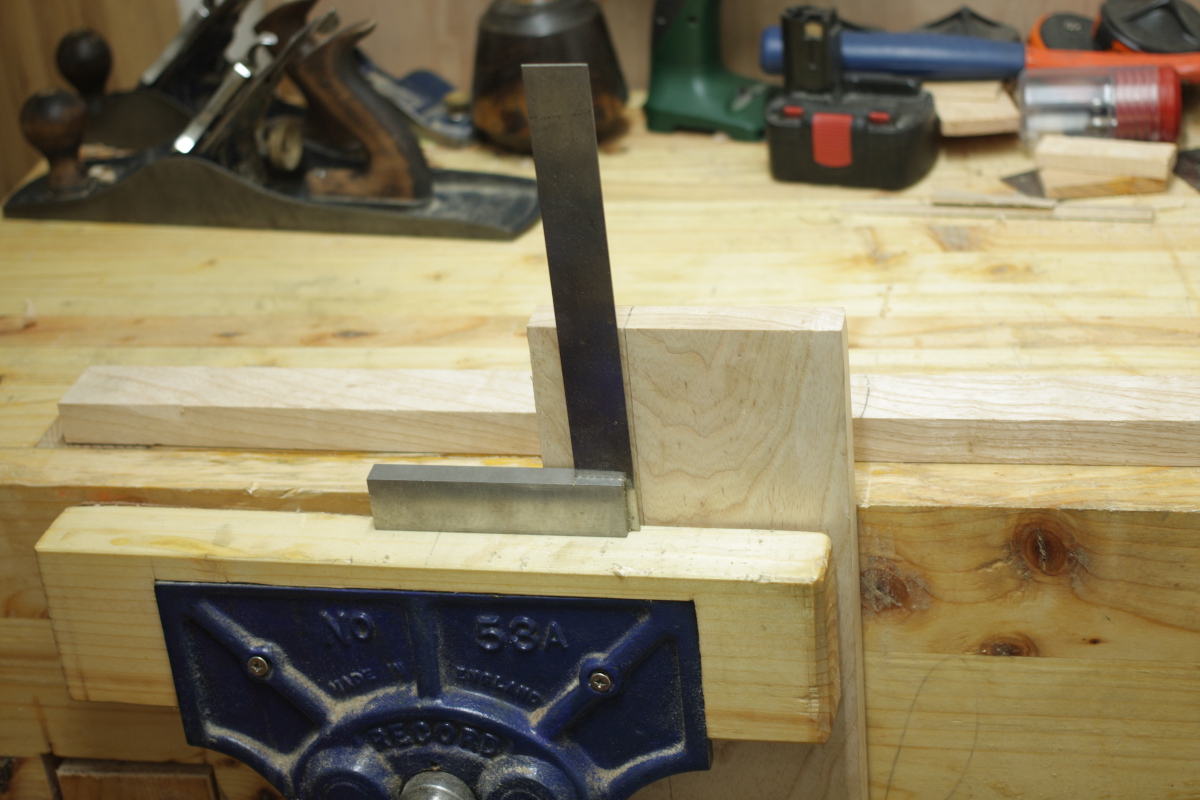
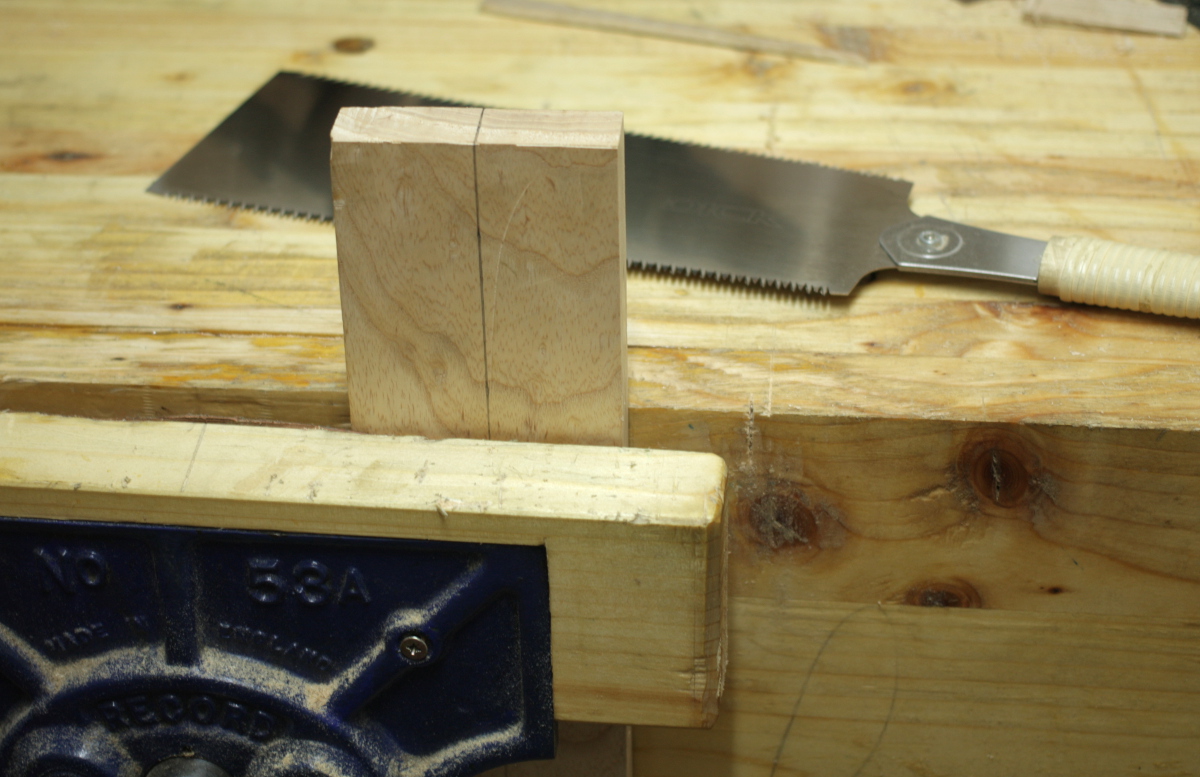
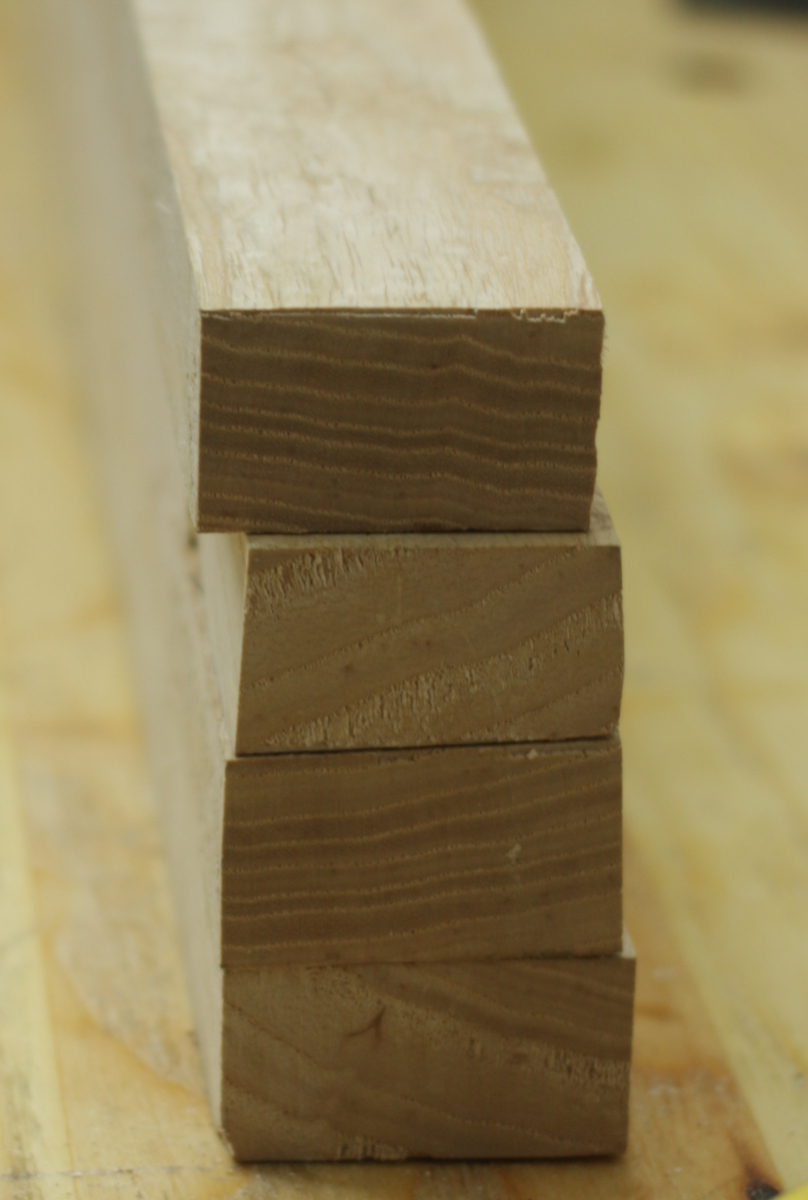
Some sorting, some test fitting, and some glueing up later and then I left everything overnight to cure. The following day I found that one of the oak boxes had had a side slip during glue-up, so it needs more shaping on the belt sander, and two of the other boxes are in the same boat; the dremel came out to do some tweaking whereupon I discovered that my sanding mandrel was missing, presumed lost 🙁 Need to go pay five times the fair price for one now on the way home from work today. Gah.
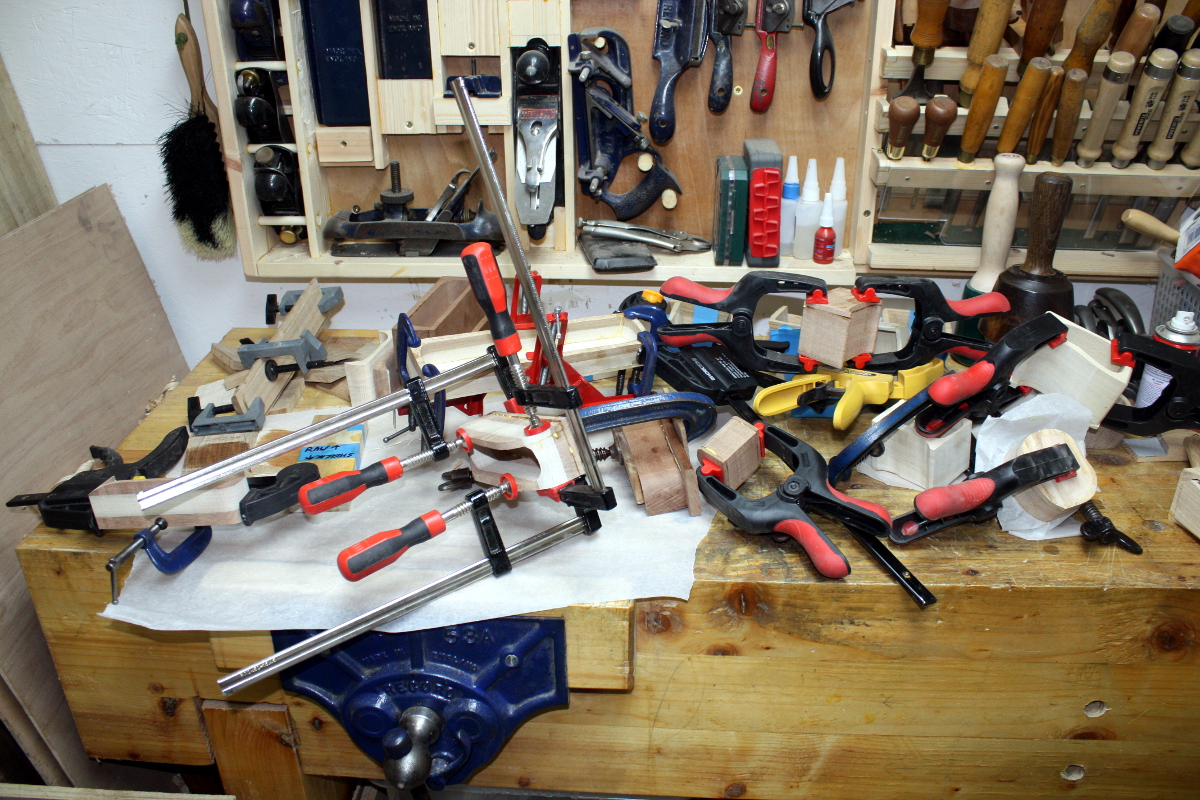
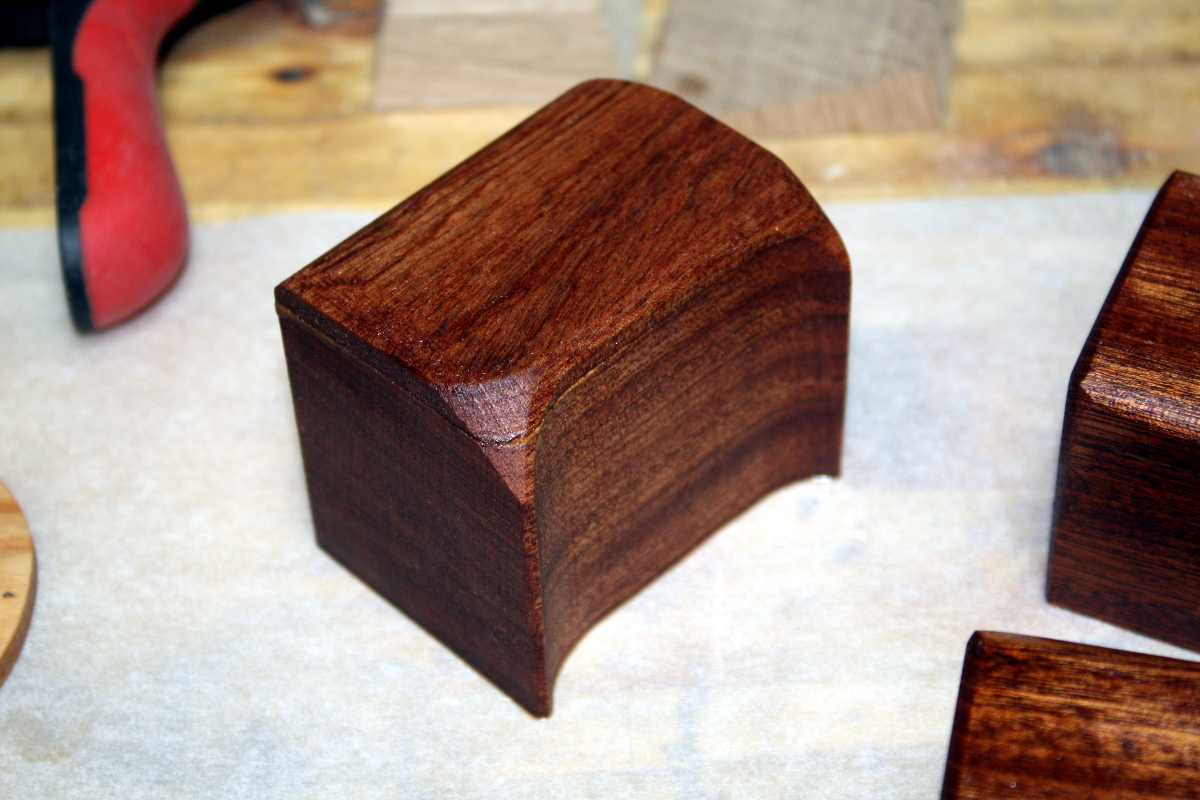
But the rest of the glueups went well, several of the boxes were hand-sanded up to 240 grit and then I started on the finishing for some of them with danish oil for the ash and sapele boxes:
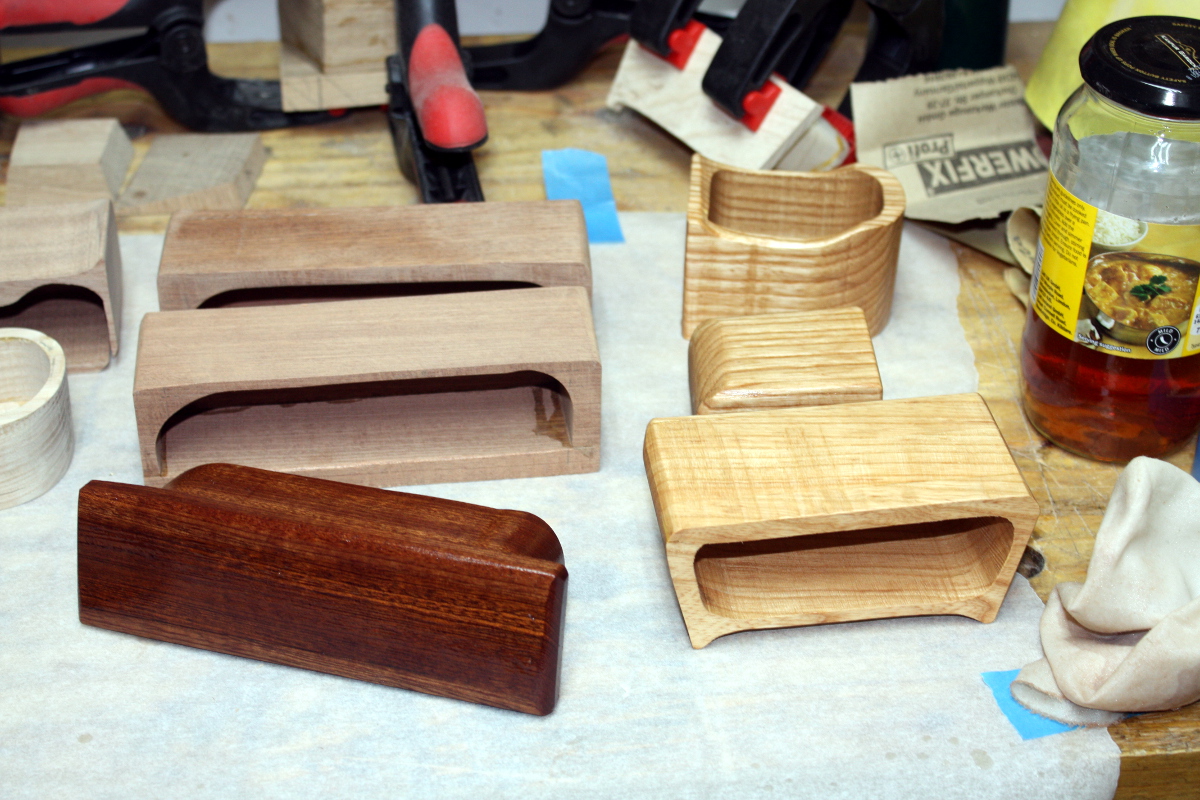 Gotta love the way that colour comes out…
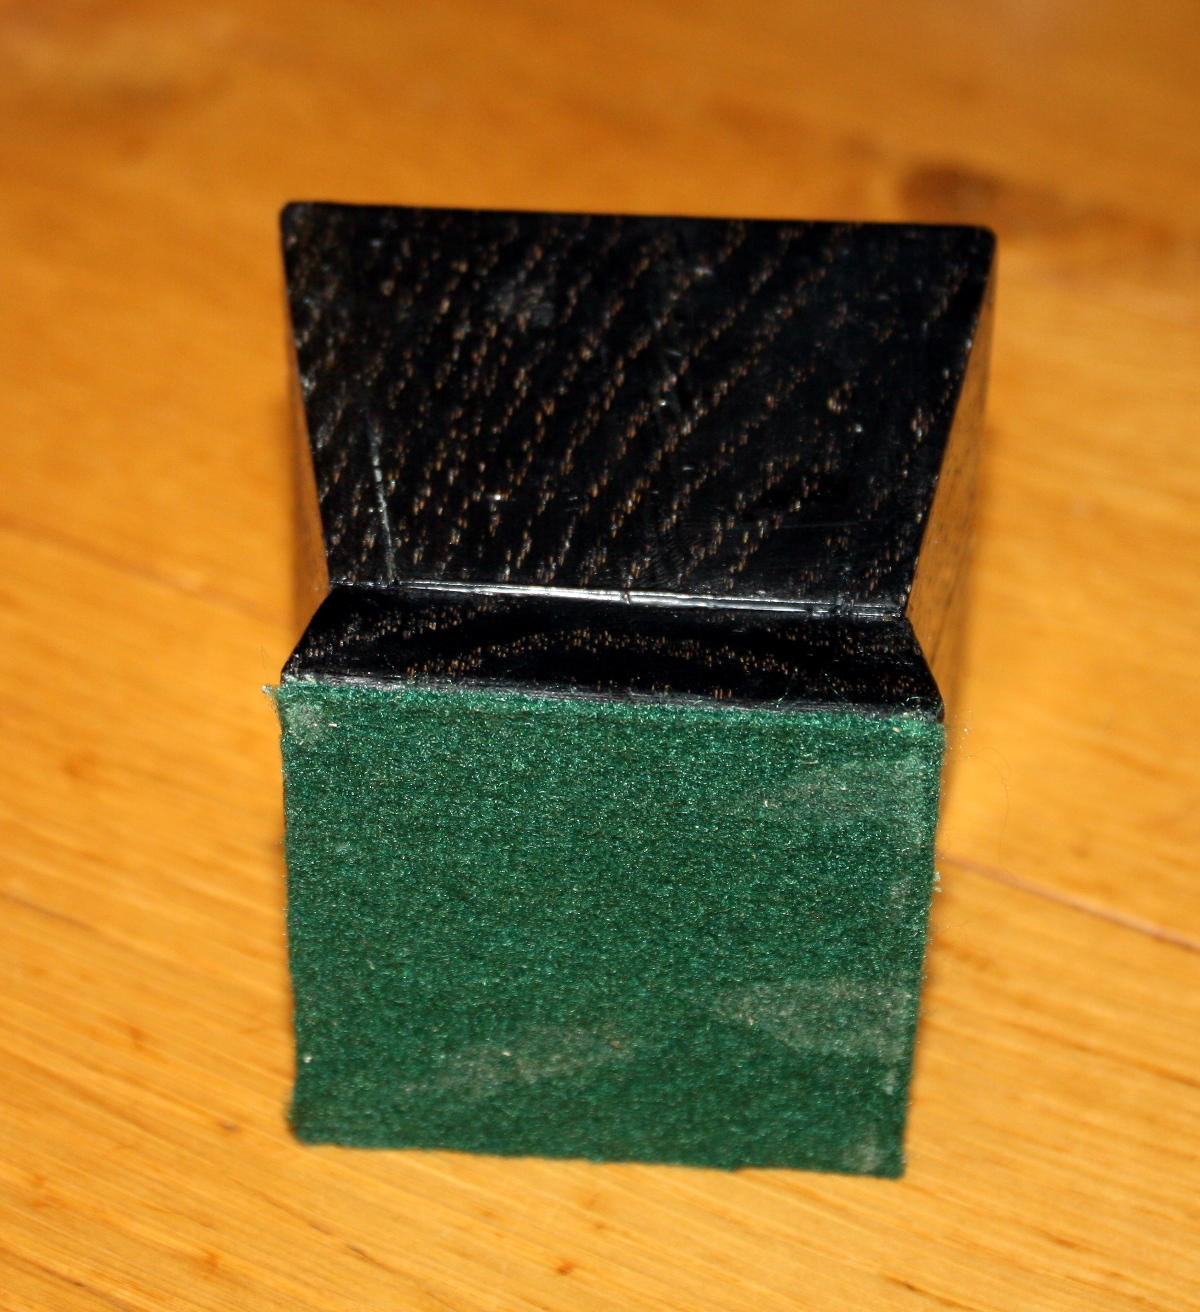
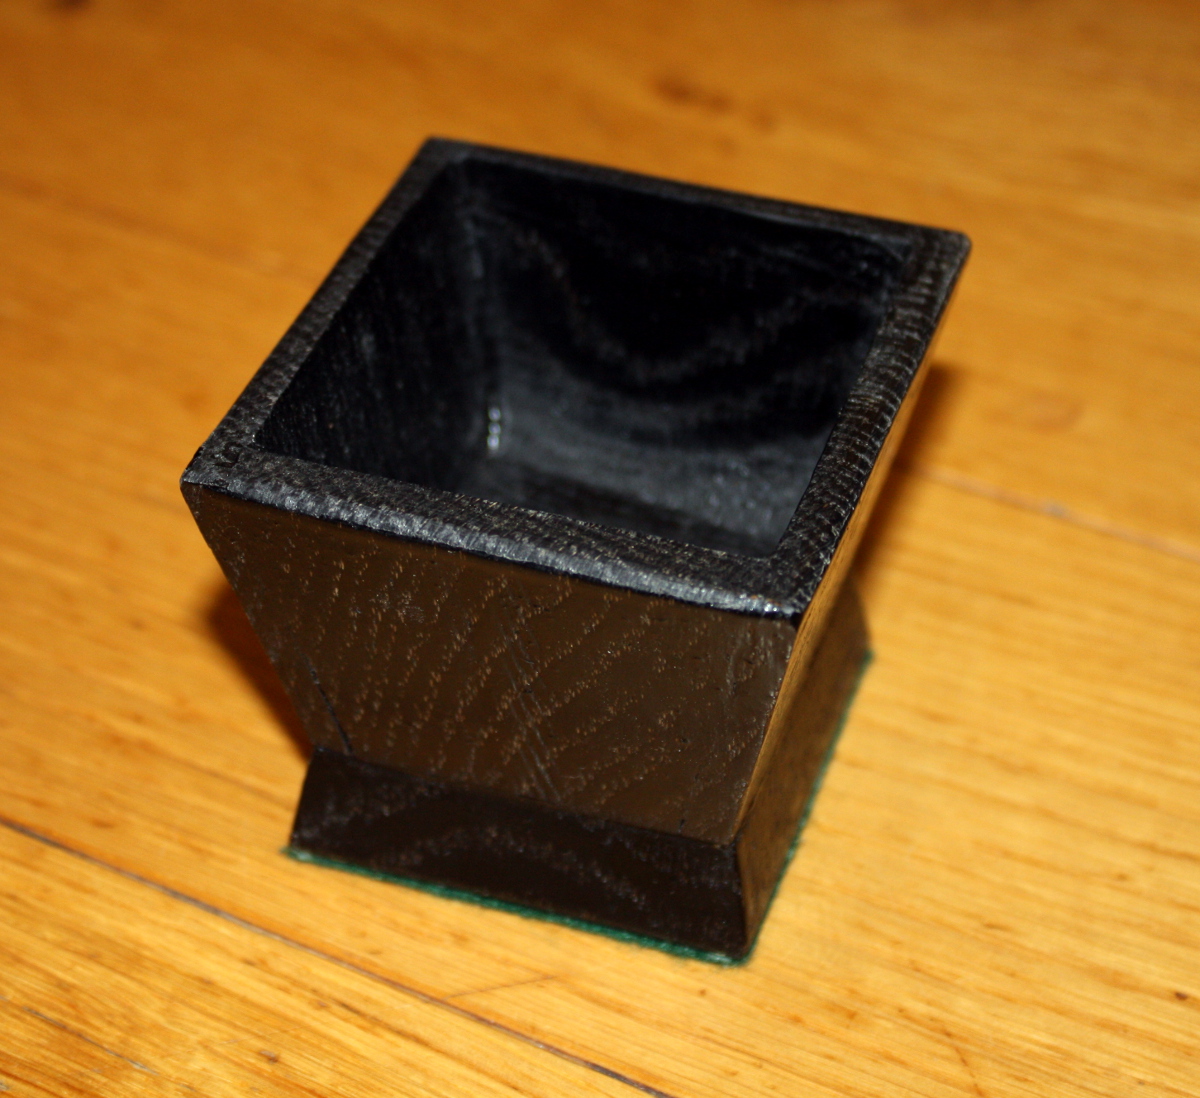
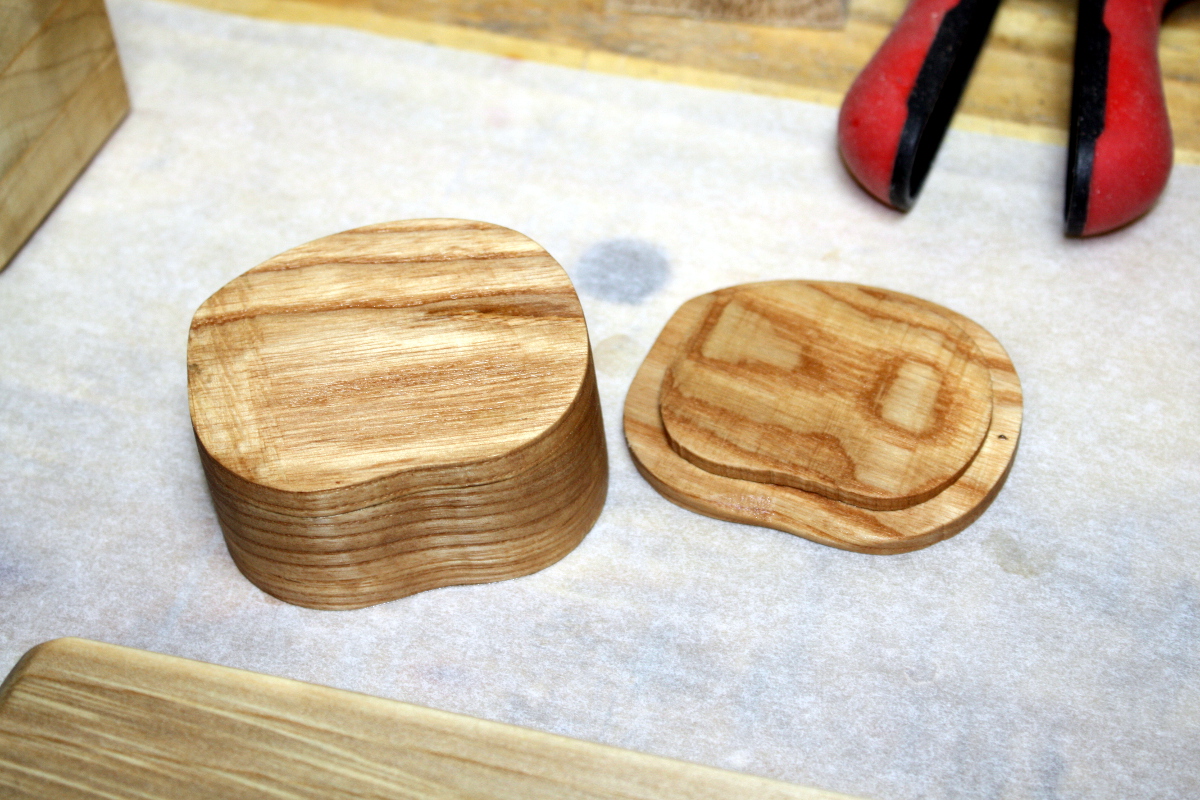
The oak and poplar pencilbox got the danish oil as well; this one would be too hard to ebonise the oak part for so we’ll just go with the oil I think.
The small sapele box got finished while waiting on its drawer. Too little time to wait and do it all at once.
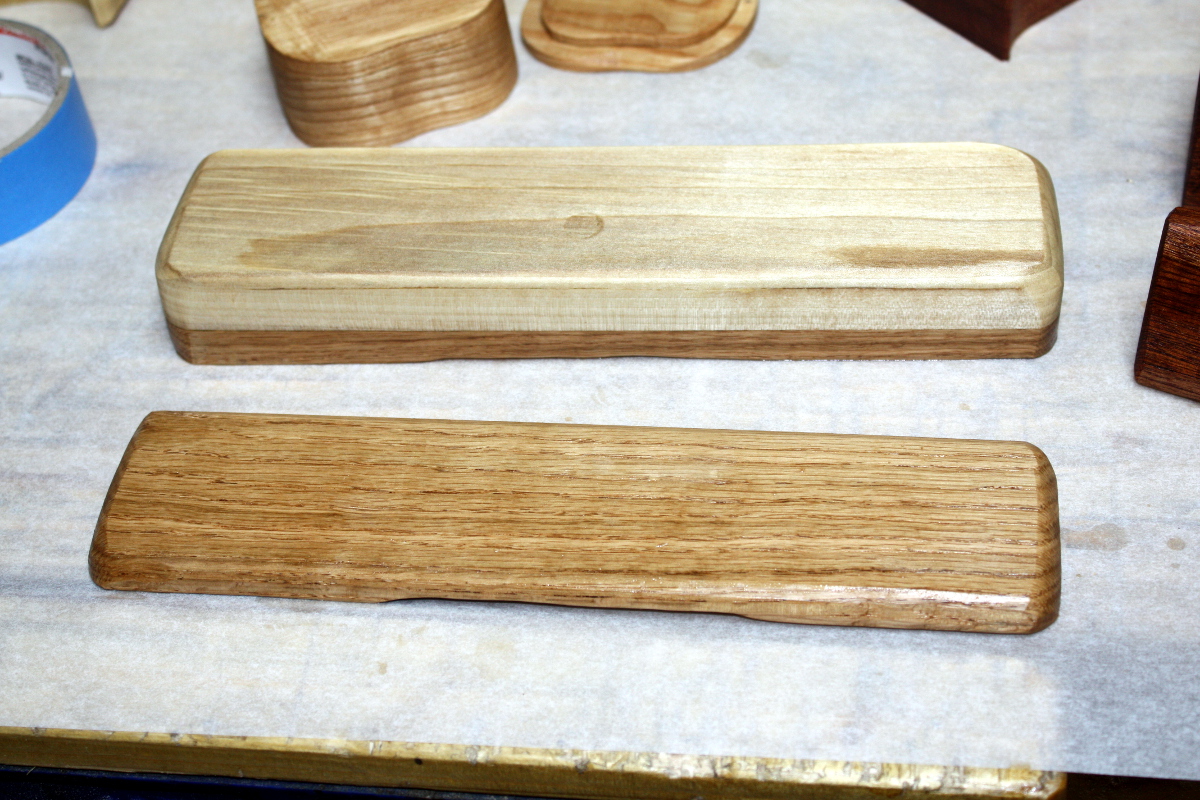
The ash is nice, but it really can’t hold up to the sapele. After the danish oil, I’ll be giving this a few coats of shellac and then some poly over the top for toughness and some paste wax and buffing for shine. The sapele and the oak&poplar will get something similar (but the ash and sapele get blond shellac while the oak&polar gets garnet or button shellac).
The other poplar boxes will just get a sanding sealer coat (aka blond shellac mixed down from a 2-pound cut to a 1/2-pound cut), then a light sanding with fine paper and then milk paint over that and then poly varnish and a wax buffing.
 The oak boxes (including this oak and poplar one) will see the oak ebonised as before, with one small change – that foam in the oak shavings tea is washing-up liquid acting as a surfactant to spread the tea deeper into the wood grain (and I’ll do the same for the iron solution). Nice tip from custard on the UK woodworking forum, that.
That oak and poplar box might turn out interesting – the “drawer pull” is a flush extension of the box, and it’ll get the sanding sealer + milk paint treatment of the other poplar boxes; the contrast between the black of the ebonised oak and the colour of the milk paint might be interesting.
And that’s where I left it. After work today, there’s some shaping sanding to do on the belt sander, some finer hand sanding and then we’re into nothing but finishing because these have to be ready by Friday morning…
And then on Friday, it’s off to the timber yard to get some more oak and walnut (and maybe something else if they have anything interesting to hand). And after that, black friday sales and after talking to the guys using them, I think I won’t be getting one of the Record BDS150 sanders:
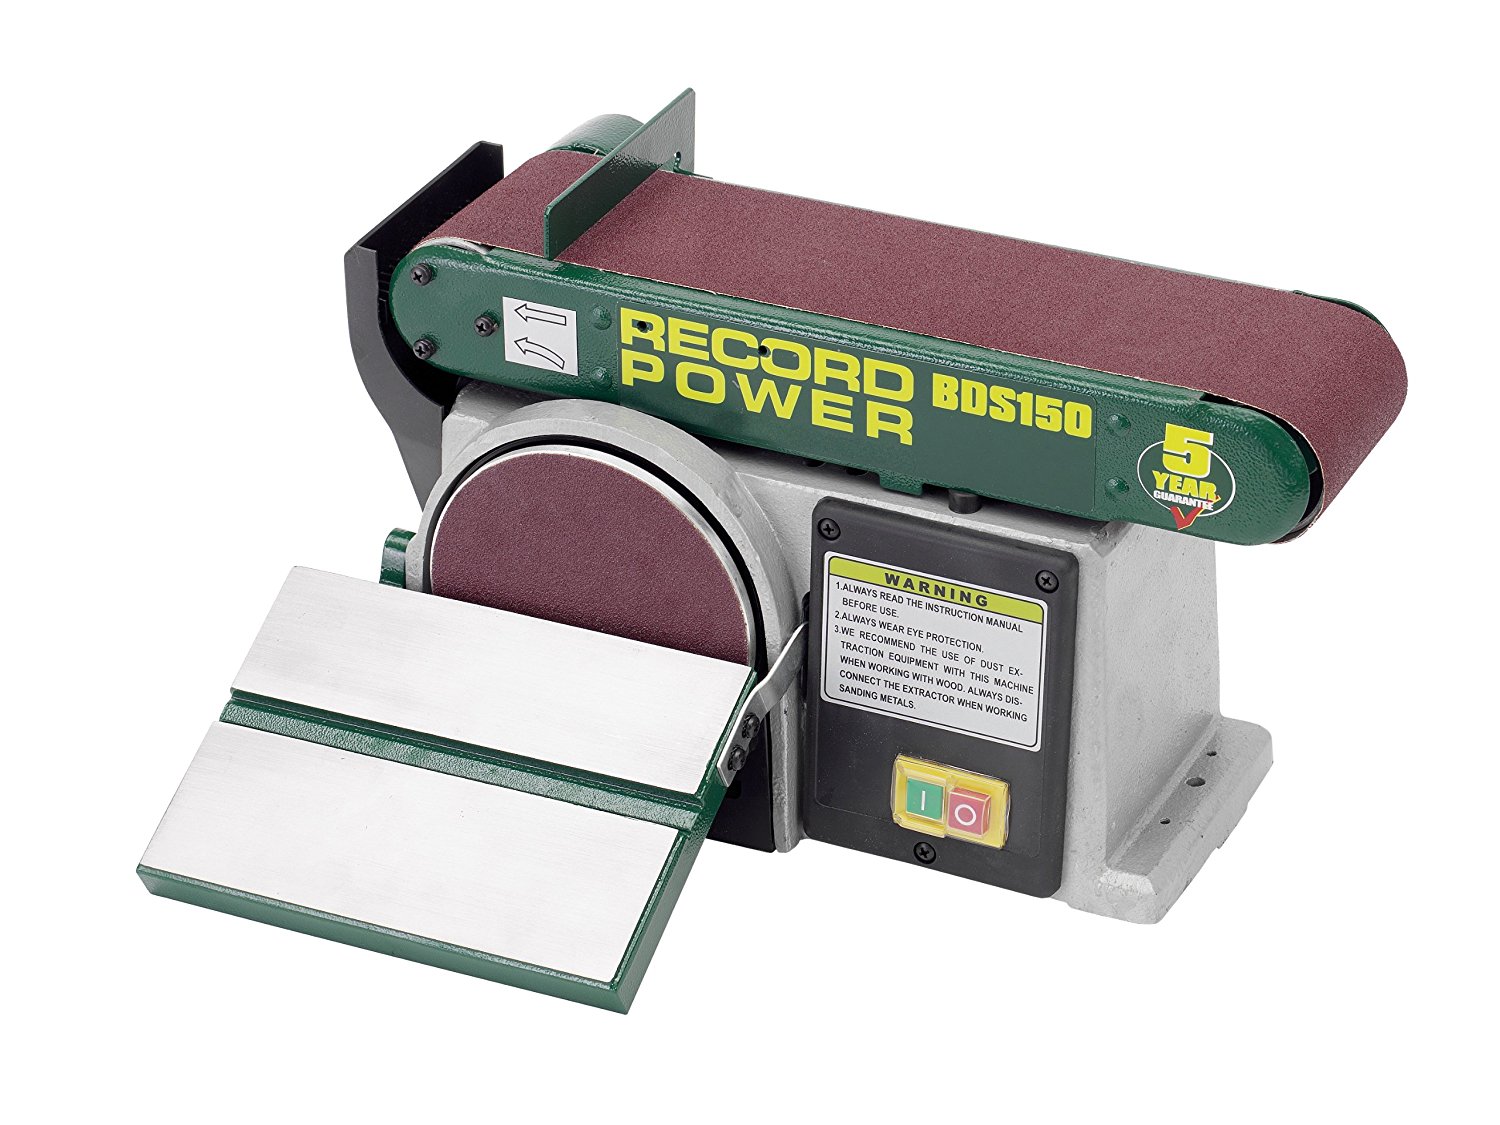
Which looked okay but which apparently have a disk that’s unusably small (and a faff to change the paper on), and a table that’s just a bit dodgy to use and set up. Instead, it looks more like getting one of the Triton oscillating belt/bobbin sanders:
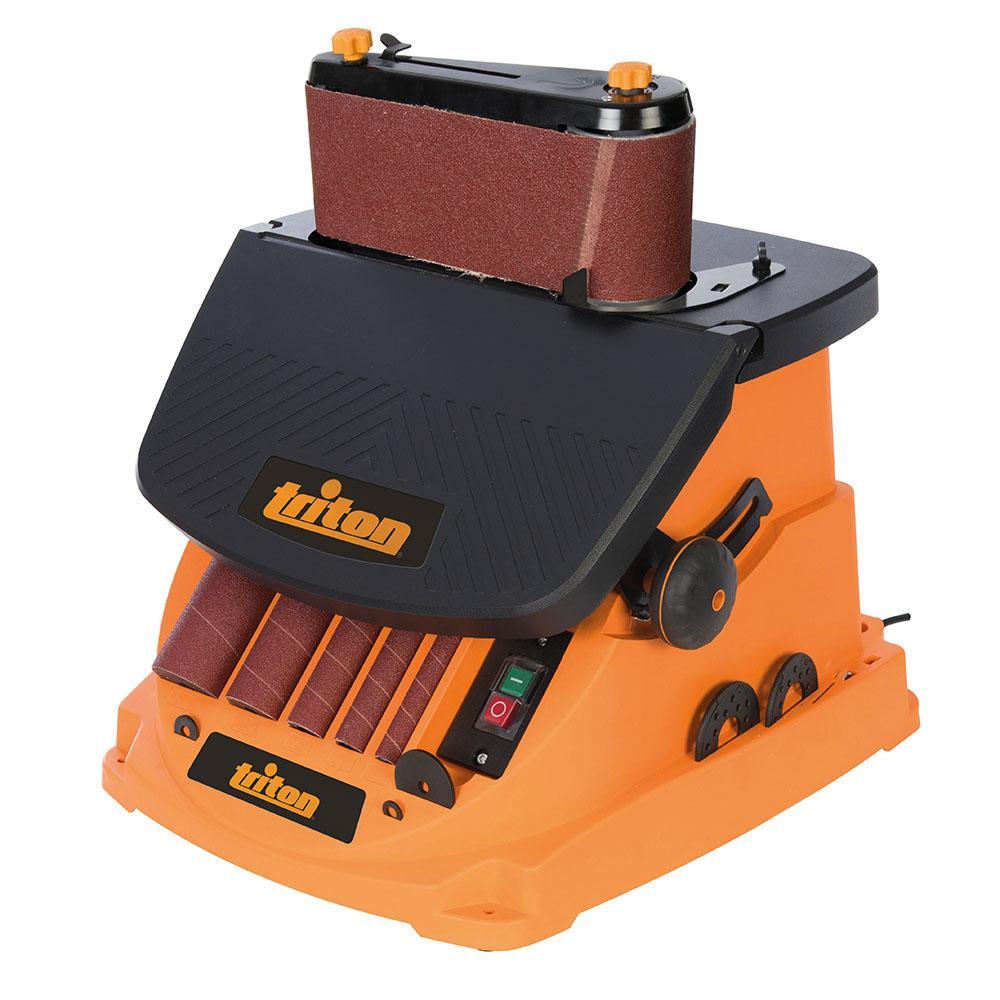
It’s a clone of the original Rigid:
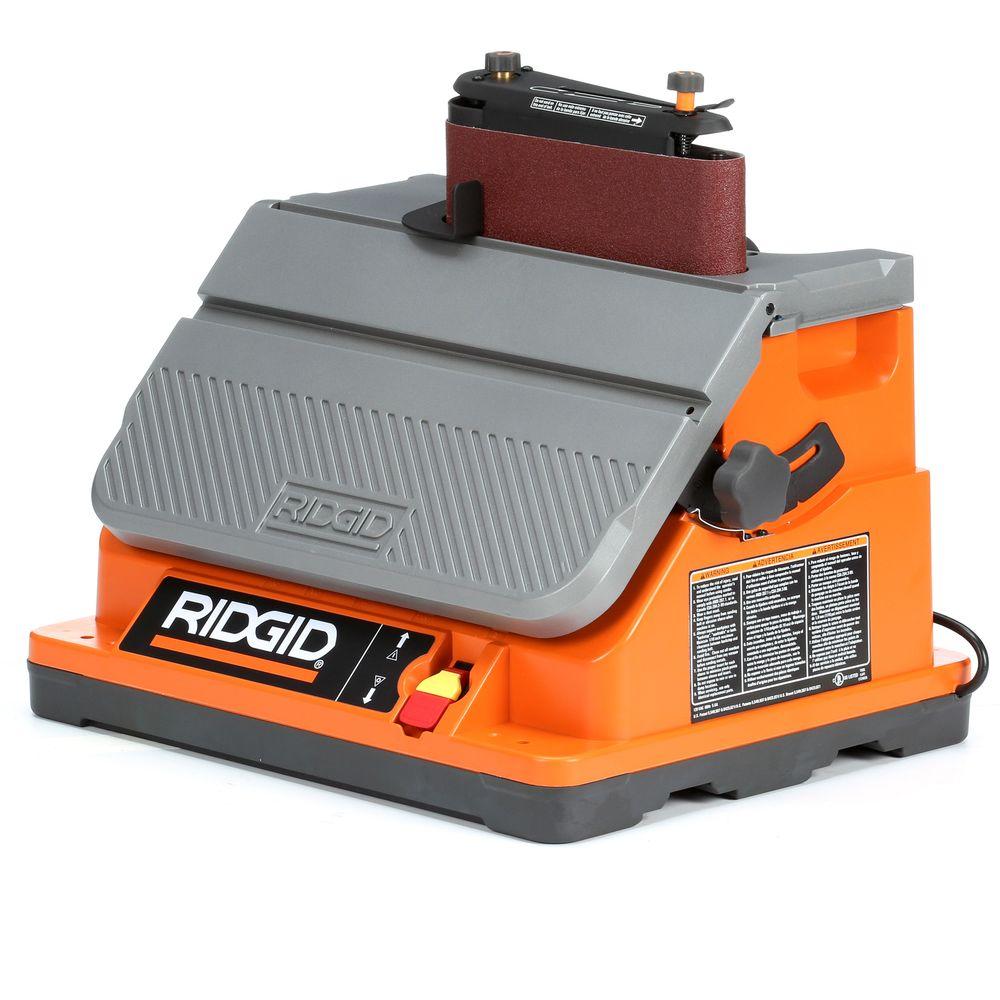
But the clones are smaller in footprint (several other makers from Grizzly to Rutlands to Clarke all make the same thing in different colours). You lose the mitre slot, but on the plus side, the clones would actually fit through the door of the shed, which is a positive. I’ll have to build a quick 2×4 storage stand to put the bandsaw on and the sander under though, there’s no room otherwise.
But on the other hand, it’s about 26dBA quieter than the belt-sander-and-holdfasts approach I’m stuck with now, and it actually *has* dust extraction. Which is kindof a good thing if you like, you know, breathing…