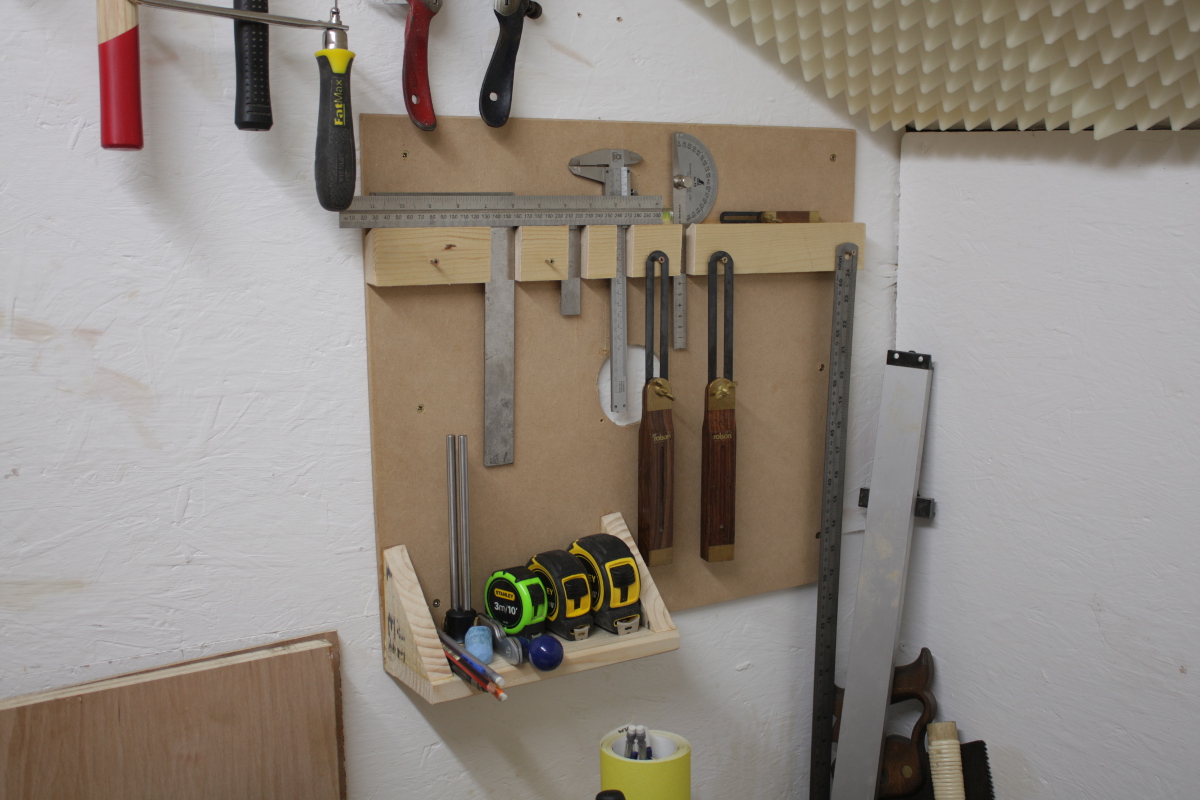
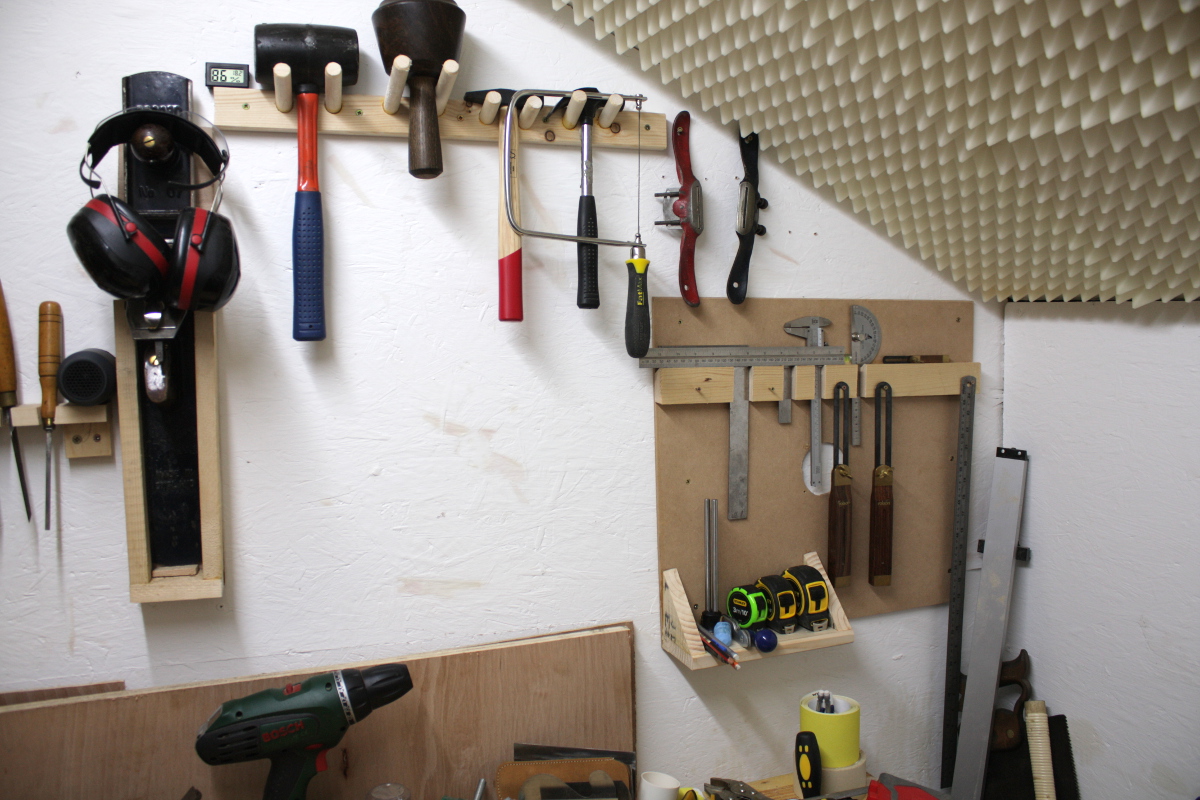
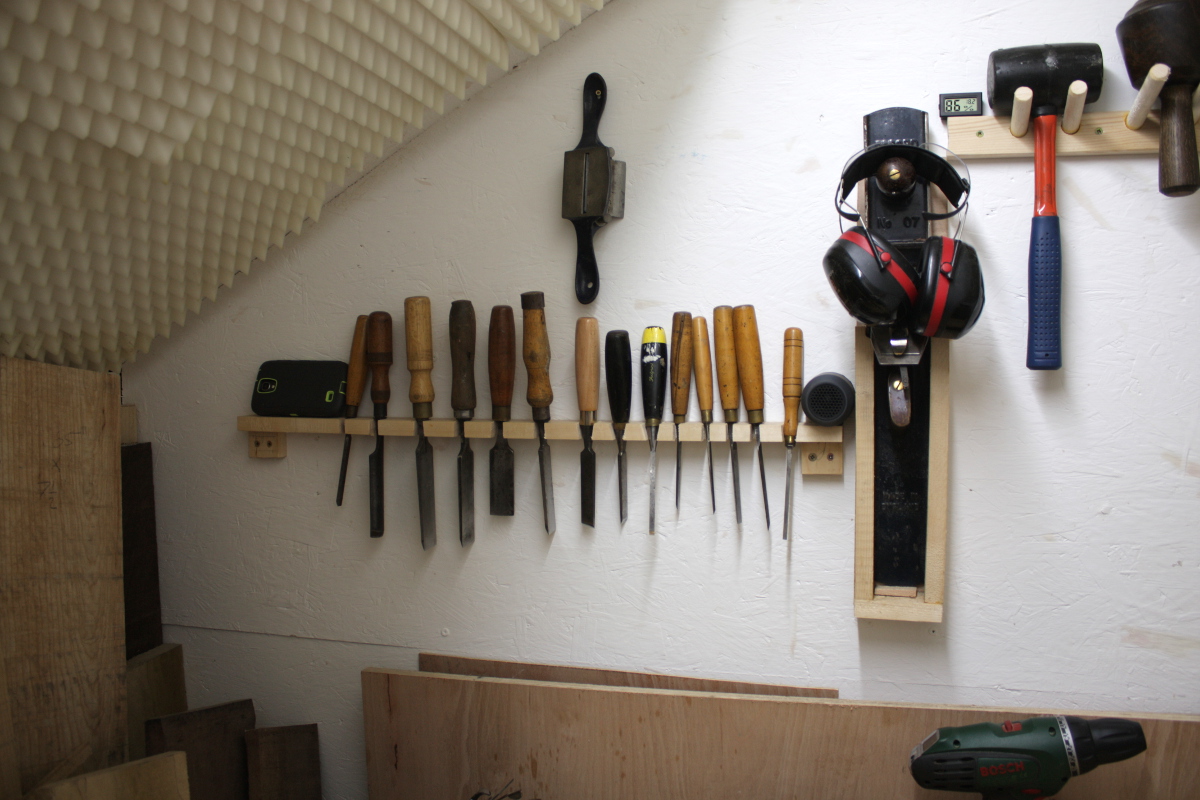
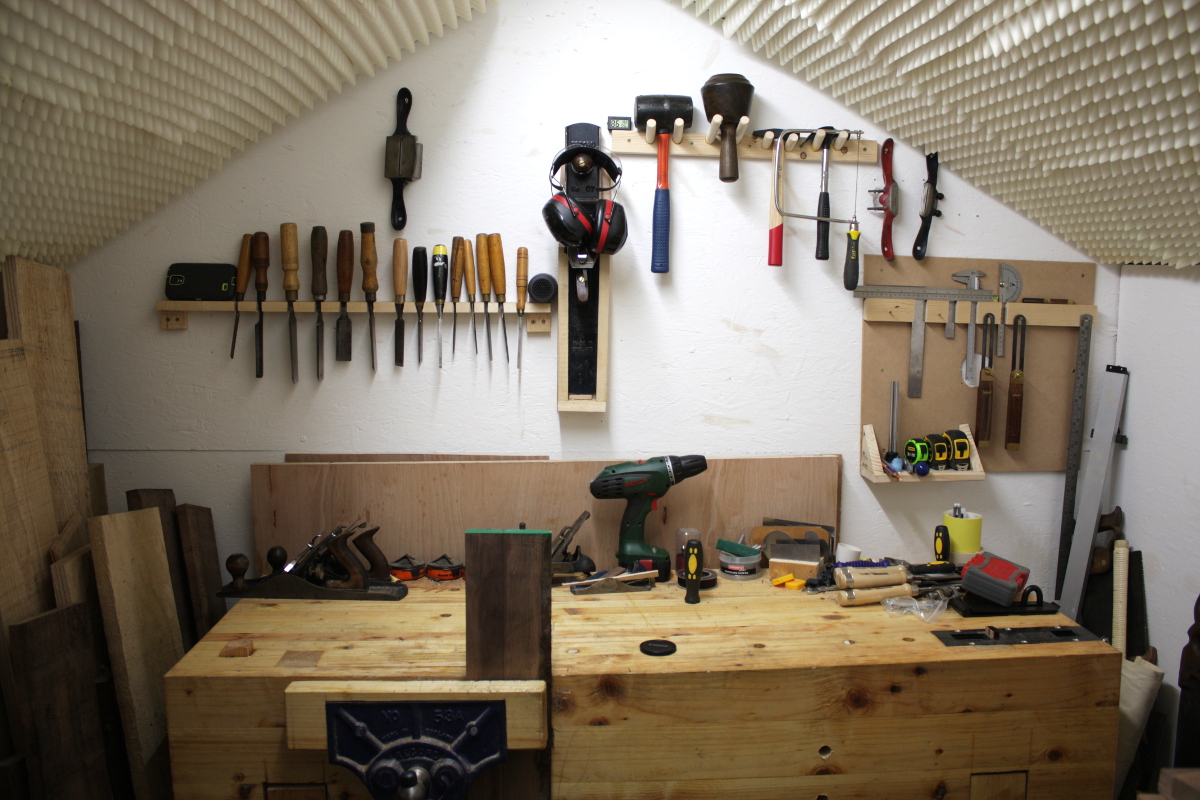
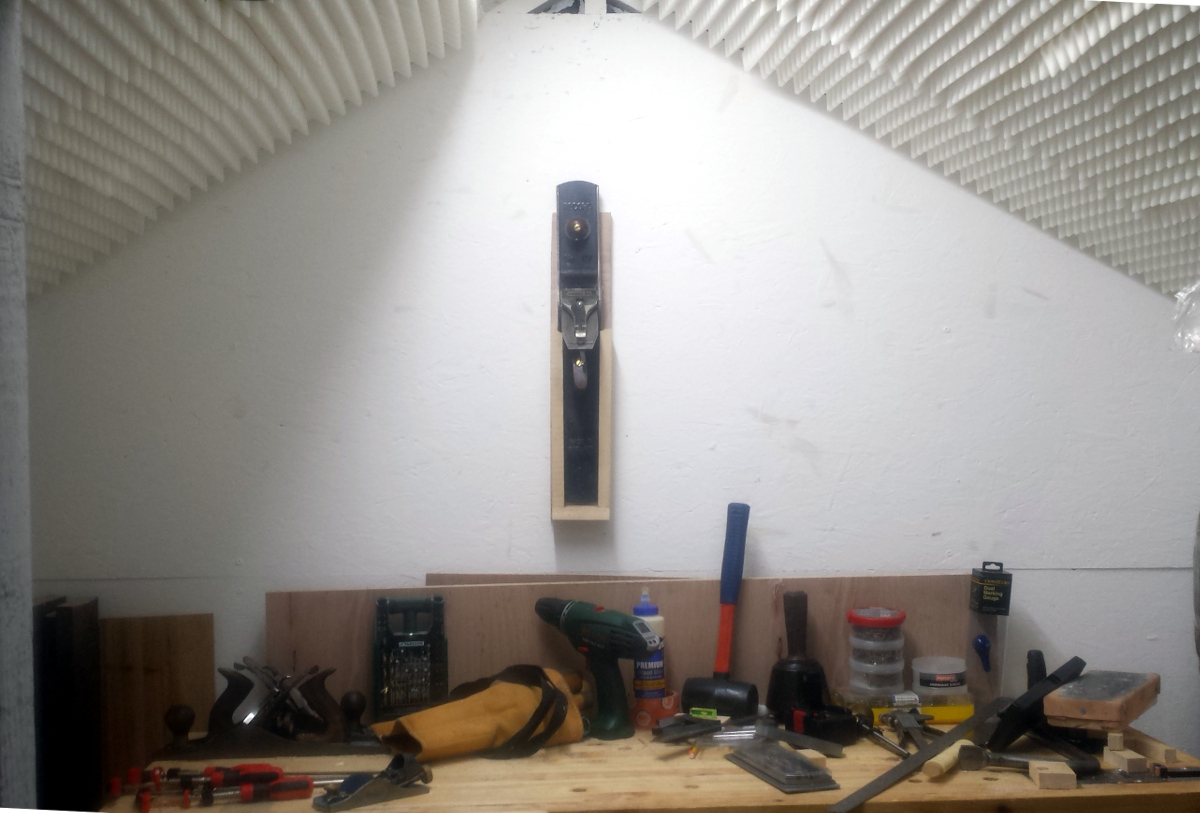
Well, *I* think it’s listing a bit to the side. Might need another screw.
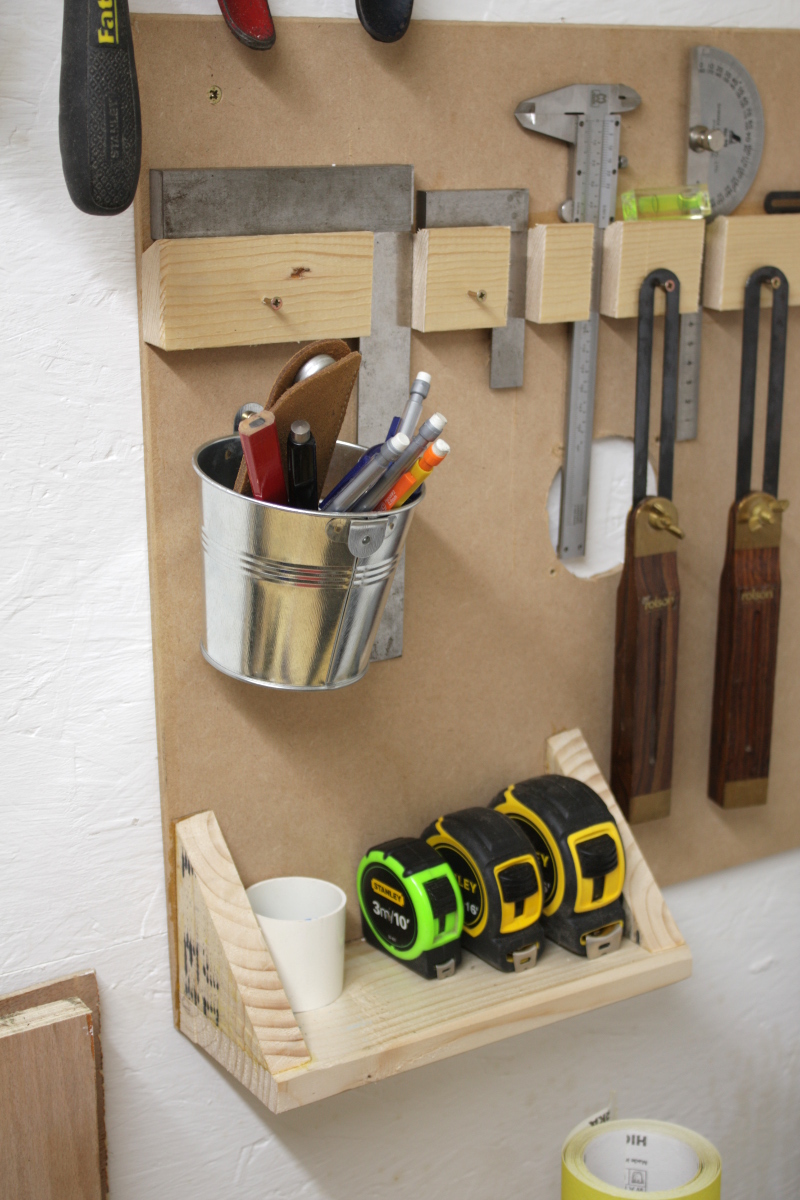
Still, it gets the pencils and marking knife and some smaller things up off the bench.
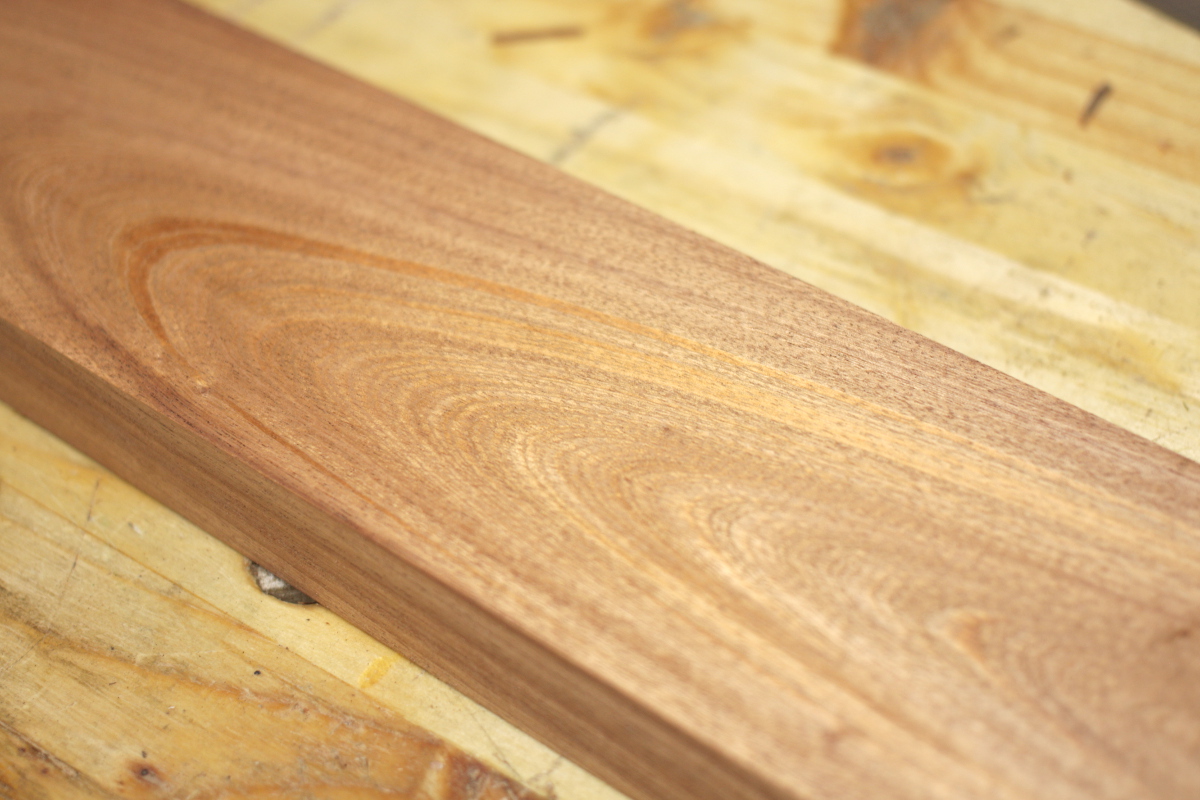
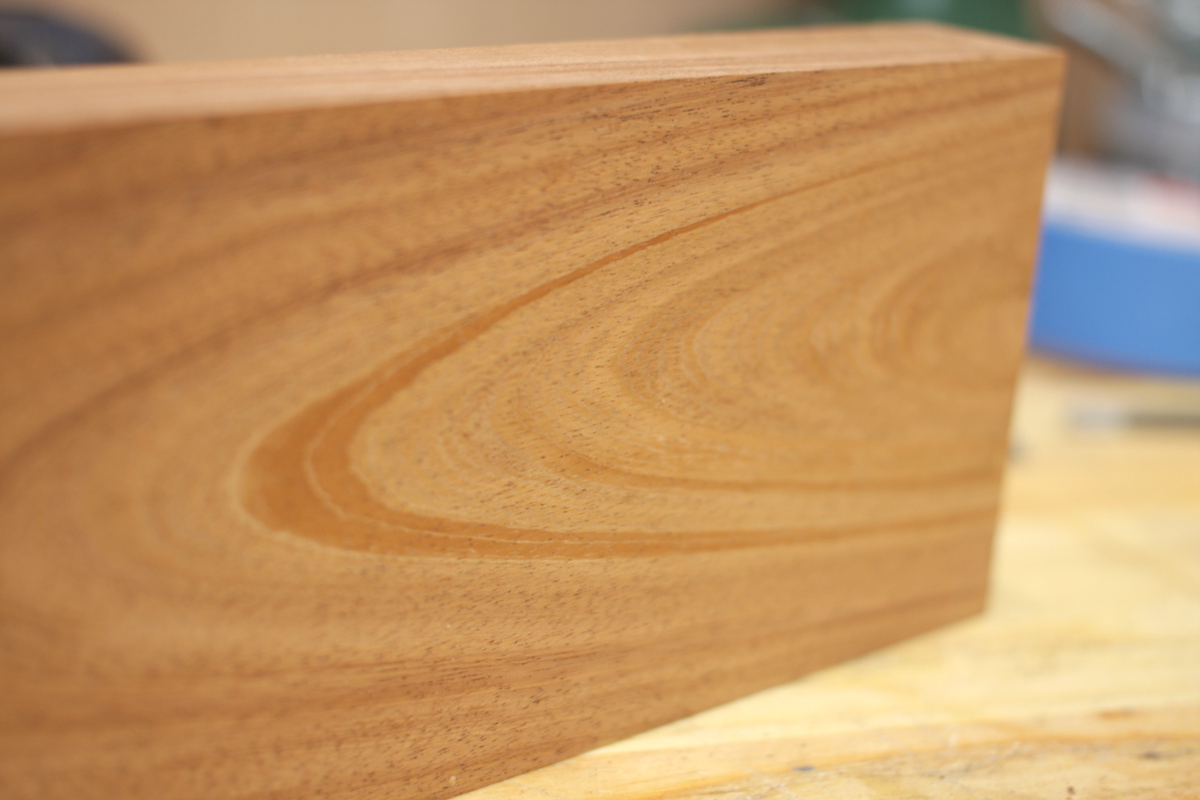
Finished prepping another 48″ length of walnut for the frame, but the waney edge on it meant it wasn’t useful as a 48″ length. So I guess it’s going to be one of the front legs and two feet of spare walnut. Oh well.
Then I figured it was high time to get some practice in for the joinery on account of having only cut joints in pine before now and having new tools to try.
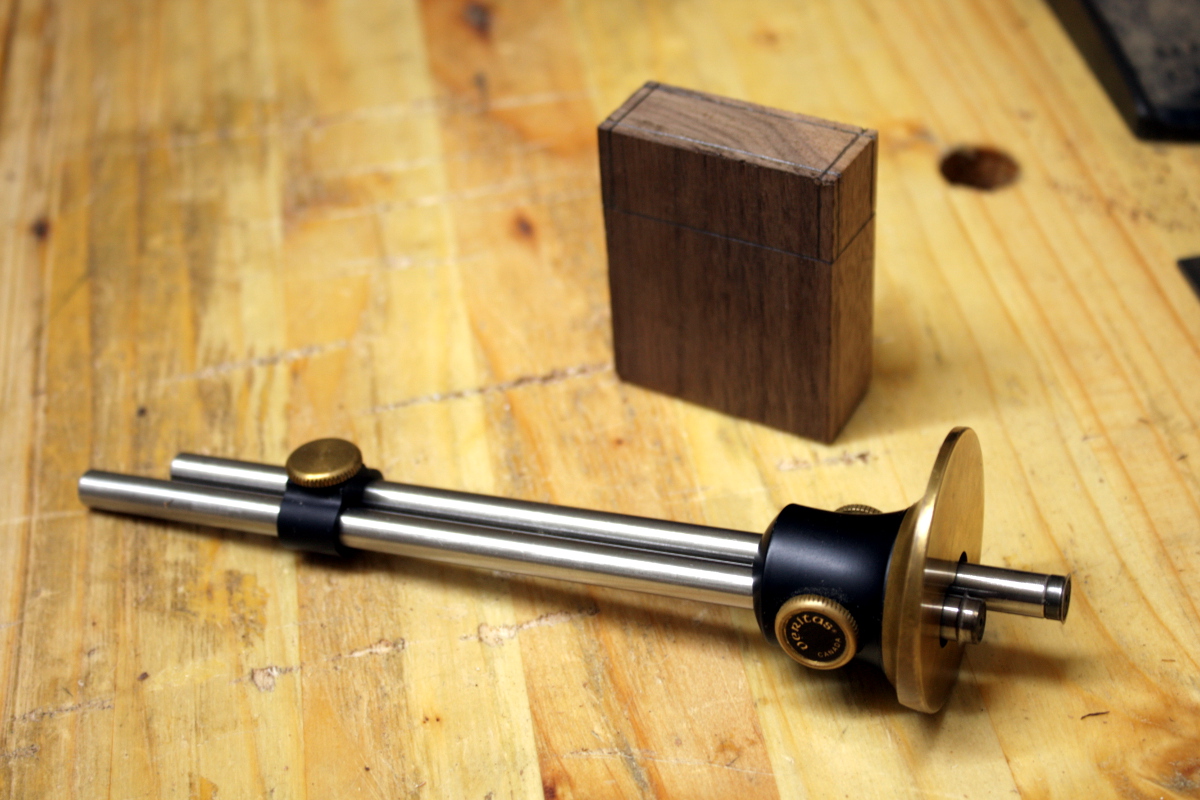
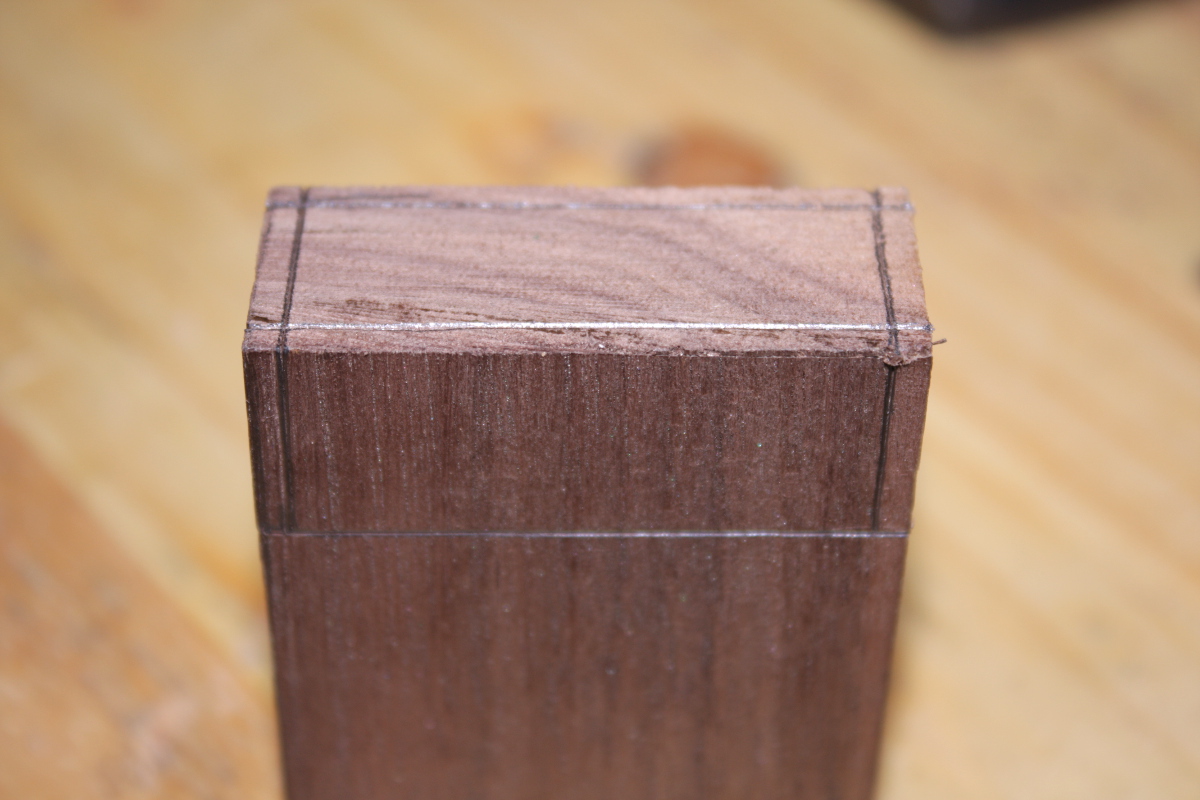
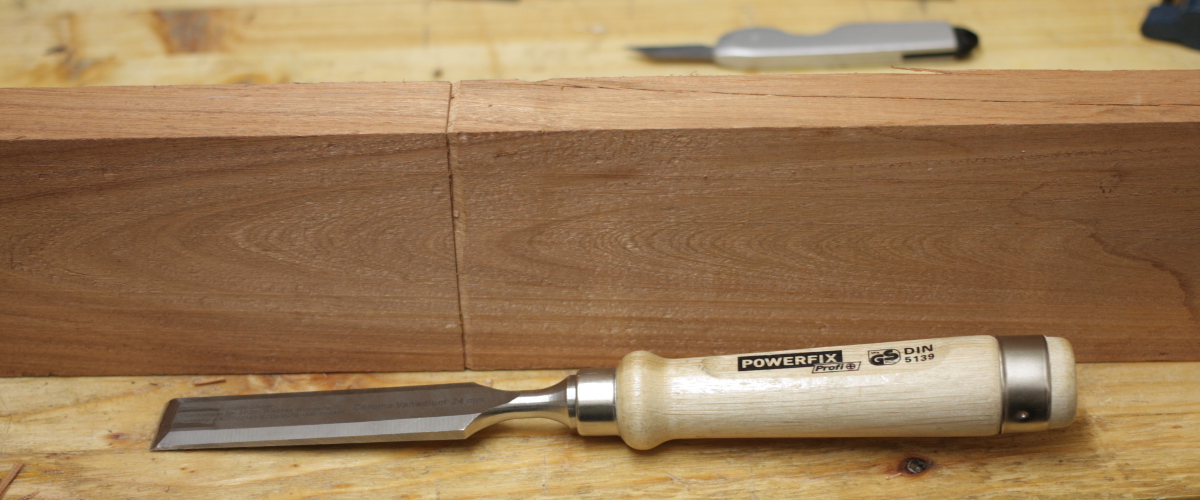
Okay, all marked up for a half-inch tenon. This is the kind of joint we’ll have in the box section at the base of the frame, so large tenons would be a good thing and the shoulders don’t have to take very much strain at all, they’re mostly for alignment. An ash pin (as opposed to a drawbore) might be a pretty addition to it, just for contrast. Might test that later on. For now, sawing with the new japanese saw…
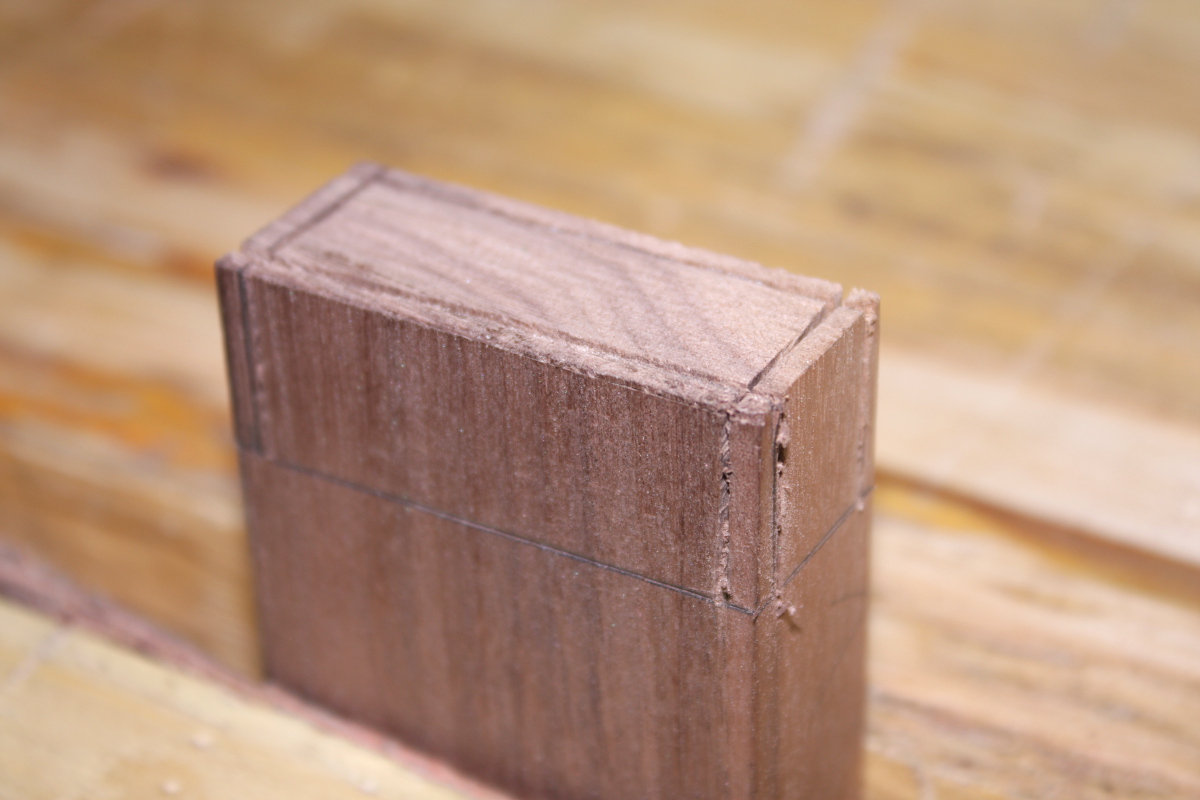
My sawing needs some work. Hmmm. But that saw’s lovely to use.
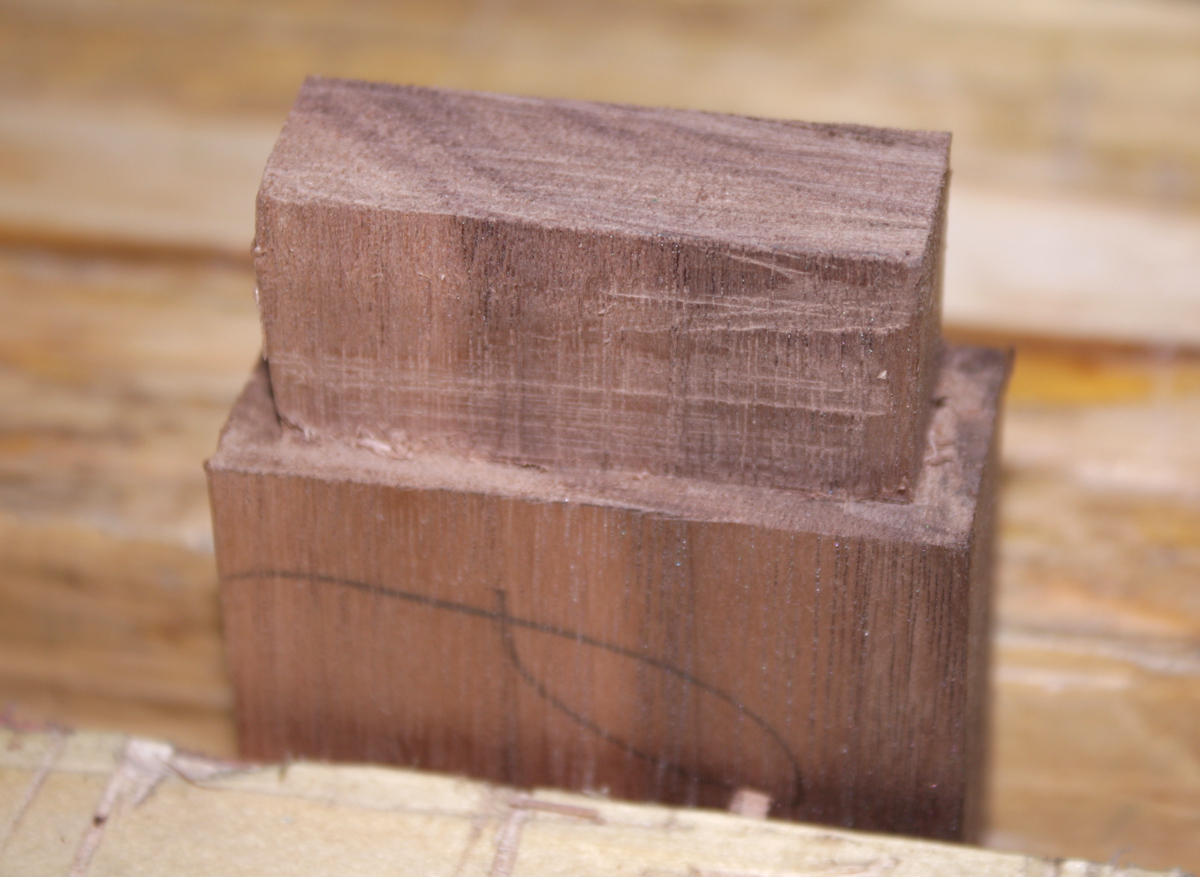
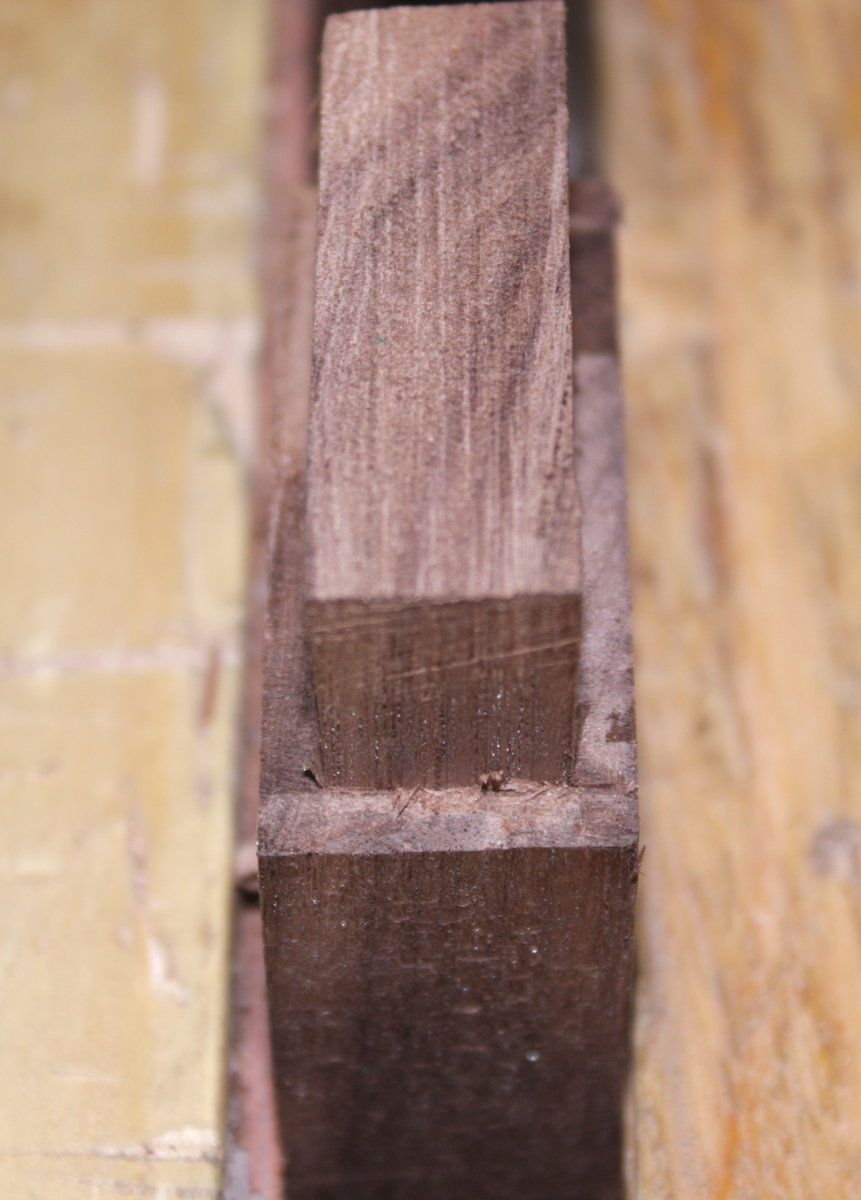
Fair bit of cleanup needed here with a chisel or a shoulder plane (a lot of which is down to markup errors, some of which were linked to the offcut being an odd off-square shape). But it’s better than it was in pine when building the bench. Now, time for the mortice. I’ll use the blue tape trick…
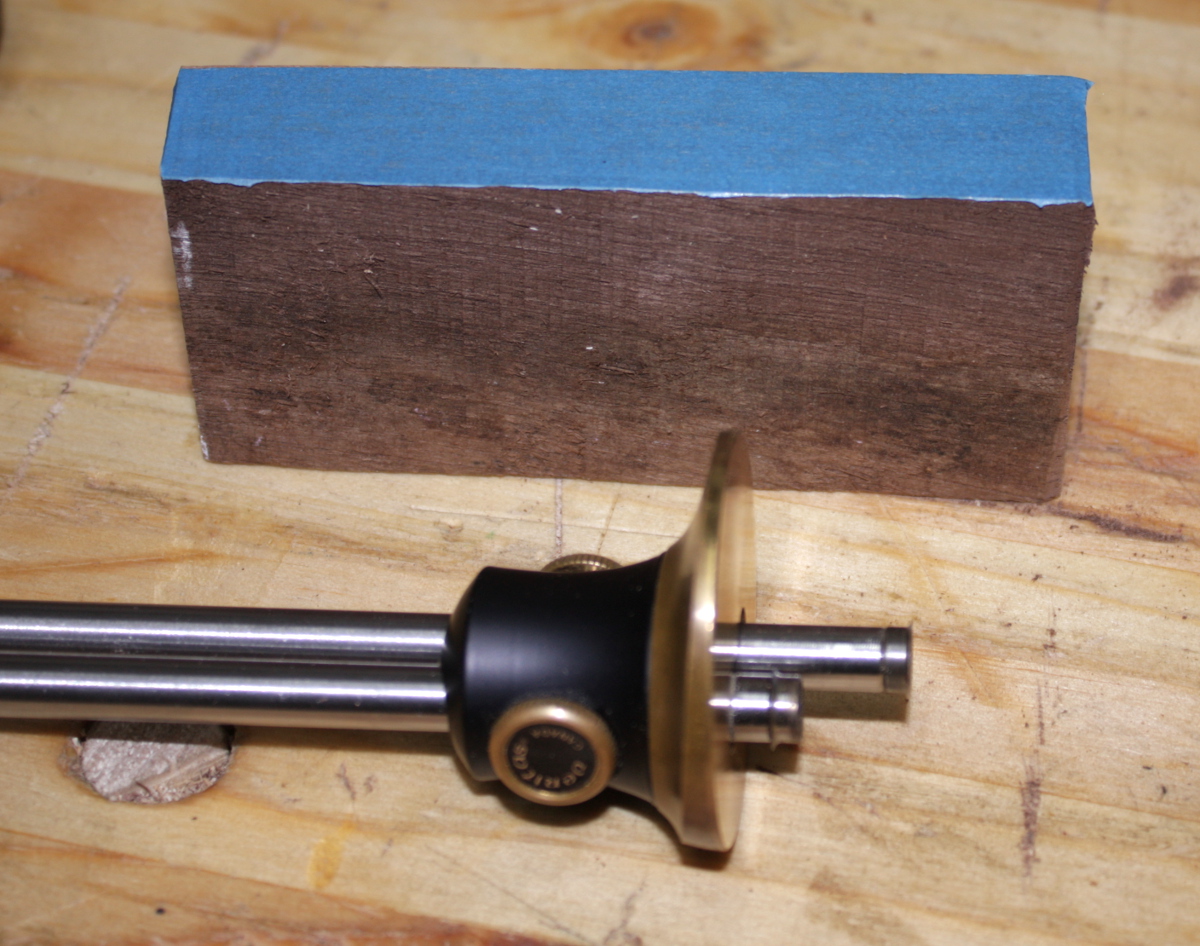
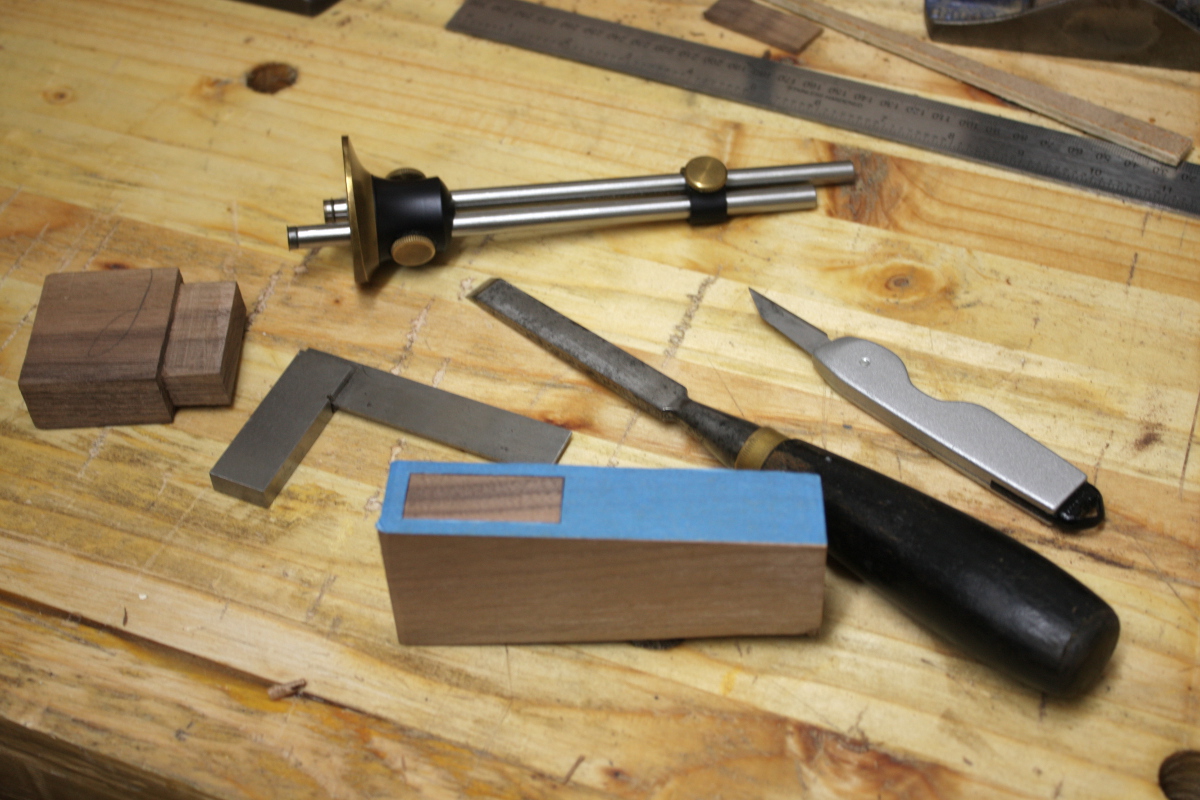
All marked up. This is the point where I realised that somehow, despite setting the gauge off the width of the chisel, the tenon is not a half-inch wide, but just over. I think pencilling in the lines might have distorted things slightly. That or the offcuts weren’t quite square 😀
Cut the mortice out with the firmer chisel using the Paul Sellers method.
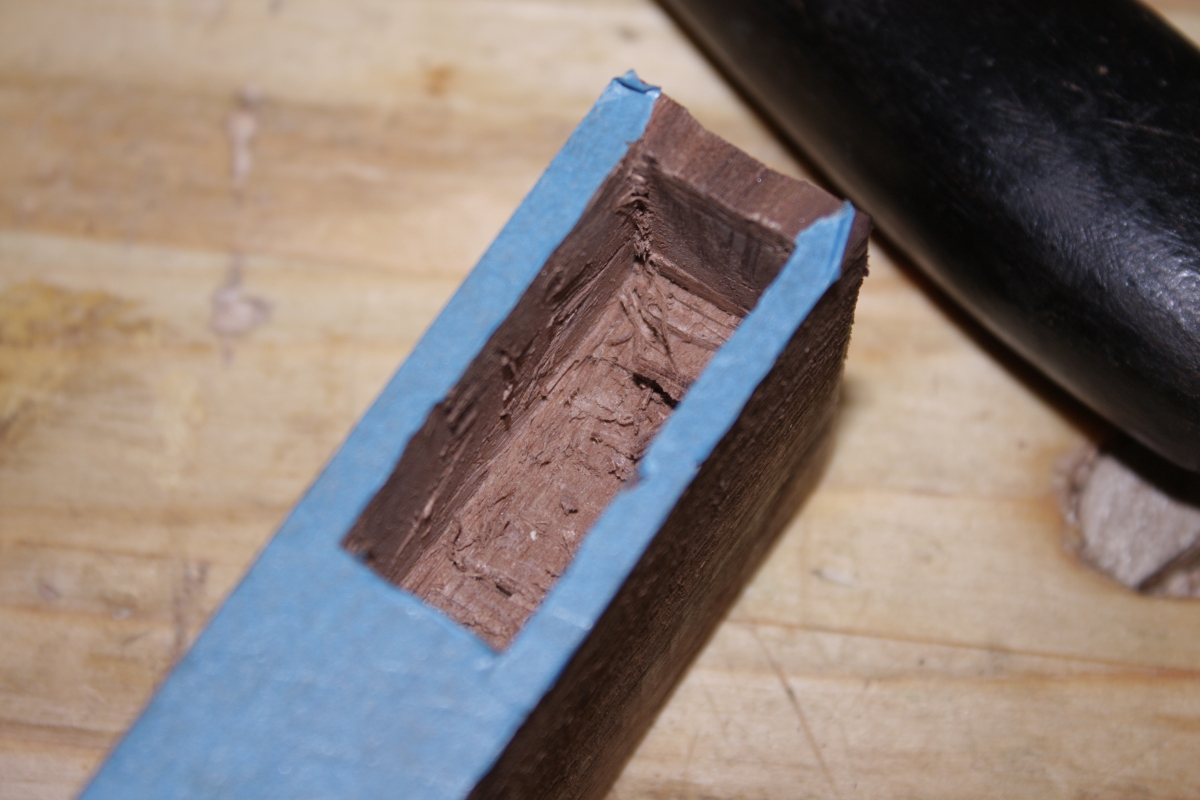
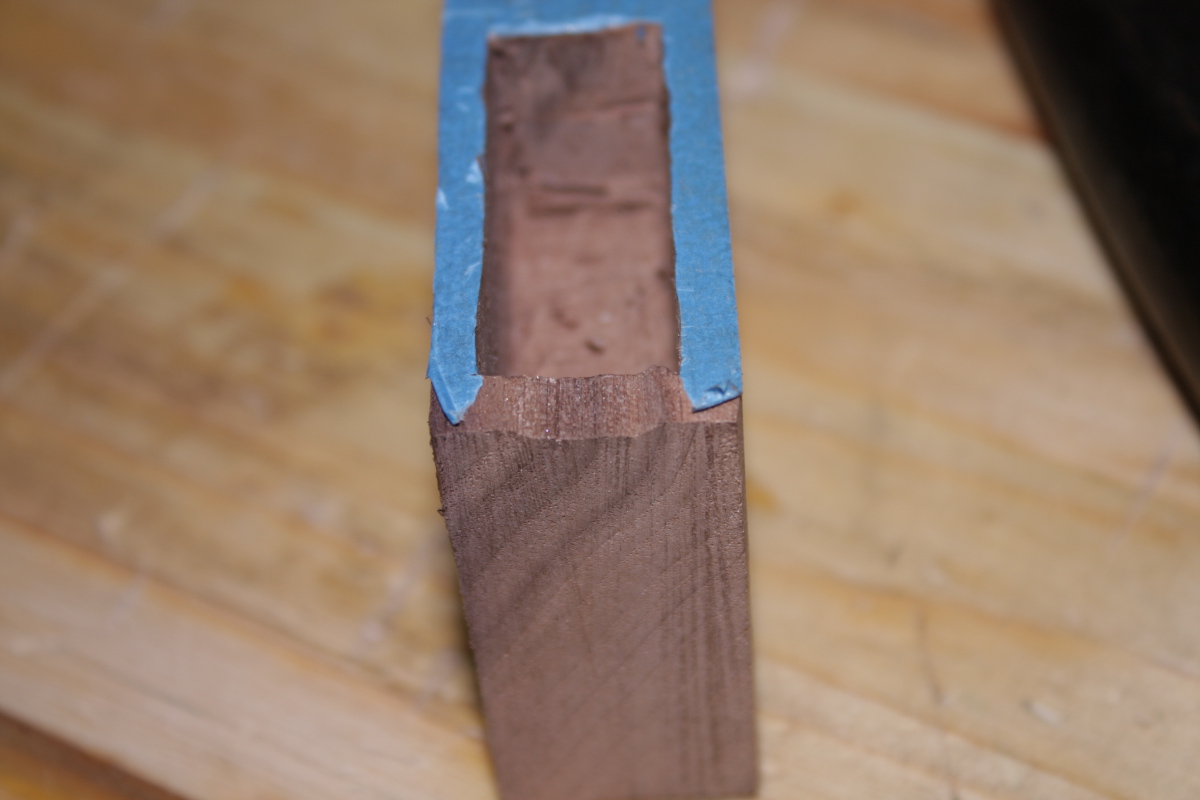
Holy crap, but walnut is fun to work in compared to pine. I was dreading doing twenty or so of these, but this was genuinely satisfying fun. And, one slip while cleaning out the bottom of the mortice aside, it was a pretty clean job.
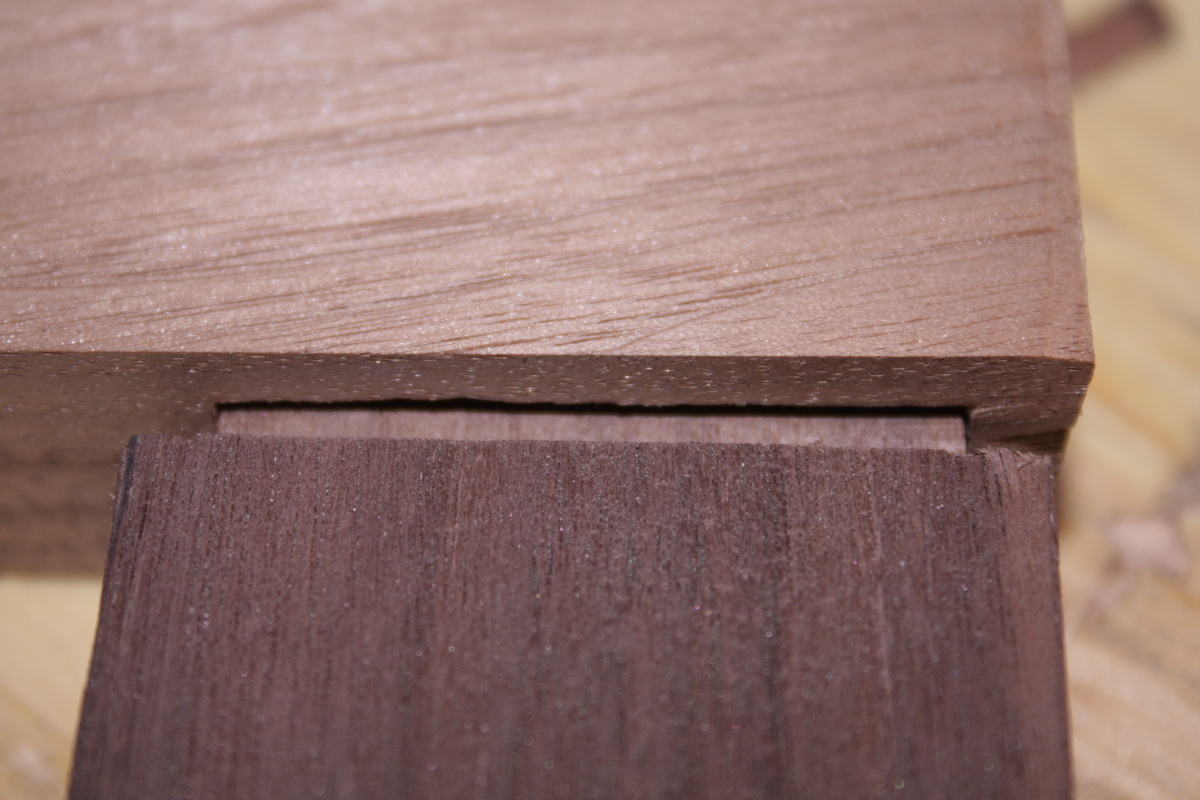
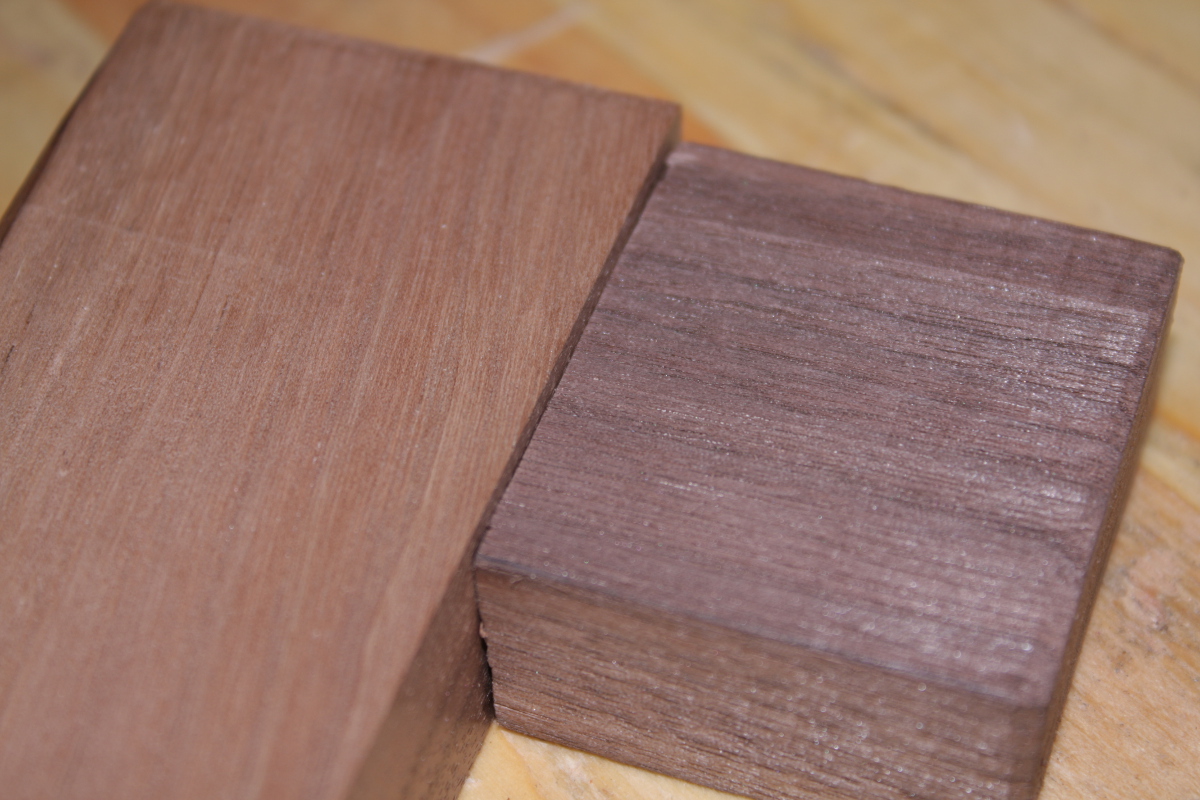
And it fits nice and tightly, exactly as it’s supposed to. Granted, the pieces weren’t square so the shoulder line is a bit off on the other face, but nonetheless I’m happy with that.
Like this:
Like Loading...
