18
Dec 17

Starting again…

I figure, with six projects sitting in component form in the staging area of the shed, best get to work making even more components for a seventh project. Because Reasons.

Anyway, the first video I ever saw by Richard Maguire was about building a small wall cupboard (in a sort-of, kind-of, if-you-squint shaker style probably best described as “`English colloquial” 😀 ):


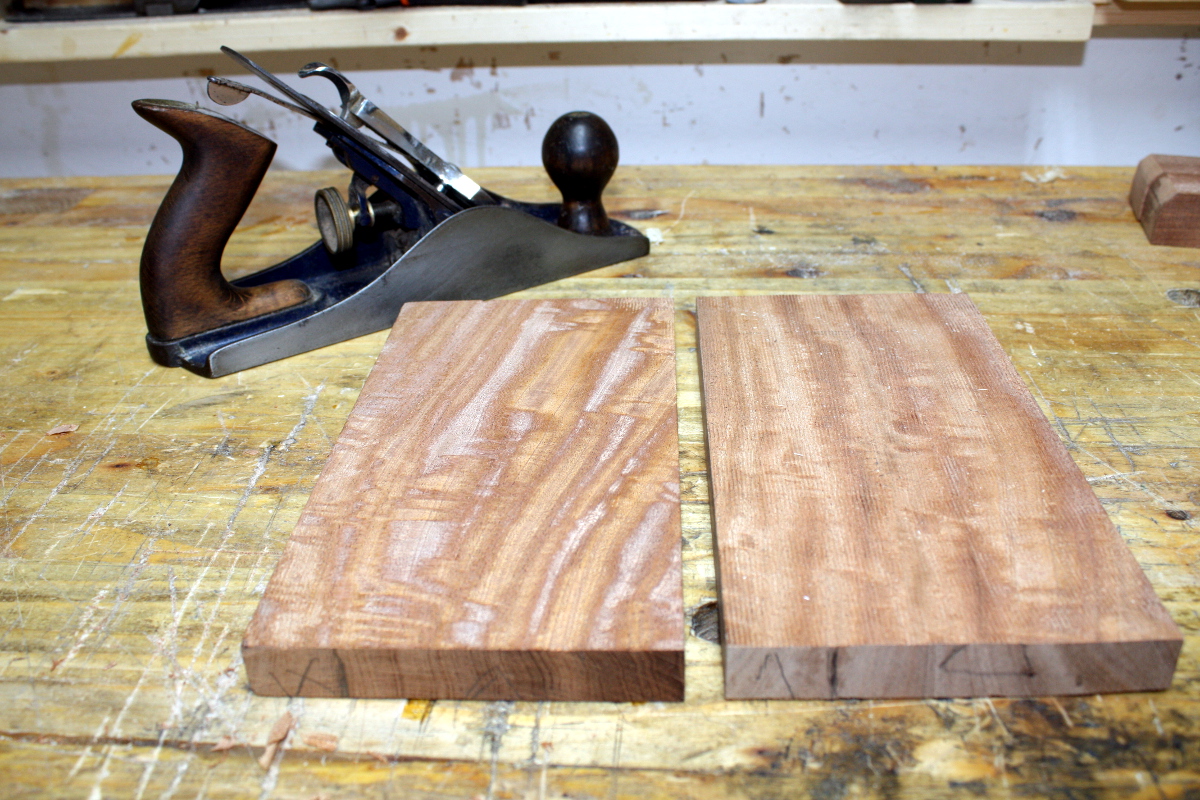
I’ve wanted to build this for a while. But I don’t have the ten feet of pre-planed three-quarter inch thick pine his plans call for. What I do have is a pair of boards of inch-and-a-quarter rough-sawn poplar, mostly free from green stains…

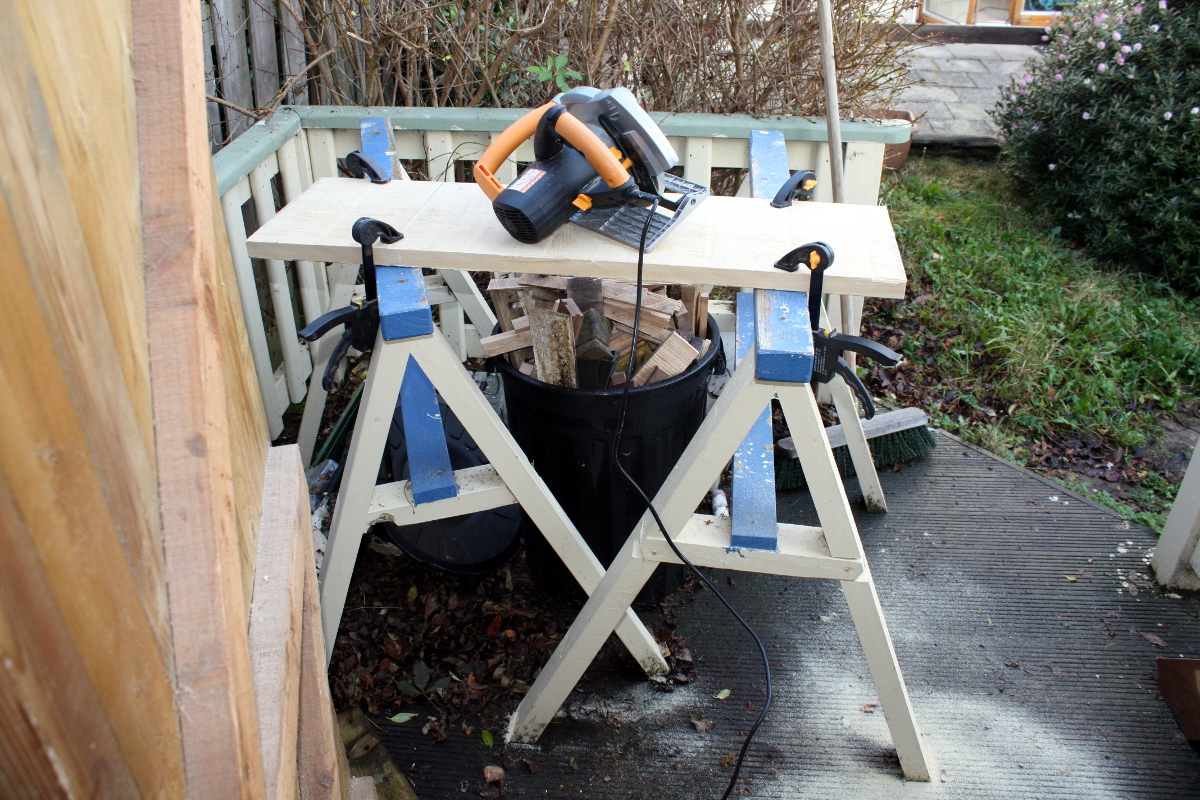
That should work. And sod feeling bad about doing the rough-cuts with a power circular saw. Do you see room in there for me to swing a full-size handsaw? Or have a sawbench? Besides, do you know how they did this back in the 17th century? Apprentices!!! (And there isn’t room for one in there either, even if you can find smaller rooms being rented for the price of a car a month on daft.ie). So.

Woodwork al fresco. Yes, the deck’s a mess. I’ll tidy after the solstice when there’s time.

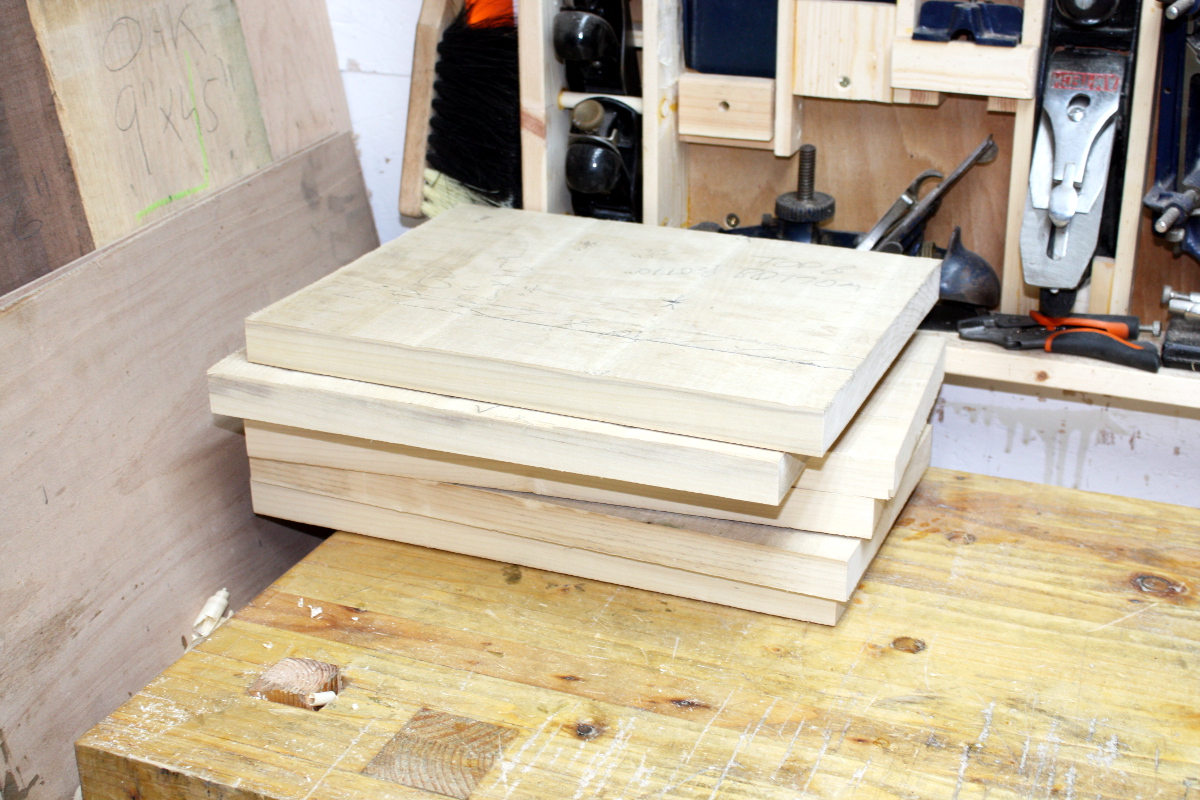
Right, that’s the rough-cut chunks for the cupboard on the left, a chunk intended for another project (yes, that’s eight, I know, hush), and offcuts that will probably become bandsaw boxes or the like.

Now, time to figure out layout a bit better.

Design, meet wood. Wood, meet design. This is the humming and hawing stage when I try to think through the size in the design and how to break down the parts best, and whether stuff is getting thicknessed by scrub plane or resawn or whatever.

Resawing is a pain to do, thicknessing is only slightly better, but a lot of parts in this can be under three inches wide and those I can resaw with the bandsaw reasonably easily. I do have a frame saw on the way for wider stuff to see if it helps (lots of people say it does), but the thing’s in Cologne with no sign of moving for the last week. Sodding DHL.

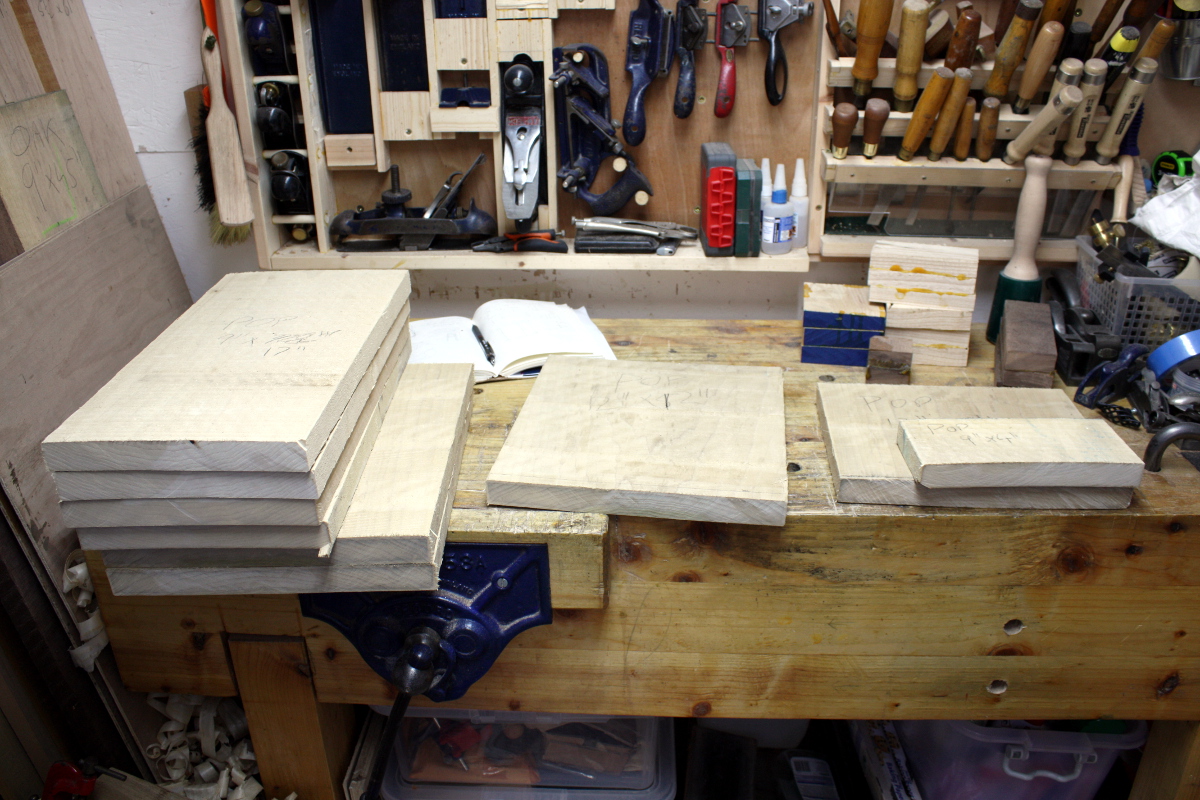
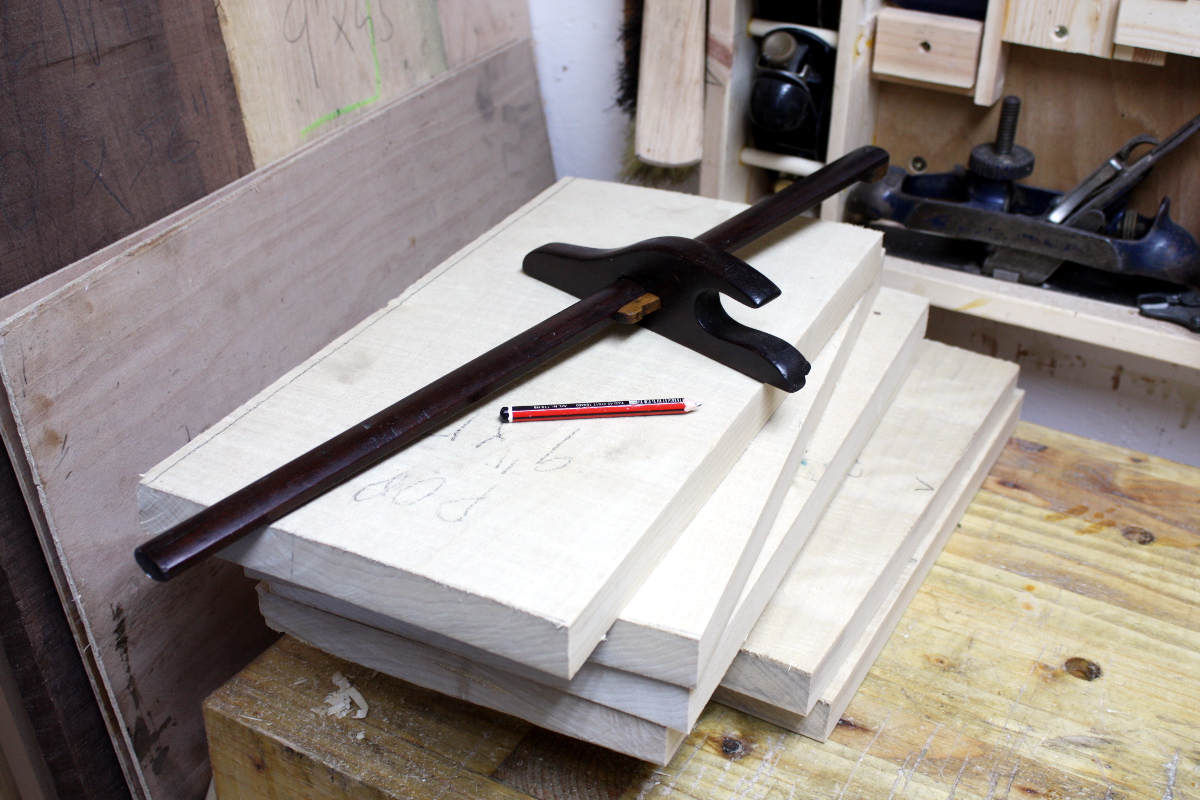
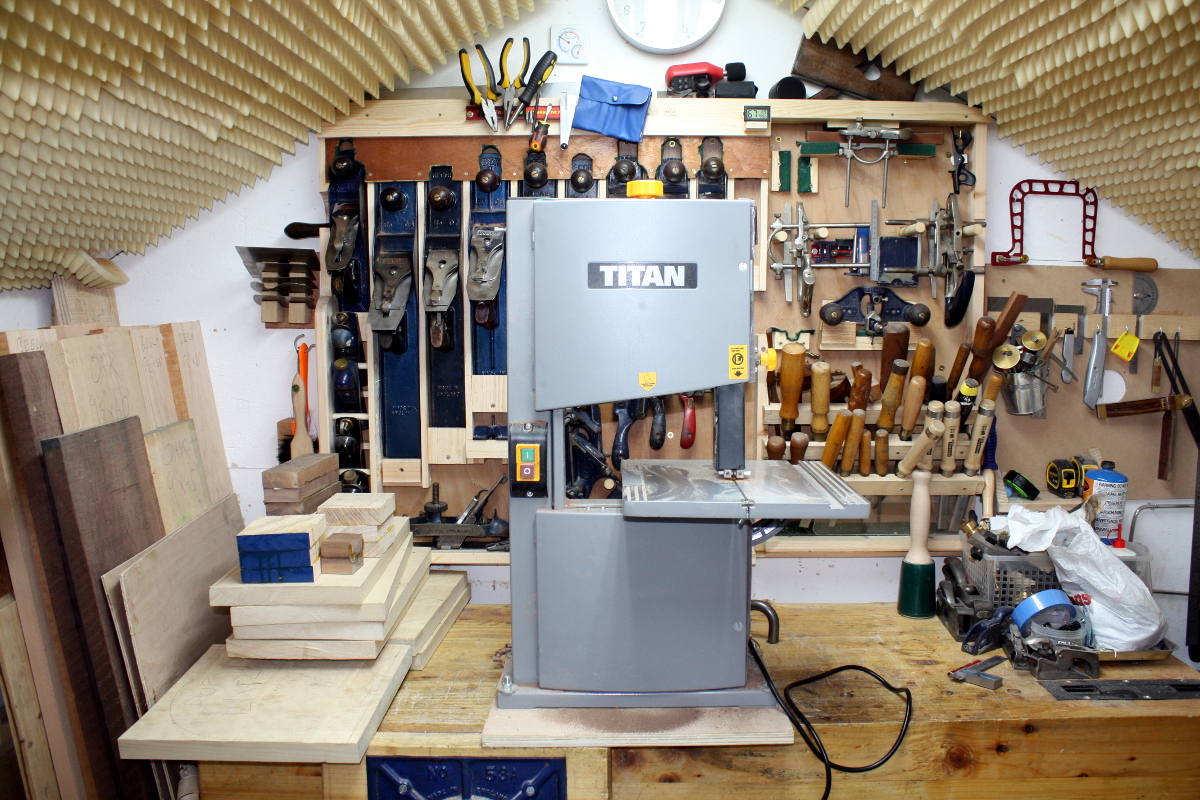
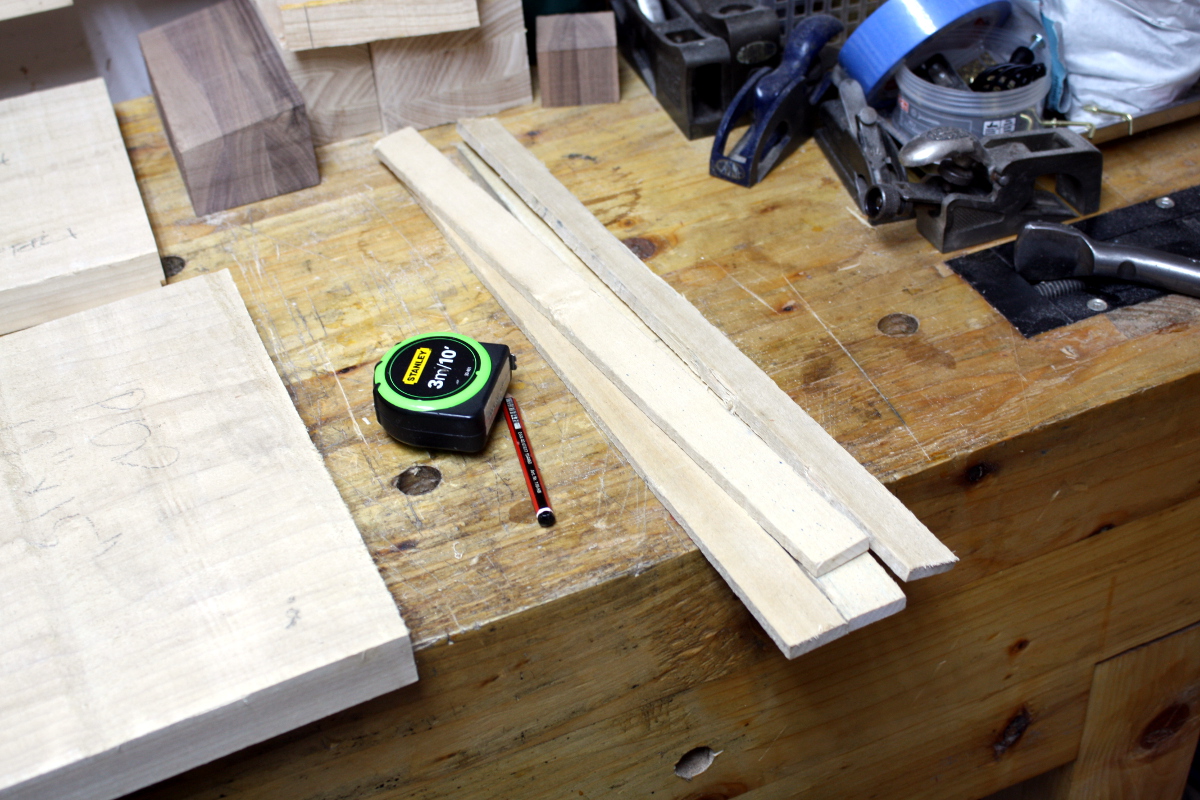
Round one with the bandsaw. I’ve planed a reference edge with the #05 and #08 and marked off the far edge with the panel gauge after sharpening the pin a little with the diamond paddles. I’ll rip those on the bandsaw and get widths (there’s some damage on the edges – the boards must have been near the edge of the pack in the timber yard I guess).

And I’m trimming up the bandsaw blanks while I’m at it.

Right, that’s the edges sorted. Plus I get a few pieces to test finish on.

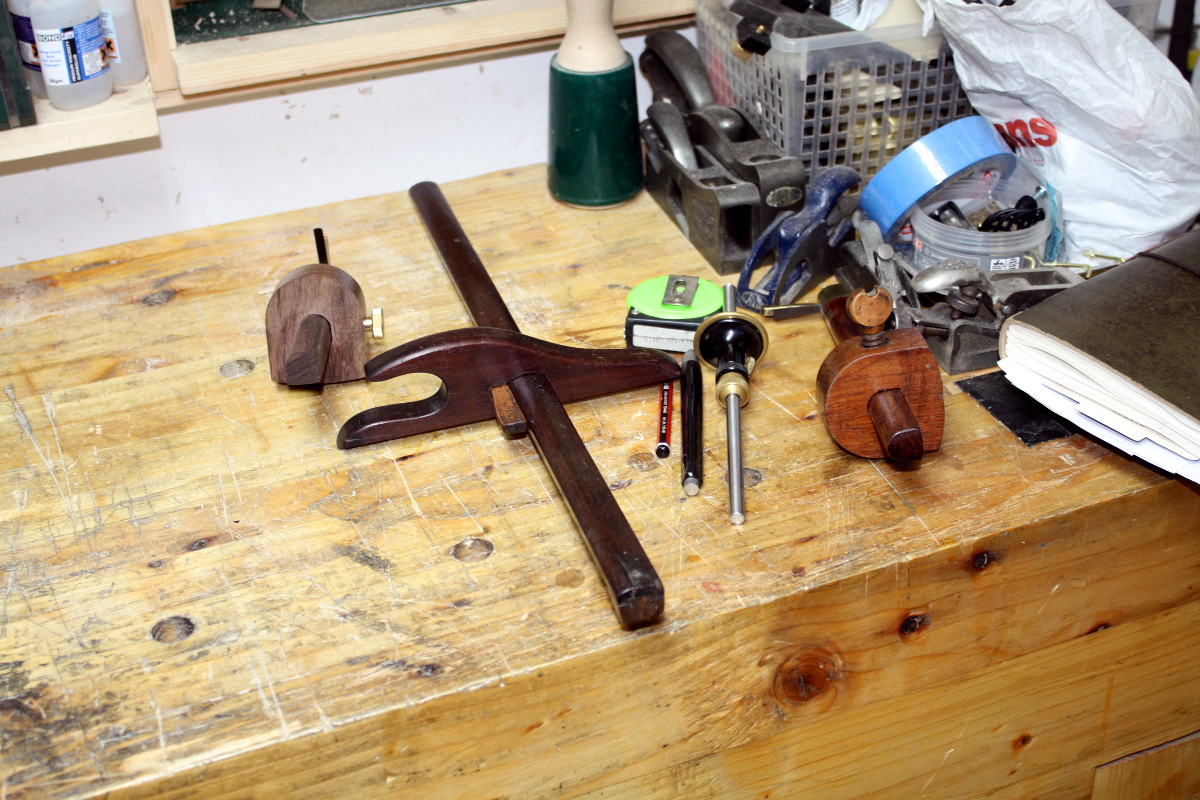
Then I start marking off various parts. By the time I’m done, I’ve used almost all my gauges (you don’t unset the gauge until you’re sure you’re done with that measurement; that ensures you’ll only have to reset the gauge for the one cut you’ve forgotten instead of five or six times).

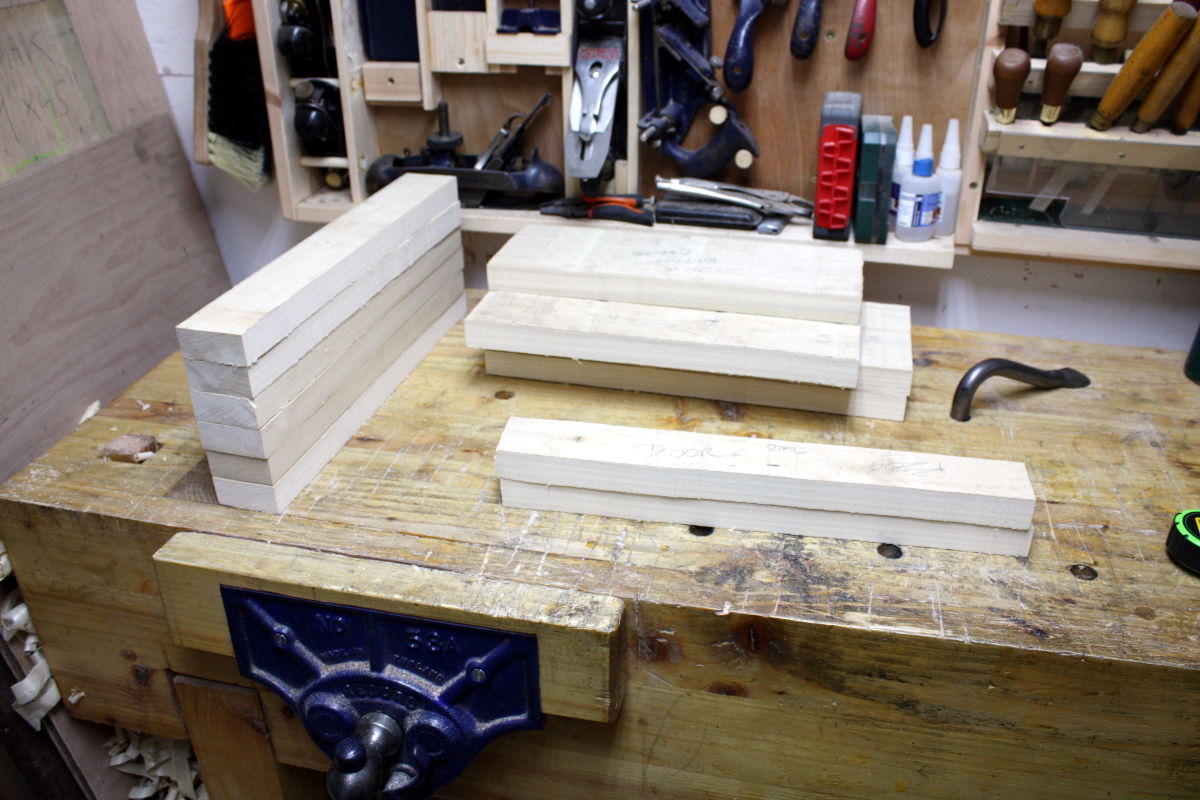
And time for round two with the bandsaw (after lunch):

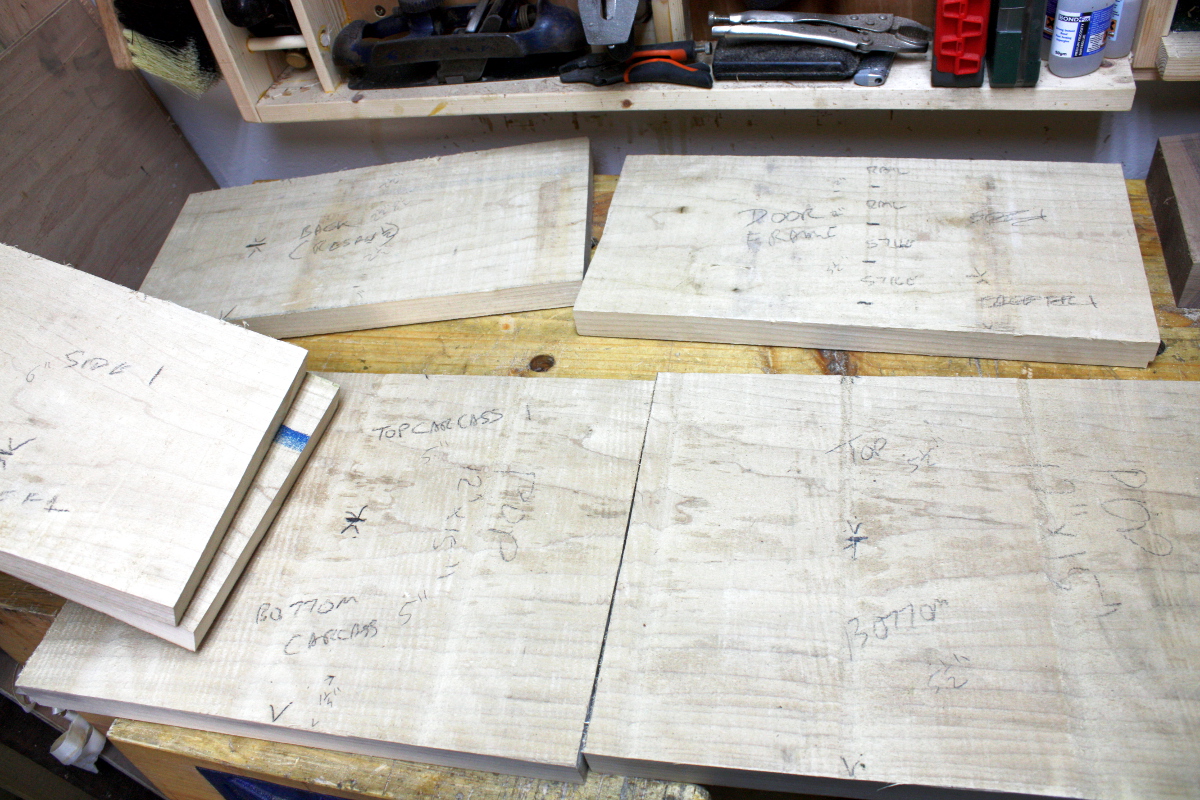
Right. Now I plane a reference edge and face on each part and mark the relevant parts for resawing or thicknessing. And then change my mind about thicknesses – I’ll leave the front of the cupboard three-quarters of an inch thick (which is a standardish sort of thickness for these things) rather than a half-inch. The back panel will still be a half-inch, and I’ll make the sides three-quarters and the top and bottom of the carcass and the shelf will be half-inch and so will the top and bottom cap pieces (so top and bottom overall will be an inch thick and the sides a quarter-inch less).

This is about the point where I discover that my favorite small proops brothers engineers square is… not. Square that is, it’s out by almost a full mm across its arm, I must have whacked it off something without noticing. I know I didn’t drop it. I don’t know if you can true one of these back up with the kit I have available. I may just need to buy a new one (for all of a tenner or so). In the meantime, I have another engineer’s square and the new Moore&Wright sliding square so that’s fine. Except that I had to reshoot a bunch of edges to get them back to square. And then marking them out for resawing.

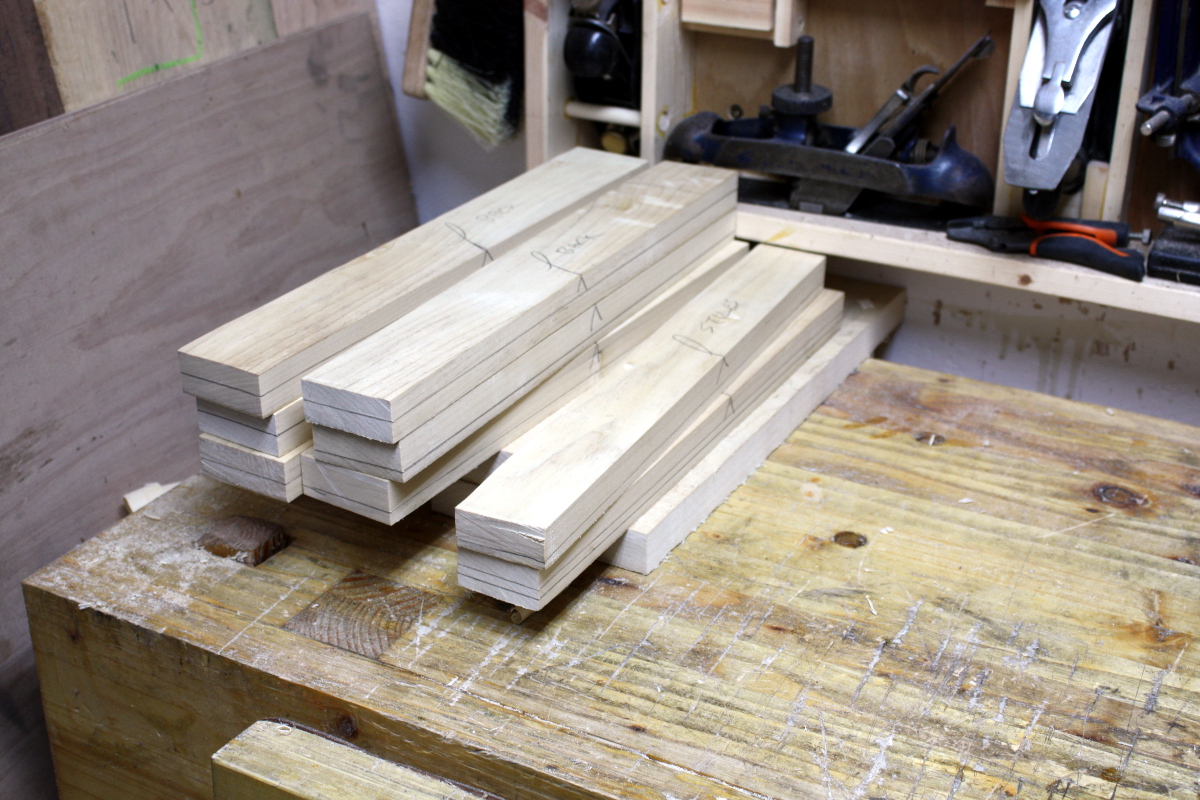
And back to the bandsaw for round three…

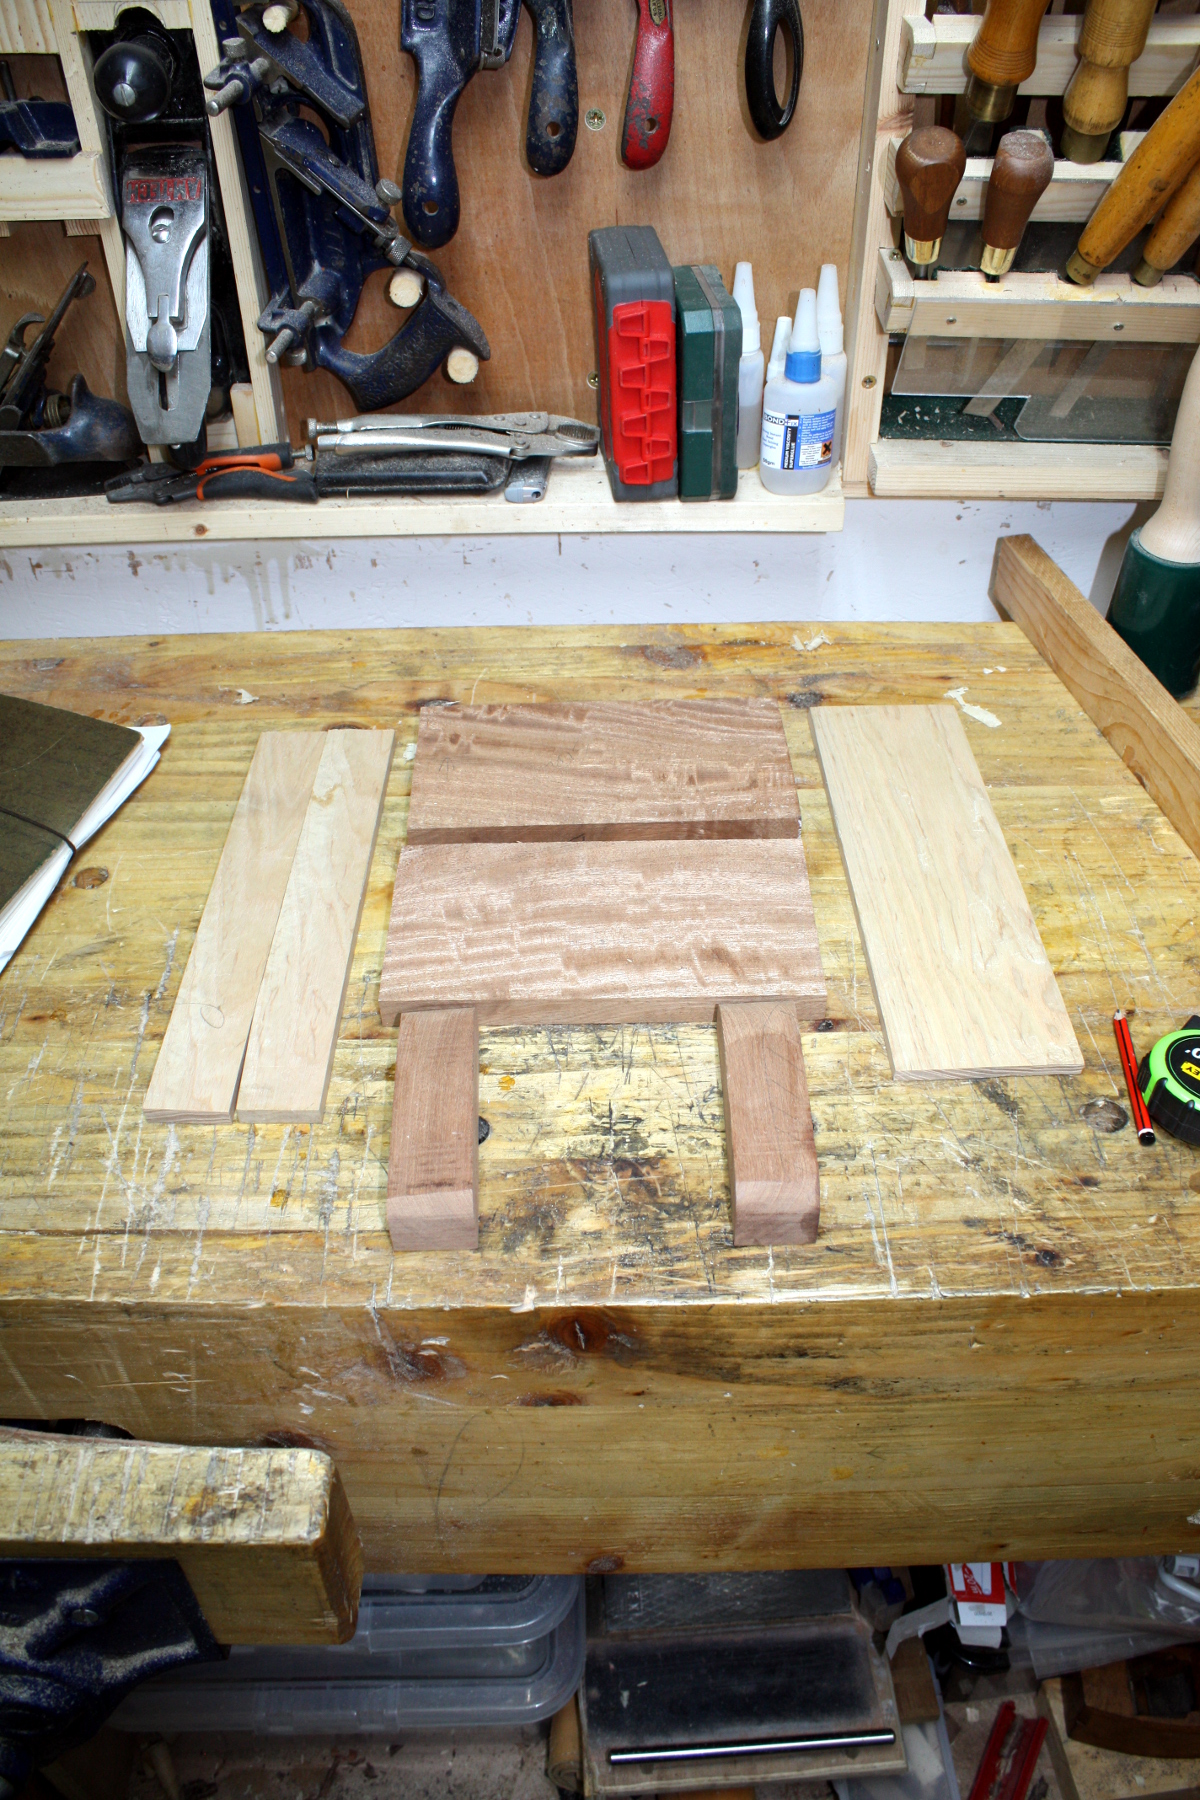
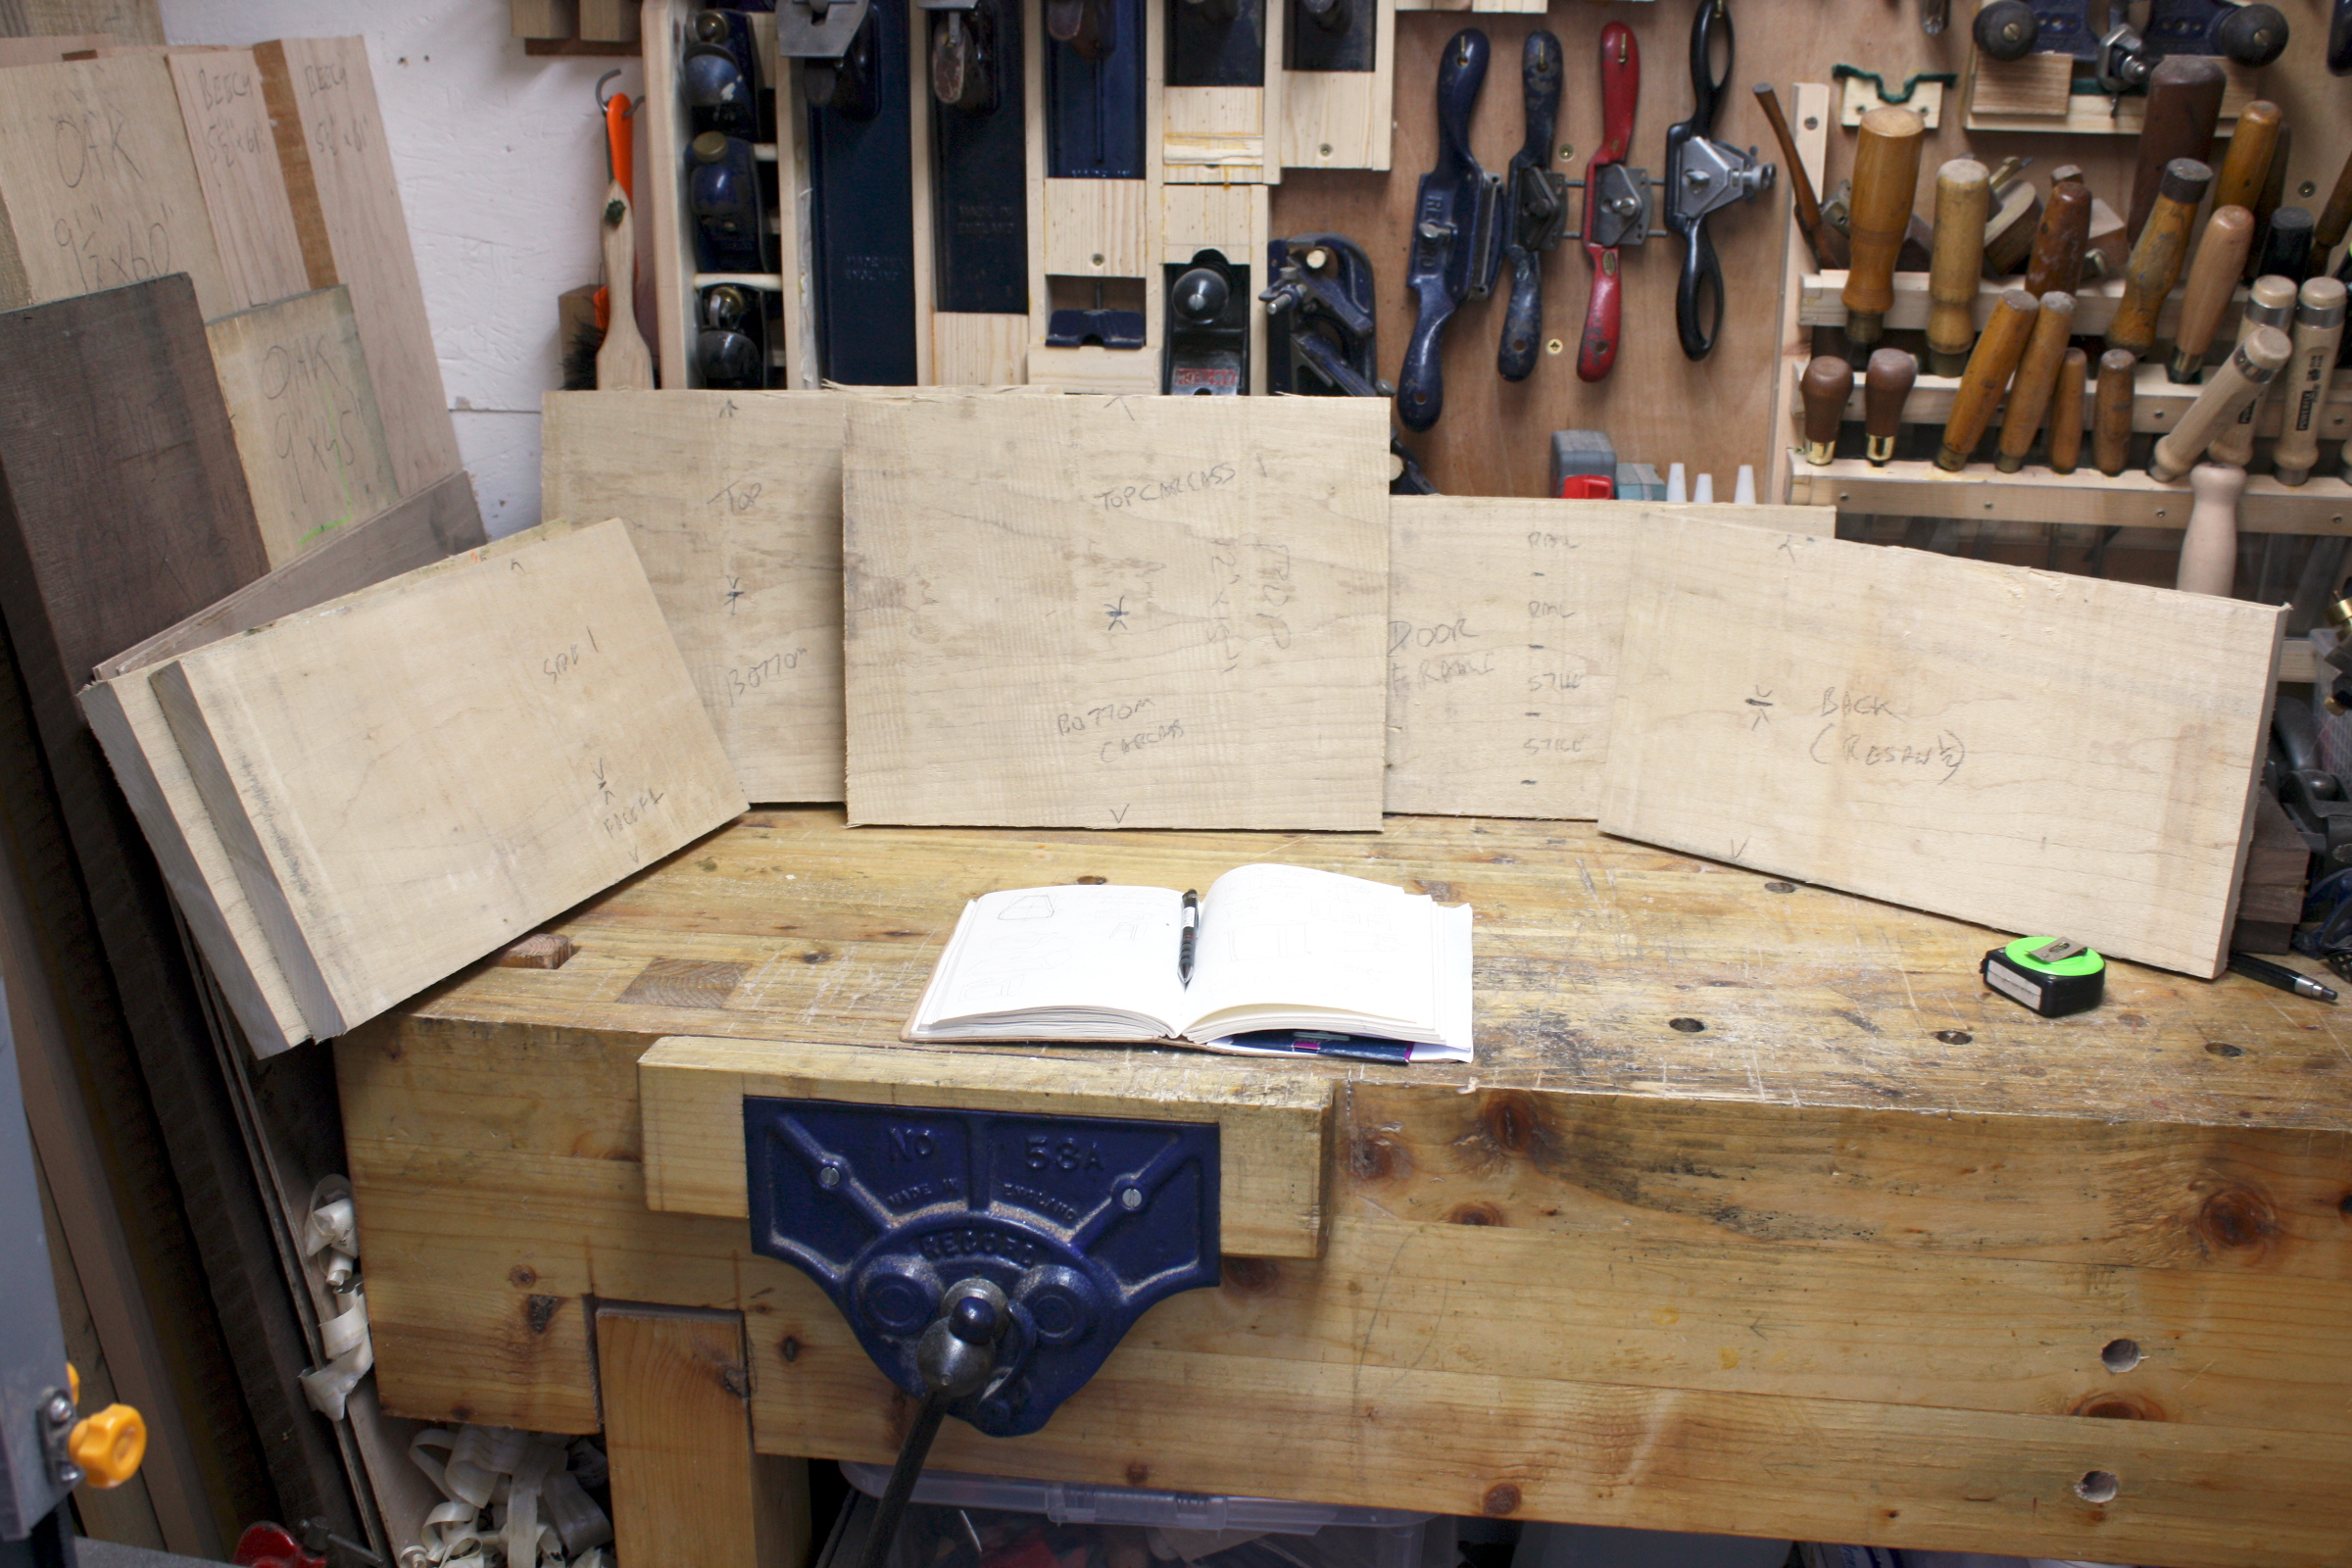
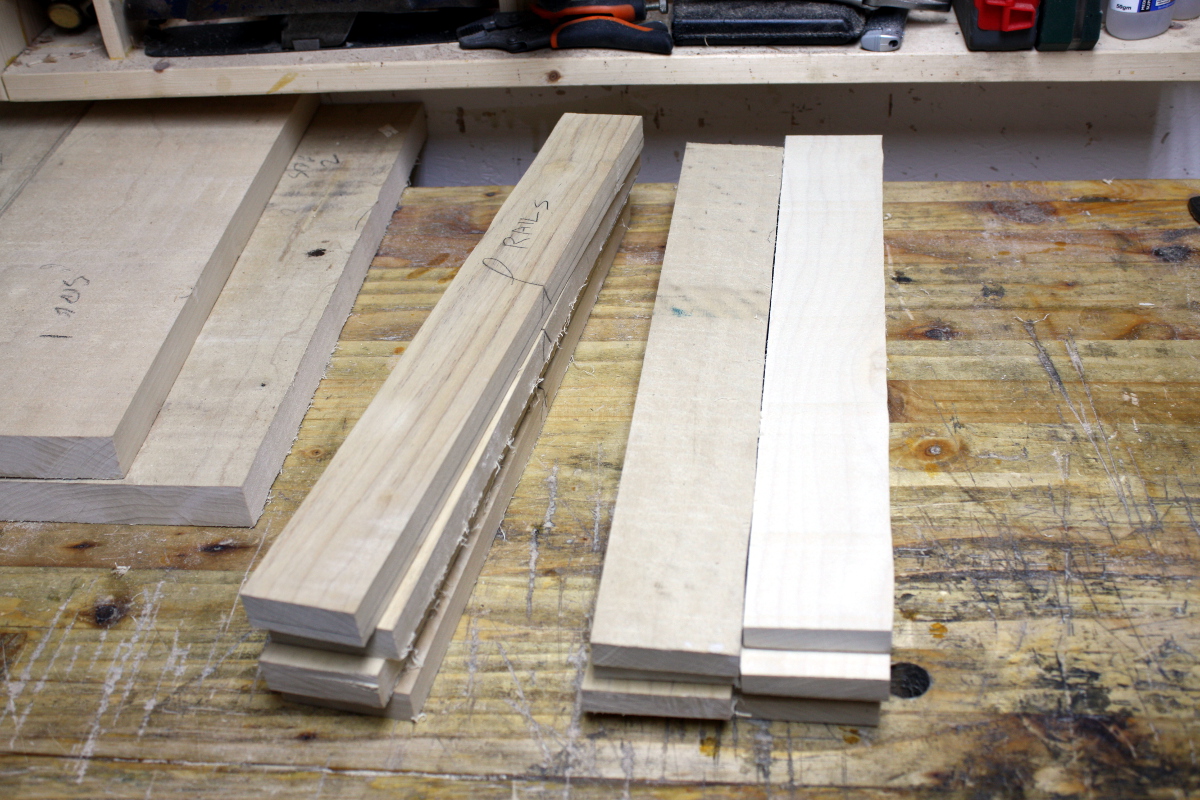
Right. That’s the rails and stiles for the front door, the boards for the back, and the sides and top and bottom will have to be resawn by hand.

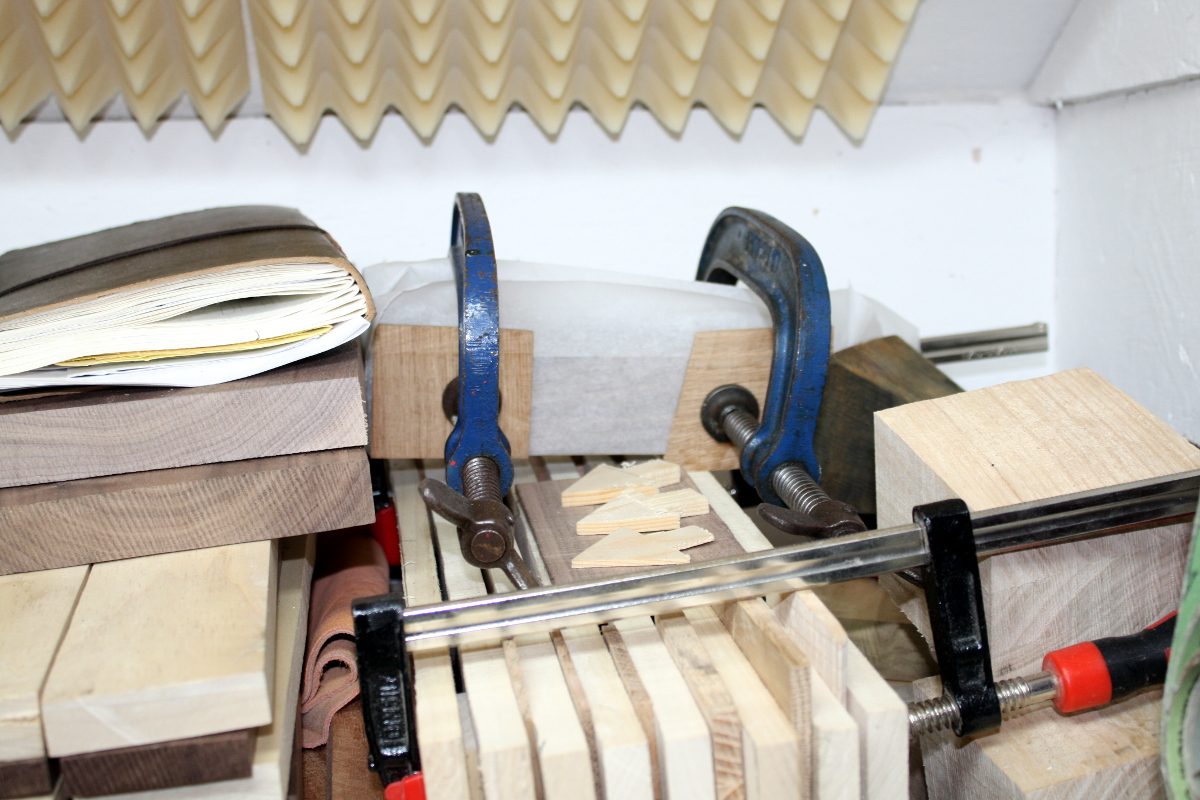
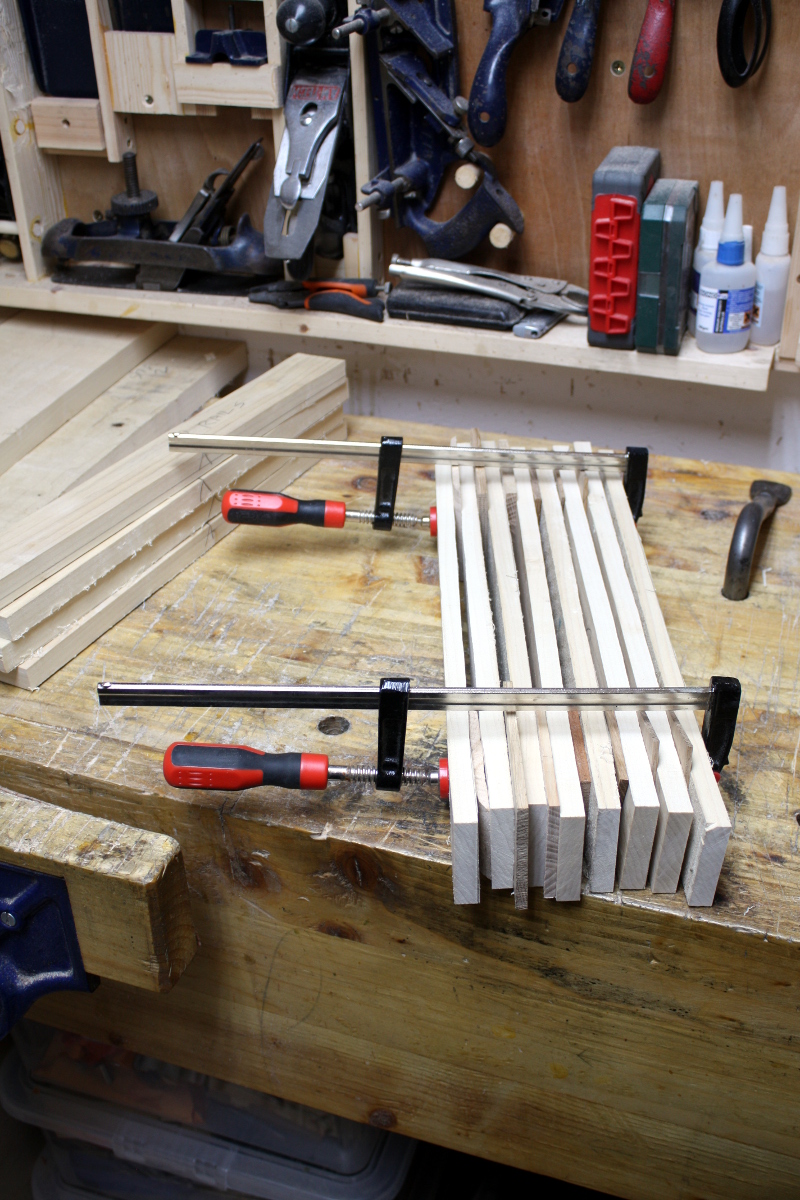
Just clamping and stickering them for now to let them dry overnight without too much warp.

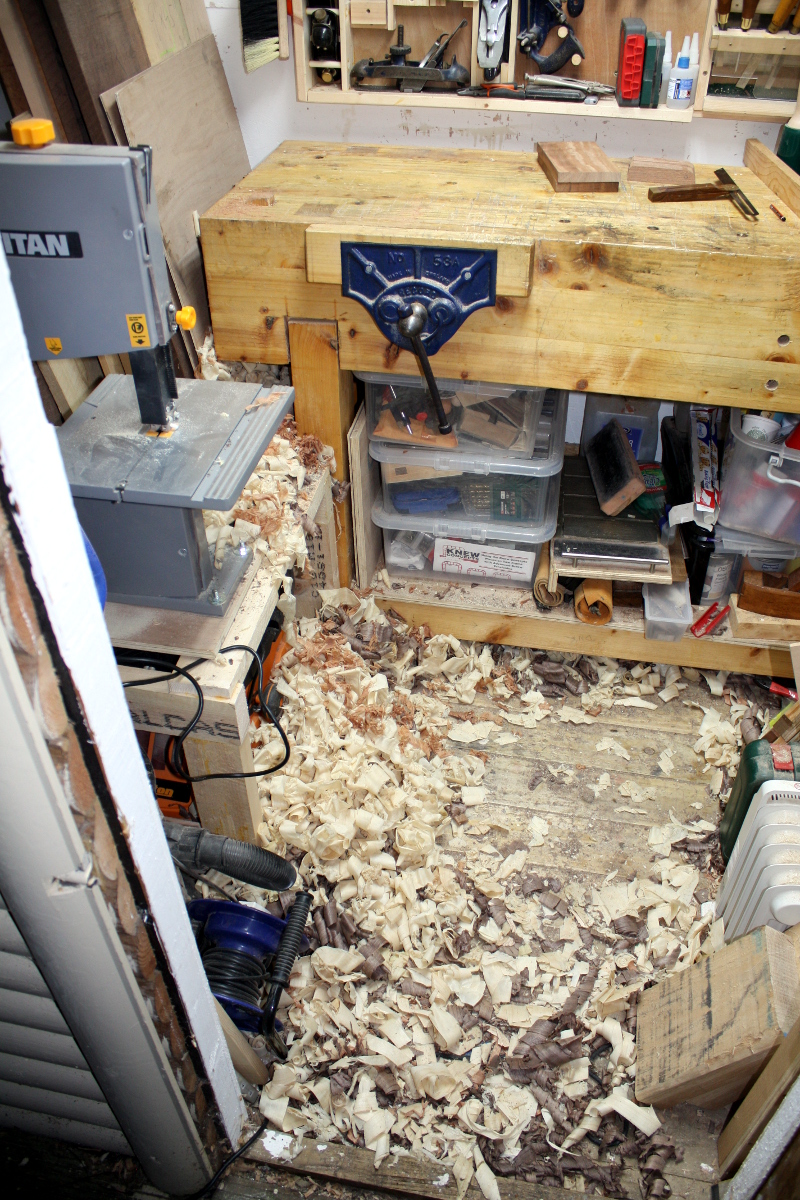
Yeesh. Really do need to start joinery on something soon, if only to clear space. I only just finished tidying this up on Saturday…

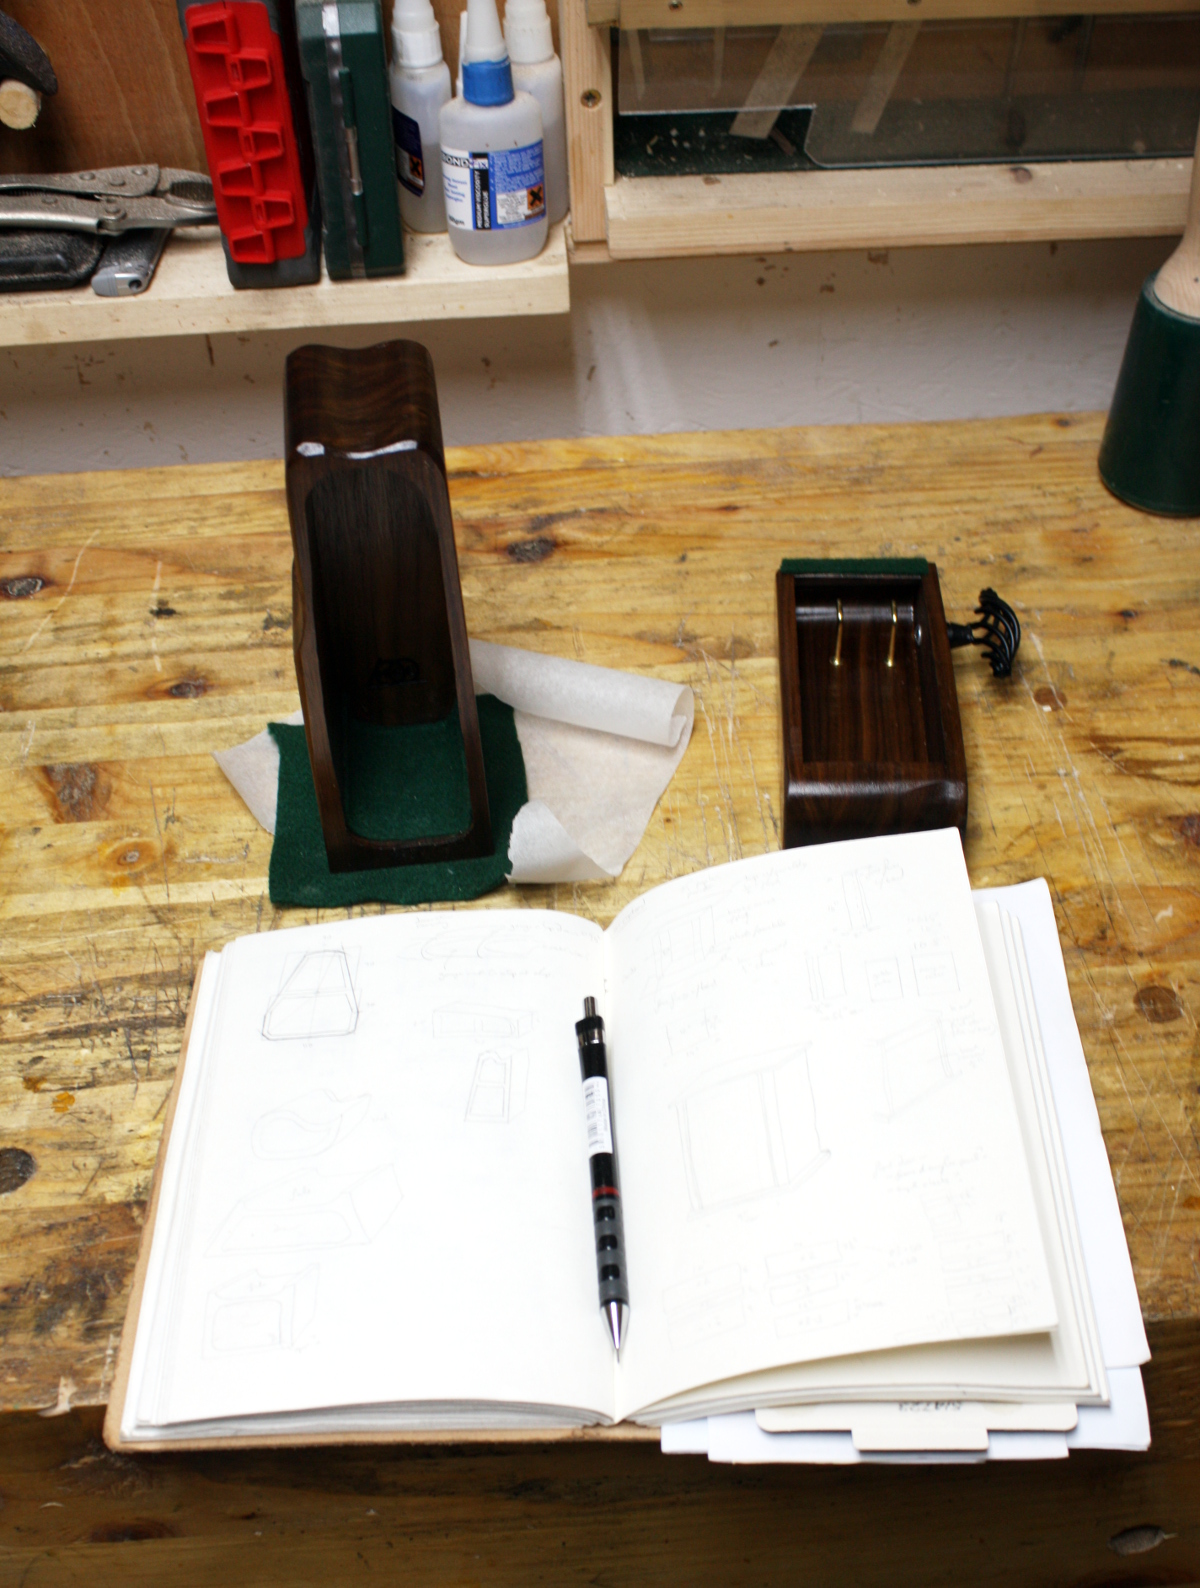
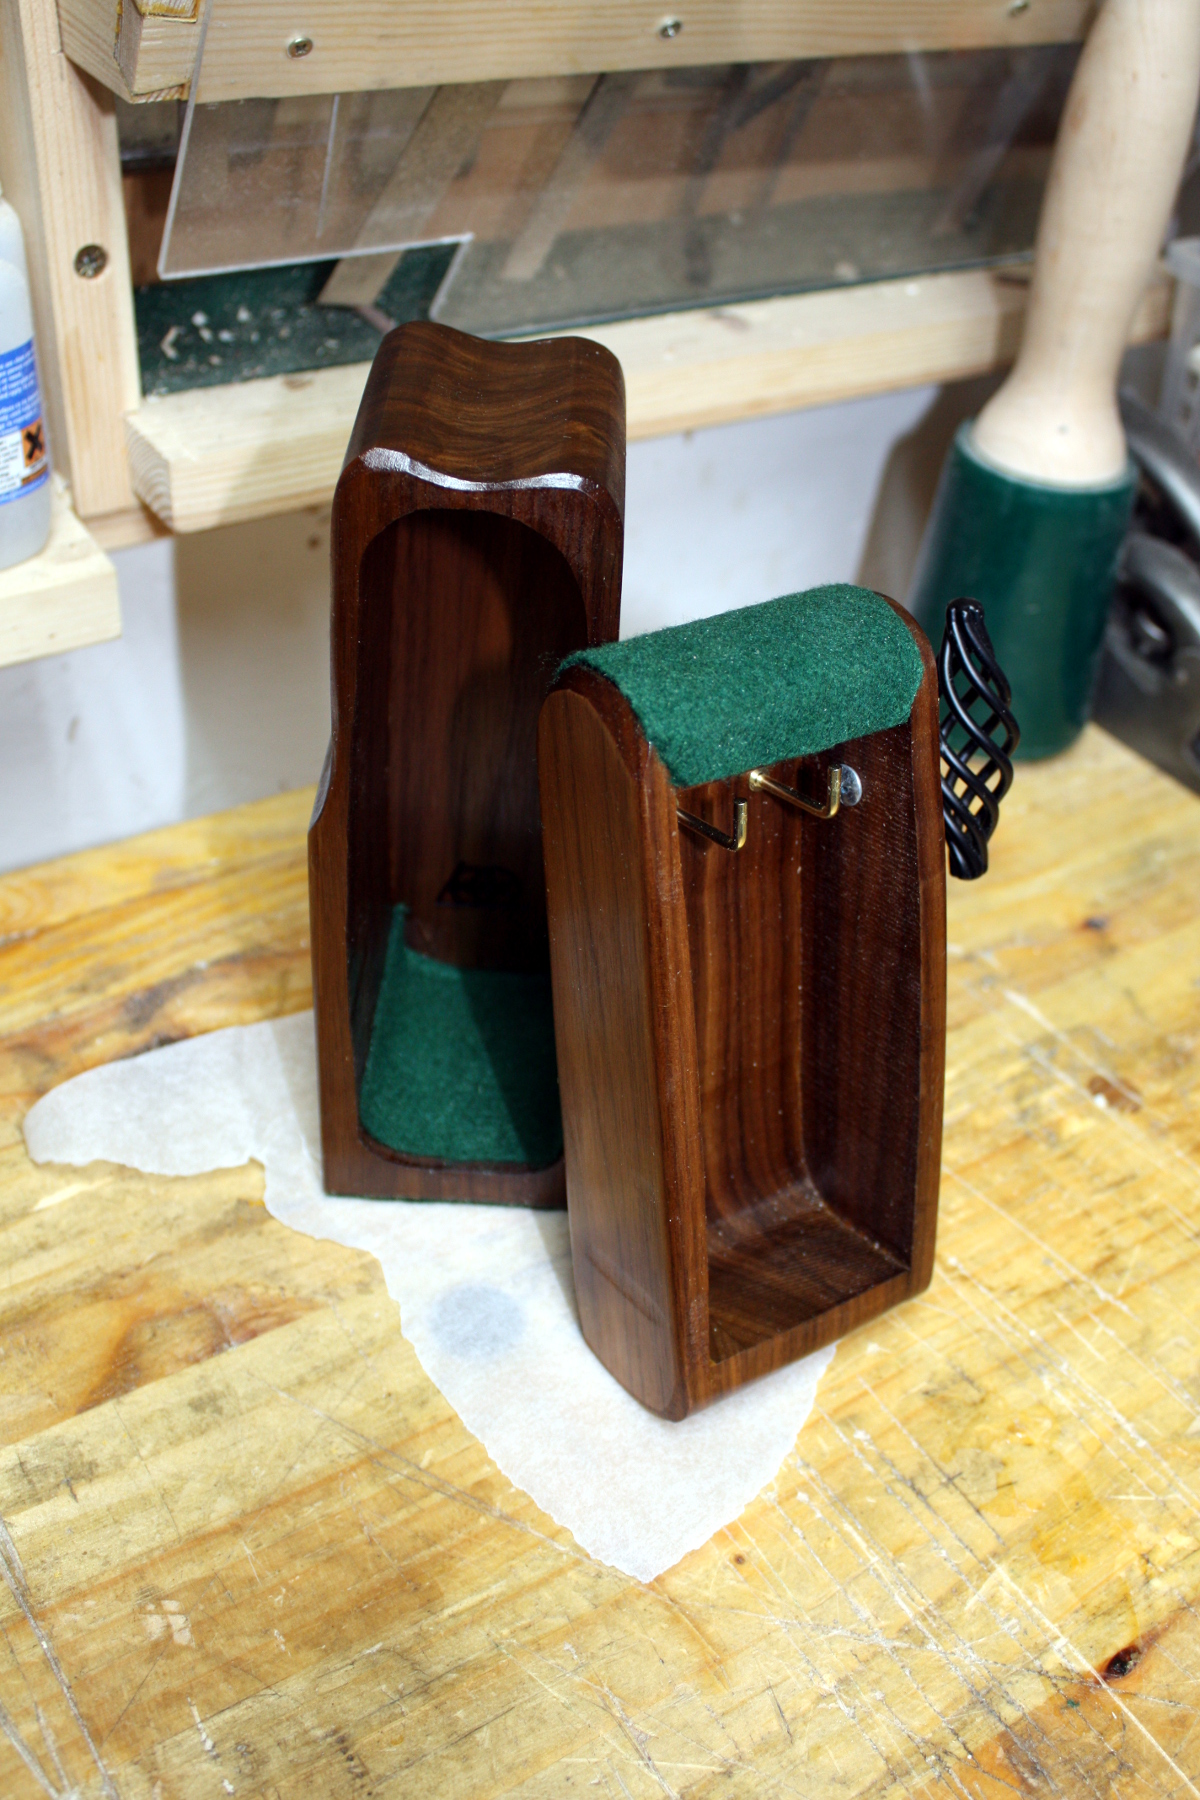
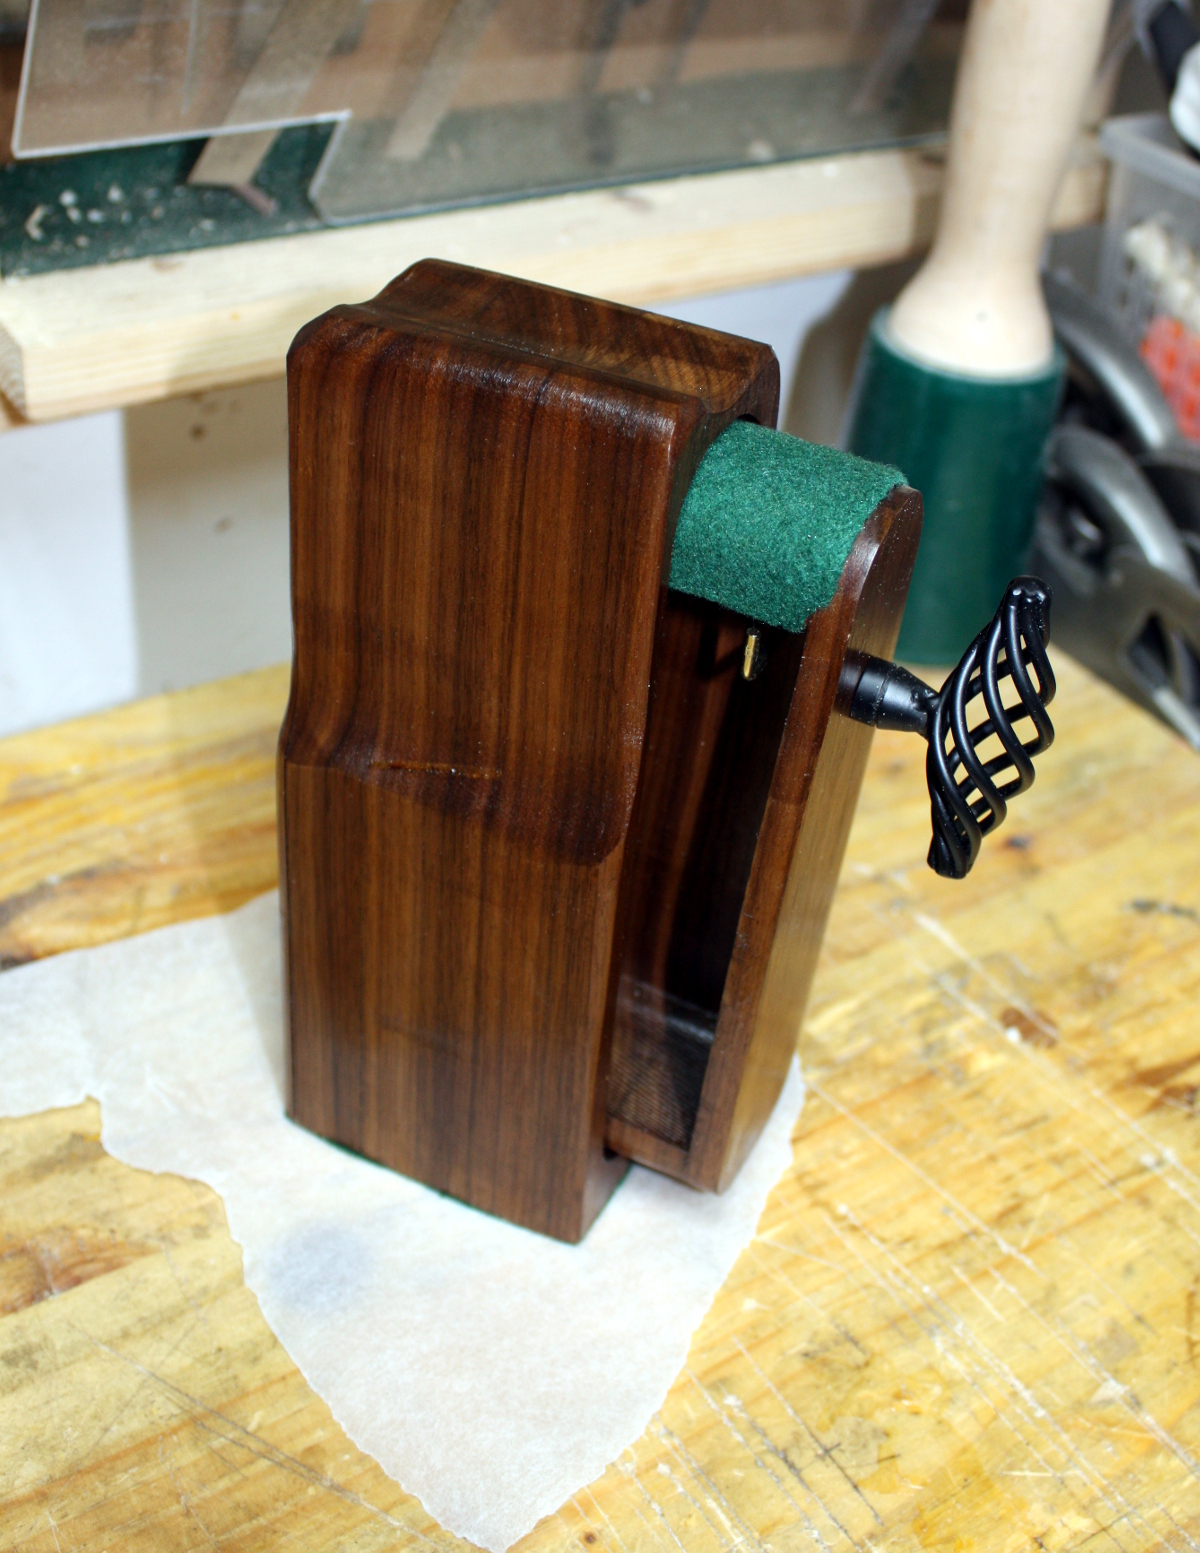
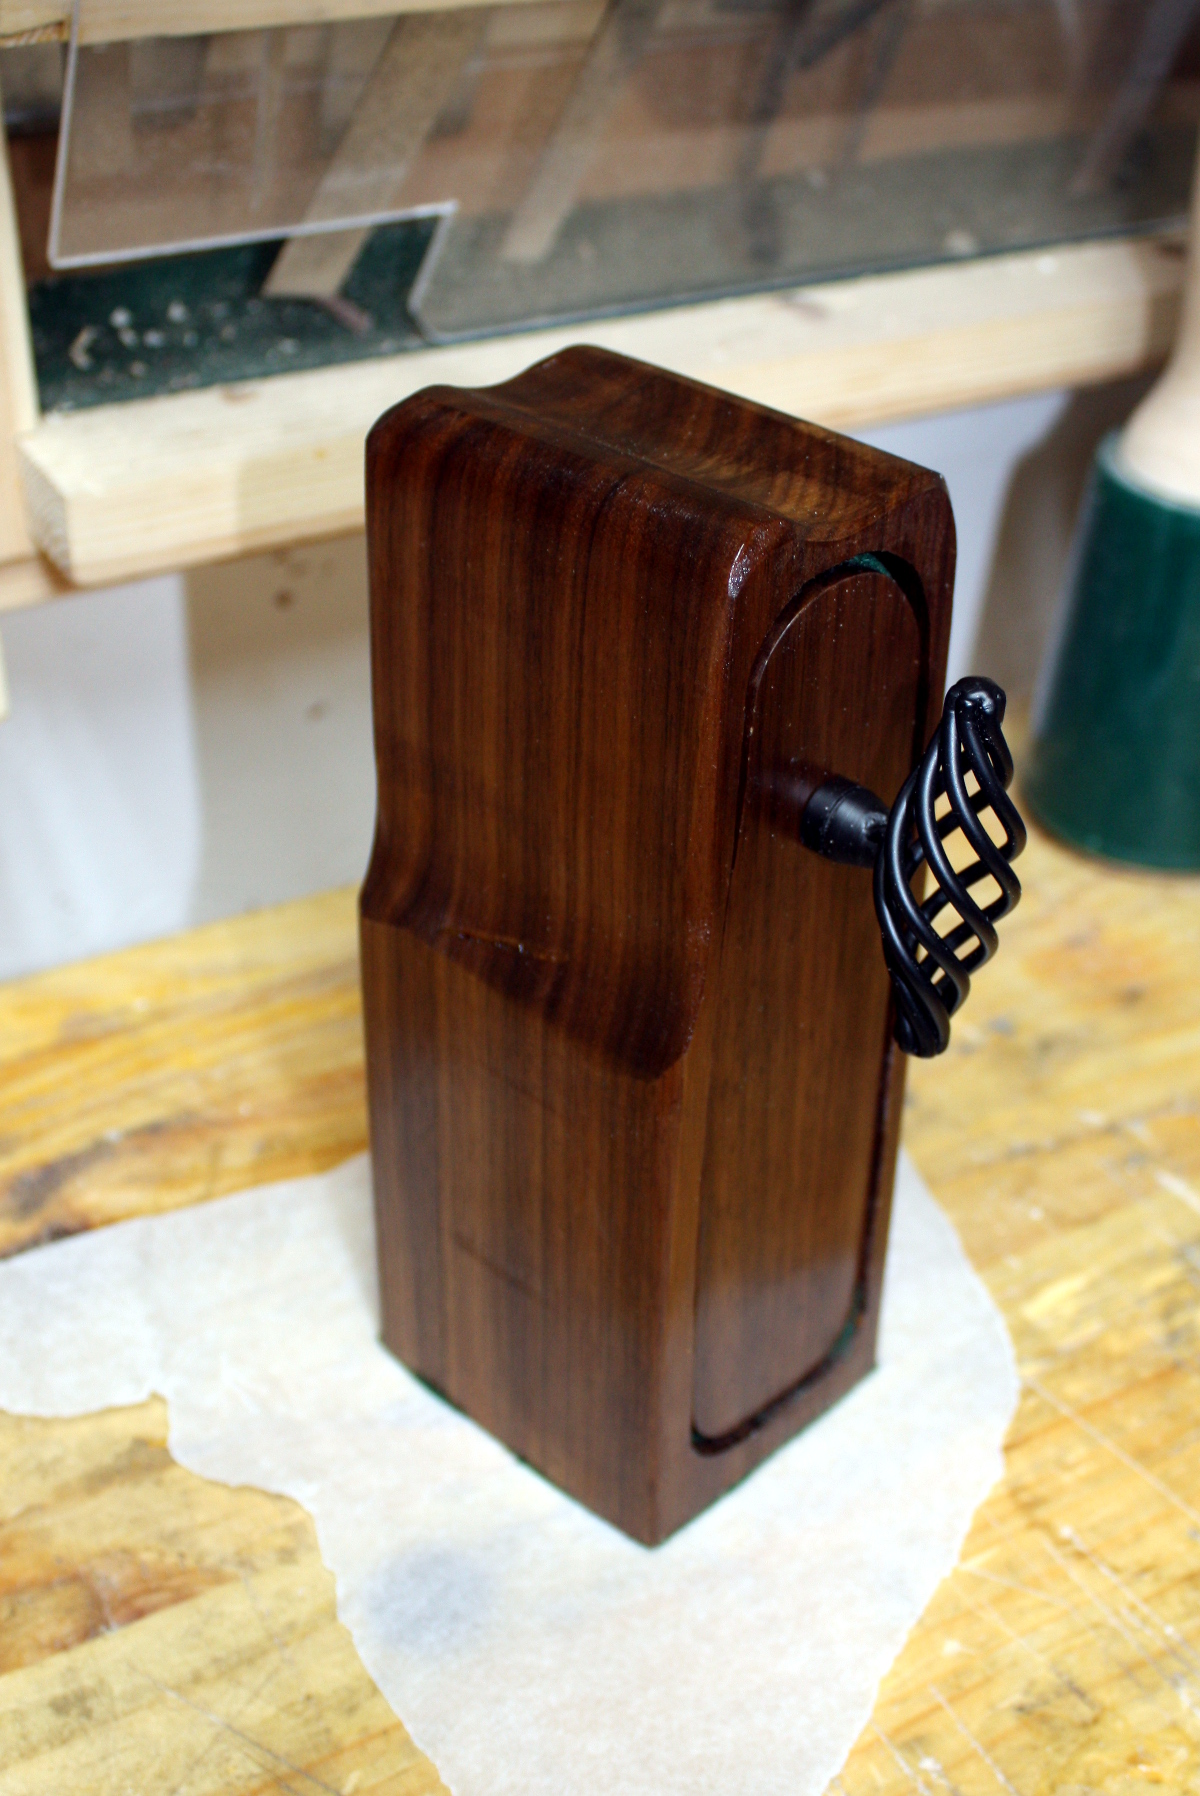
Also finished up the bandsaw box. Two coats of garnet shellac on top of two coats of danish oil, and then some hardware, and then some felt for the base and the drawer gap. More photos tomorrow.

And then there was this idea from Paul Sellers:

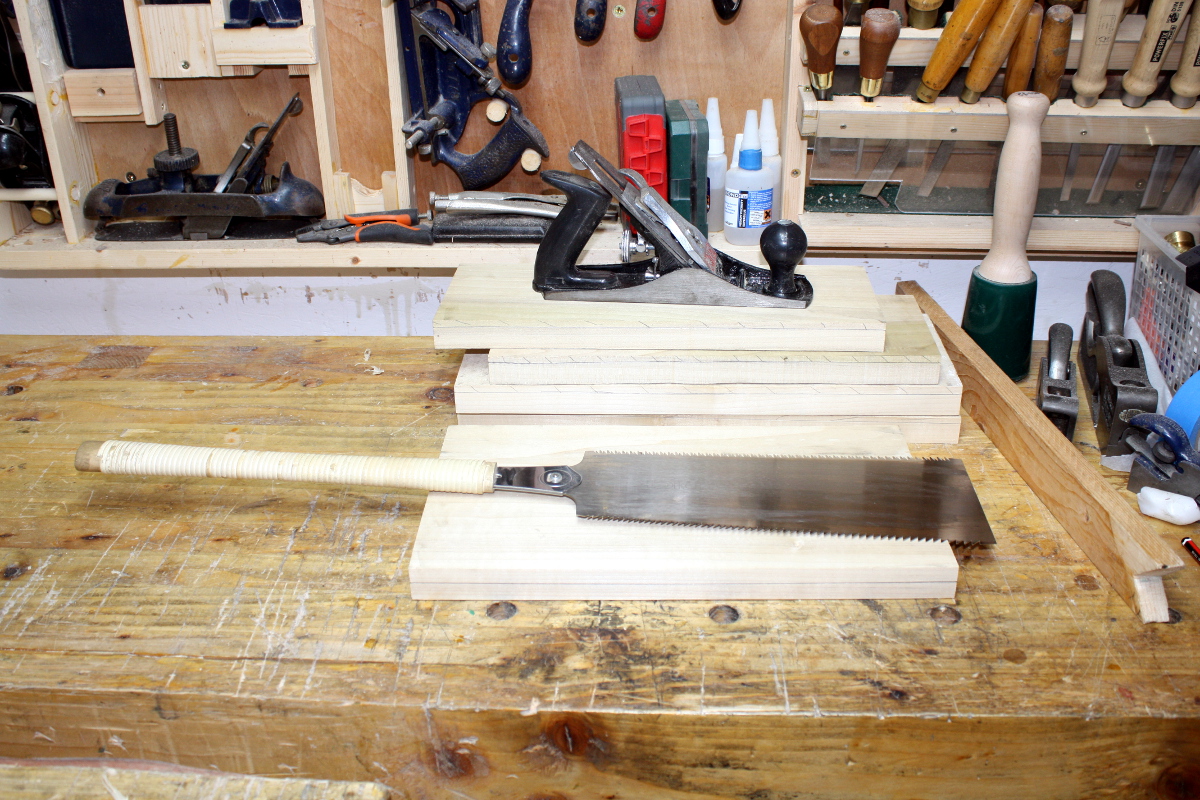
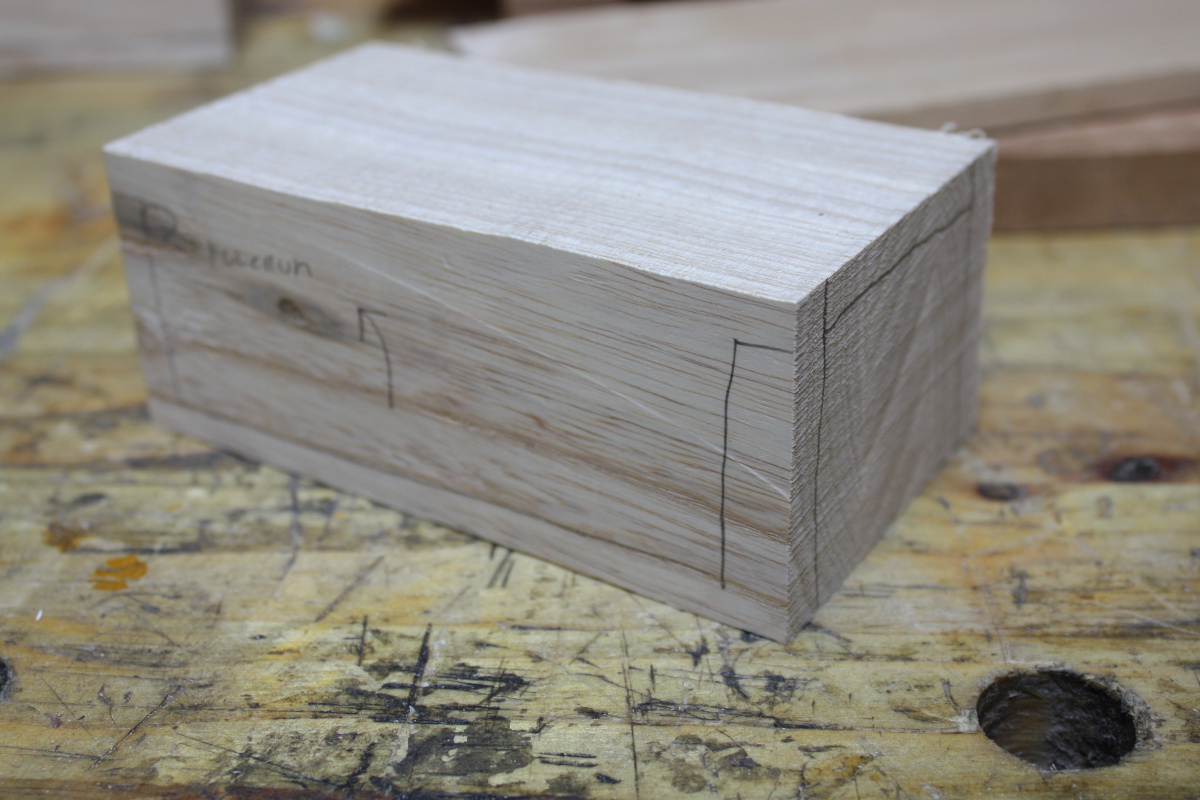
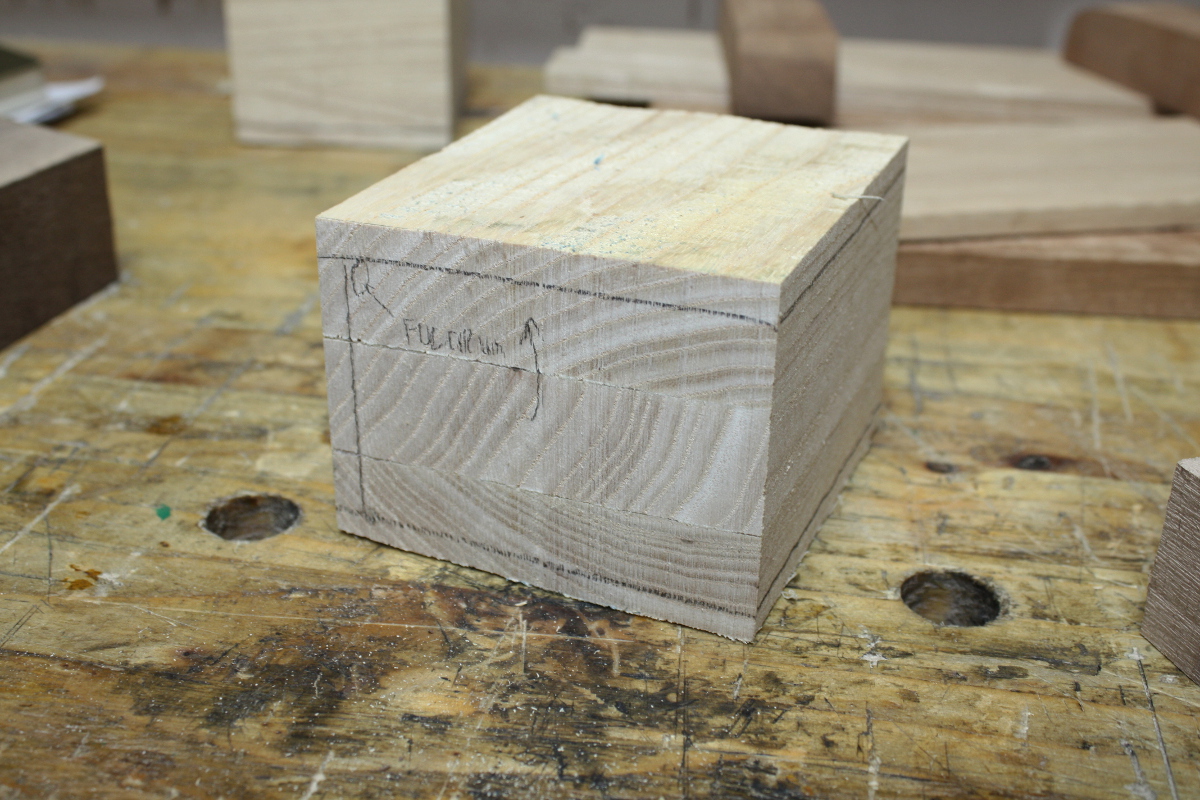
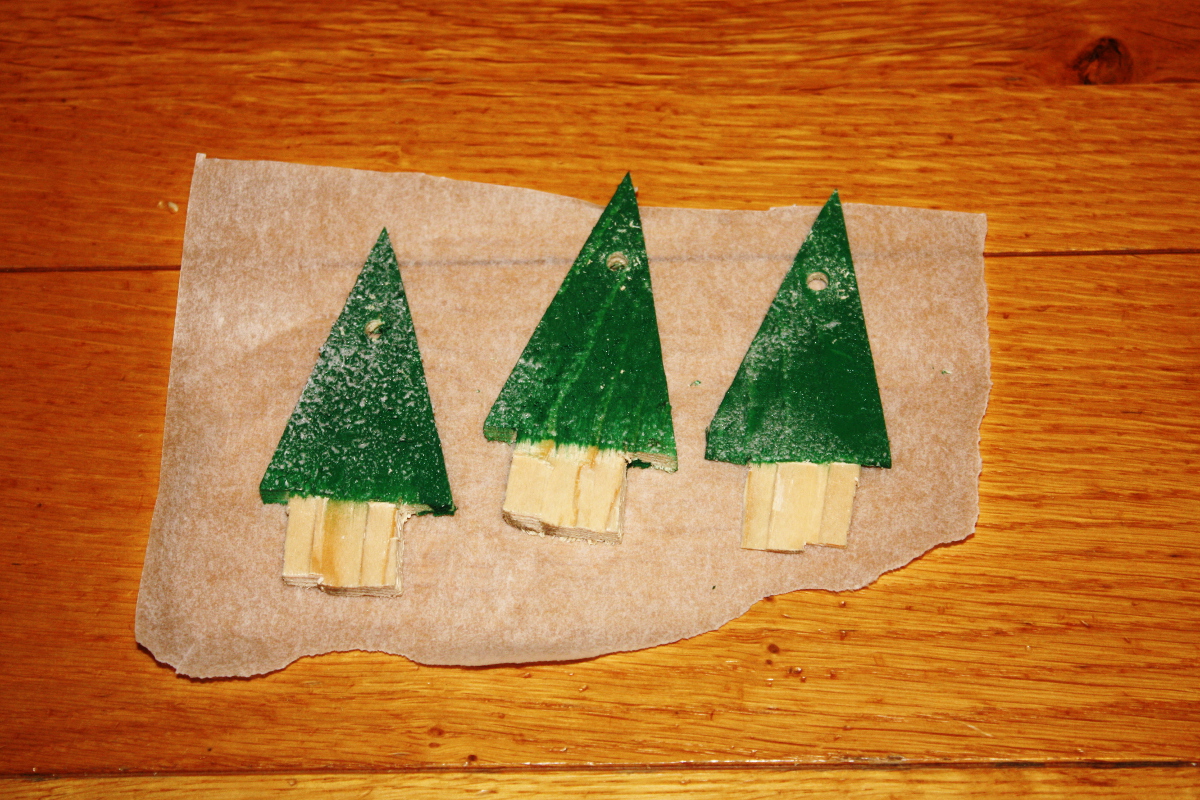
And it looked simple enough that I could do it with Calum, so I prepped a piece of pine and this evening we drew lines on it, sawed it with a small ryoba rather than using the chisel Sellers used which would be a little dangerous for a five-year-old (or for me in close quarters with a small child holding a surgically sharp pointy lump of metal for that matter), and cleaned it up using “his” number #03 plane (because it has two places to hold that keep small fingers away from sharp edges). And then split it with a hammer and enough glee to convince me it’s a good thing we don’t have a cat.

Then break out the green spraypaint and masking tape and do the next bit outdoors 😀

Came back a bit later with spray-on snow and drilled a hanging hole…

Not bad for a five-year-old.


17
Dec 17

Madelines

Well, this post has sat around as a draft for two years now, so maybe I should finish it…

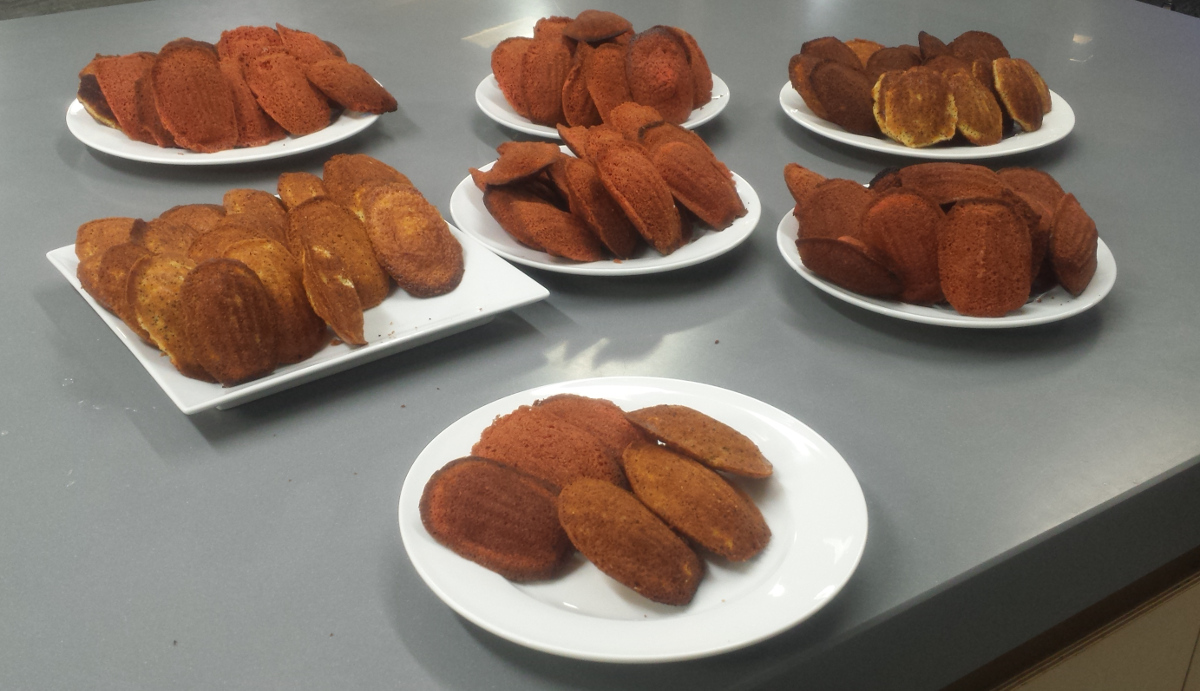
Anyway. Madelines. Small crunchy-on-the-outside citrusy sponge cakes that are brilliant with a cup of tea in the morning. Yes, crunchy. If you’ve had them and they were soft, they weren’t fresh. They go soft as they go off.

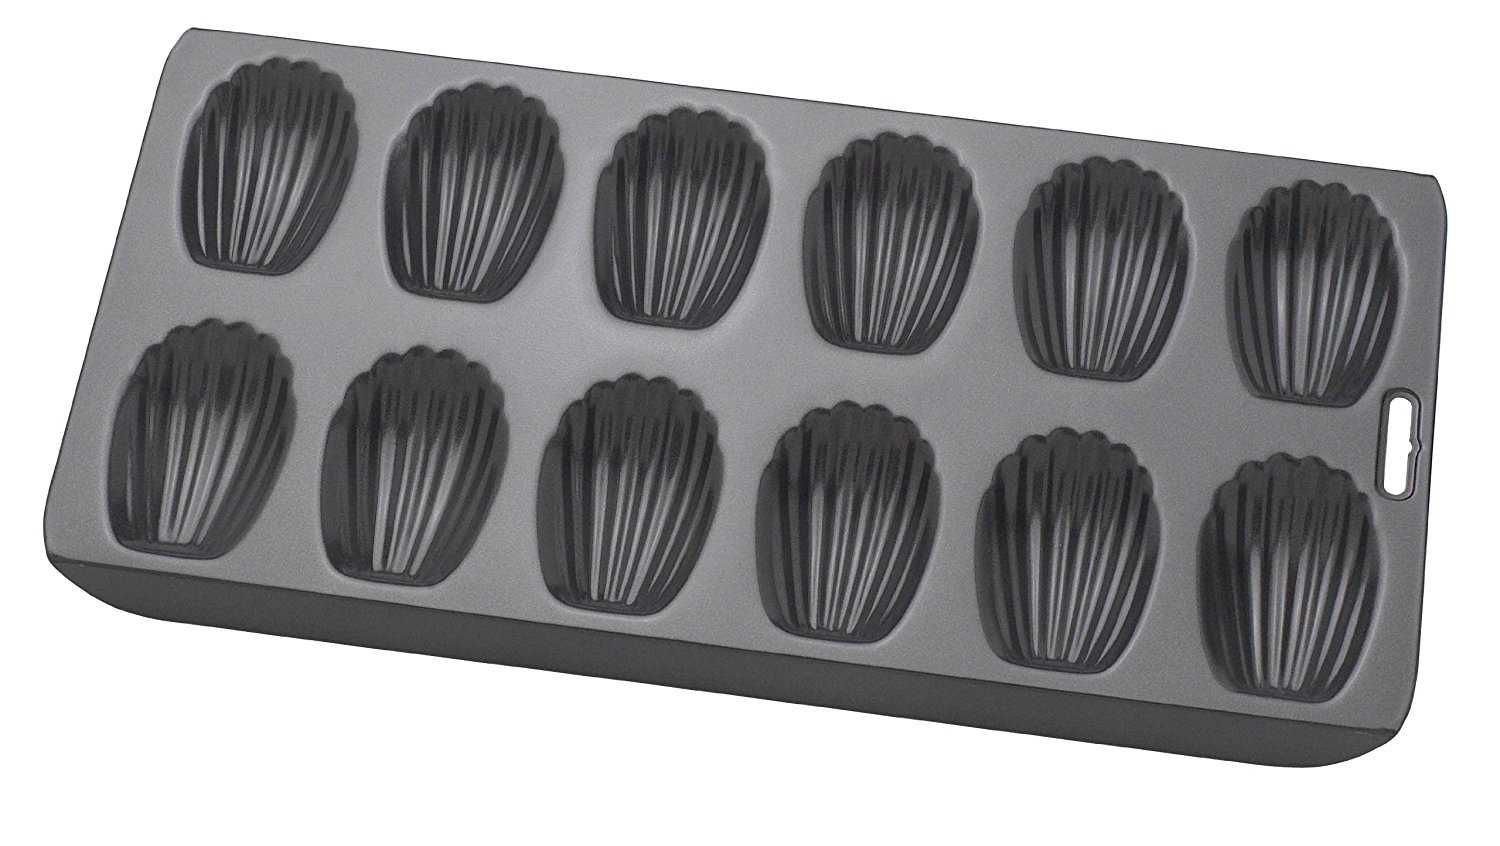
Also, you need a special pan. Yes, you do. You can pour the batter into anything but it won’t be a madeline, the same way it’s a stew instead of a tagine unless it’s made in a tagine or a casserole has to be made in a cassarole or a … you get the idea. It’s one of those named-for-the-dish cooking vessels. For madelines they look like this:

Sorry, no, google I said “madeline pan“…

And you’ll want to have a piping bag. You’ll think you won’t but you try doing this with spoons and you’ll wind up swearing a lot about how next time you’ll use a piping bag.

Also, preheat the oven. Temperature is a massive thing for this recipe, as is piping in the right amount of batter.

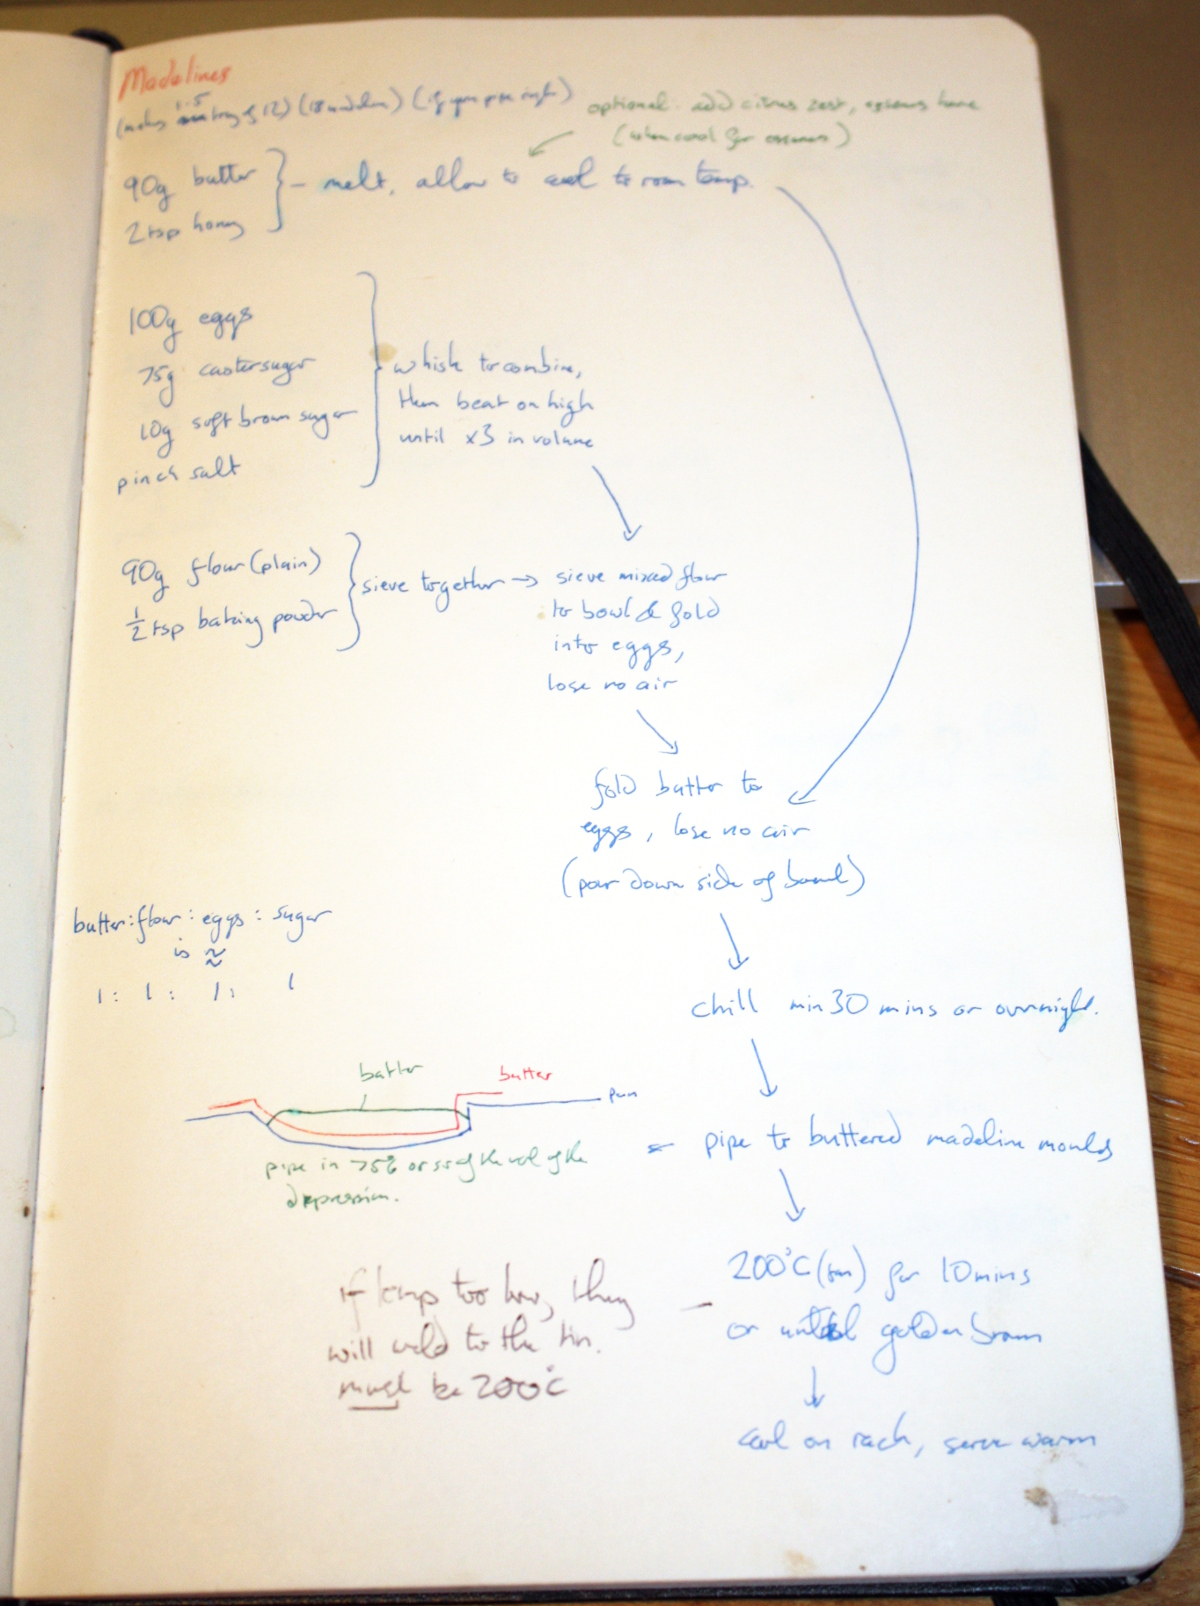
The easiest way to start is in the stand mixer bowl (you don’t need a stand mixer. You also don’t need a car to get to work, the bike or bus or train would do fine, but you’re a fancy sod, aren’t you?) and try to get 100g of eggs in (just keep cracking eggs till you’re at or past 100g, then scale all the rest of the recipe to match – the rest of the amounts here will assume you got to 110g, beat the eggs to a homogenous mix, then ditched 10g of the egg mixture because you’re phobic about maths).

Now, 90g of butter and 2 teaspoons of honey into a small pot, melt gently on the hob and let it come back to room temperature. Once they’ve melted and are cooling, you can add citrus zest or vanilla essence or whatever you feel like. Personally I like lemon zest and vanilla here and adding a handful of poppy seeds to the flour later but if you want to make mint salted caramel madelines, well, not in my f*&$ing kitchen you’re not.

Now, back in the stand mixer bowl add 75g of castor sugar, 10g of soft brown sugar and a pinch of salt. Mix with the whisk attachment by hand just to get the sugar off the bottom and into solution, then put the attachment back into the machine and whisk on high until the mixture triples in volume. Don’t cut this step short, this is all the air that’s going into this and you don’t want to eat window putty, you want a light sponge which means lots of air at this step.

Next, sieve 90g of plain or self-raising flour into a bowl. There’s not enough difference in the two flours to really worry about at this stage. Michelle Roux Jr. might worry, but unless you’re a professional pastry chef who’s famous for his desserts and underpaying his staff, the difference isn’t going to be very important to you. You’ll screw something else up sufficiently to hide the difference anyway.

Now, sieve the mixed flour into the stand mixer bowl, folding it in carefully with a spatula (yes, turn off the mixer and take the bowl out first, or it’s going to be very funny for everyone else). Lose as little of the air in the batter as you can. Once you’ve finished all the flour, do the same with the butter that’s by now cooled to room temperature (if it hasn’t cooled and you try this, you’ll scramble the eggs, which will suck and won’t make madelines). Pour the butter down the side of the bowl rather than dumping it directly into the batter, or the whole thing collapses and sinks like a souffle in a cement mixer.

Fill the piping bag, then put it in the fridge and forget about it till tomorrow.

Next day.

Yes, the next day. Feck’s sakes, you didn’t start reading this ten minutes before you needed them did you? Anyway. Next day. Preheat the oven to 210C.

Take a tablespoon or two of butter and put it in a plastic bowl and microwave it till it’s almost melted (or, if you don’t have kids you can use a small pot on the hob or microwave it in tupperware or whatever). Now brush it on the depressions in the pans. You don’t want a thin translucent smear here; you want a thickish coat because that butter is going to fry the batter for that crust. I mean, not a tablespoon per madeline, but a good schmear.

Now, pipe in batter to each depression. You want to fill each depression by about 75% – I usually find that piping at a good rate from one end to the other and back again is about right, but give it a go yourself and you’ll figure it out. Or, you know, just give up, curse the whole thing and buy them from a bakery in future.

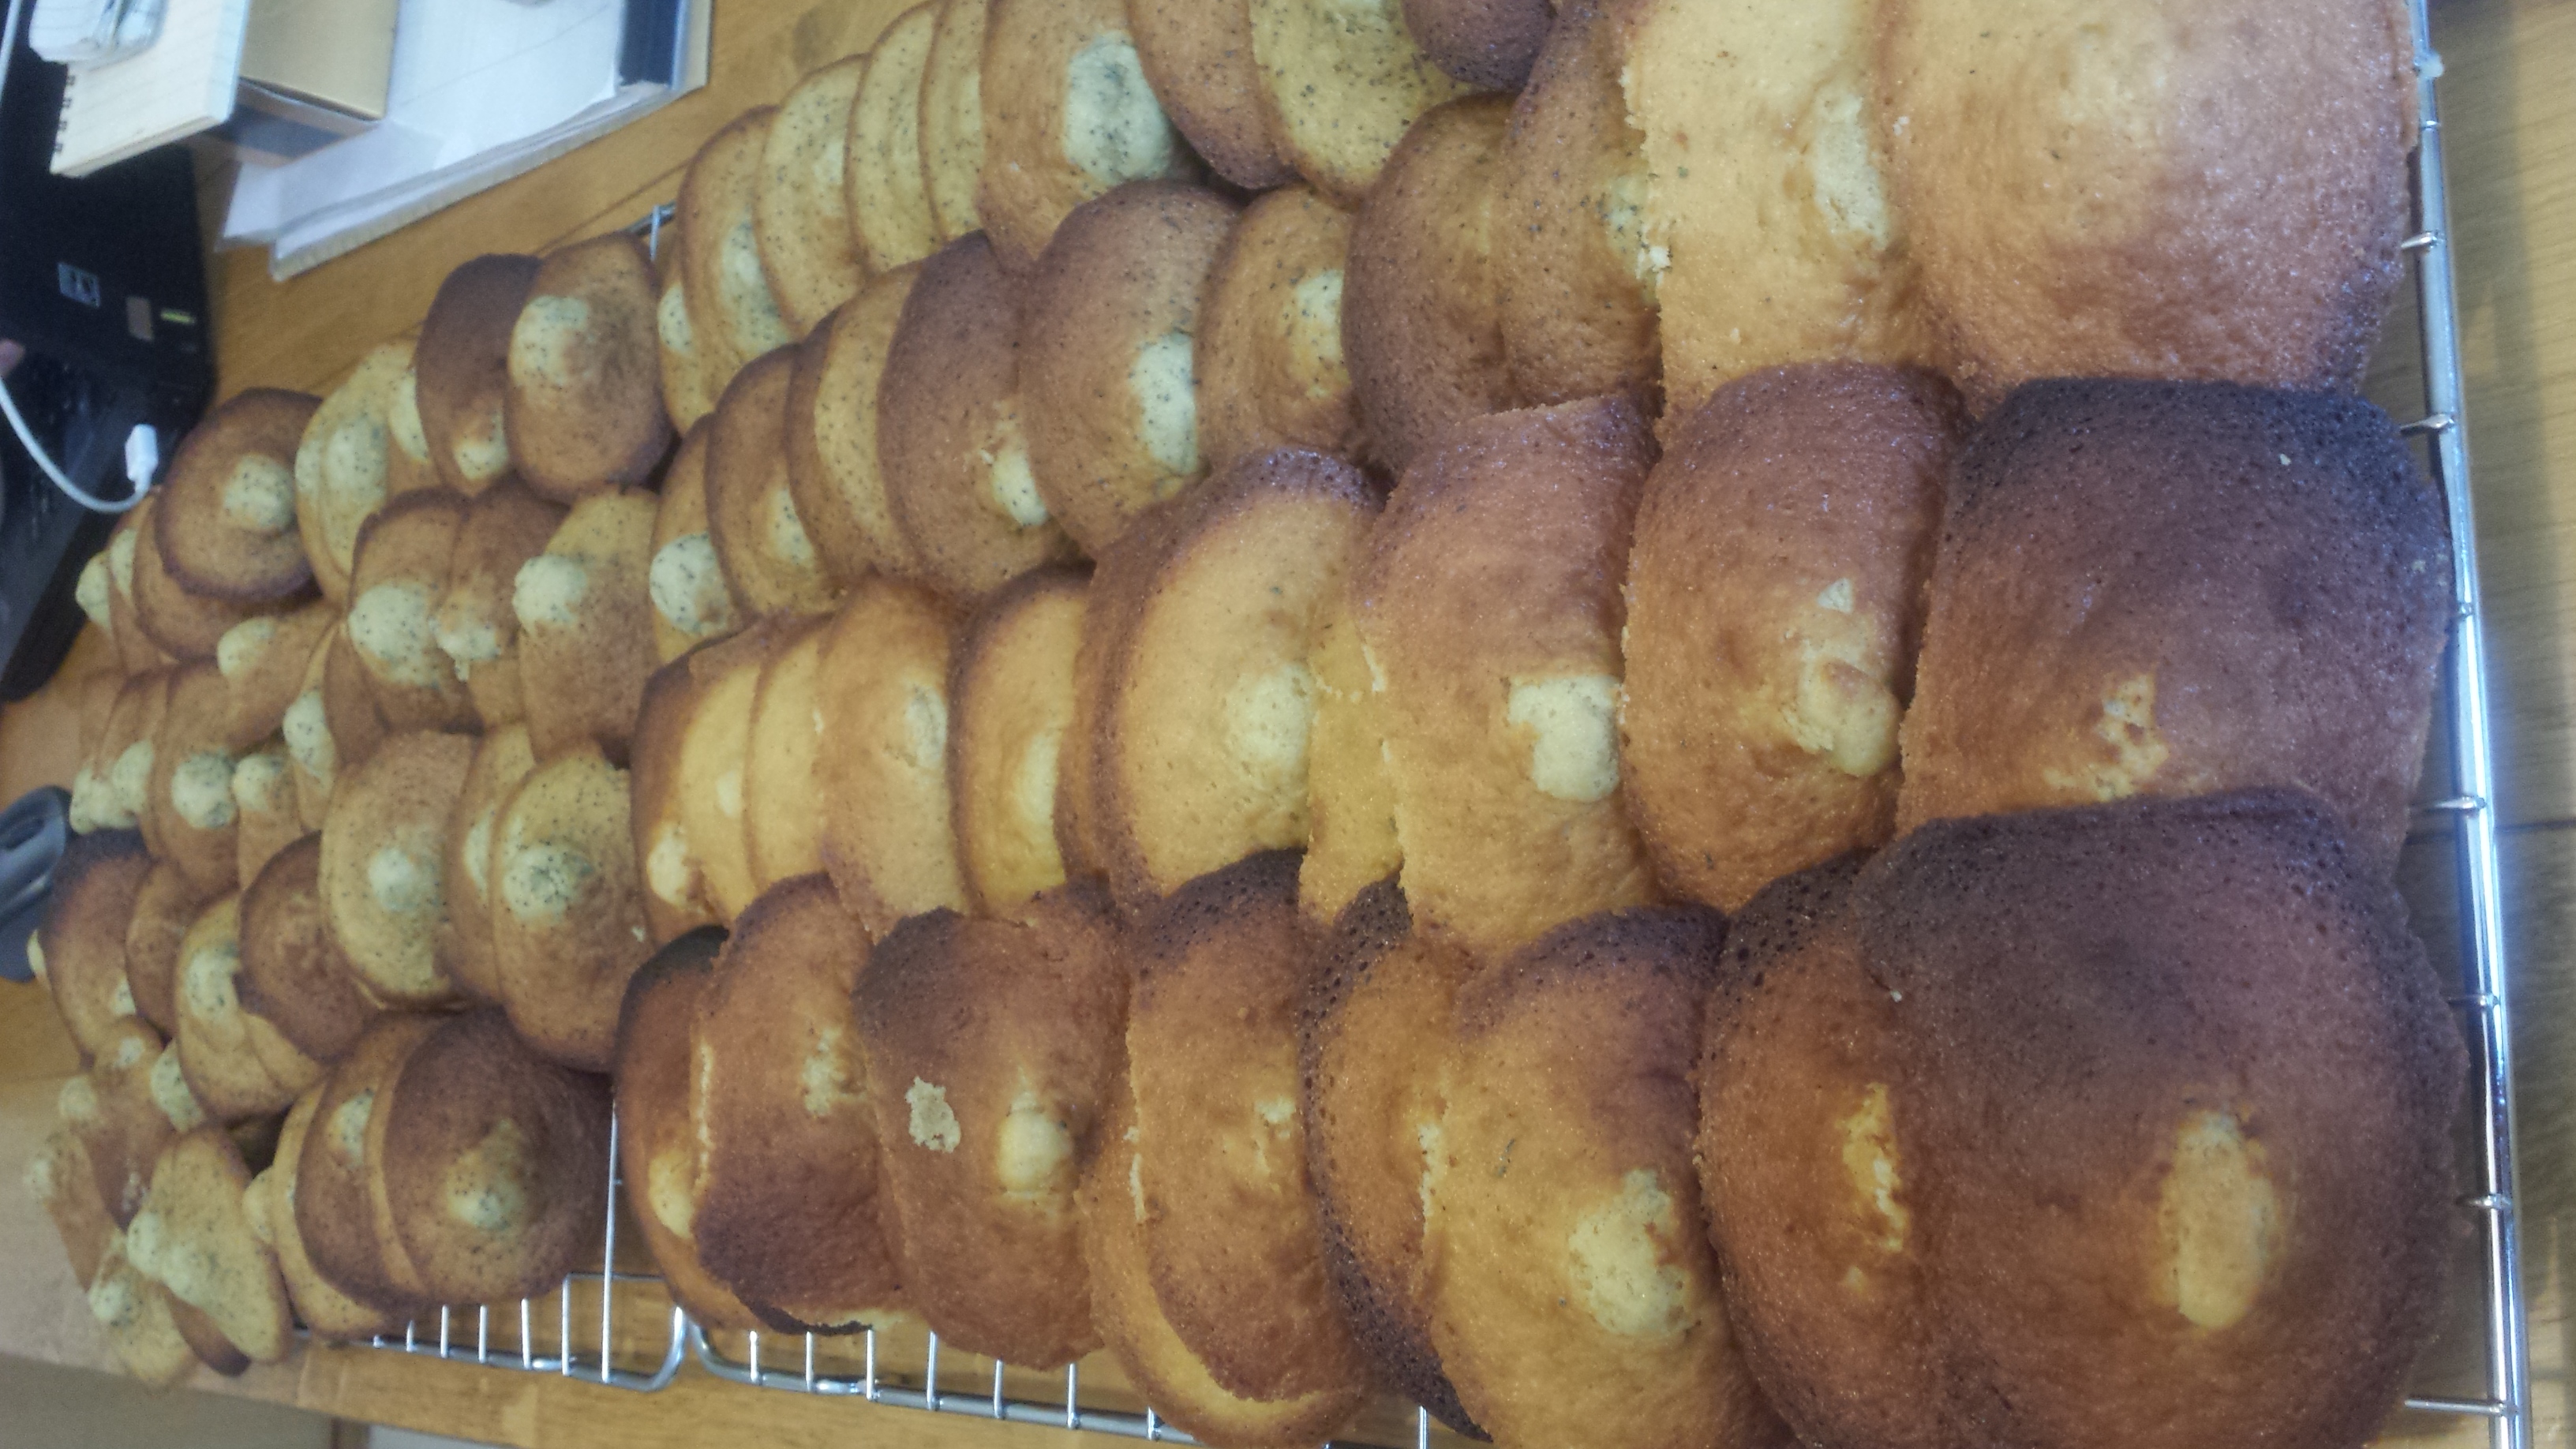
Then put the pan into the 210C oven (no, put it back on the counter and feckin’ wait for the oven to heat up, for feck’s sakes…) and immediately drop the temperature to 200C and bake for 10 minutes or until golden brown. The batter will rise in the oven in a small peak in the middle of each madeline, called the nipple because it’s a french dessert and of fecking course it is…

Knock them out of the pan immediately (and then use a butter knife to prise out the last two that always stick) and then cool them on a rack for a few minutes until you can hold them without burning your hand, and serve while still warm.

Oh, and if you can’t serve them warm, leave them cool completely and then dip them in chocolate. I mean, they won’t be as good as fresh, but they’ll be dipped in chocolate and well, what isn’t better for being covered in chocolate?


16
Dec 17

Post partum prepping

So, table delivered (yes, the recipient liked it). BTW, if you were wondering, it was a build-along to Richard Maguire’s video series:
In case you were thinking of buying that series, it’s well worth the money.

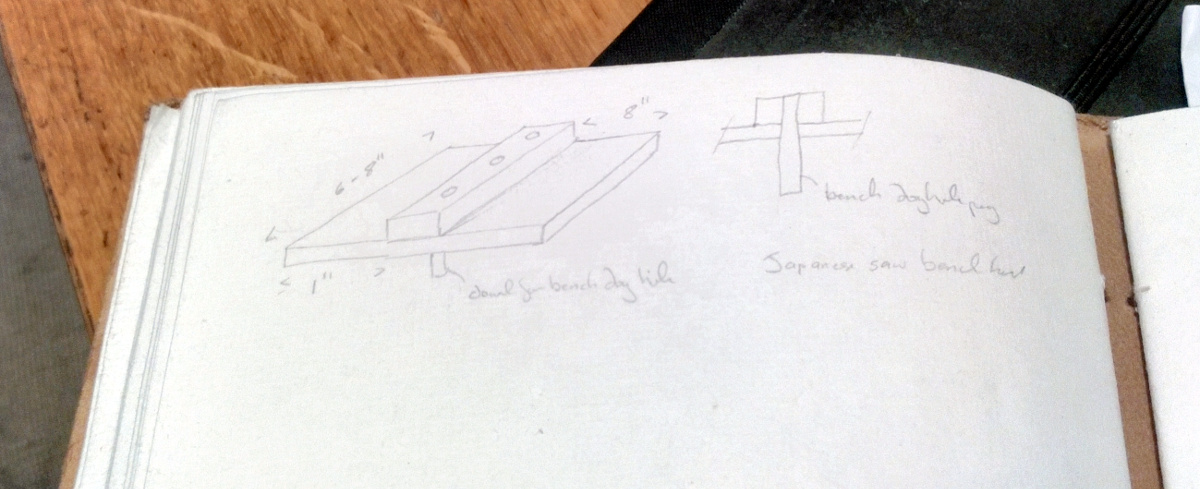
Today though (and yesterday) was all about cleaning down from the build (and carting away two rubbish bags full of shavings – not being able to burn wood here is a pain) and doing the dozen little jobs that needed doing like sharpening the wooden skew rebate plane I have here; going to use that in a build soon. And every plane had to get a light sanding with fine paper on the tops of the cheeks of their sides for surface rust (the -3C nights came with water vapour condensing on the cast iron) and then a fresh coat of wax. And other small jobs like that which had been backing up. I still have one more of those – building a japanese saw bench hook. I’m using a normal bench hook at the moment but for pull work, it can be a tad awkward because you have to hold the work to the fence. You can use a normal european bench hook if you hook it to the far side of the bench; but I think it’s a bit nicer if you attach the fence to the baseboard and drill through both and glue a dowel through both and down a few inches below the baseboard. The dowels then go in the bench dog holes and that’s your bench hook. Parts are set for that (I’m not sure I have enough dowel stock though) and I’ll get to it probably tomorrow.

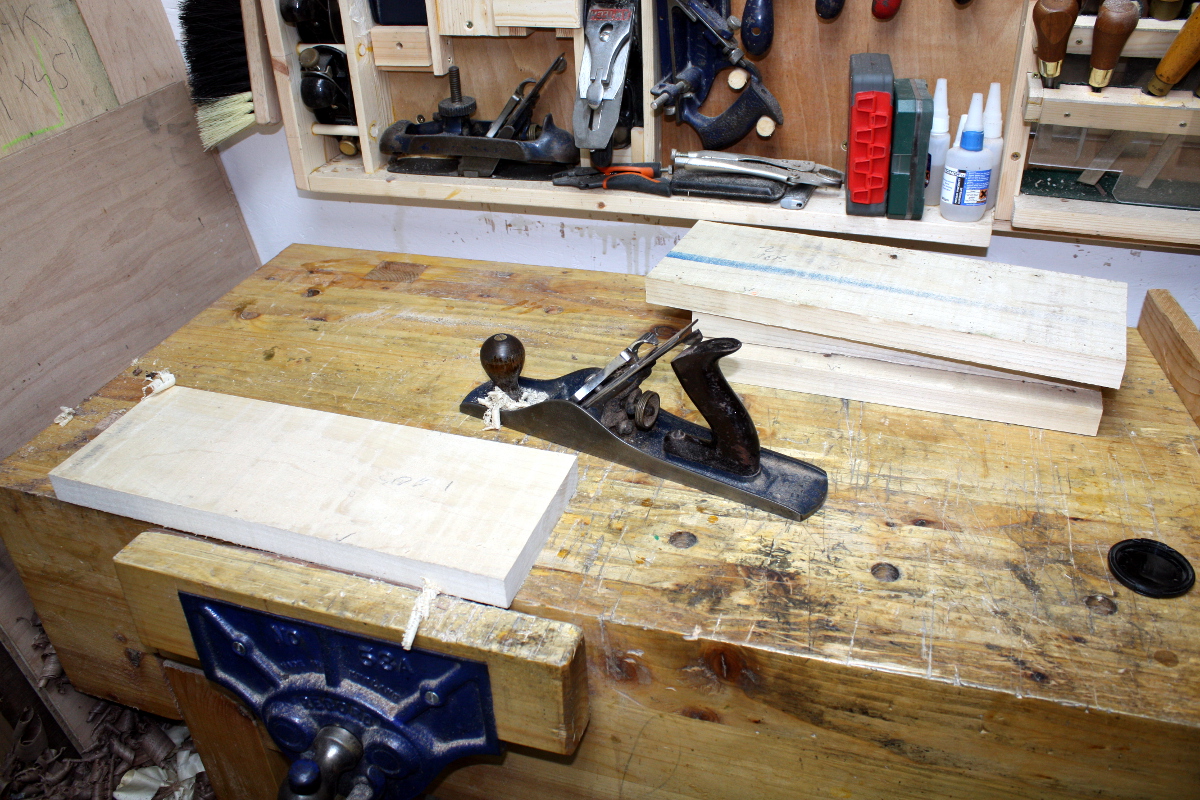
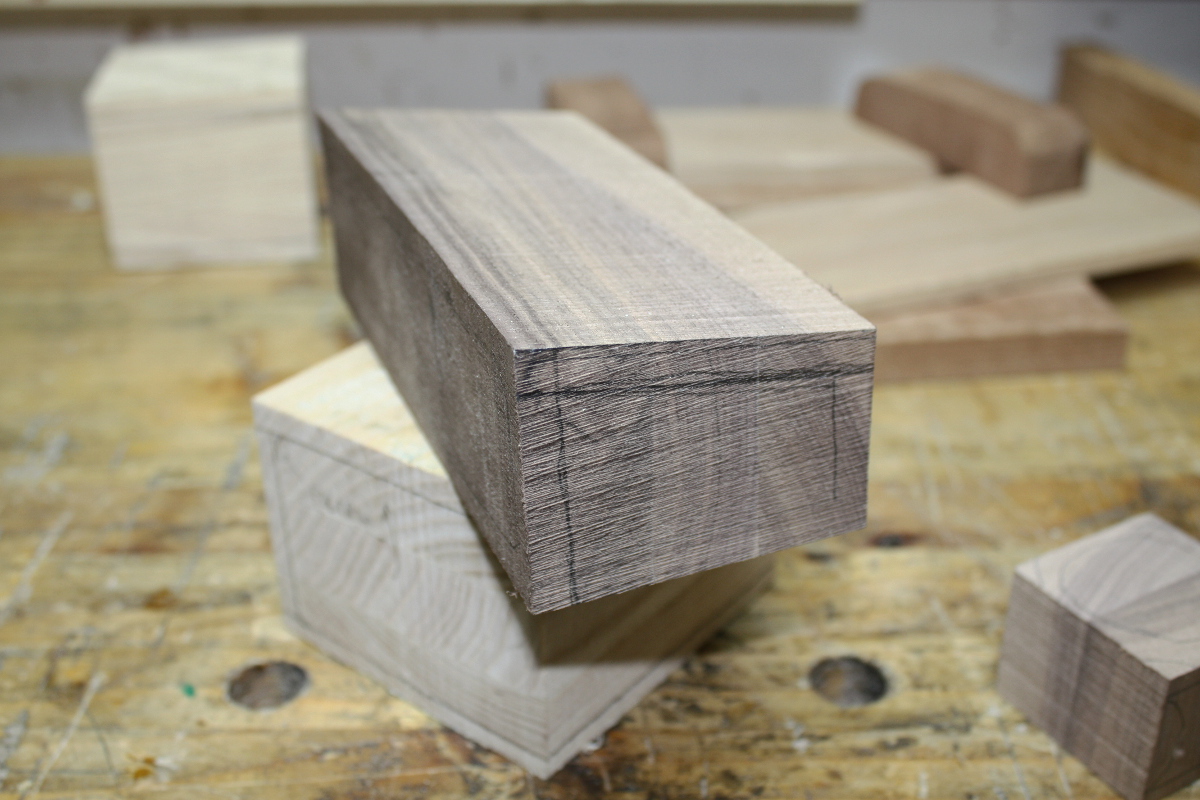
The rest of my time has been spent on stock prep. Bit of resawing and flattening and ripping yesterday and prepping some blanks for bandsaw boxes. So walking into the shed today it all looks fine…

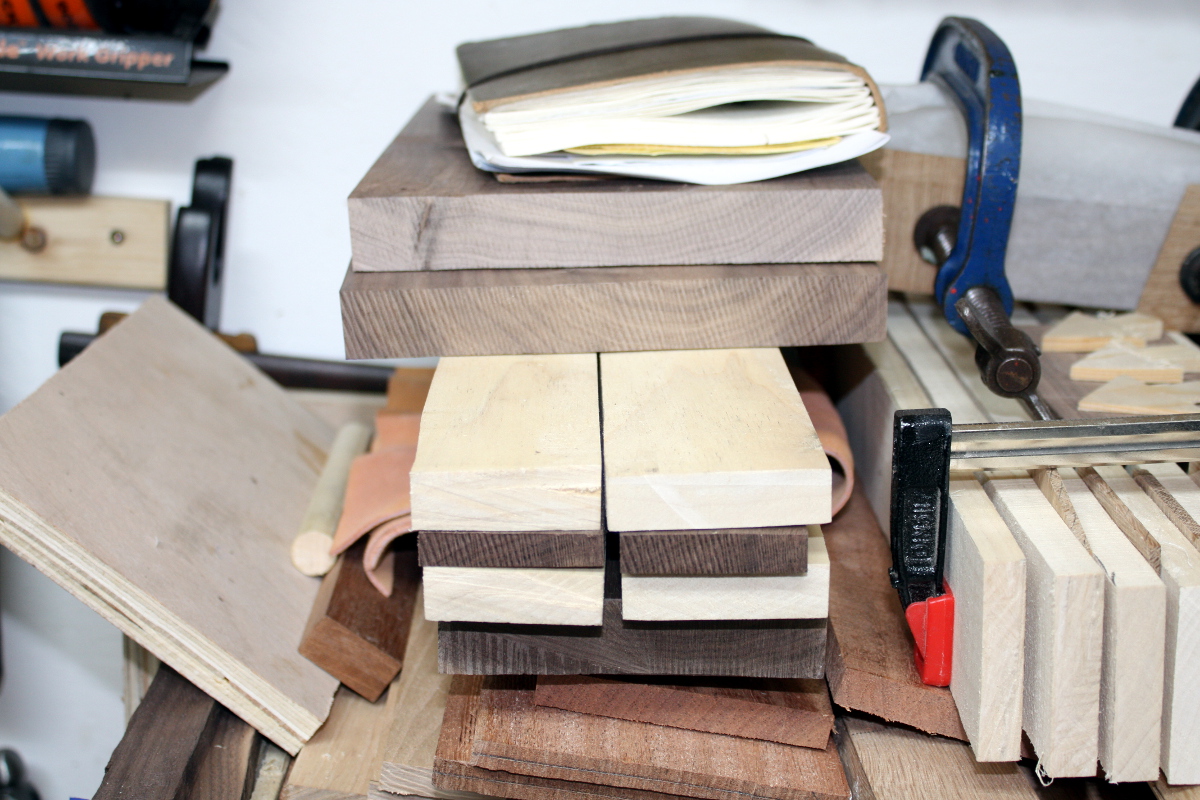
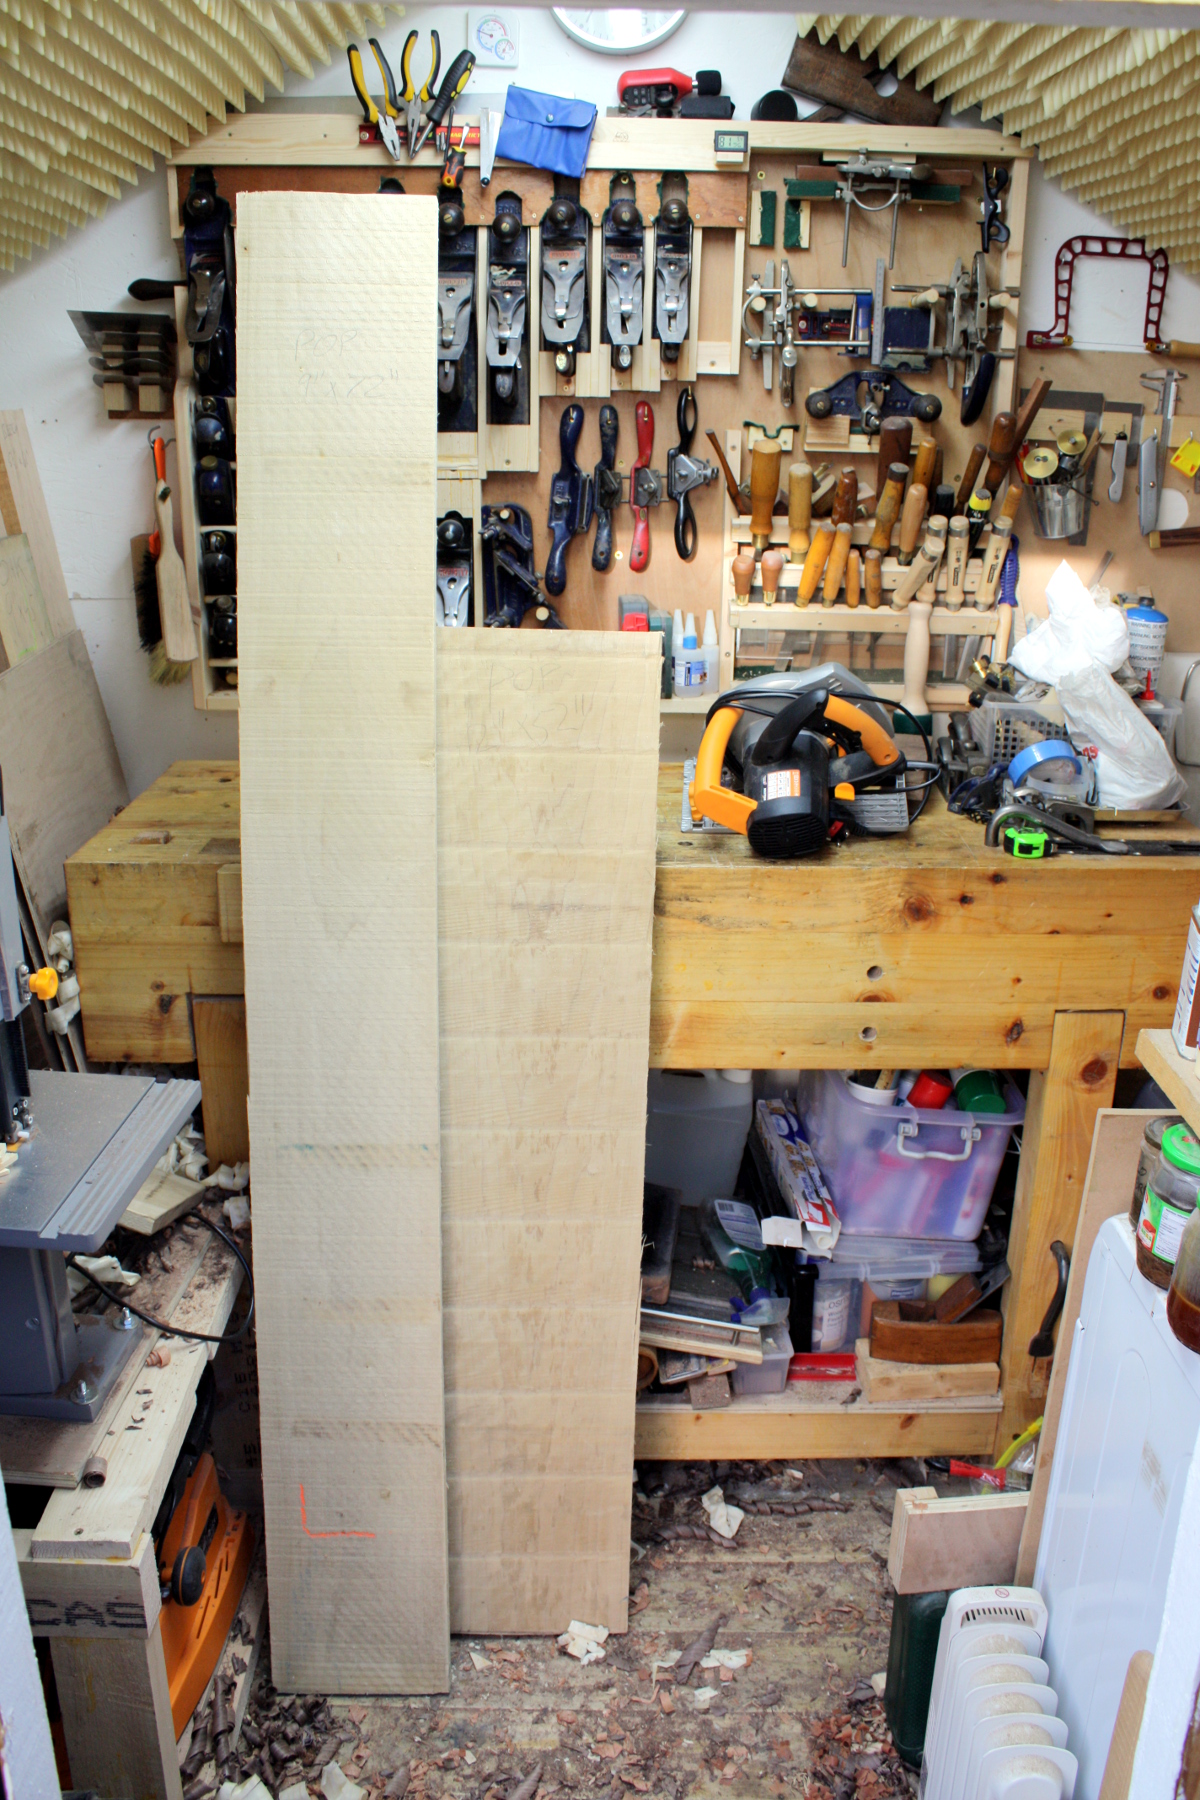
…and then you turn to the right to look at the staging area…

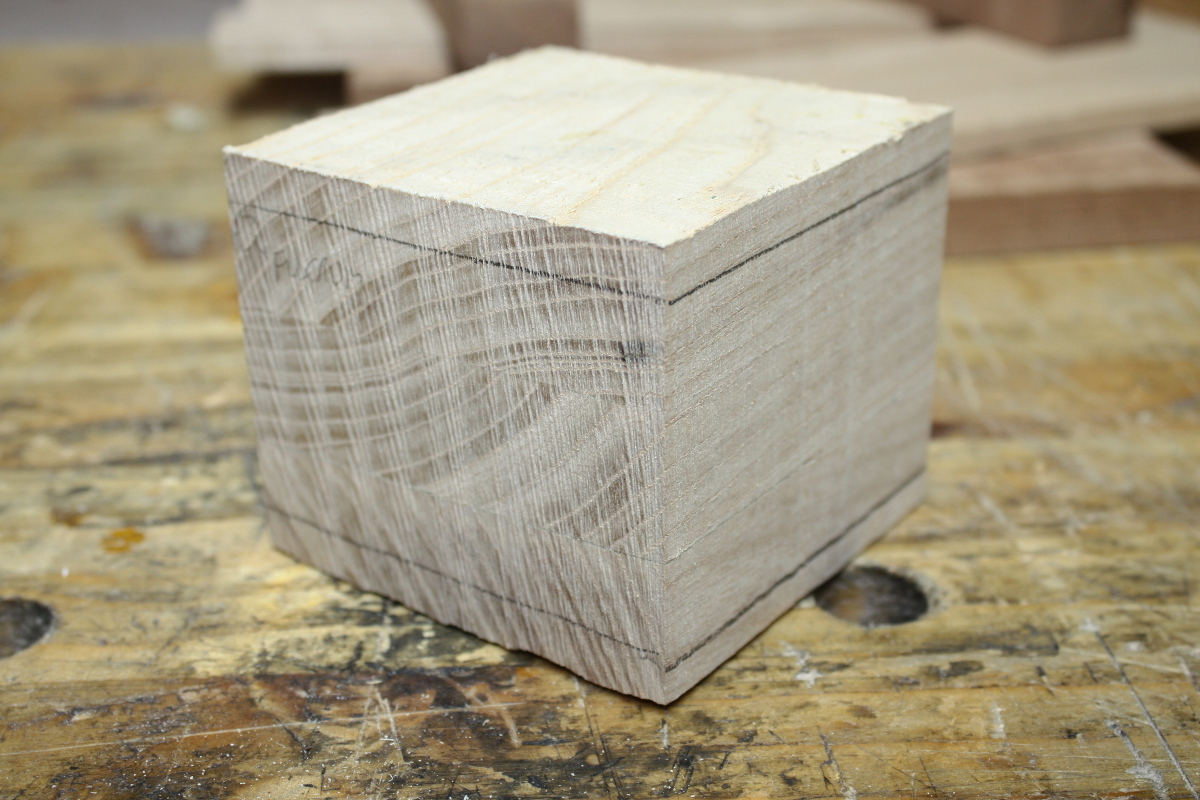
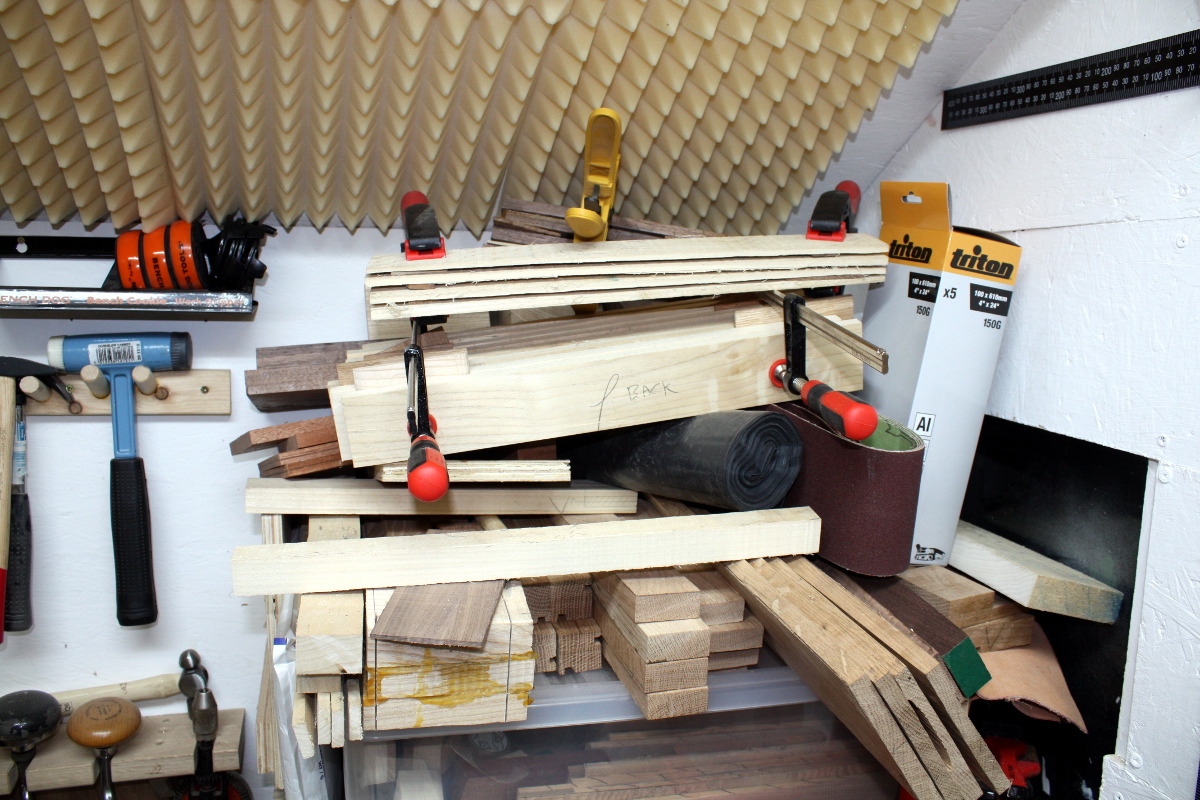
Ah. Right. So that’s four more side tables (or at least the raw material rough-cut for them) and then on top of that all the finishing jars and glues and screws and my plastic box of off-cuts. Those are only the bits I could use for things by the way (I’m resisting the packrat urge to keep every scrap of wood I cut off a larger piece on the grounds that There. Is. No. Room. In. Here), so resawn pieces that could be used to make small boxes or chunks that could become bandsaw blanks (not many of those left, I picked through the box on Friday to make up some blanks), or the cores from bandsaw boxes (which can get used for things like feet or drawer pulls or whatever).

Tucked behind the plastic box are the panel gauge and the dovetail alignment board, and on top of the box is where I stash all the component parts of builds in progress (and a lot of sandpaper at the moment because I haven’t found a place for it). So there’s five glued-up blanks, and the component parts for six other projects in the pre-joinery stage.

Blanks drying outside along with a bandsaw box that’s almost ready.

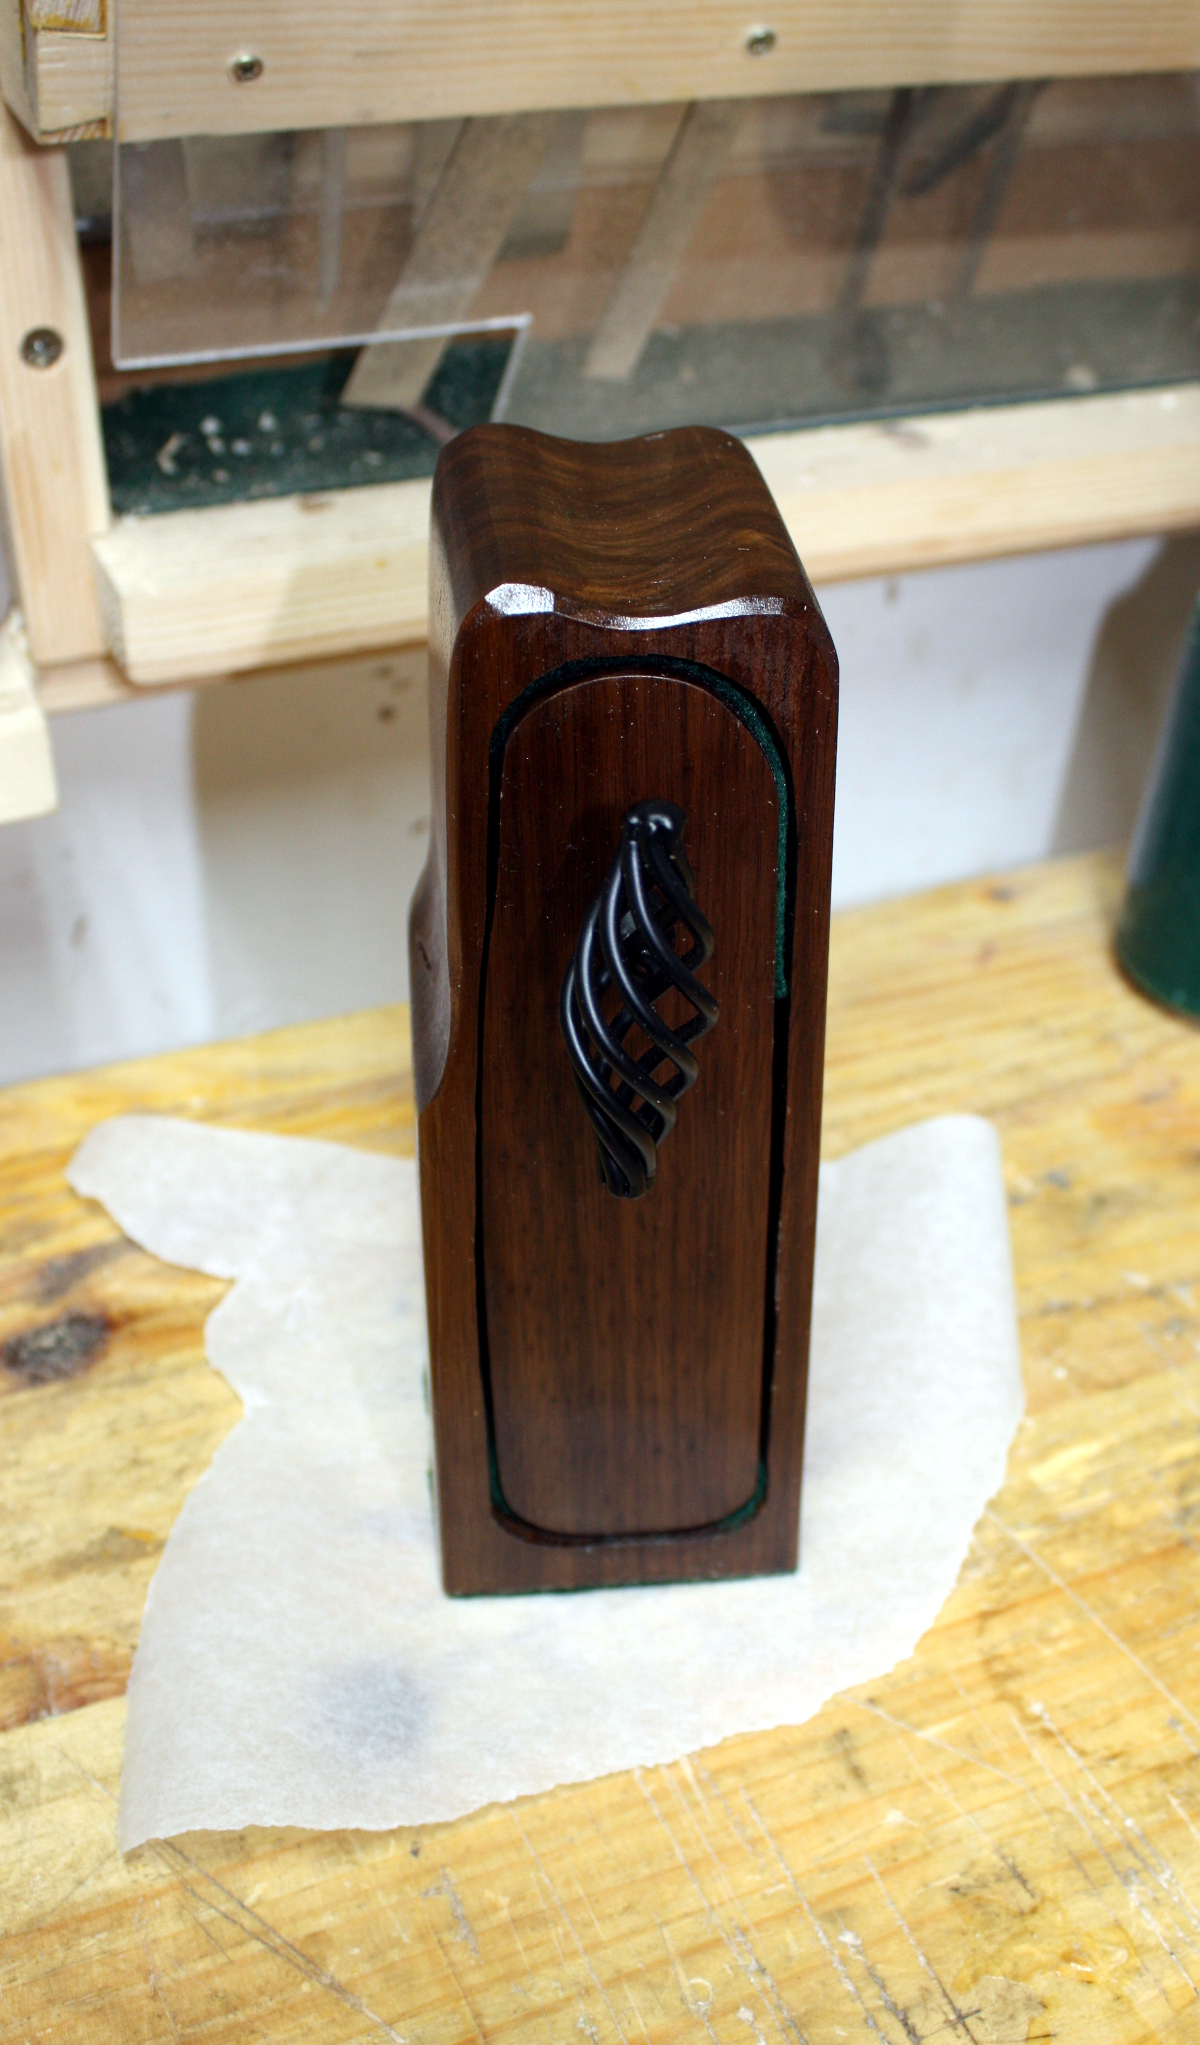
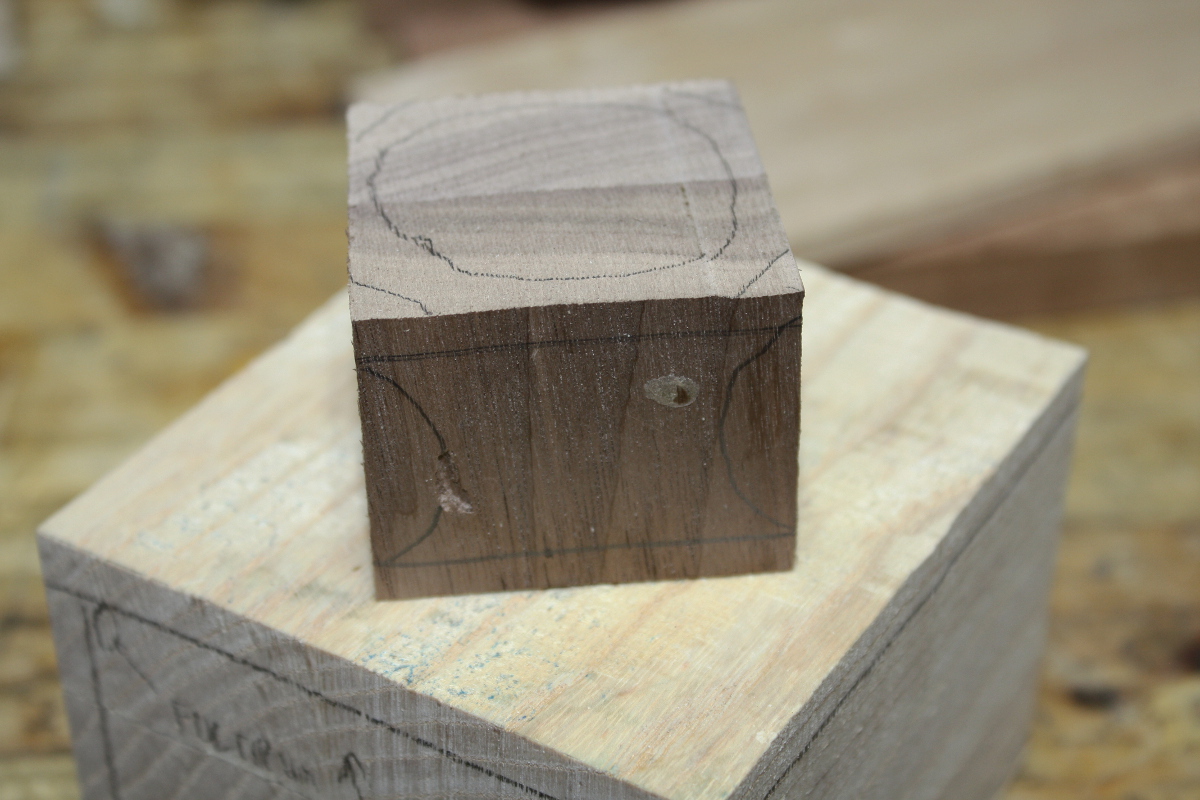
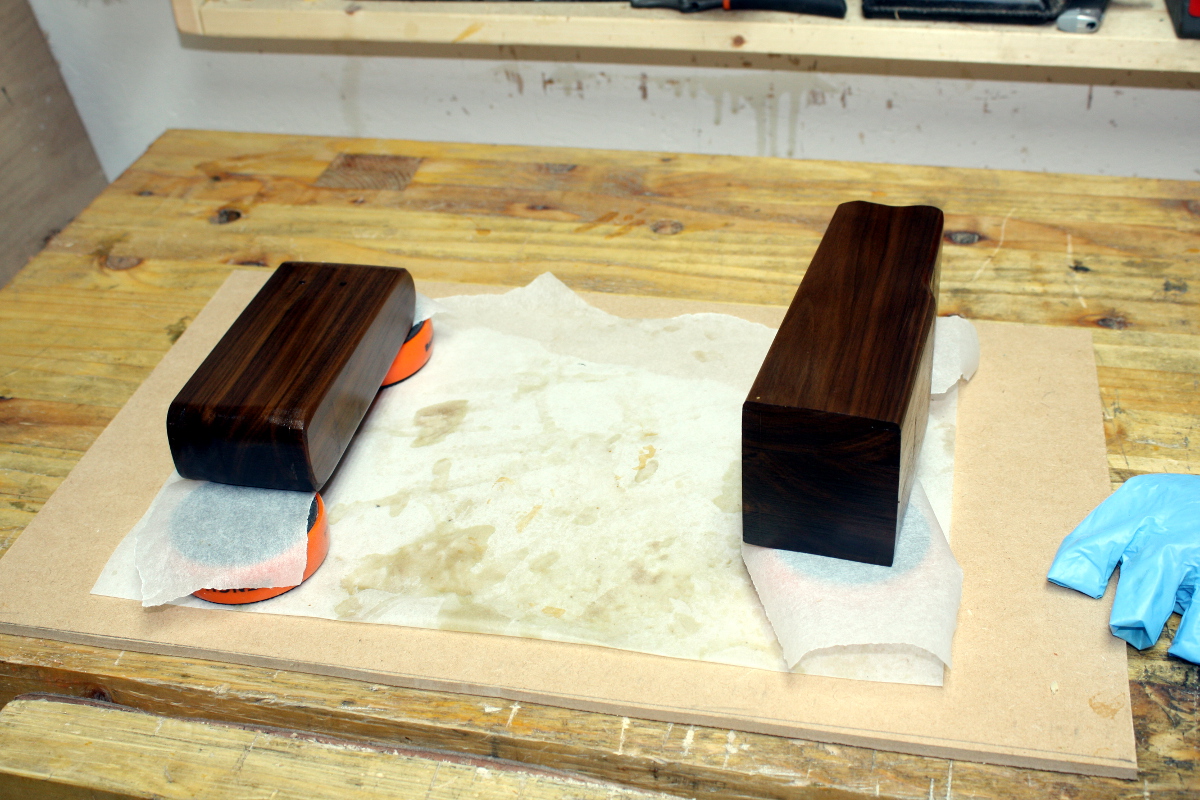
Two coats of danish oil in; going to do a coat or two of shellac yet and attach the hardware (it stands vertically and you use it to hang necklaces) and some felt in various spots. First box made using the new sander. It’s not that it makes it better so much as it makes it easier to do some things because you’re not worried that trying them will immediately remove a finger. More photos later.

And this is a quick test of a Paul Sellers idea for a project to do with the kids:

He made his using a razor-sharp chisel; I won’t be doing that with Calum 😀 The project works just fine with saw and bench plane 😀 With a bit of luck, that’ll keep him occupied for the guts of an hour and he can make one for his teacher.

And then I have two more projects to prep for, one in beech and one in poplar. This phase always seems to make me long for a powered planer thicknesser, can’t think why…

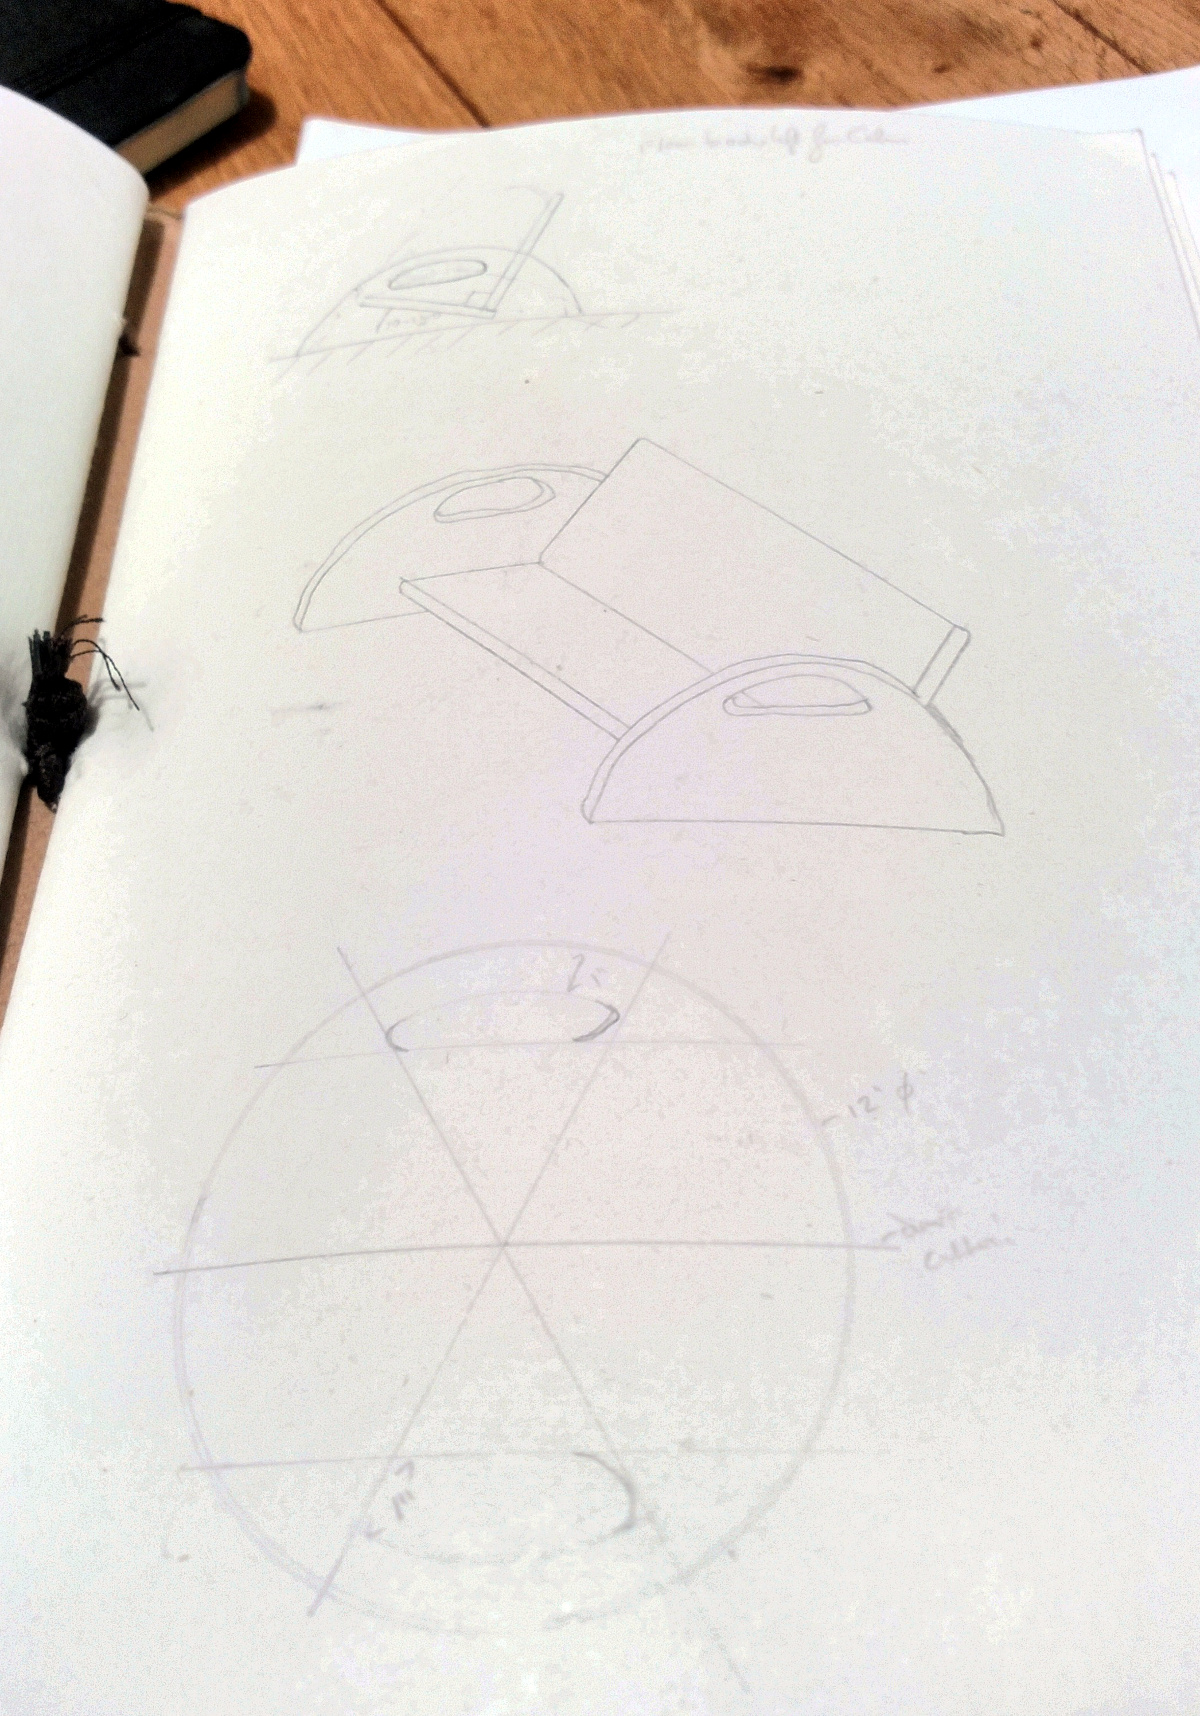
Can you tell what it is yet?