Work’s been fun and we’re both under a new lockdown and back at school here so non-work’s been even more fun. Hence little posting. But I did finish off two bowls this week, and one was my first burl piece.
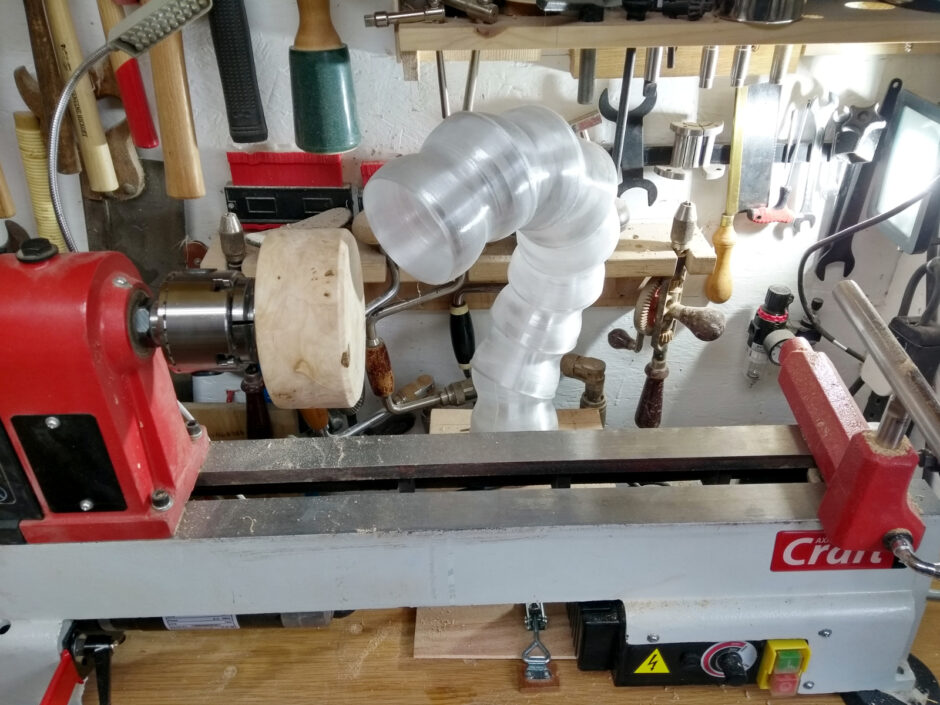
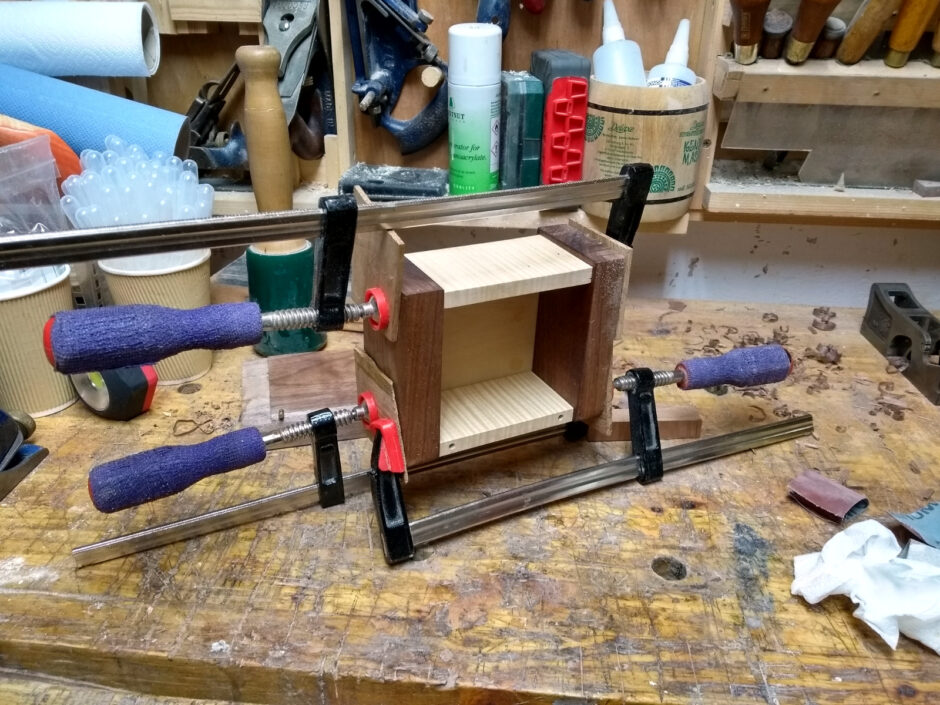
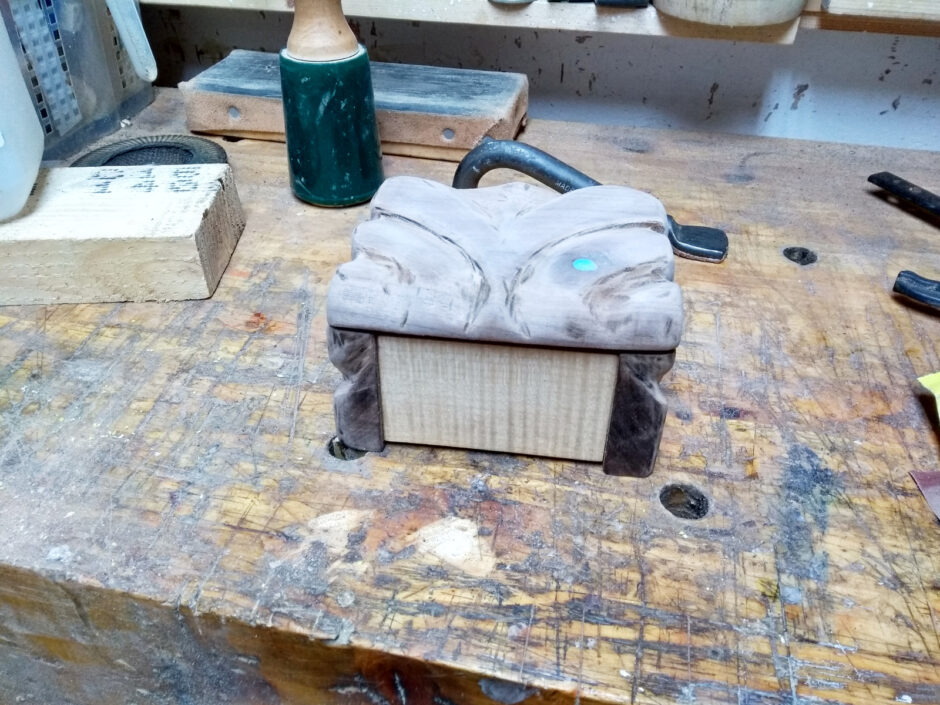
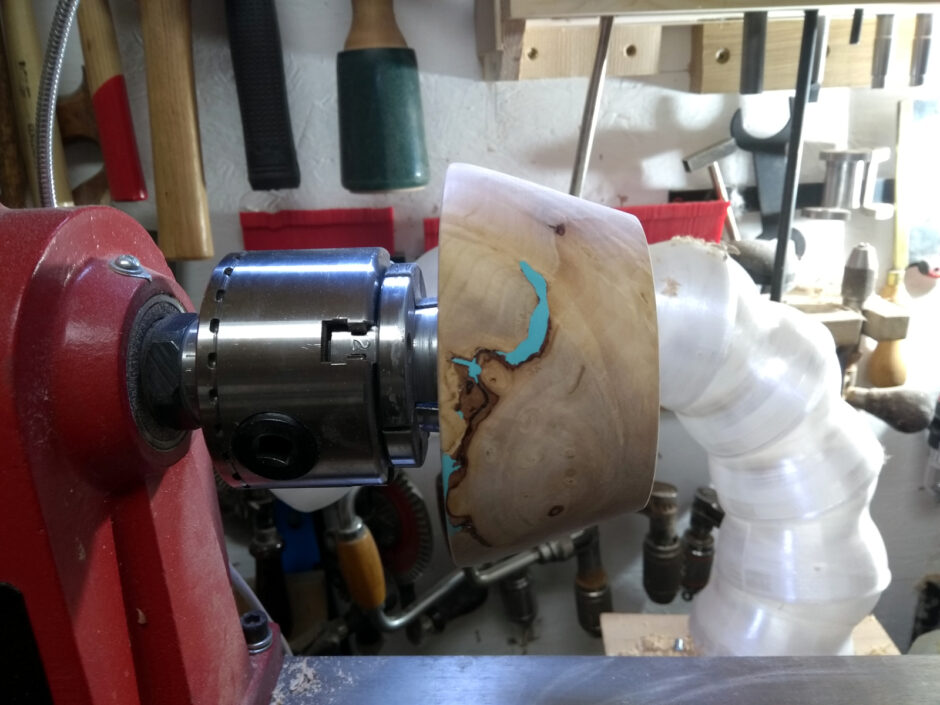
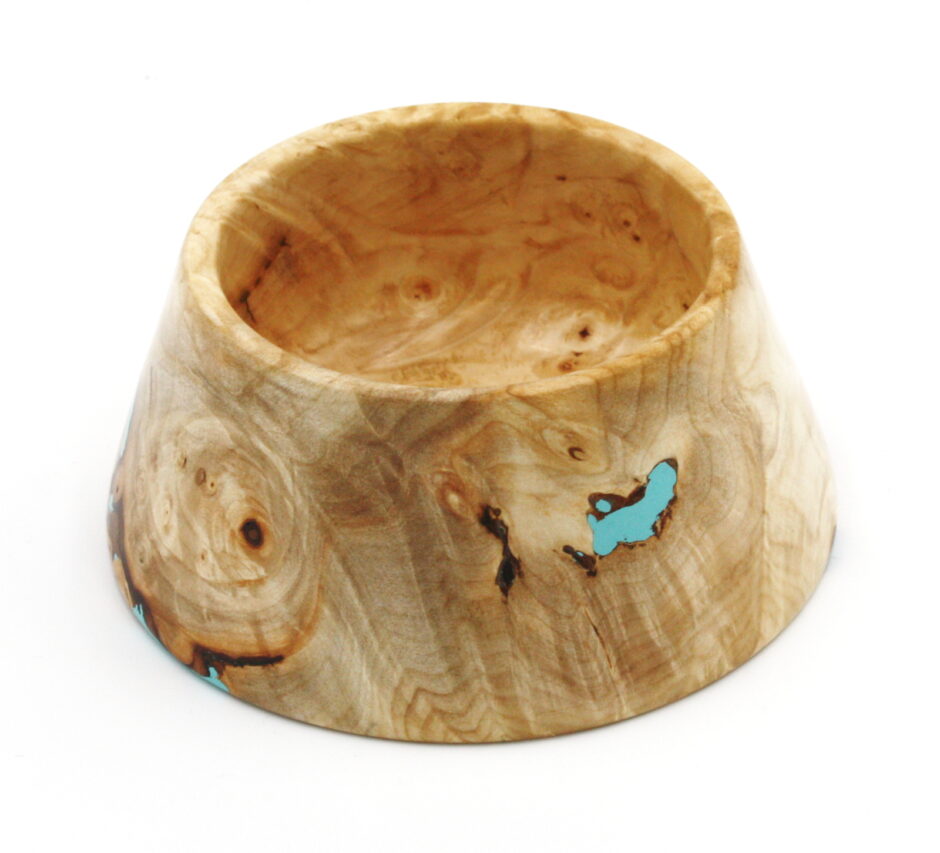
It was included in an order of olive ash from homeofwood.co.uk that had been delayed because, well, covid is crazy. That olive ash is also seriously pretty, but it’s much harder to turn so it’s highlighting every mistake I make. I might leave the other blanks for a while (I turned a small rough nightlight holder from one but I’m not happy with it) while I get more practice in. This burl though, was the opposite – very easy to cut, too easy in some places (that’s burl, everyone says). I cleaned and trued up the blank from a faceplate to get to that photo above, and I didn’t have much of a plan from here except to have the largest amount of visible grain possible and I didn’t want to do a straightforward conic section. So ironically, it became a cone…
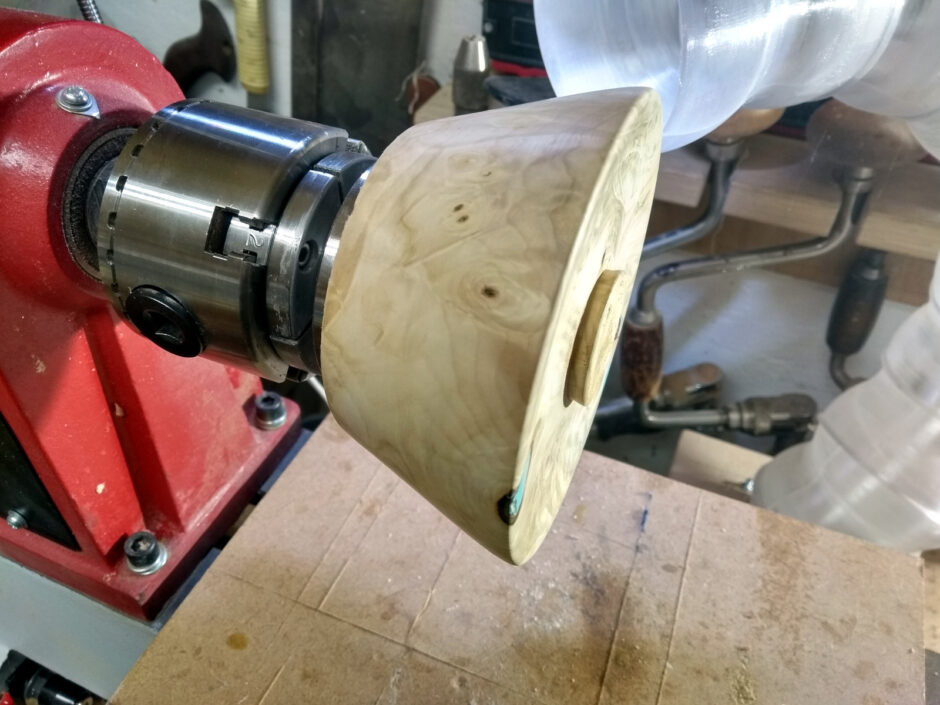
Opted for a tenon because burl’s not as strong as solid wood so expanding jaws in a recess seemed wrong. Should have made the tenon larger by a few mm really but I was trying to maximise yield (which seems more and more to be a mistake these days). Also, you can see some punkiness on the rim there; some patches were just too soft like that, and rather than resin them like I’ve done before, I wanted to try something new because the next bowl will have a slanted rim that I wanted to do an inlay into with resin and liquid resin would be really hard to do right without cutting a lot away afterwards. Enter epoxy putty.
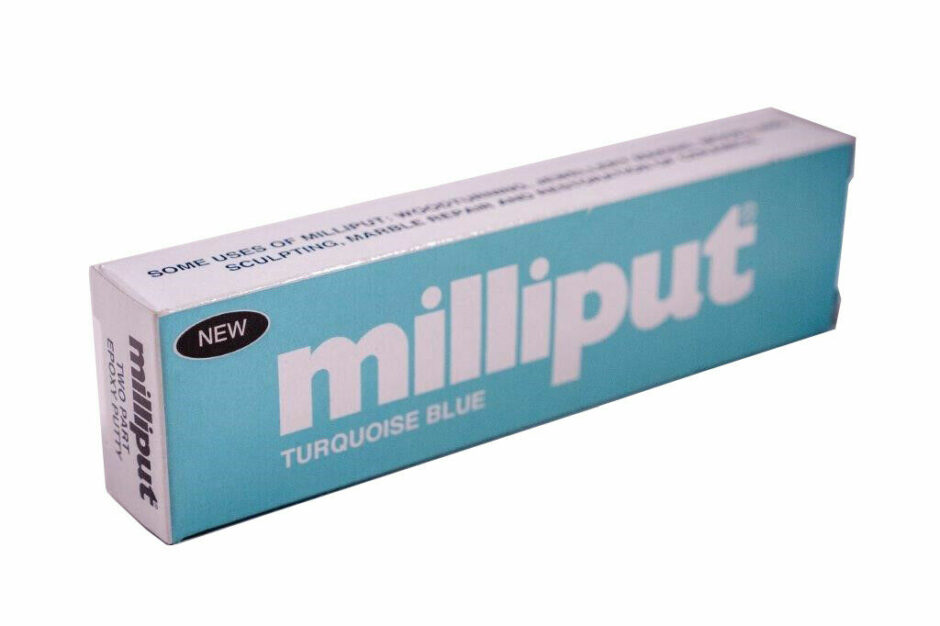
Specifically milliput, because I’d seen some youtubers using it for inlays to great effect:
(Oh, if you’ve not seen Peter Brown’s youtube channel before, welcome to the internet, you’ll like it here if you don’t read the comments)
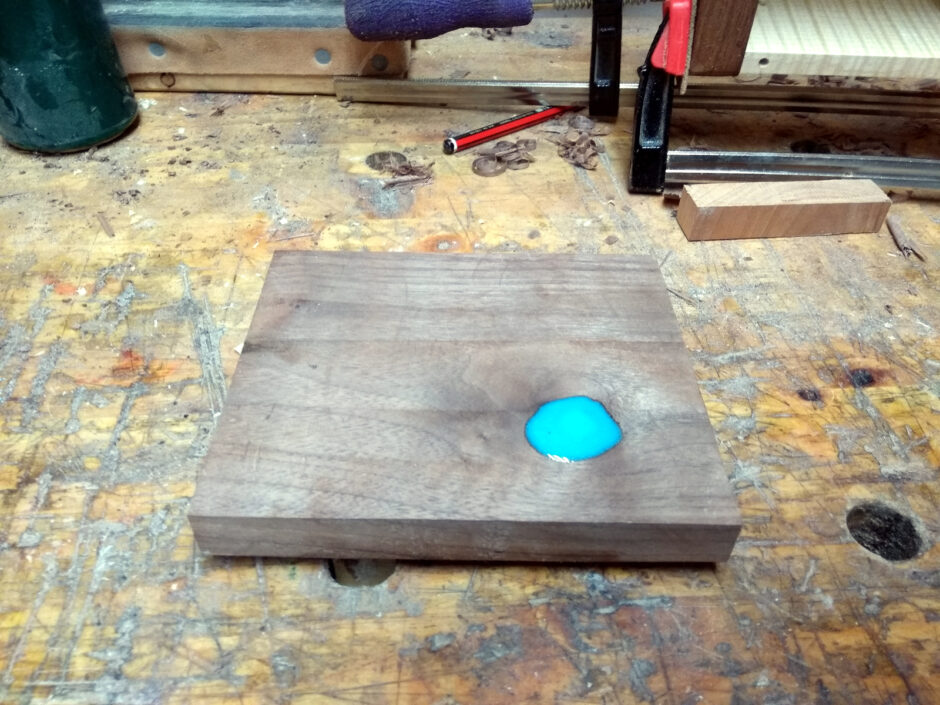
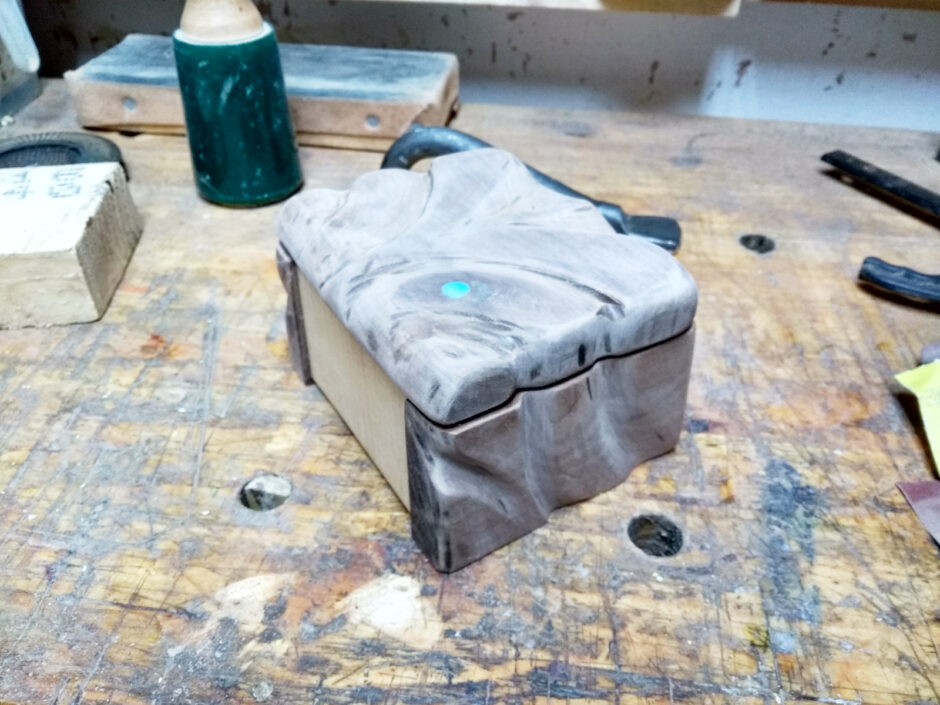
And milliput now has a nice light blue colour so I thought I’d try that because blue just works well with light maple and sycamore and ash colours. So I mixed the two parts it comes in until the colour was even (it’s very, very, very similar to mála if you’re Irish), and just mashed it into any spot that was punky (I dremmelled out the punky bits until I got back to more solid material first). Wetting a finger and smearing the milliput seems to work well to get it as even as possible.
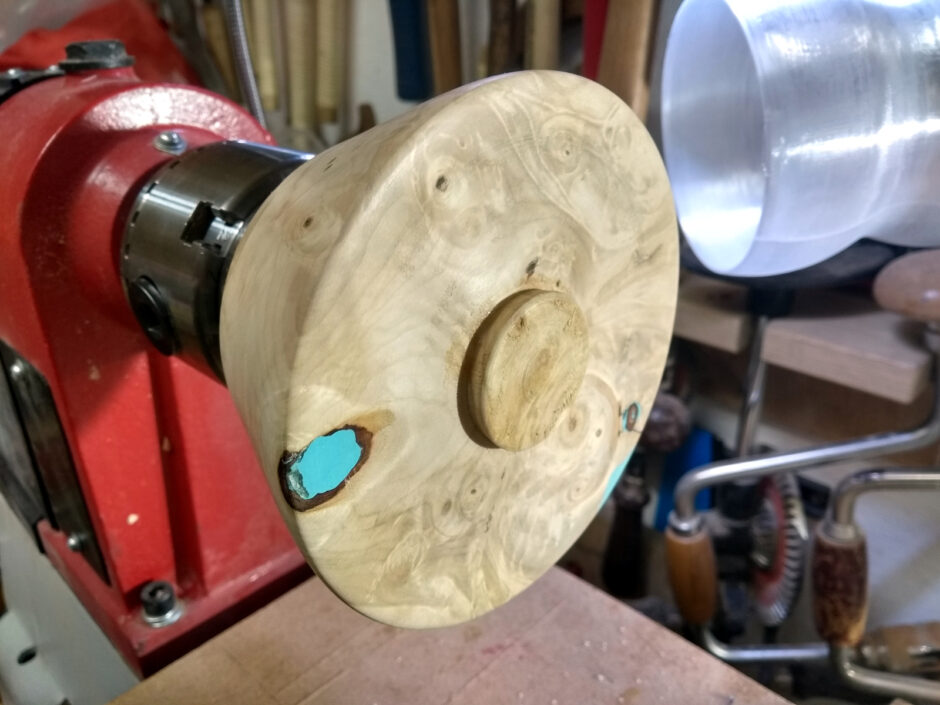
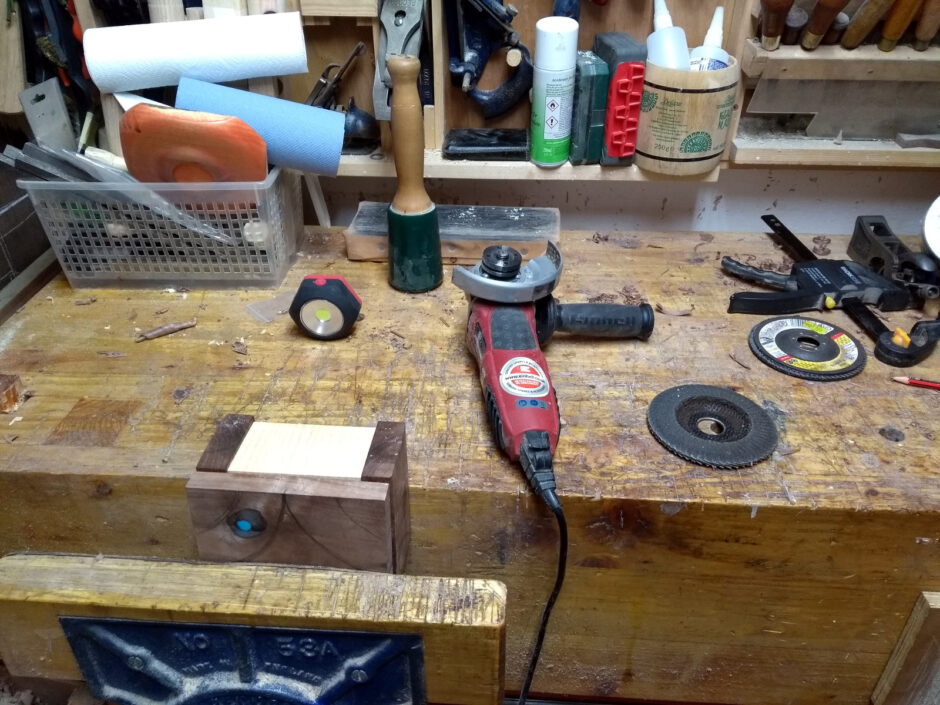
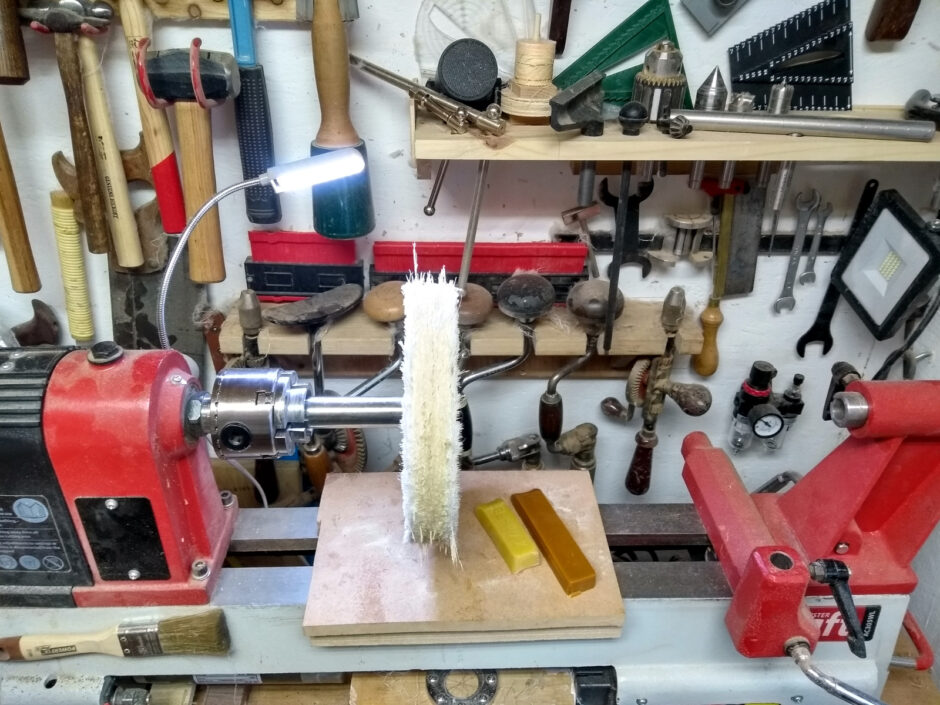
Scraped and sanded it back to get to that stage. Then I reversed it in the chuck and hollowed out the center. And now I have “hollower” at the top of my “next lathe tool to make or buy” list. Probably buy because I don’t really have the kit here to heat, bend, quench and temper steel to get the bend in the tool shaft that hollowers have.
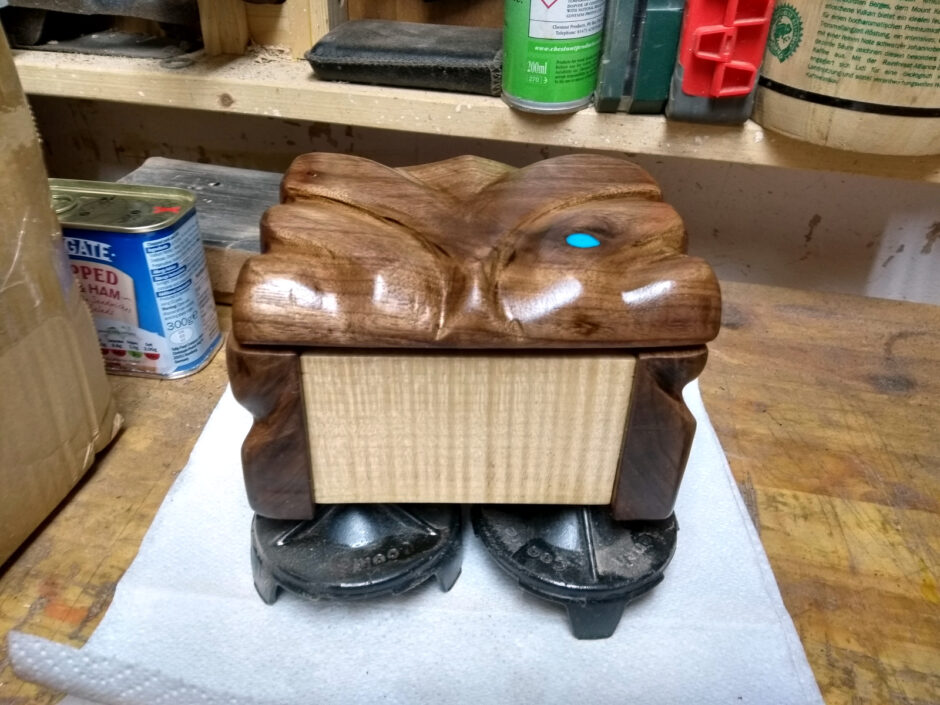
Incidentally, that colour that almost looks like the camera didn’t record it correctly, is what it actually looks like. It’s such a jarring colour, it’s very glitch-in-the-matrix when looking at it, especially with the massive contrast between the featureless surface of the milliput and the utterly baroque feature-packed surface of the burl.
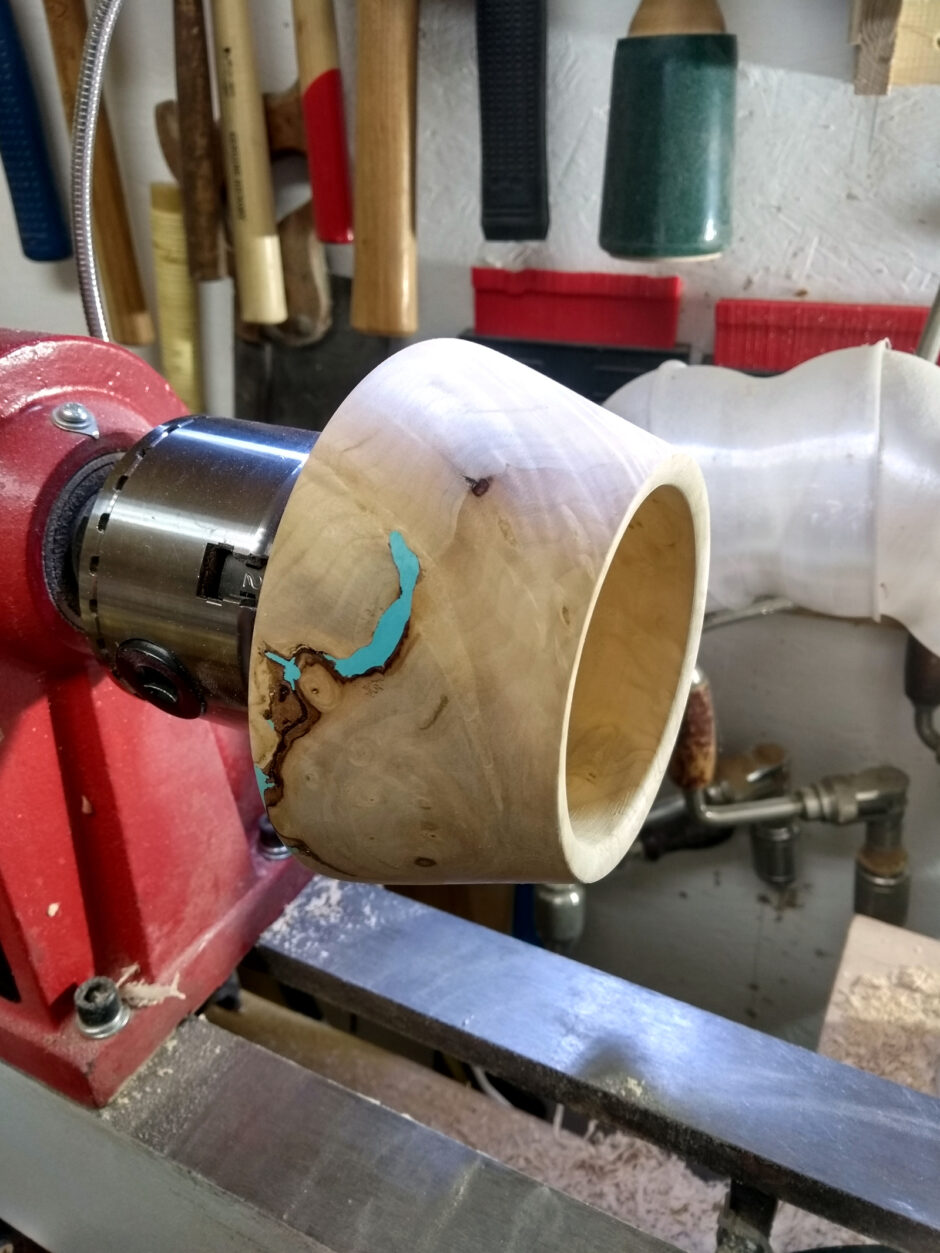
I had another punky part in the wall of the bowl which I didn’t see until I was sanding and the inside wall of the bowl collapsed into the wall (and almost popped off one of my fingernails in the ensuing catch).
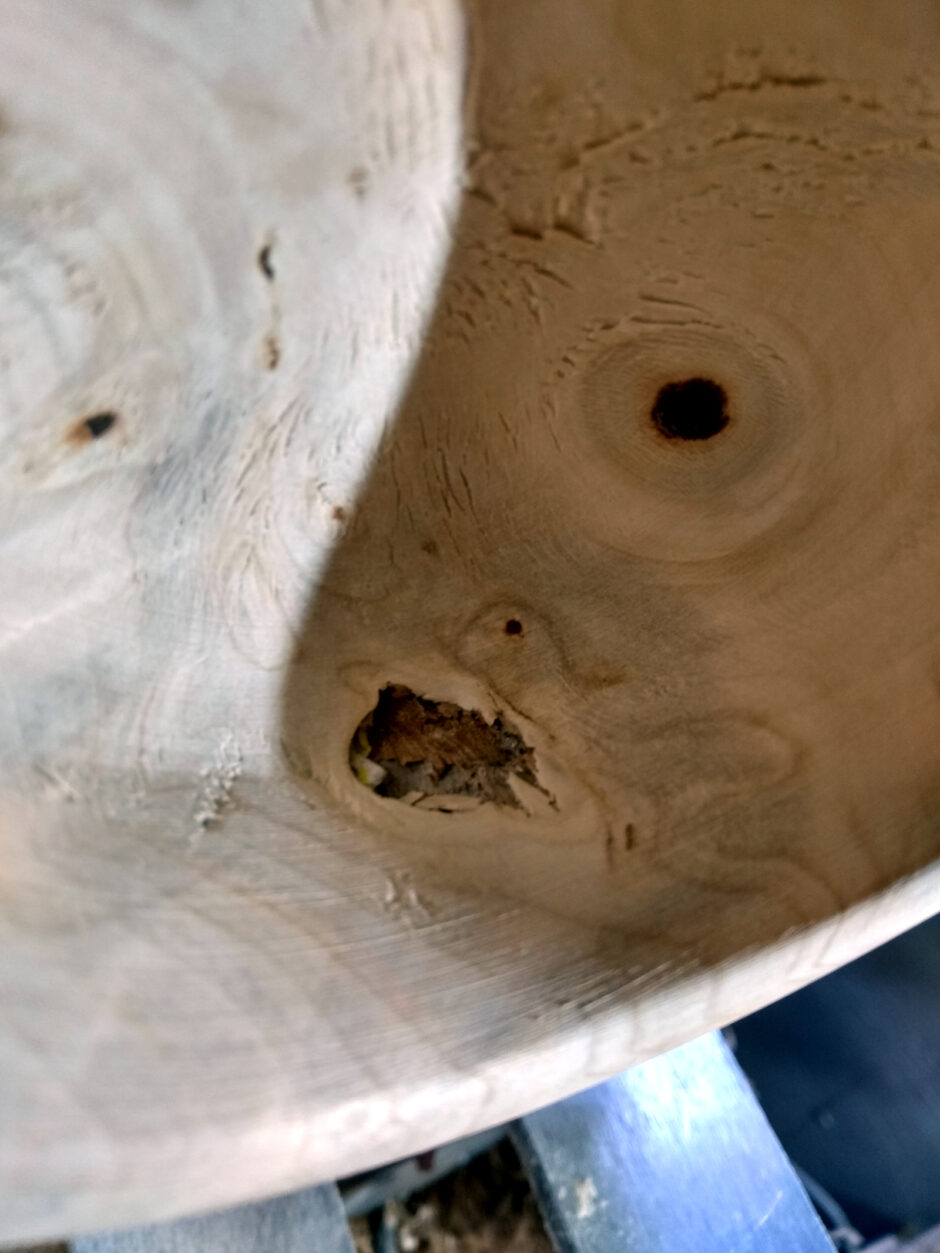
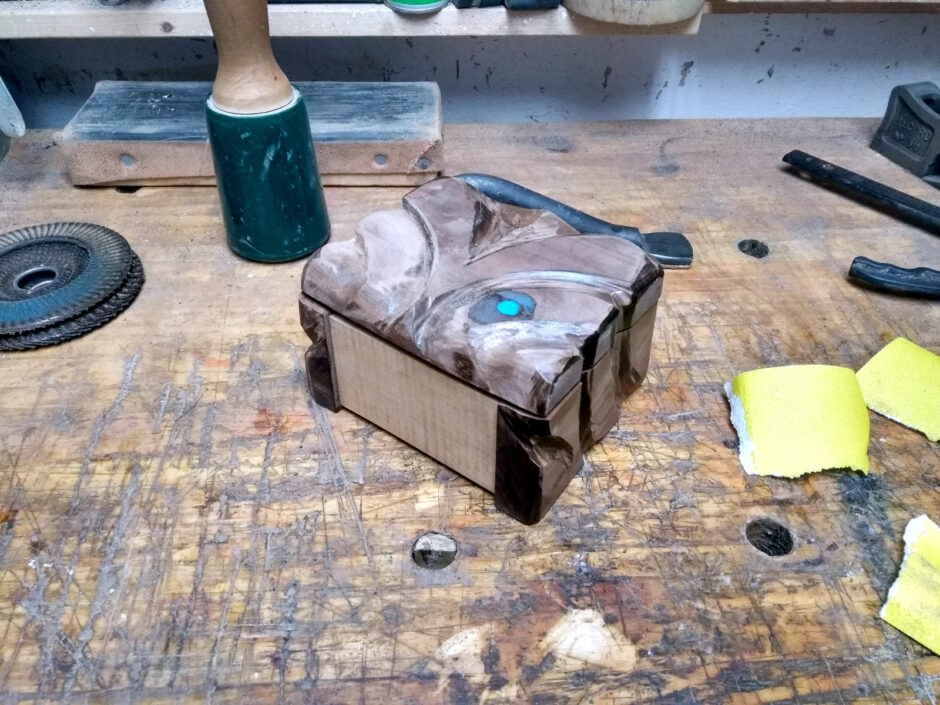
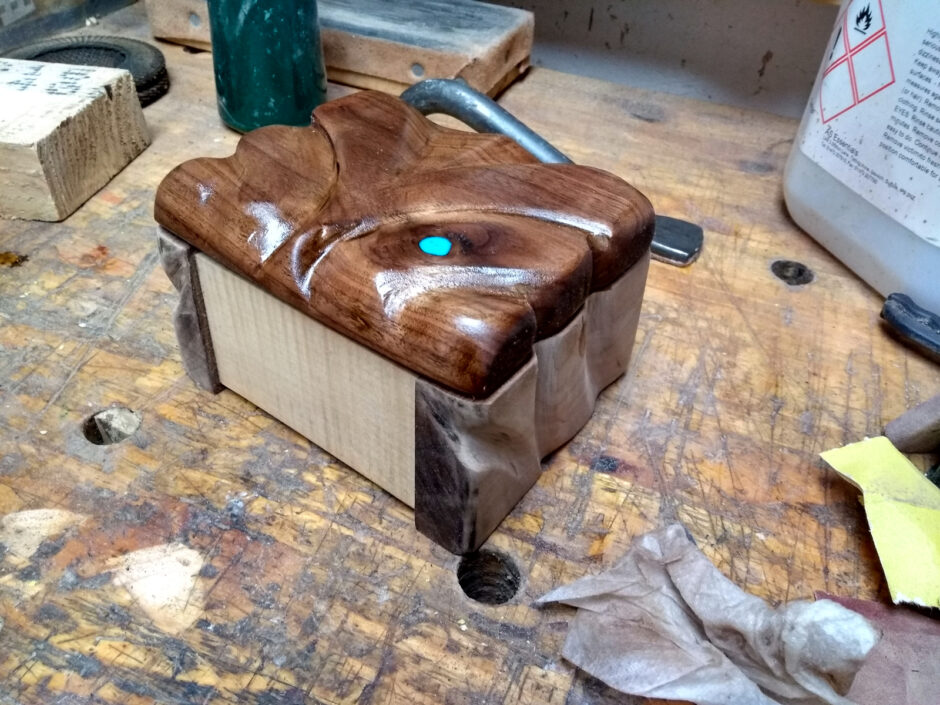
I cleaned it out (this is a process disturbingly like filling a rotten tooth) and packed it full of milliput (overfull to be sure I could cut it back to a flush surface, and I think I overdid it)
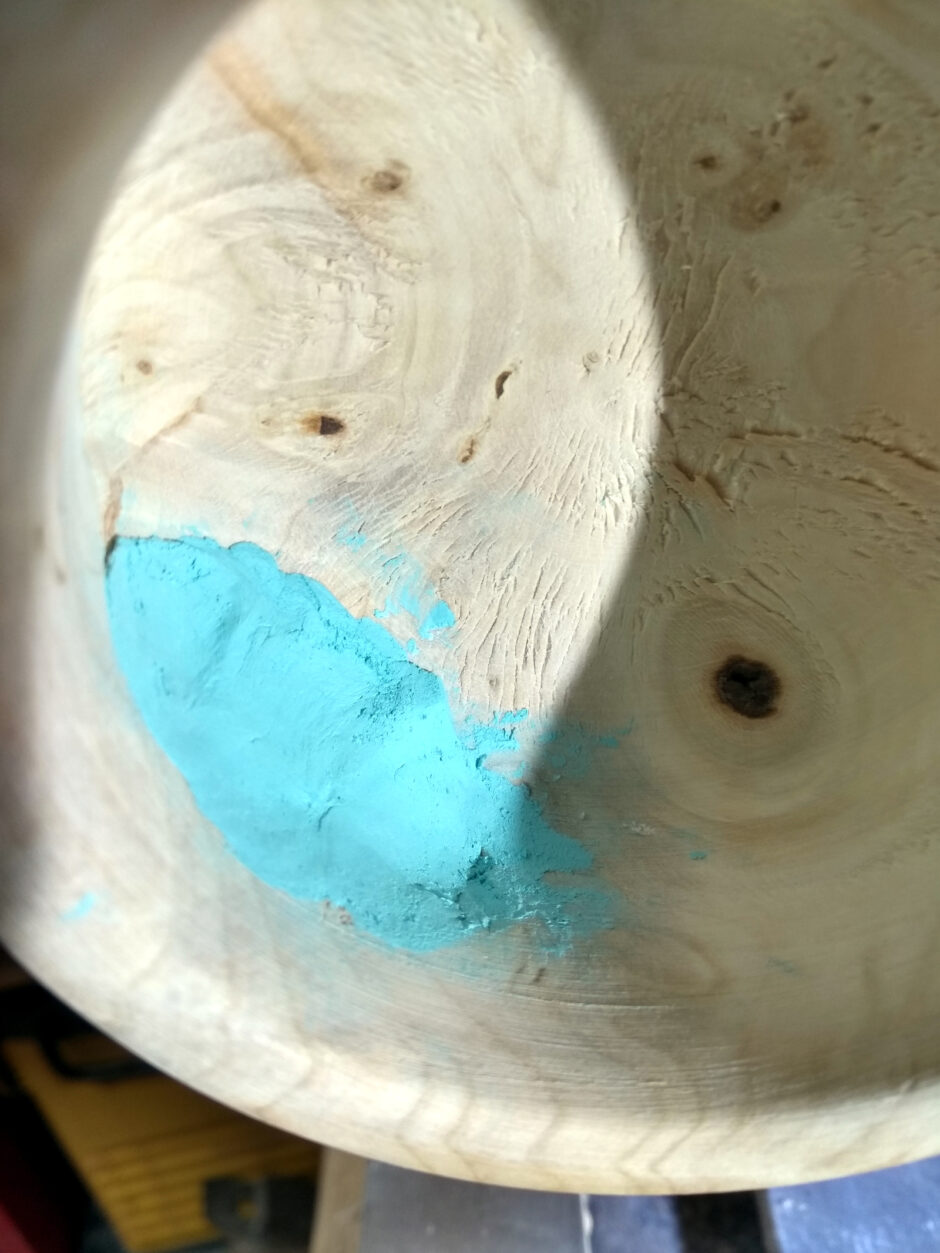
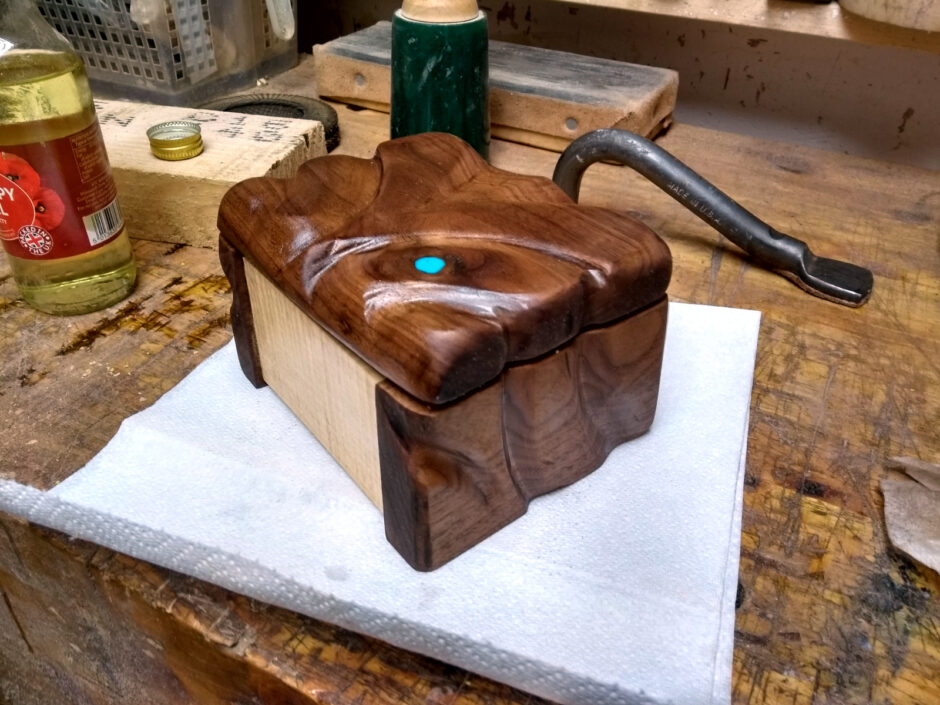
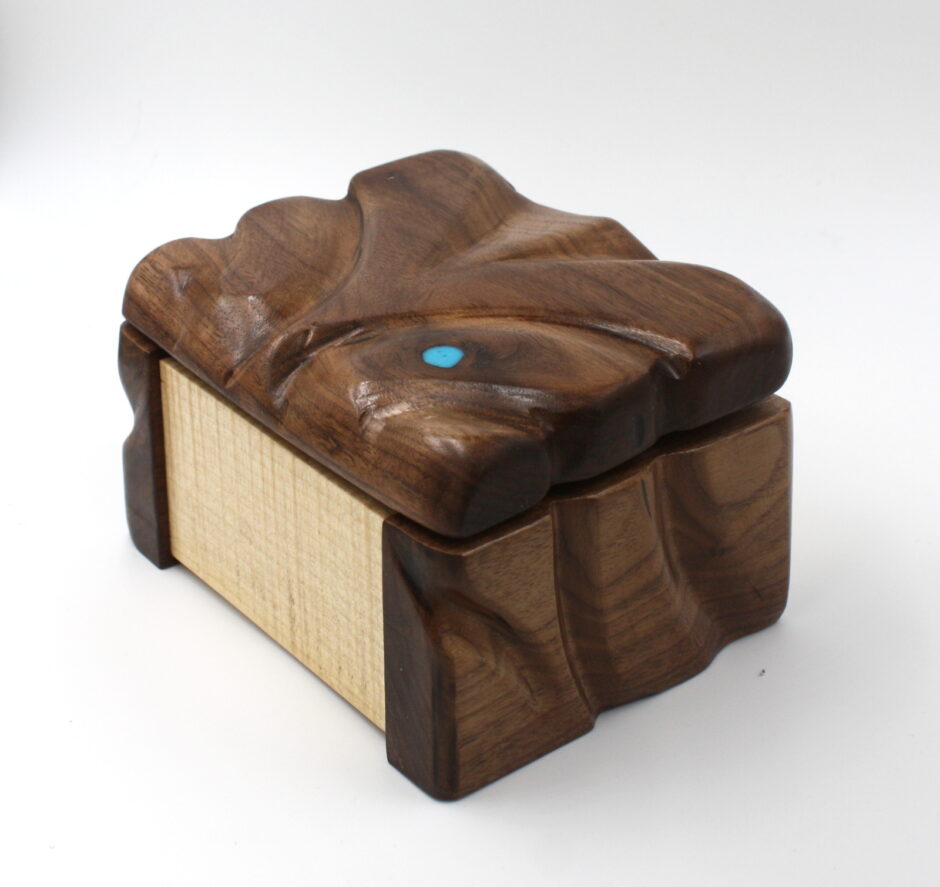
It looks mucky at this point, but it really does clean up well.

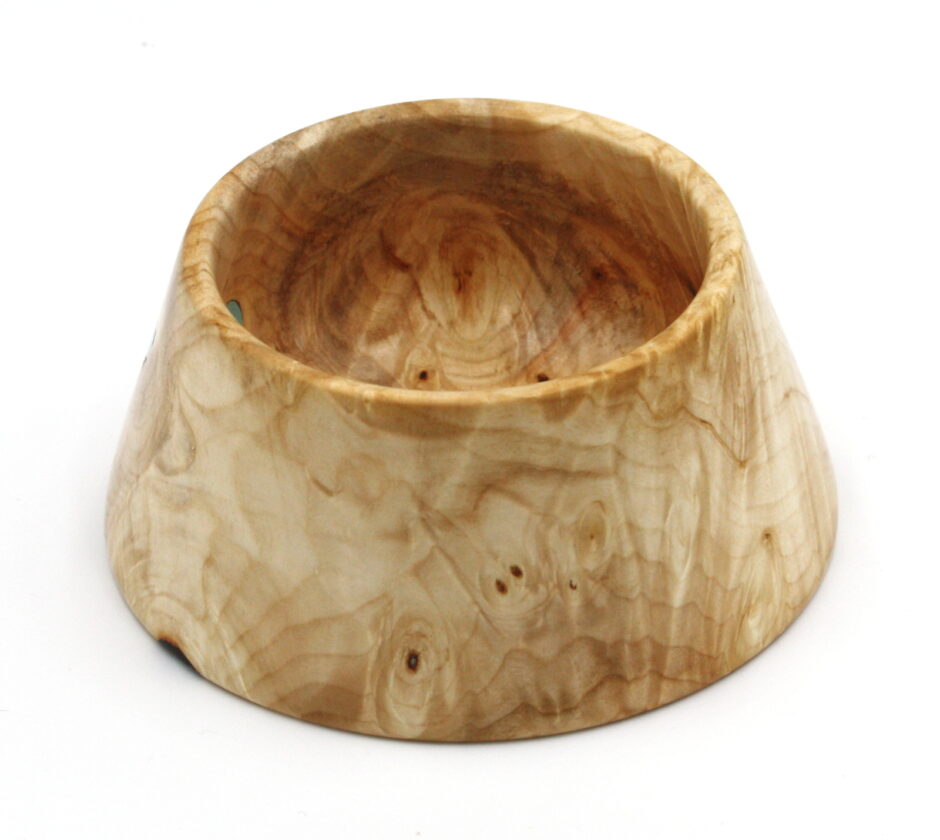
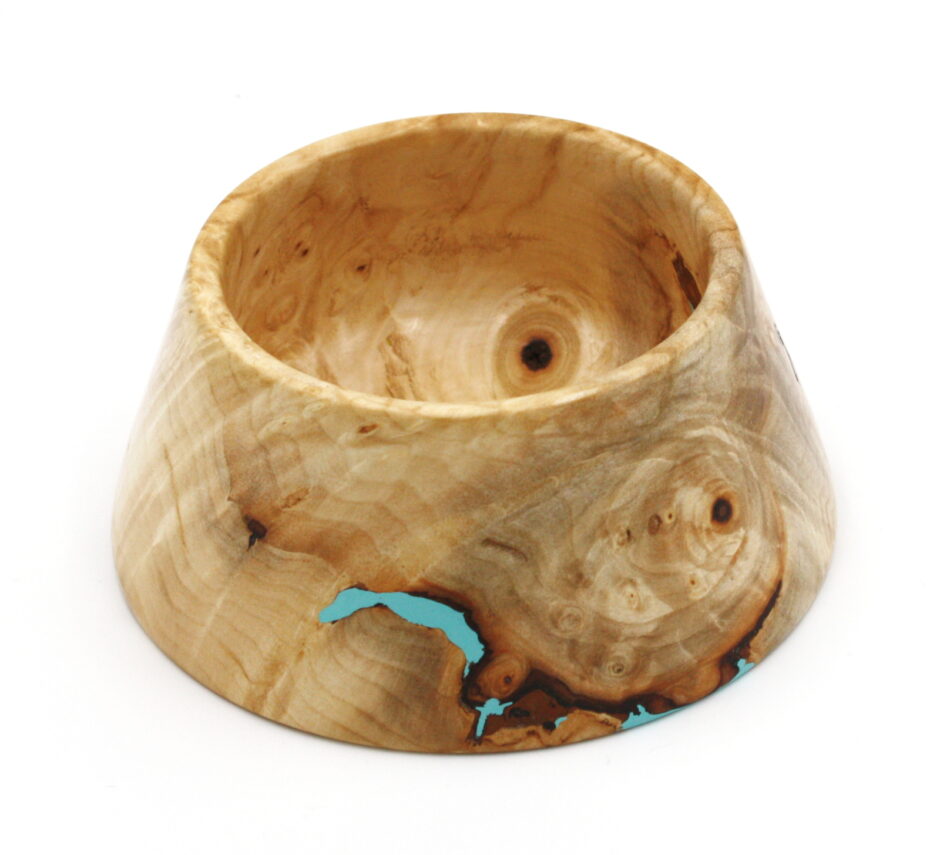
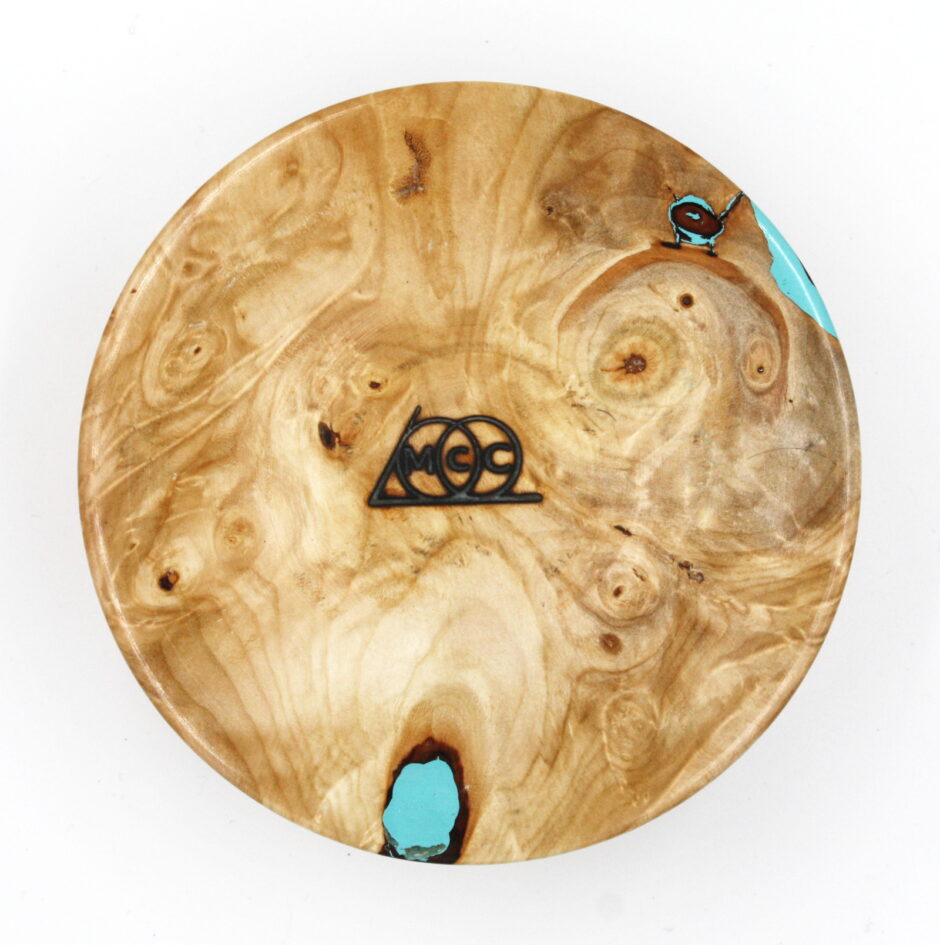
I usually prefer a more minimalist sort of aesthetic over the baroque, but burl really is an exception to that. You could stare at those grain patterns for hours. I must try this again once I can look at the price of burl blanks without wincing, but with embellishment (stains, gold waxes and the like) to bring the grain up even more.
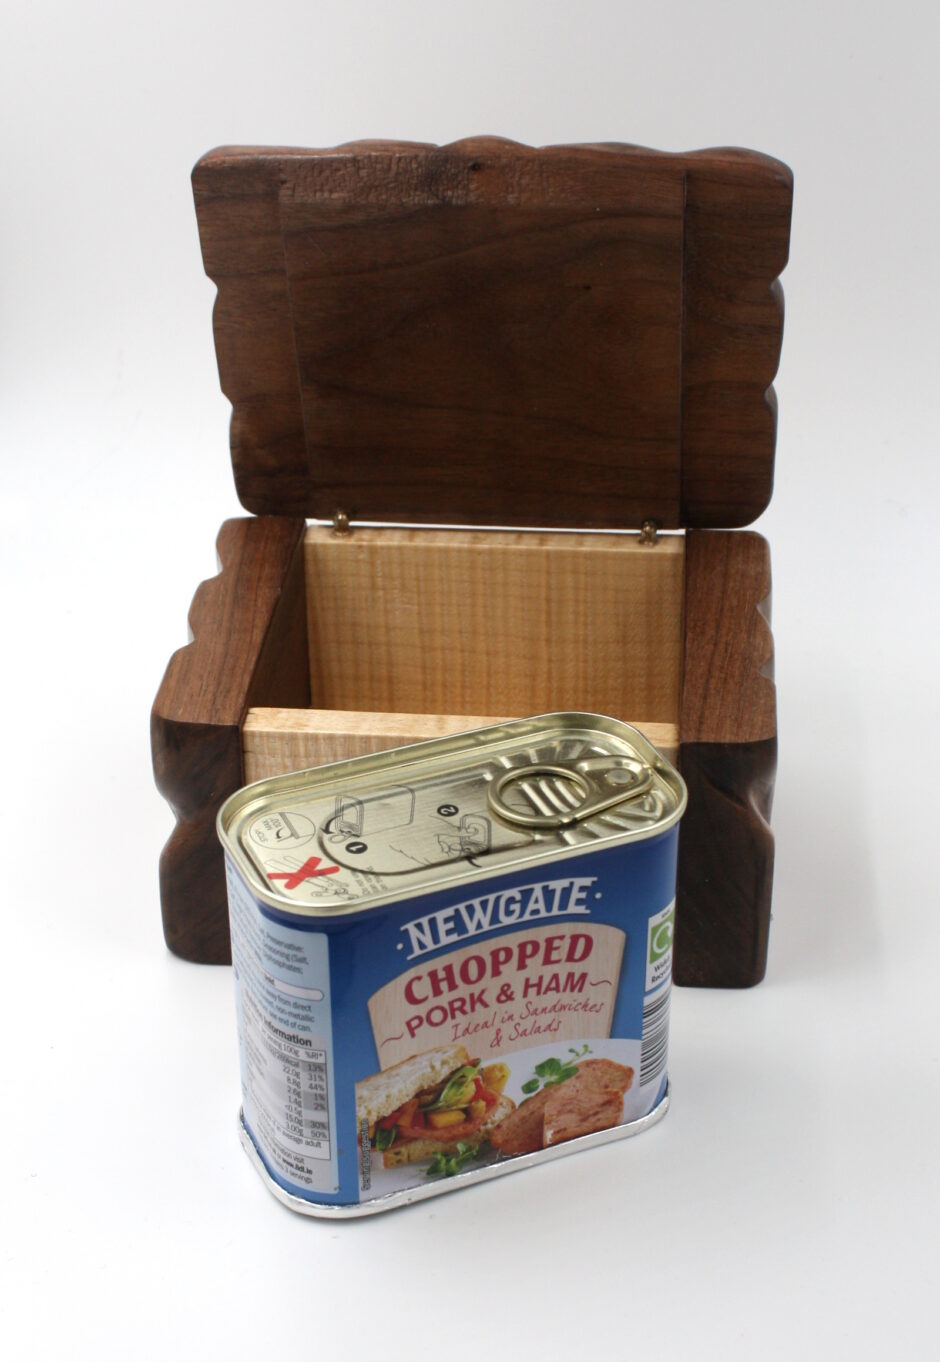
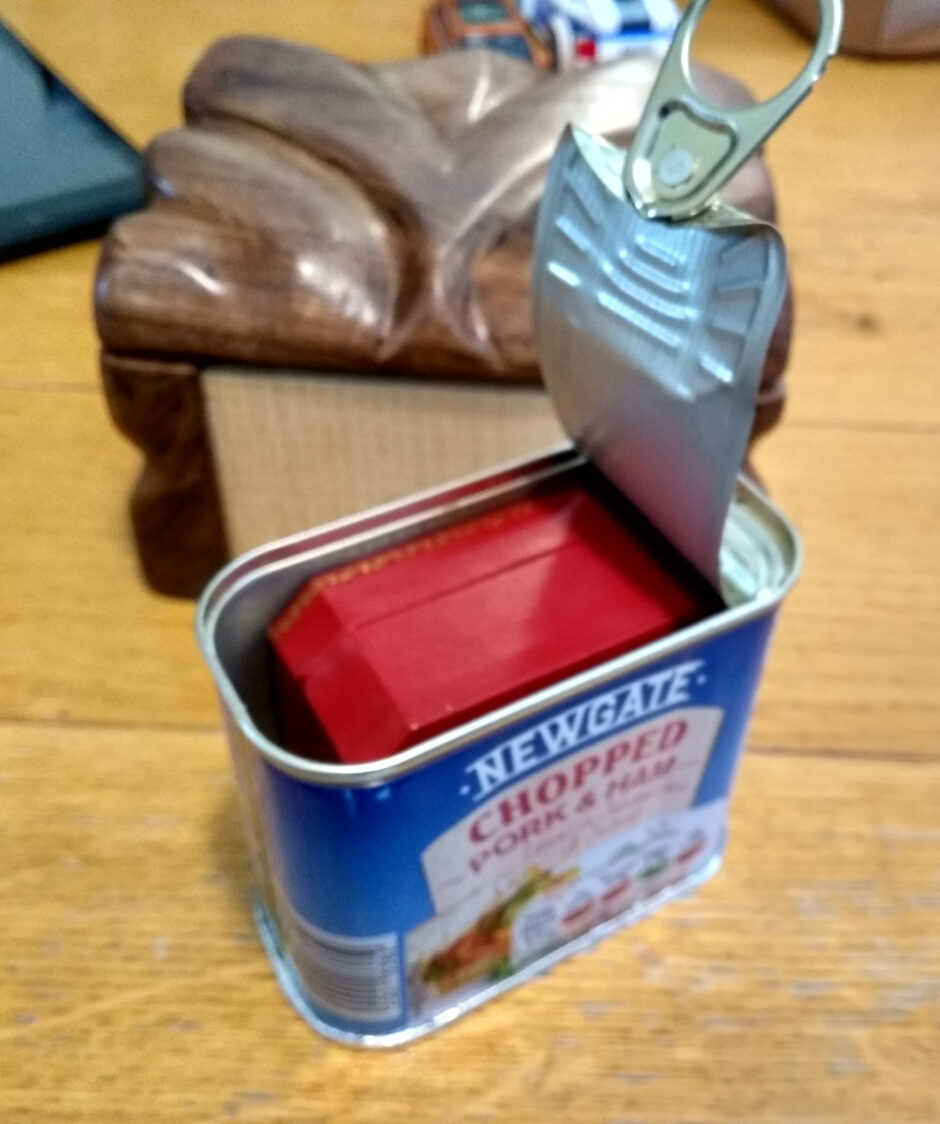
Postscript: a workmate in the US does crochet and she put up some of her stuff on Etsy a while back and I bought a piece and it fits perfectly 😀
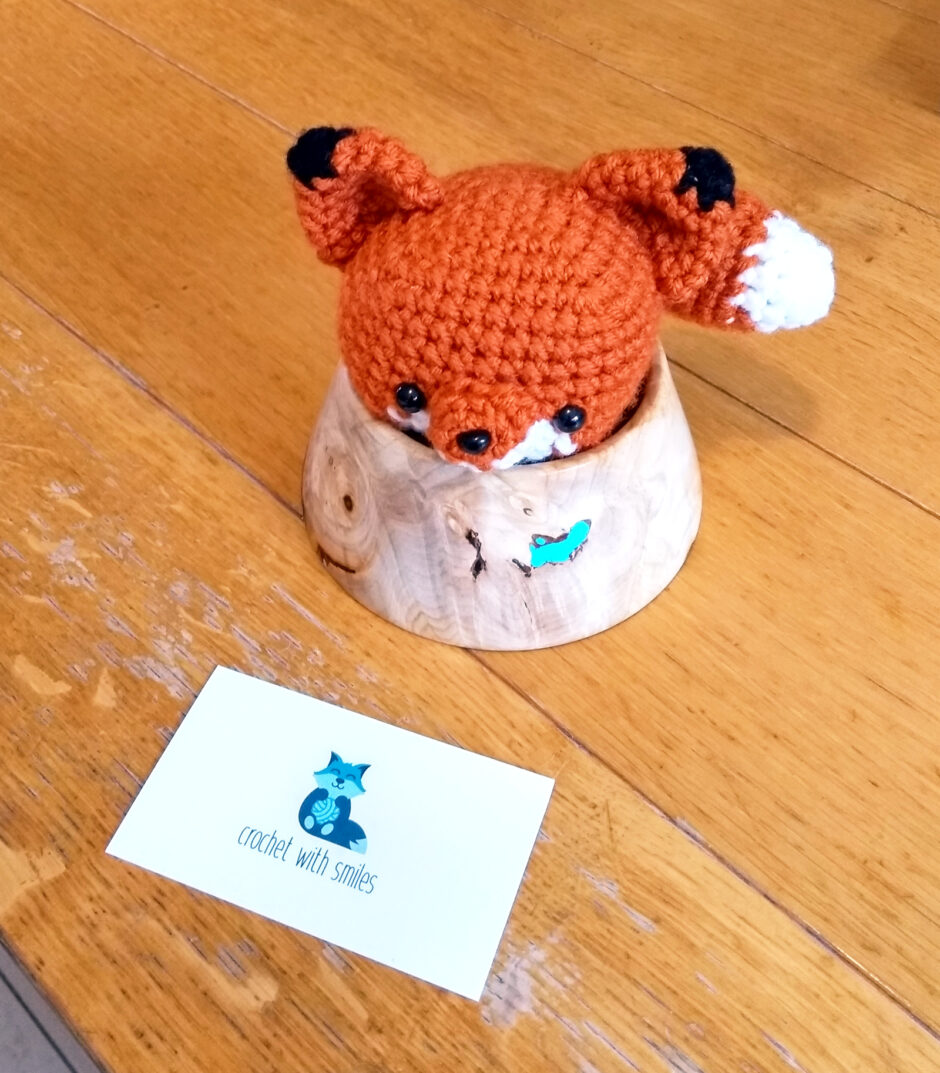
Fox-in-a-bowl 😀