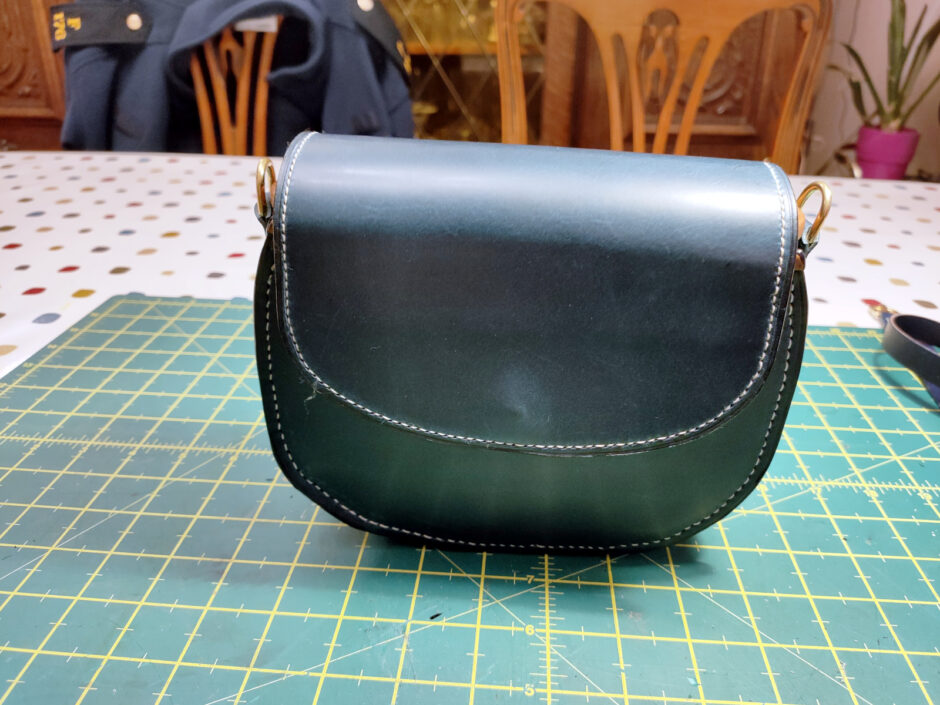
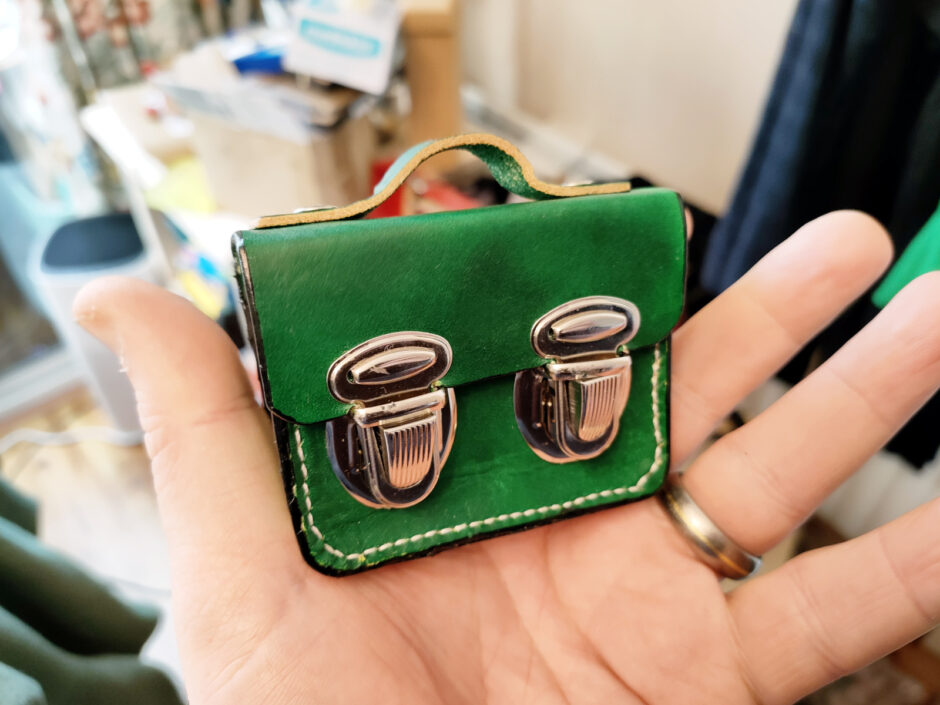
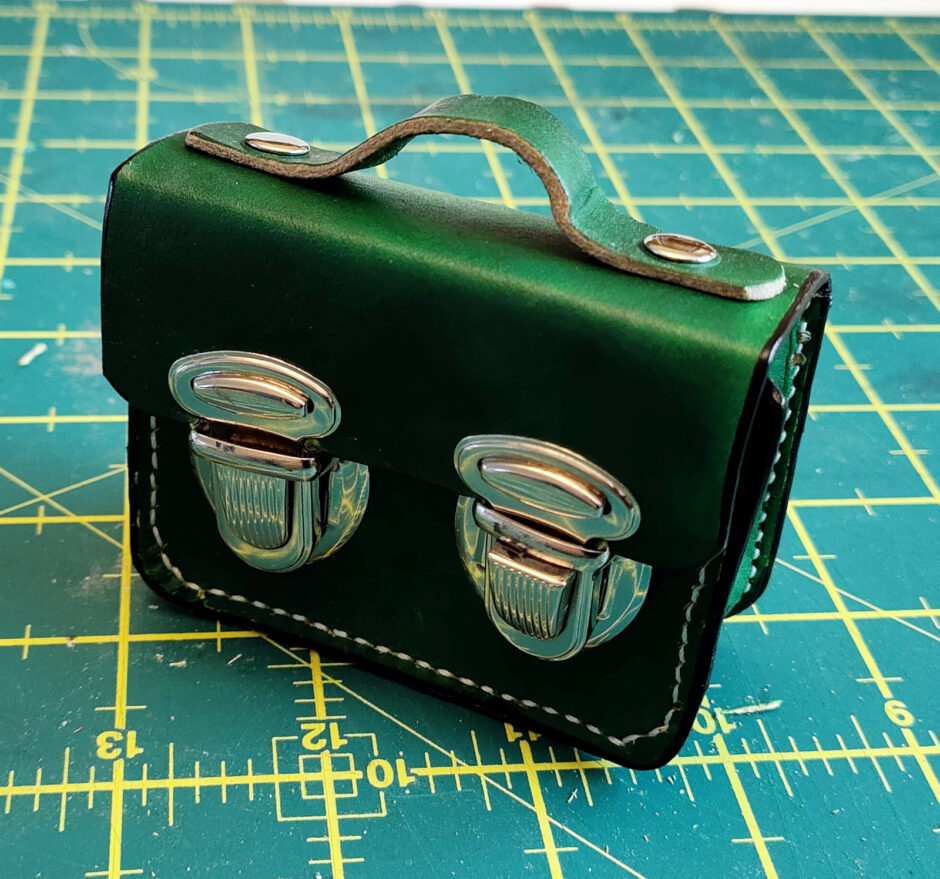
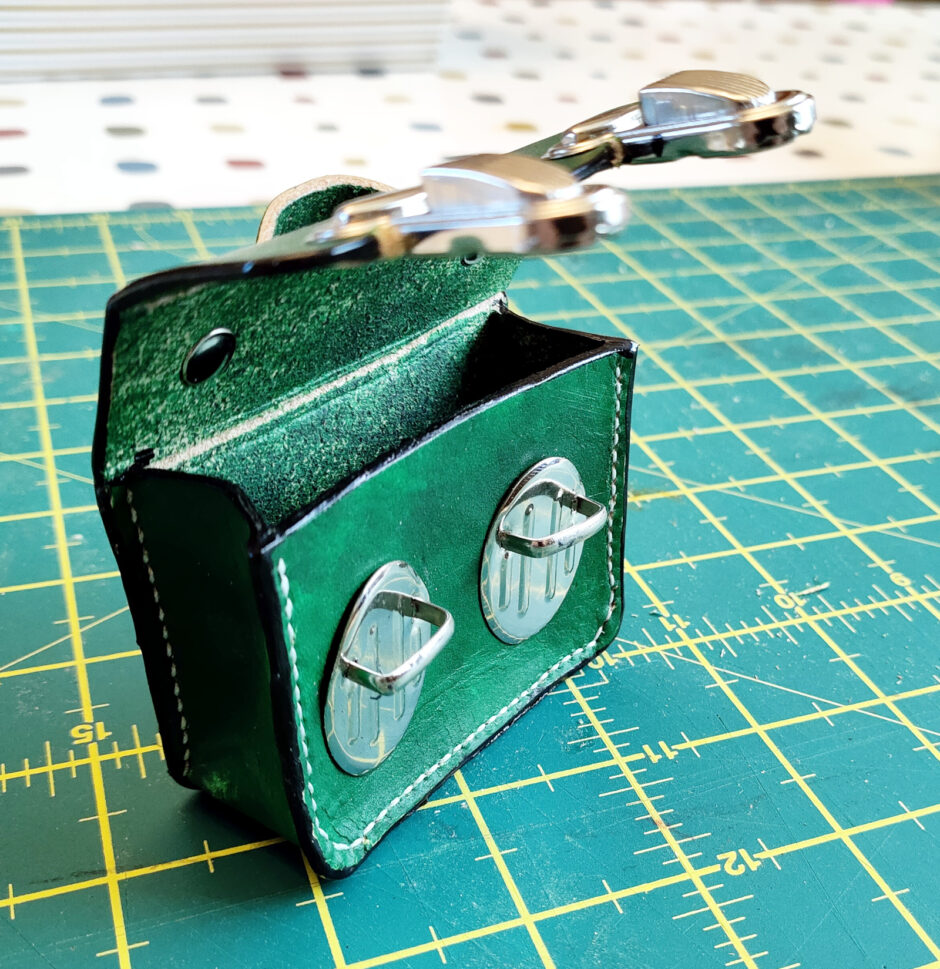
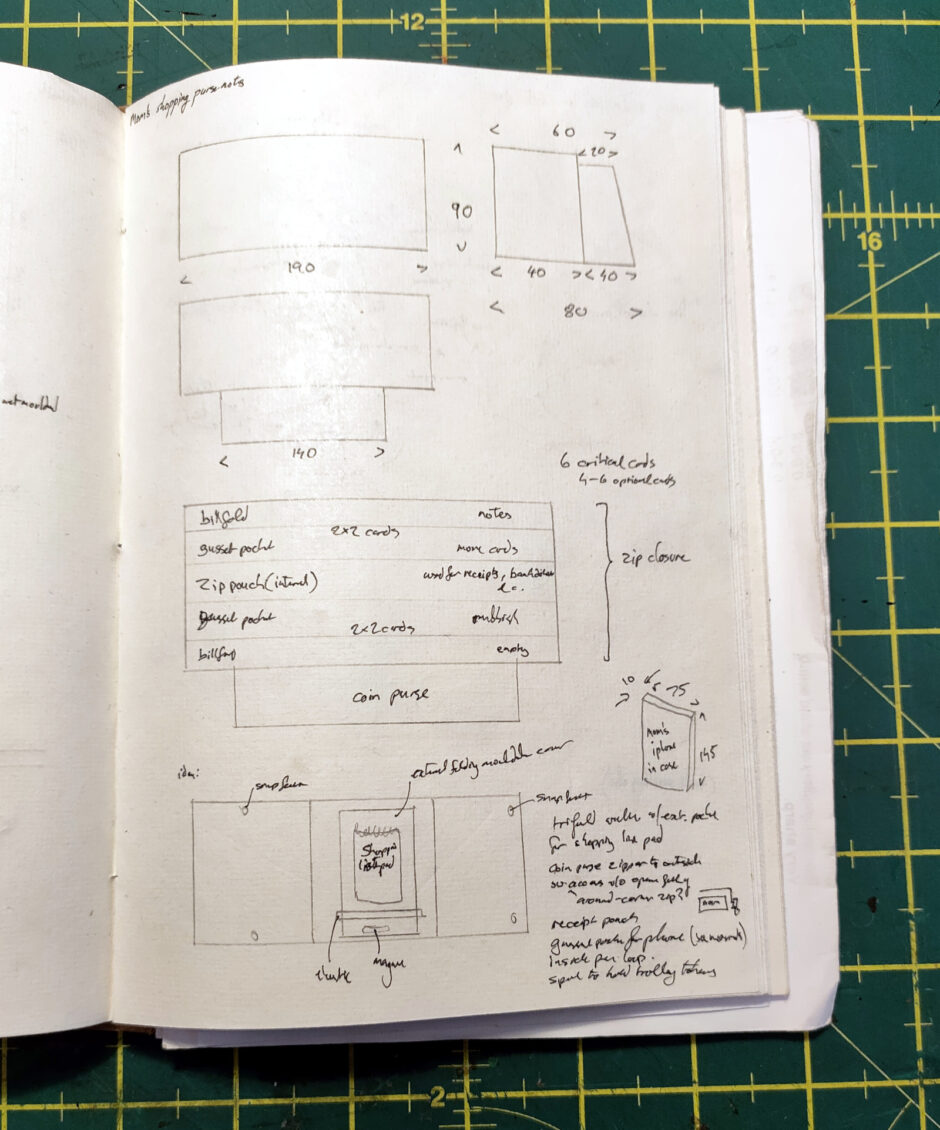
So last September or so I thought it’d be neat to make a custom purse for Mom to do her shopping with. Mom’s got some old-school shopping habits, like always keeping receipts, and there’s also the point that for some reason purses don’t ever seem to be made with shopping in mind, so I had ideas…
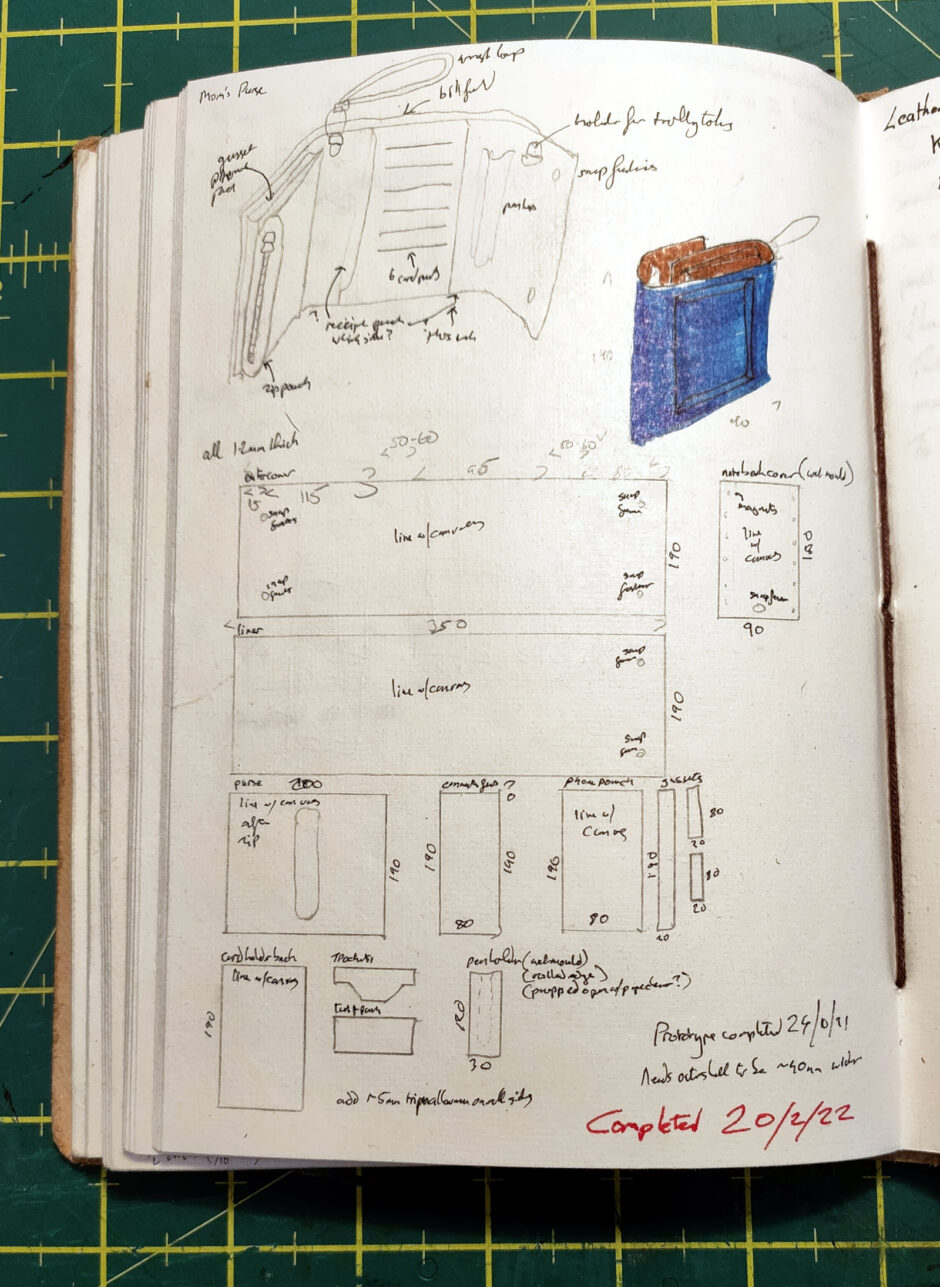
I made up a prototype from some dyed vegtan leather (nothing terribly fancy, just some 1.4mm stuff from Tandy) using oxblood Fiebing’s.
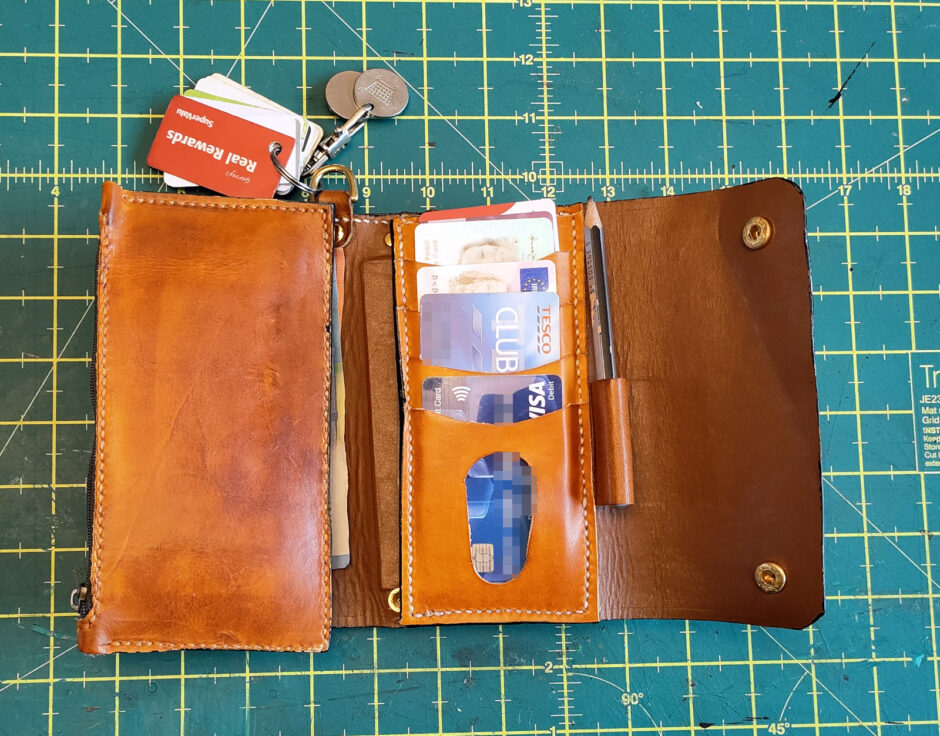
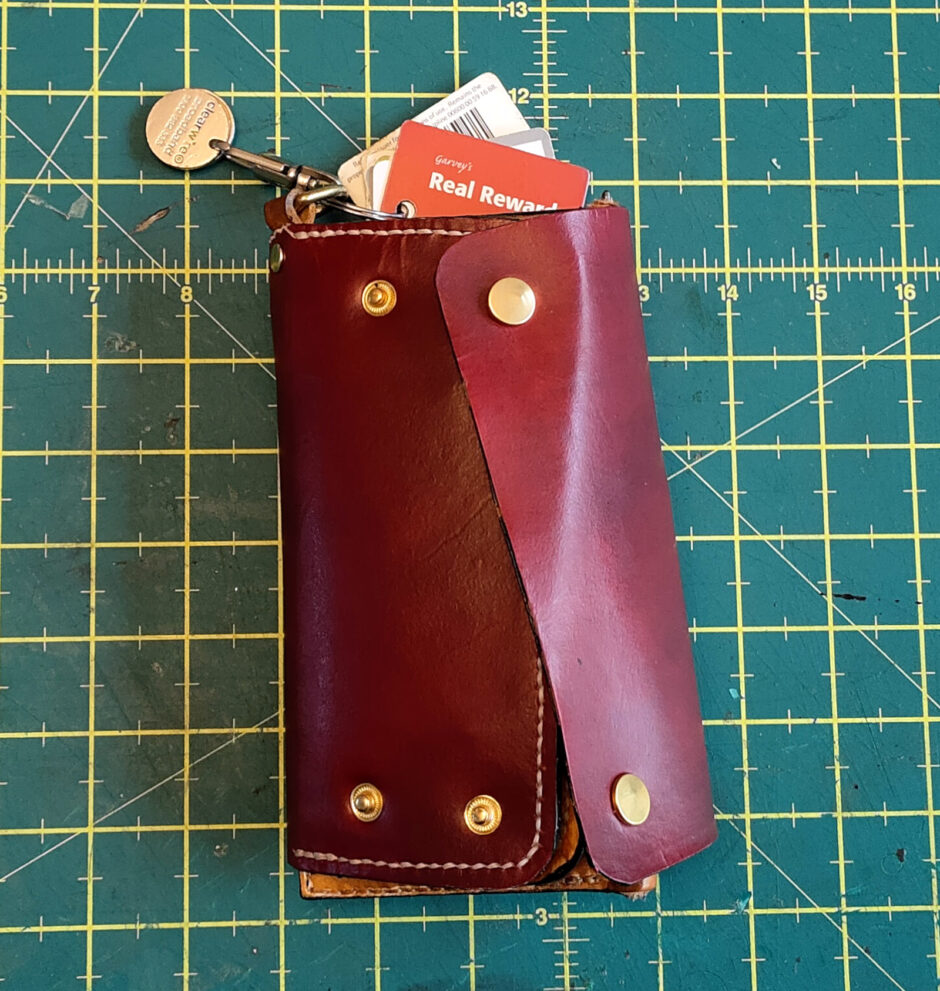
It’s based off a Corter Leather pattern (albiet with a lot of changes and additions). There’s a spot behind the zippered pouch for your mobile phone to be stored. But adding in the zippered pouch made the design too tight to close when everything was filled up…

So Mom took that and used it for a few months and figured out what worked and what didn’t while I sourced some nice materials. Red Maremma Leather from Tuscany via Tatra Leather, Vinymo #5 thread via Leathercraft Tools in Japan, and some hand-dyed vegtan for the interior, and some brass hardware from Paracord EU and even Aliexpress got into the act 😀
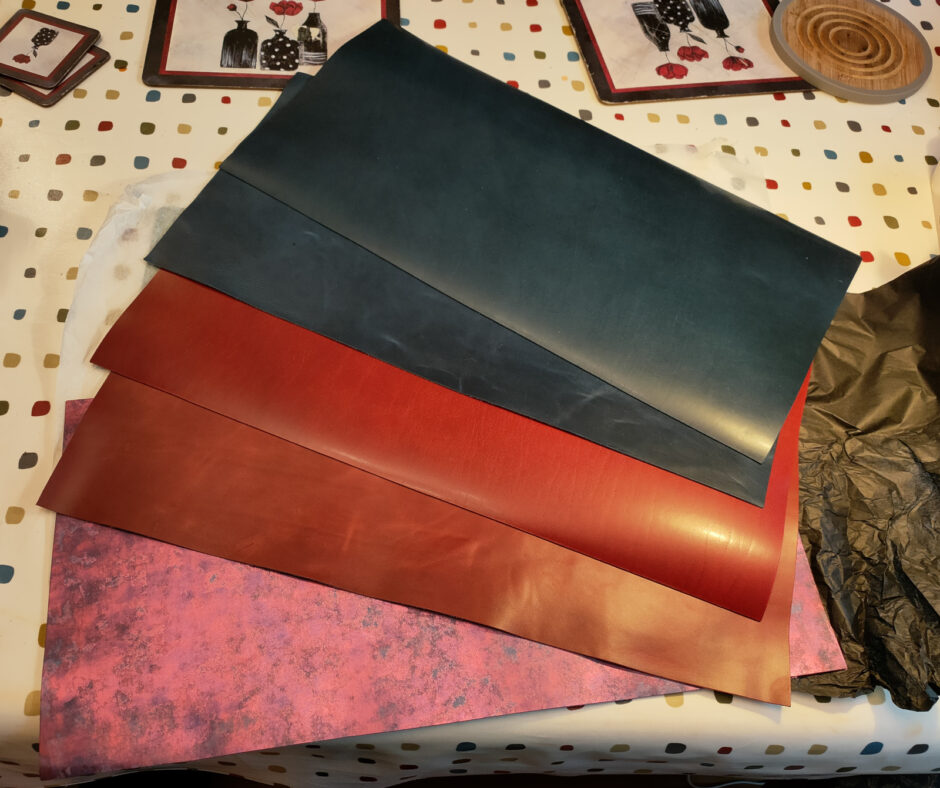
That’s the shiny red leather third from the top there.
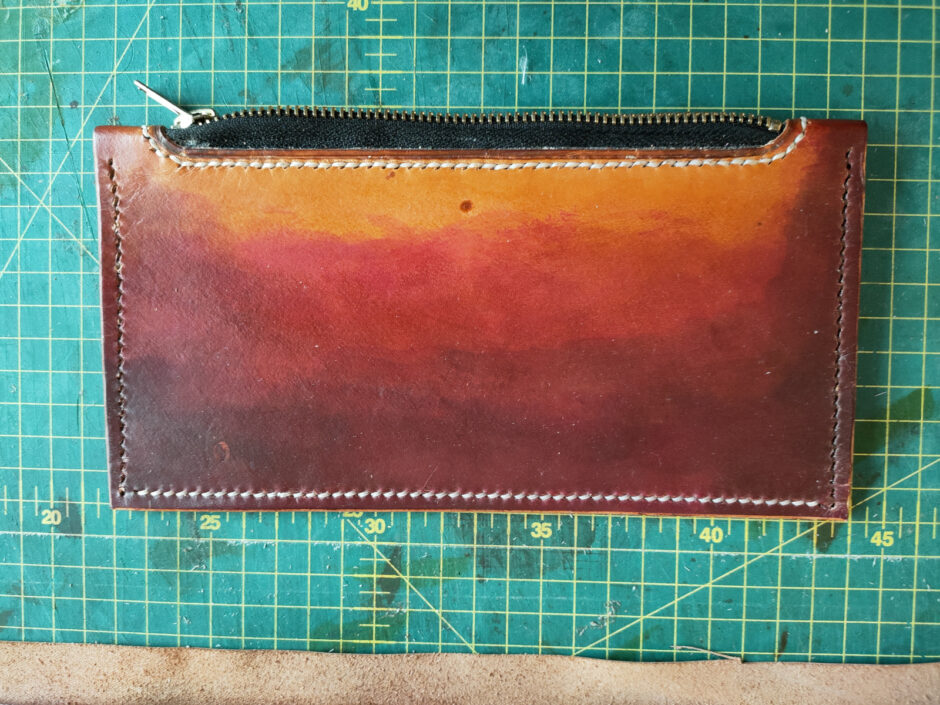
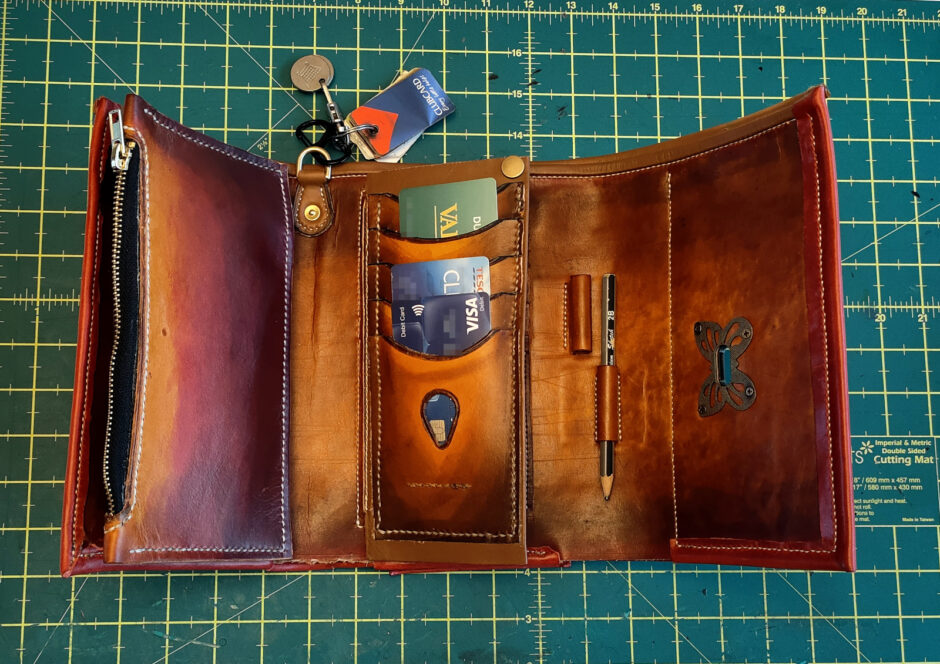
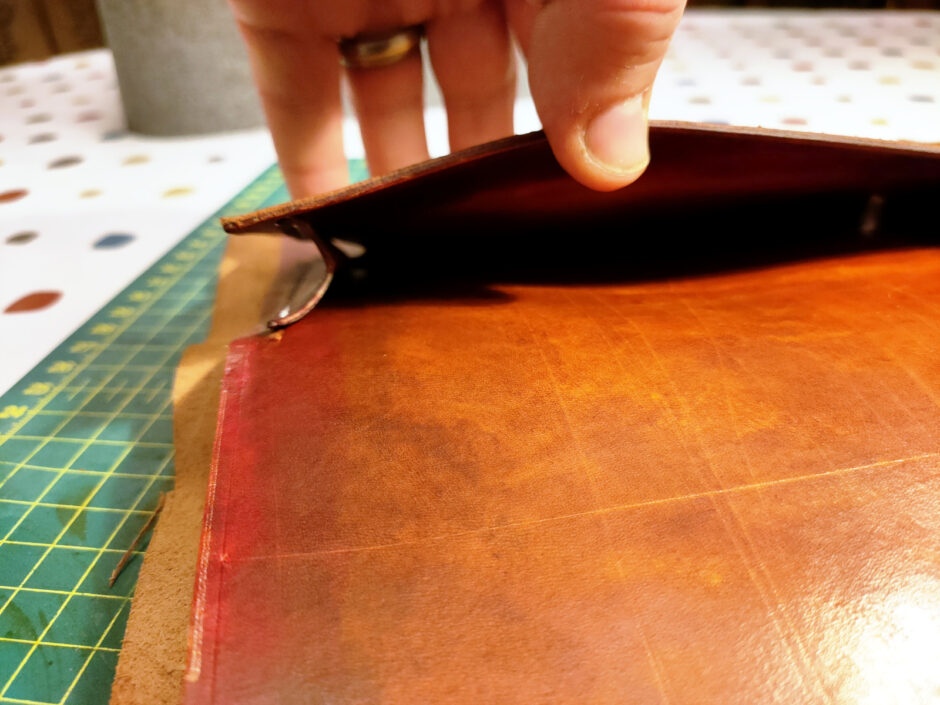
Started off with the zippered pouch and the card holder because those could be made separately, and then started on the inside. Used a French edge for the lining of the inside but didn’t trim off excess for reasons that’ll be obvious in a minute. Added in the gusseted pocket for the mobile phone next:
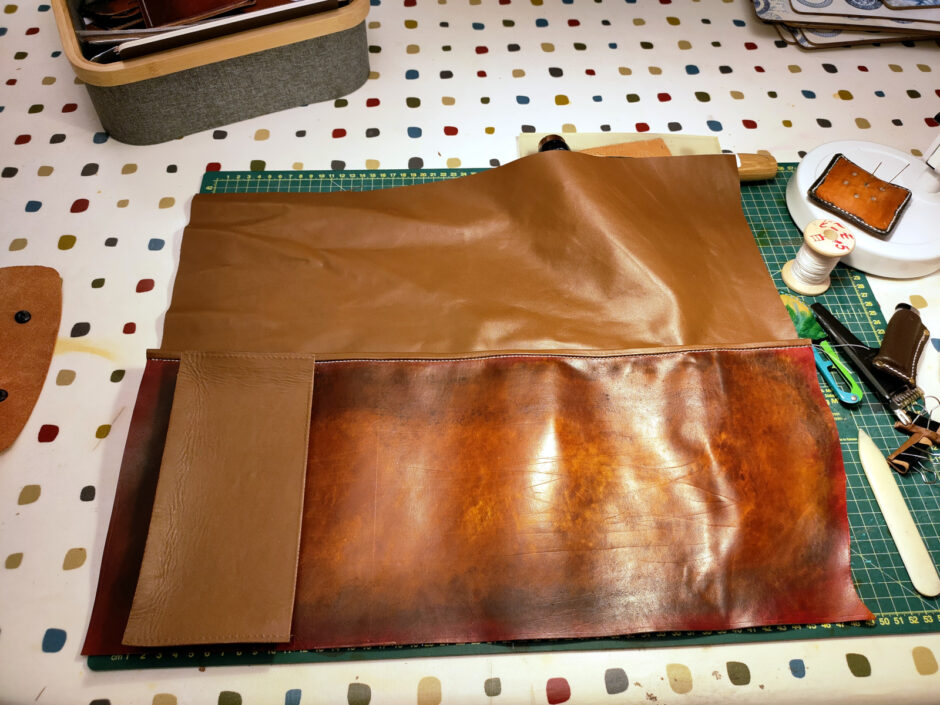
Then added on the card pocket holder thingy.
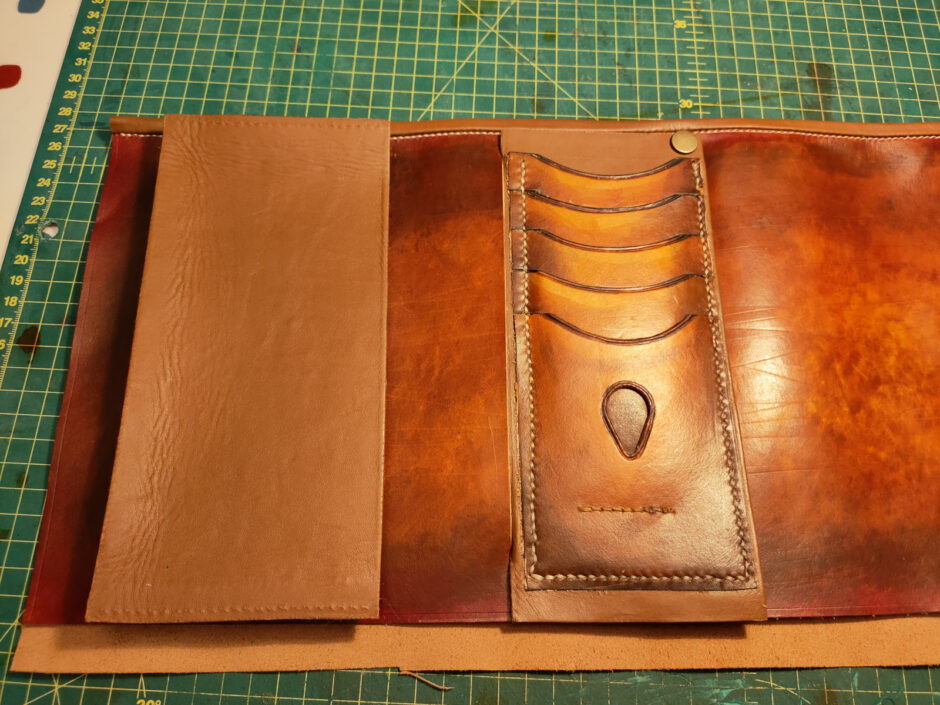
If you’re wondering what the snap is for on the top left corner of the card thingy, the idea is to hold it in place instead of falling back and forth because it’s a double-sided panel arrangement (it’s just lining leather wrapped around a piece of buckram for stiffening and then pockets sewn to it).
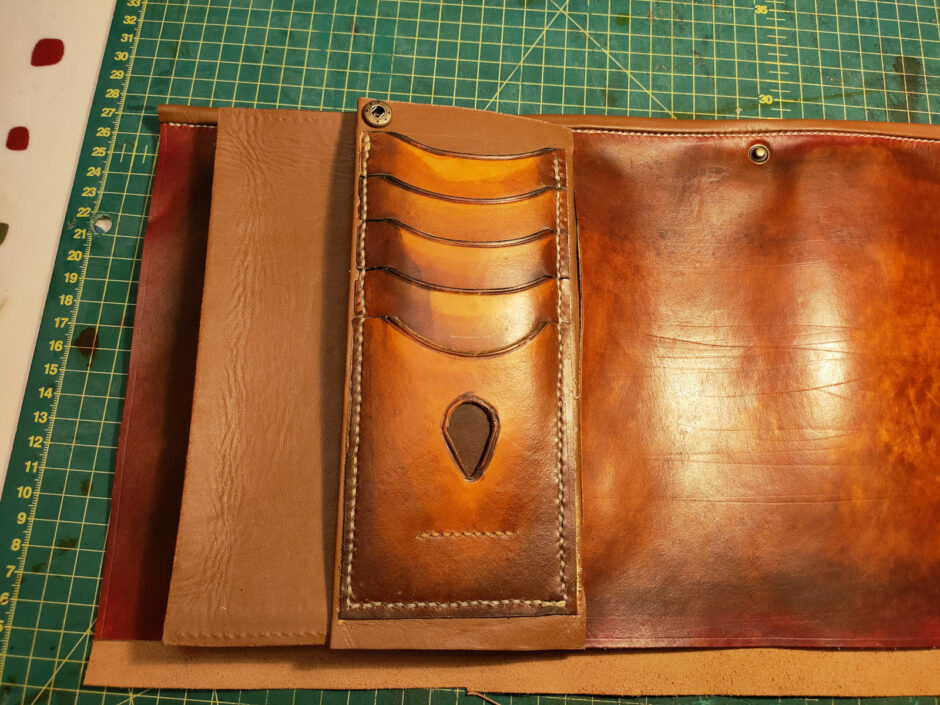
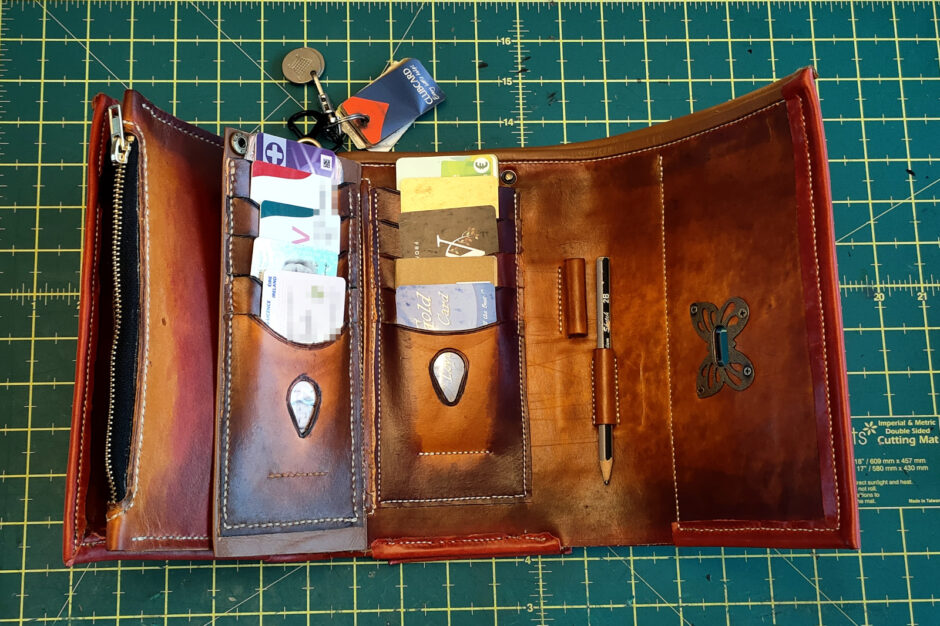
And underneath, sewed in some more card pockets because it’s surprising how many cards Mom has gathered up for regular use.
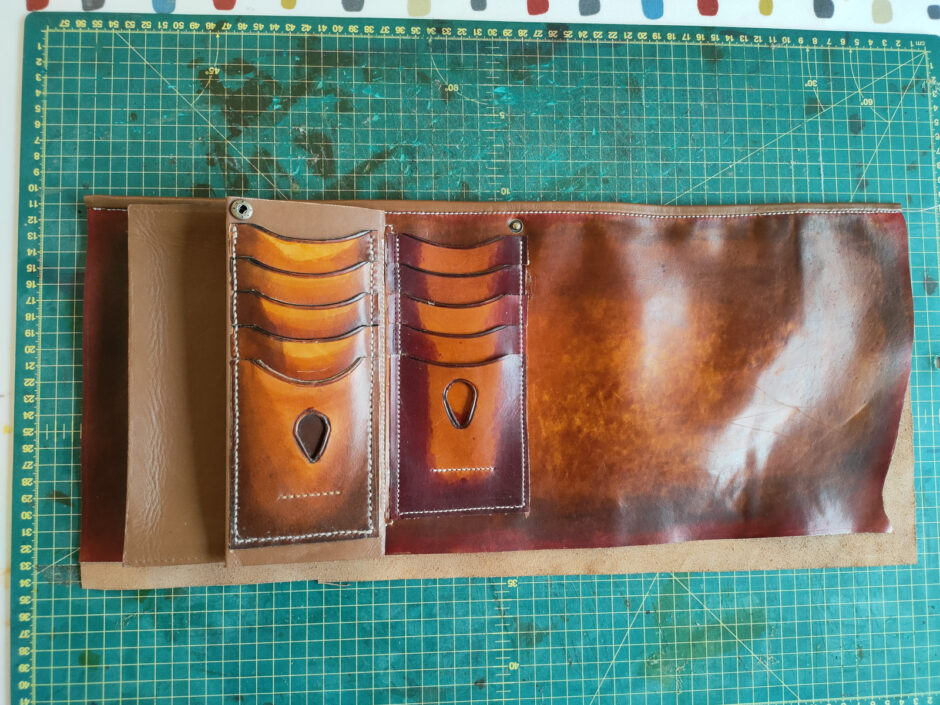
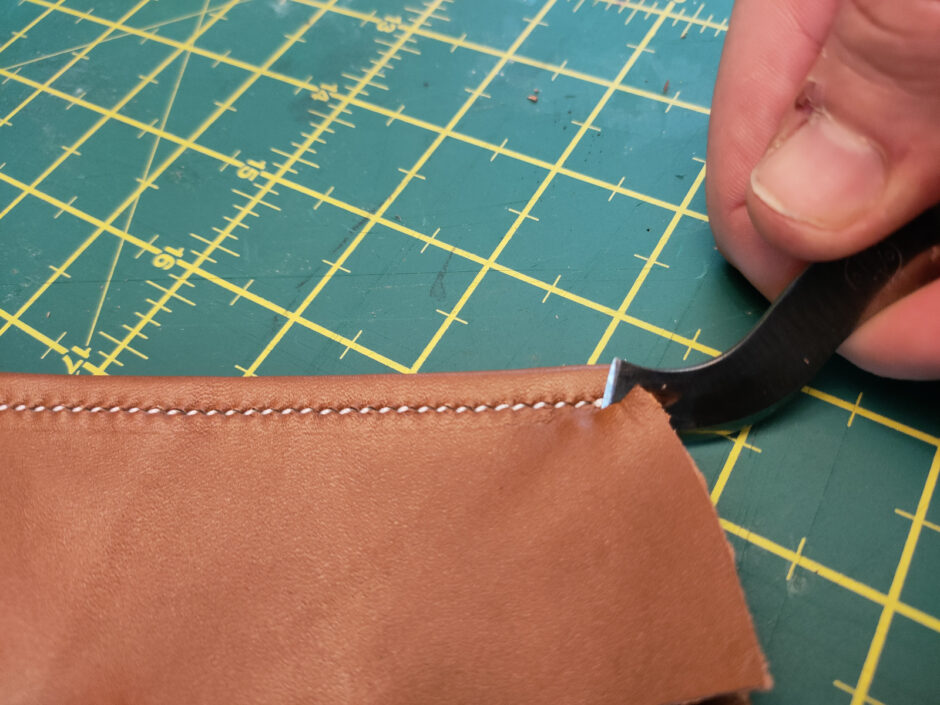
Don’t worry about the far right edge, it’s ragged because it’s to be trimmed later. Next up, sew on the zippered pouch with the zip to the left so that you don’t have to open the whole purse up to get into the pouch.
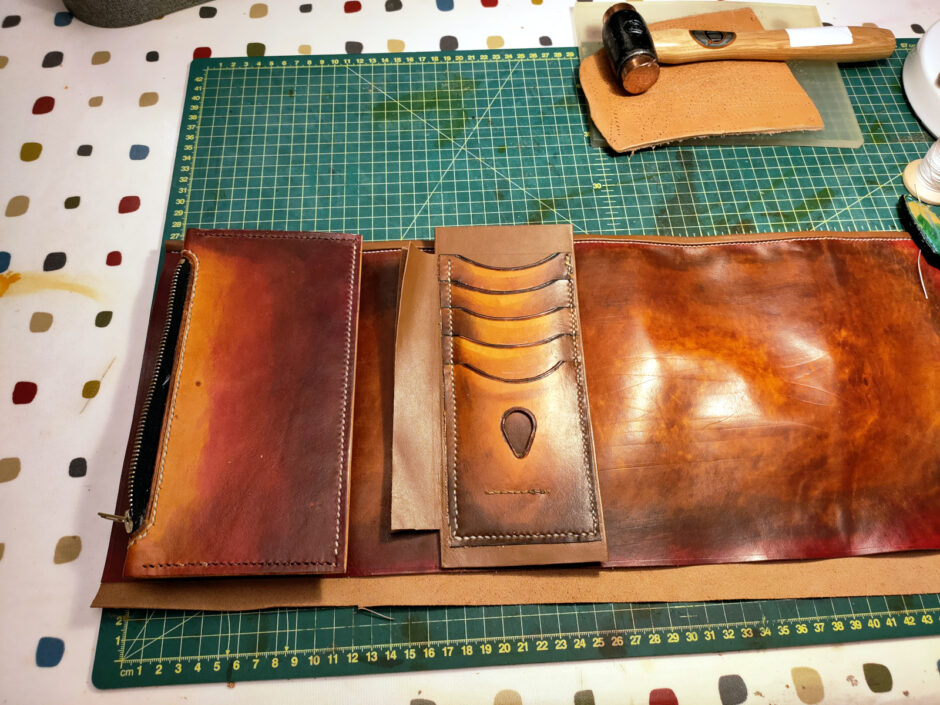
The pouch is only attached to the mobile phone pocket at the top and bottom – it can flex in the middle when Mom overstuffs it and it won’t distort the rest of the purse as it fills.
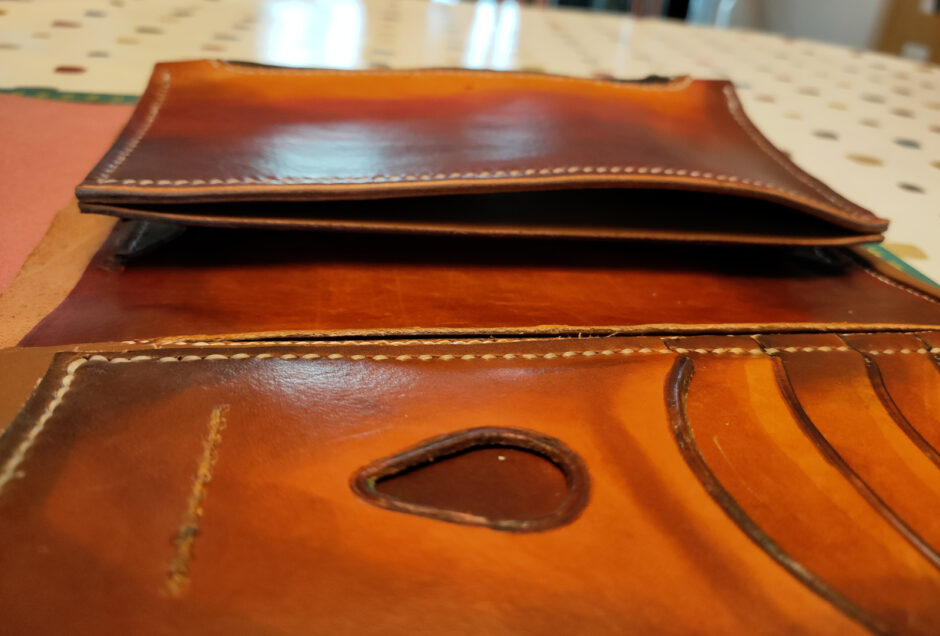
And there were also some pen loops needed.
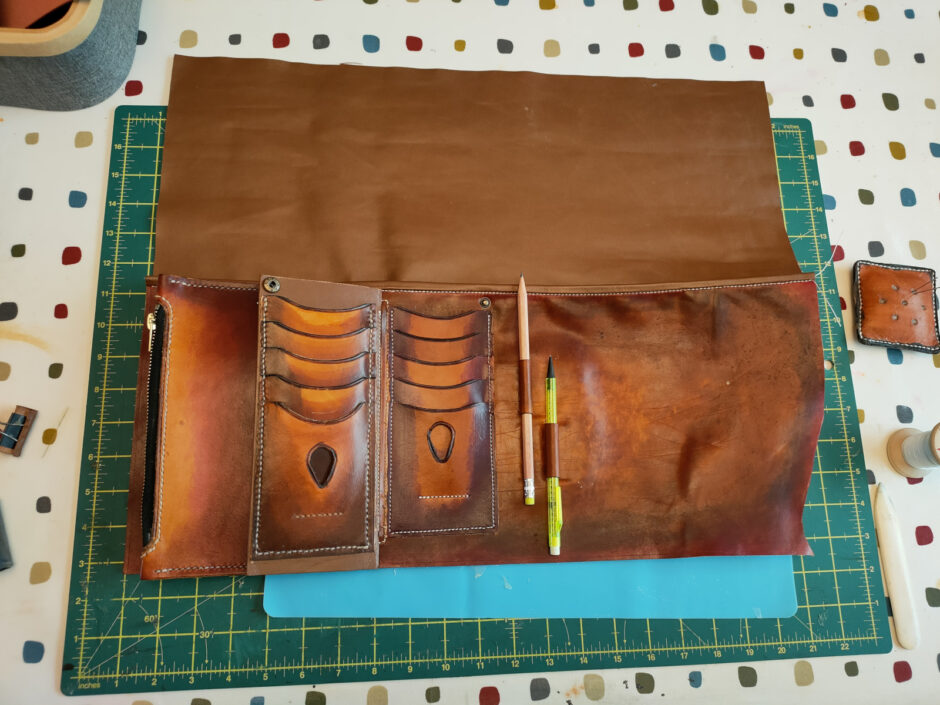
After that, started working on the outside shell.
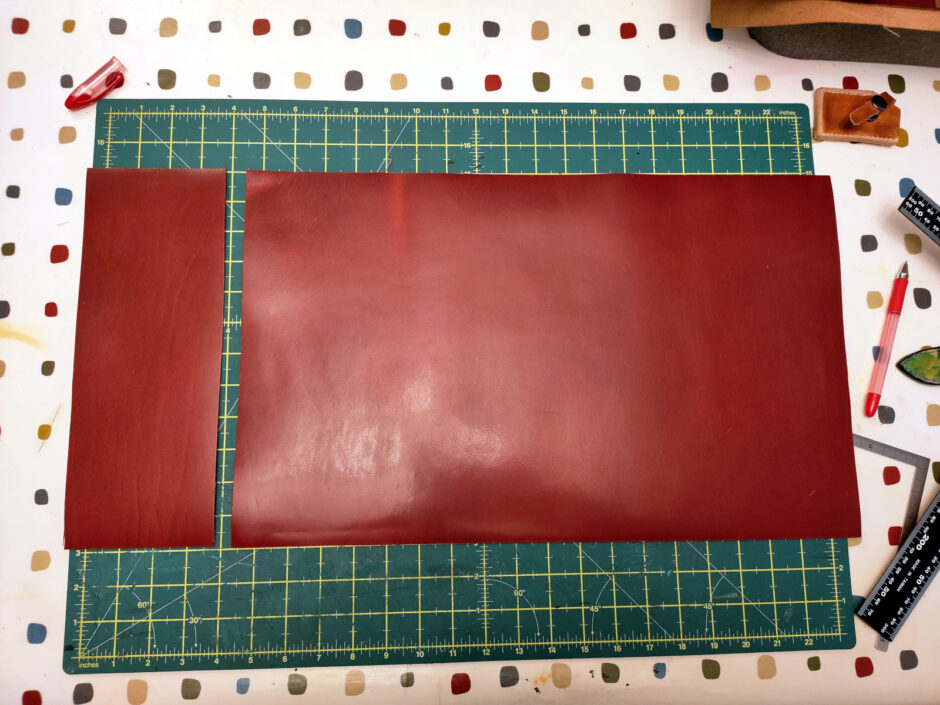
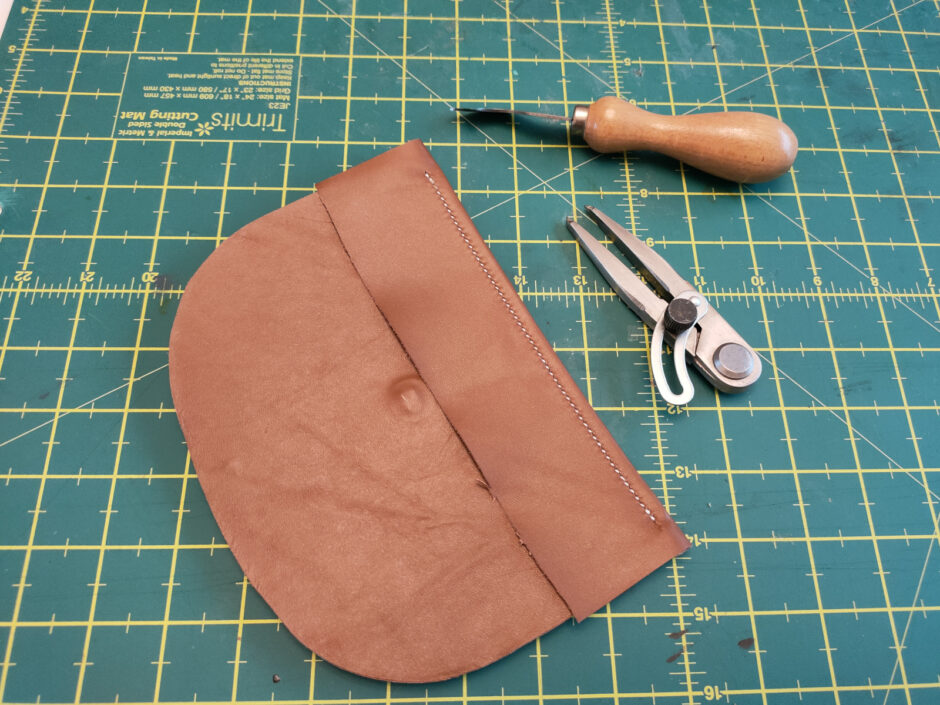
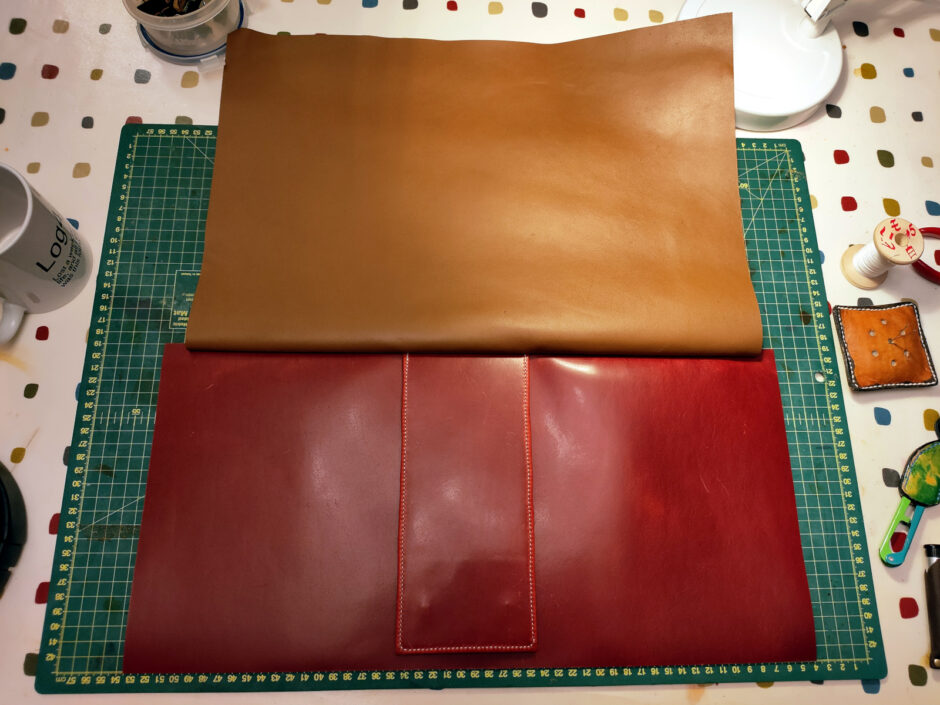
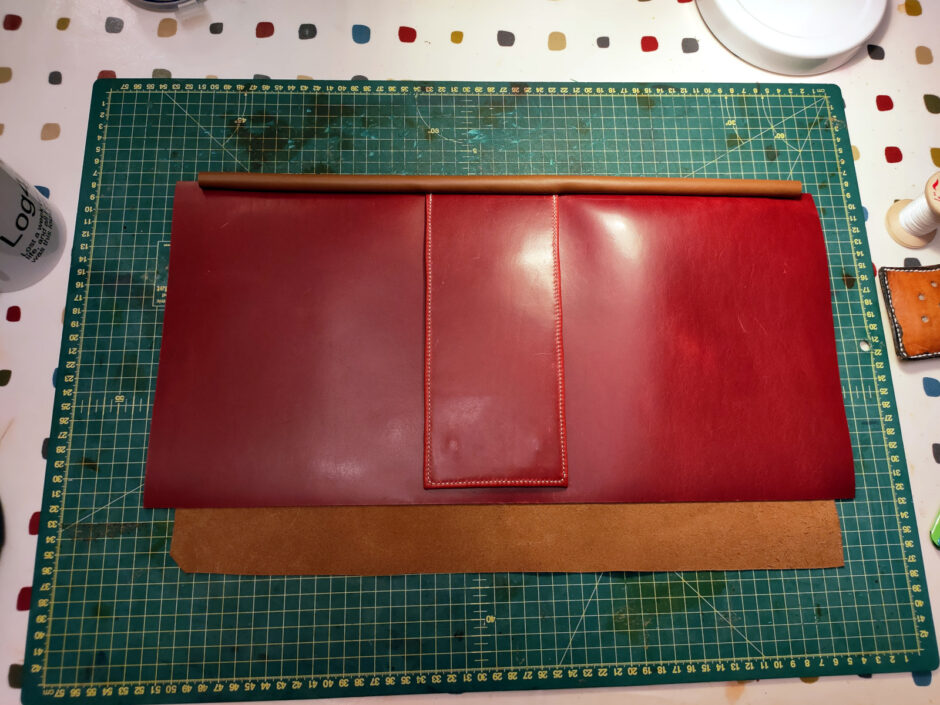
That was the most stressful cut of the whole project 😀 Need enough offcut to act as a cover on the back of the purse. Managed it with a few millimeters to spare – the problem being that the wider the offcut, the less room I had for flex on the main shell to cope with the purse having a lot on the inside (which was what happened to the prototype – overstuffed and unable to fully close). But this looks like it’ll work.
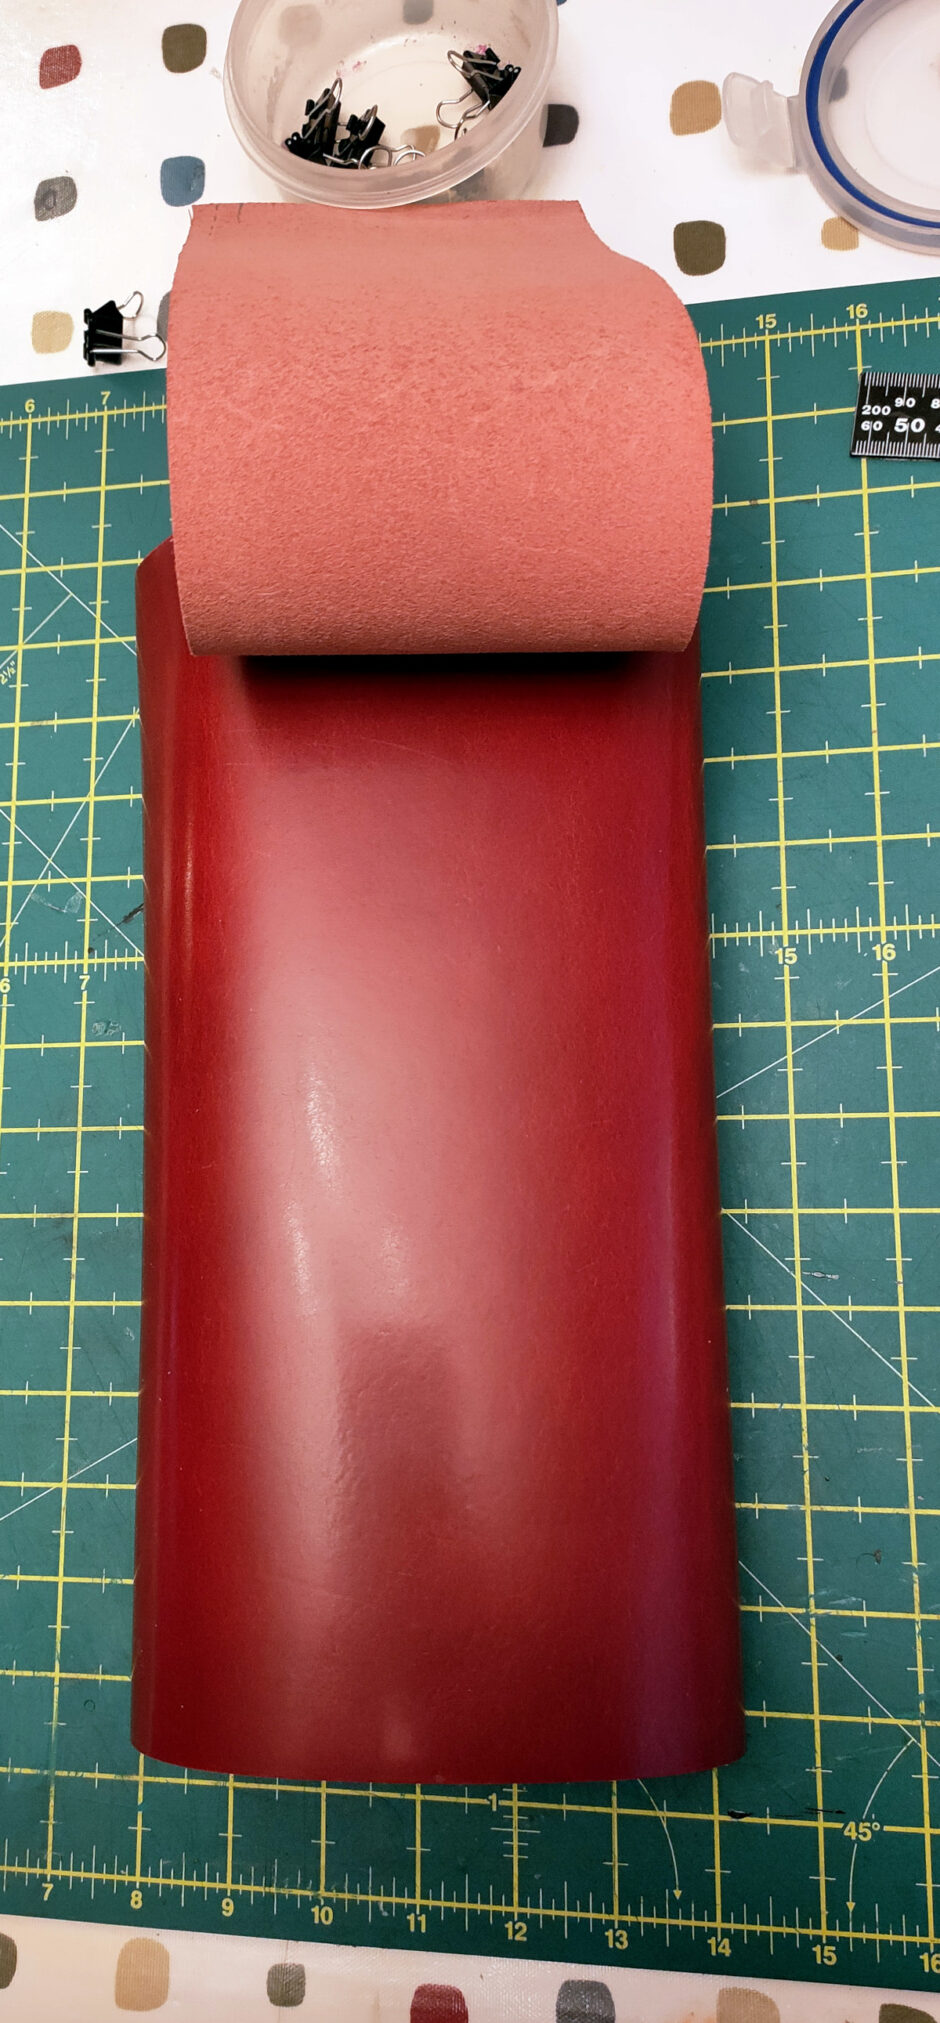
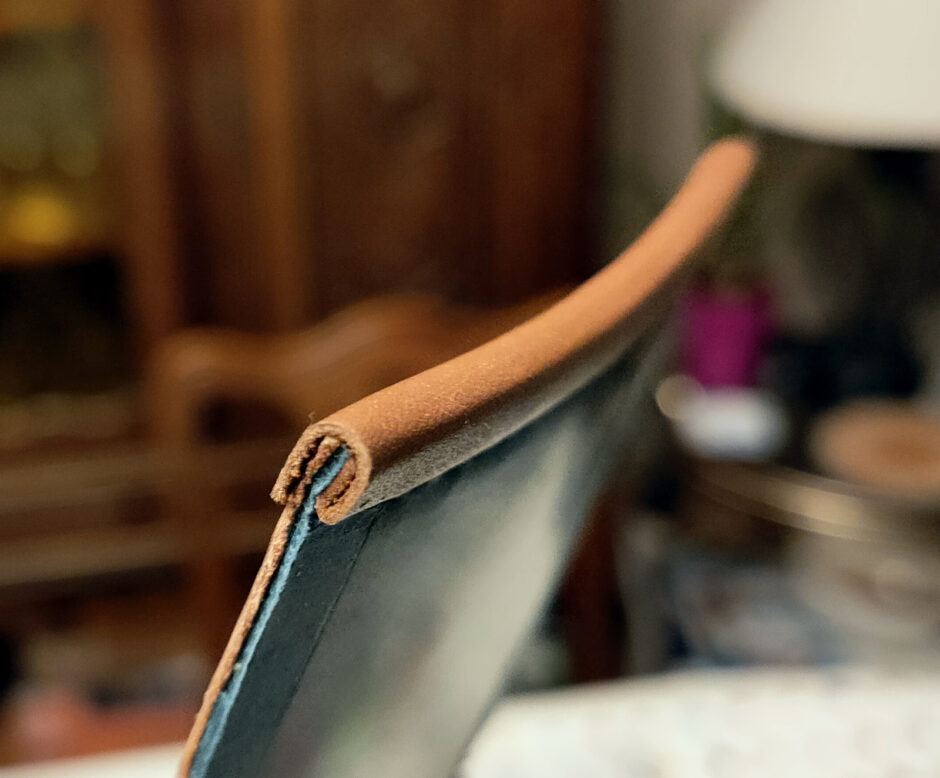
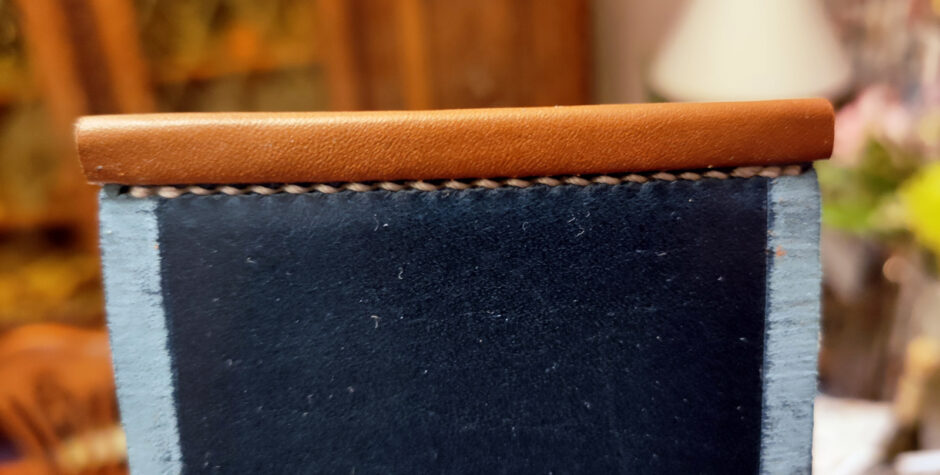
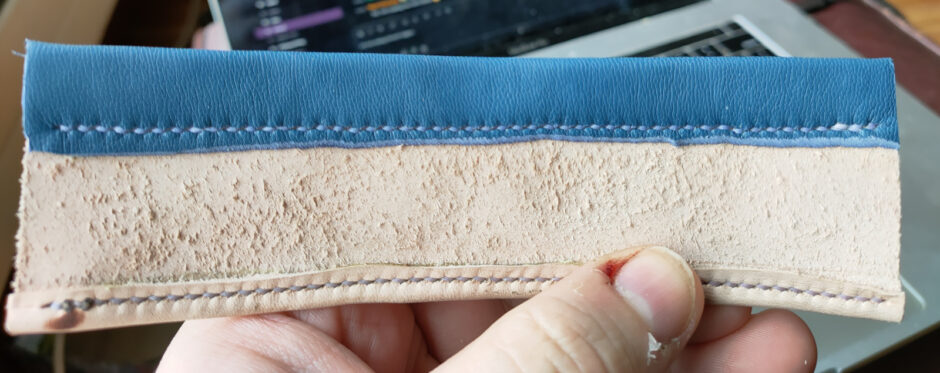
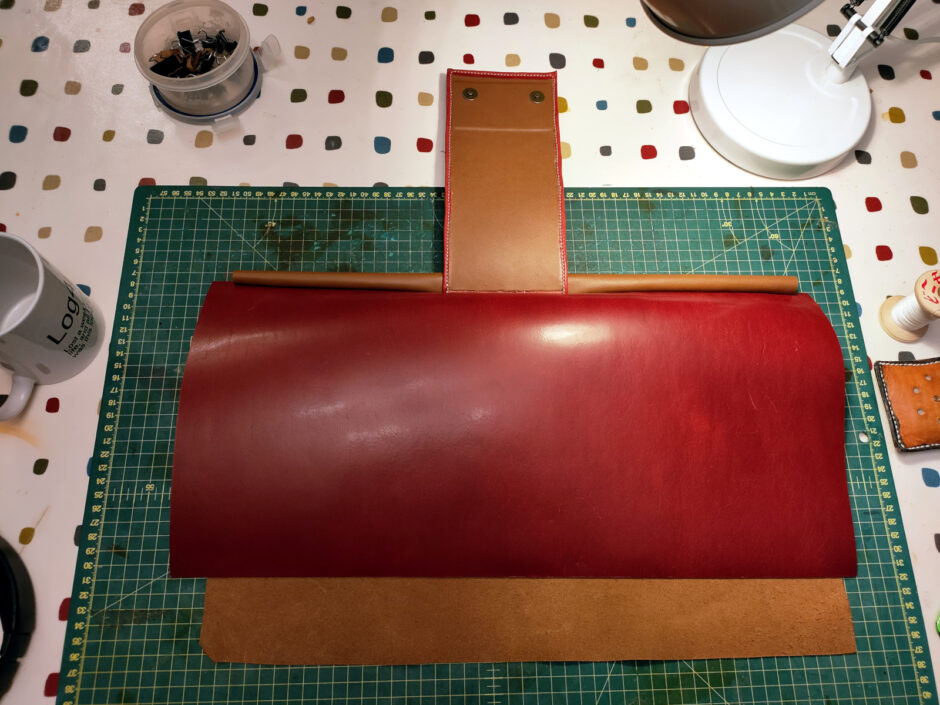
Then that offcut needs lining and some magnetic snap hardware and I rolled the edges to keep it neat (there’s a patch of vegtan for the hardware to grab onto – that lining leather is too thin for any real strength).
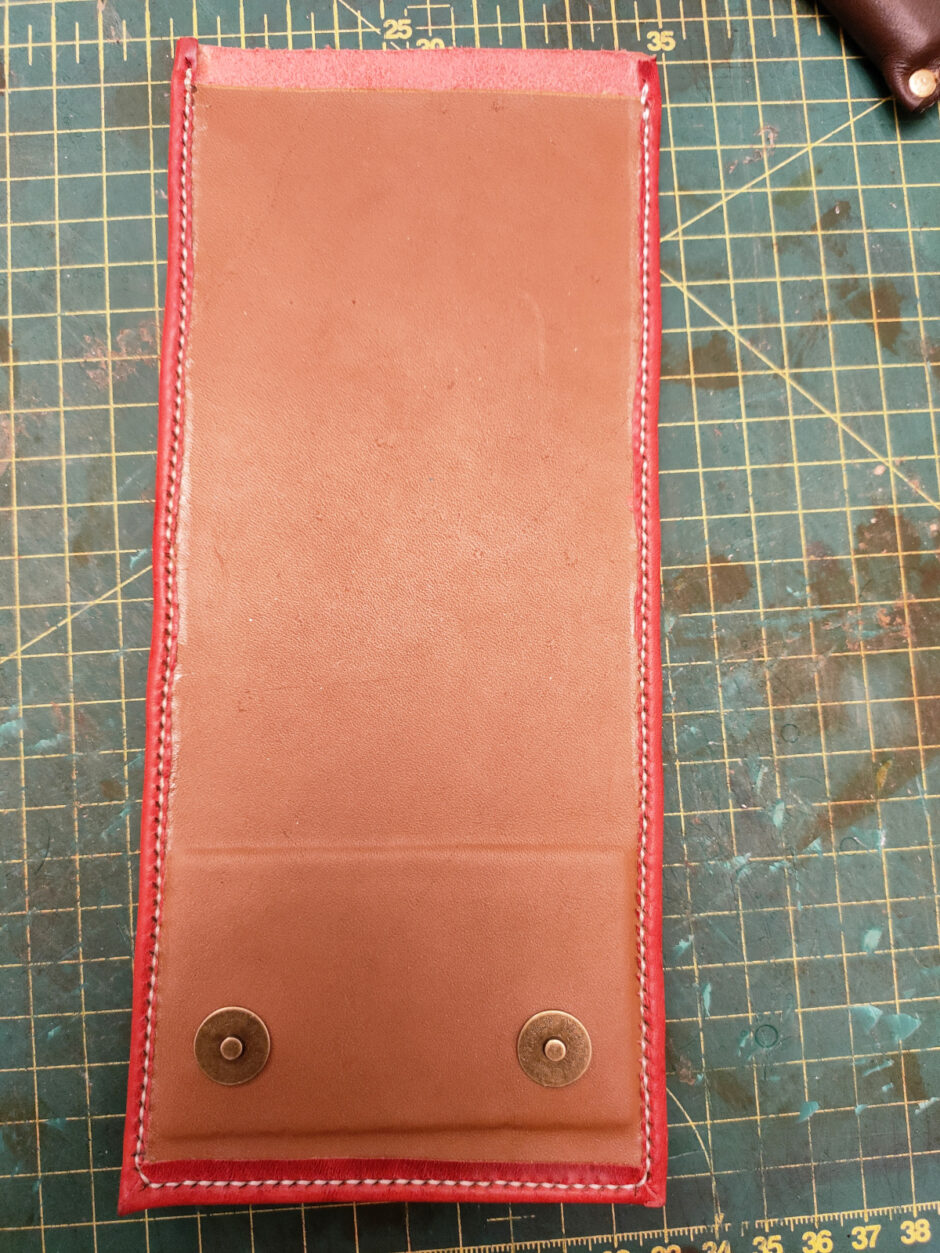
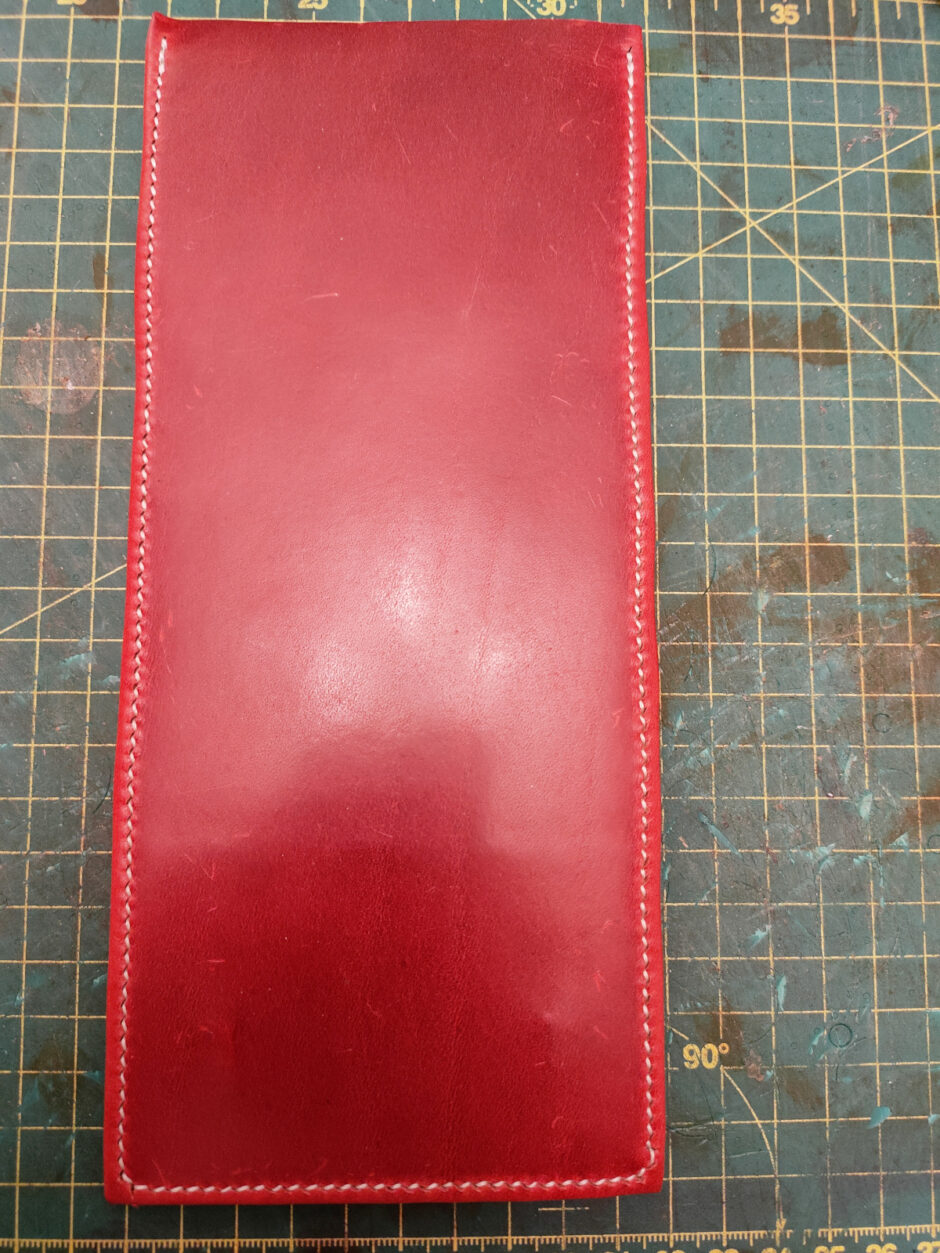
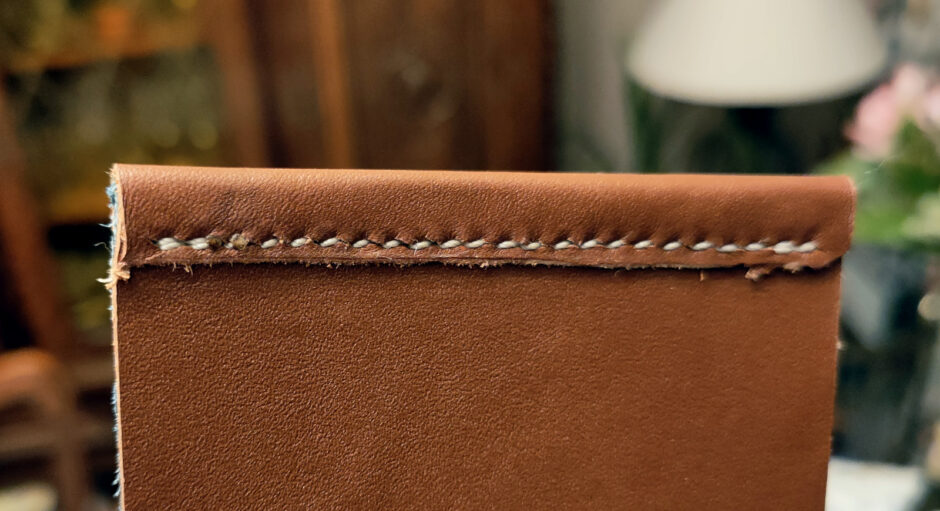
Pretty. And the top edge is skived down and then folded into the french edging as I line the main shell.
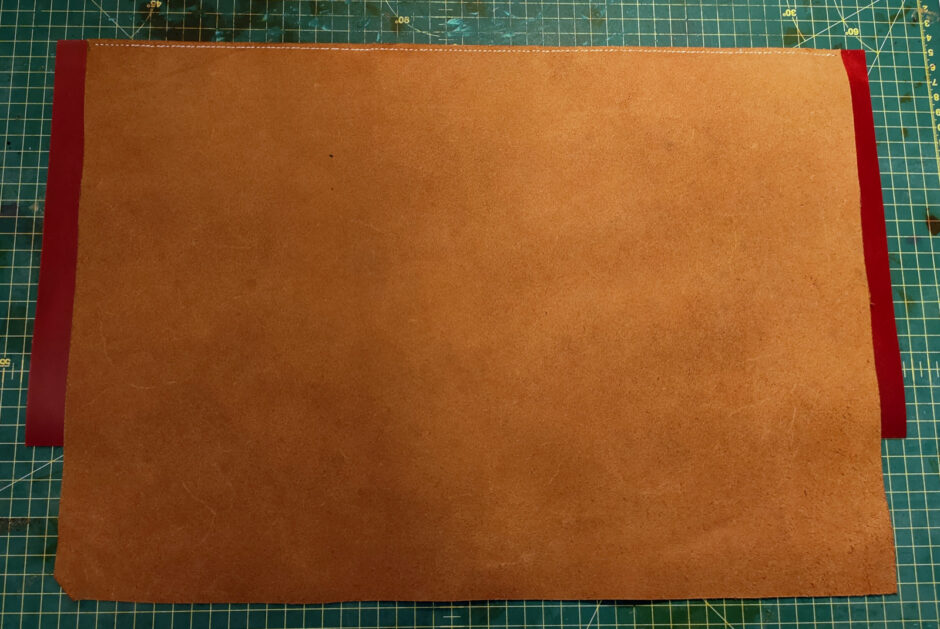
The insides of these bits are getting complex btw, this is what the linings are hiding:
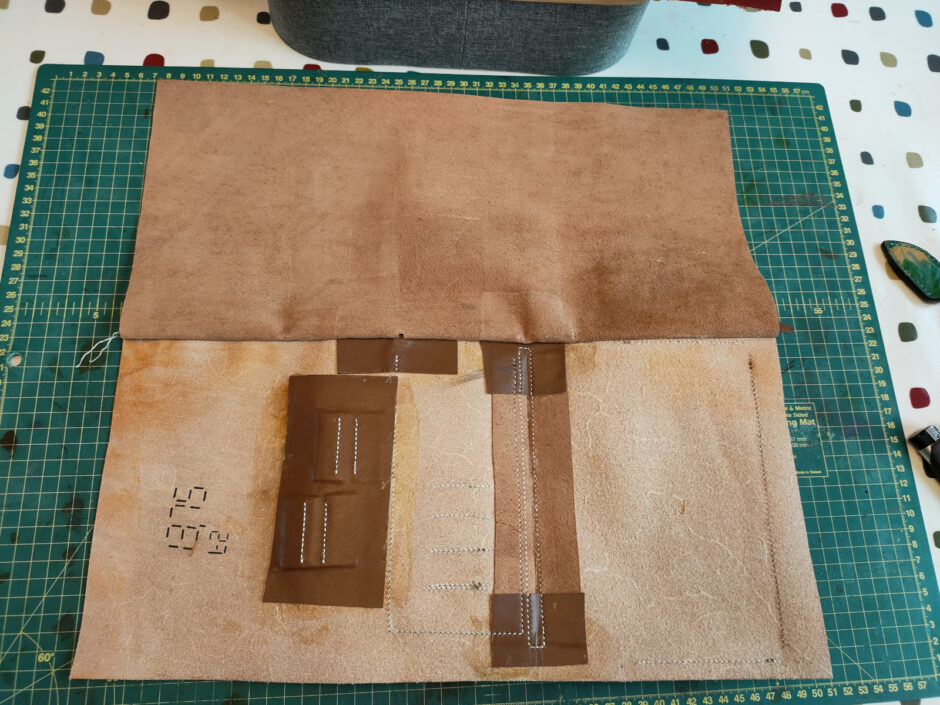
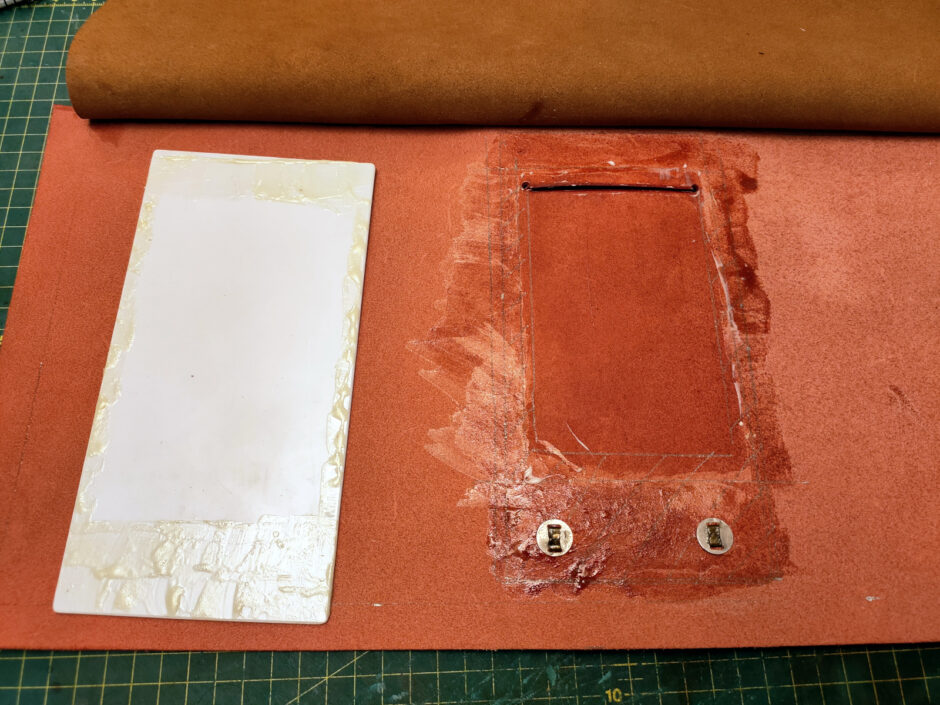
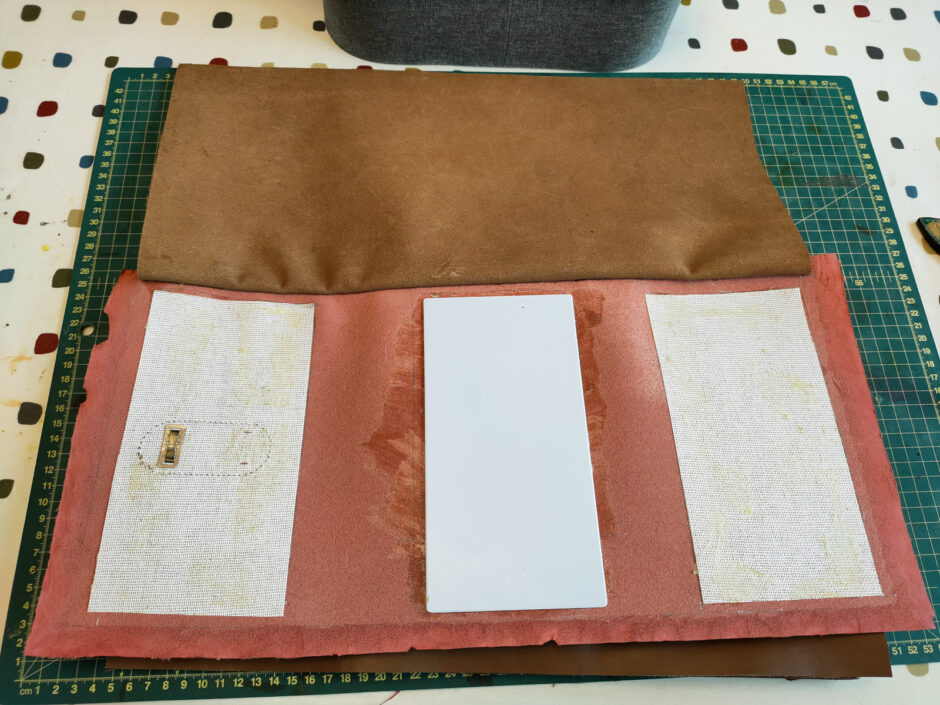
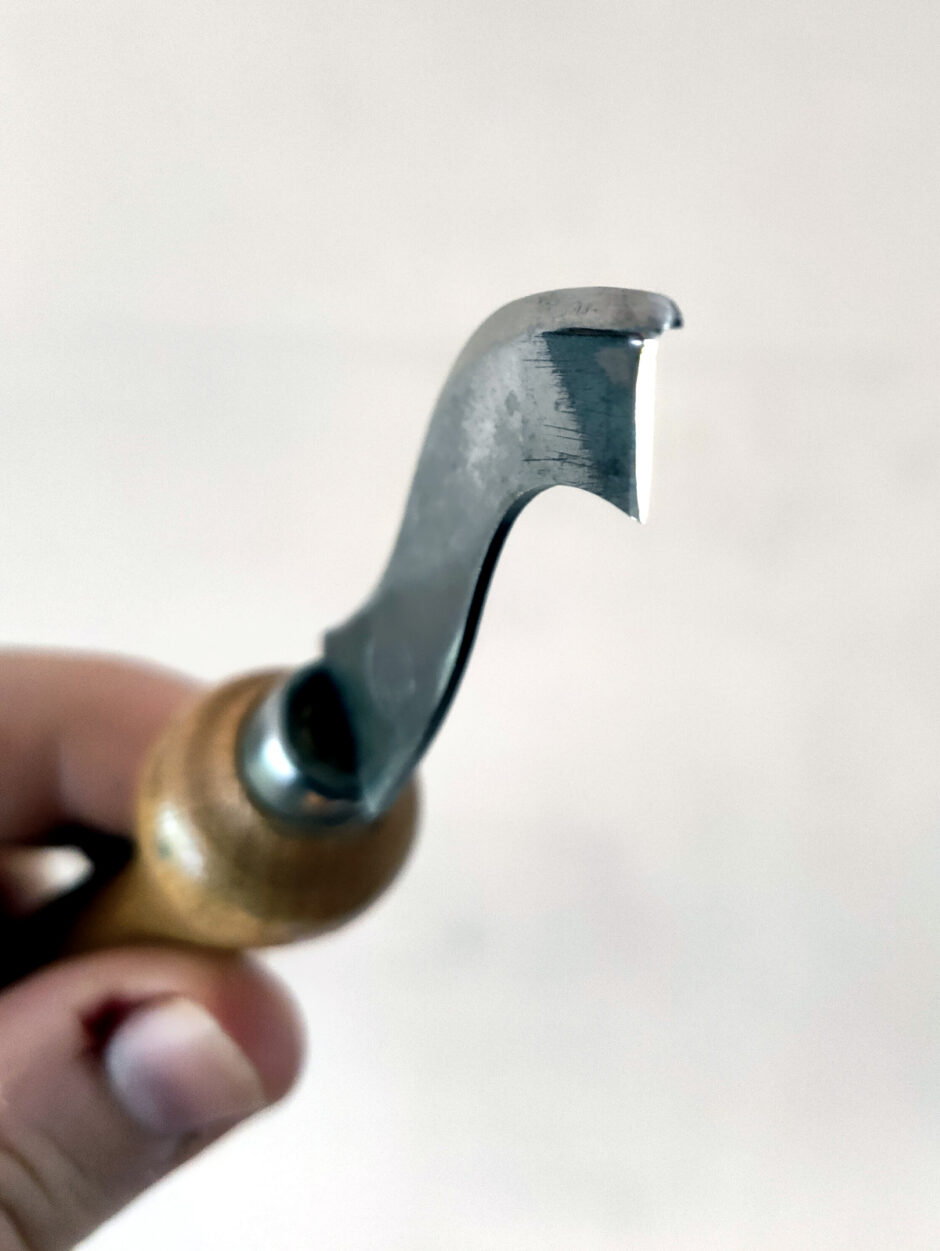
Those are two buckram panels to try to control where the shell will bend and the center panel is 2mm HDPE to give a backing you could write on (it’s not all glued down, there’s an unglued section in the middle that the notebooks will rest against). The skiving around the edges wasn’t perfect but hey, I’m just learning still.
Stitched the second line in the french edging on the shell and added the main closure (and screwed up the placement and made a patch to fix that and drove the chisels through exactly the same holes again because this was after midnight and so I made another patch the next morning….)
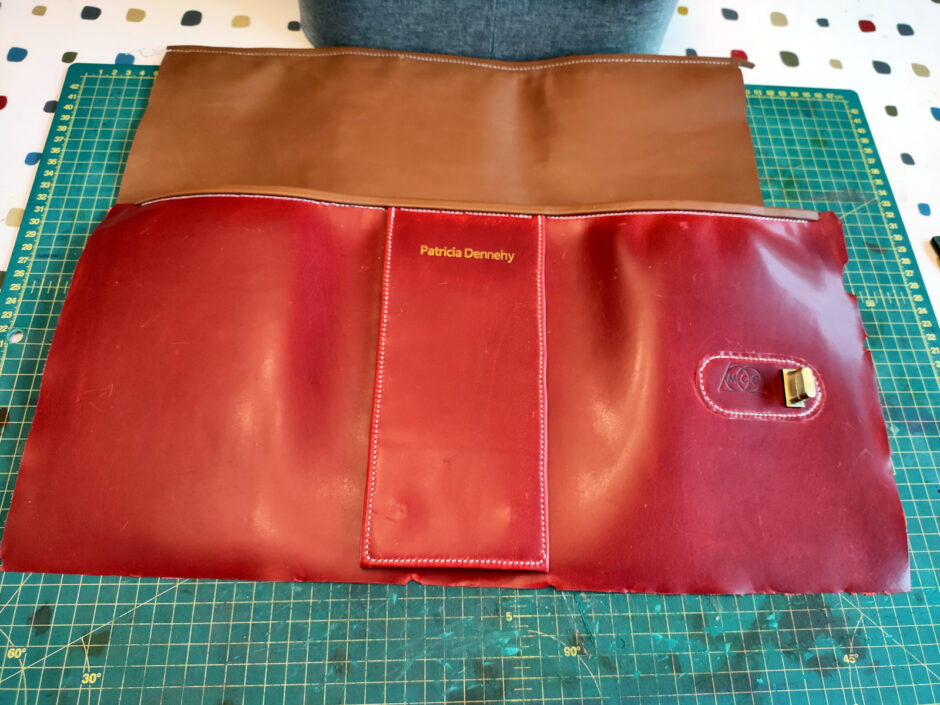
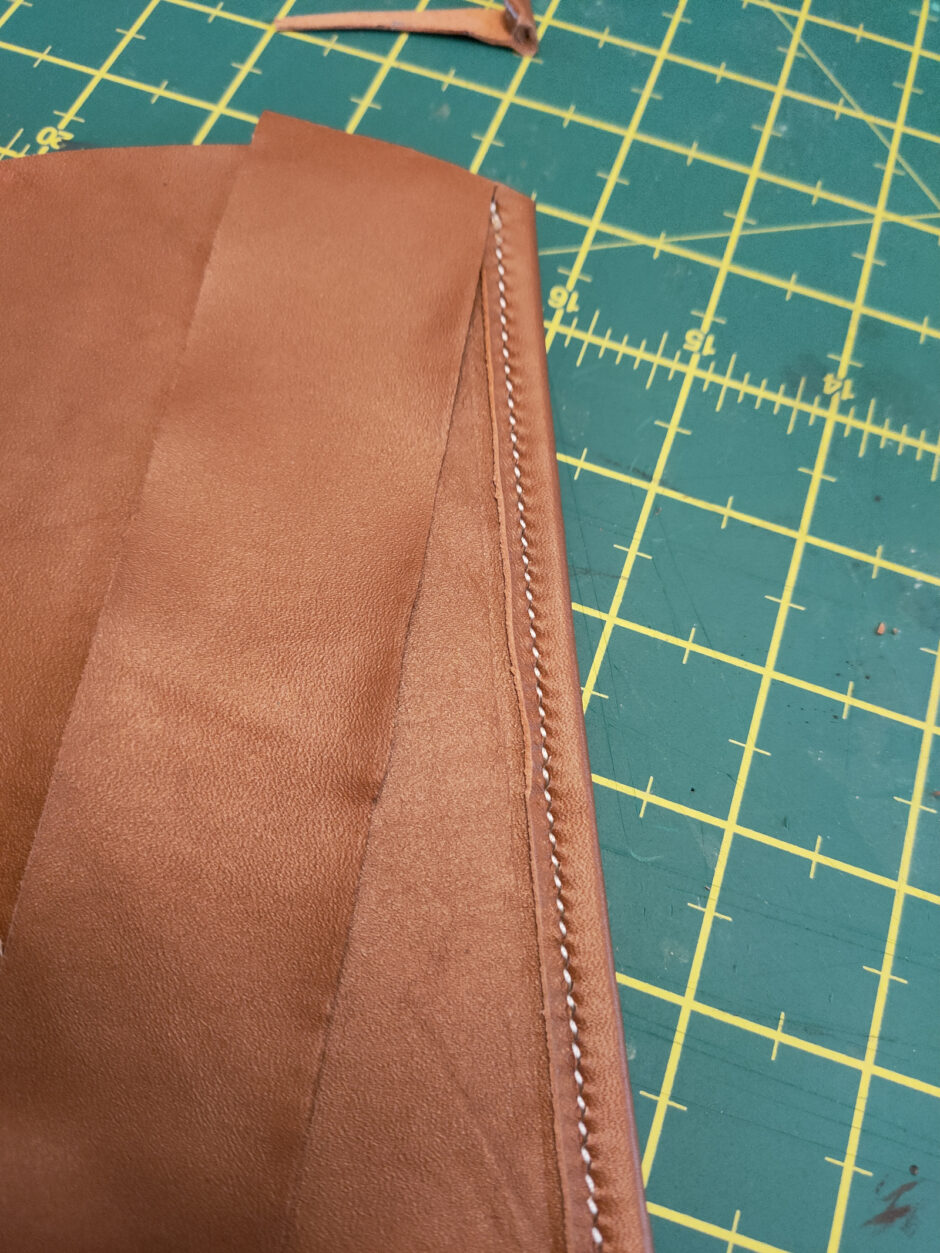
And now it’s time for a large amount of contact cement and gluing the linings in place. There’s probably a name for this where your french edging’s excess is actually your lining, but I don’t know it.
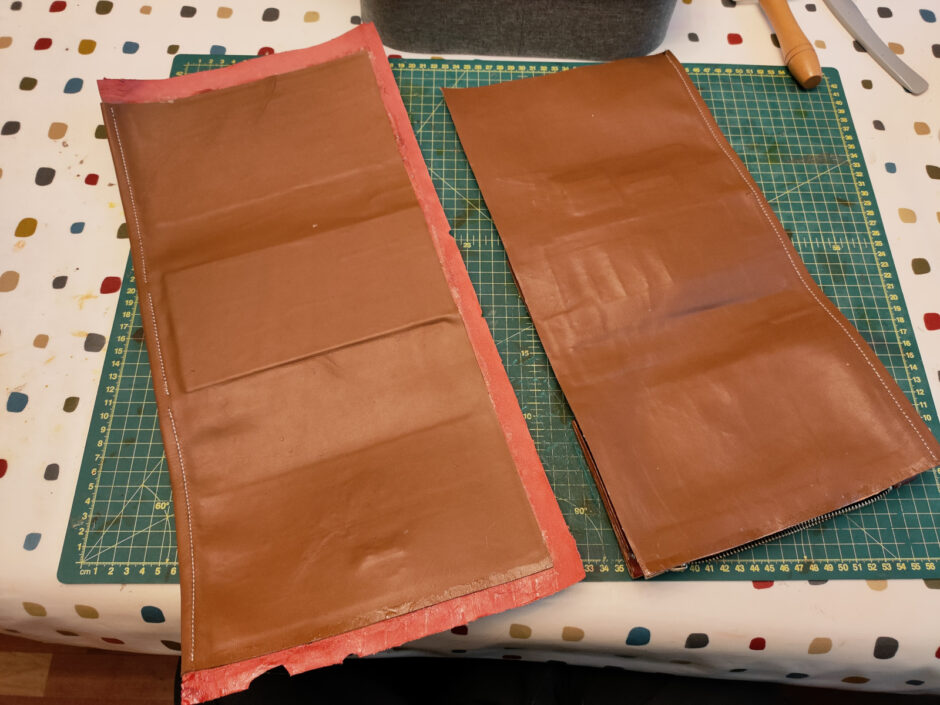
And with that done, time to start putting the two halves together, with a rolled edge to keep the edges as tidy as I could manage.
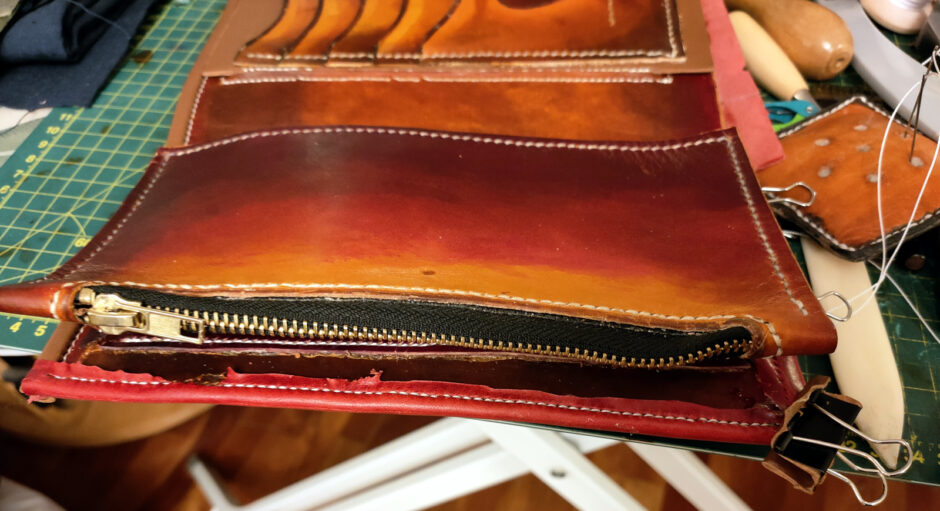
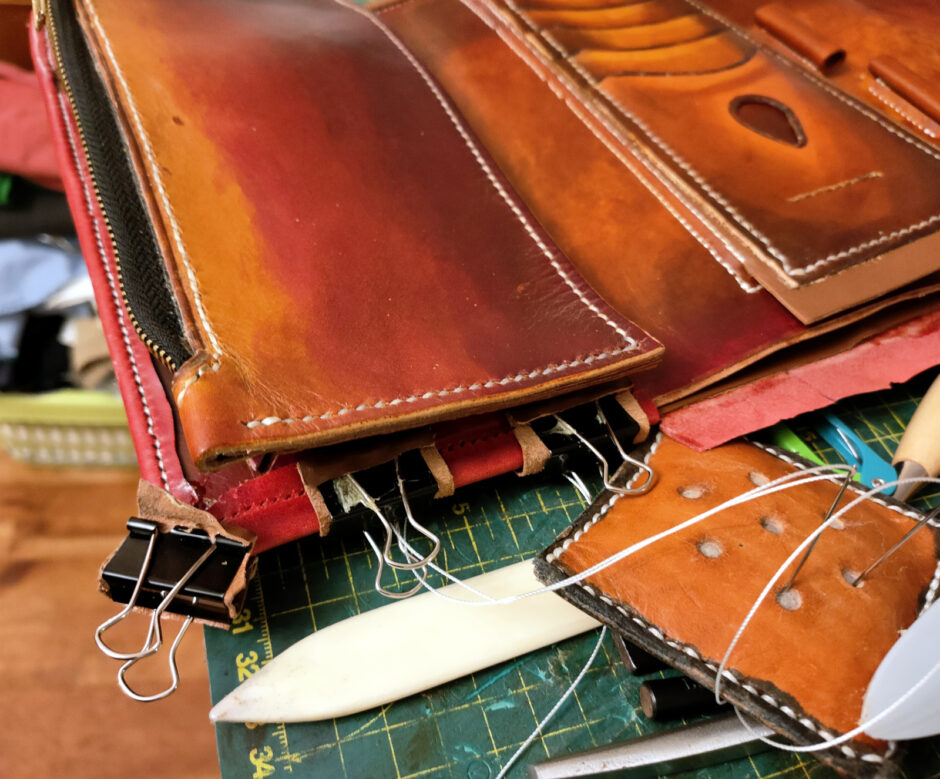
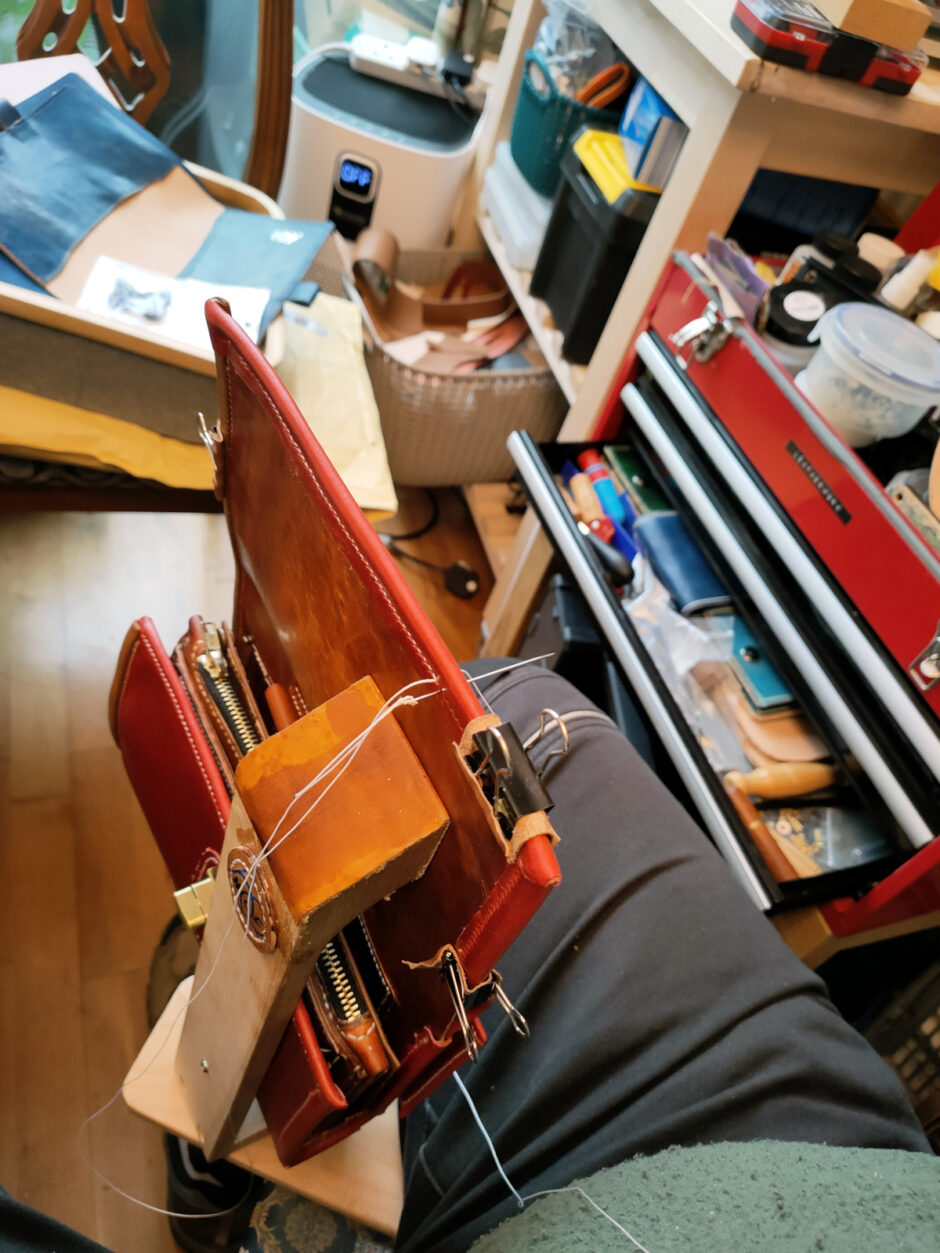
It’s a bit fiddly and you can’t just sew straight across the bottom because the three panels have the two halves sewn together but the gaps between them, where the shell bends, do not get sewn straight across (there’s a gap like at the bottom of bifold wallets at their spines) and they have more material on the outer shell than the inner part because physics. But, got it done.
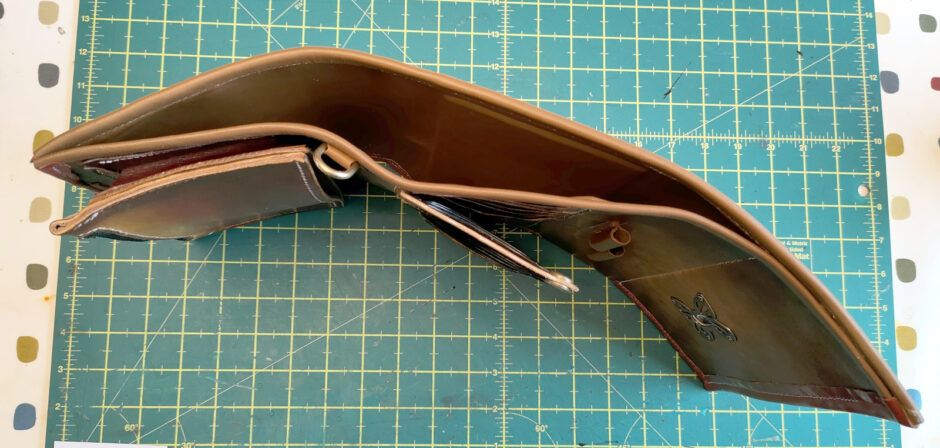
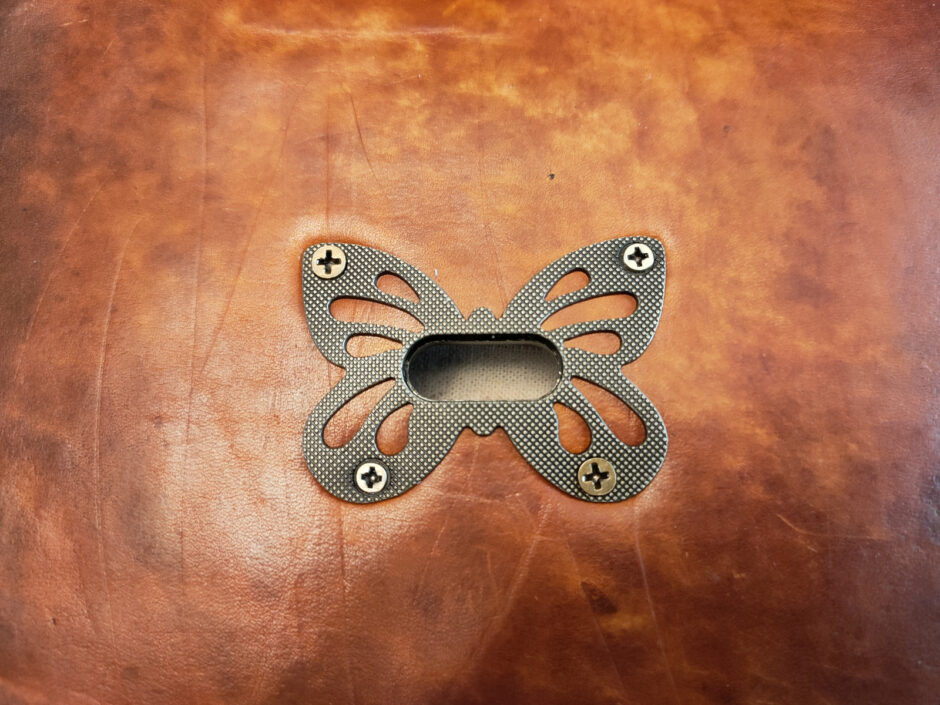
Yes, the purse has a giant billfold. And that was about it – added the D-ring, added the closure hardware, which wasn’t complex, just lots of being nervous about lining up cutters and using the arbour press to punch through the shell and linings and screwing the closure in place (and the woodwork showed through, I clocked the screws) and that was about it.
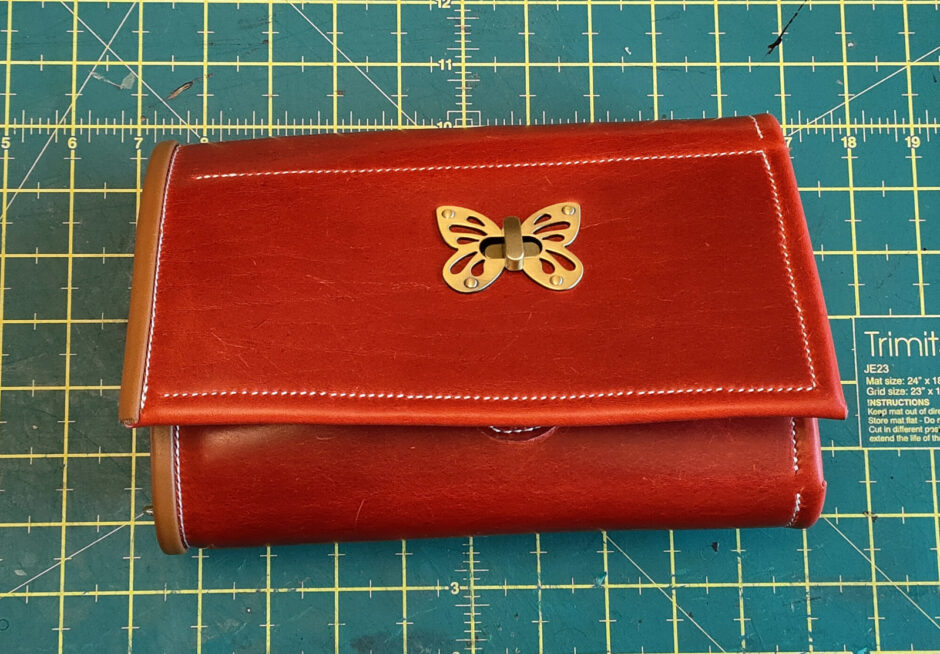
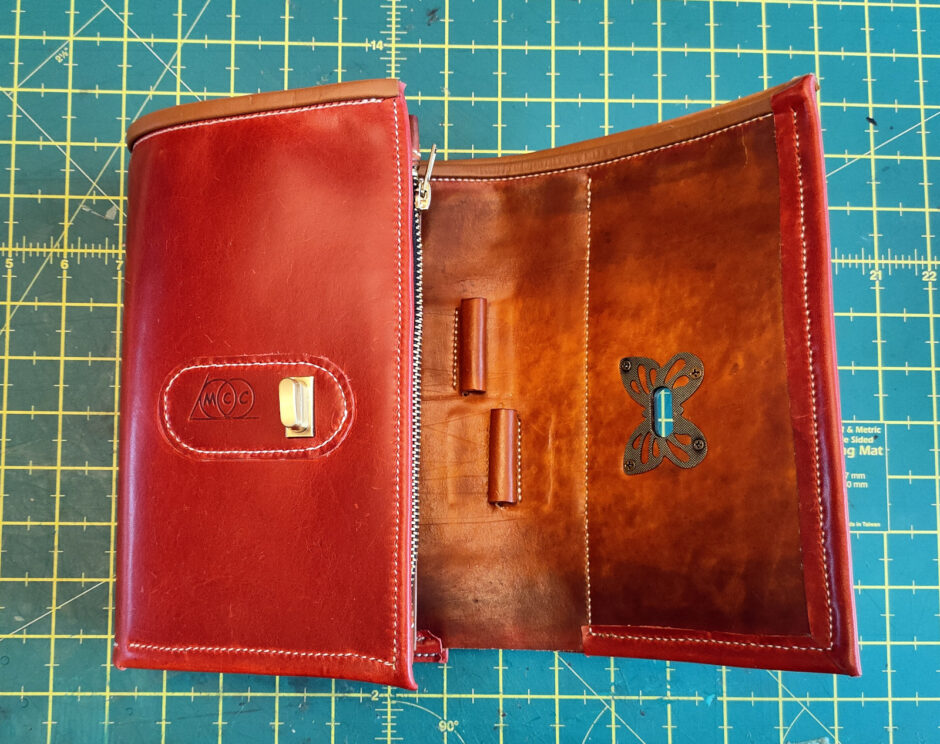
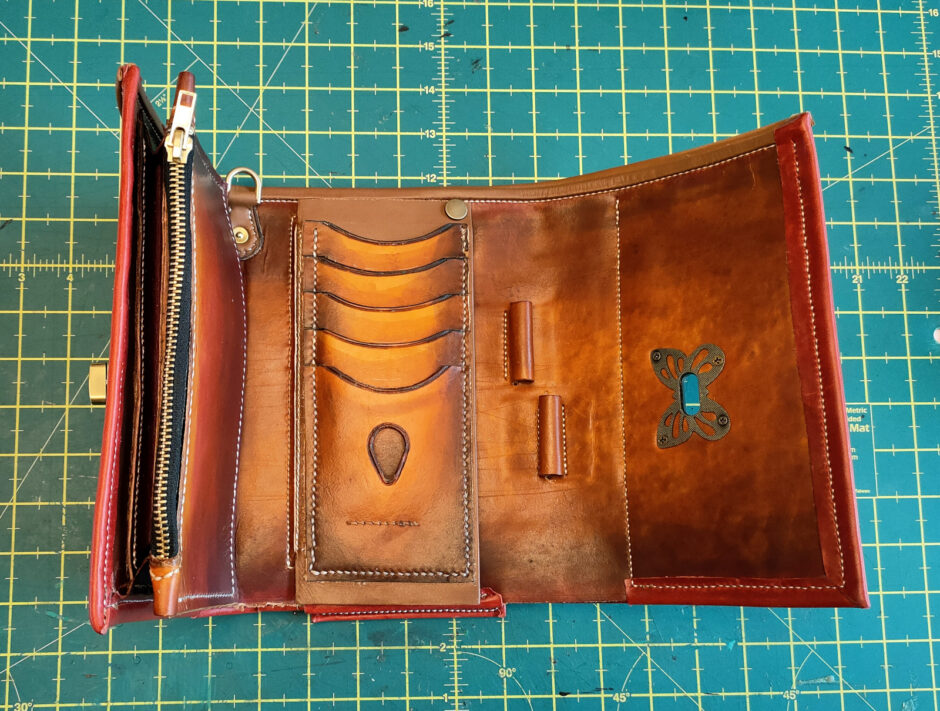
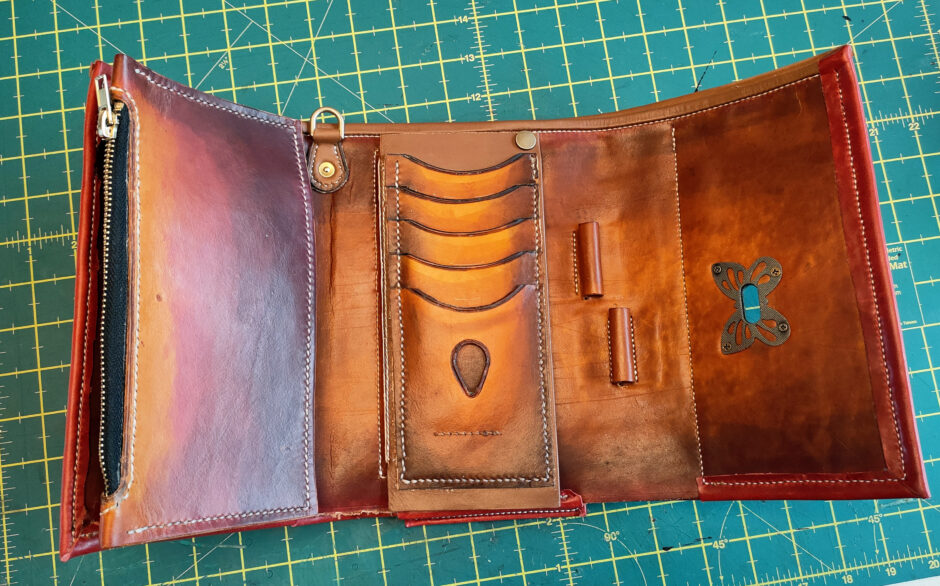
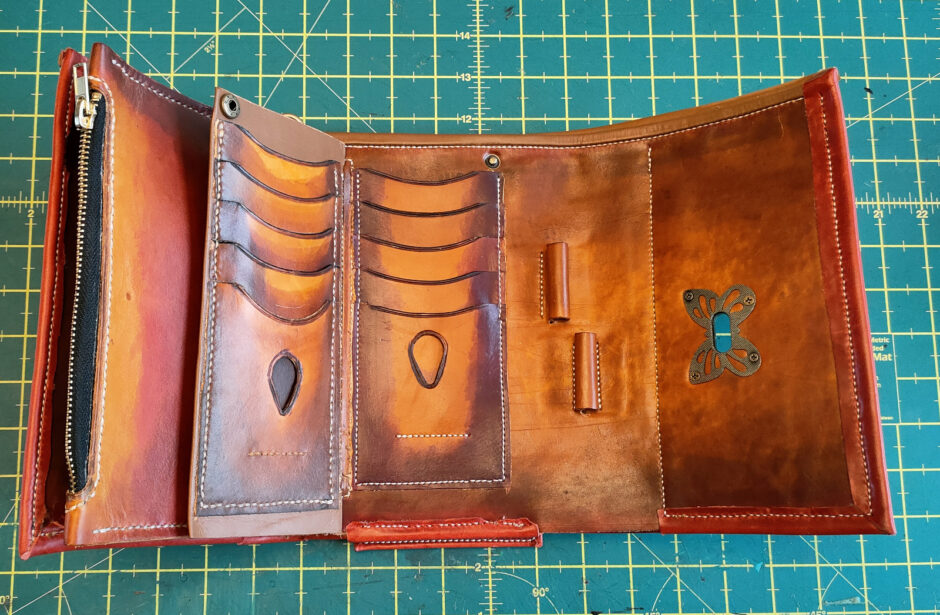
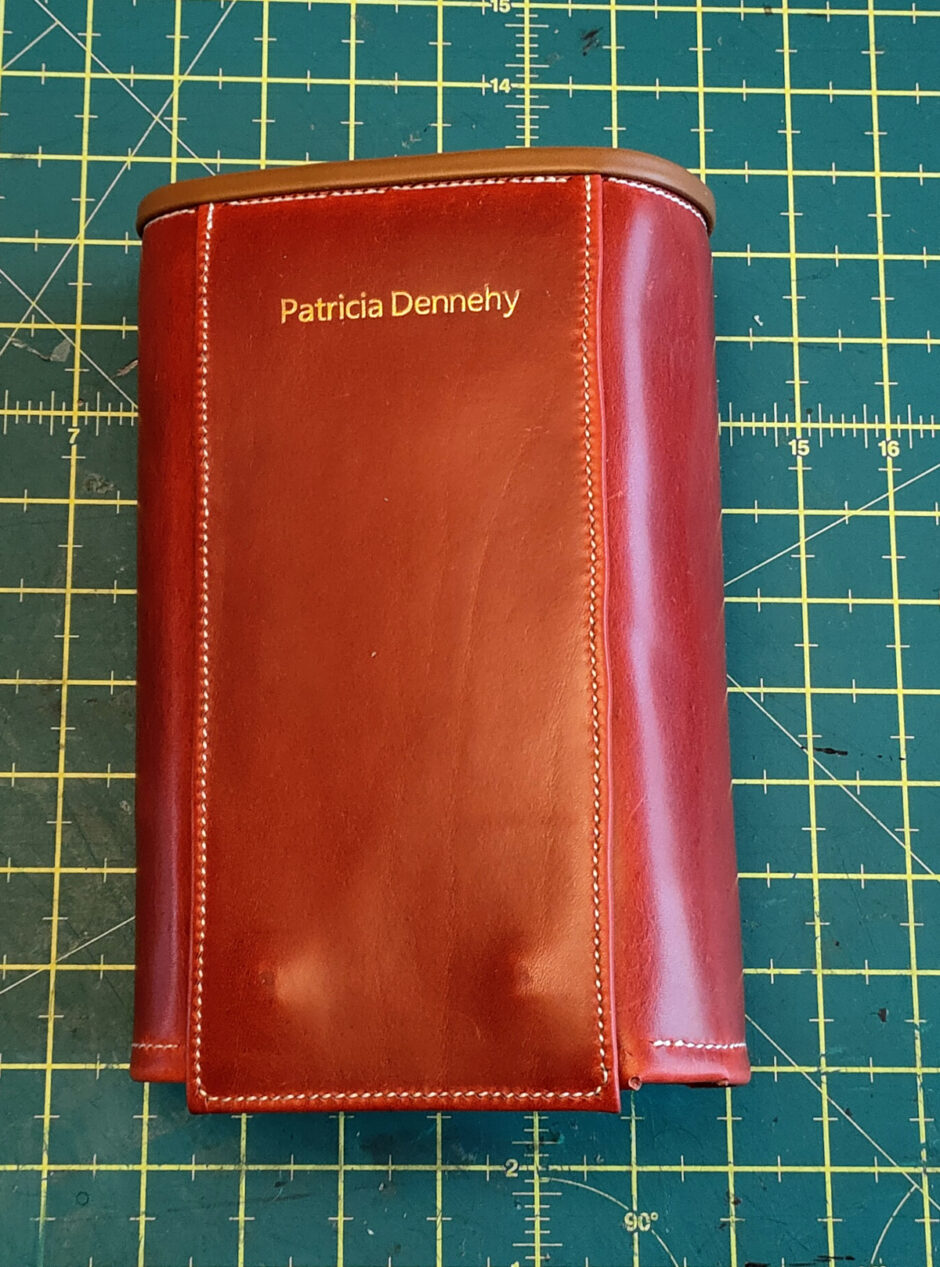
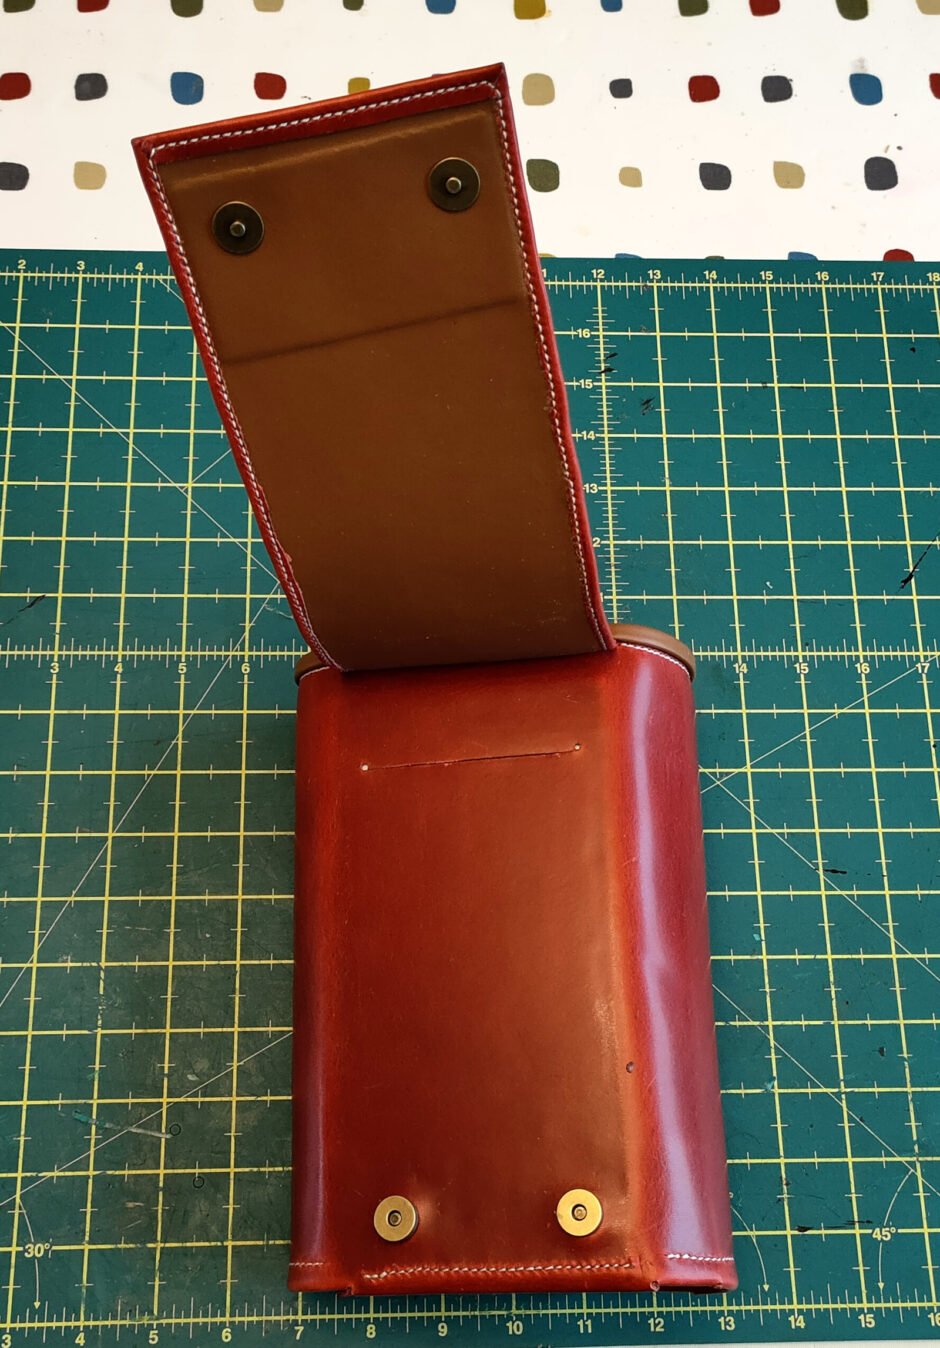
It’s a bit odd for a purse. Has a large billfold, loads of space for cards, has a cover and slot on the back for an A7 notebook for shopping lists (and a 2mm thick stiffener underneath so you can write on the notebook while walking round the shop ticking items off), a D-ring on the outside so you can use those special tokens for trolleys or the mini-loyalty-card things, you can access the zippered pouch without fully unfolding the purse and there are pencil loops and a pocket to keep your mobile phone in. It’s like a weird purse/wallet hybrid of sorts and means Mom doesn’t need to carry a handbag most of the time now.
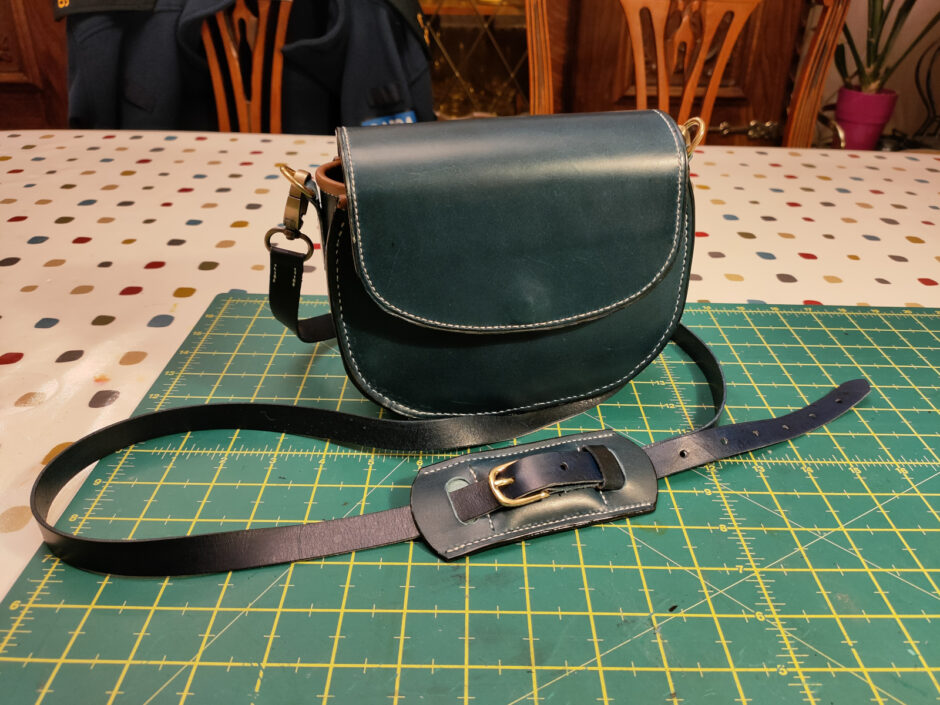
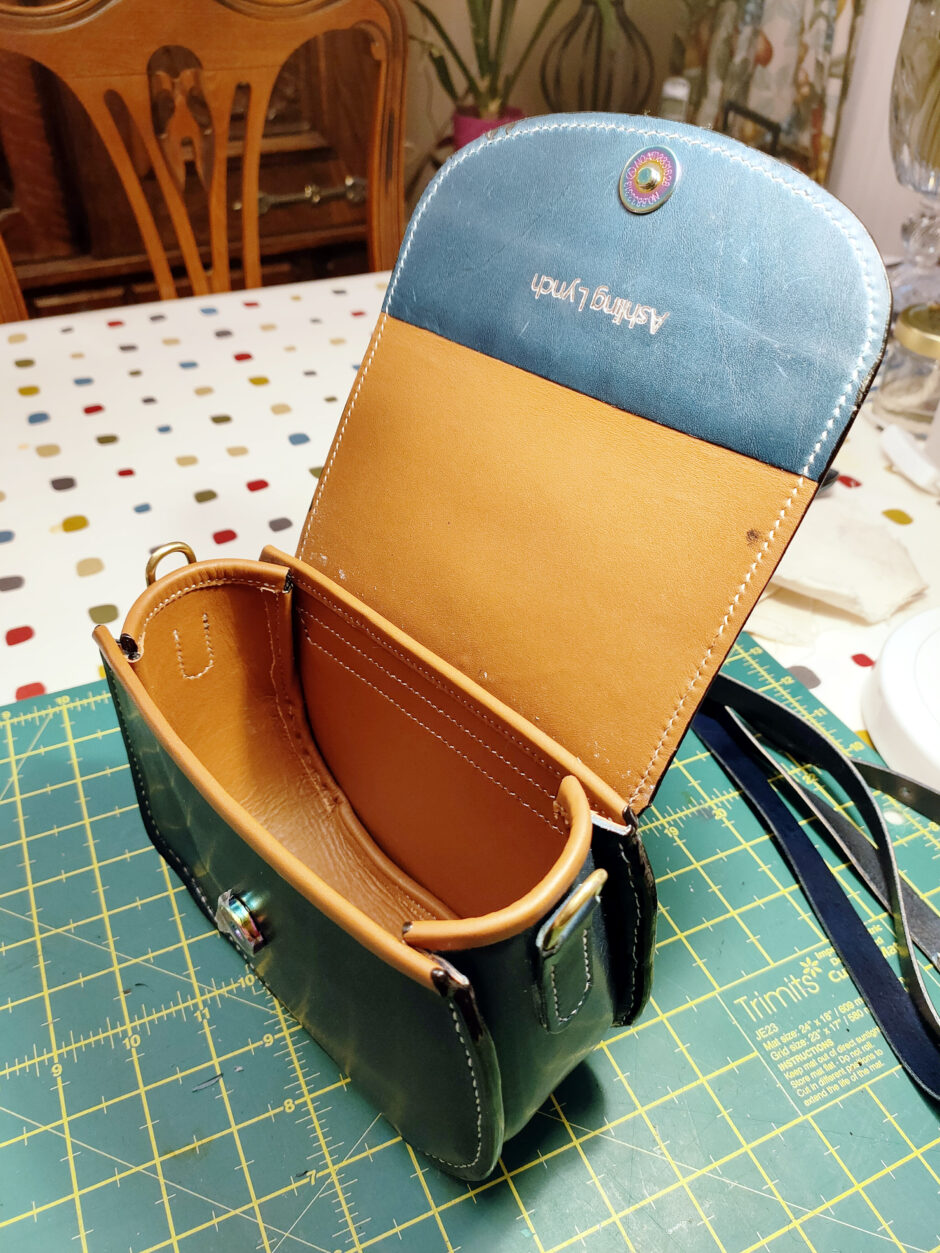
Here’s a few vanity shots:
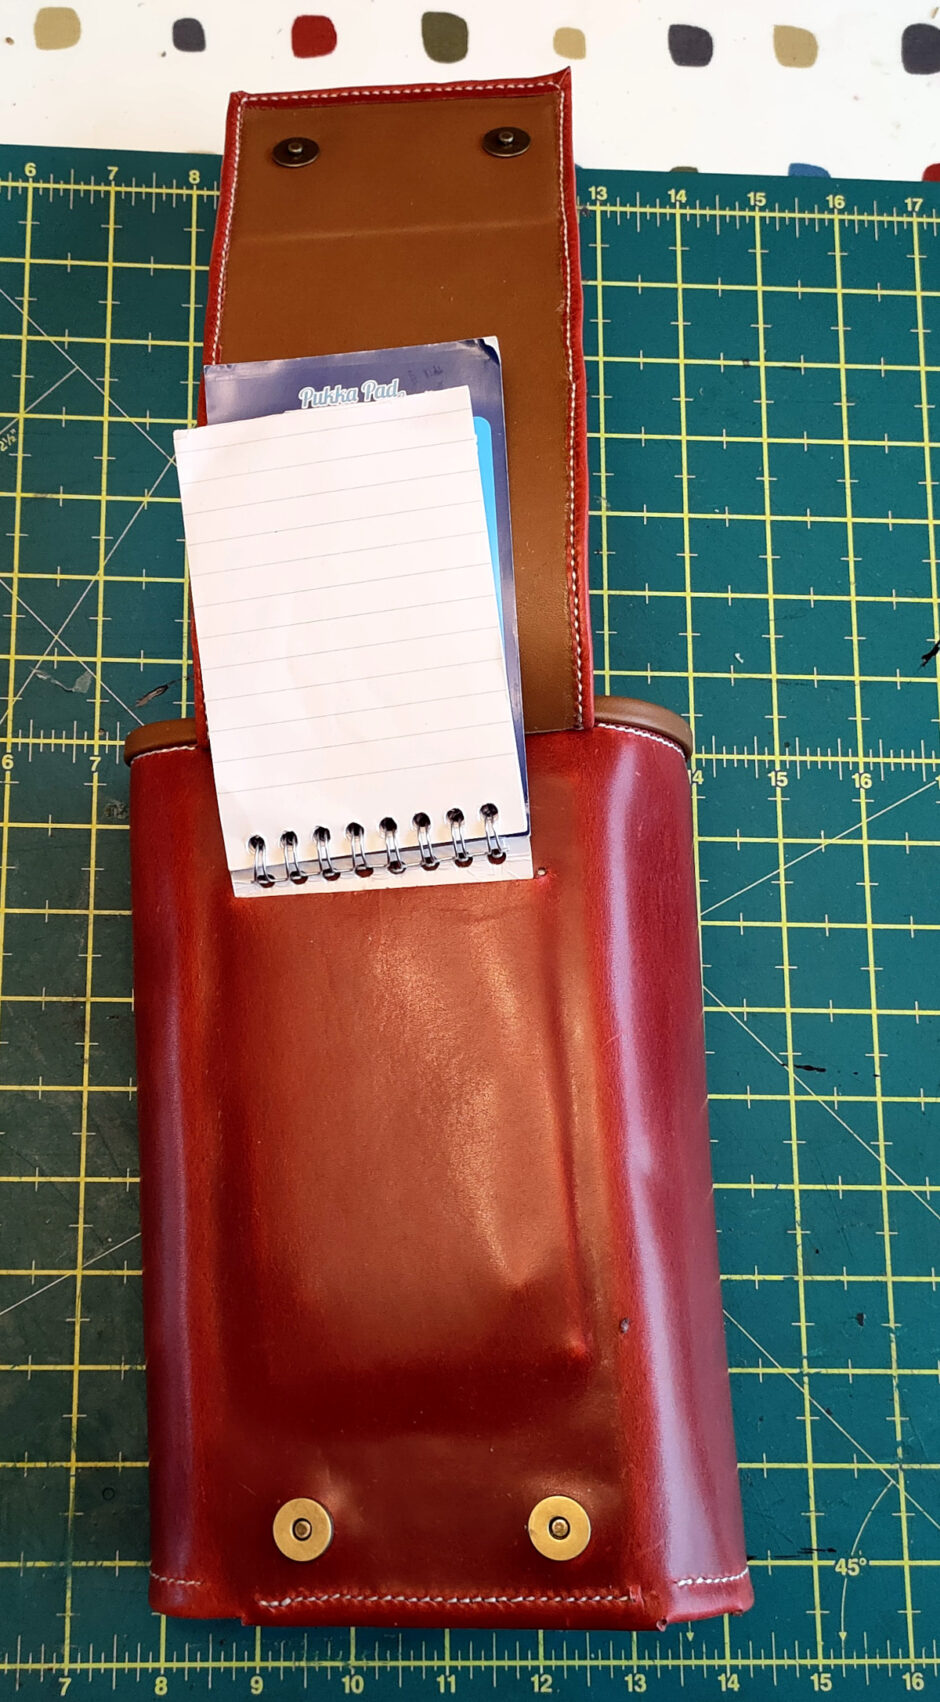
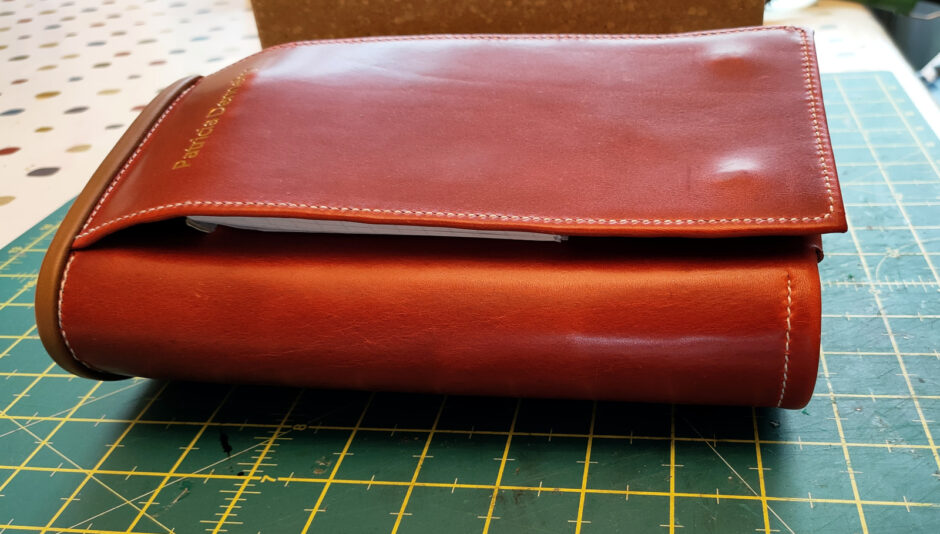
And yes, it held everything it had to and the client is happy with the end product 😀
