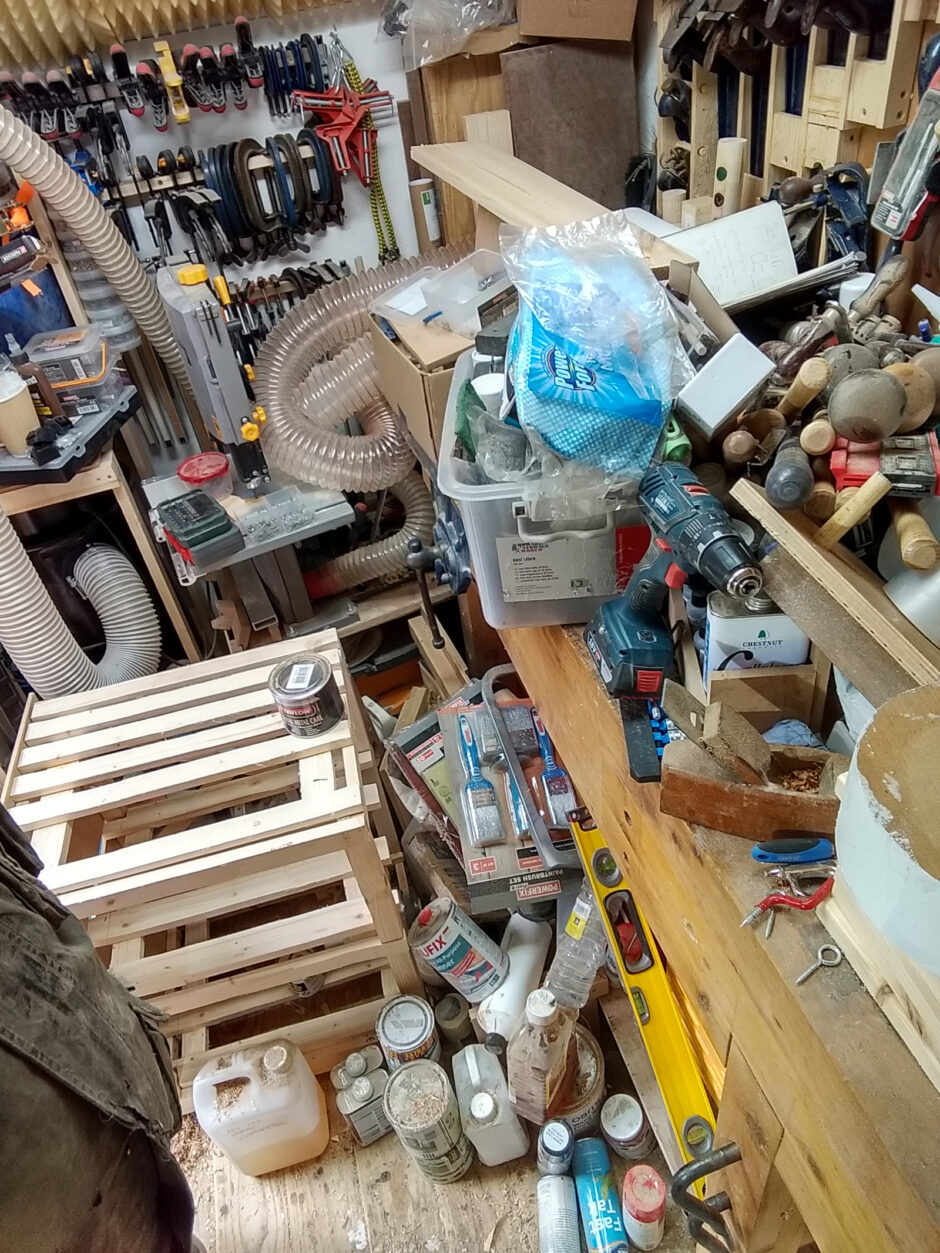
It happens to us all, or so I’m telling myself – you start one project, it gets interrupted by another two which are a little more urgent, you’re playing with something on the side on the lathe because that doesn’t interfere with the bench, and suddenly you’re ankle-deep in shavings and can’t see the bench because it’s covered by six boxes and you can’t reach the tools anymore.

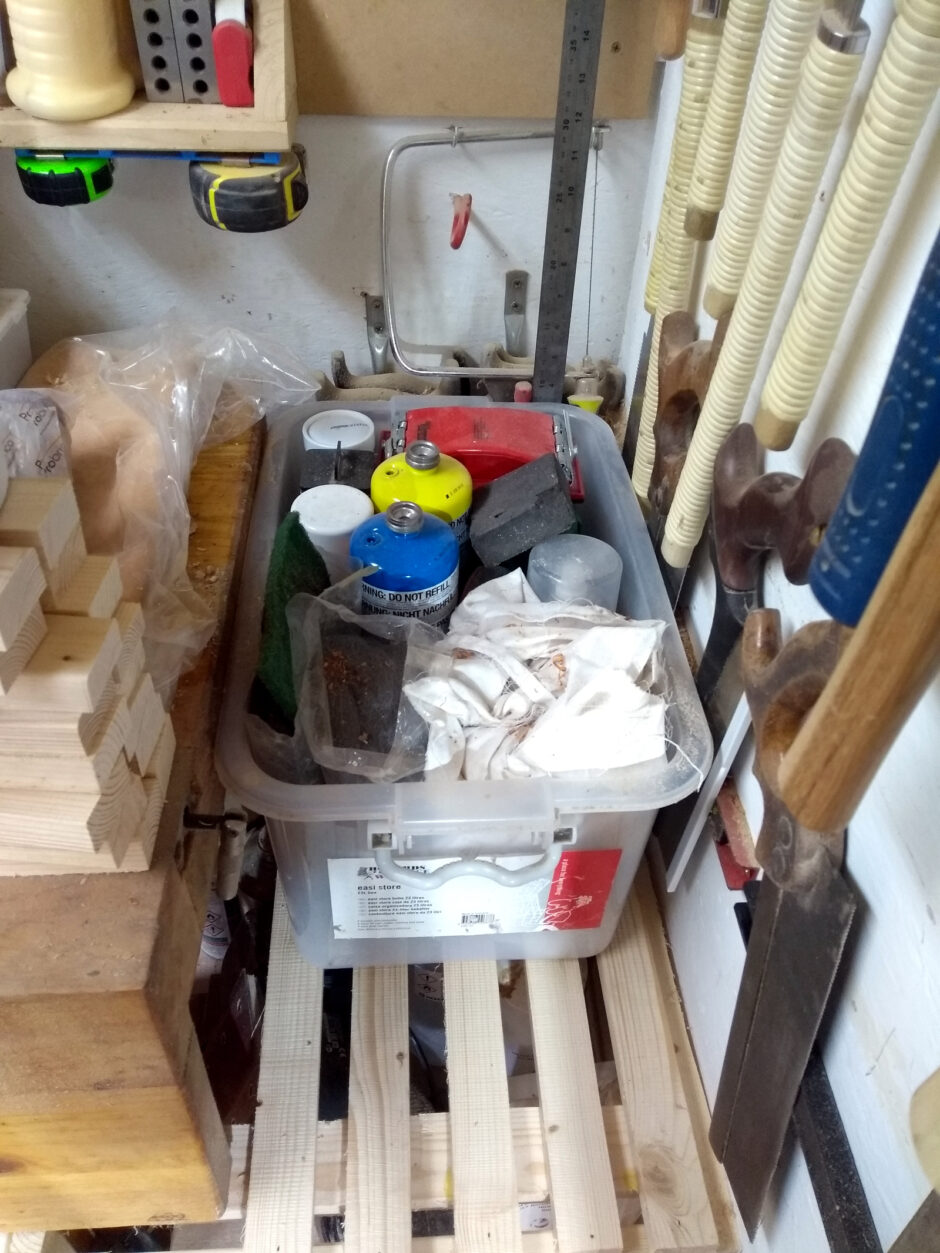
Thought I was exaggerating, didn’t you? So. Where to start. Well, hoovering up and putting things like the grinder back on the wall was the obvious bit, but I was still left with a literal shed-load of clutter on the bench. I tried organising stuff into boxes so that projects-in-motion like the new lathe tooling and such were at least corralled, but it became obvious that, well, this just isn’t very good as workspaces go. Take the tools under the bench for example. They’re in those plastic boxes to the far left (the cardboard box in front of them is a burn box for offcuts and the like). To get at those tools, you have to pull out the relevant box (and they’re plastic and a few years old and cracking), and it’s never the first box no matter how you stack them, and they’re heavy so you have to get right down on the floor for leverage and once you have the tool you need, the boxes all have to go back so that you can then use that tool and when done, you have to put it all back into the boxes again and it’s been a pain for a long long time now.
So, I started thinking drawers. I mean, shaker workbenches are basically a set of drawers with a worktop on them, so why not. Make a bunch of plywood boxes, put them on drawer runners because fitting six drawers will take a while, and just fit them into that space and maybe move the thicknesser over to the right so we have a single contiguous space to fit drawers into… and here’s the rub. Plywood’s not cheap (and getting to a timber yard at the time was akin to buying drugs). Drawer runners for this sort of weight (because those boxes are all handplanes and rasps and basically lots of solid metal) are not cheap. And all this would take time. Which I mean, I don’t have a boss here, this is a hobby, but feck it, there are things I wanted to do. And then I started looking at the background in one of John McGrath‘s youtube videos…
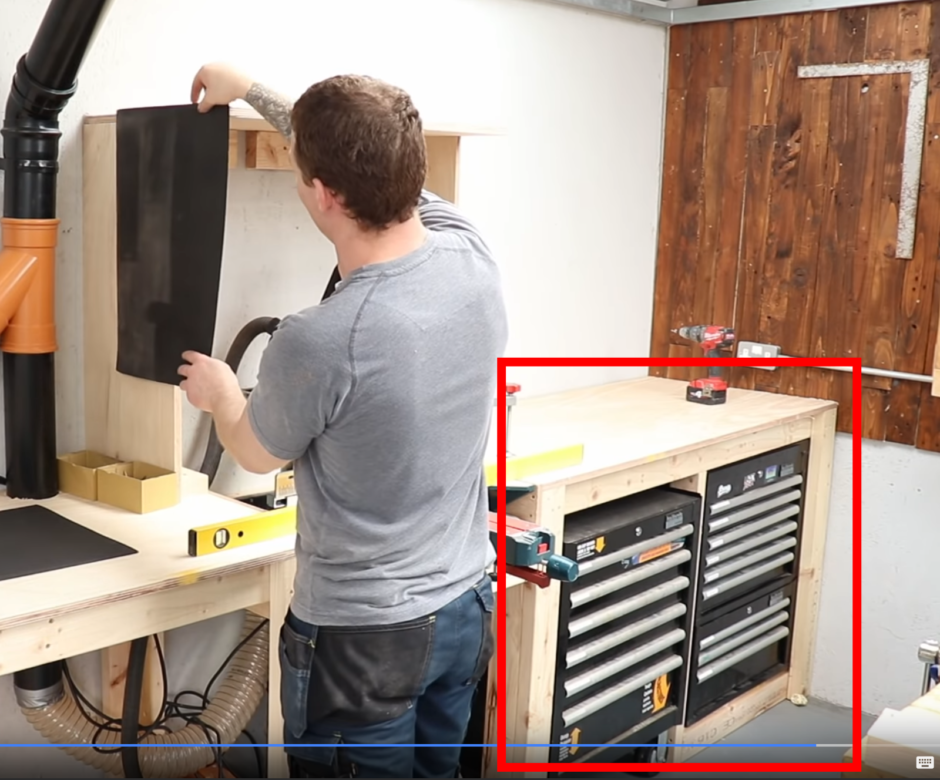
Hm. Ready-made drawers you say. Hmmmmmm. ‘Course, it turns out that working in a small shed complicates things. In a larger shed, you’d buy those exact ones from halfords and they’d be reasonably cheap (by which I mean you couldn’t build them from ply and drawer slides for the same money). But when you have a very specific space that they can go in and a large amount of stuff to get into that space, your choices narrow a bit and almost inevitably not to the cheapest option. Even so, the one I finally found after a month of searching worked out cheaper than building my own (just) and it introduced me to a new source for bits’n’bobs that I’d never heard of before called TED.

How in the hell I never heard of anyone with a catalog like this I don’t know, especially when they’re a 15 minute drive from my house, but anyway, a quick phone call and four days later and they had a large box for me…
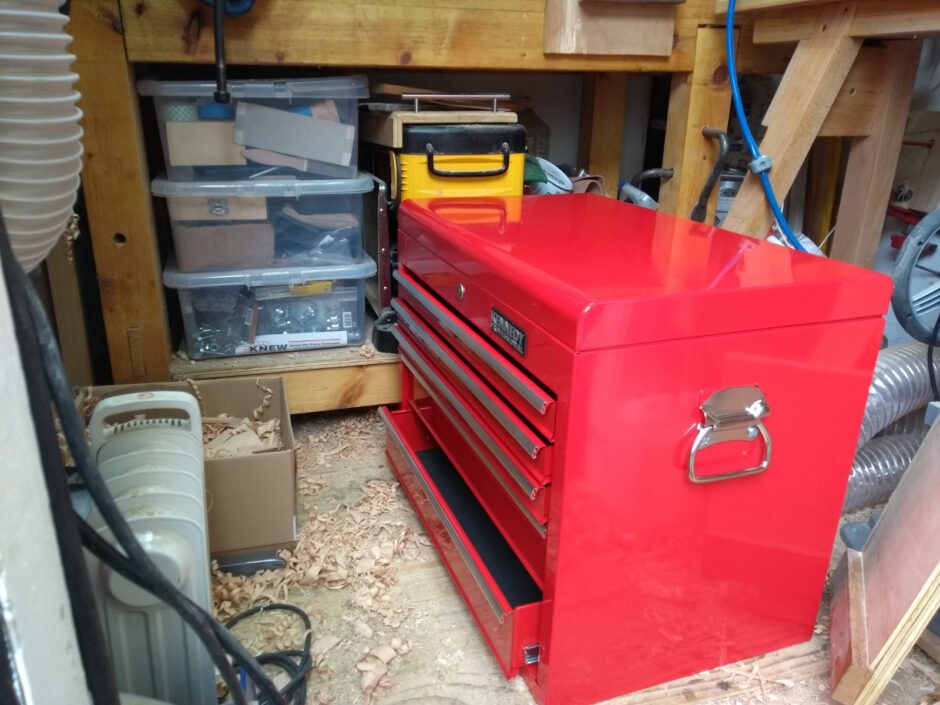
Ever have the worrying sense that you’ve measured wrong and the thing you’ve just bought for a not insubstantial amount of money is a centimeter too wide?
Phew.
Less than a centimeter to spare (actually less than 5mm…)
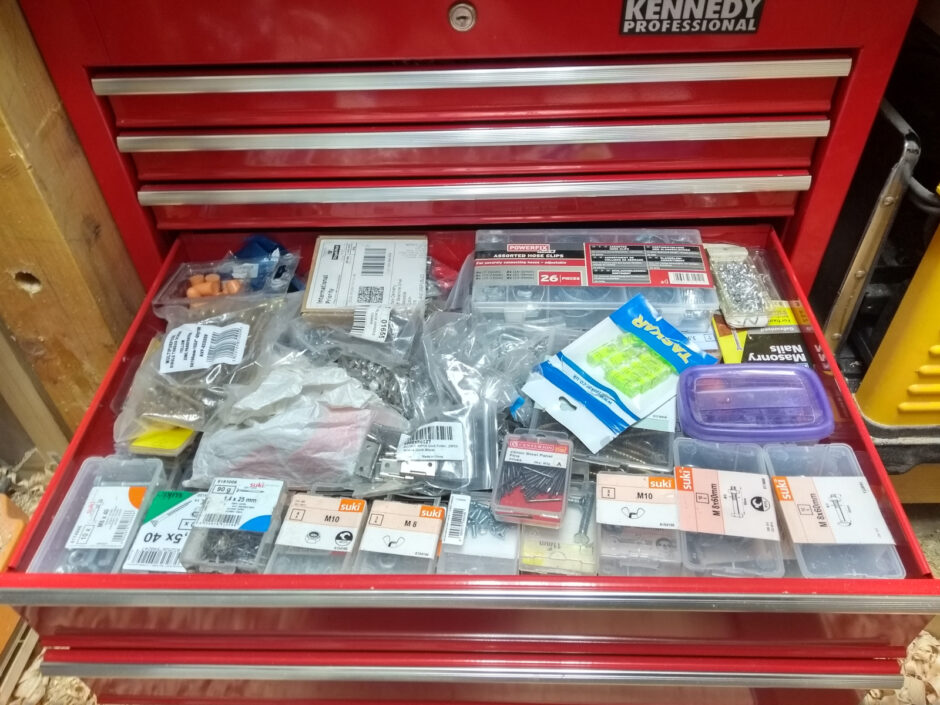
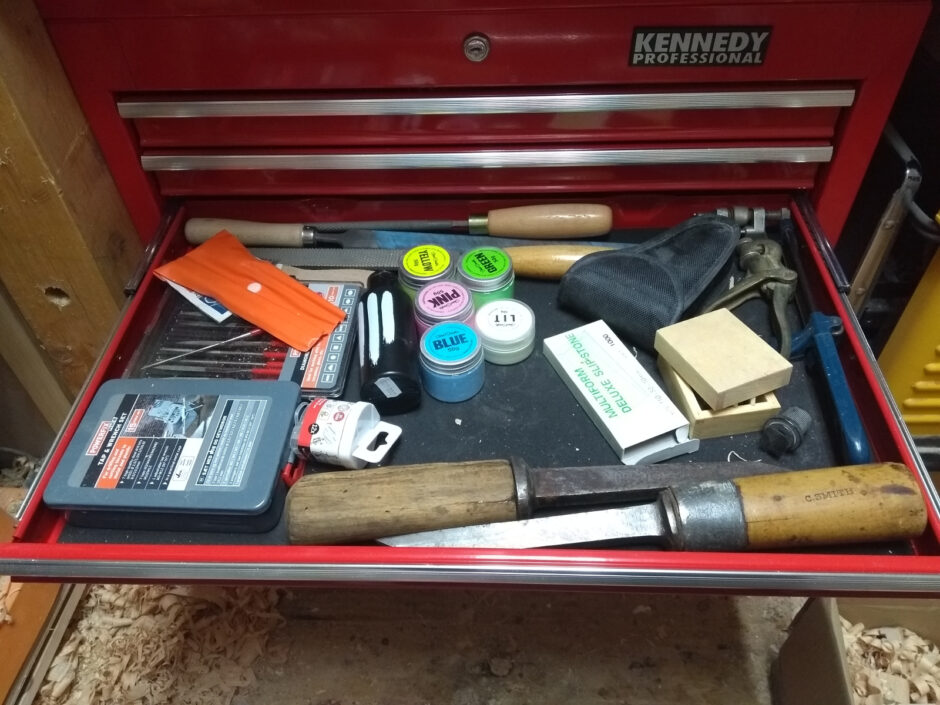
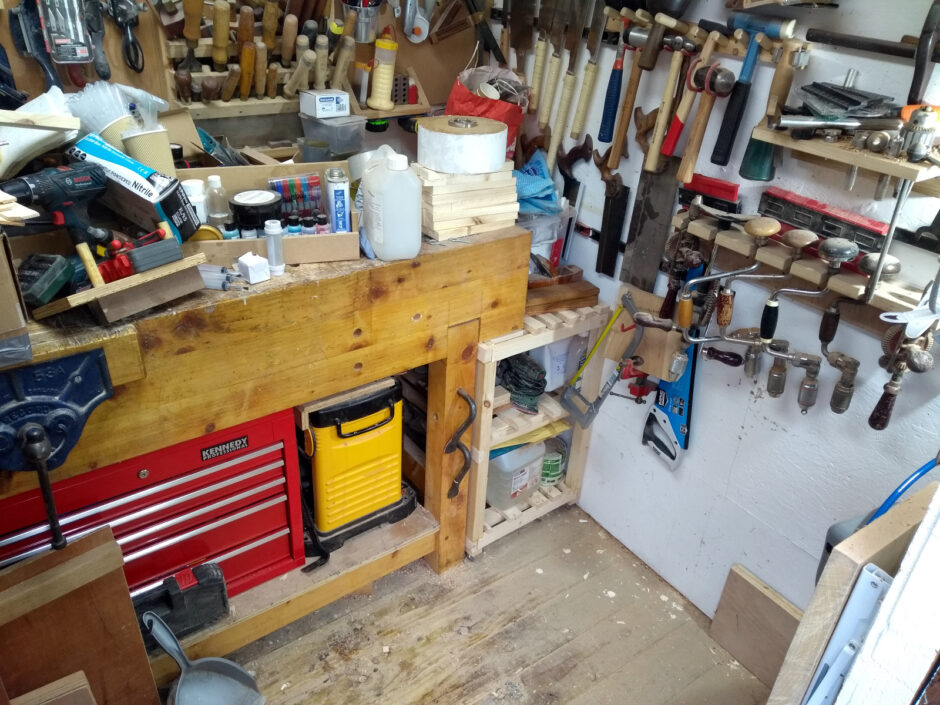
But, now all my tools are *available to use*. It’s a monumental luxury…
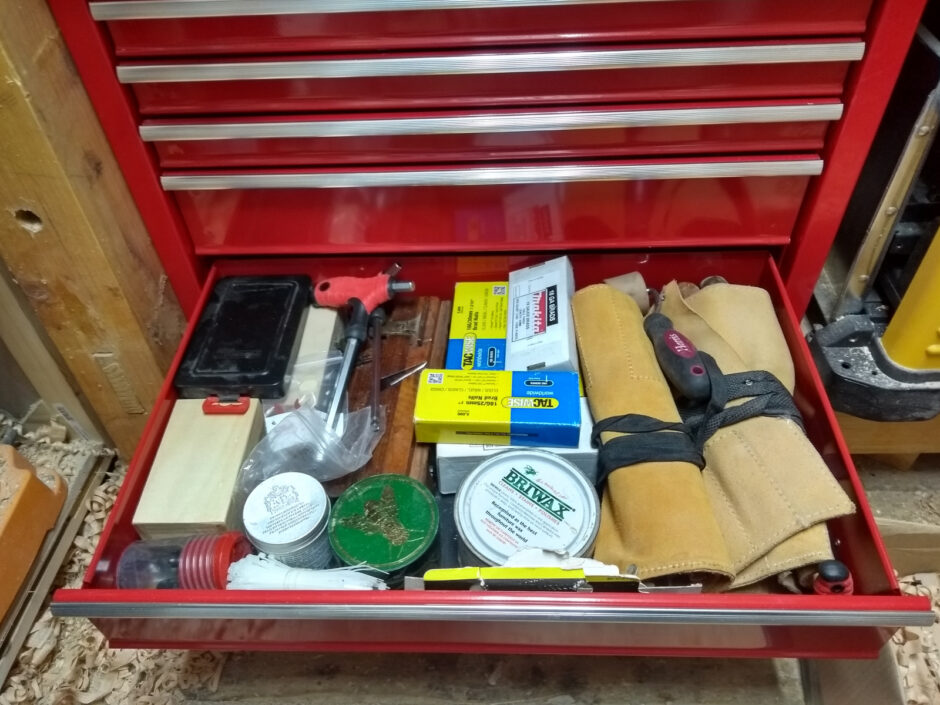
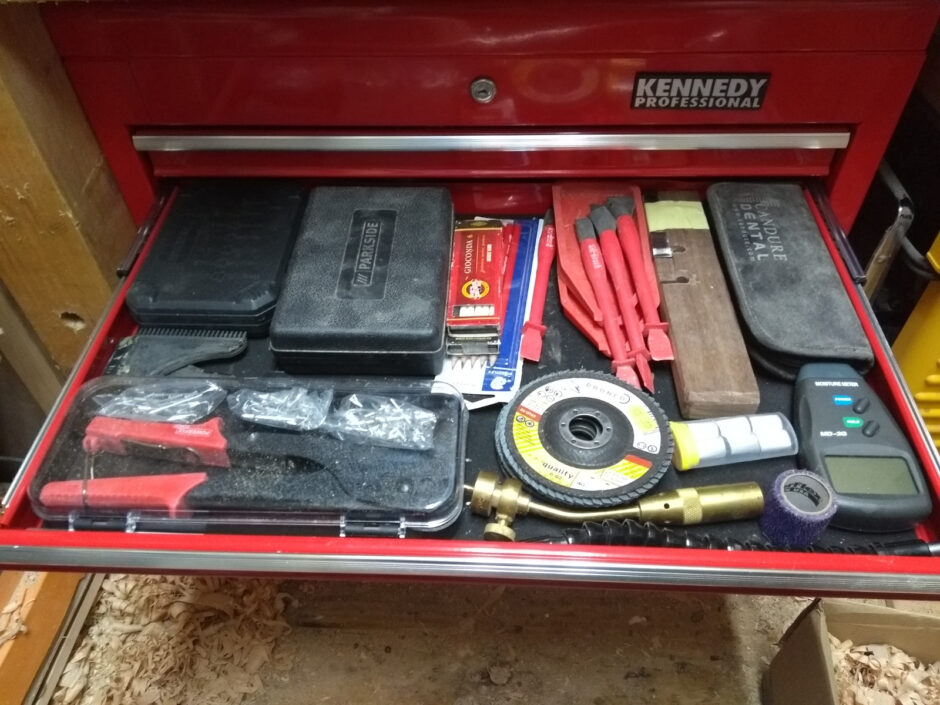
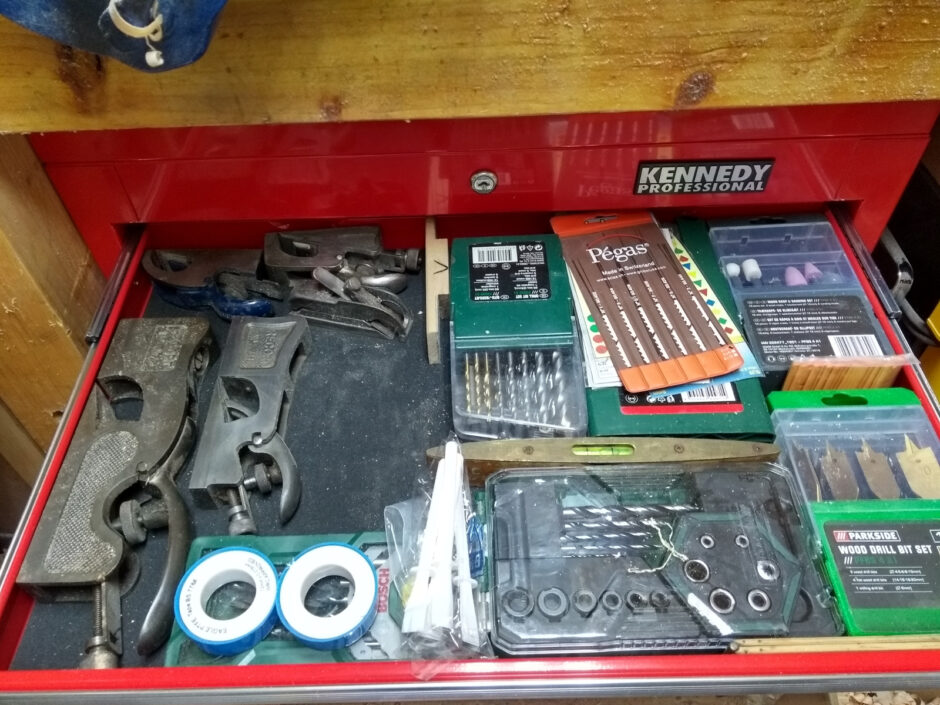
And there’s one or two boxed sets of things like a socket driver set in the top part of the case. It’s not as easy-access as the drawers, but you can get them out a damn sight easier than you could with the boxes. There isn’t quite as much space – some stuff didn’t make it to the drawers but most was rubbish that went in the bin and I’ve no idea why I was hoarding it, but one of those plastic boxes did get half-filled with stuff I’ve never used but can’t bear to dump and it’ll go live in the attic, photographed so I can double-check what was in there instead of climbing into the attic and rummaging through it.
But with that done, I still had crap on my bench. In fact, more because I had managed to leave my tub-o-finishing-stuff without a home. So. No other option. The sarlacc pit needs to be organised.
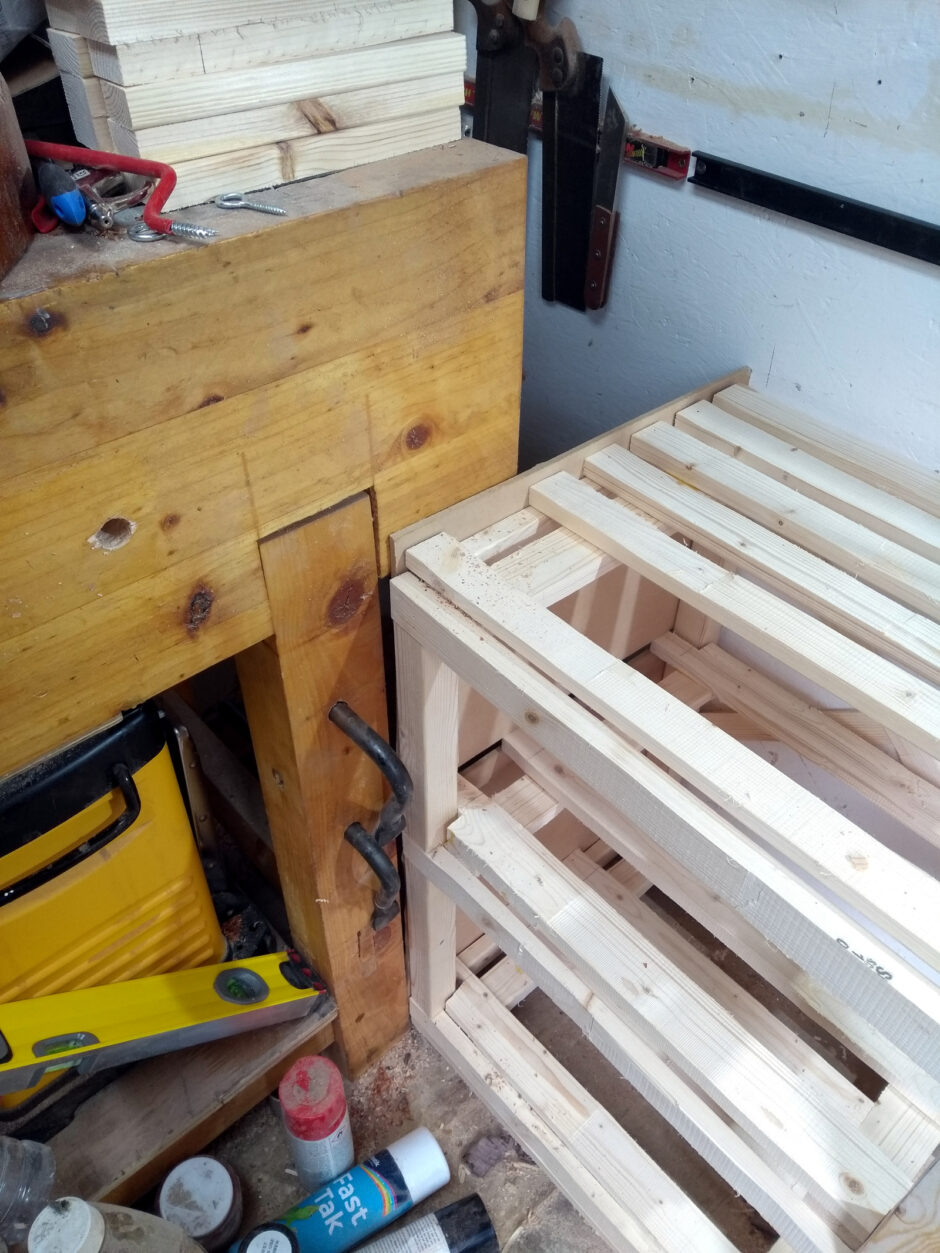
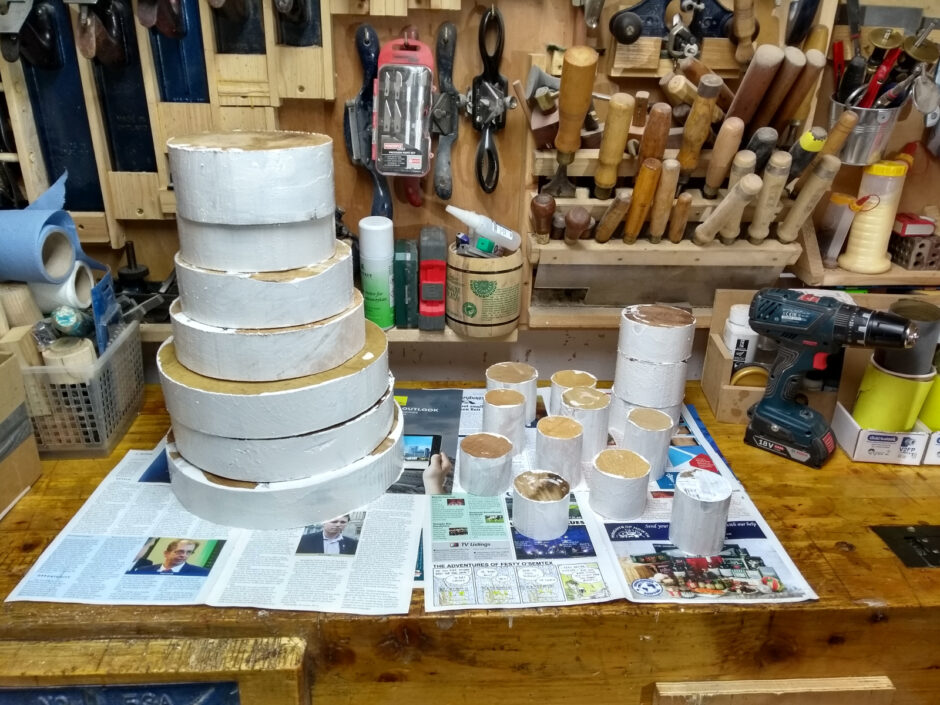
So I had a few 2×4 lengths left over from putting shelves in the timber storage box, so I crosscut them with Calum’s help, then ripped them in half for the corner posts and into four 3/4 inch laths for the rest and then glue-and-brad-nailed together a very quick-n-dirty wheeled shelf cart thingy.
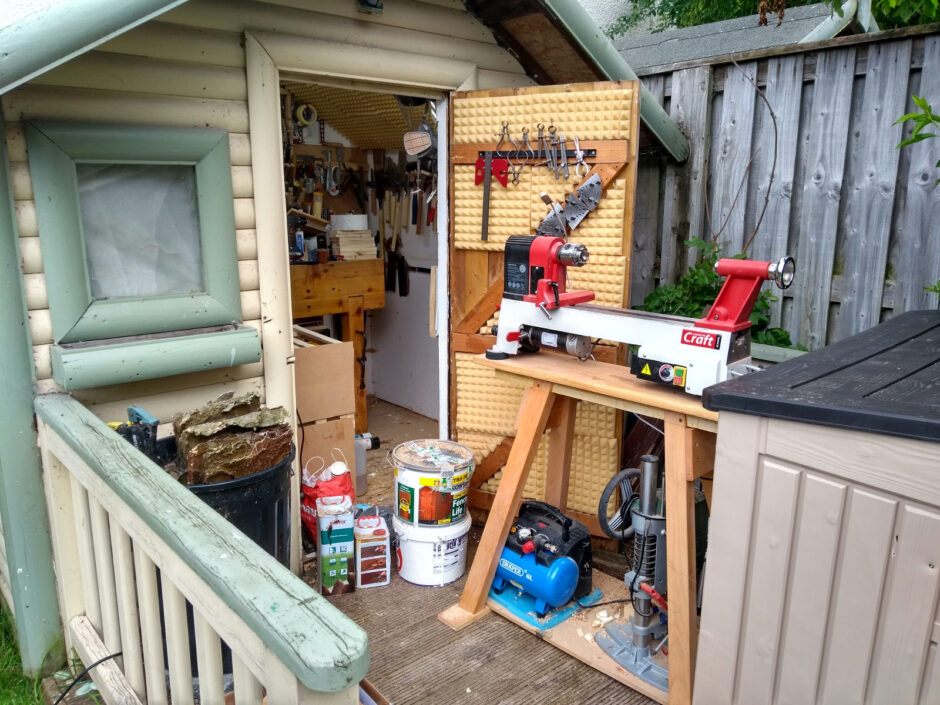
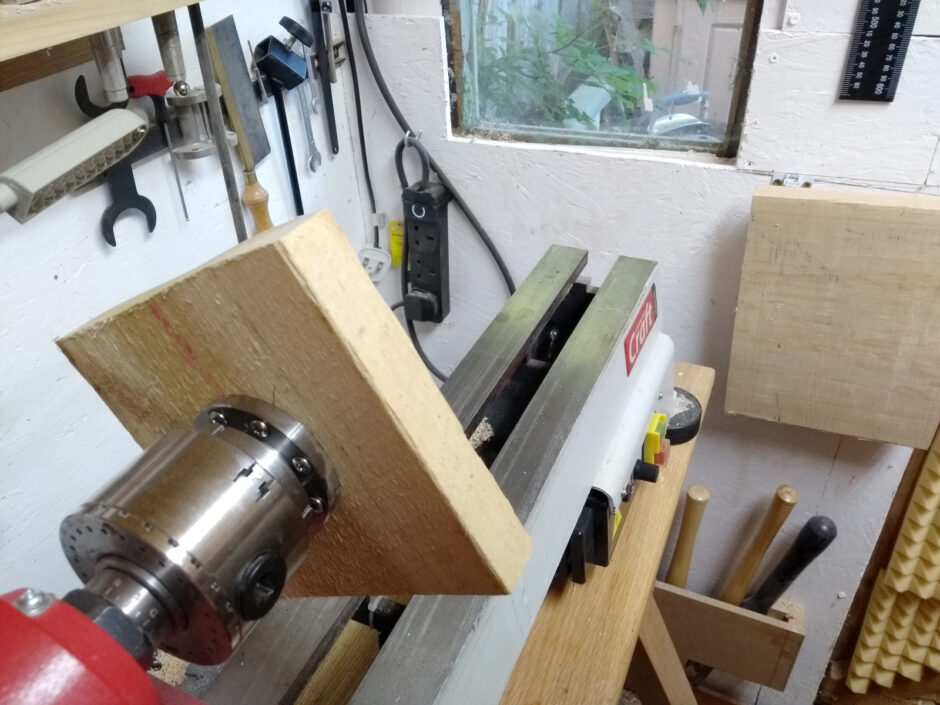
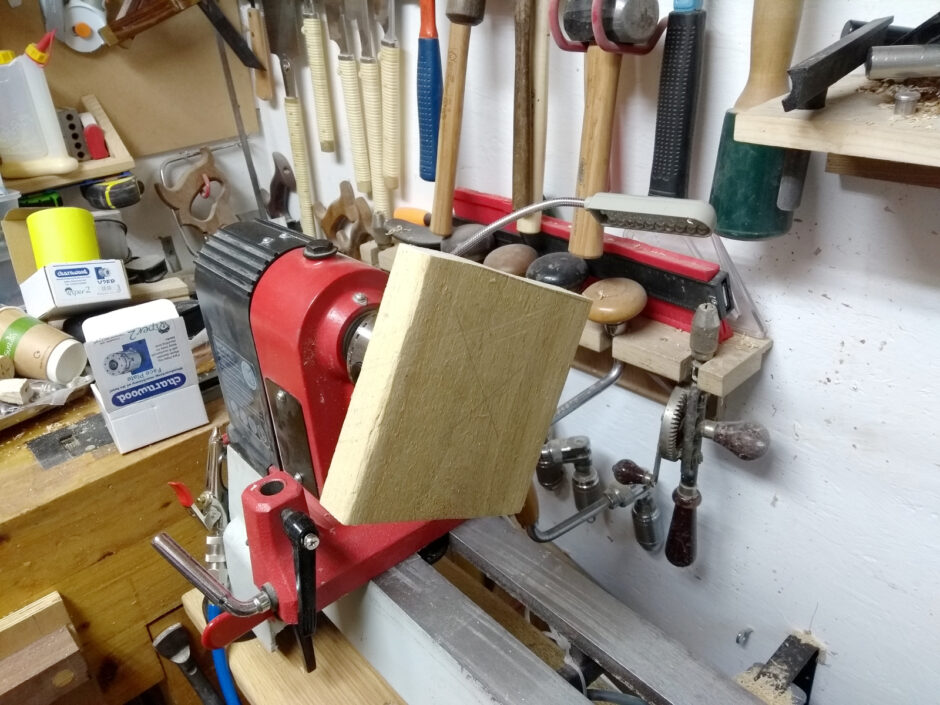
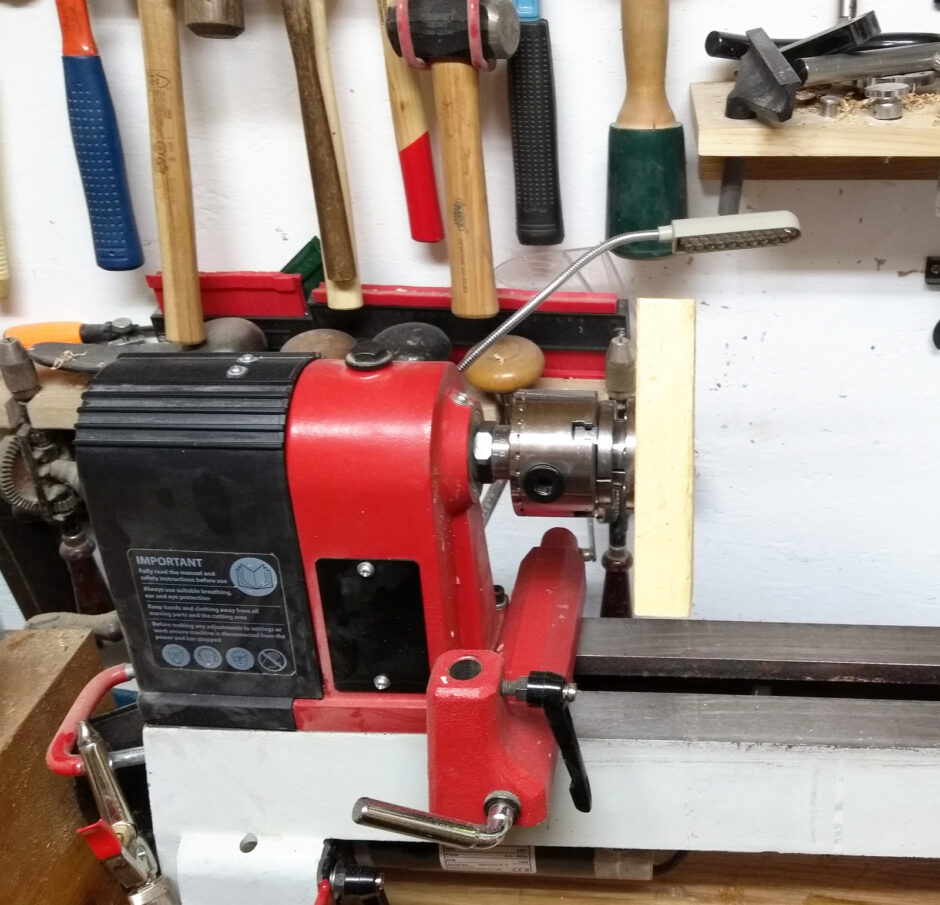
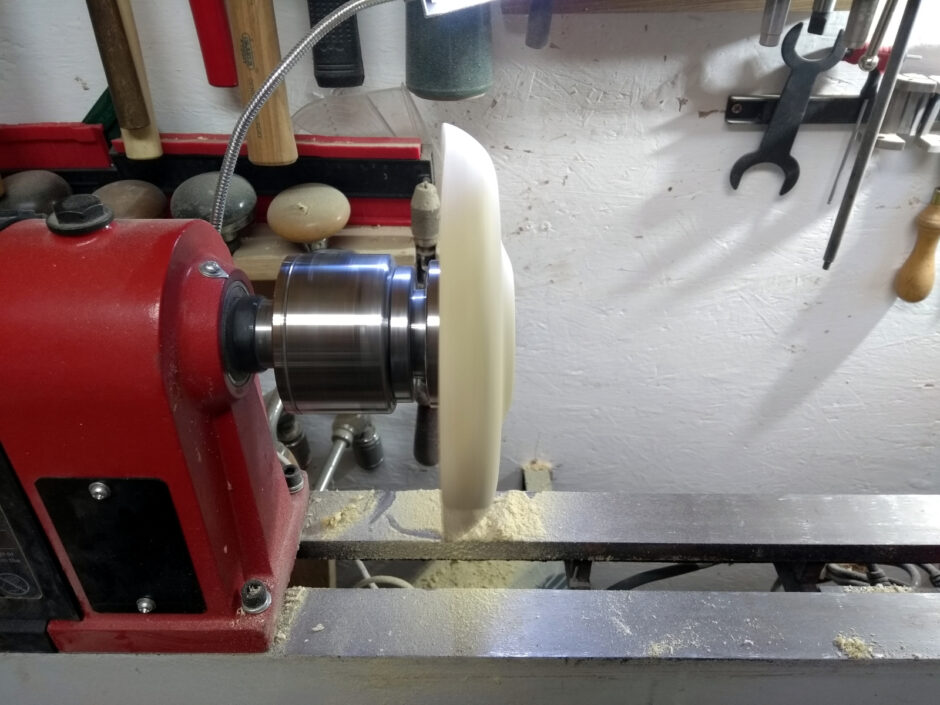
And then all I had to do was remove the lathe, pile six tons of crud on top of the stuff on top of my bench, rip out everything that was in the sarlacc pit and hoover up all the shavings and stuff and move the hand drill holder two feet to the right and the air hose as well, and added two more magnetic bars (one to let me move the saws around a bit for space and one to improve the lathe tool holder so it has two parallel magnet bars, not just one – it’s more stable now). With that done, I could clamber back into the space and immediately lock myself into the shed behind a mountain of even more crud while I got the cart into position.
Understand, at this point I’m somewhere between ninty minutes and two hours of work in (it shouldn’t take this long but the tight quarters and lack of elbow room always delay everything and stuff just slows to a frustrating crawl). A few minutes more of wrestling the cart over my head while holding my breath and pirouetting elegantly on my left toe and…
Oh for *#$@s sake.
Couldn’t even storm off for a cup of tea because TRAPPED BEHIND THE STUFF THAT’S MEANT TO GO IN THERE SO I CAN GET OUT OF THE SHED DAMMIT.
Gah. I think that’s the most anger I’ve used a prybar, lump hammer and ryoba in. Pretty sure I taught someone a new word as well. But…
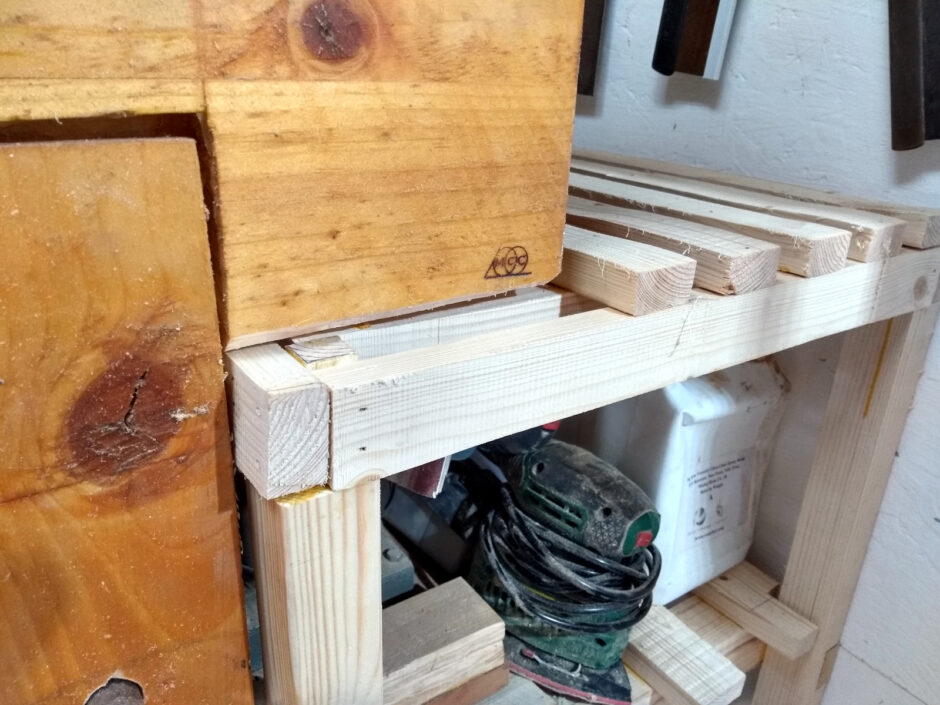
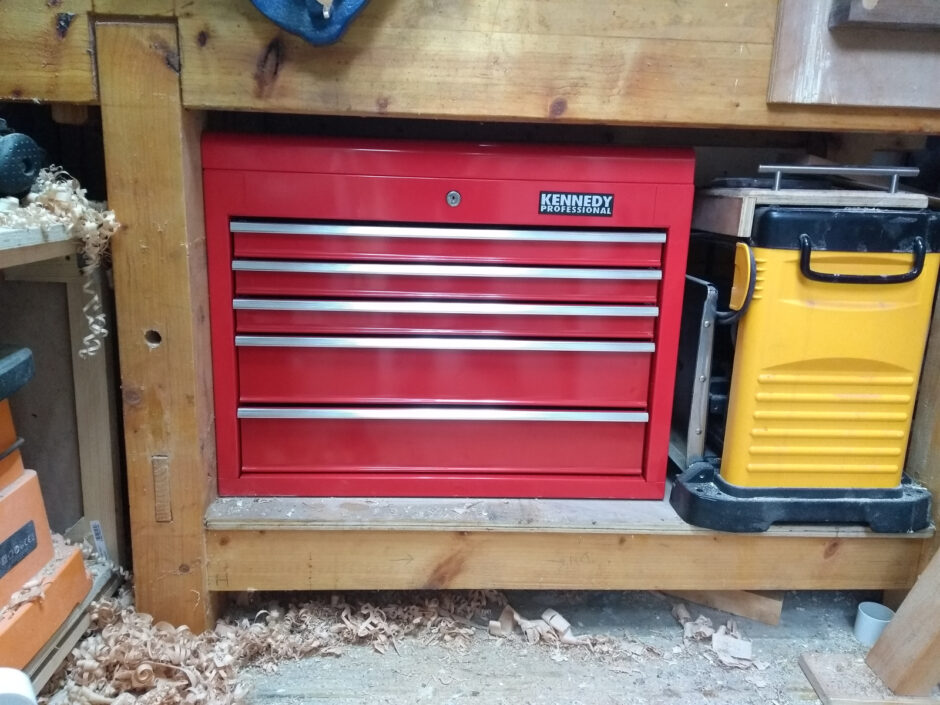
I actually had to remove 5mm off the bottom of that part of the bench apron. At least I didn’t have to re-brand the bench. Small mercies.
There’s a good 2mm of clearance all round now. Yeesh. It’s on castors btw, so you can just pull it straight out from there for access (I’ve done that since, it’s dead easy… once you’ve wrestled the lathe out of the way…).
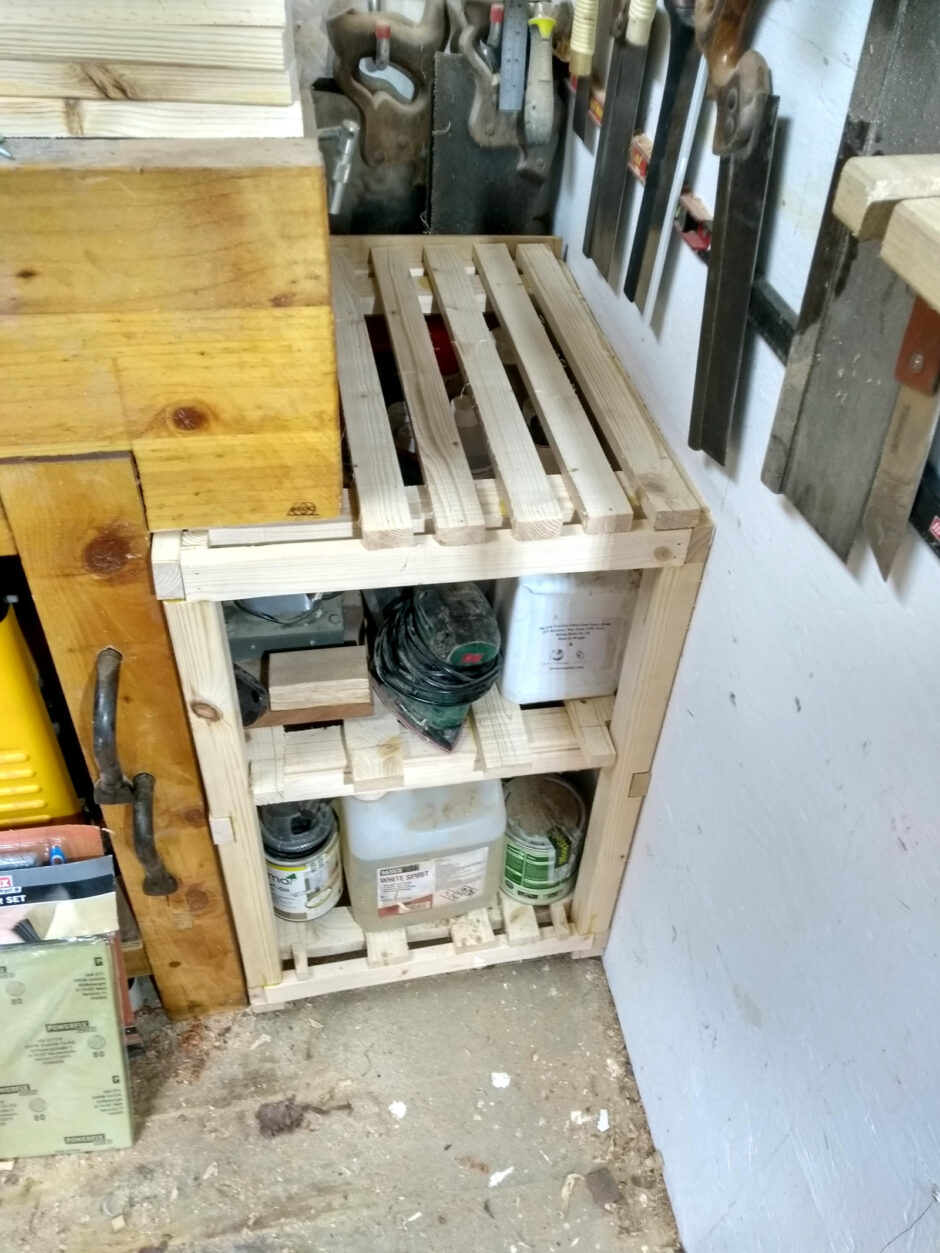
Yet more “it just fits”. Now, I just need to pull the lathe back in and finish tidying up and cleaning down….
It. Never. Ends. But, finally, after another half-hour of work…
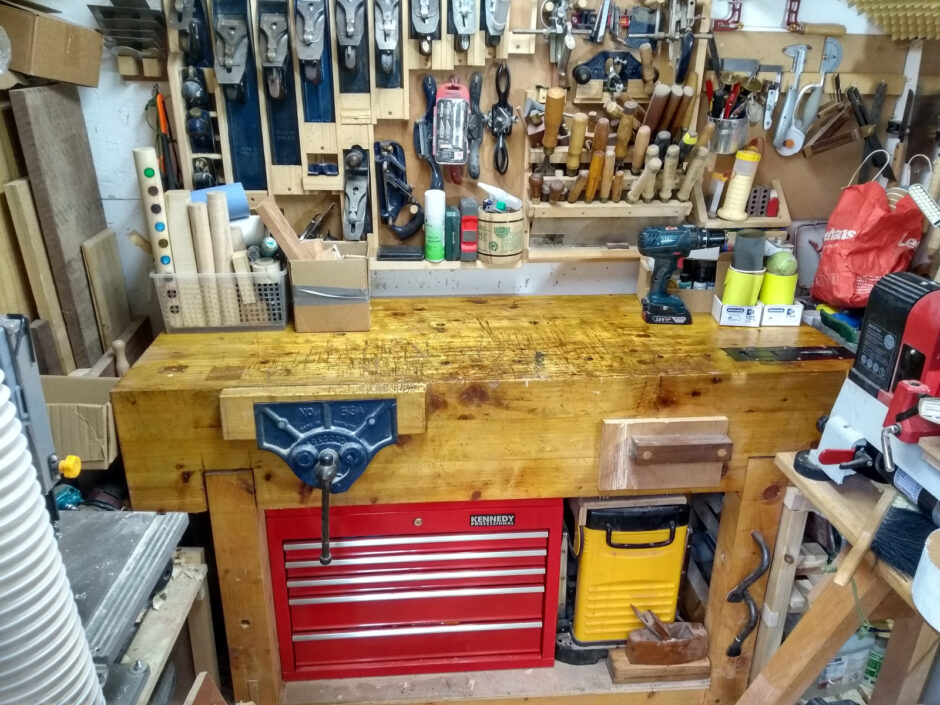
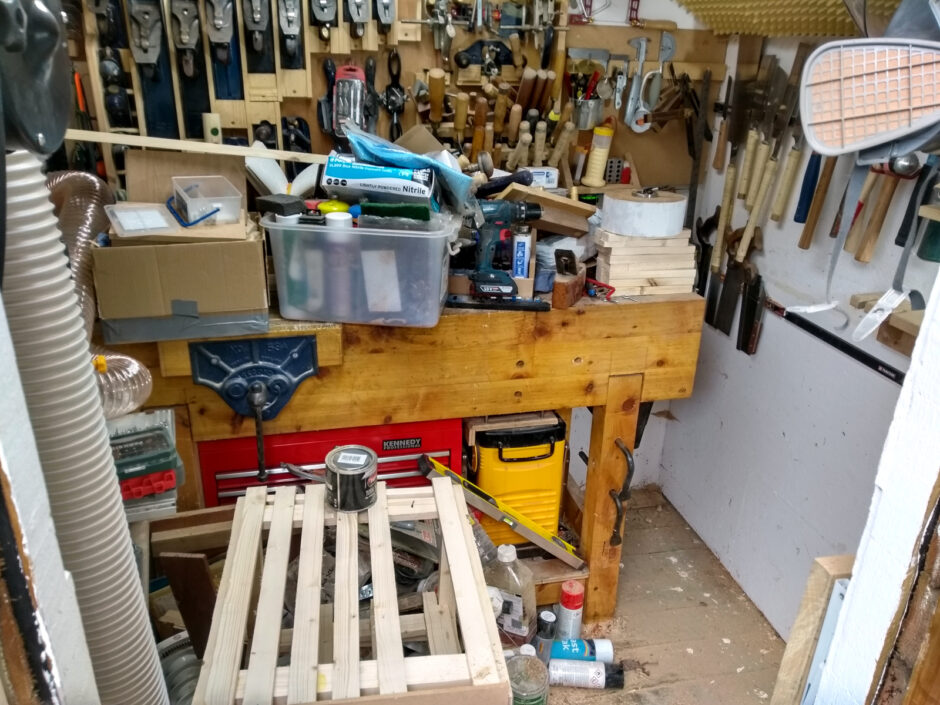
Yes, there is still some sandpaper and colouring stuff on the far right, I have some holders to build yet. And yes, there is still two boxes of stuff I’ve lined up for turning projects on the far left; but I’ll work through those and I can put them under the lathe if needs be. But I CAN SEE MY BENCHTOP. And I managed to clean it and give it another quick coat of BLO. And everything is finally tidy again. No, really…
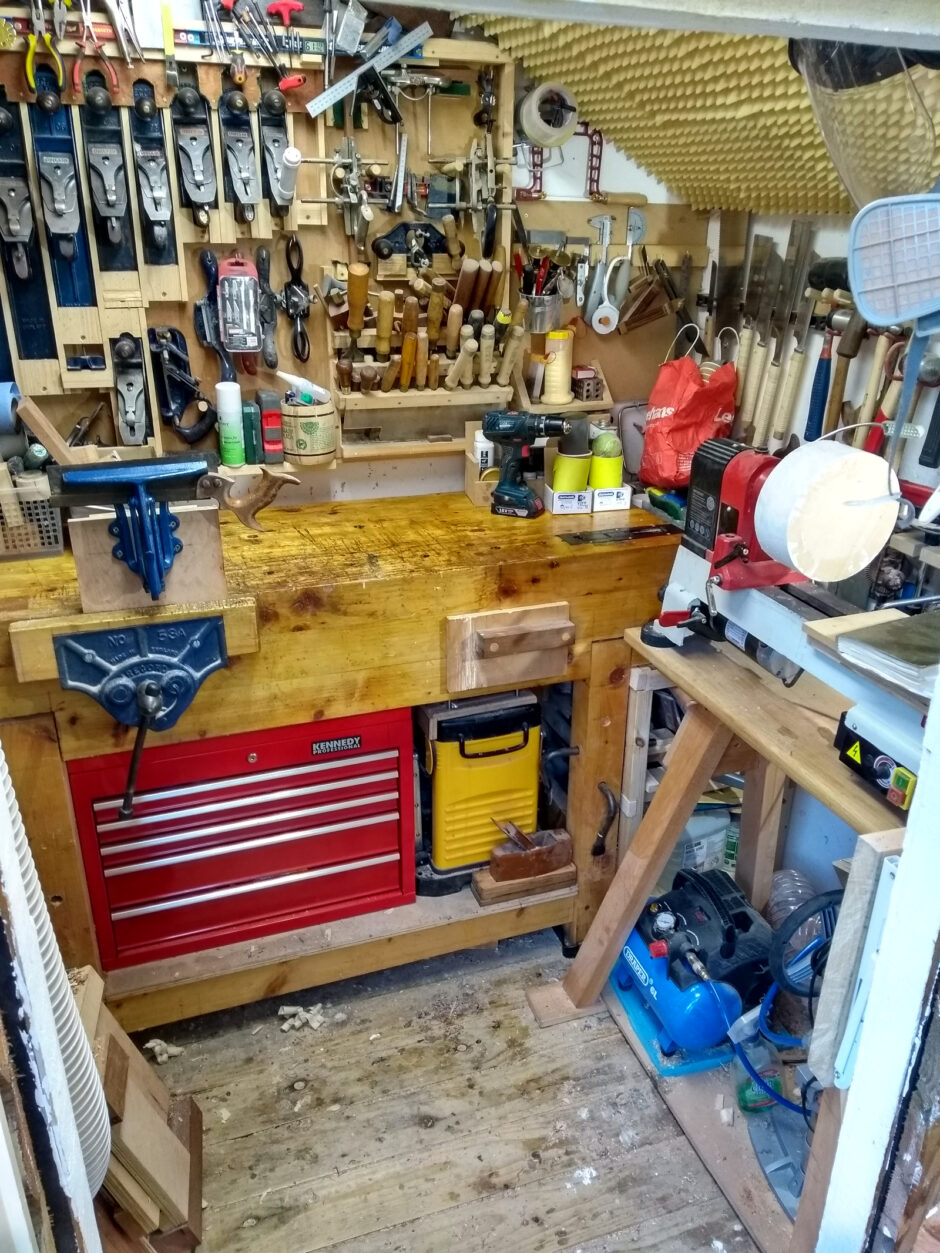
There’s even floor space to stand in! It’s fantastic! I even got the saw sharpening vice finally mounted (that’s me testing it there with that western style vintage dovetail saw that I keep wanting to sharpen properly). I do need to find that a home on the wall behind the lathe alongside the Record Imp metalworking vice. So not yet completely finished, but only small jobs that are already in the queue anyway and then it’ll be completely clean and
for *#$s sakes IT NEVER ENDS