16
Apr 21

Damn dinosaurs

Was watching Conkers Live this week and Stewart Furini was demonstrating spiralling and texturing (something I’d like to have tooling to do more of…) but at one point during the demo, he’d finished some spiralling and had painted and sanded back the piece and this was the result:
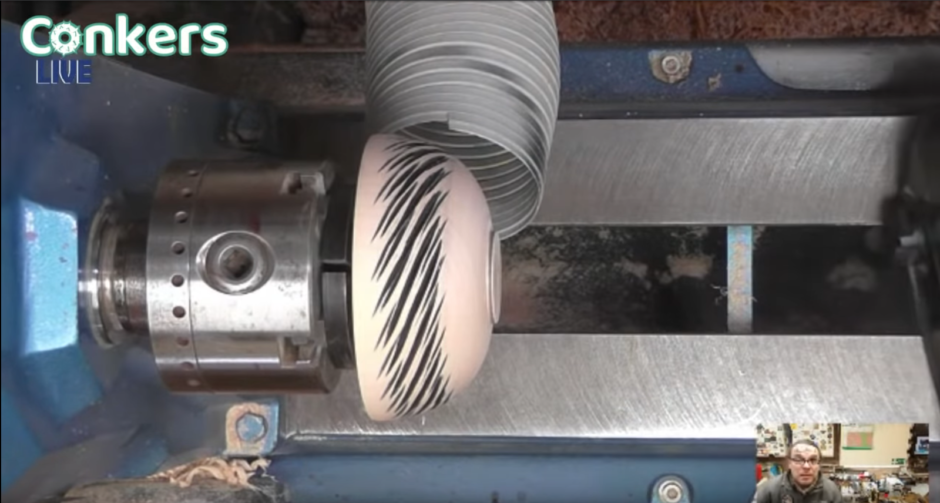
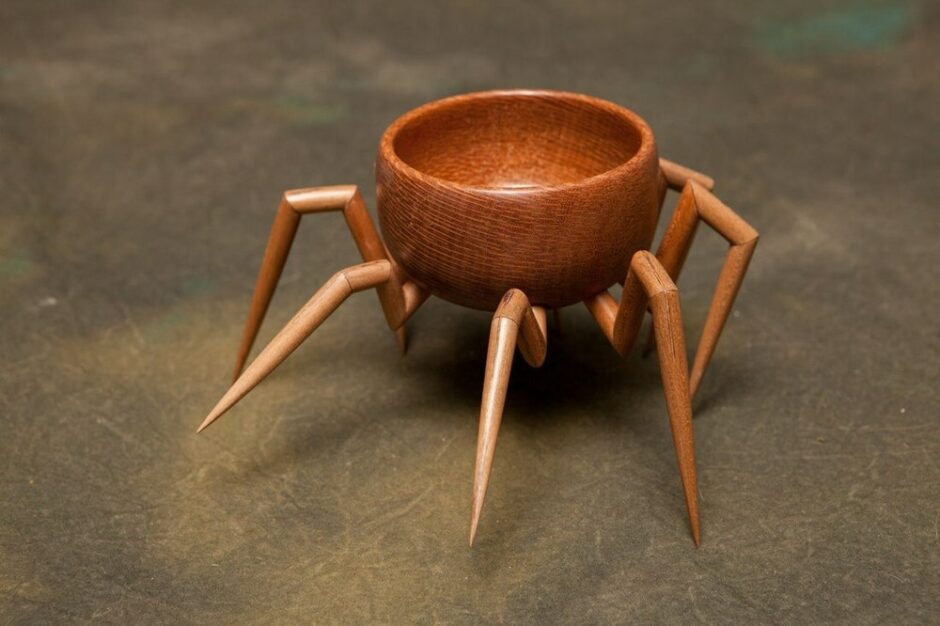
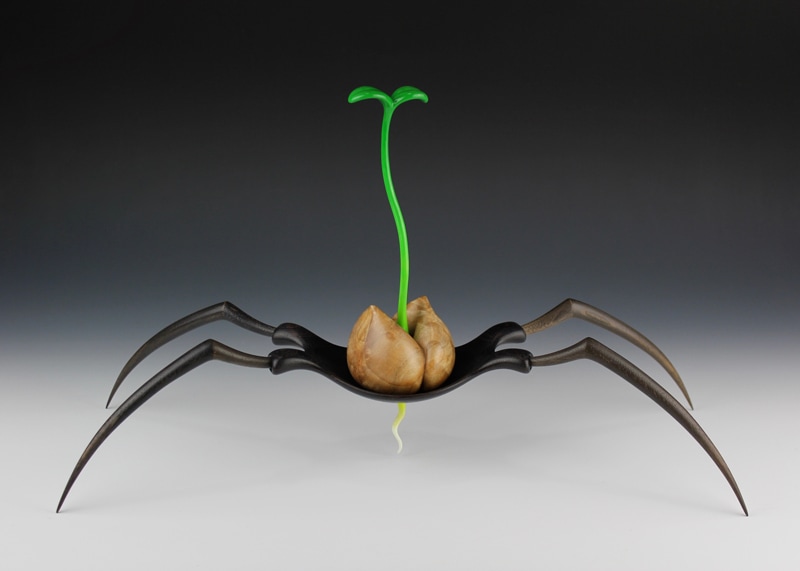
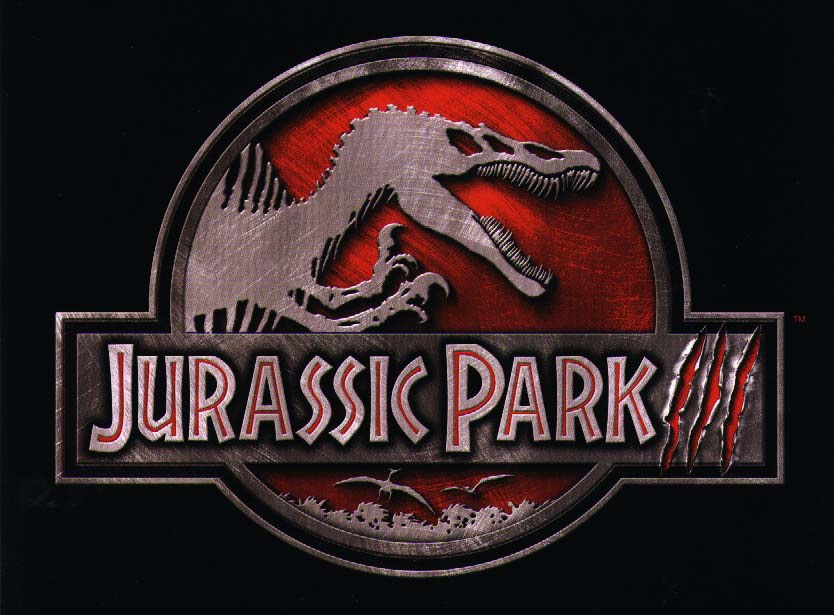
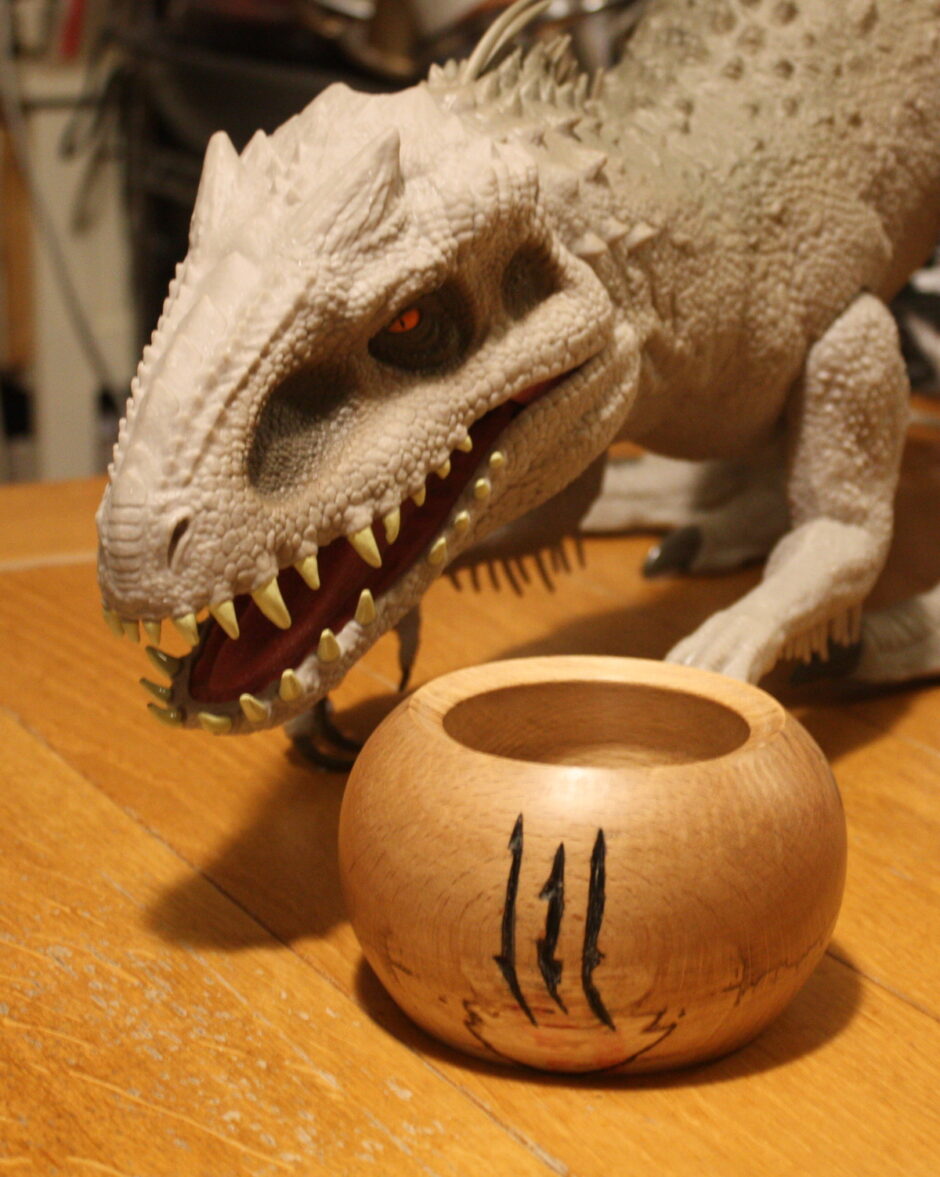
It was quite striking at the time and reminded me of something and it took a few minutes to place it:
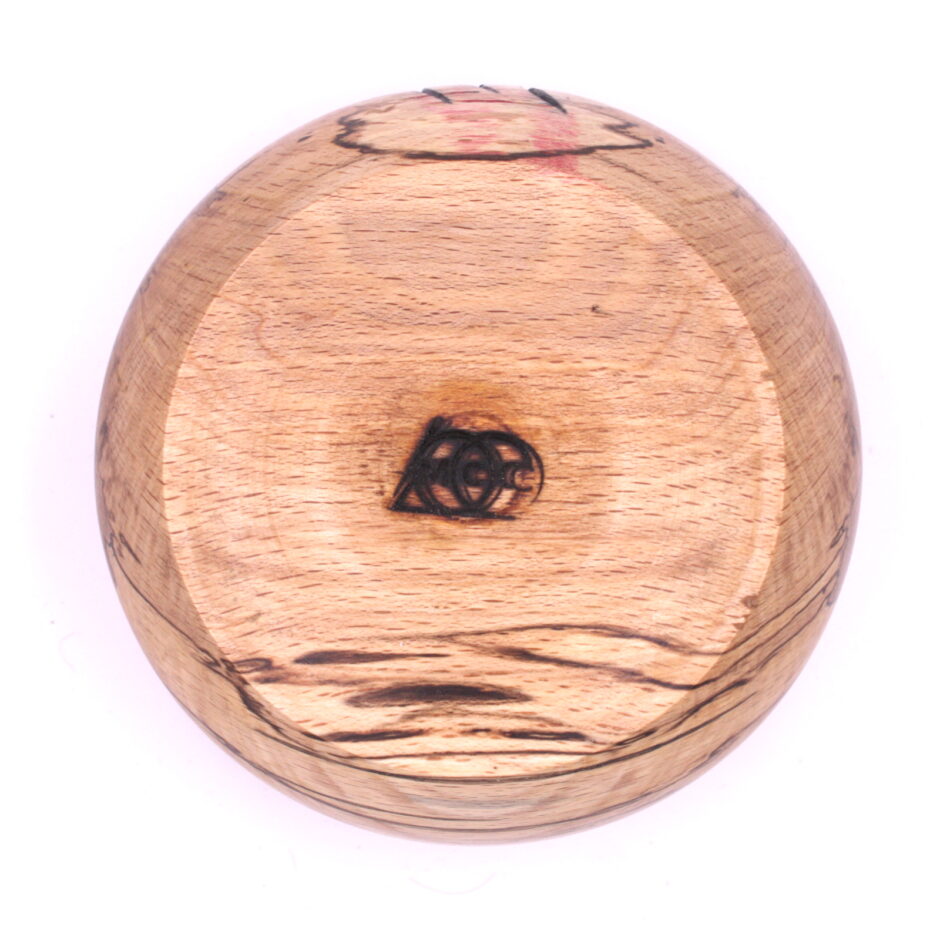
I don’t have a spiralling tool but I do have carving tools. So I grabbed a blank…
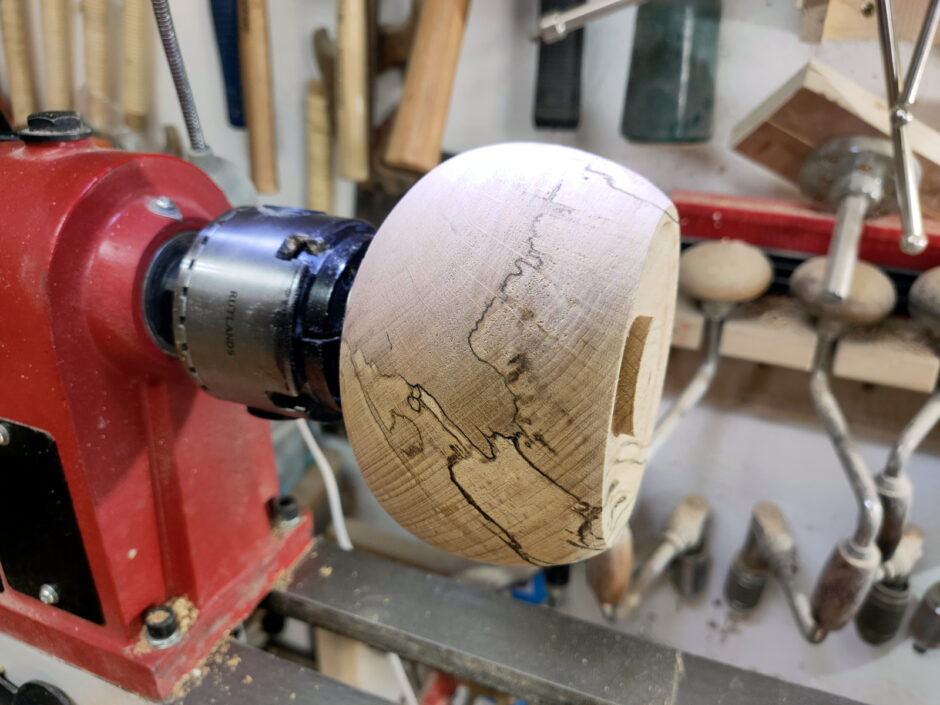
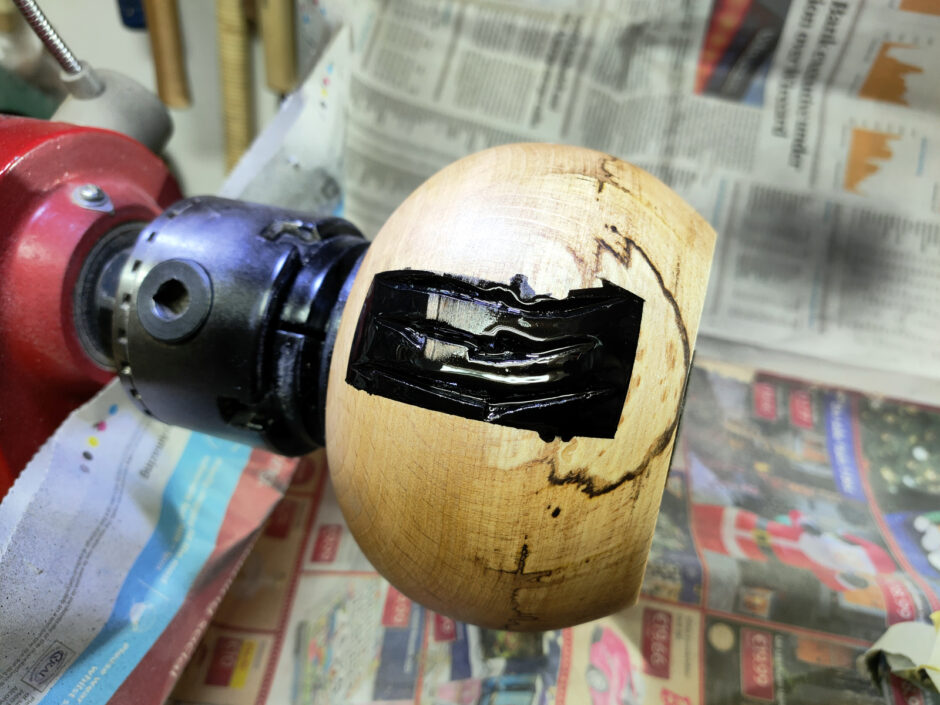
It’s an odd shape, you’re looking at the bottom of the bowl here – I wanted it to fit my hand and to be a little closed over (turned out, it’s a lot closed over). Printed out the scratch marks from a jpg on the web…
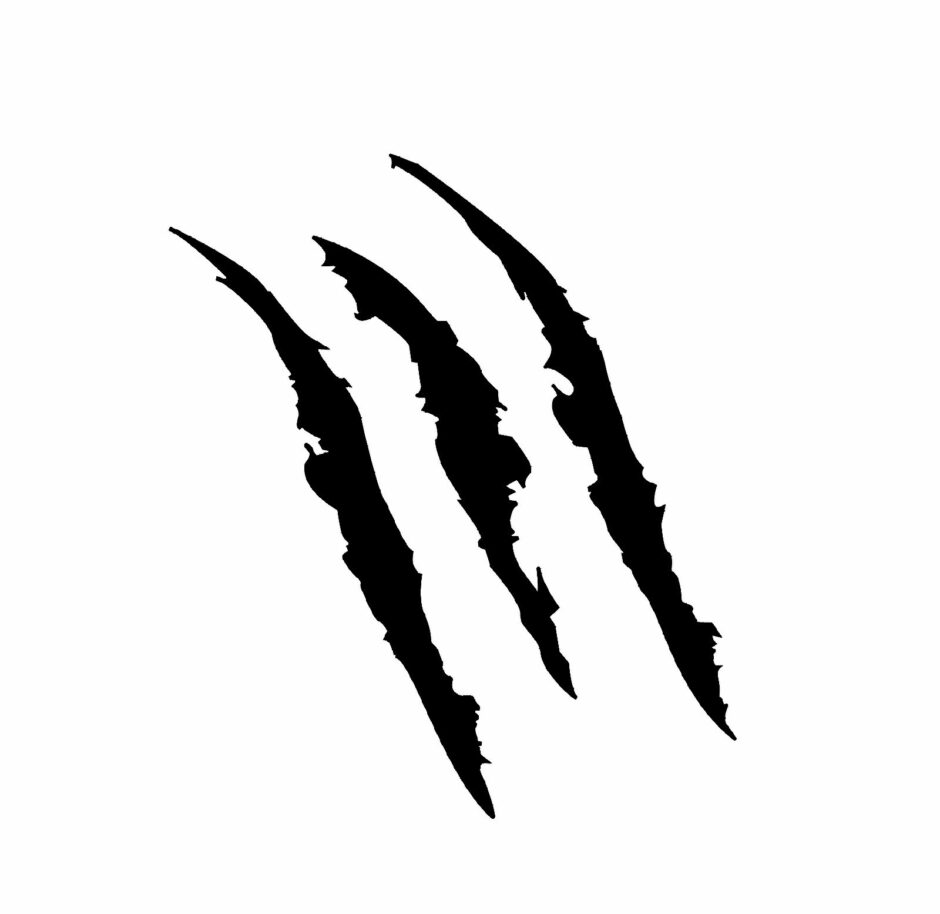
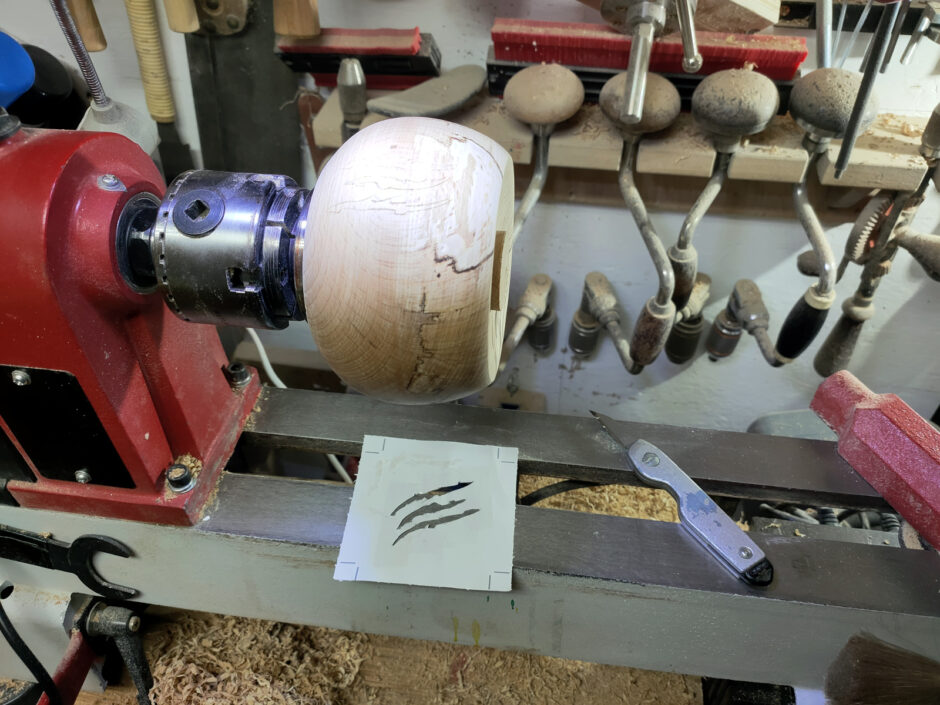
Cut those out with a sharp knife, then put cellotape over the sheet and stuck it to the blank, then cut along the edges of the scratches through the cellotape and tidied up afterwards.
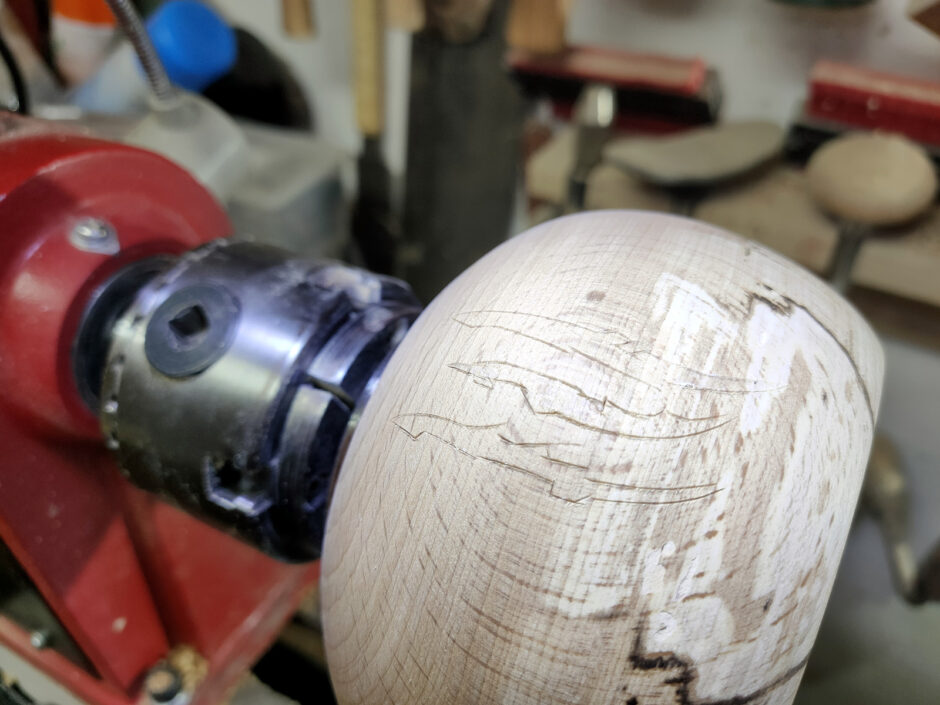
Then out with the v-tool gouges and a 5mm straight chisel and the sharp knife and I carved out the scratches.
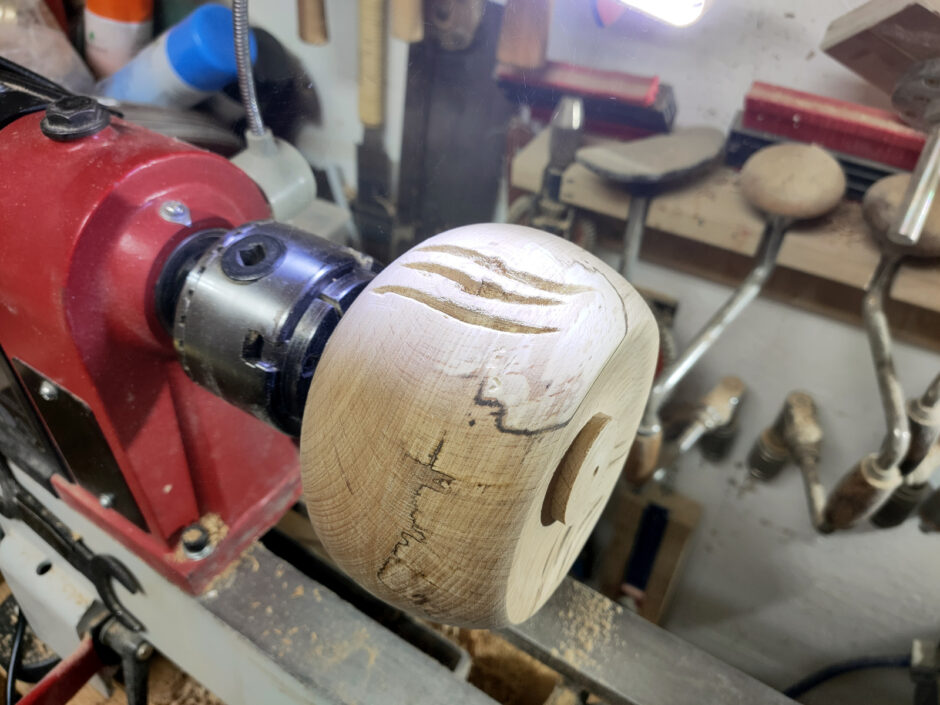
Next up, ebonising lacquer.
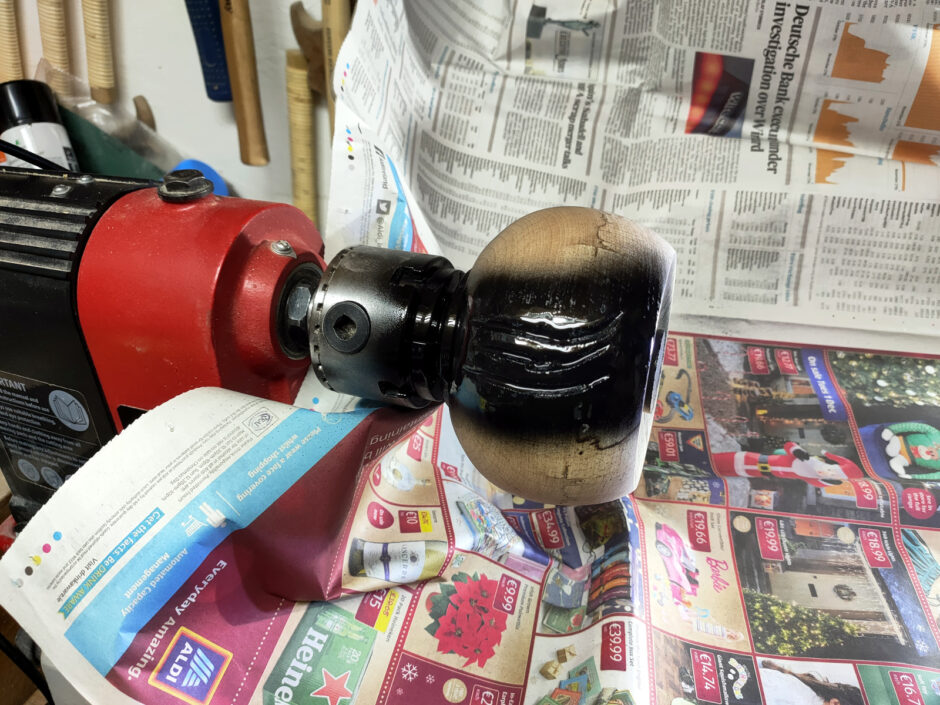
Might have overdone that a little 😀 Worse, didn’t seal the wood first, so after sanding back…
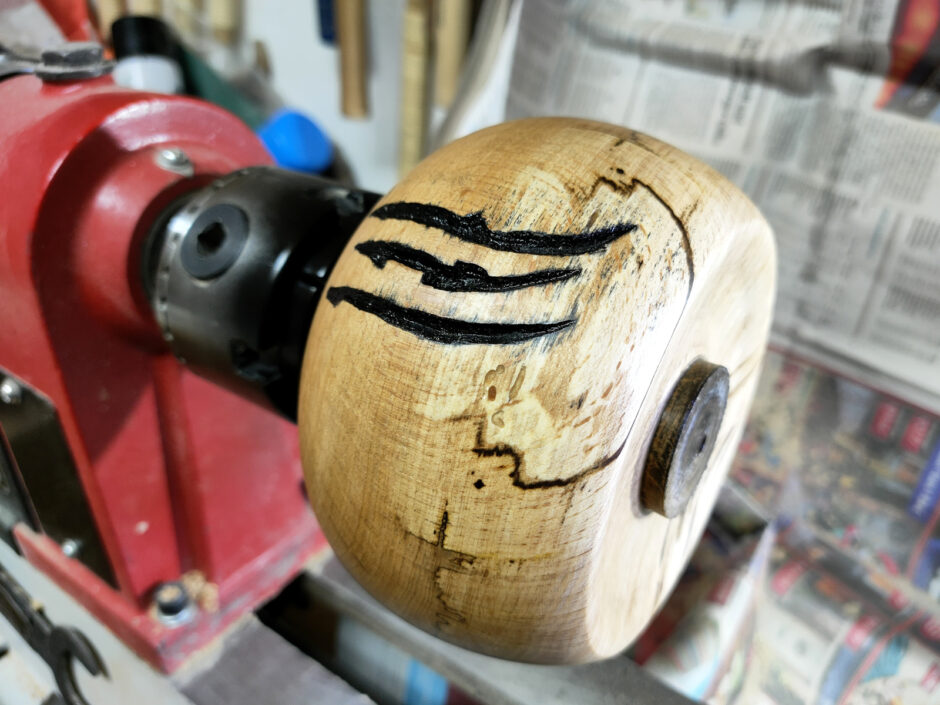
That bleeding of the lacquer couldn’t be sanded away, it’s in there too deeply. In the end, I had to take the gouge to it again, cut the surface back by a millimeter or so, re-sand to 180, re-carve the scratches and then seal the surface and gave the area round the scratches two more coats of sealer, then masked off the area and ebonising lacquer again:
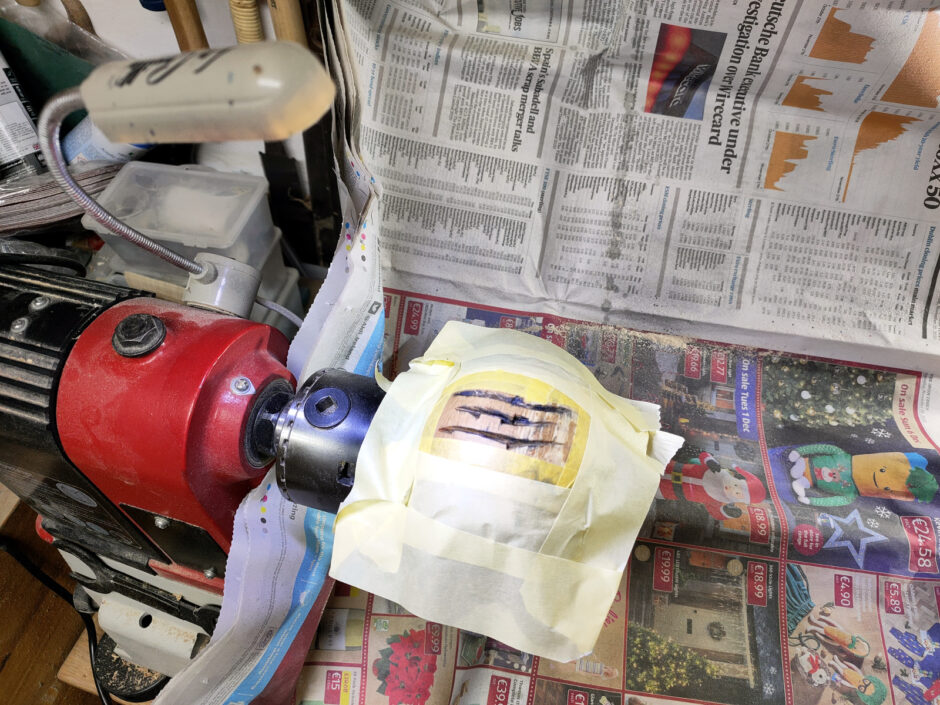
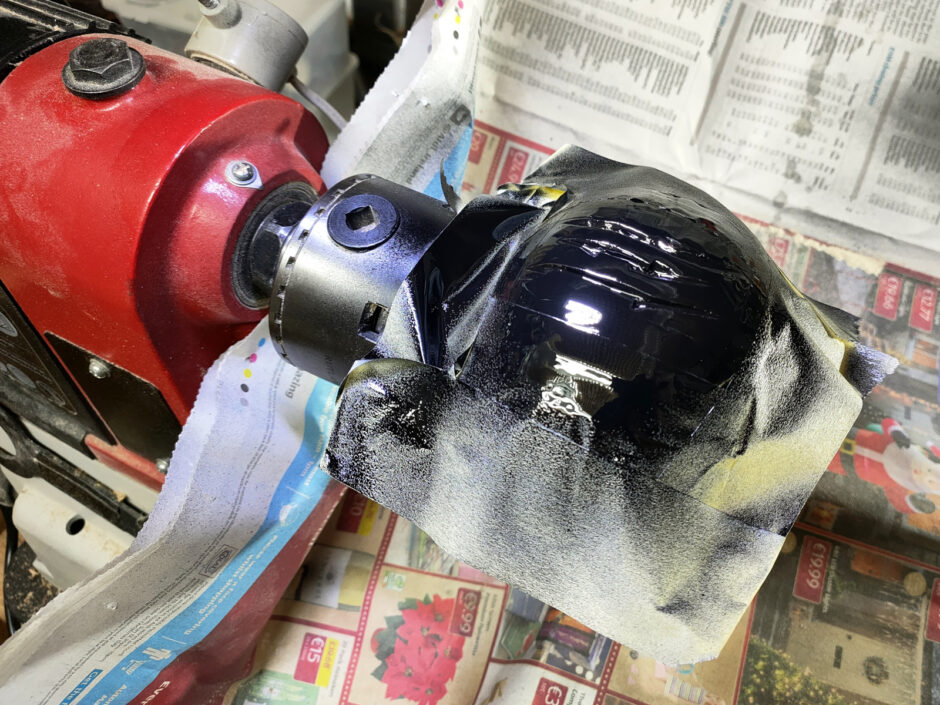
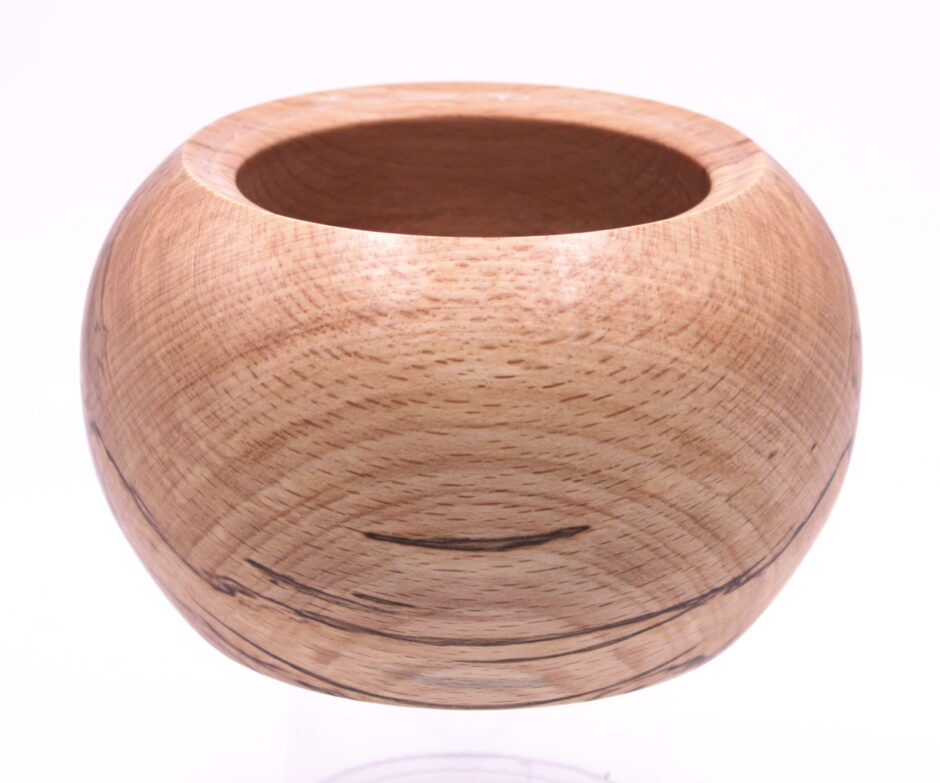
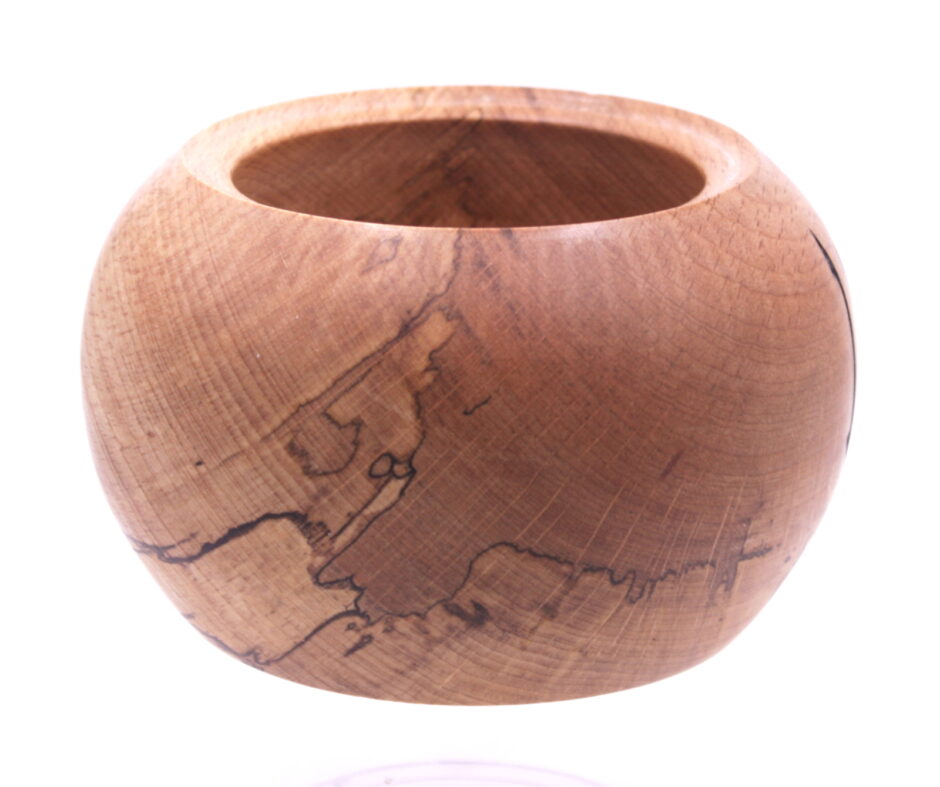
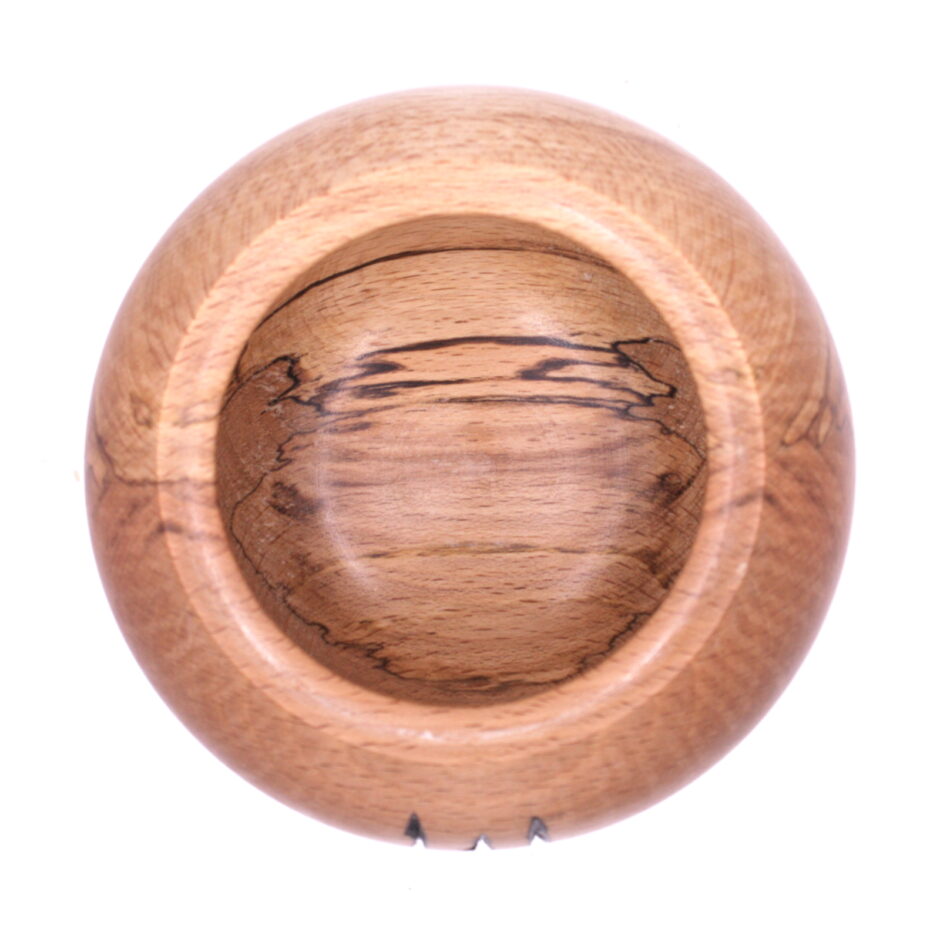
And then sanded back and this time it didn’t look bad so I hollowed it out (and going by the screaming noises I either need to get better tools for this or just get gud scrub), then flipped it over and used the push plate to tidy up the foot. Few coats of danish oil, some yorkshire grit and then a final coat of hampshire sheen wax got added along the way.
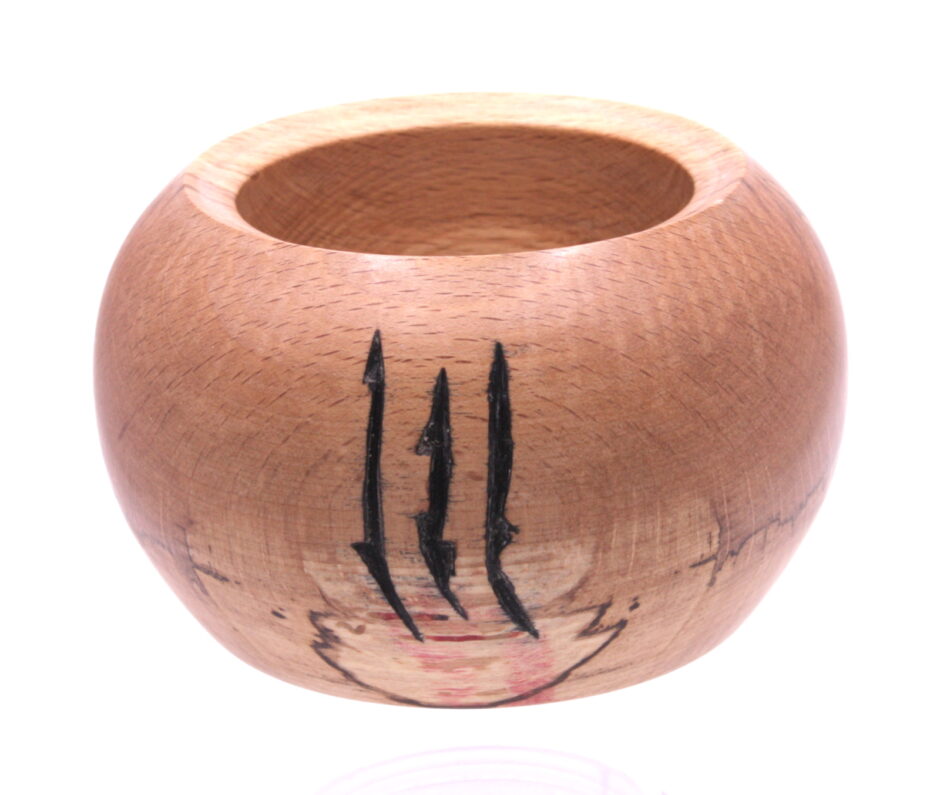
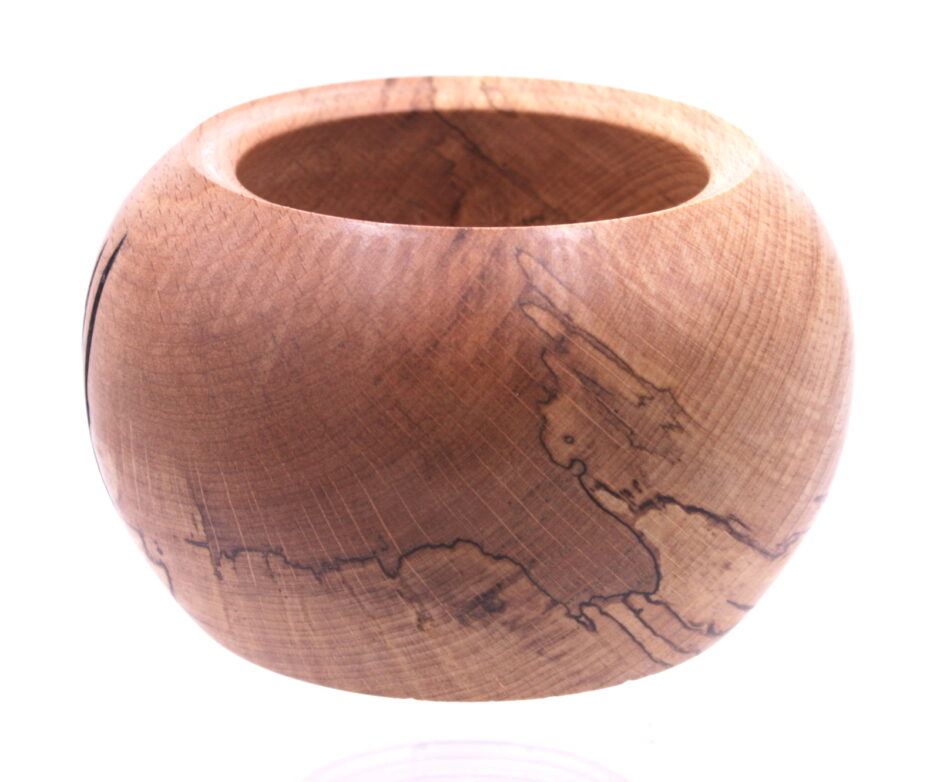
I kinda like it 😀

15
Apr 21

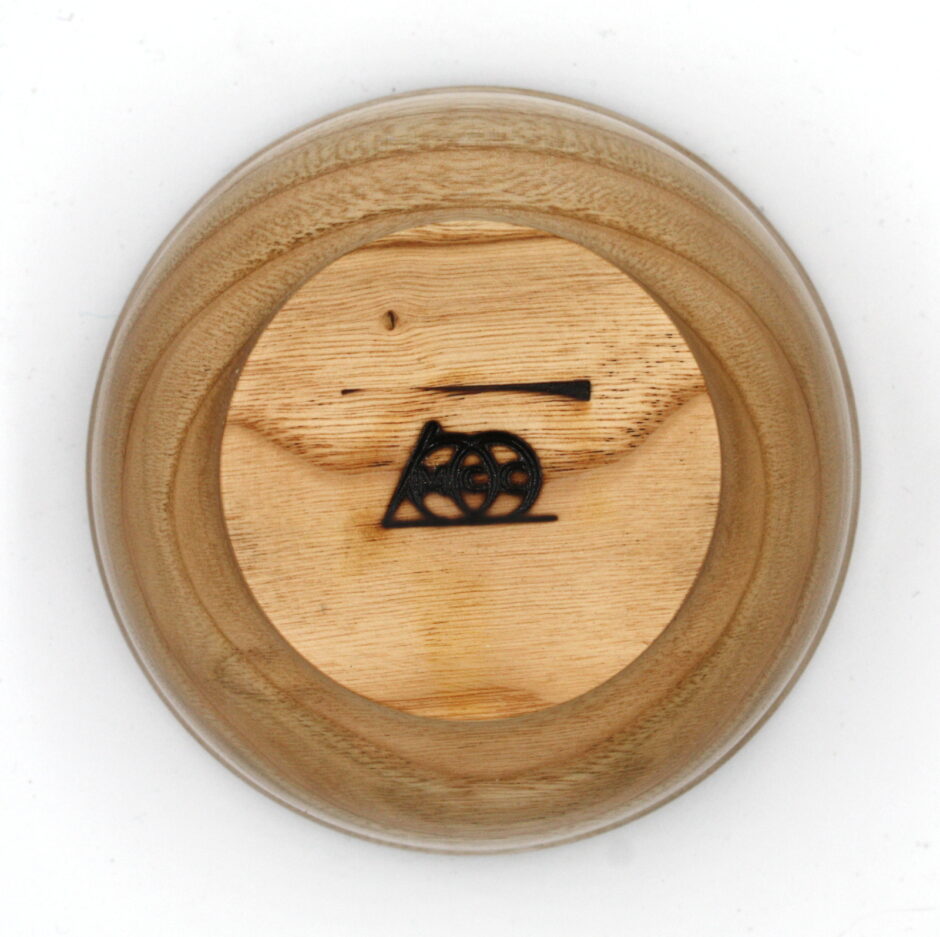
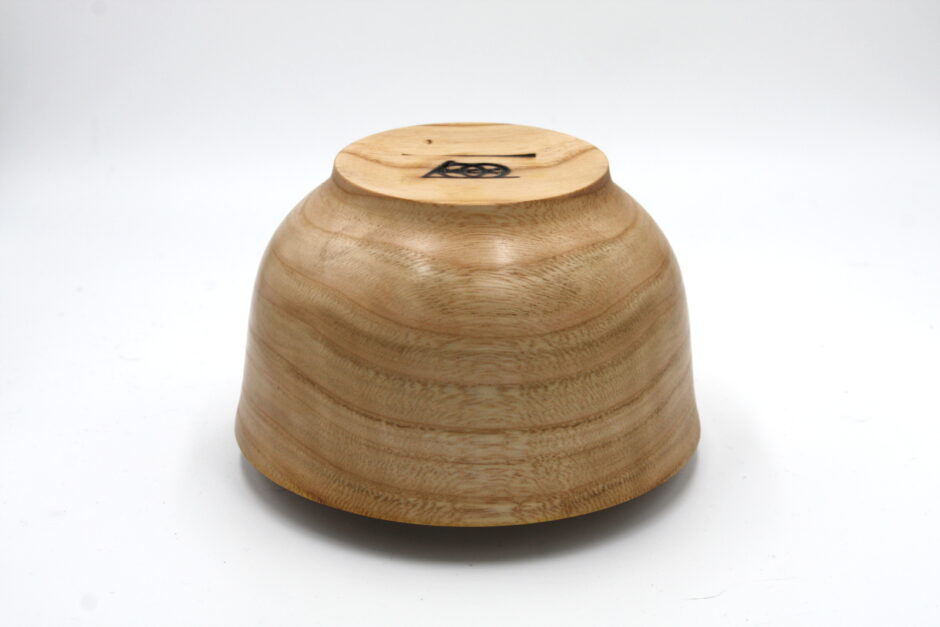
Just something simple

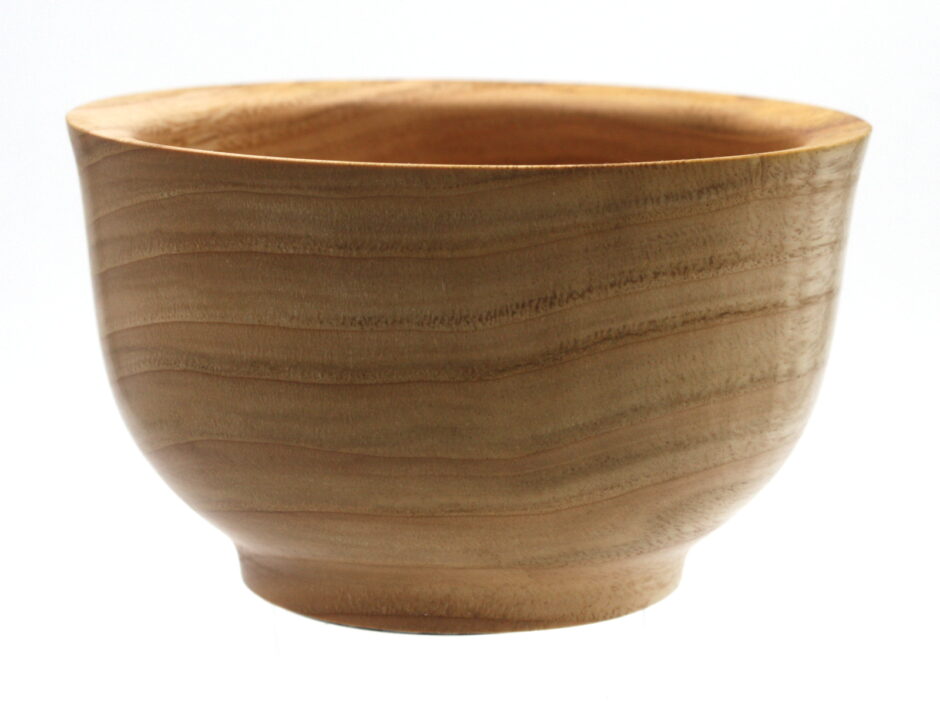
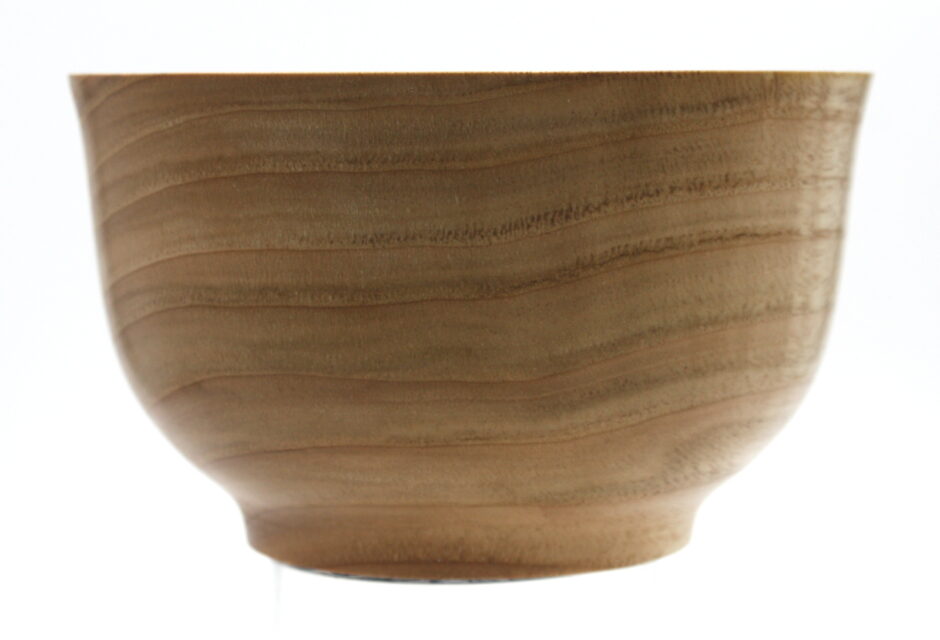
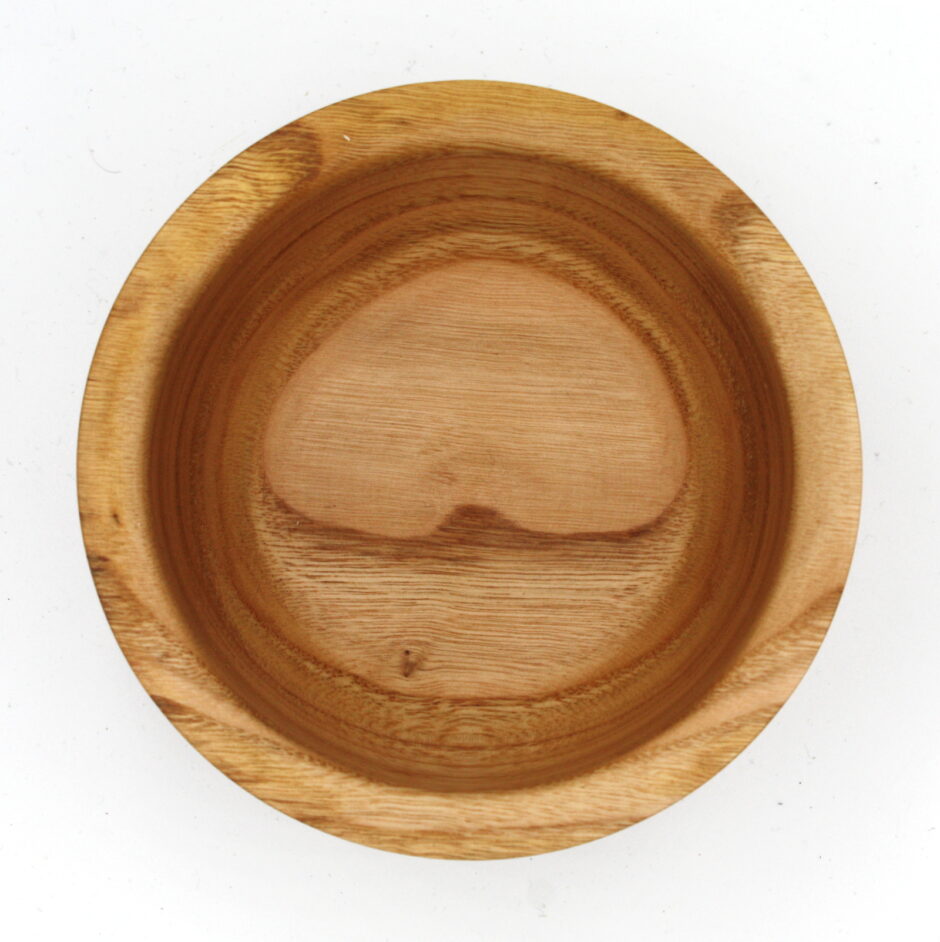
Was just in the mood to turn something small and simple. A little chestnut bowl that fits well into the hand. I like the shape, I must remember to keep things simple more often 🙂 Sanded to 320 (with poppyseed oil for the 320), then a coat or two of poppyseed oil all over, and on the outside yorkshire grit ordinary and microfine and then a coat of hampshire sheen wax. It’s just the right size to put snacks in for watching woodturning youtube 🙂


14
Apr 21

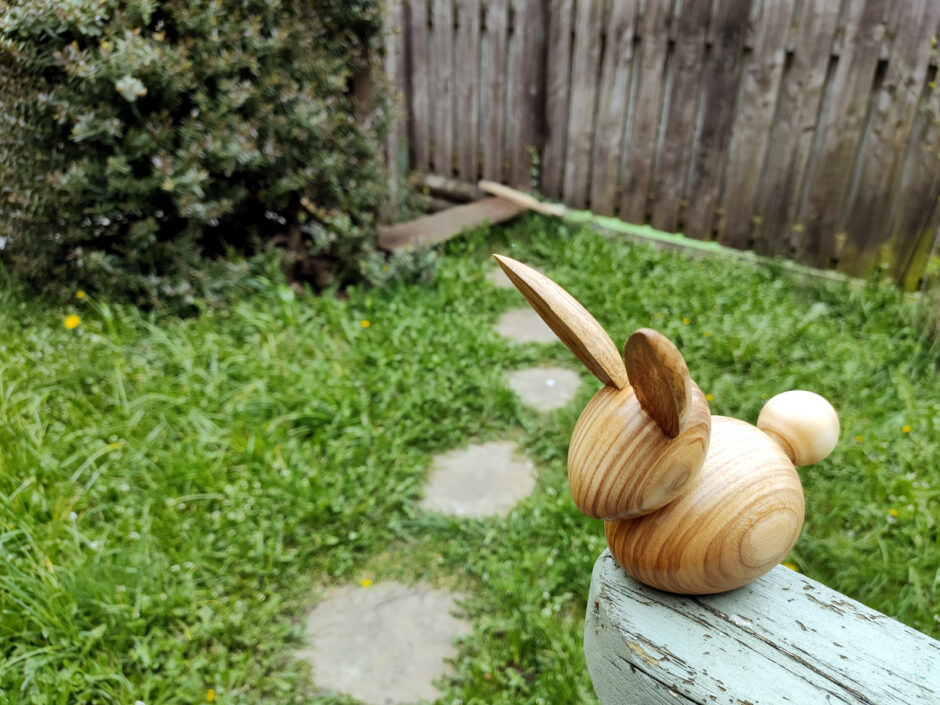
Turns out, you *can* make a rabbit from an egg…

I like a lot of Rebecca DeGroot‘s stuff, it’s very nicely weird and creepy.

So when she did a how-to video for making an easter rabbit, I thought I’d have a go.

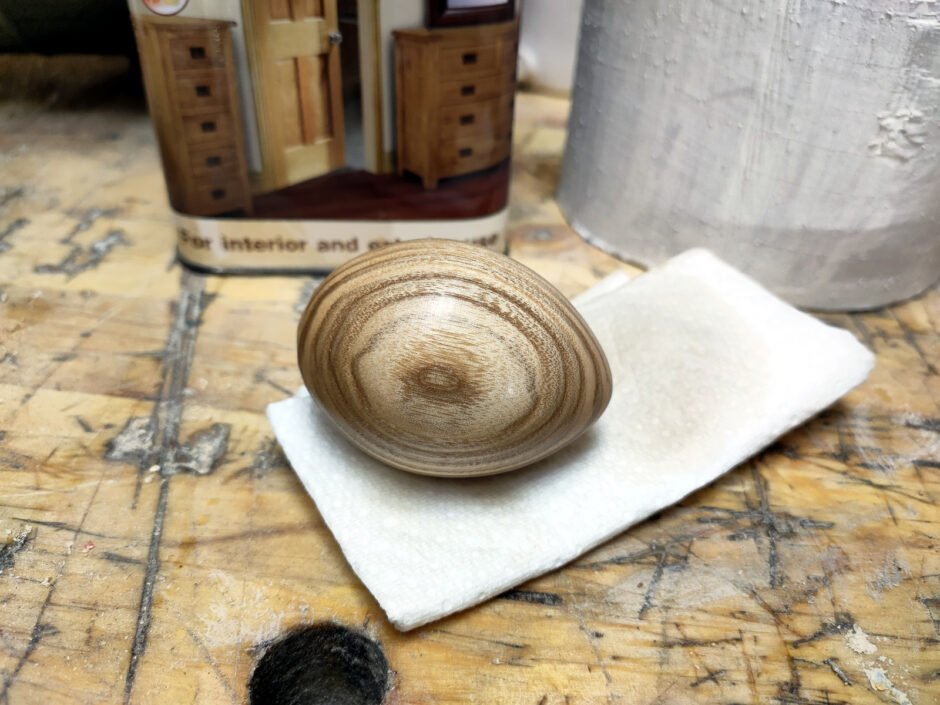
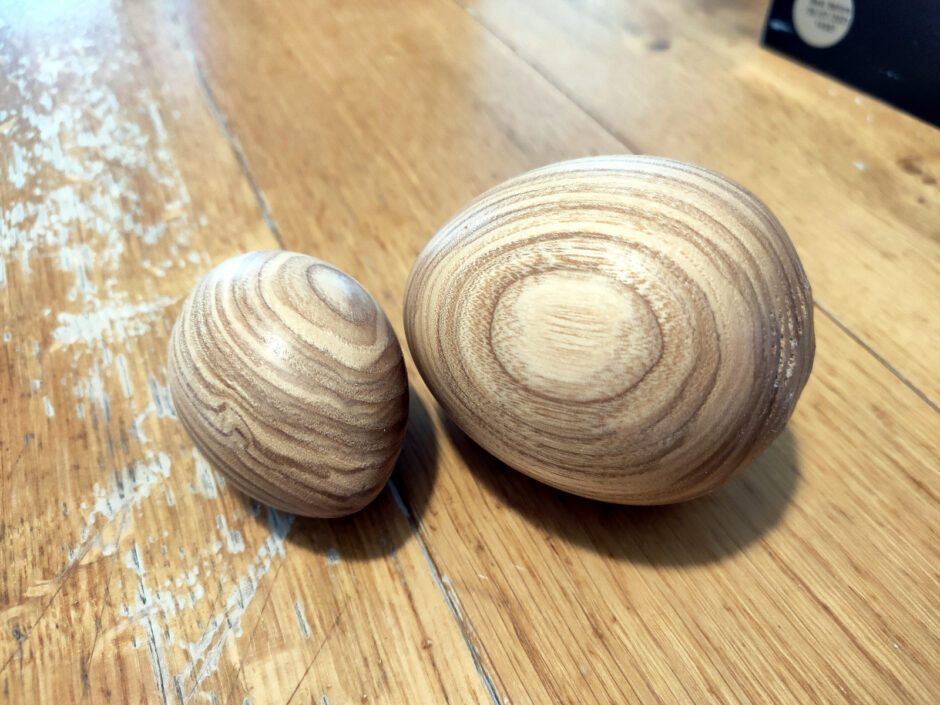
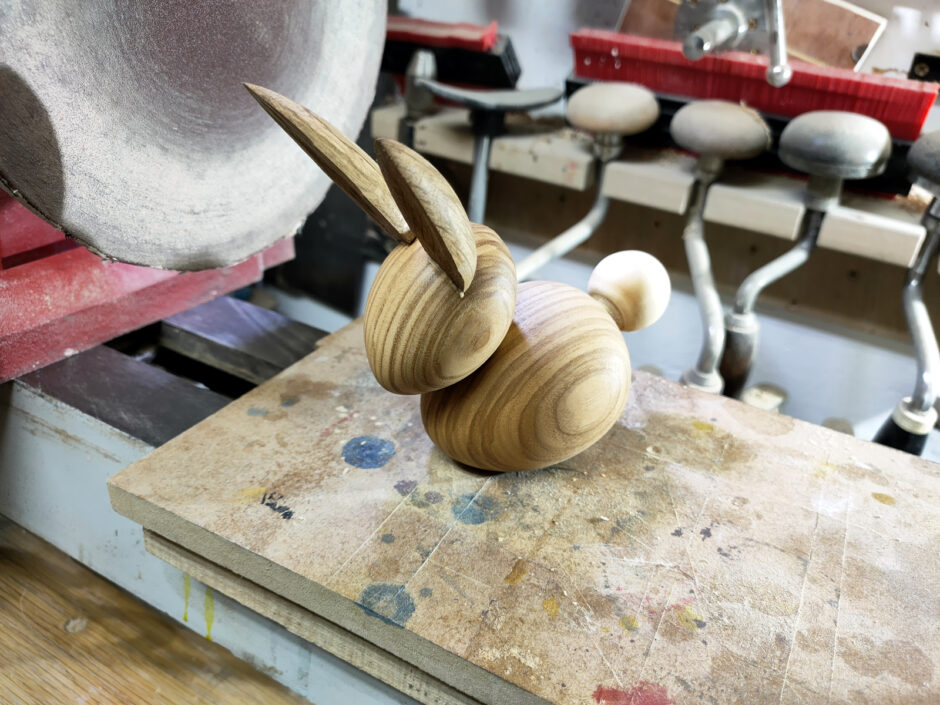
So, first up, turn the body and head from some sycamore spindles I had after the snowman production line at solstice. The head and body are basically just eggs…

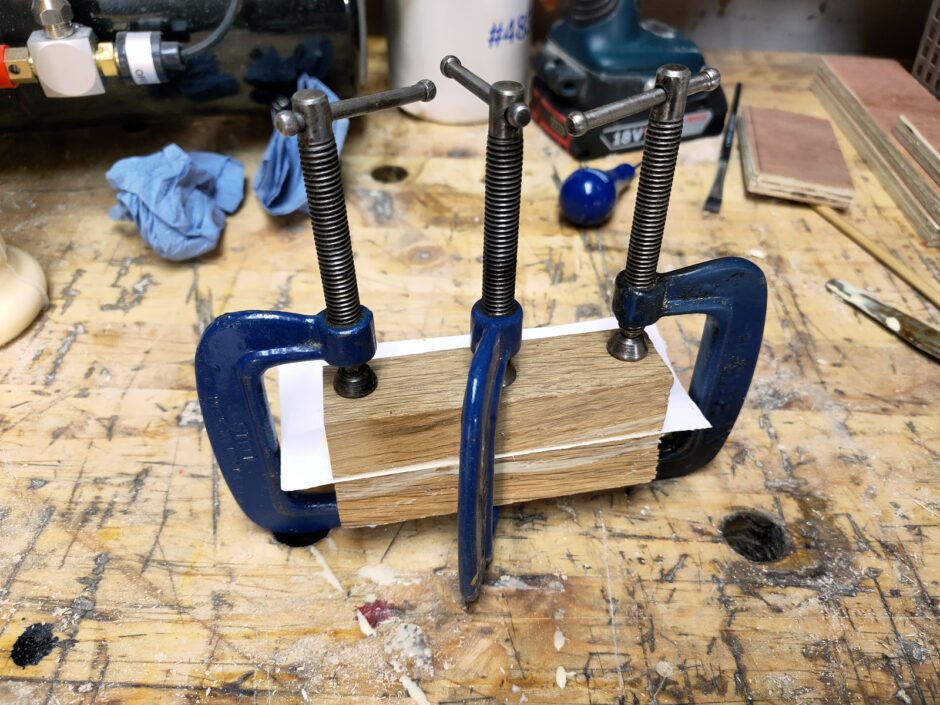
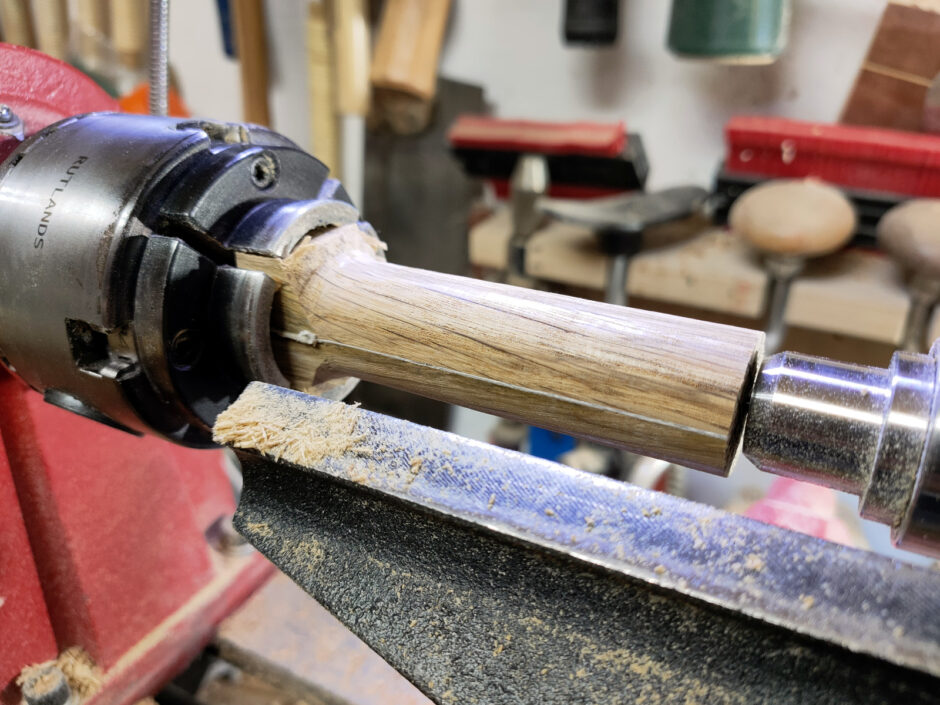
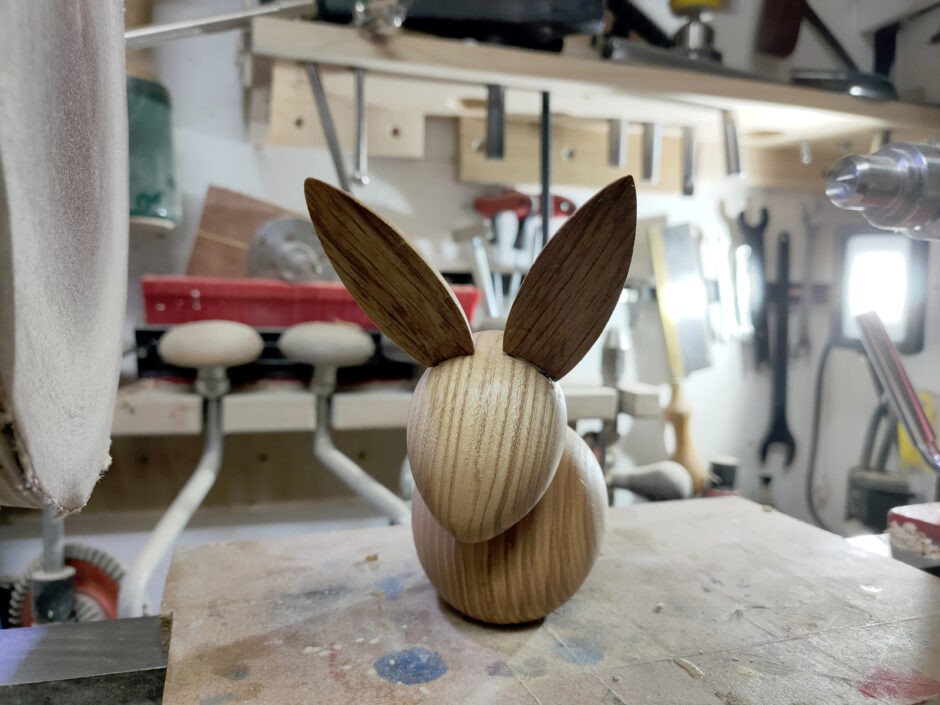
The ears are made as a long pointy egg as well, but from a blank which is a glue-up with a piece of paper between the two halves.

Similar to how you’d do an inside-out turning blank, but just two pieces here instead of four or more. Once the shape is turned, you just split the shape along the paper line and sand off the remaining paper (newspaper will do, but any heavy paper works well). These were just some oak offcuts I had to hand.

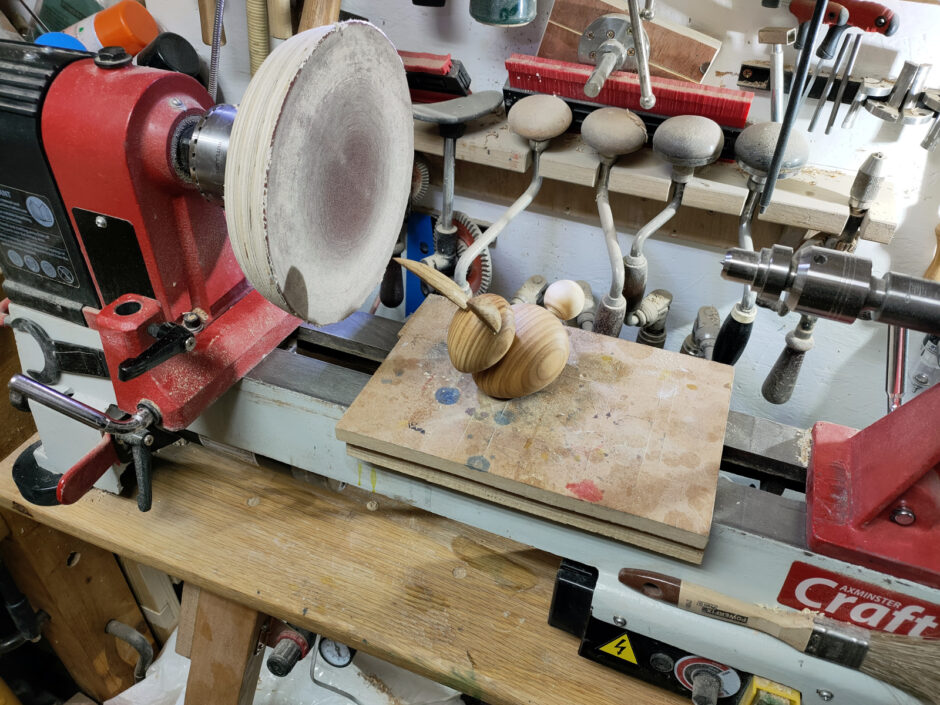
So with the head, body, ears and tail turned (the tail is just a chunk of old xmas tree trunk turned to a sphere with a tenon), you sand flats on the bottom of the body, on the bottom of the head and the top of the body, and you dremel the base of the ears to fit to the head (and I dremelled a small hollow into the ears as well because why not). Then drill between head and body for two dowels, and between head and ears for bamboo skewers (because I don’t have dowels that narrow). Glue everything up and…

That sanding wheel and platform are proving very useful for this sort of composite piece.

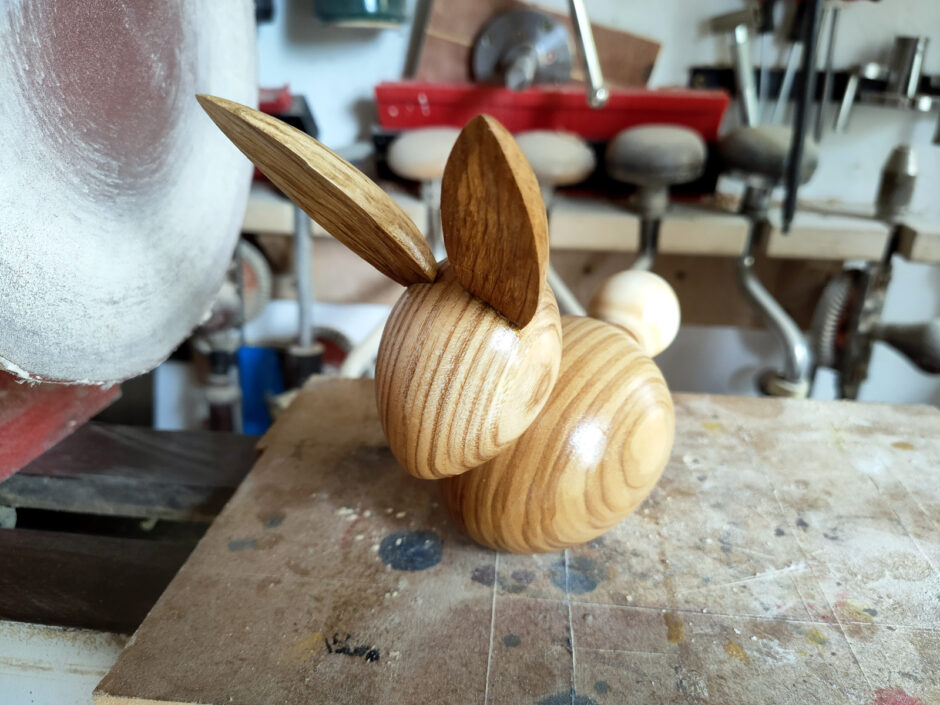
For a finish I just went with a coat of acrylic rattlecan lacquer.

Didn’t turn out bad at all.