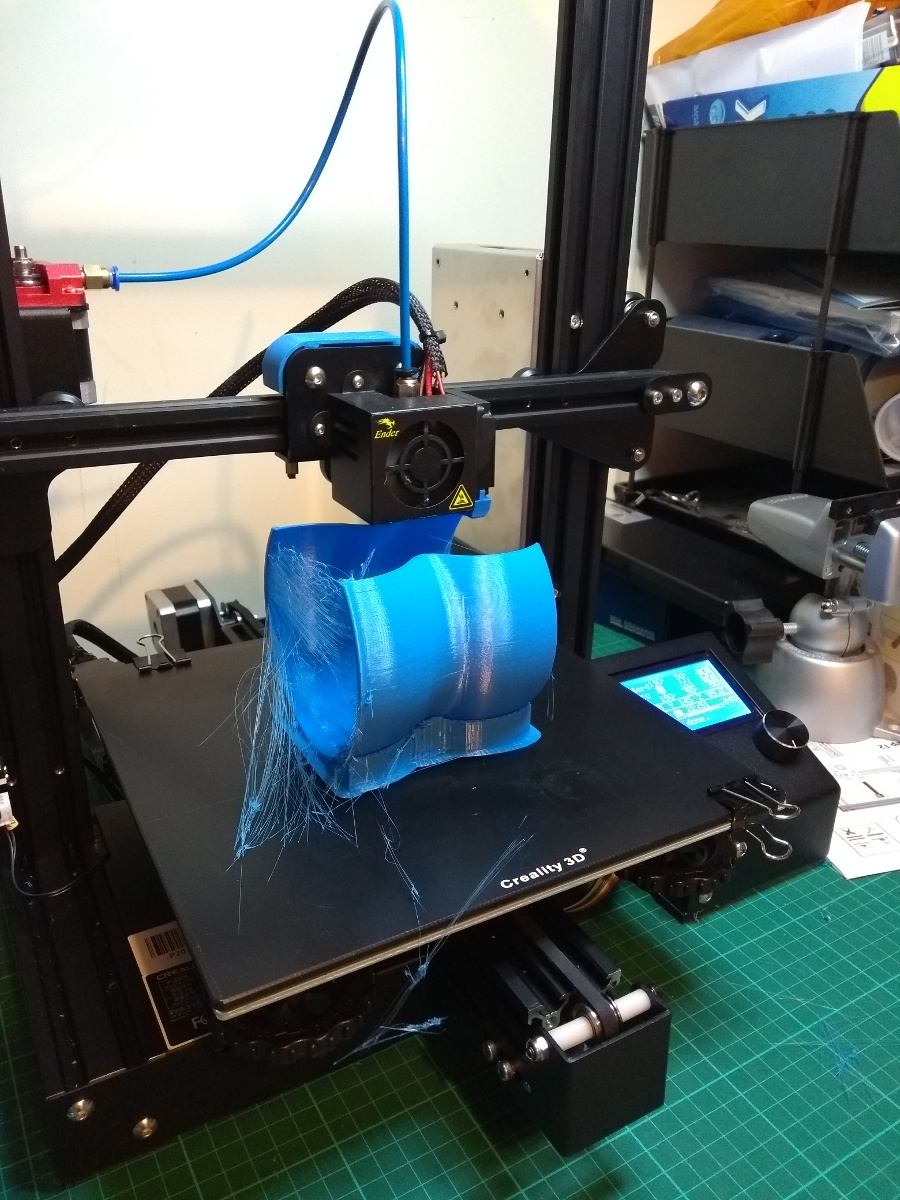
Over the last few weeks, the stringing problem kept going with the 3D printer. And of course, that caused things like the printing head snagging on a piece after 12 hours and dragging it off the bed…
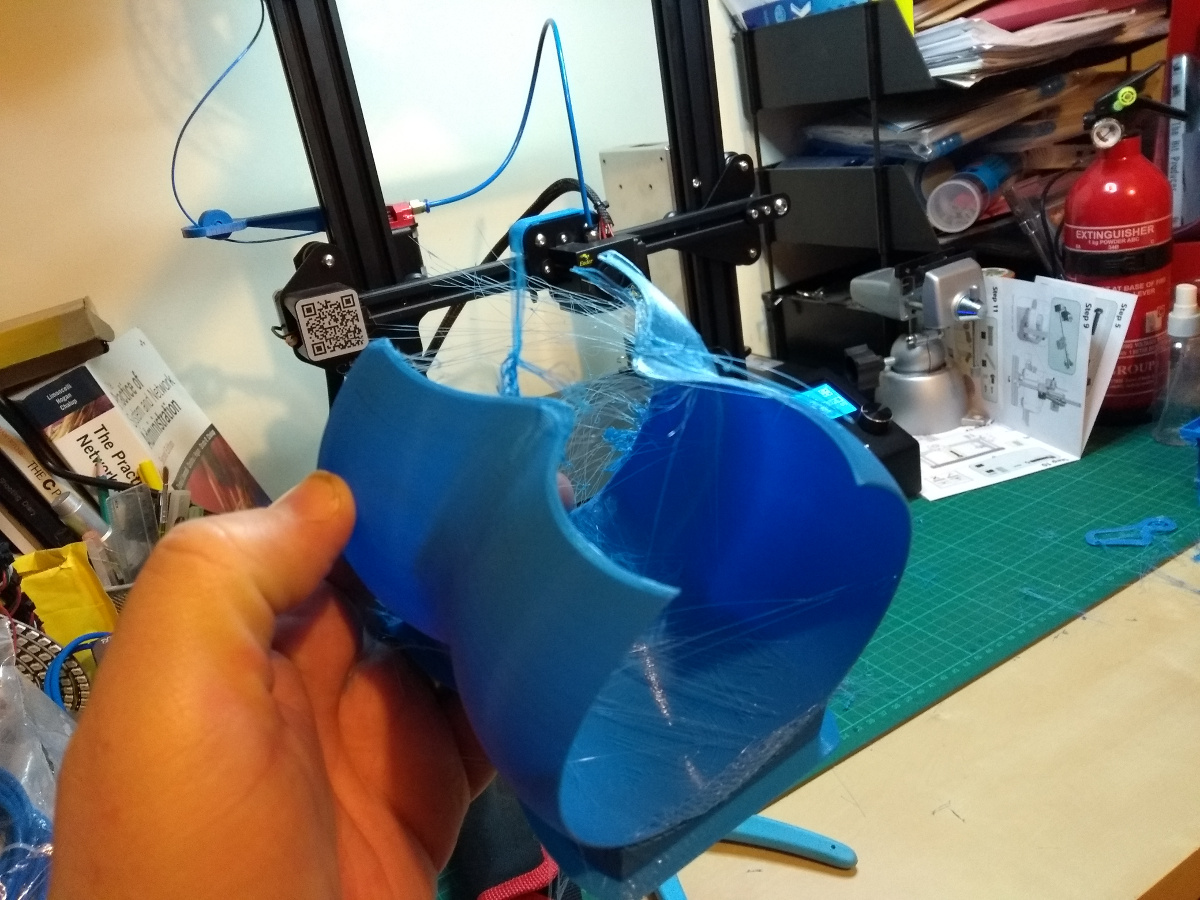
Not great timing. I did reprint and it worked, this time with the experimental tree support structures which look really neat mid-print:
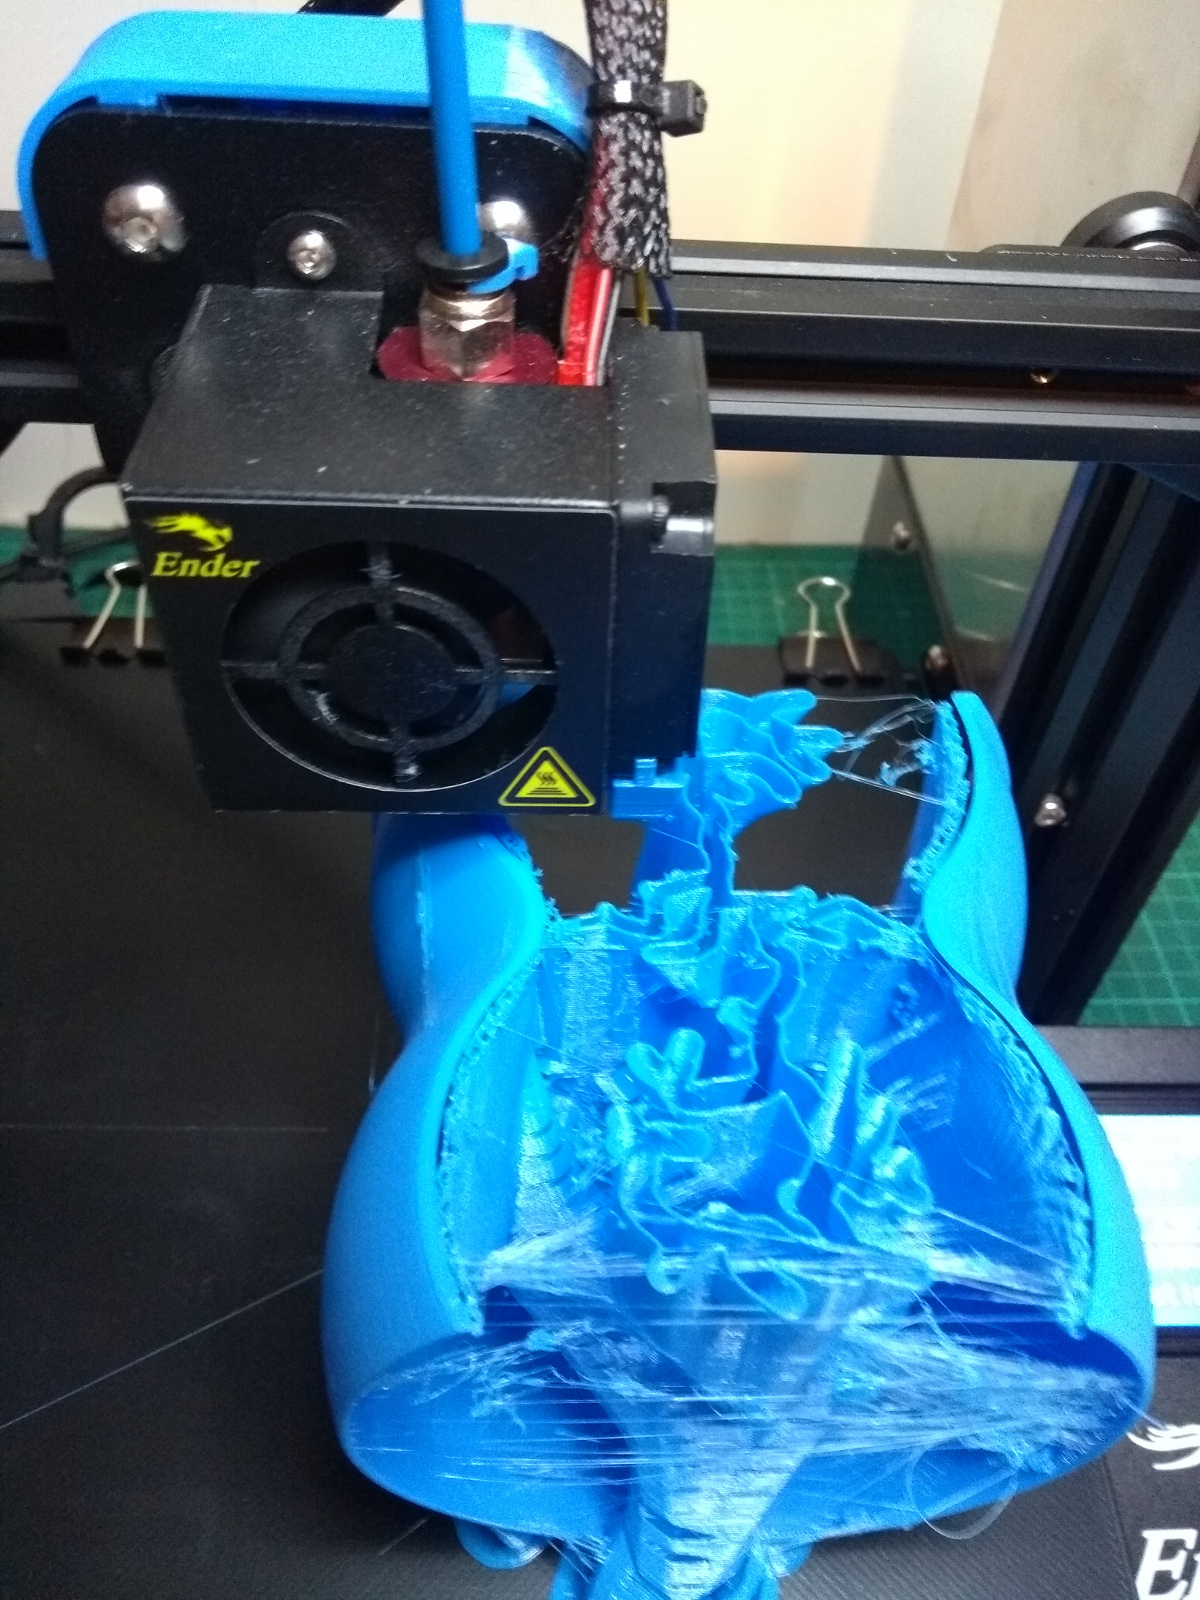
That orientation was pants though, so for the next segment, it was rotated through 90 degrees:
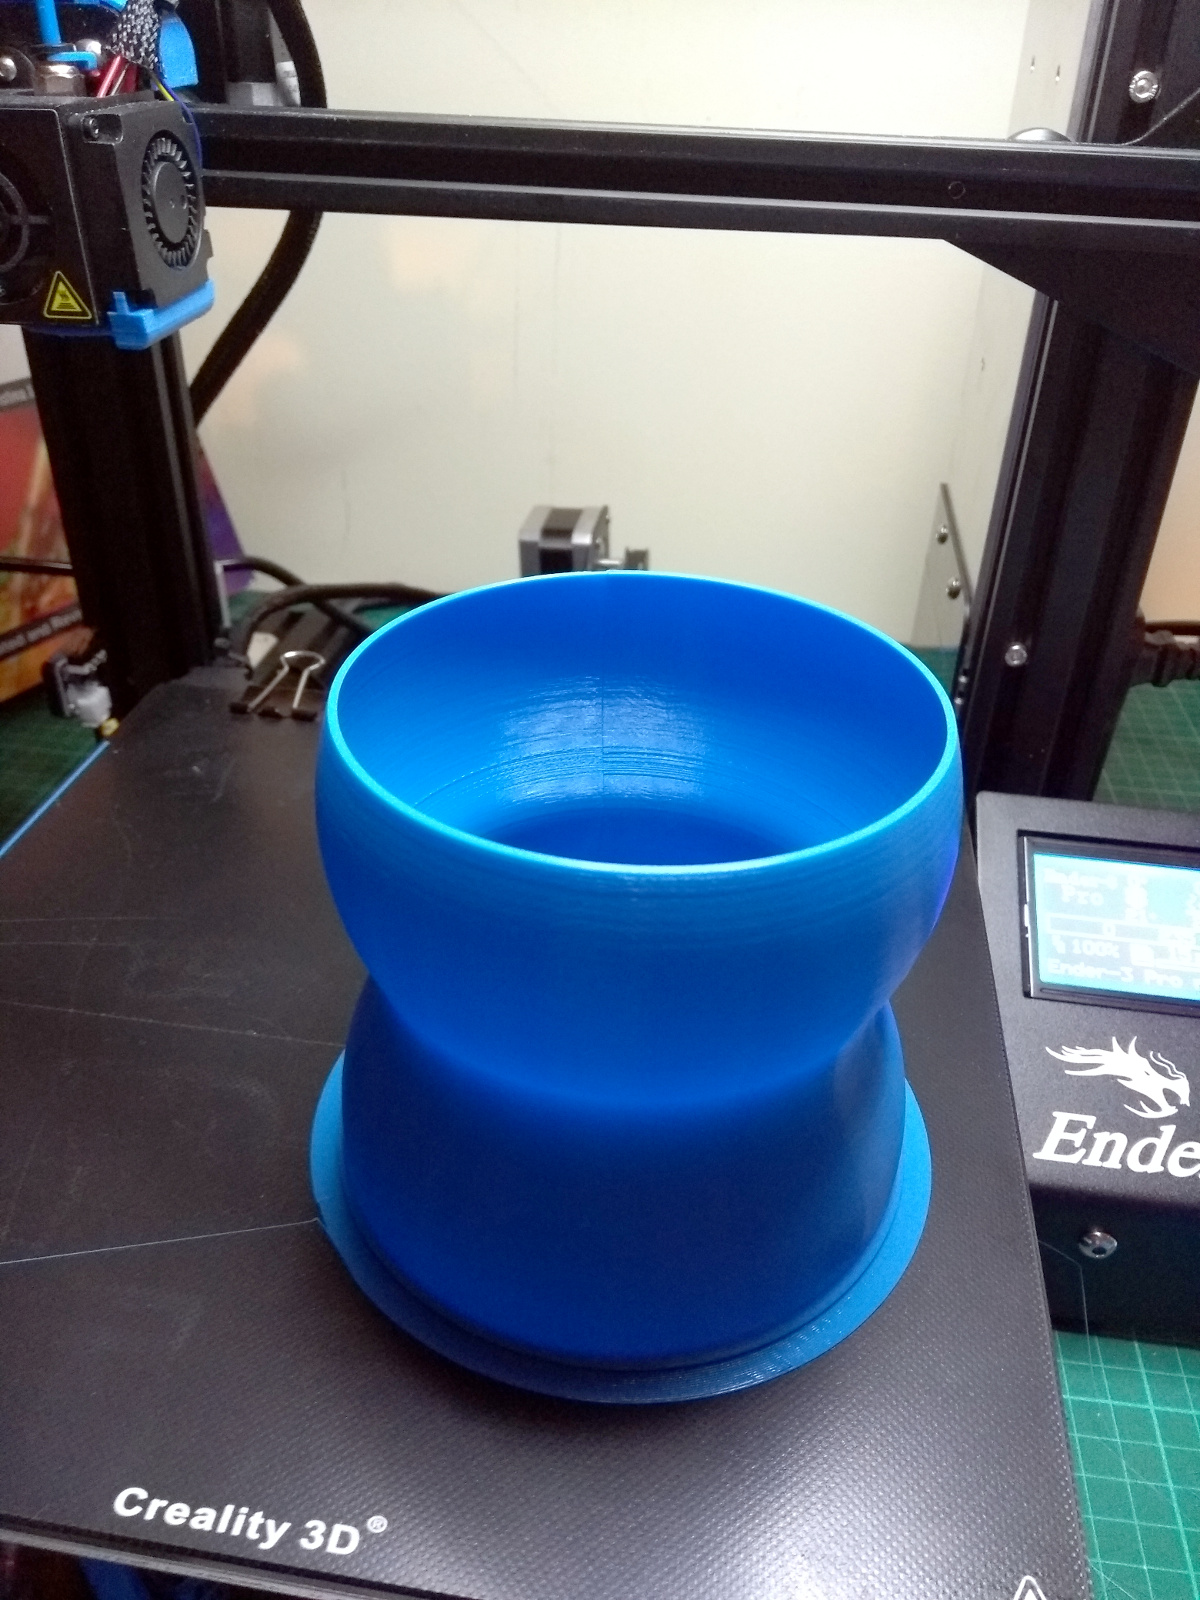
That worked much better.
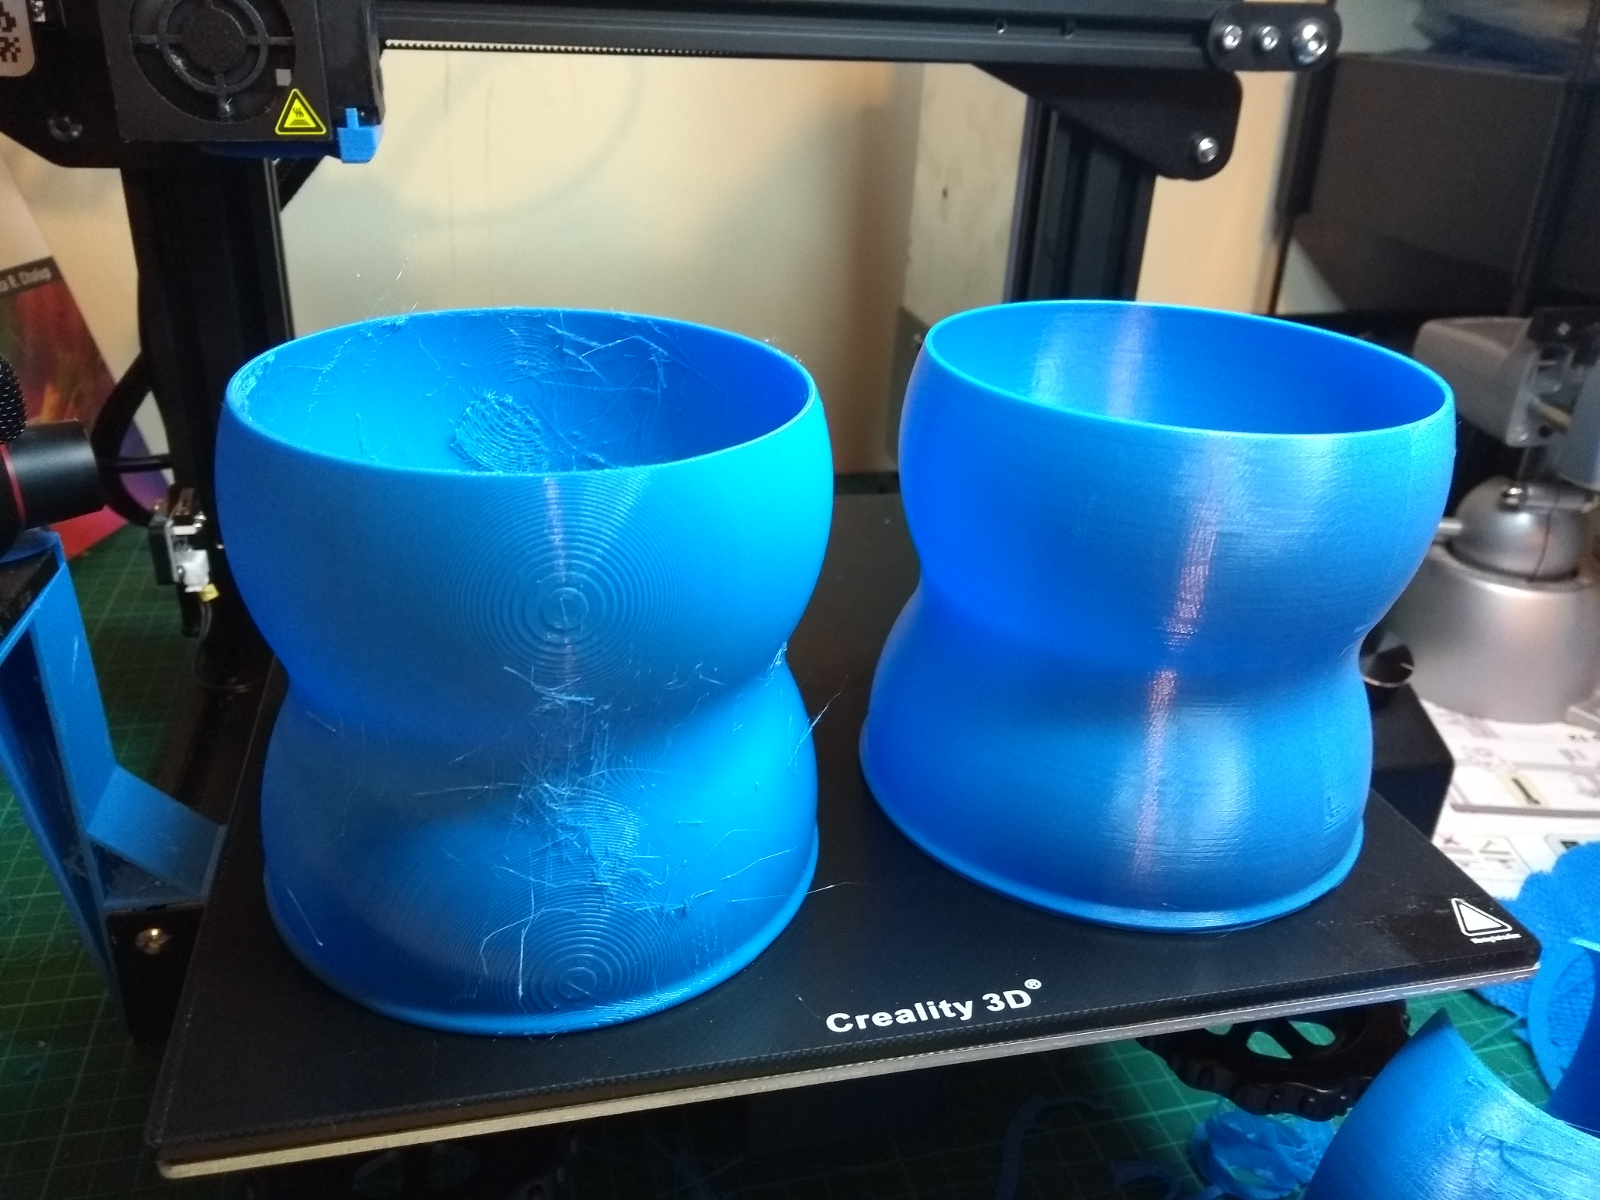
Of course, when trying to plug one into the other…
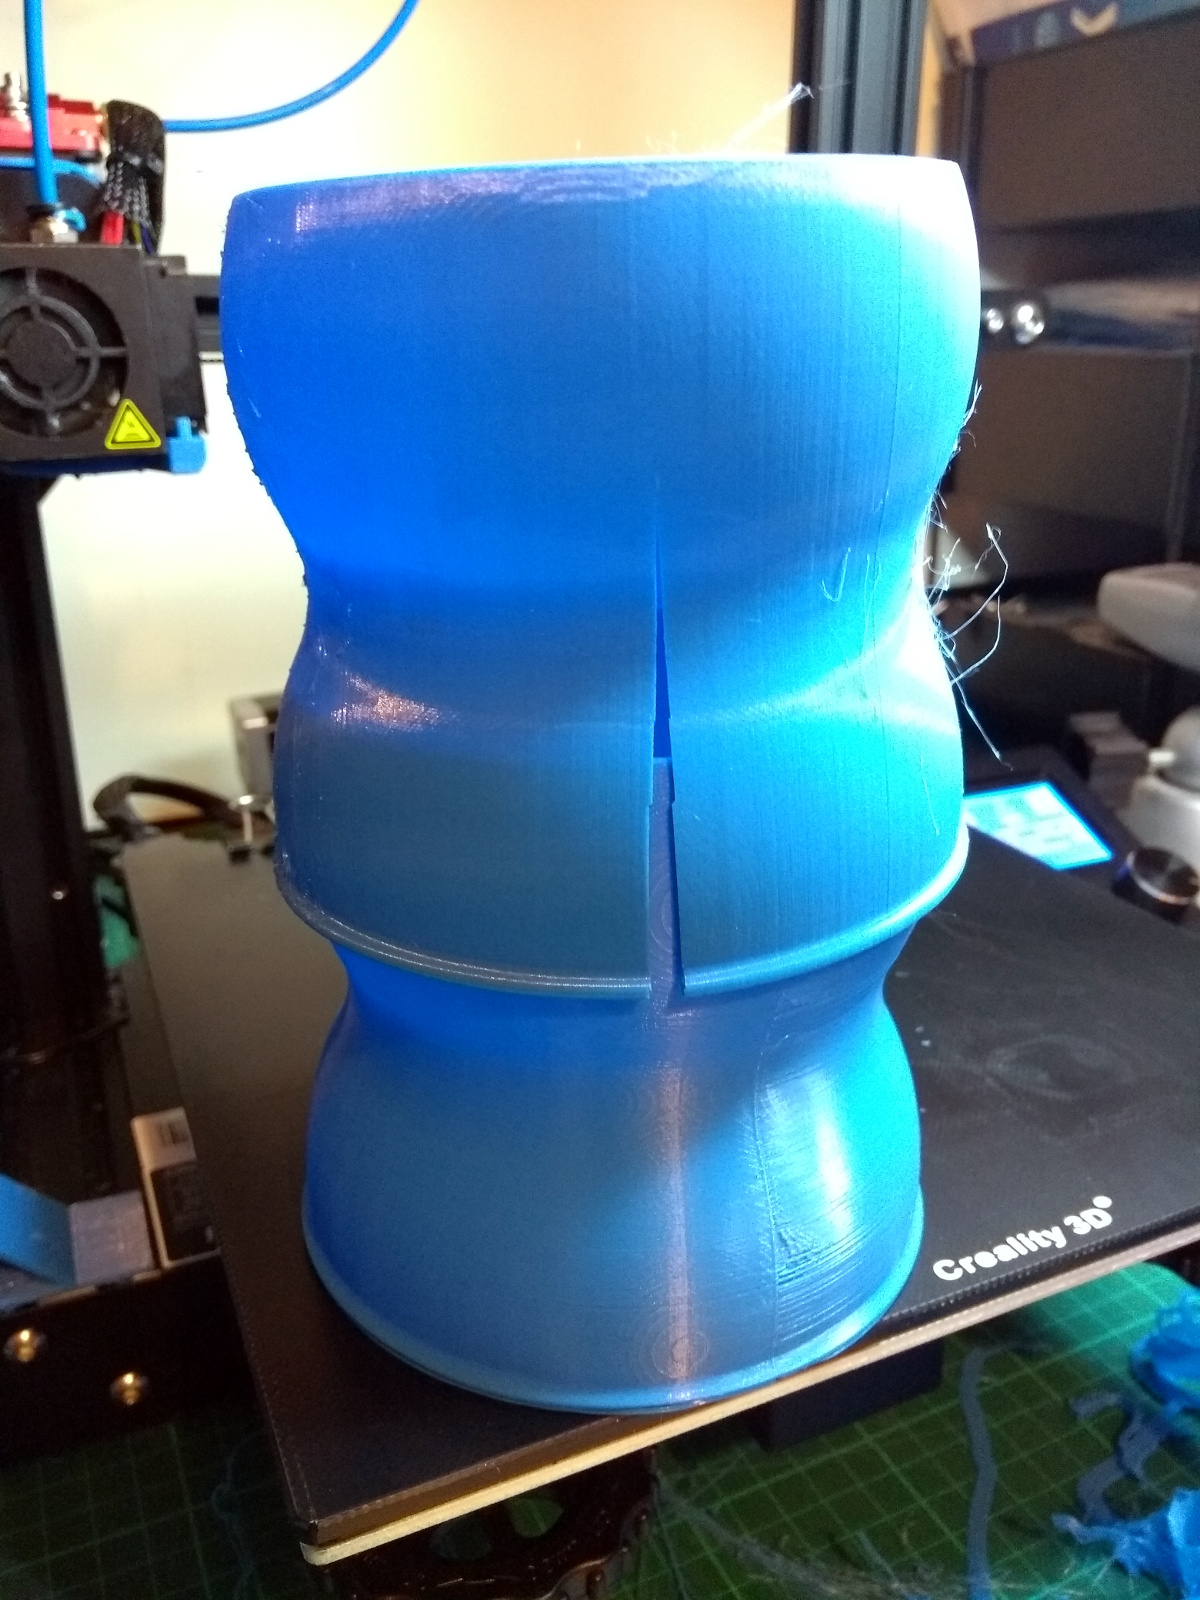
Well, sod.
Print another in the right orientation though and…
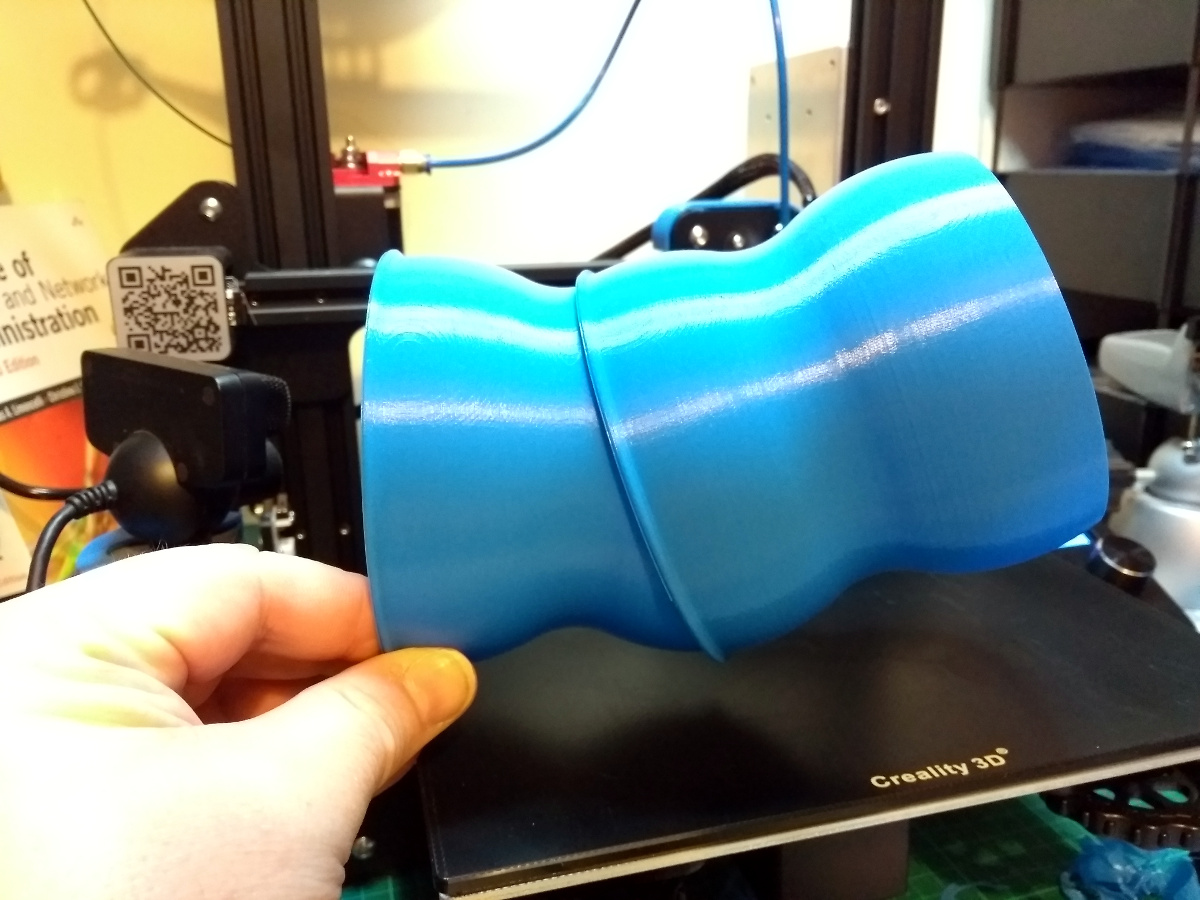
Mind you, snapping those together was right on the edge of breaking them and it seems like PLA is *not* the right material. Also, that was the last of my first reel of PLA – I came within an inch or two of running out mid-print:
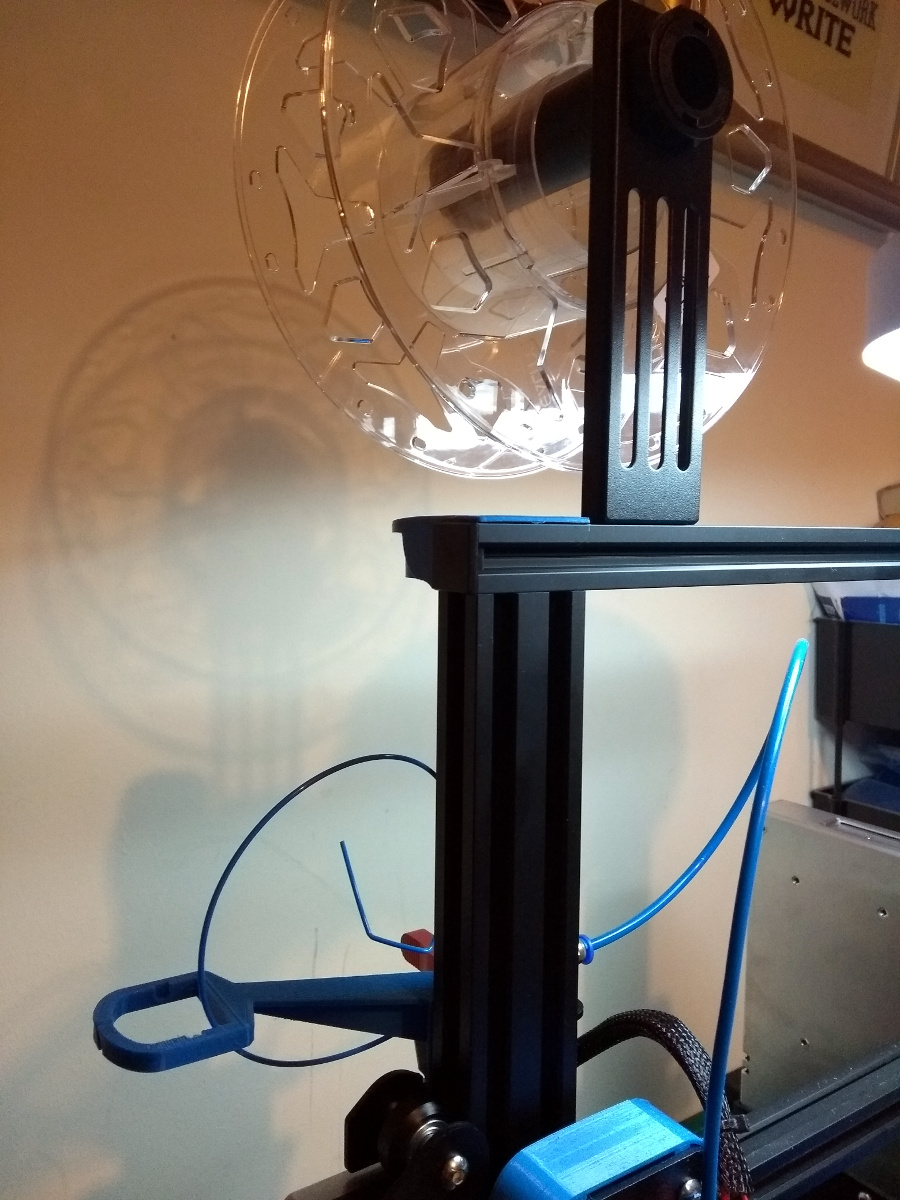
So I got some more, this time not from Creality because a lot of internet experts were sure that creality filament was the source of reliability issues with prints. So eSUN is the new hotness:
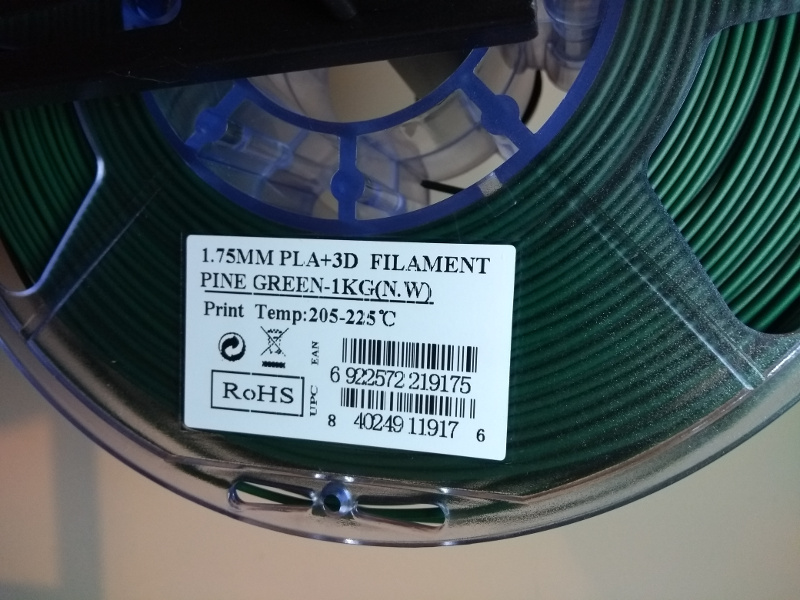
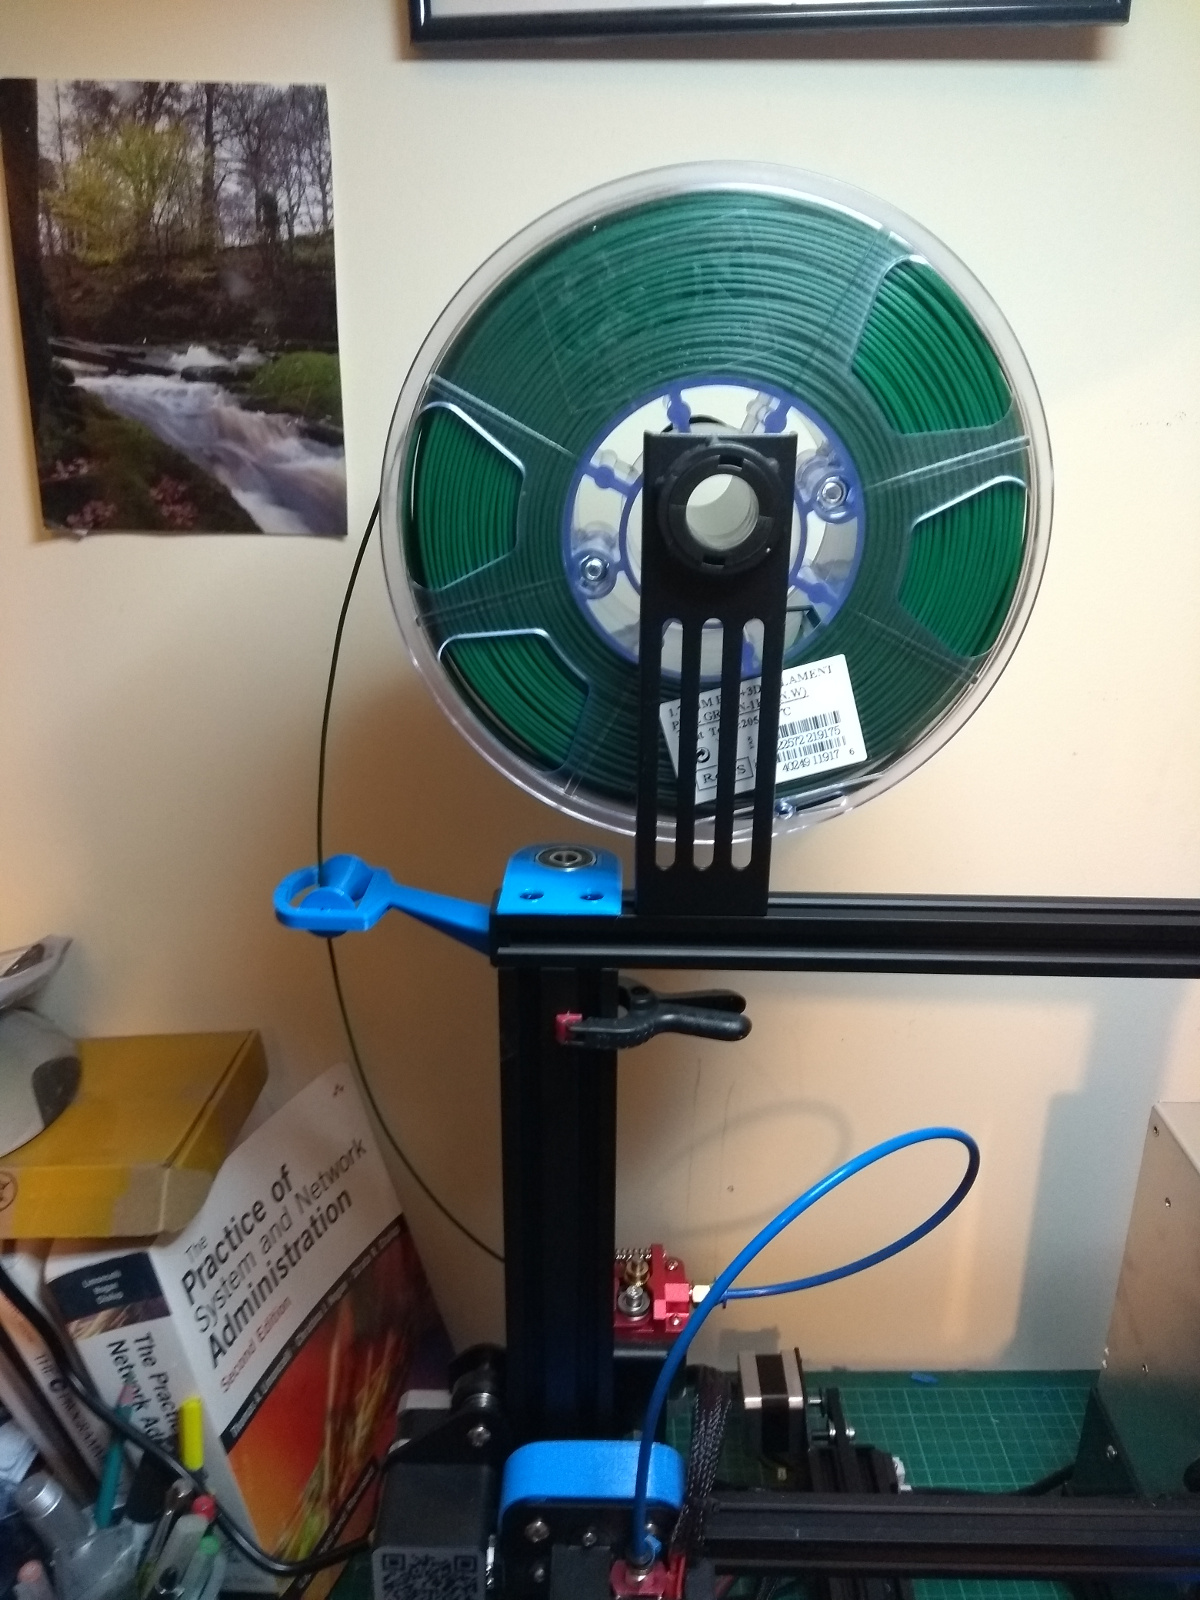
First up, as this is PLA+ not PLA, a new temperature tower…
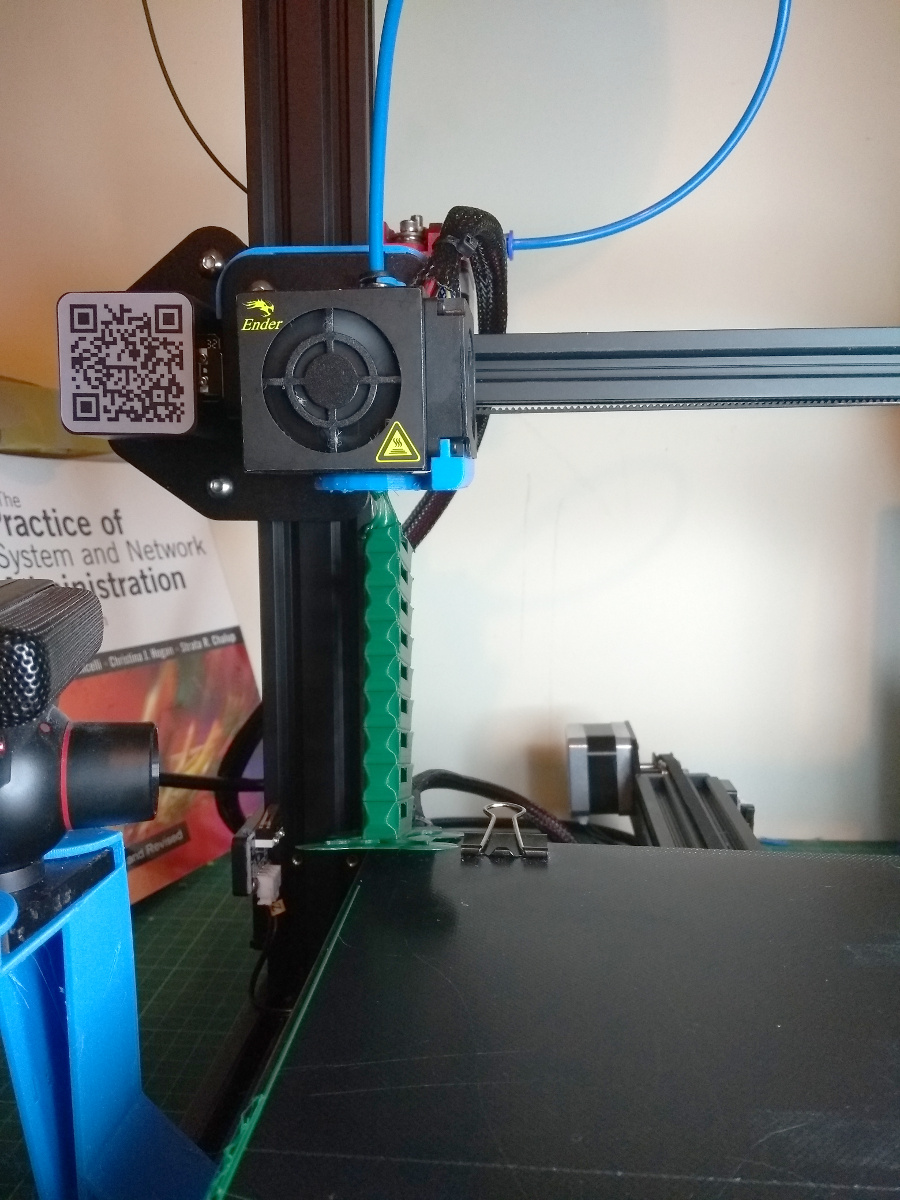
Final layer stuck to the head, but that’s okay, it’s expected that the print ends in failure because you’re looking for limits.
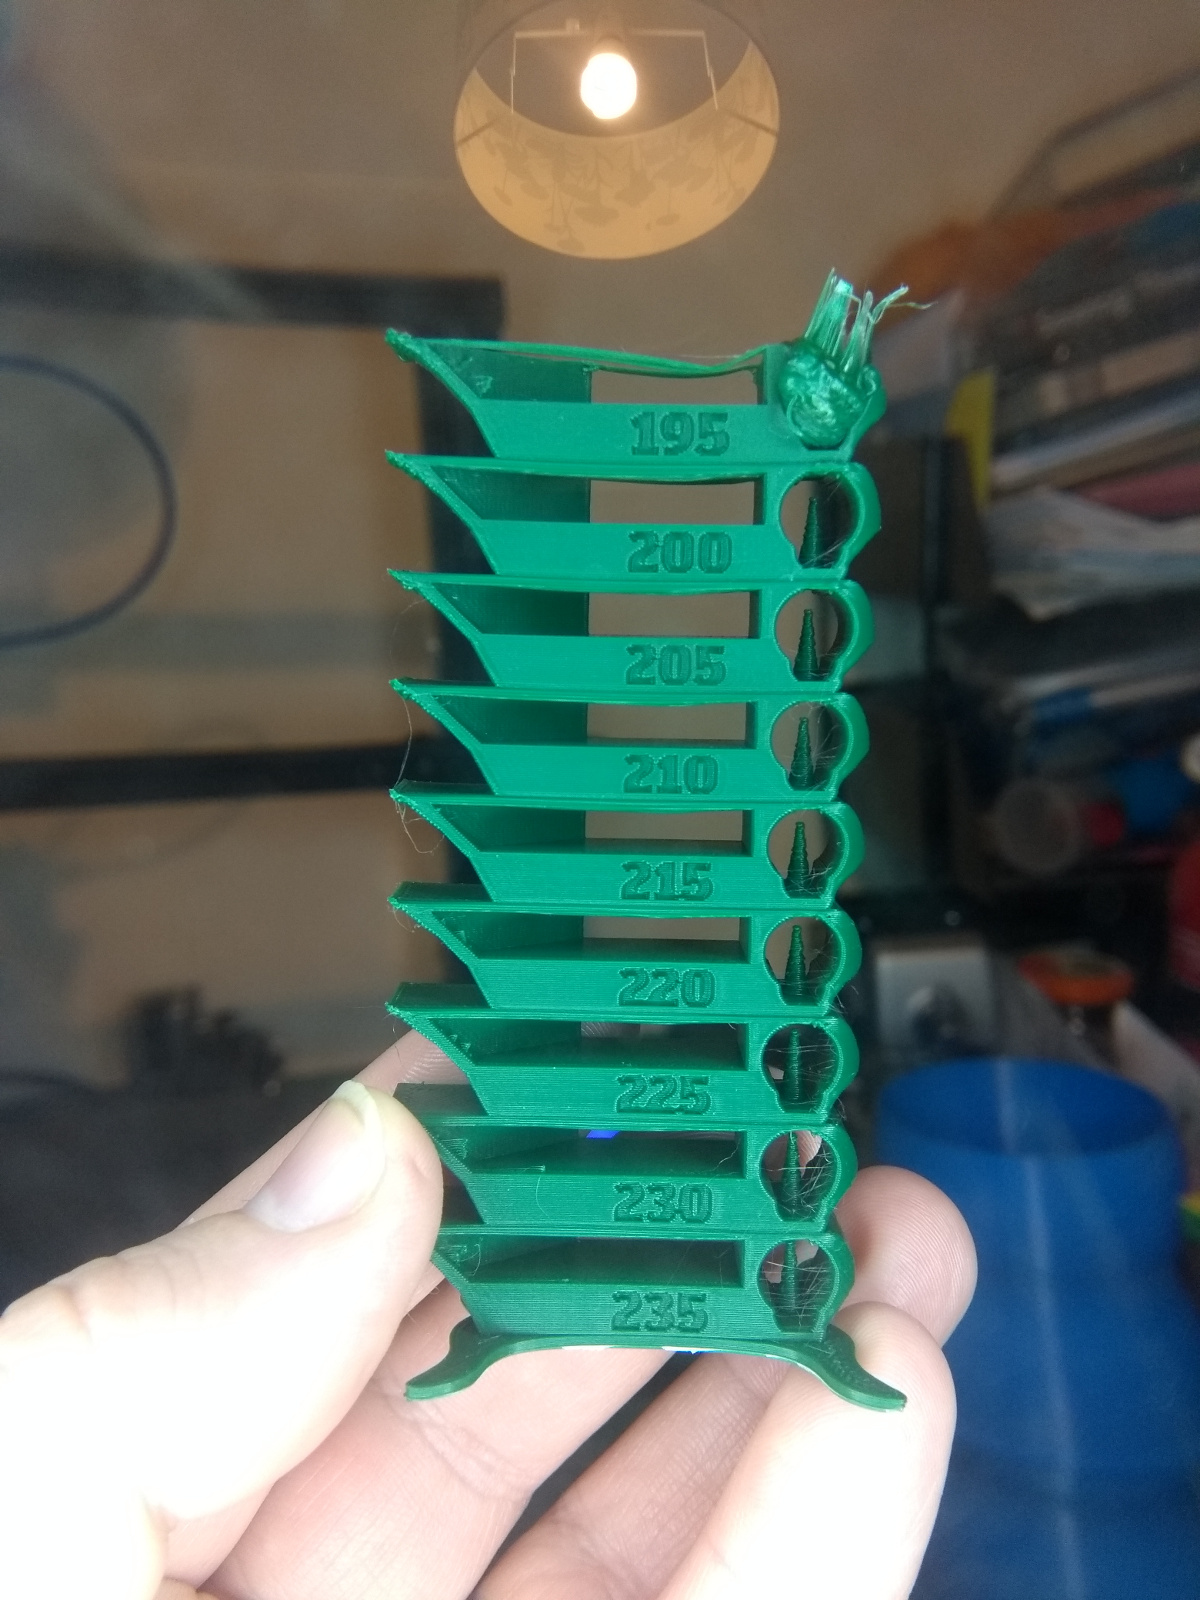
Looks grand under the magnifying glass. 210C it is so I think. Calibration cat time!
And now I have a cover for the end of the Y axis bar as well. I also printed off a light bar to hold some LEDs for lighting….
And then printed a centerfinder/caliper setting gauge that I’ve been trying to print for ages.
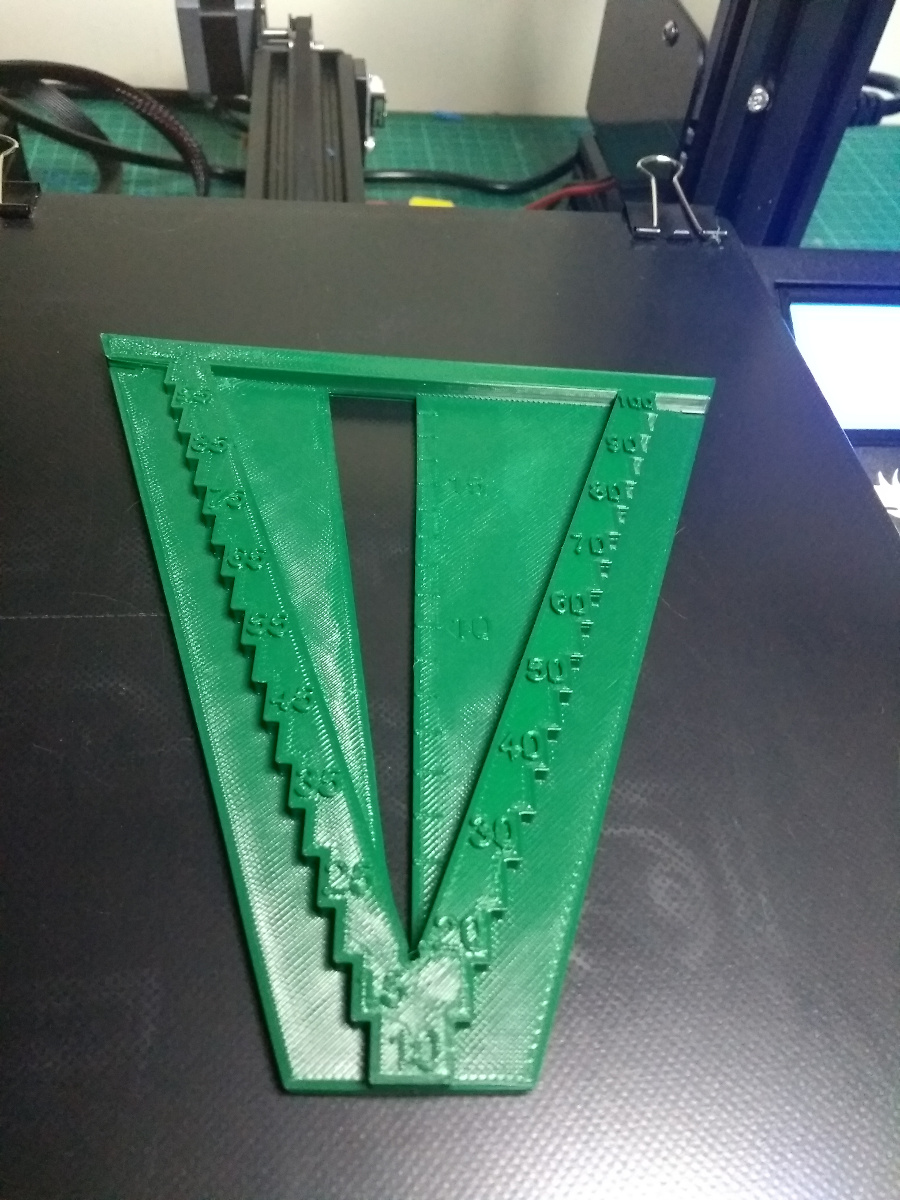
The idea being it can be a centerfinder for spindle turning and give you preset (in 5mm increments) references to set a turning caliper off of. Handy.
But for the dust extraction stuff, it looks like both PLA and PLA+ are non-runners. There’s no flex in them so when you push hose segments together, they’ll snap in half rather than flex a little and snap together. So I ordered some PETG as well, but ordered the refil instead of the reel by mistake (eSUN does refillable reels) so now I get to print off a filament reel using filament and this is getting a tad meta…
Two sides down, one hub printing now, and then I can change filament over to PETG, print off a temperature test tower, and get back to dust collection parts.
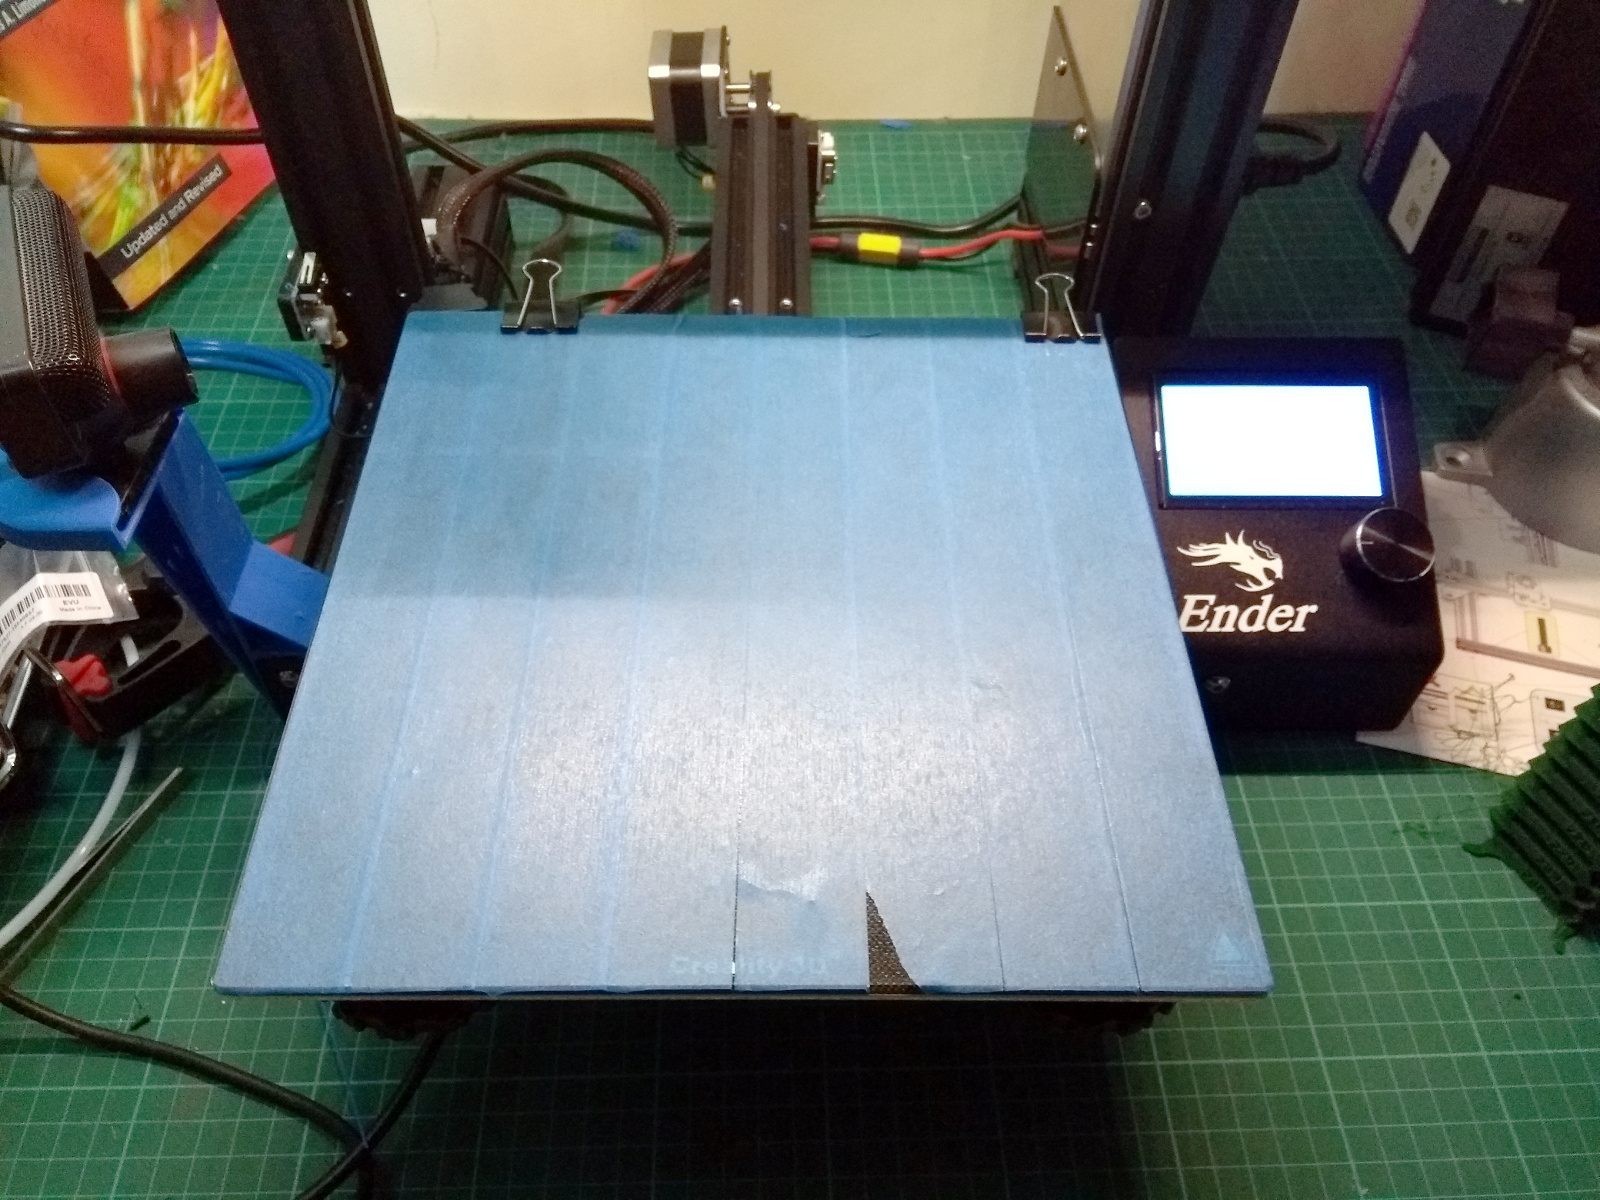
BTW, finding that blue tape on glass is a much more successful surface than the ones I’ve tried so far. Even hairspray didn’t help much.
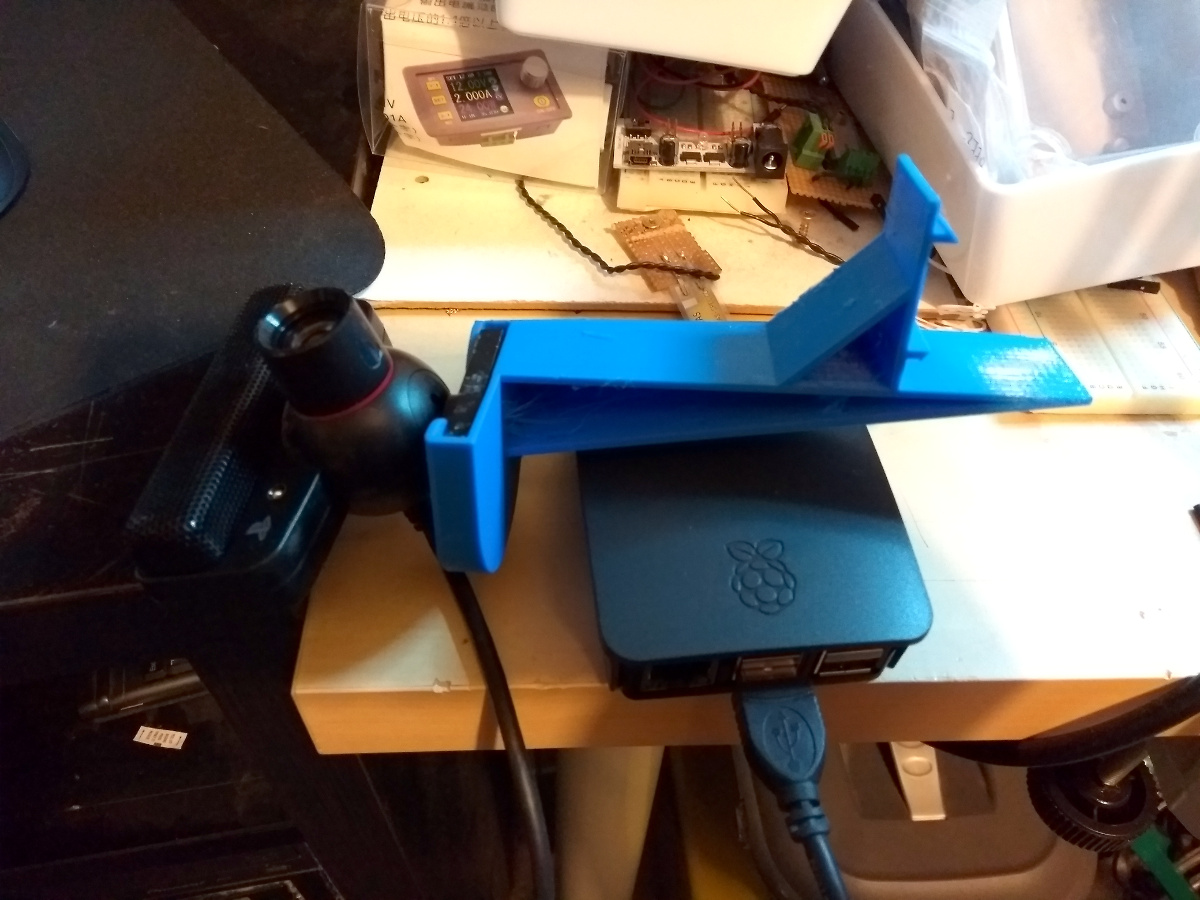
More pressing on the 3D front though is that the setup is currently the jankiest setup I’ve janked in a very long time.
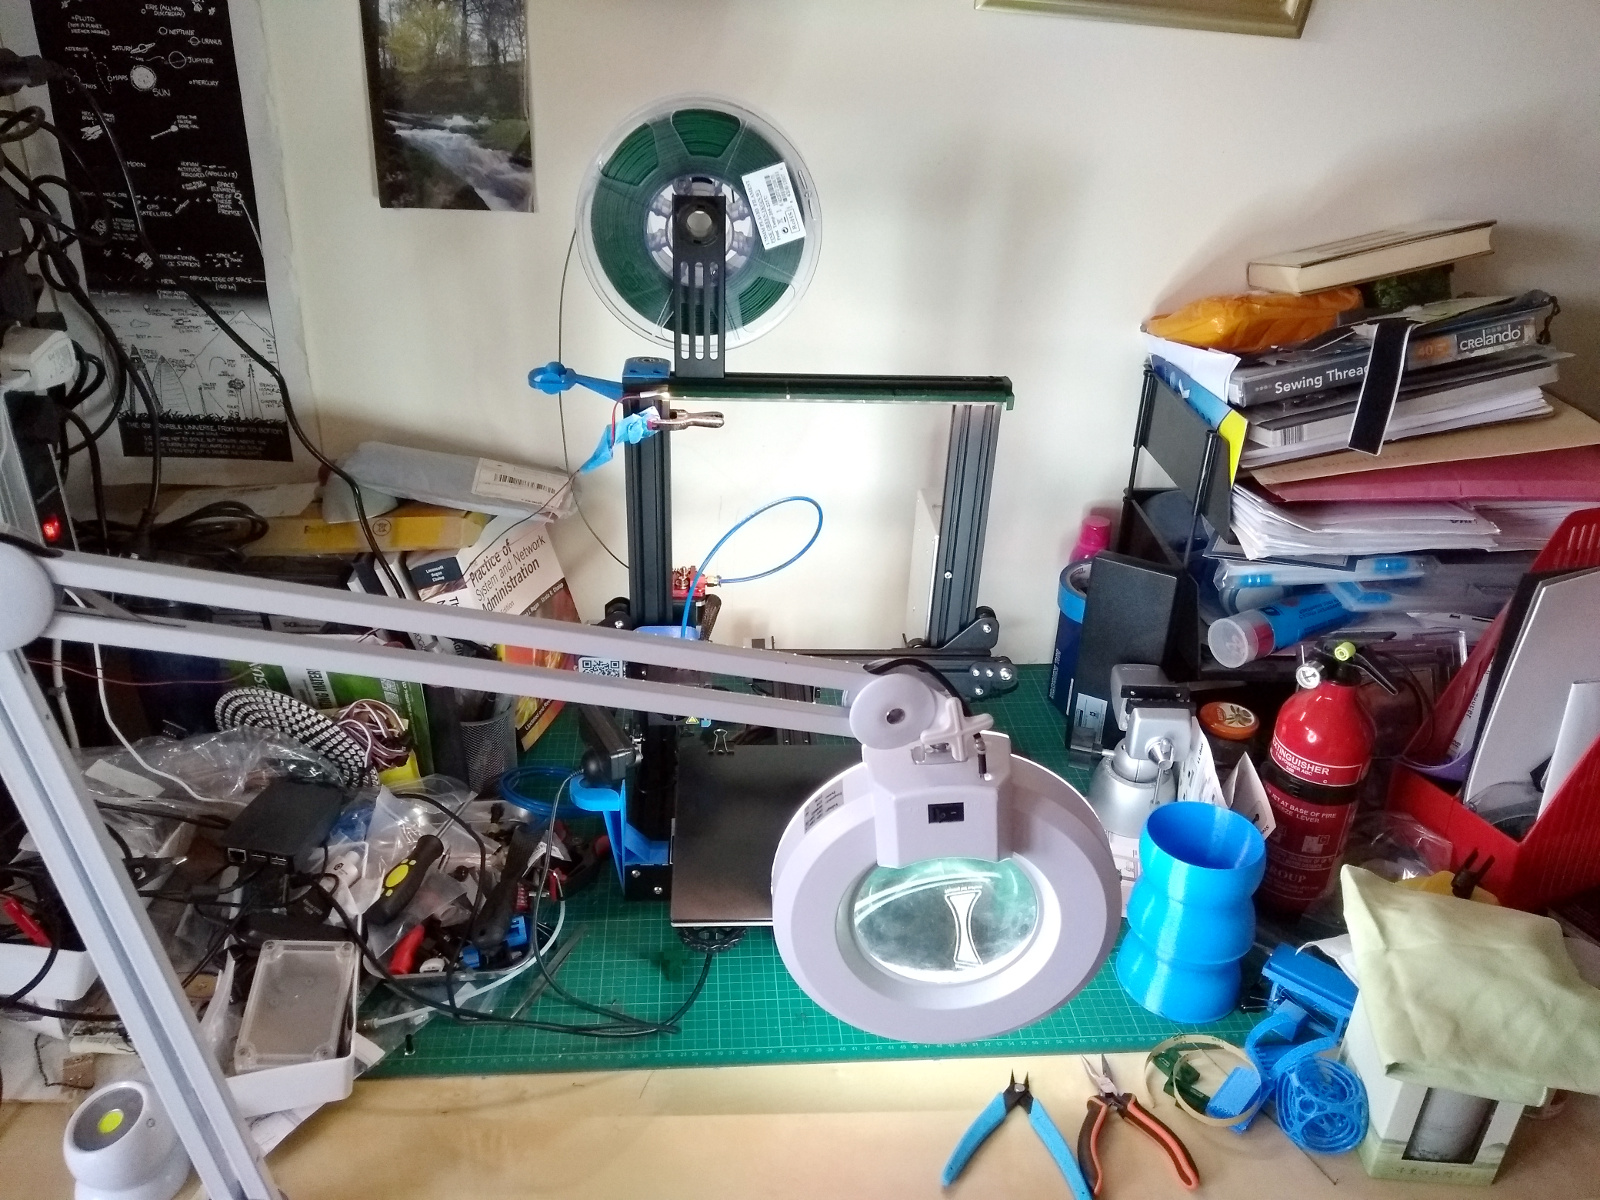
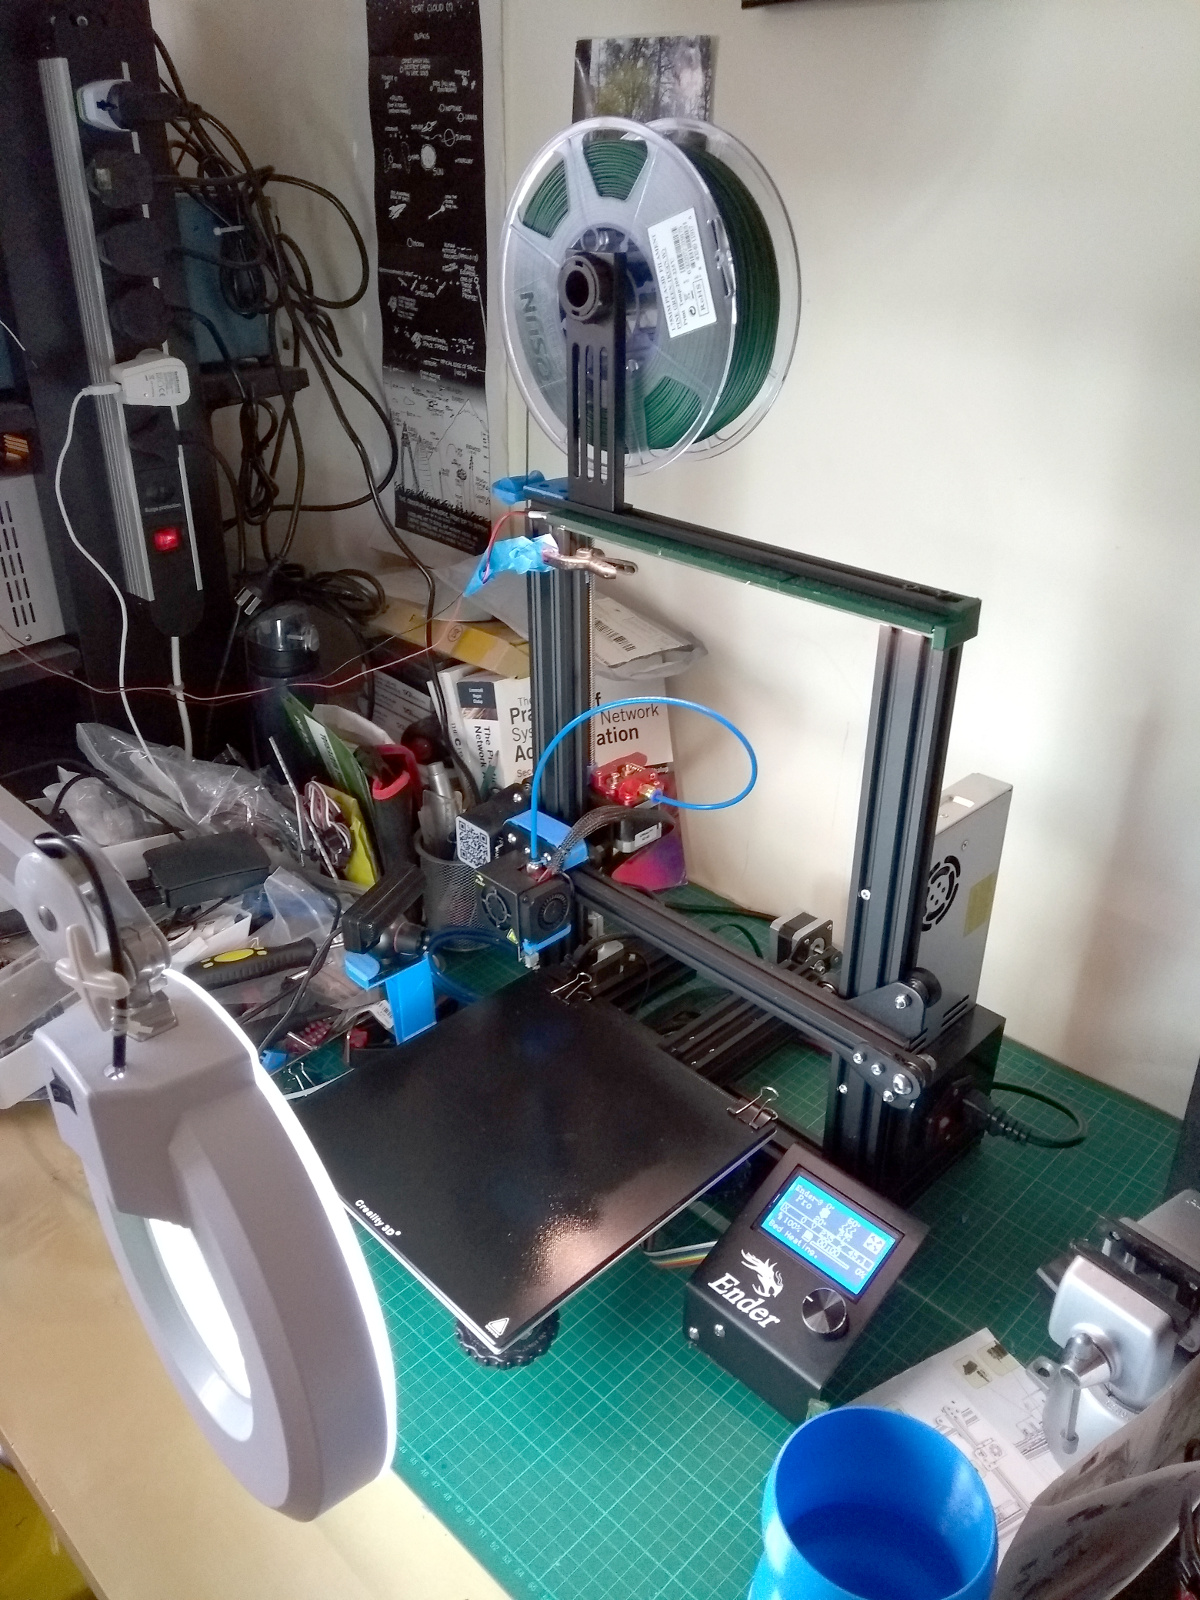
That’s three separate power lines in that photo, between the ender3’s PSU, the lab PSU and the raspberry Pi. There needs to be some rewiring, but since all this is getting moved off its desk when the nice man from Ikea arrives, I’ve just not done it yet. (This whole room has to become a home office for two people now, so the printer is going to its own table in the corner).
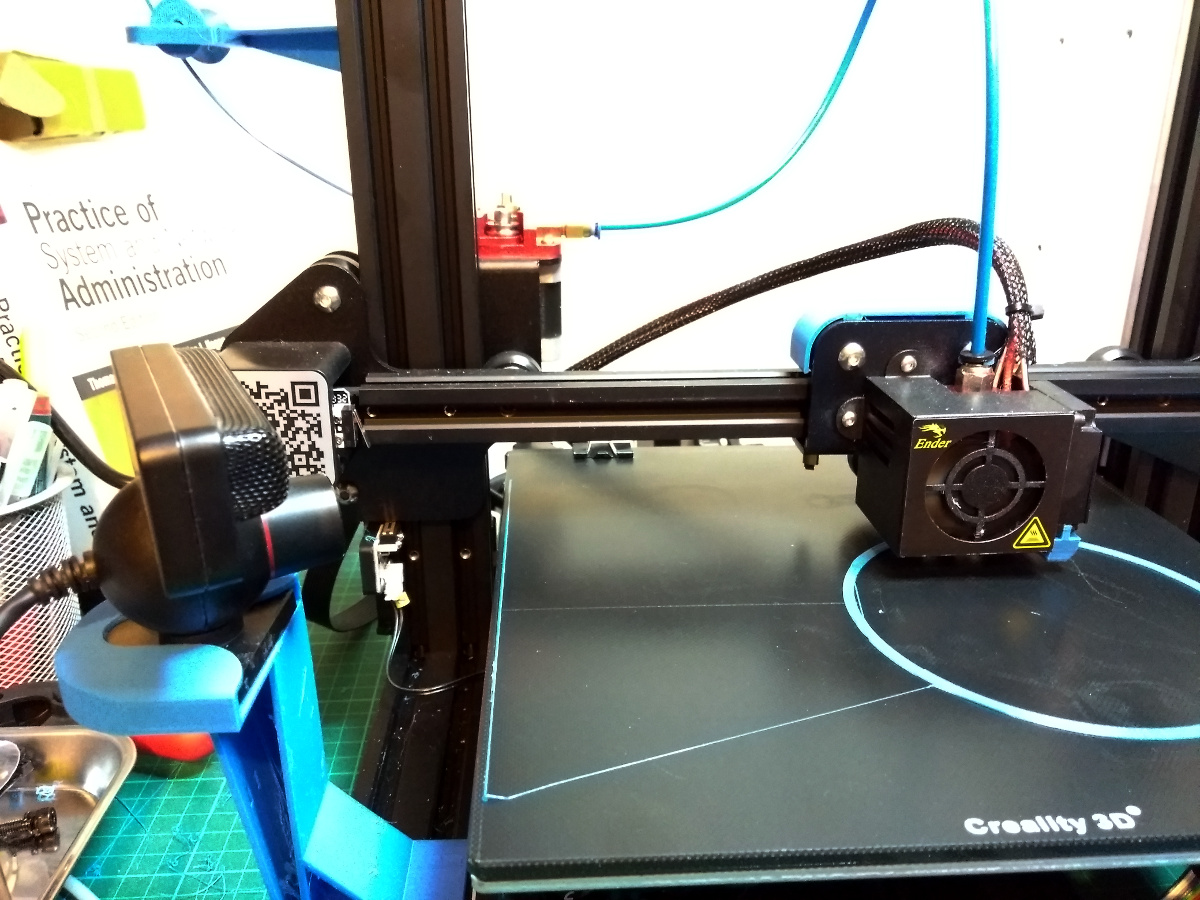
I have, however, switched over to using OctoPi to drive the ender, and it’s marvellous, it’s where all those timelapse videos come from for a start. It also gives a browser UI to control the printer and monitor its progress via a webcam (a repurposed PS3 Eye in this case because I had one and they’re cheap as chips, but the Raspberry Pi camera and a few others are supported too).
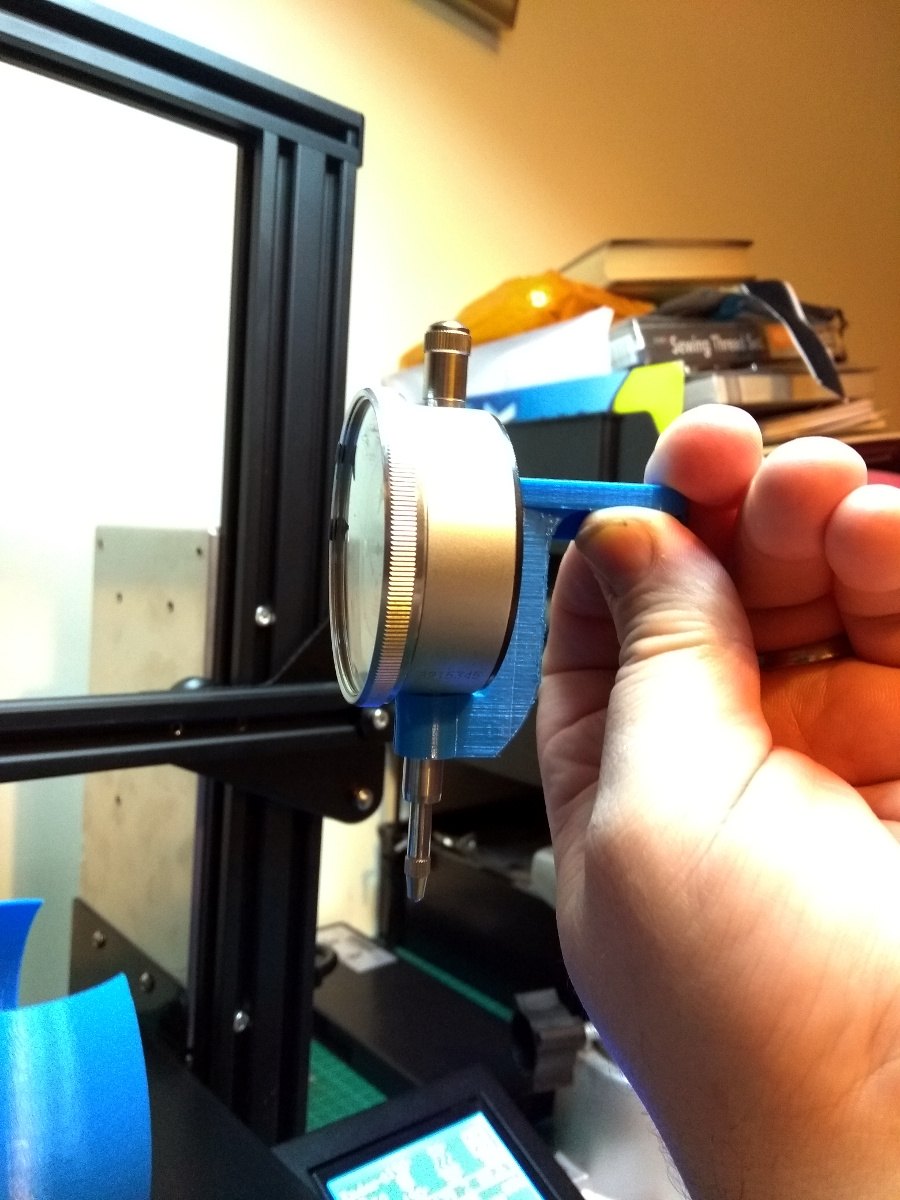
Oh, and I even managed to print a dial indicator holder finally. So. Progress 😀
But next up, moving all of this, rewiring all of this, possibly enclosing all of this and generally a metric buttload of changes. So, y’know, that dust extraction system may take longer than planned. But these days, that’s the standard state of affairs…

Interesting to see the printing result is not isotropic.
Plastic grain!
Can it be enhanced by varying the vertical step, temperature, linear speed?
Sylvain
I like the look of the new blog.
Cheers Ralph. Just mucking about with it really 🙂
You can definitely make the grain more pronounced by increasing the layer size Sylvain, but it’s not a great idea – the material will delaminate more readily.
In fact my idea was “how to suppress the grain” as it would be a defect for most uses.
Sylvain
Ah, that makes more sense 😀
And yes, you can, smaller layers and with some materials a quick wipe with acetone to melt the surface slightly. But in the end I gave up on printing this part in PLA and PLA+ and just switched to PETG with *much* better results – the slight flex in PETG makes it far more suited to parts like this which have to snap over one another.