So the next step was to even out the bottom of the sea a bit with the router. That took about five minutes and was mostly making light cuts here and there rather than any systematic grid pattern thing.
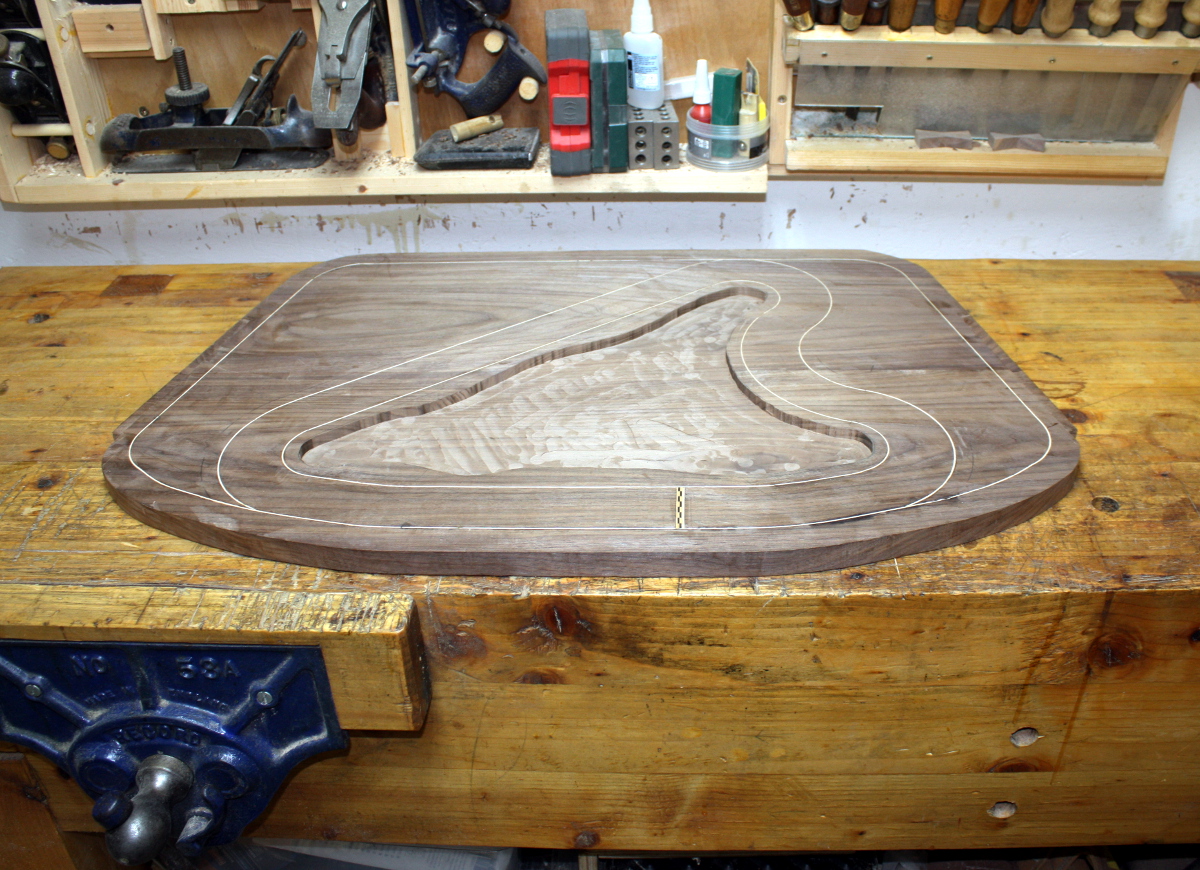
Then time to seal the grain; I don’t really want the resin leeching out through the grain. I mean, it’s walnut, it’s not very porous but still.
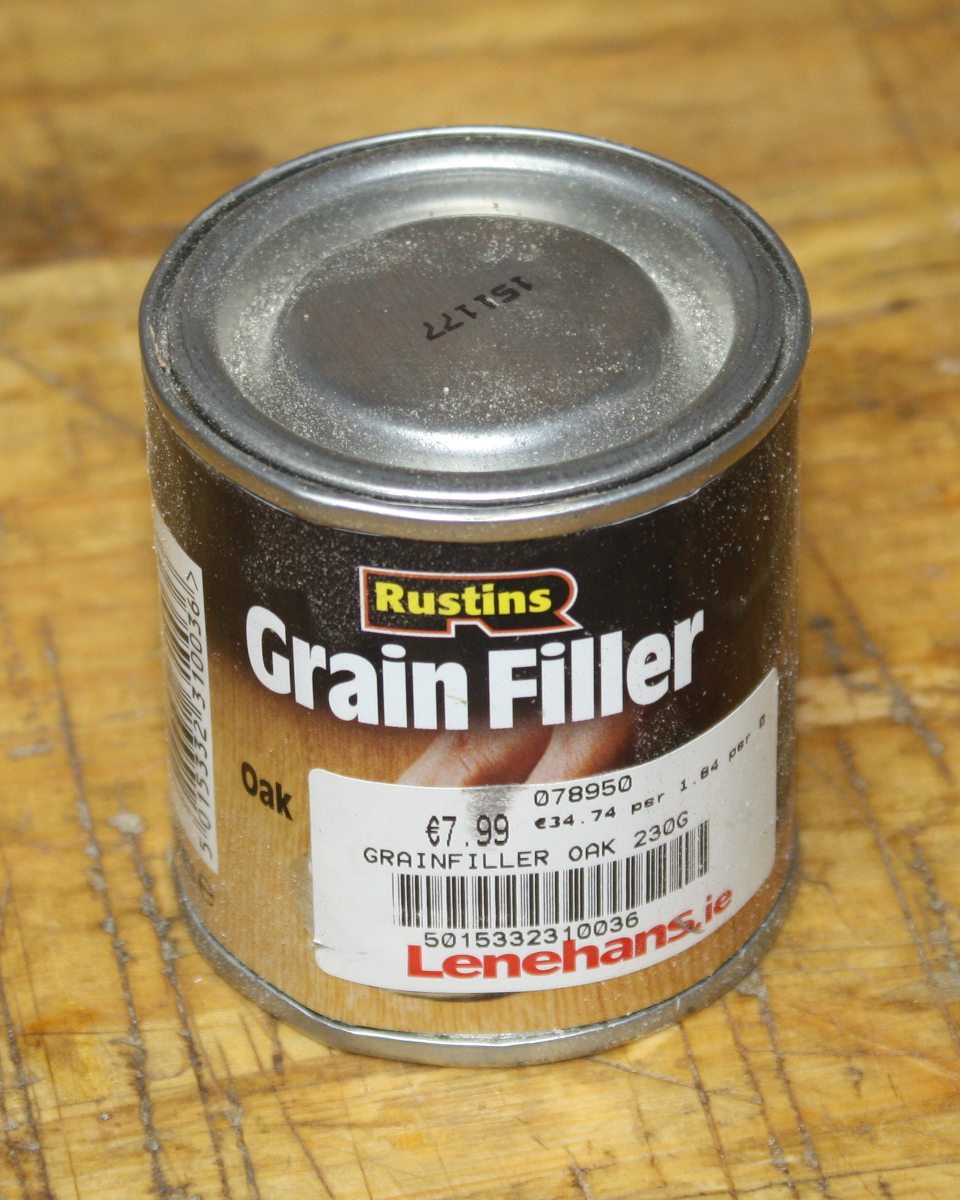
This stuff isn’t wood filler, that kind of putty I use to cover my mistakes, this is much much finer grain material that is supposed to get into the pores and block them up. It’s a pretty thick mix in the tin, almost at a putty consistency, but you dilute it to a thin slurry with white spirit and then rub that into the wood with a rag, and clean it off when you’ve gotten as much in as will go.
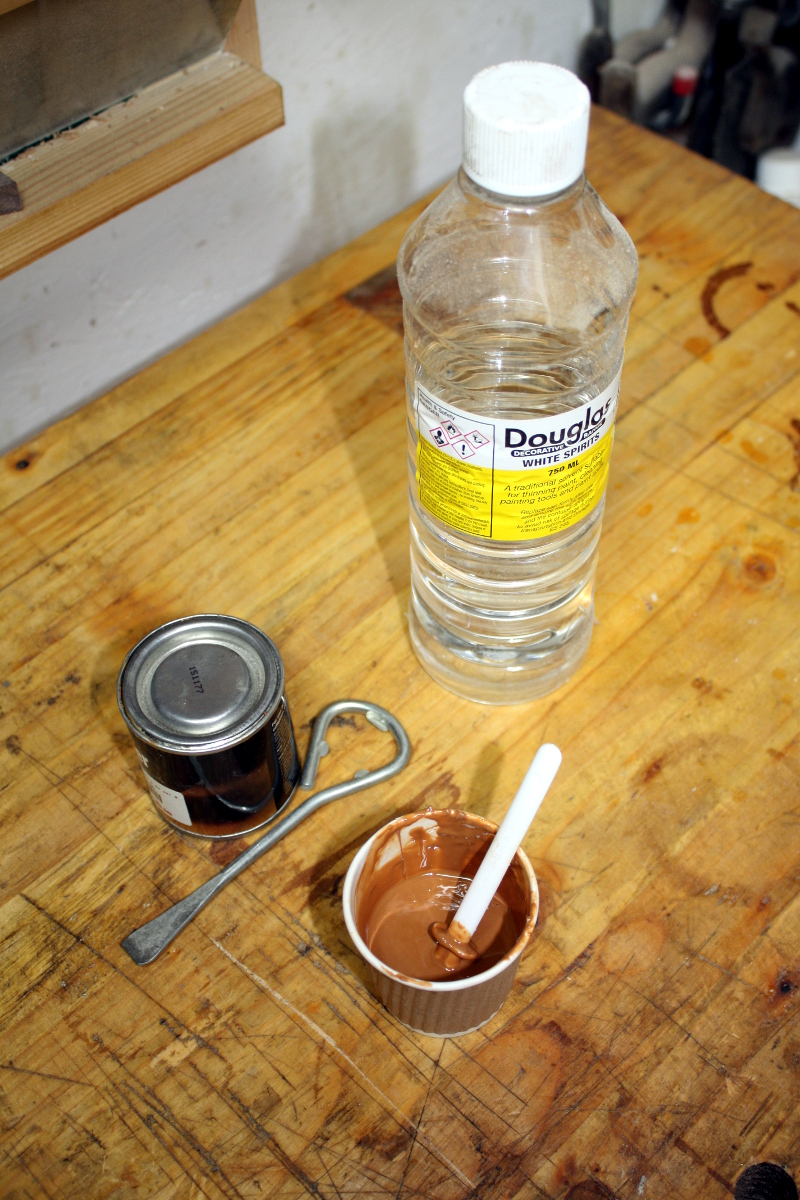
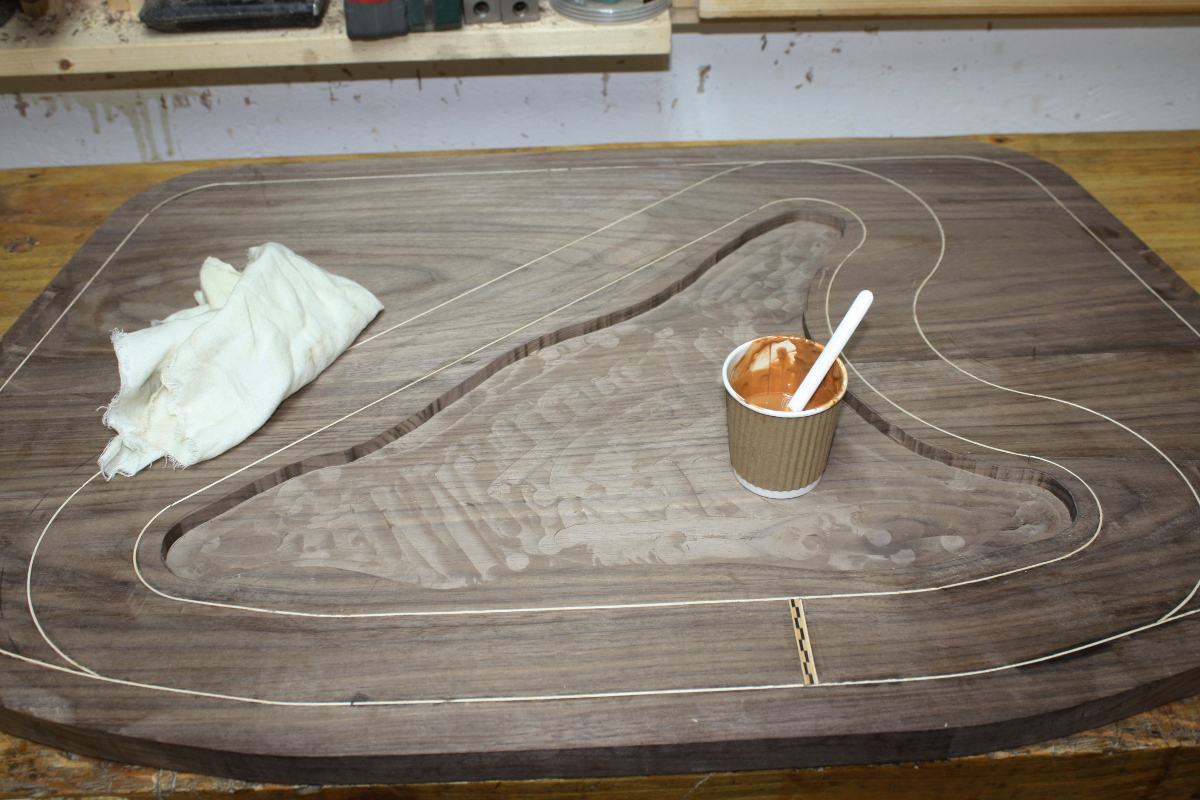
With that done, it has to dry overnight. Oh well. Next morning, out with the reflective window film, and a fiddly job getting it to sit into a very irregular shape…
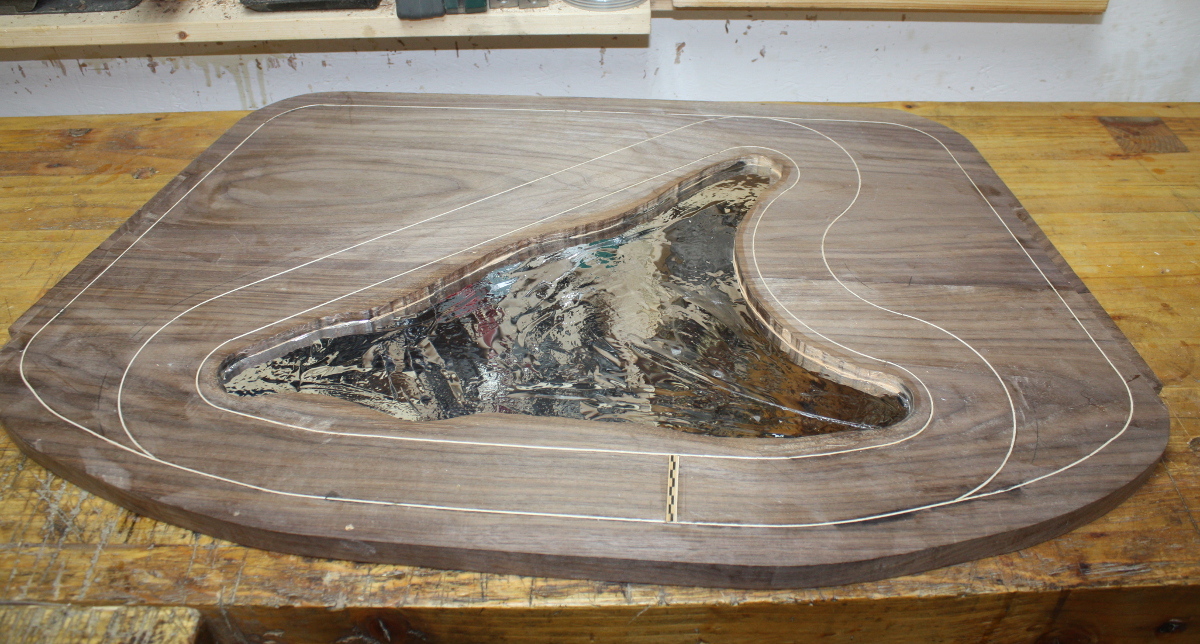
Looks fine so long as you don’t look too close…
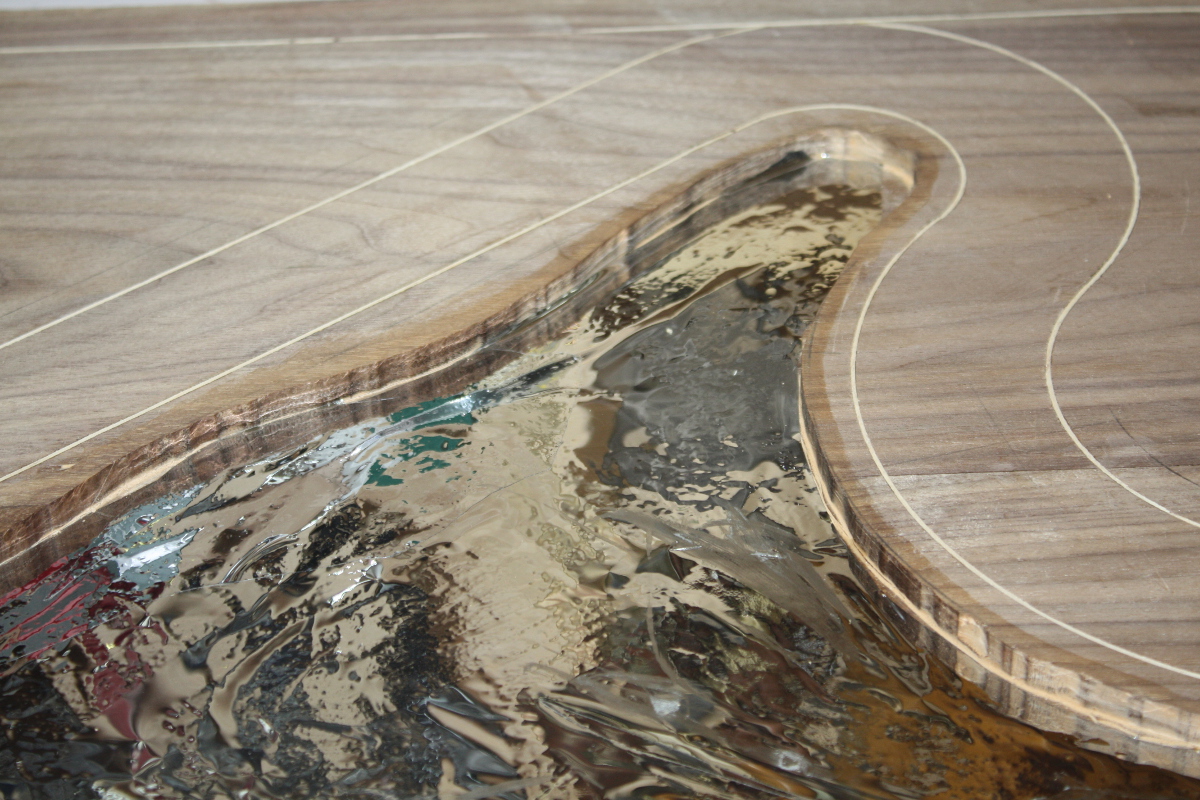
But who’d ever do that? 😀
Also, that film is self-adhesive on clean surfaces like glass, but forget about it being adhesive enough to stick to wood, especially if there are any irregularities. It’s being held here with a judicious application of CA glue.
Then I started worrying about the resin adhering to the film and the film not adhering to very much at all…

So to let the resin seep into the walnut enough to get a grip, I drilled through the film with a 1.5mm drill bit all across the sea bed.
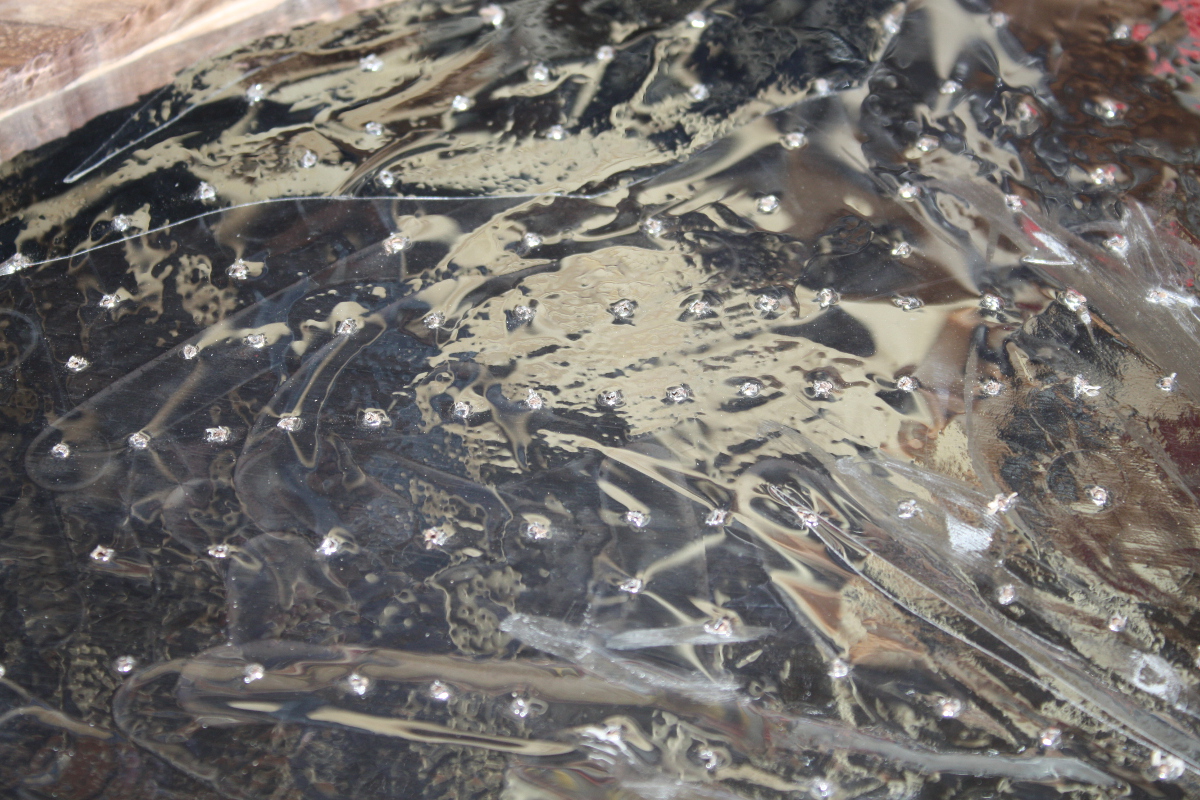
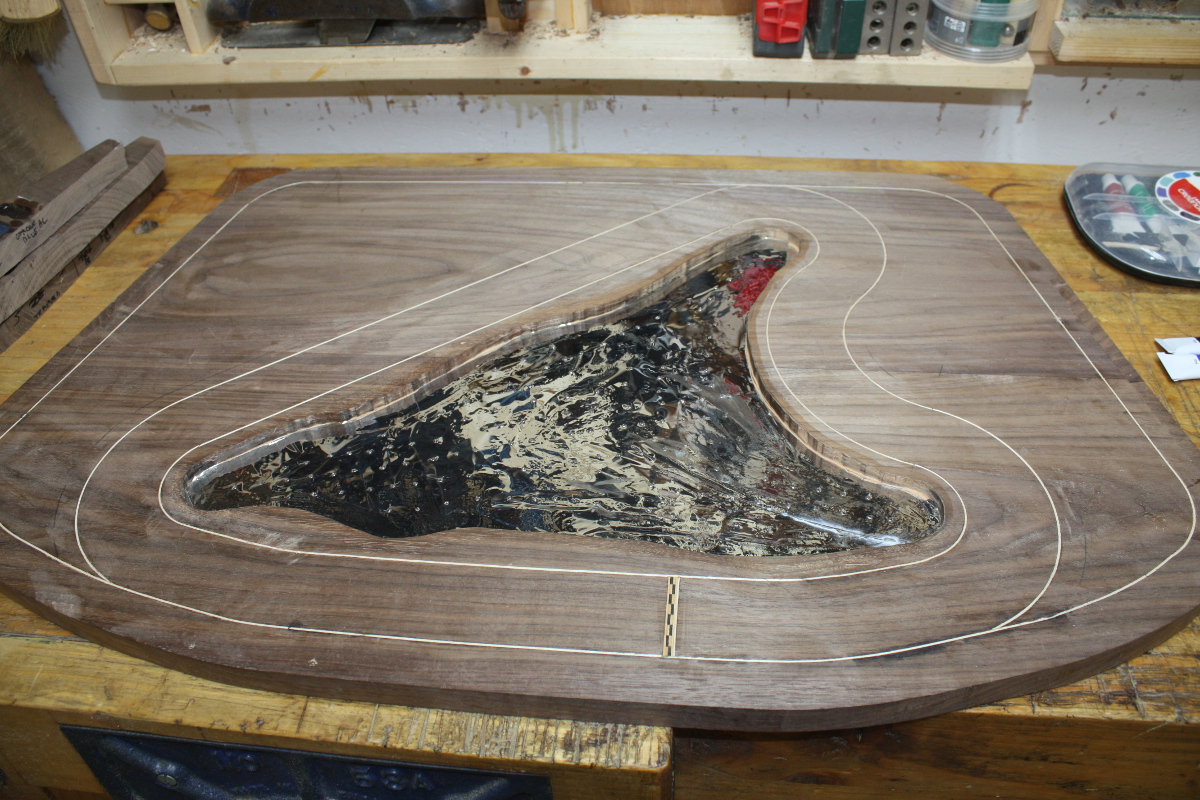
And I figured that was the ready-to-pour state. So I fetched a helper and we mixed up the first layer. Like we’ve been learning in Octonauts, the sea has three layers, starting with the midnight layer which is not only very dark but also hides the holes and gives a nice appearance of depth…
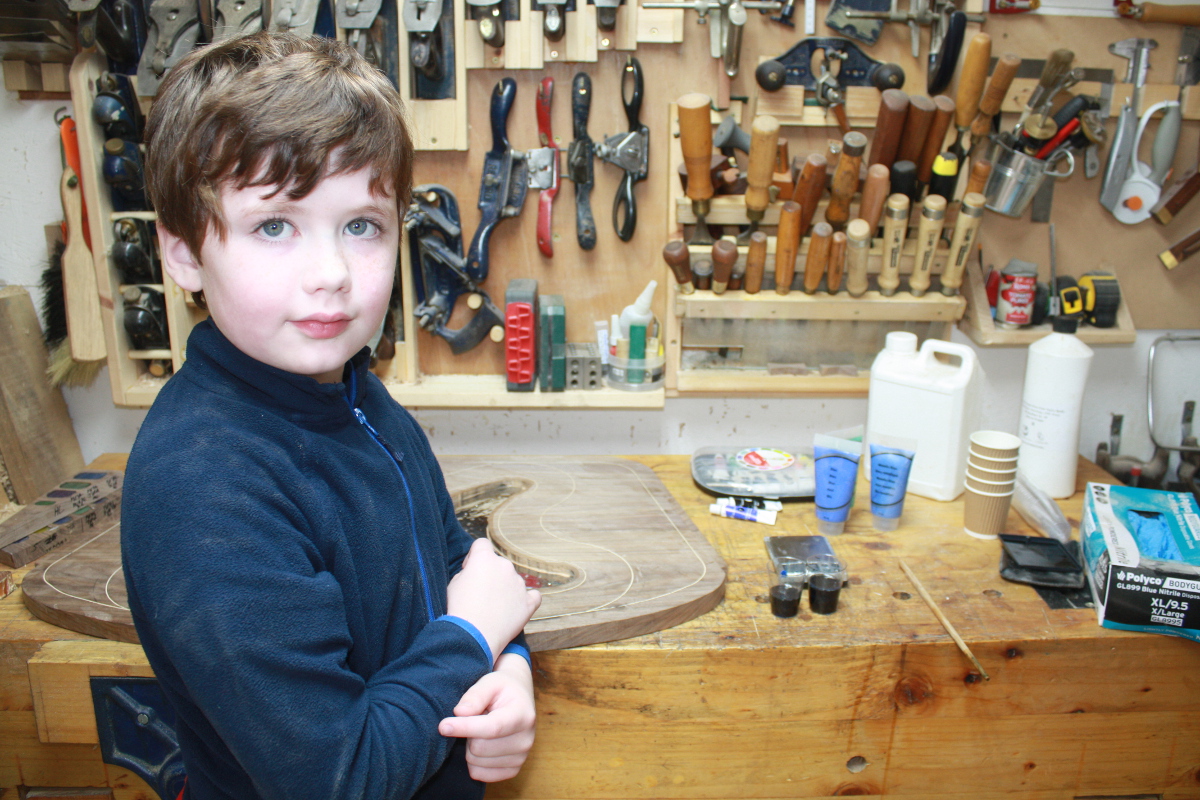
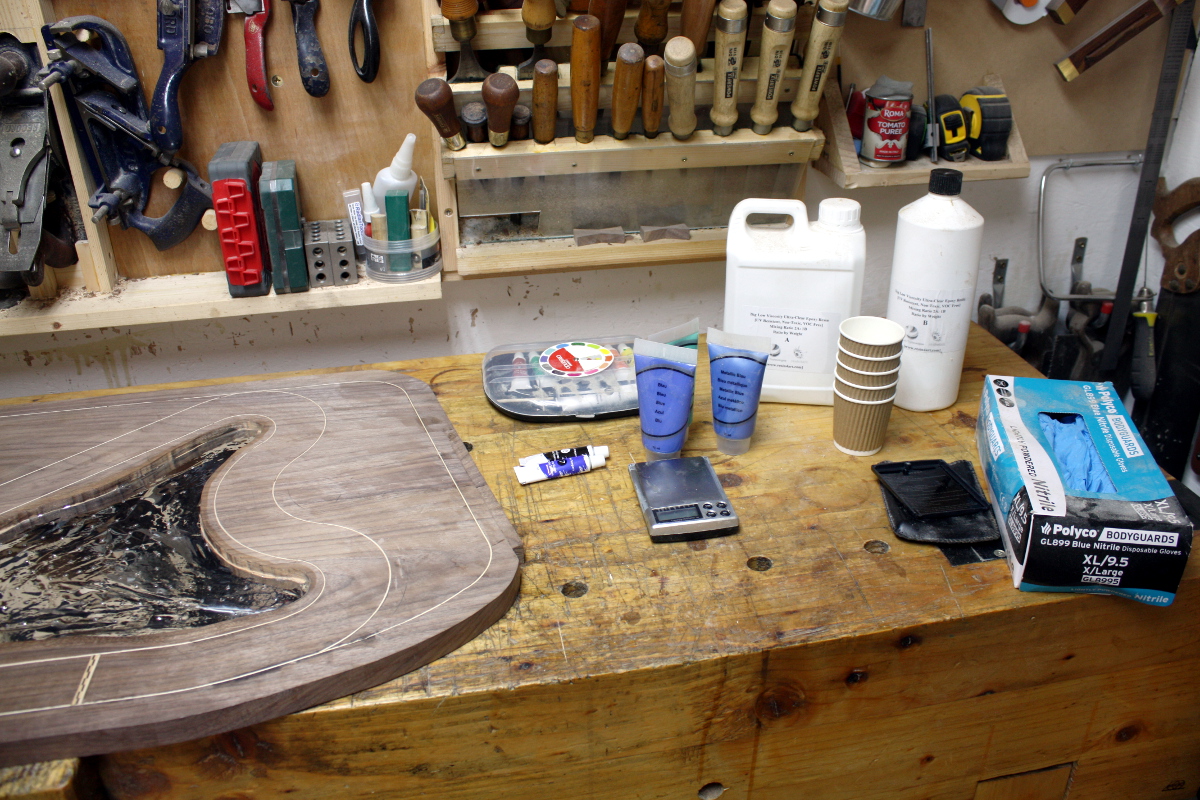
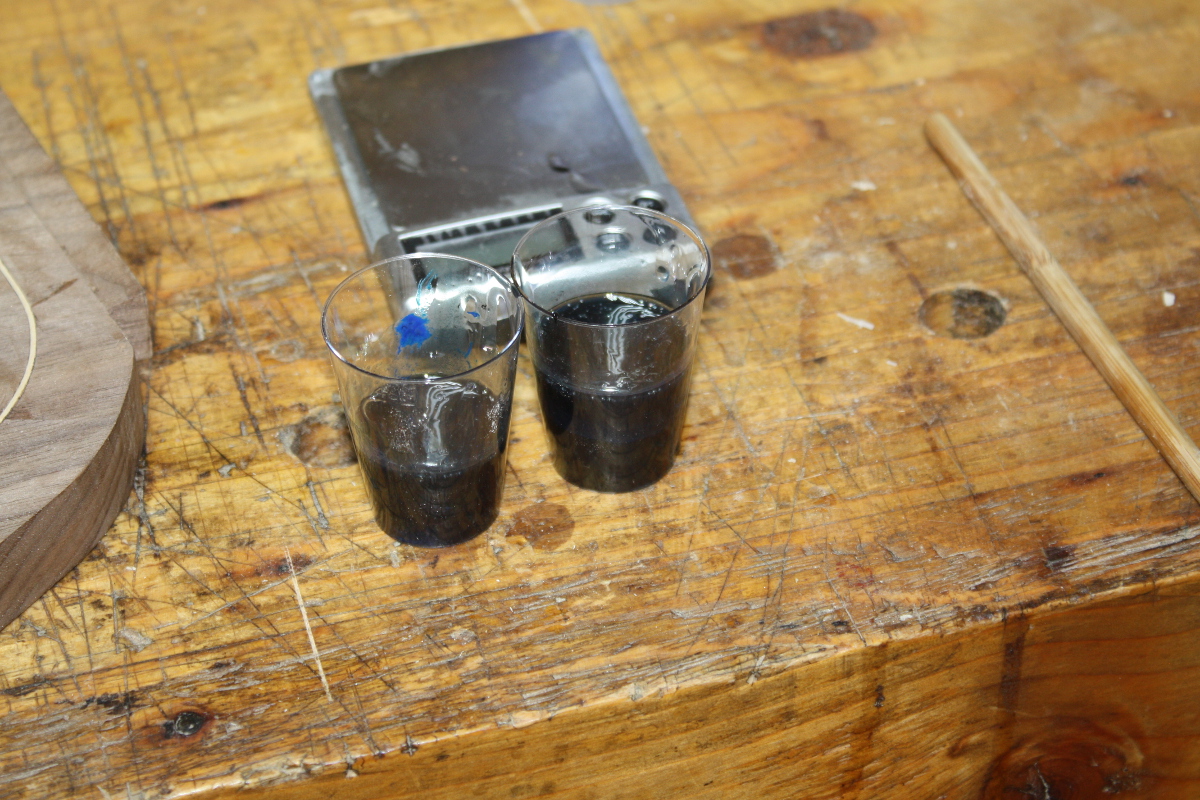
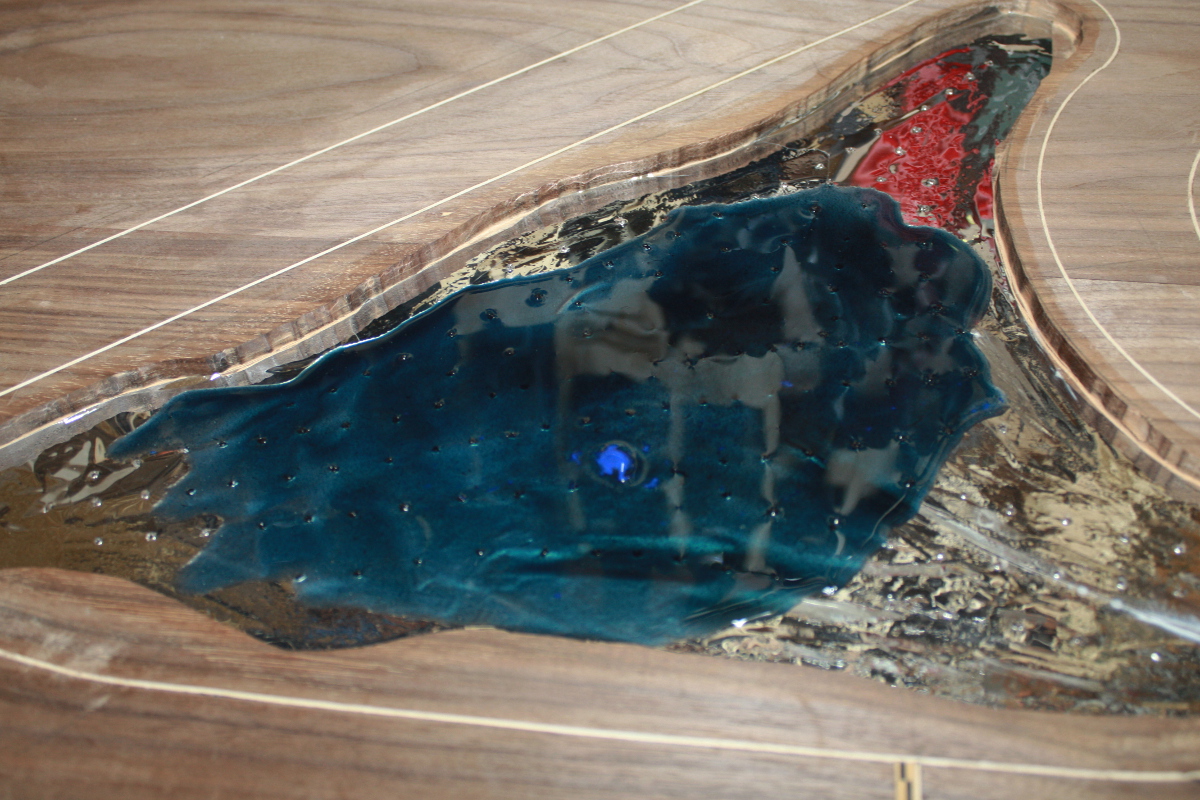
A bit of paint managed to not get mixed in the container so it got mixed on site…
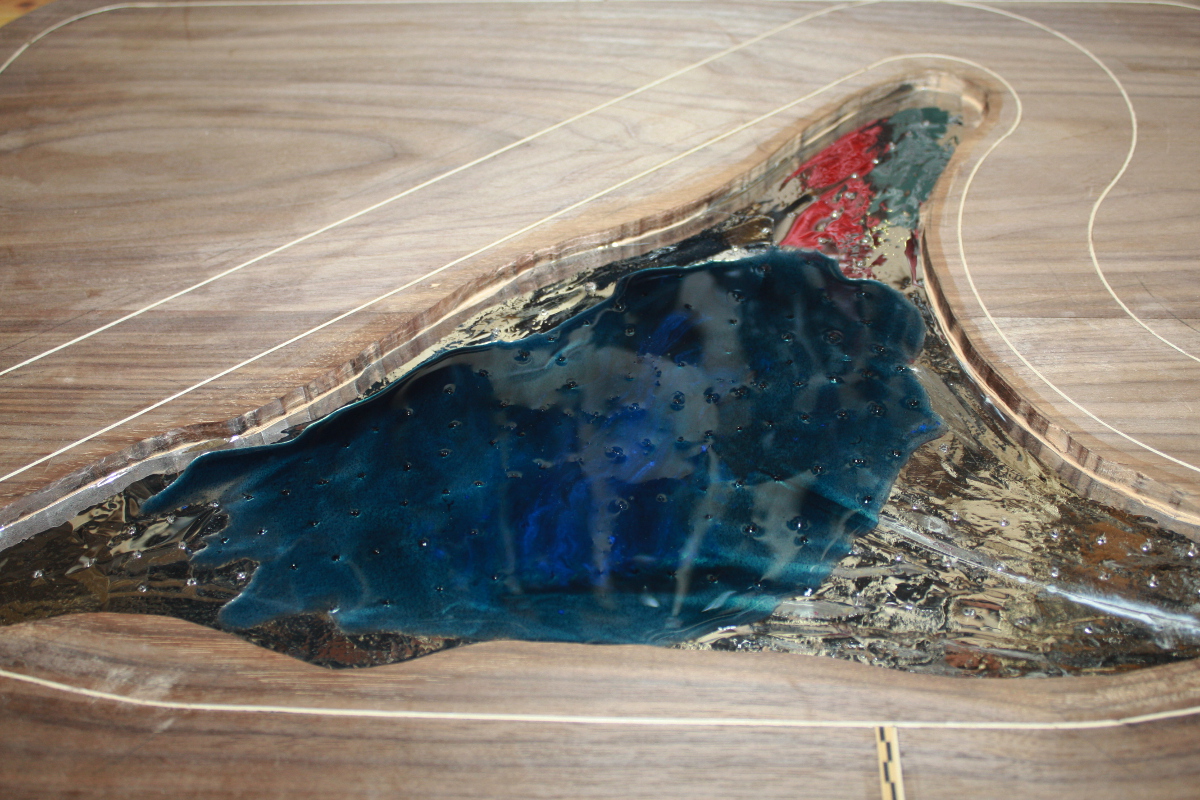
Not too shabby. Left it for an hour, then came back to pour the Twilight Zone…
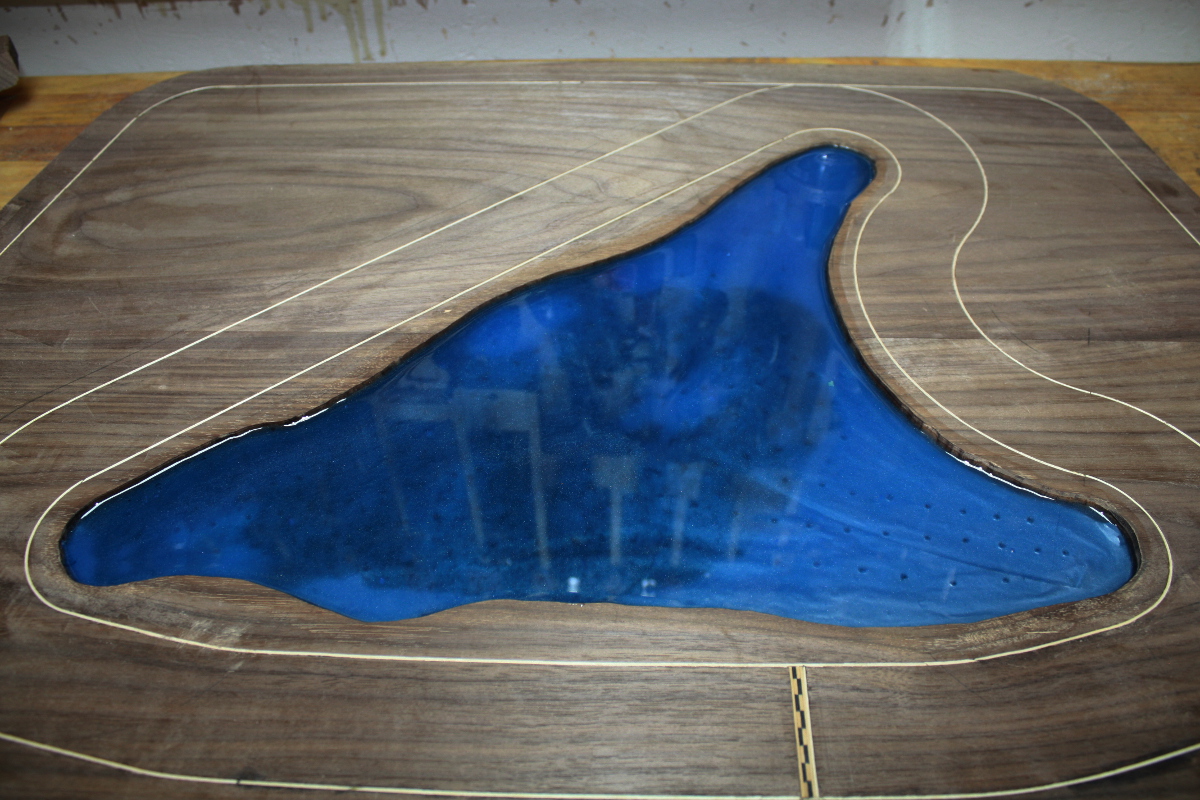
Not too bad, I’m liking how the layering is giving that differing depths look. The last layer was the Sunlight zone but that was after my helper’s bedtime so I had to pour it solo (I want the layers to bind as they set).
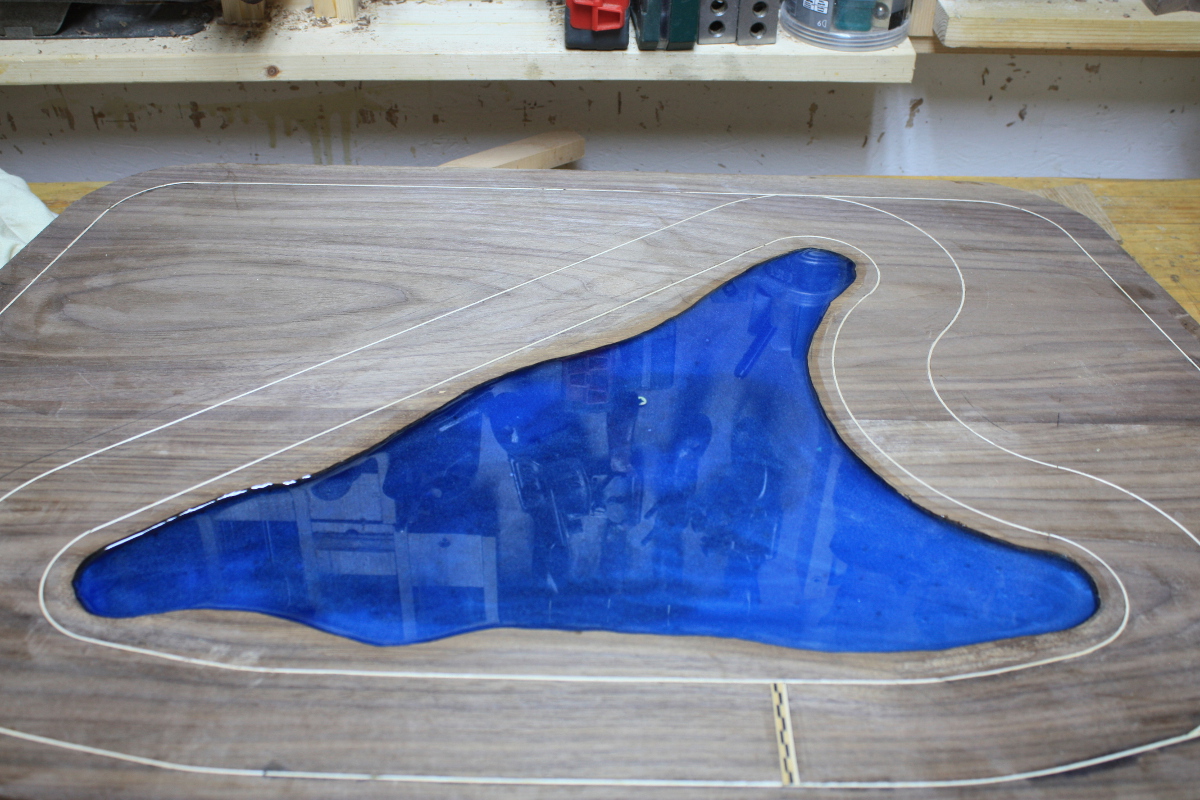
It’s almost deep enough here. One side was flush…
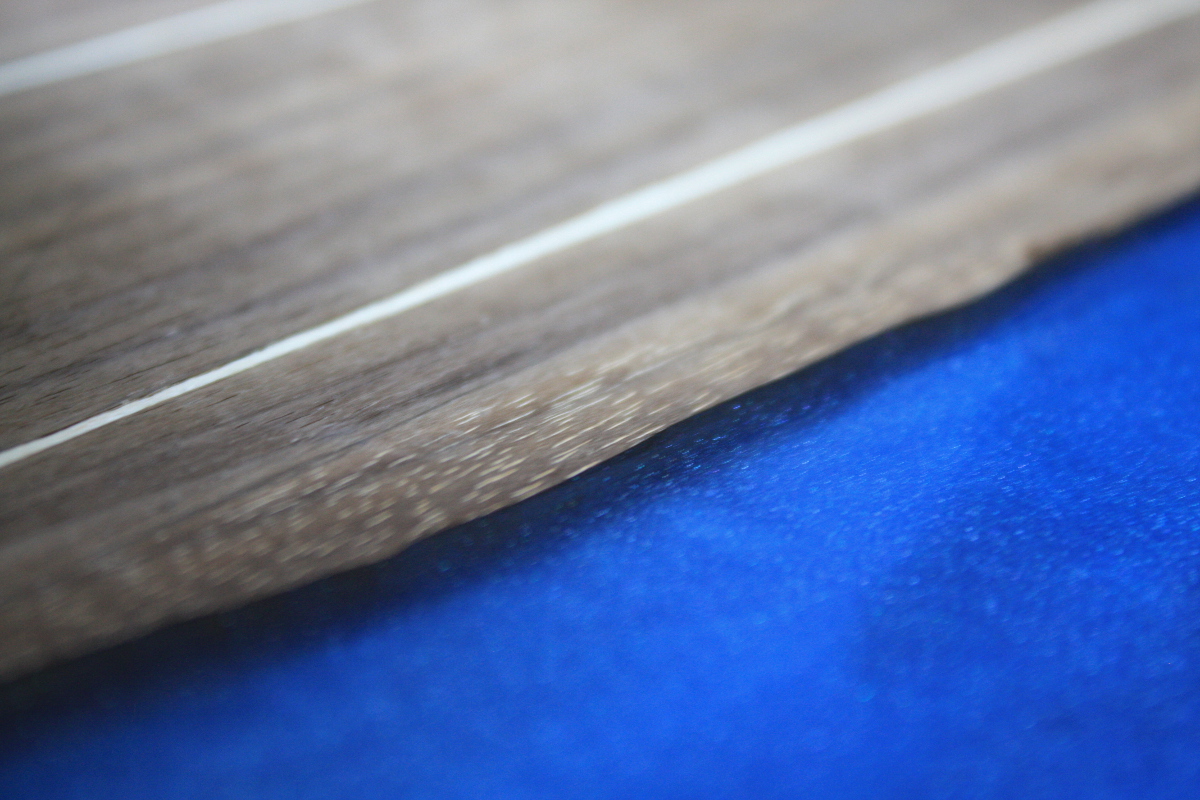
But one side was slightly shallow.
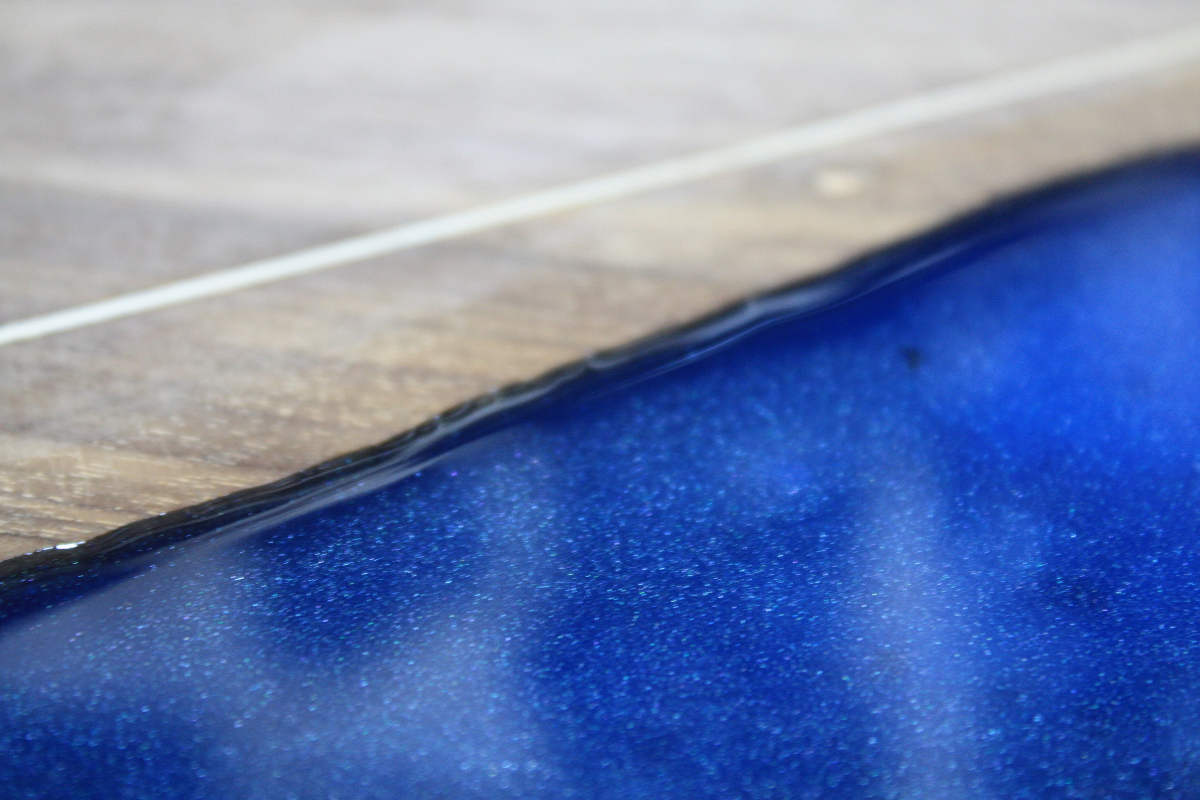
There followed fifteen minutes of tilting the board back and forth as the resin started to cure, to get a more even depth. Final result is even but still not proud of the surface and I want the resin to be slightly proud of the surface so I can use my new toy to take the whole surface to one contiguous plane…
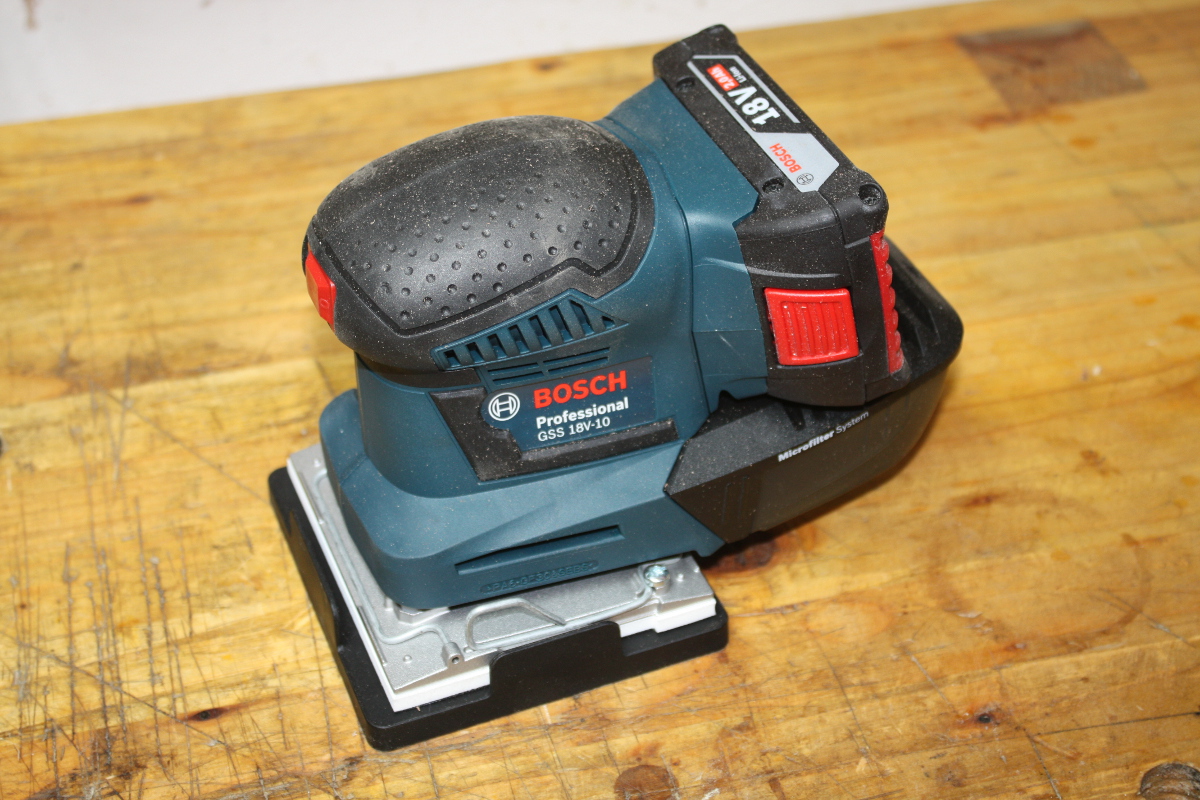
I think the last bit will go down tomorrow evening, and then sanding can happen over the next few days. Once that’s done, that’s the walnut part of the desk done I think. I’ll think about how to decorate the poplar bits or even if they need to be decorated, or if I should just do the final shaping (the edges are all square right now to allow for easier handling but the final shaping will take off all the sharp corners and round everything over). Thinking about stuff. That’s the easiest bit of this hobby 😀

Mark,
I’m impressed, it is going to look great.
ken
Thanks Ken, fingers crossed…