Not much time in the shed today, but enough to make a start. First, new toys!
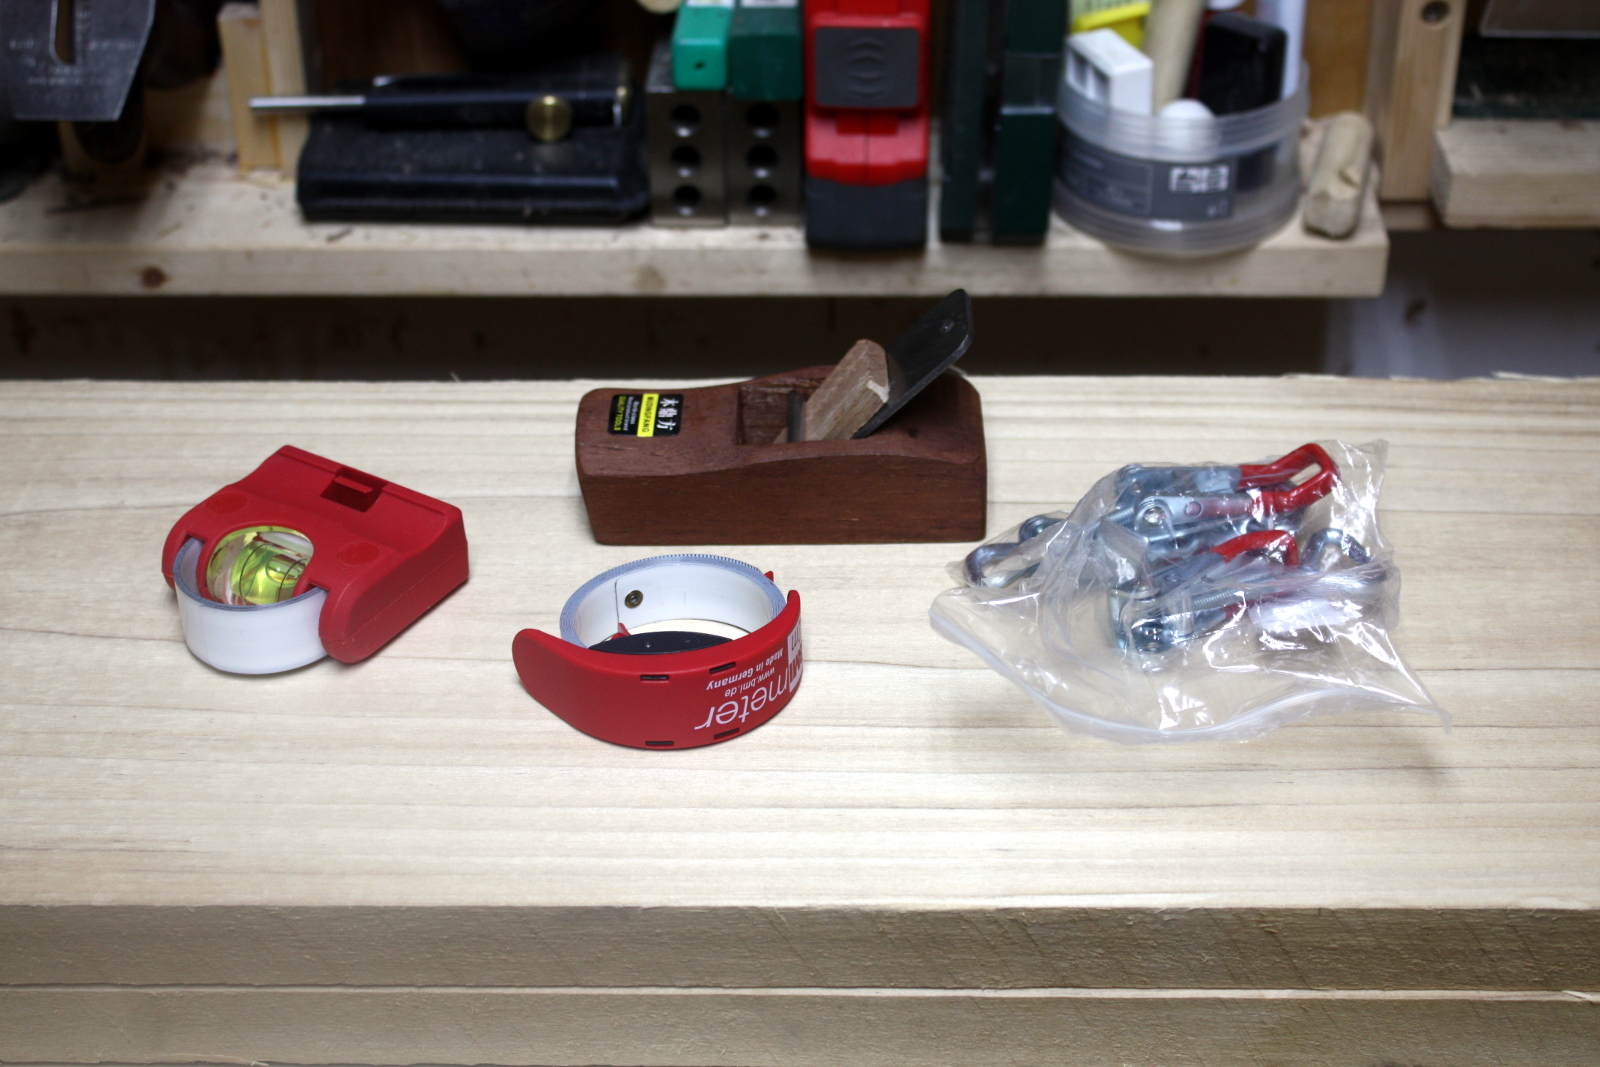
So some catches to help with the mod to the Dewalt extraction hood (I think I have everything I need for that now, I’ll get to it soon), an incredibly cheap handplane ($4.30 from Aliexpress delivered) which is more to play with and laugh at than to seriously try to use as a tool, and two interesting tape measures. Both of those are small (1m and 2m) which is handy for using in the shed, and I’ve just wanted to play with them for a while now ever since seeing them in action.
They’re a bit gimmicky and I’m not throwing away my stanley tape measures, but they’re fun to play with and that’s the point.
Anyway, that done, on to the sides. I wanted to get a start on these today. One’s developed some twist since I milled them. Not a huge amount, but noticeable – 3-4mm at the worst point. A lot of that twisted portion might be cut away so I don’t know if it’s something I need to get out of the board yet (or even if the shelf joinery will pull it back to straight). But I’m starting on the untwisted one and I’ll see how we go.
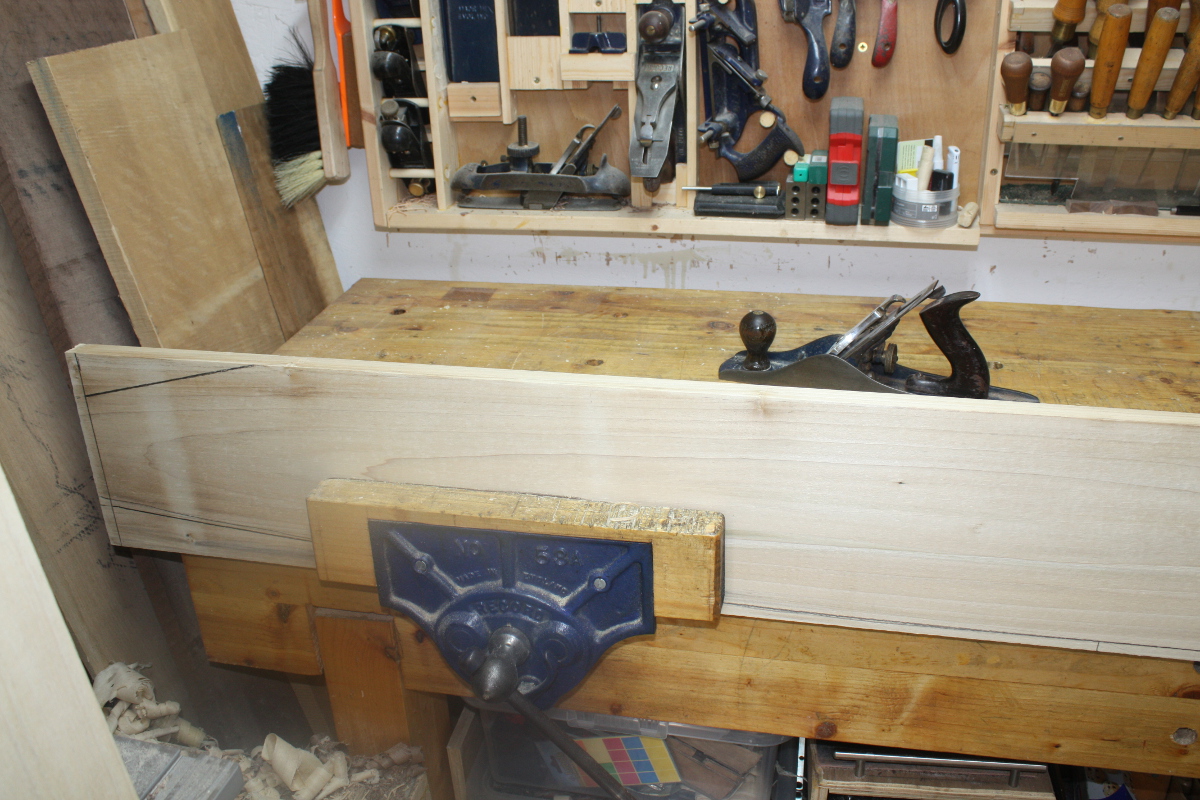
Marked up the cuts for the foot and the wall rest sections using the bevel, and the front curve by bending a long piece of dowel stock (didn’t have anything else that was long enough and thin enough to act as a batten). And then started making a reference edge from the back edge. The sides are long enough to make this awkward…
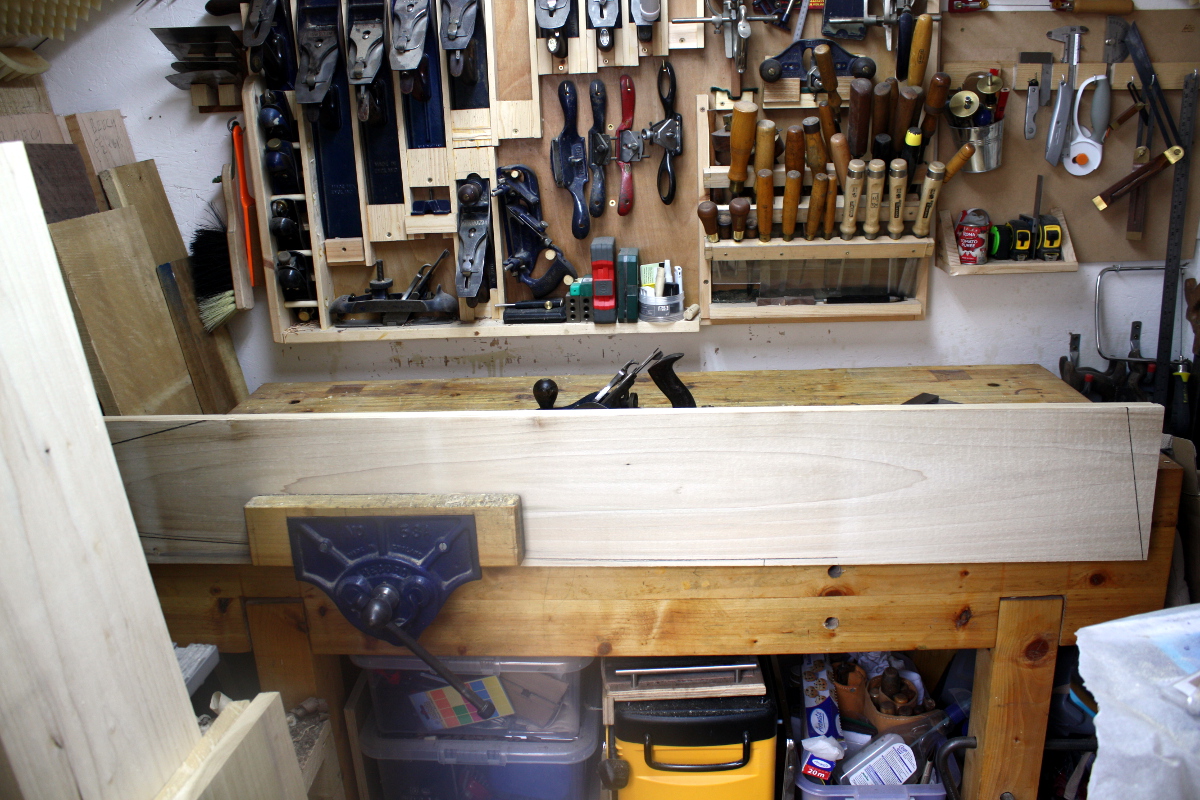
There’s barely enough room to do this. Really, there isn’t enough, but by being fiddly enough about it you can just about get away with it. Then, with the reference edge established, out with the bevel and the marking knife and time to mark off the final line to cut to for the feet and wall rest. First though, need to take off the last half-inch or so of board, give me another reference edge square to the back edge.
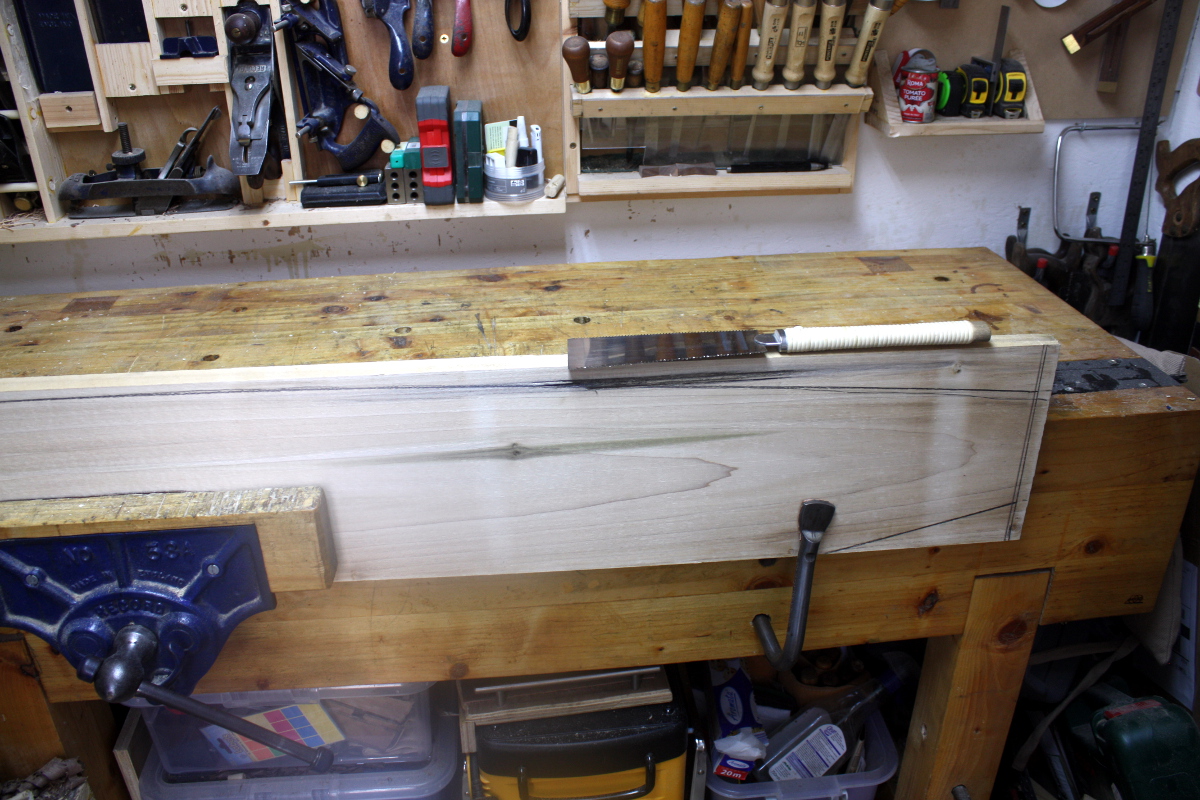
And cut off and then plane to flat.
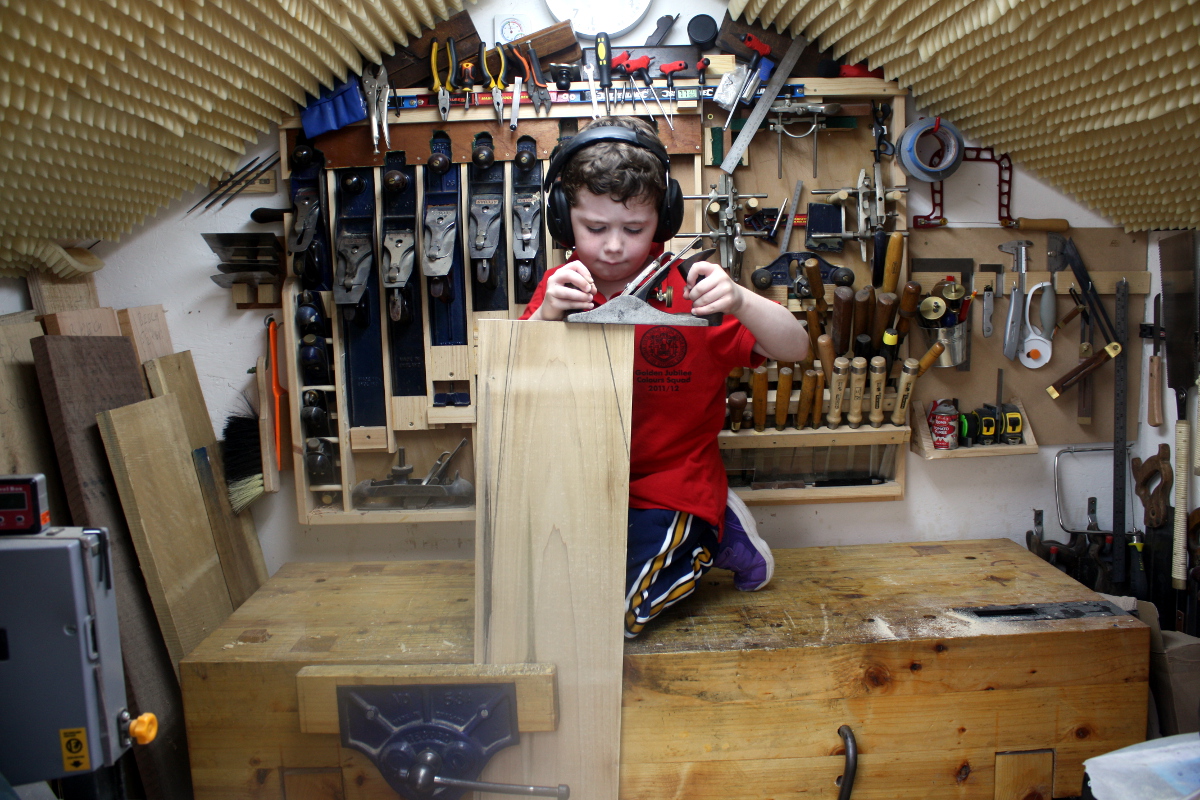
This is where having an apprentice can help (incidentally, for anyone who was wondering, this is why I have a Record #03).
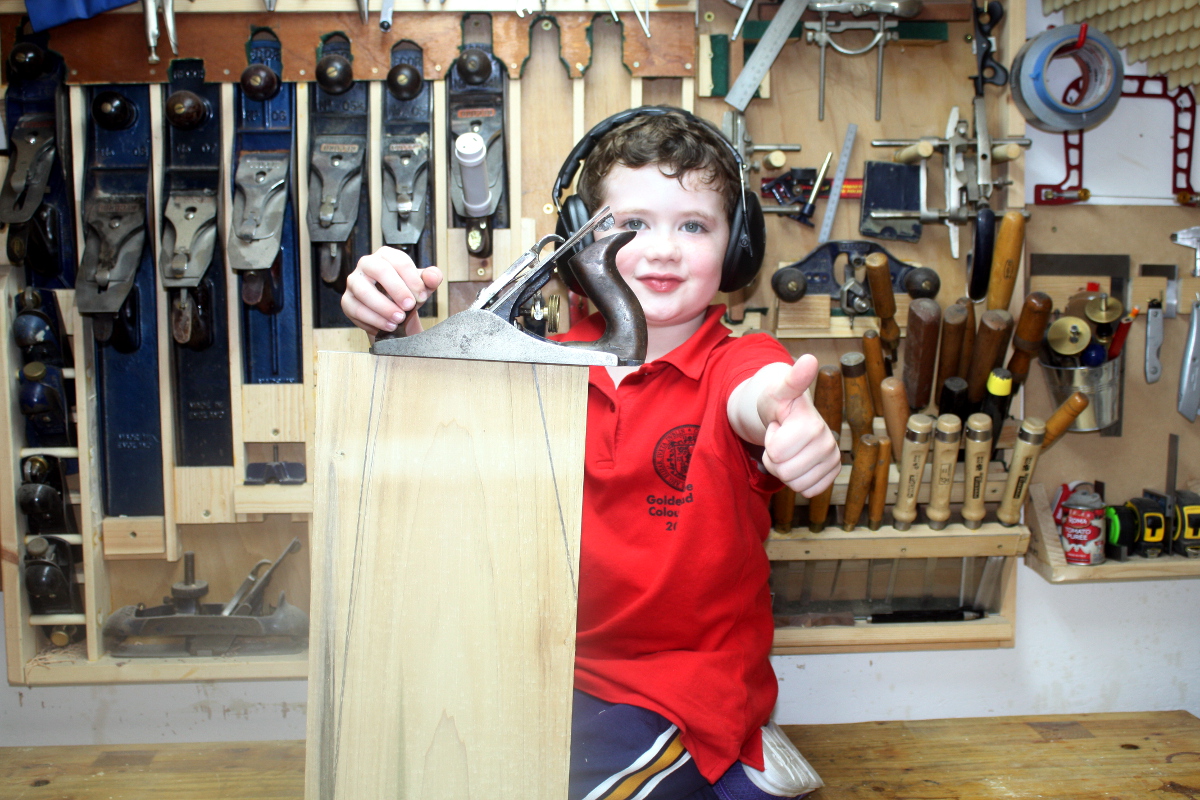
Once we’ve passed QA, it’s time to mark out the wall rest with the knife and bevel and then cut it (using a short batten to help guide the saw because the cut’s awkward due to the lack of space).
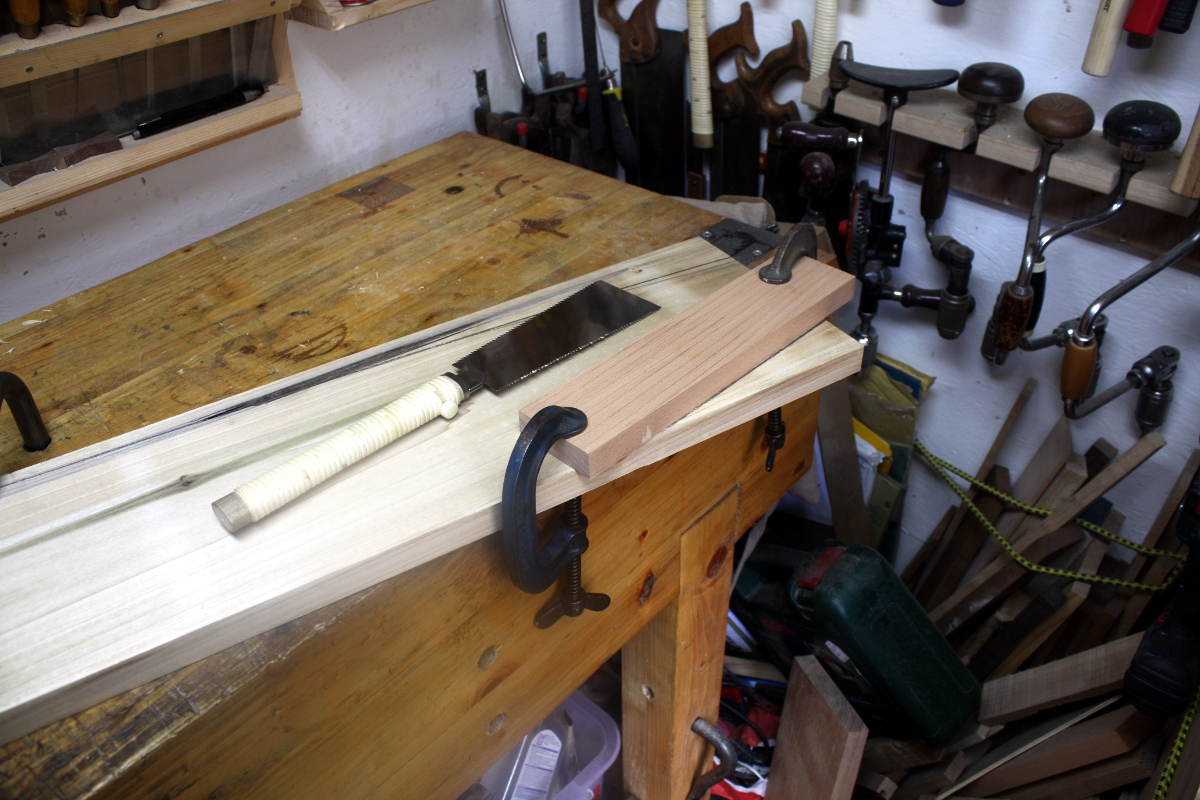
And then a few swipes with the #04 to clean up the cut surface when done. Do the same on the other end for the foot and now it’s time to check. I don’t have a five-foot-tall try square, so I’m just using the door frame of the shed.
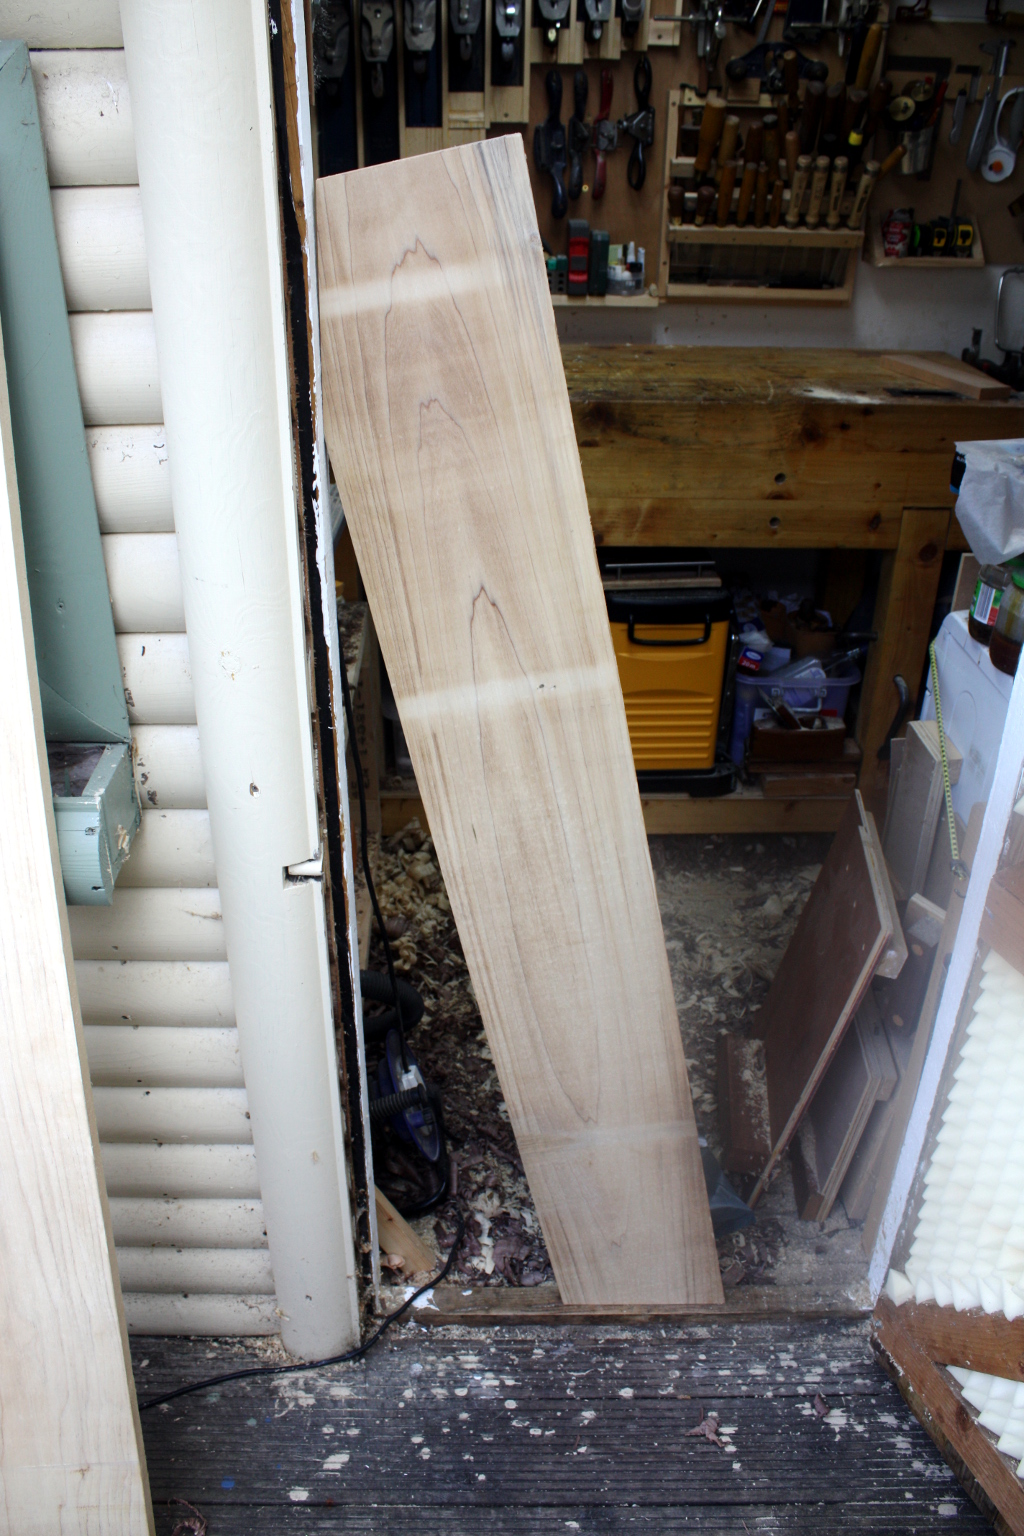
So-so. There’s a gap at the wall rest.
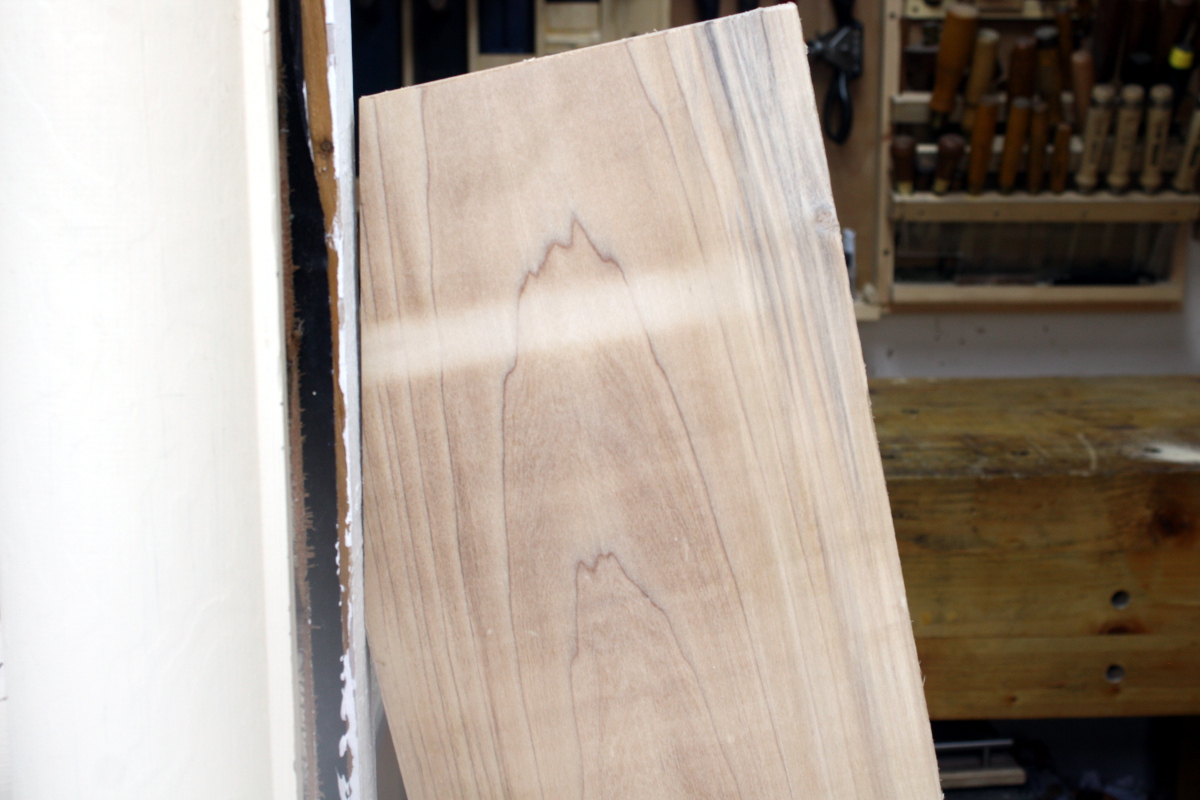
Thing is, I’m pretty sure my door frame is as square as a rhombus, so I’ll check this with the bevel and might tune it slightly, but I don’t believe the door frame is a reference surface you’d trust too much 😀
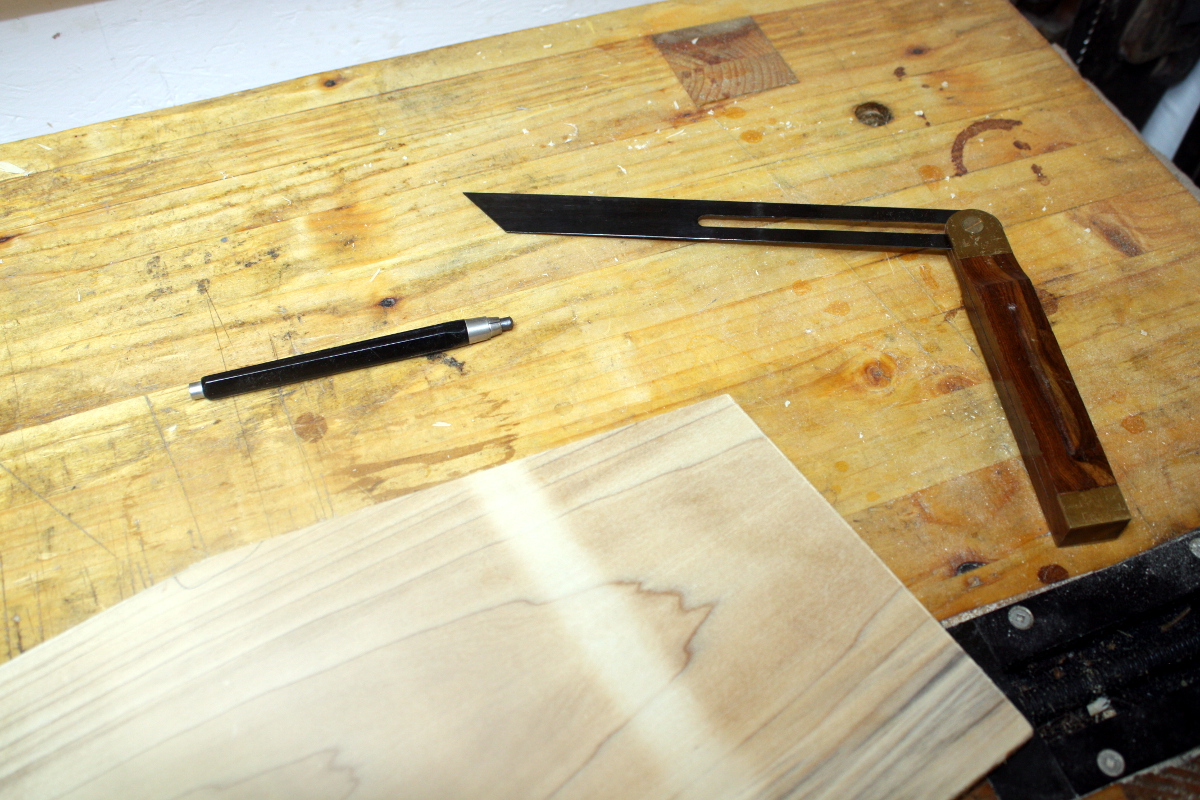
Yup, bevel says the wall rest is slightly out. A few swipes with the #05 will sort that, but I’ll check against the actual wall it’s going up against before I do that.
Had to stop there, but tomorrow there’s a few more hours and the next step may be to cut the curved section at the top. Maybe. I’m not 100% certain if I want to do that yet, the parallel sides might make workholding easier. Have to think about that one…
Tags: desk, hand tools, planes, poplar, shelves, Woodworking, Workshop
