So it’s a weekend afternoon so if there’s a more civil time to use a planer, it involves taking a day off work. So to the shed!
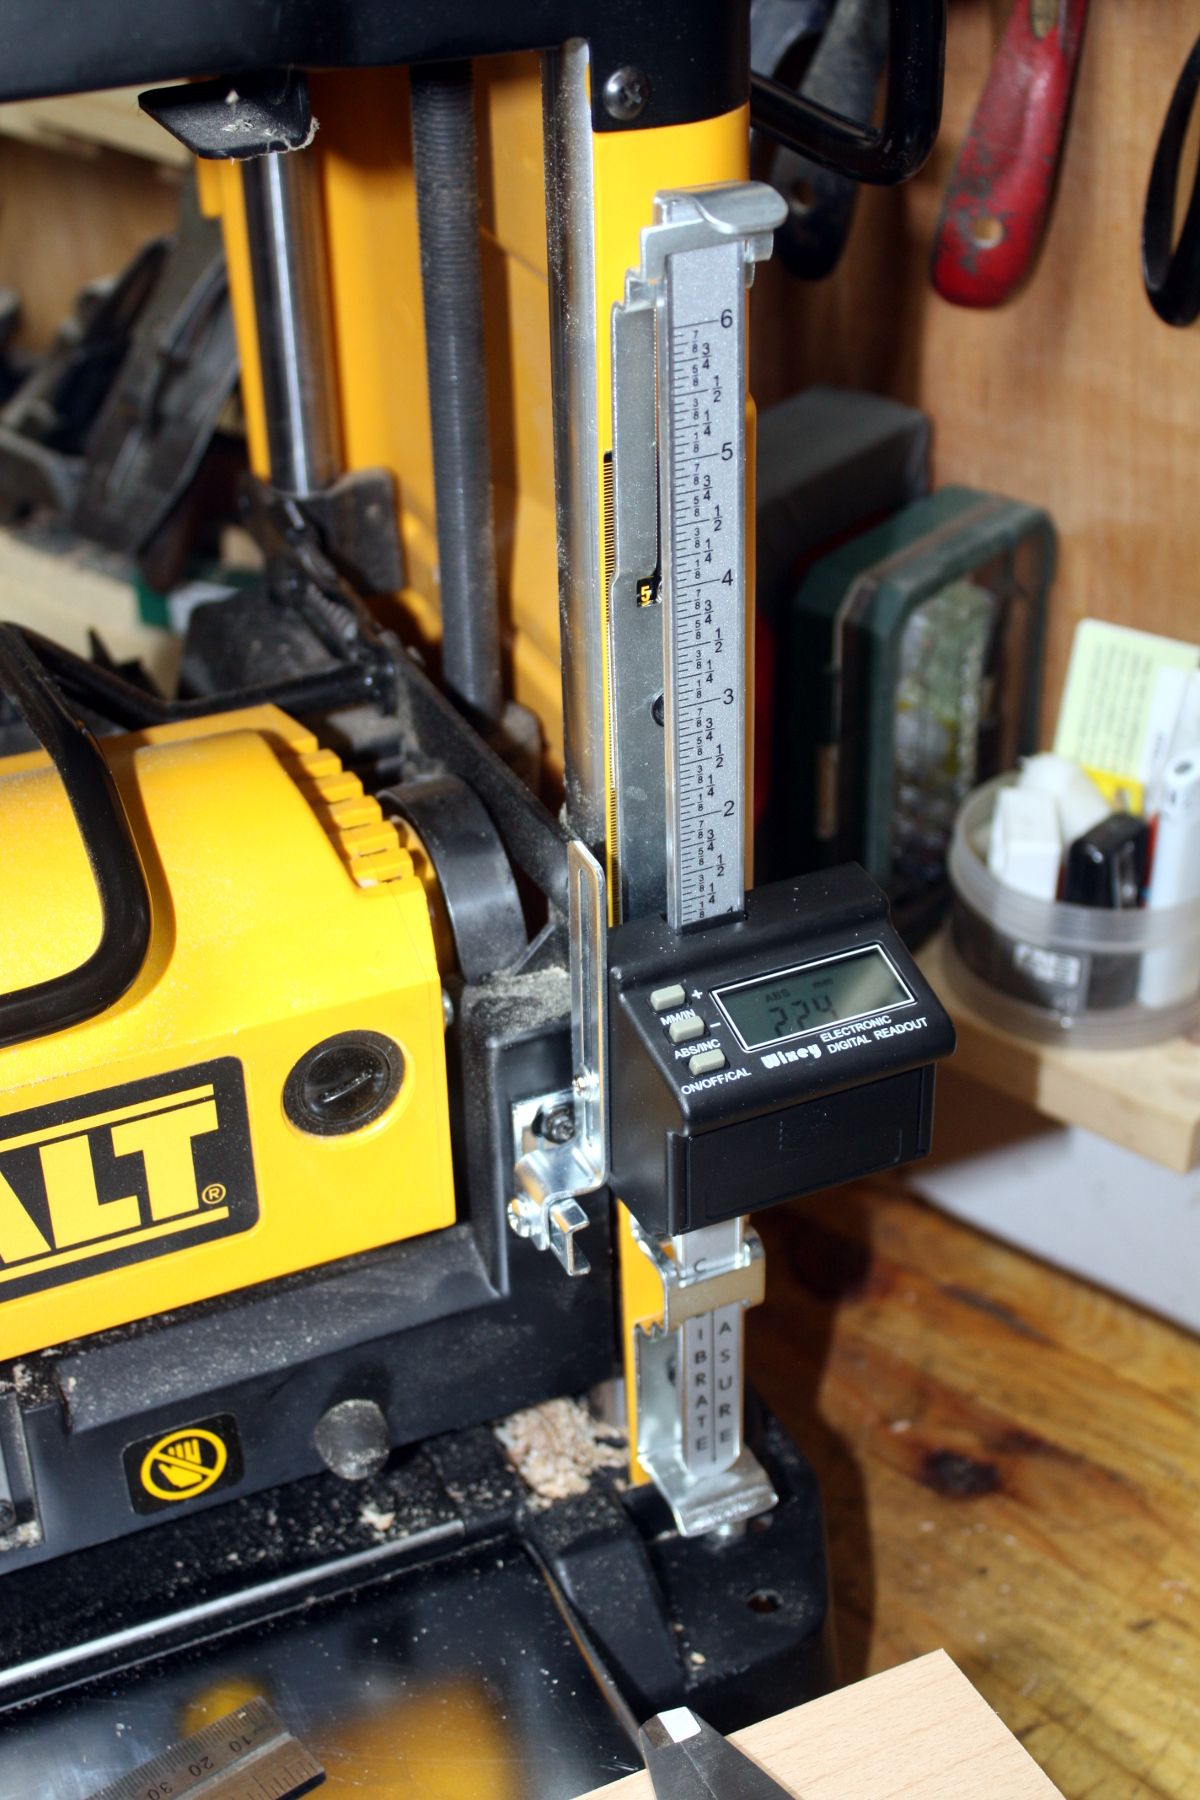
First up, fitted the DRO to the planer. Slightly fiddly, and it does still bind a little so I’m sure it needs tweaking – or I could just remember how this is for roughing work only and how it doesn’t matter all that much and never touch it again 😀
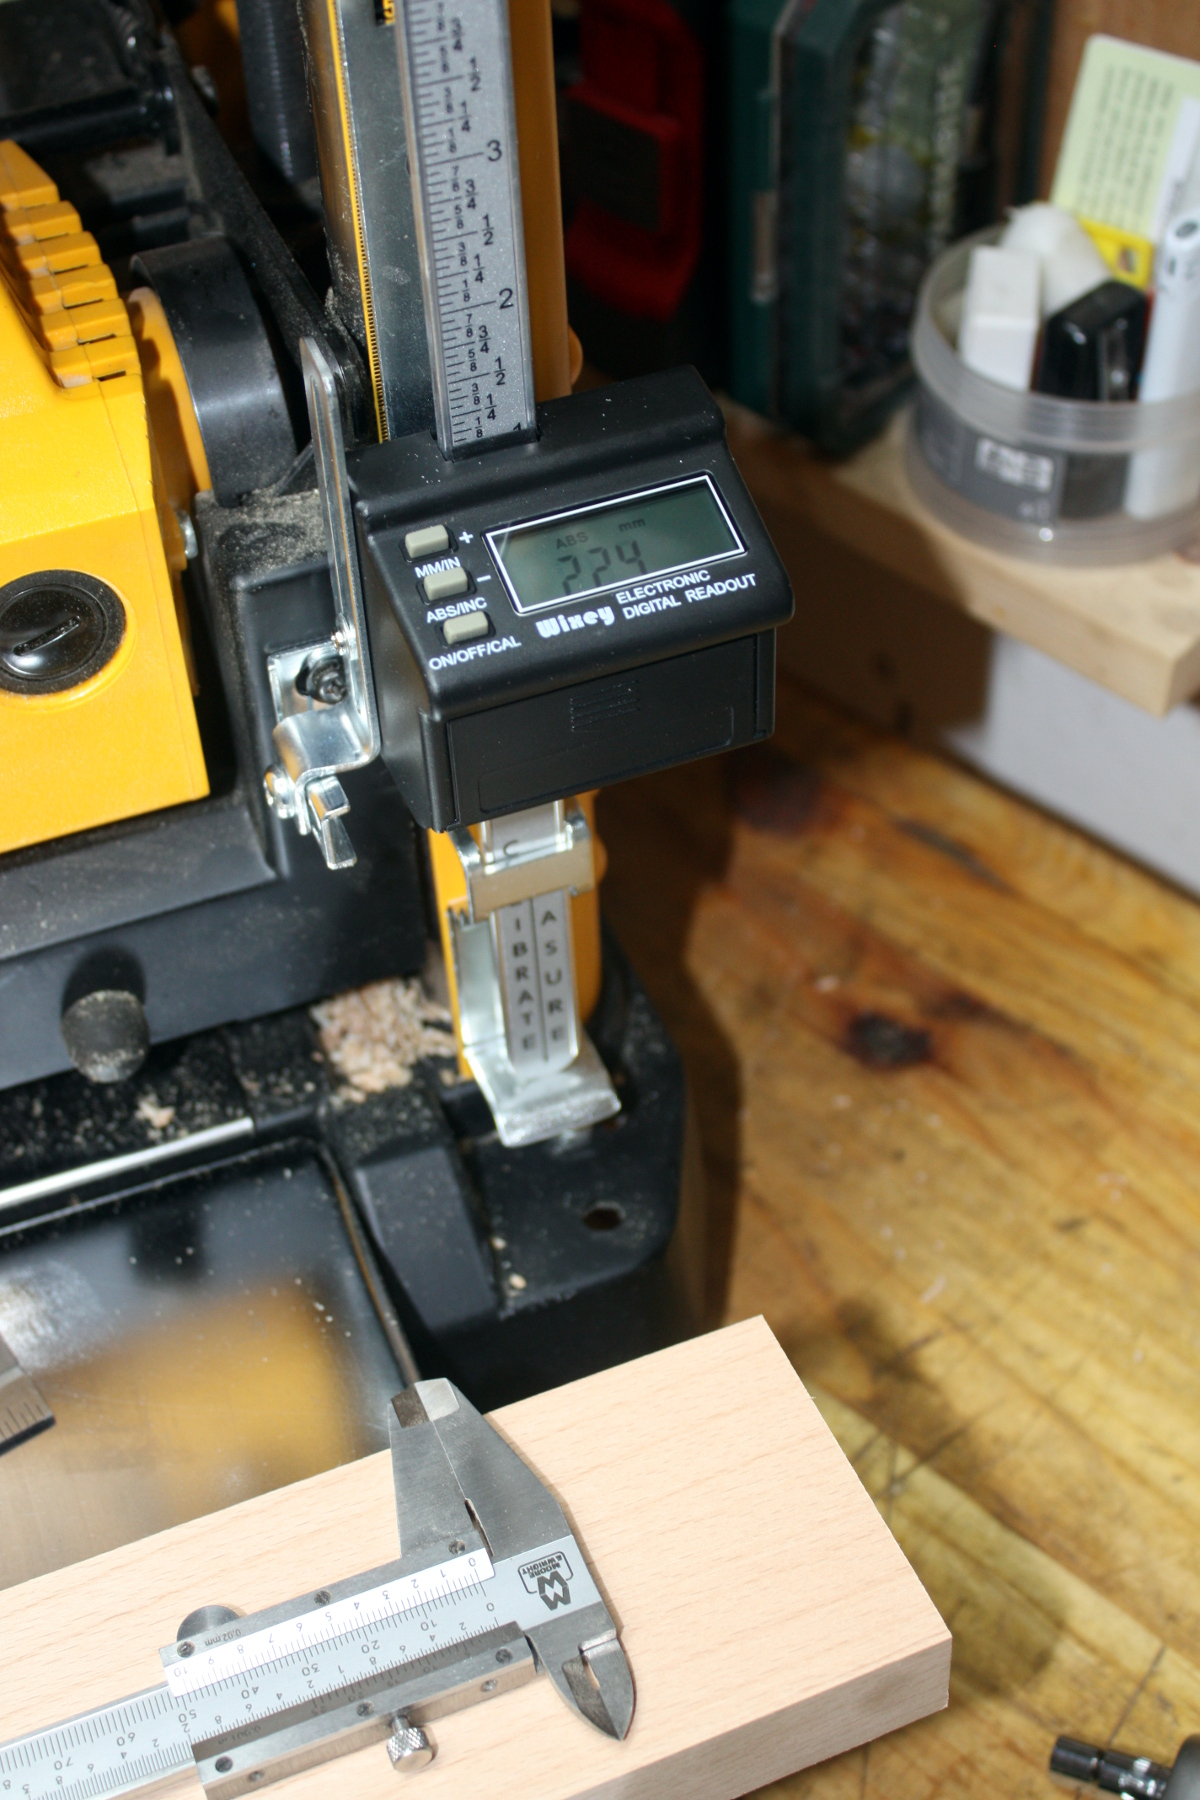
It’s within 0.1mm after a very quick calibration. That’s… rather impressive. Well past my abilities so maybe I really don’t need to do much to this. Have to be careful not to kick the DRO when the machine’s put away mind.
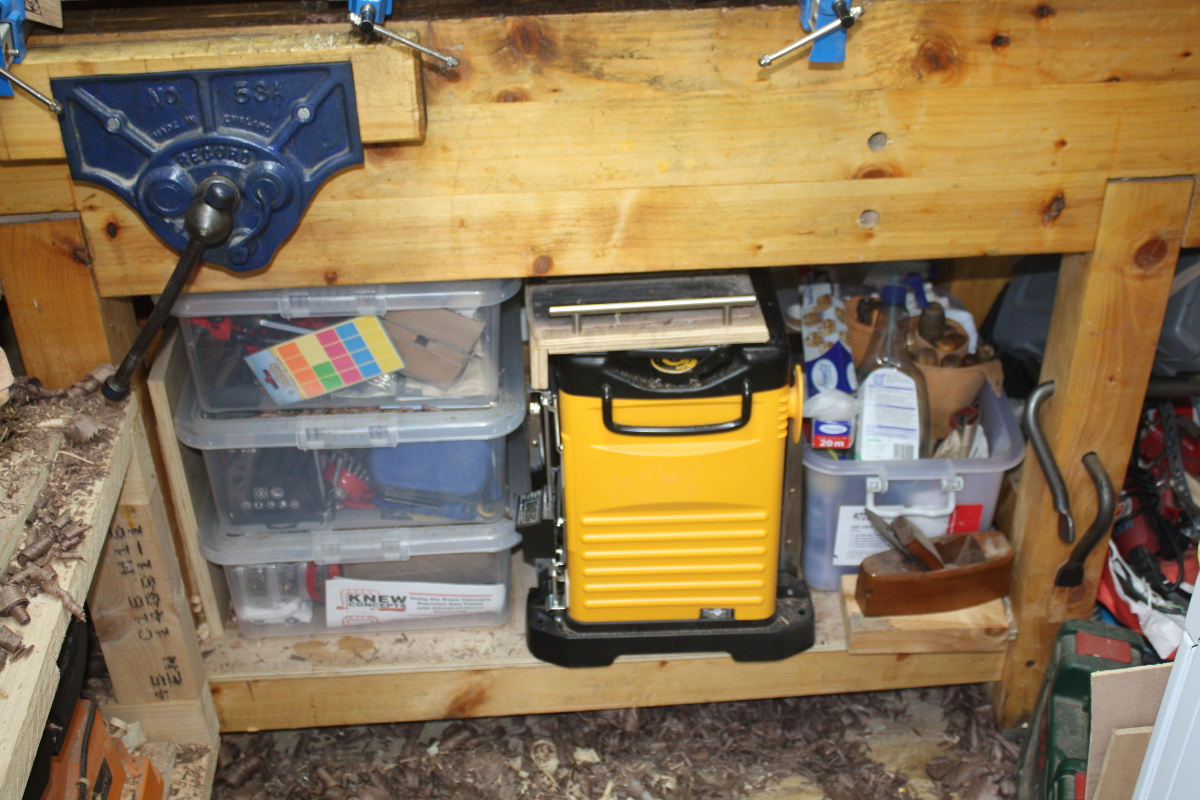
This looks to be where it’s living for now at least – that DRO’s a tad more exposed than I’d like, especially if I’m getting at the tools in the plastic boxes on the left, which is a regular sort of thing (I really could use drawers there but shigata ga nai). Also, the sharpening plates are now riding on top of the thicknesser and an entire crate of finishing stuff is now displaced and living on top of the vacuum cleaner…
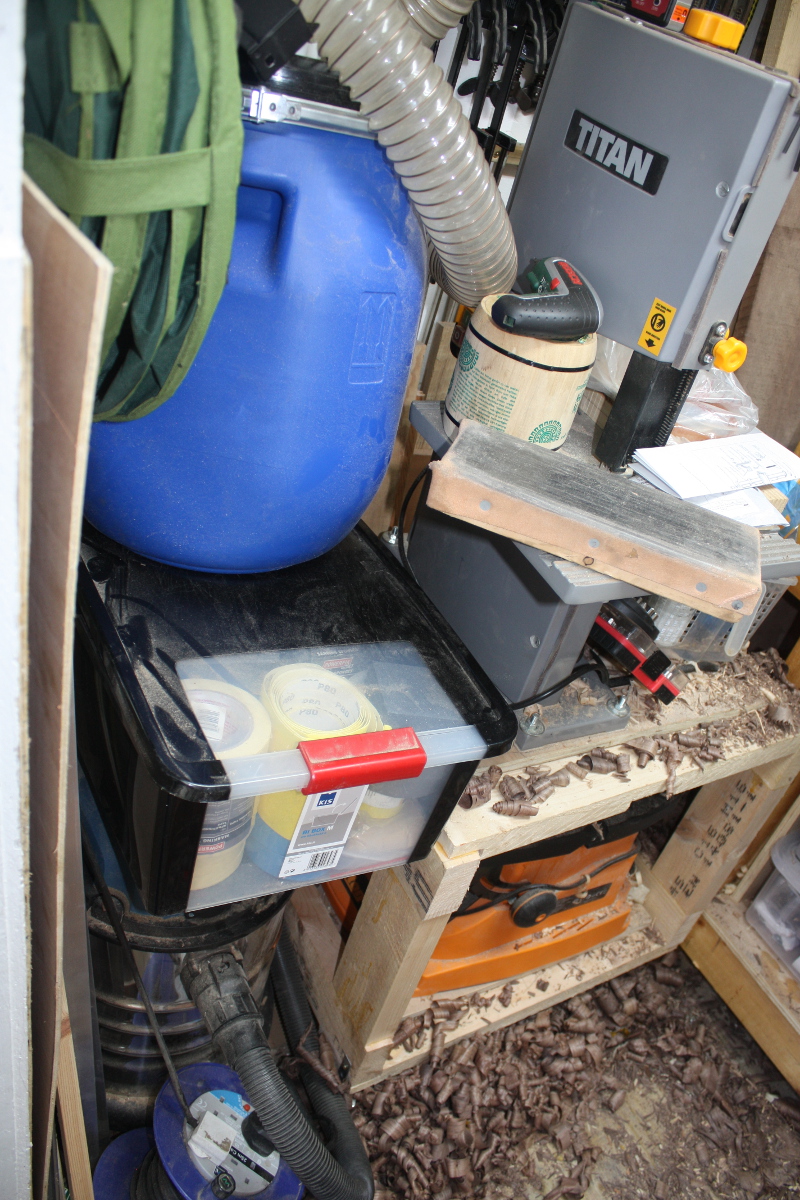
It really is getting cramped in here. And no, I have no more wall space left after the latest addition to the wall…
Oh well. On with the project I think. I took the walnut board I was thicknessing last time and fed it through the planer four times, three on one side, one on the other, taking small cuts each time of less than a half-mm.
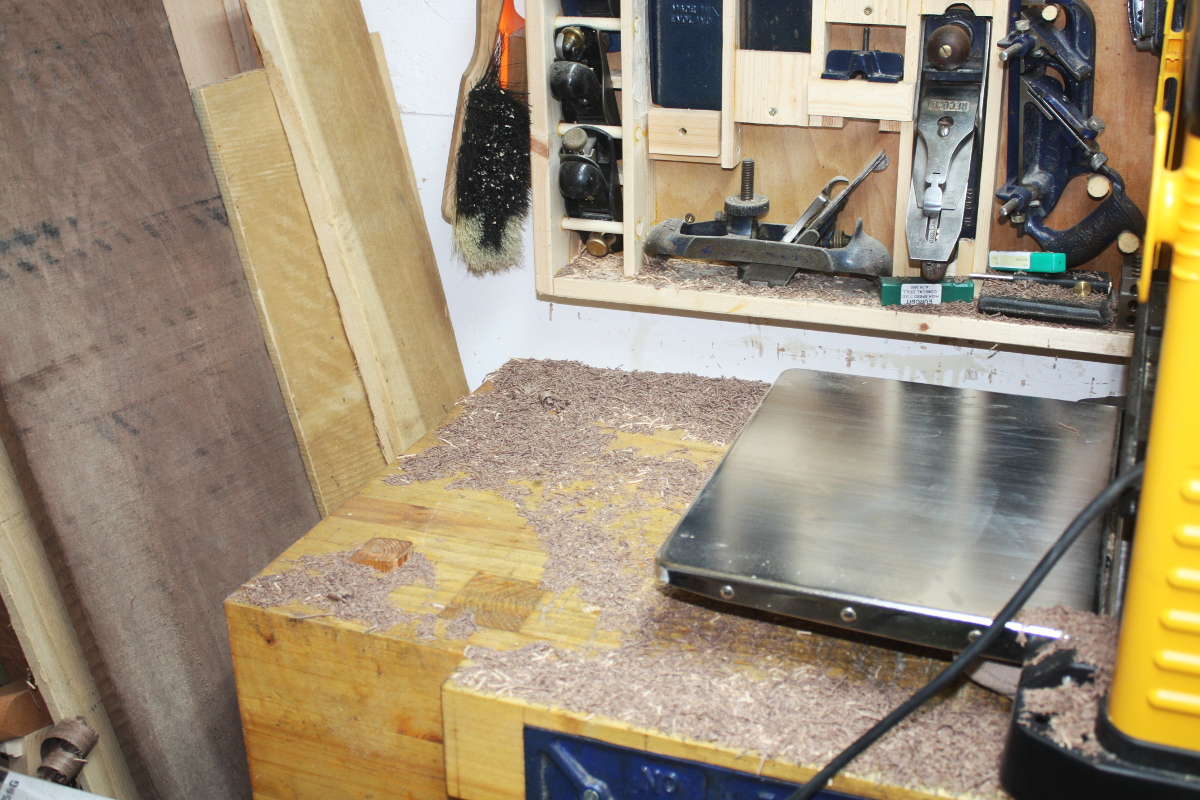
Hm. Oh yeah. Extraction. 😀
Well, I have a 4-to-2.5-inch reducer in the post and I’ll hook that up to the extraction port when it gets here (and I’ve ordered the bits I need for that mod to do a quick-disconnect on the extraction hood as well). For now, this is manageable – just sweep the cuttings to the floor and then hoover up later.
It’s a shock to see how fast the process is though, not to mention how easy – I mean, you’d be able to keep up with the rate of material removal using a heavy-set scrub plane across the grain if the board was small, but for anything long, this just runs away with it and in terms of effort, it’s not even a comparison. I don’t plan to use it for anything other than roughing, but for taking a quarter-inch off a board in less than an evening’s free time, this thing’s excellent.
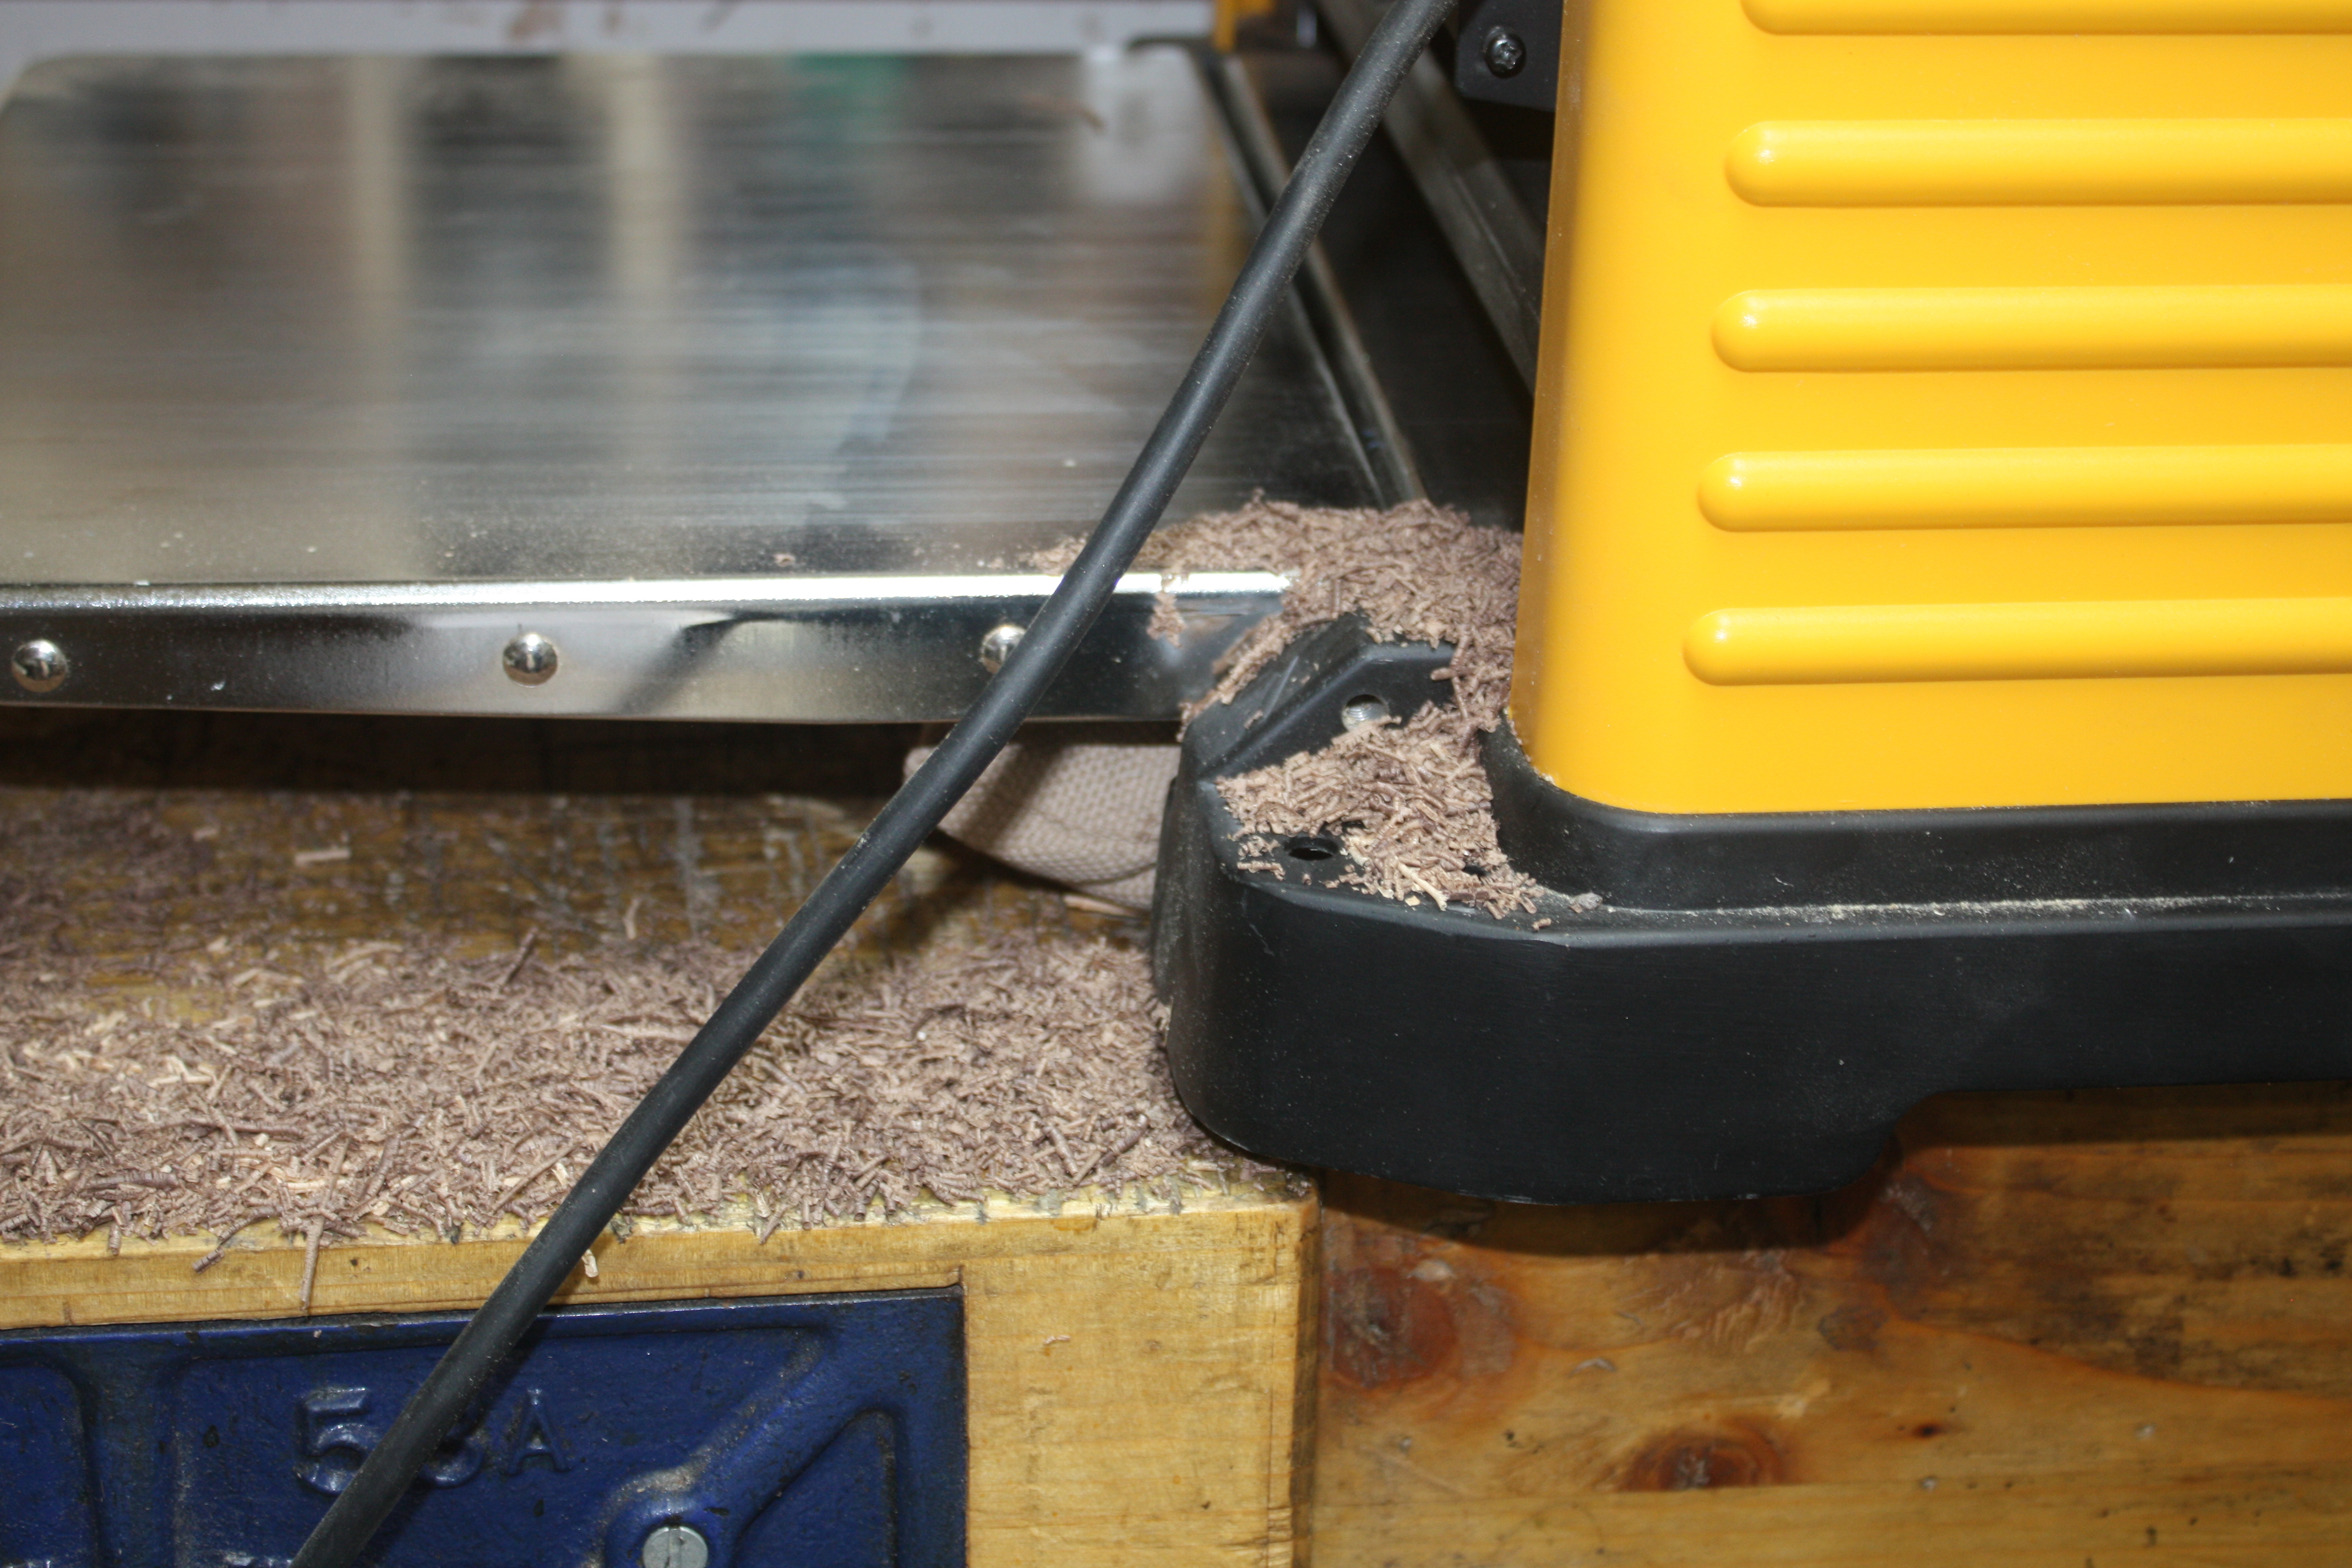
The noise is pretty hefty, but I discovered that putting a flat cushion between the thicknesser and the bench did cut down on the really unpleasant bass notes; the thicknesser seemed to have been resonating with the entire shed and the decking outside, which was… sortof impressive? Something to remember for the other machines as well I guess.
Anyway, with the board to rough thickness, out came the #05 and some finish planing was done (the board had bowed slightly in the last week or so because it had been sitting on the bench with one side planed and the other not), and then it was on to edge jointing…
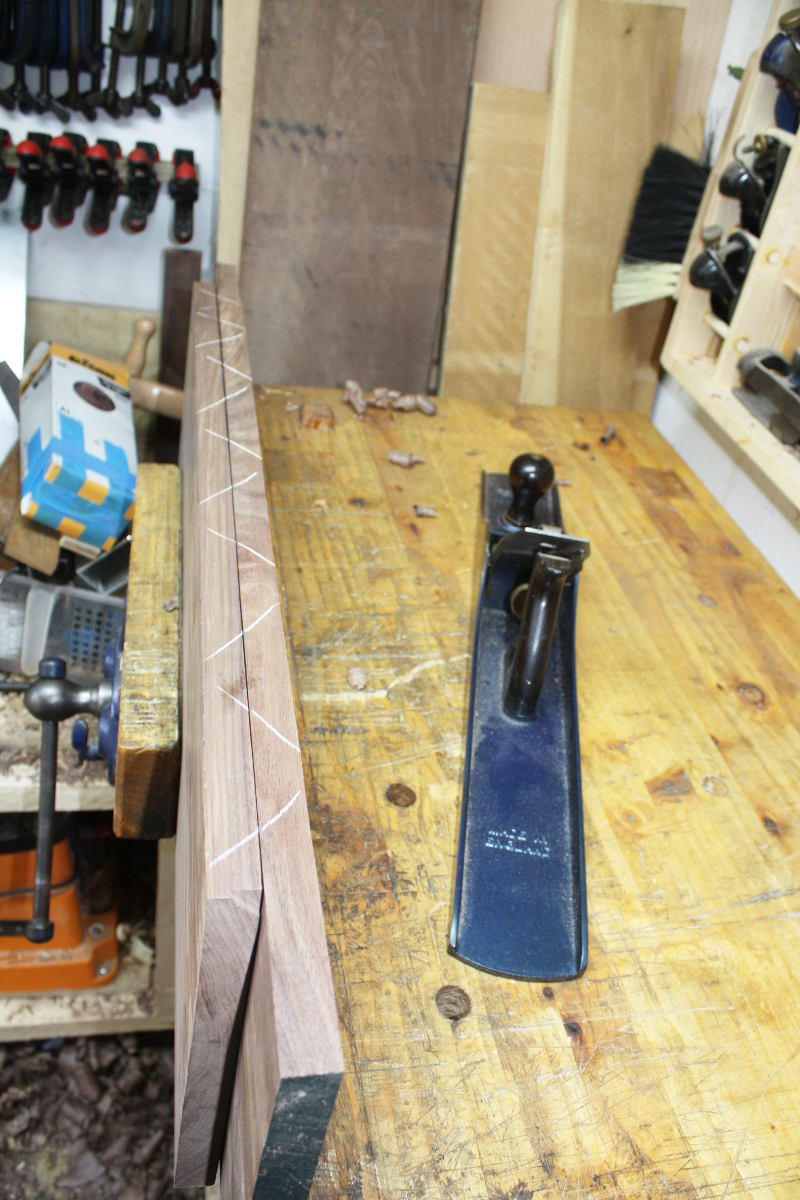
The crosshatching is to watch material removal again. It took a bit of tweaking to get a joint I was okay with, and then a tad more planing of the boards individually to get a nice joint with a spring joint space in it, and then, glue-up…
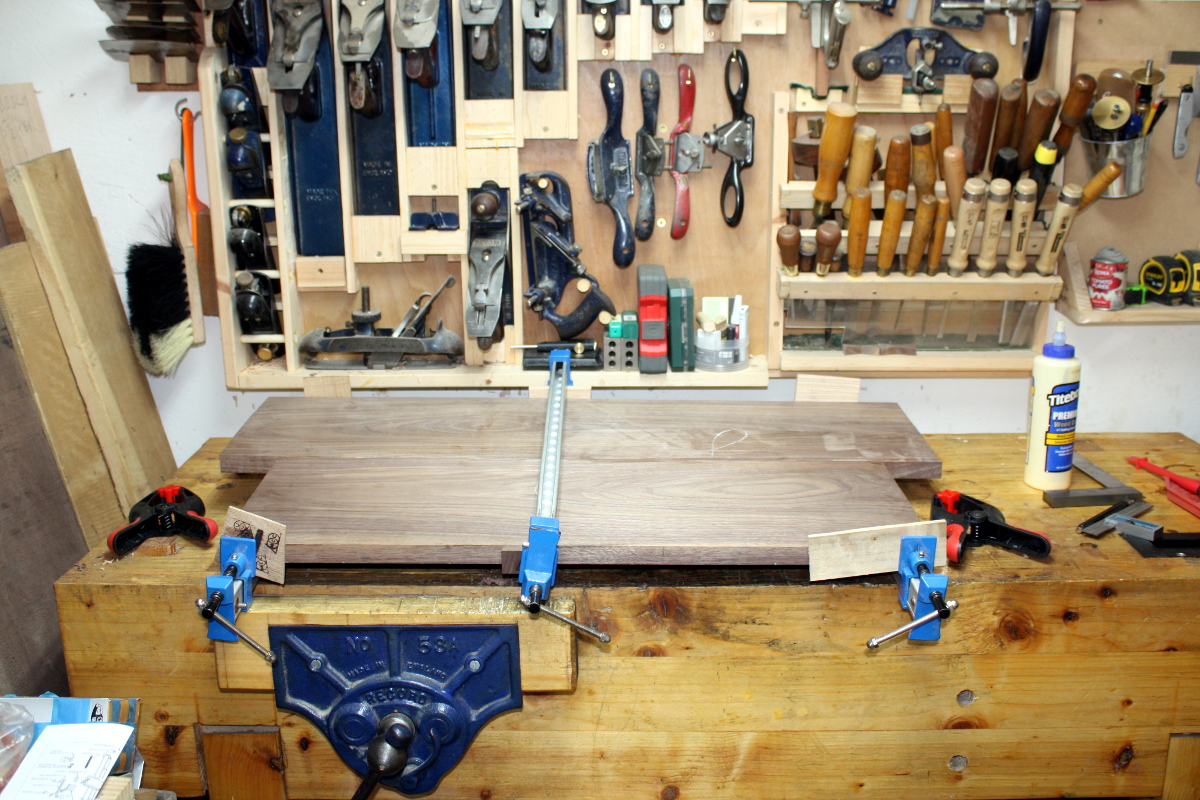
Should be okay in the morning (the panel will have angled sides so those offsets are fine). The joint isn’t bad but the top will need some work with the plane to get a nice flat surface….
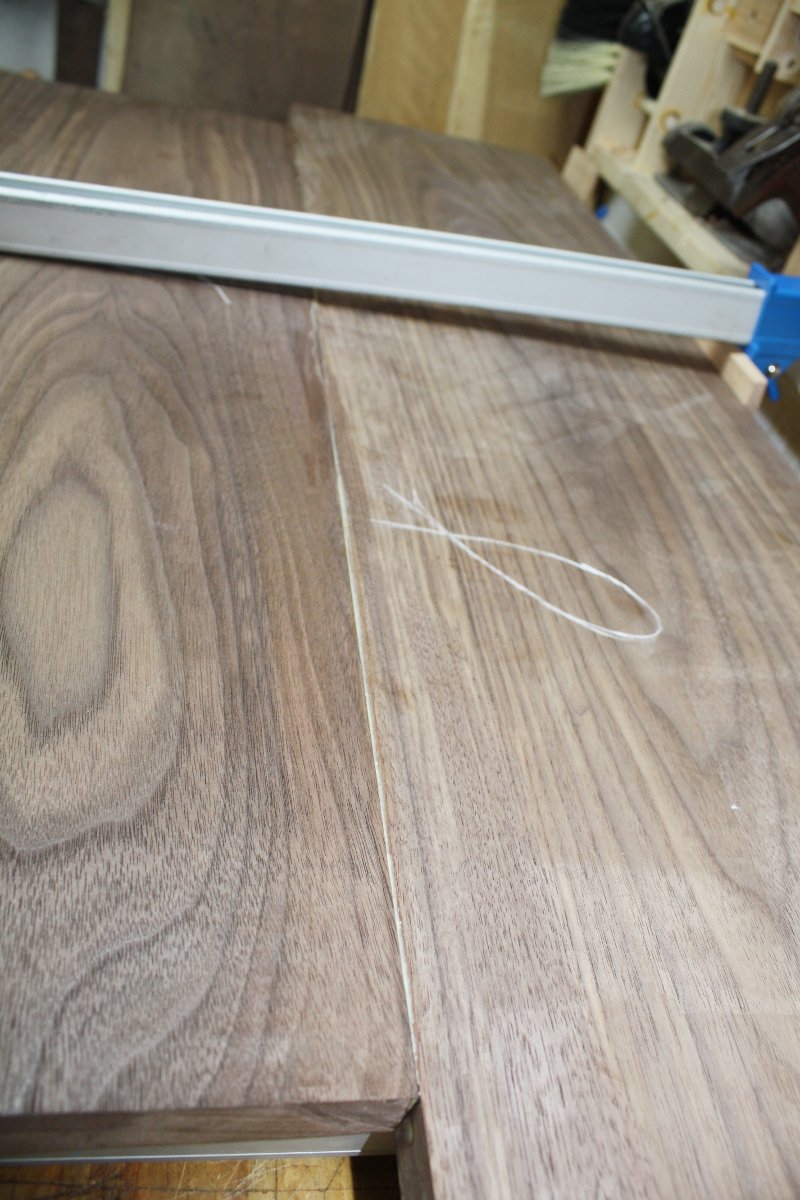
There’s almost a half-mm step there in the middle and we’re flush at the corners. Well, I’ve had worse and this is what hand planes are for…
Tags: dewalt 733, hand tools, planes, walnut, Woodworking

With all those machines you might want more horizontal surface.
See
http://lumberjocks.com/projects/293682
http://lumberjocks.com/projects/206042
http://lumberjocks.com/projects/359425
The cyclone and dust container would take the place of the sander but then you could shelve the planer and sander above the vacuum cleaner.
The nice thing is you could use a (relatively) low profile dust container.
” that DRO’s a tad more exposed than I’d like, especially if I’m getting at the tools in the plastic boxes on the left” Any reason for not putting the planer on the left? (bumping the head on the vise while reaching for the planer?) or swapping the planer and the sander.
Sylvain
I’d love some Benoit, but the entire shed is 8′ by 6′ in size; there’s just no room. And yeah, I could move the planer to the left, but if I moved the cart with the bandsaw and sander, I’d be very likely to give it a wallop.
I think I’ll wind up moving more stuff from under the bench into a proper cart for the extraction (but it’ll be vertical rather than having a horizontal layout and I’ll put some space for shelves in there).
A vertical execution is certainly an option. Compared to other dust carts, the main features of the carts in the links are:
– being able to put something on top of the cyclone;
– using a dust receptacle which is part of the cart structure with an easy emptying box which will not itself be under depression.; and
-one does not need to manipulate the cyclone to empty the box.
sylvain