So I was a bit sneaky this morning and went to the shed for ten minutes before heading off to work. I’d prepped the part for the end cap on the toolbox last night but because I’d clamped up the base I couldn’t glue it on without risking either it or the base shifting when clamping. So this morning I went out, took off the clamps from the base, made sure I had clean gluing surfaces and glued up the end cap and clamped it. And of course, as you’re in a hurry, everything gets irksome and fiddly.
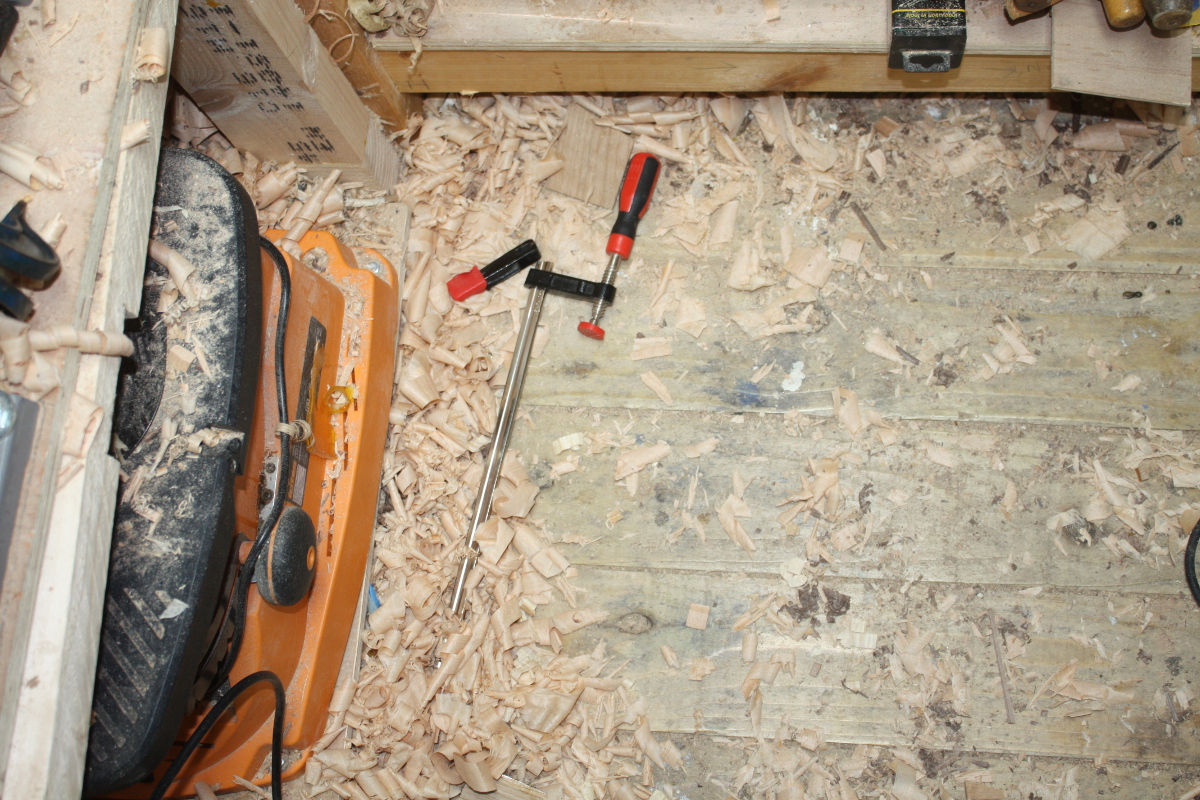
Why on earth did it choose this morning to lose it’s head? 😀
But I got it clamped in the end.
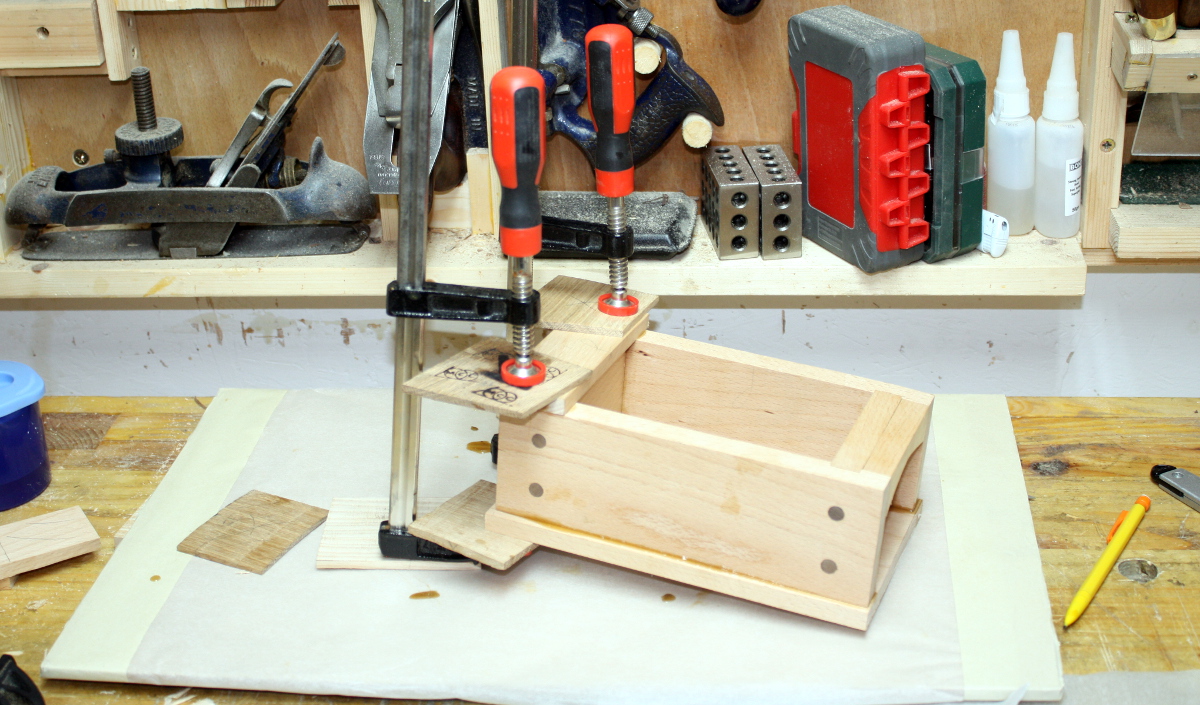
Then off I went to work and later this evening…
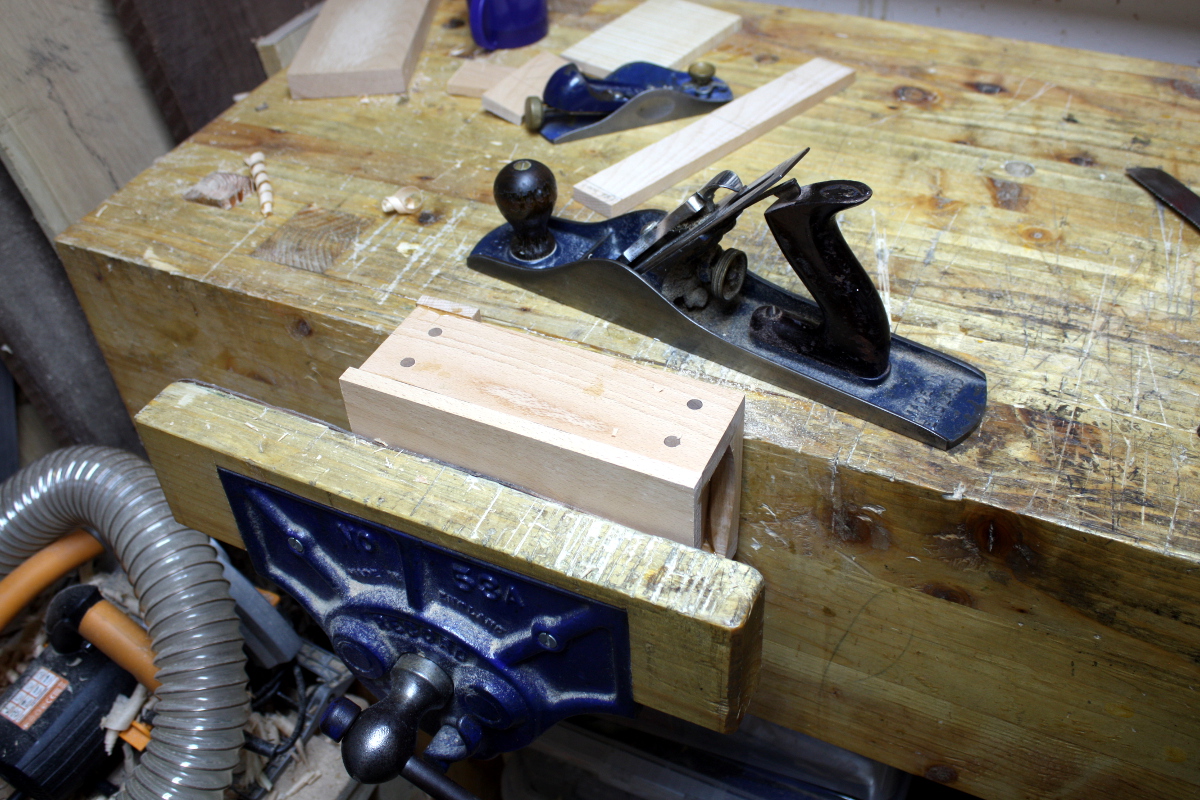
Sawed the end cap flush with the flushcut saw, planed the base flush (with lots of chamfering to prevent spelching – not sure how you’d fix that at this stage) and then started cleaning up squeezeout.
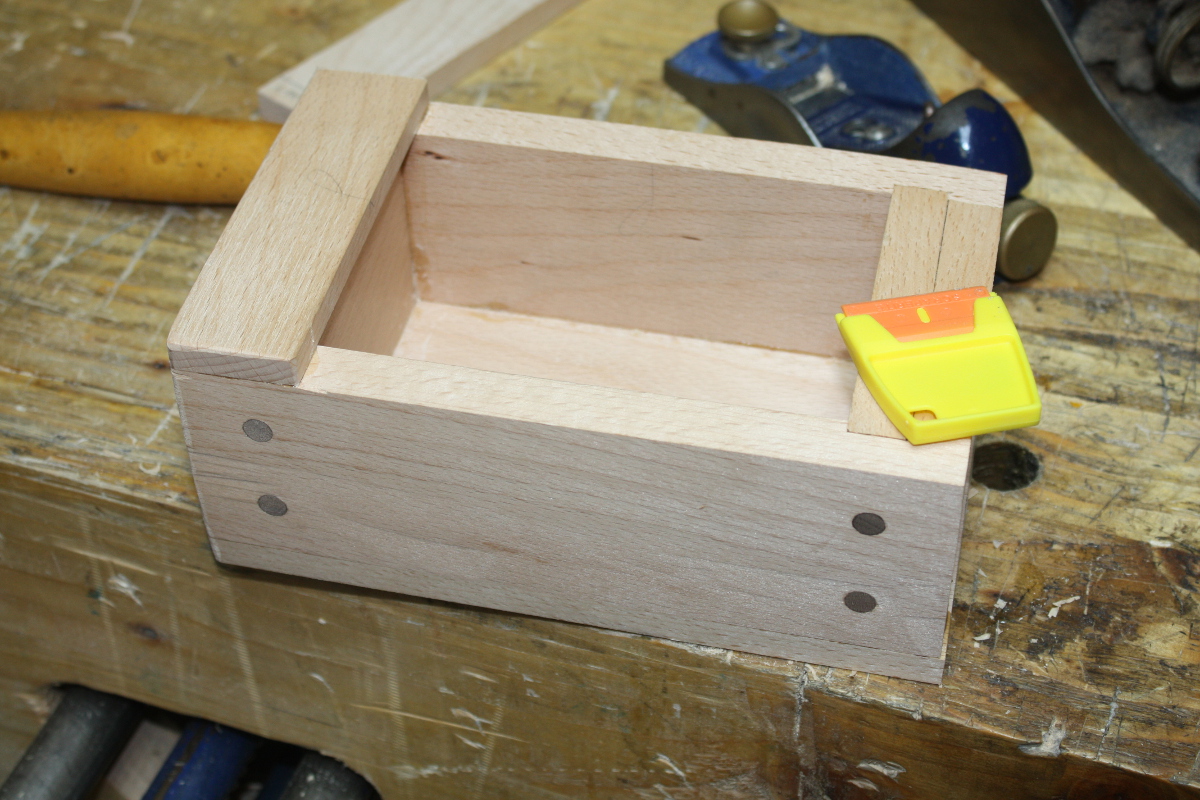
Y’know, I thought those plastic razor blade things would be a total gimmick, but for stuff like this they’re actually quite useful. I did still have to do some careful chisel work but the bulk of the removal was very straightforward using this and the best part of the plastic blades is that you really have to abuse them to nick the piece so you don’t have to be quite so careful as you do with a chisel.
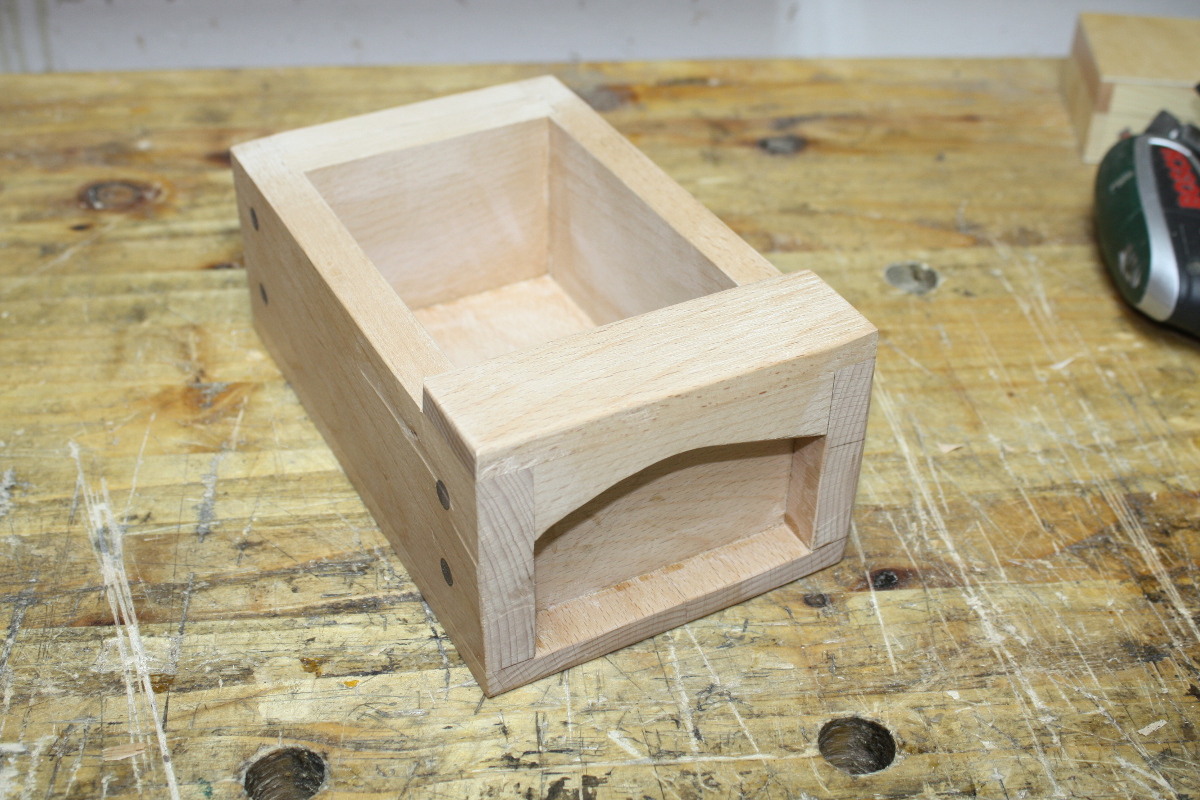
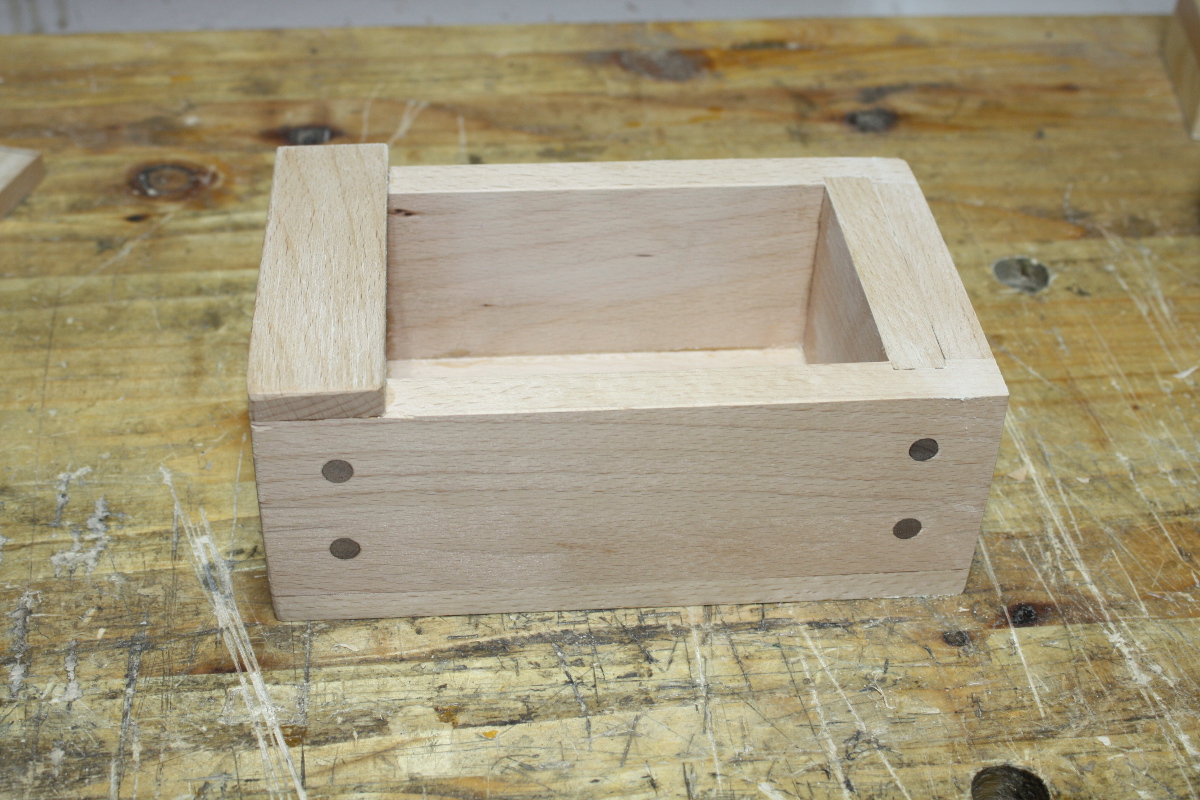
All nice and clean. I do still have to pass over the sides with a last smoothing plane pass and probably some sandpaper, but that’s for later.
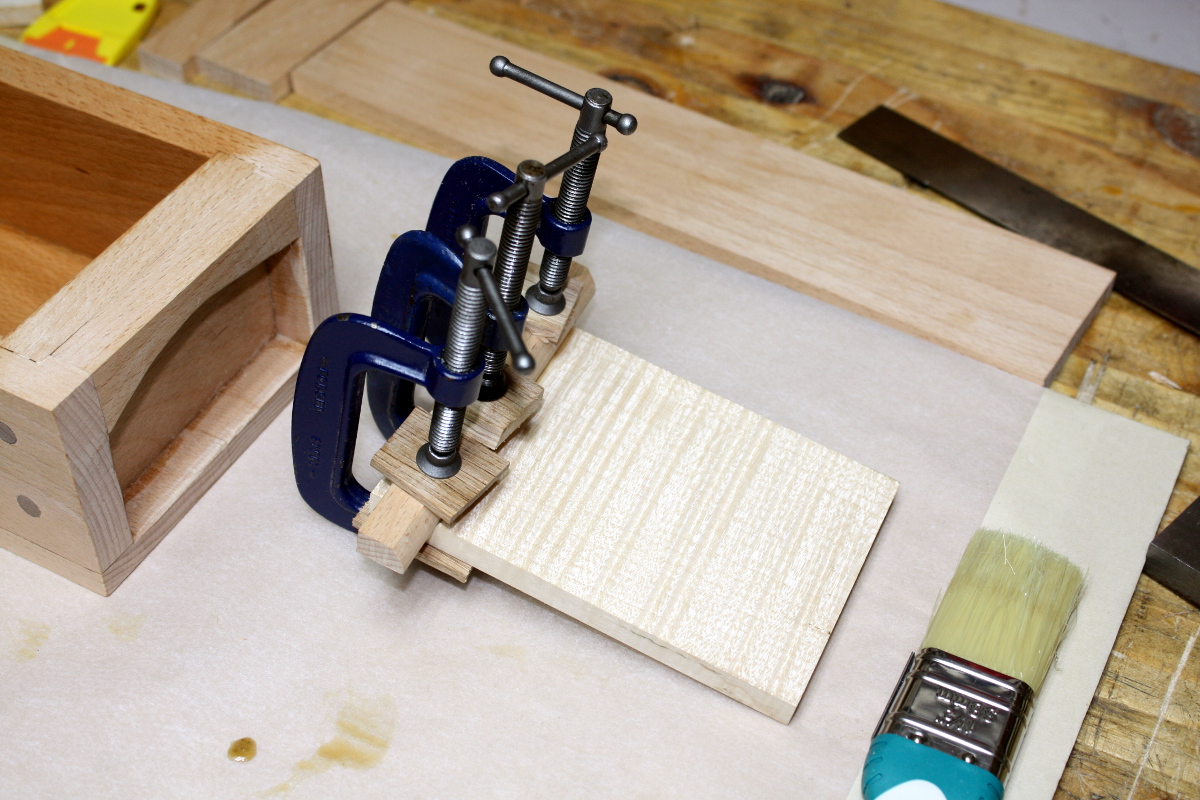
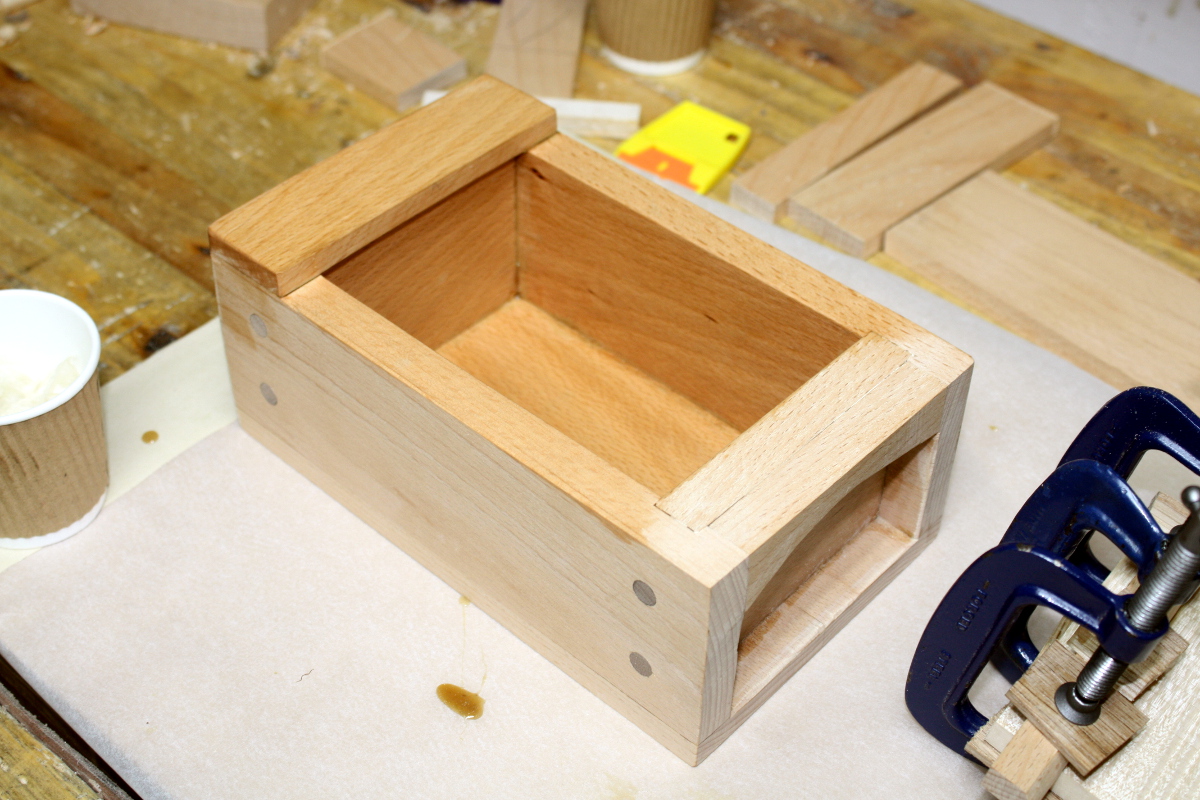
Next up, glueing the first stop on the lid after trimming it carefully to length. I’ve shaped the inner edge of that stop so it’s a little less abrupt.
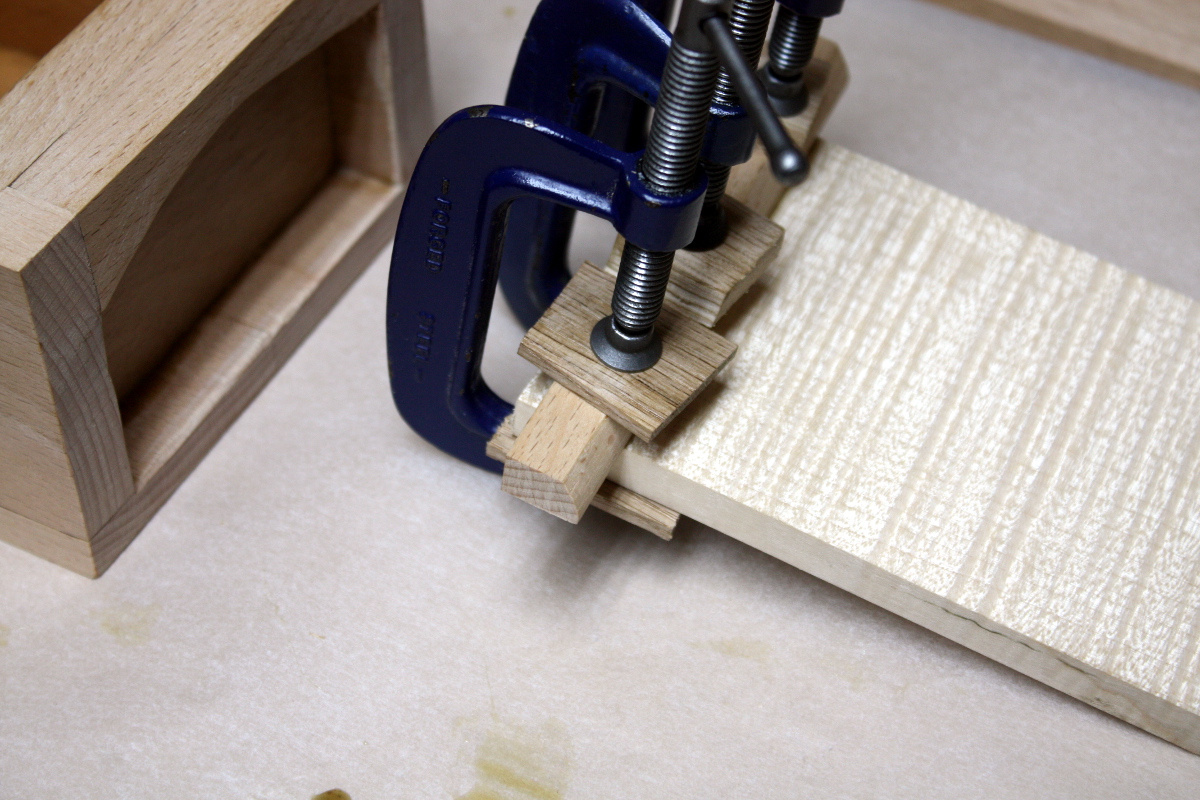
This is all going to make more sense when it’s done.
Also, I gave the inside of the box a quick swipe with some danish oil – it’ll be easier to do it now when I have access. The other end cap will go on tomorrow and after that it’ll be harder to not have any missed bits inside, so I’ve done the one inner coat I was planning on now. Should make it easier.
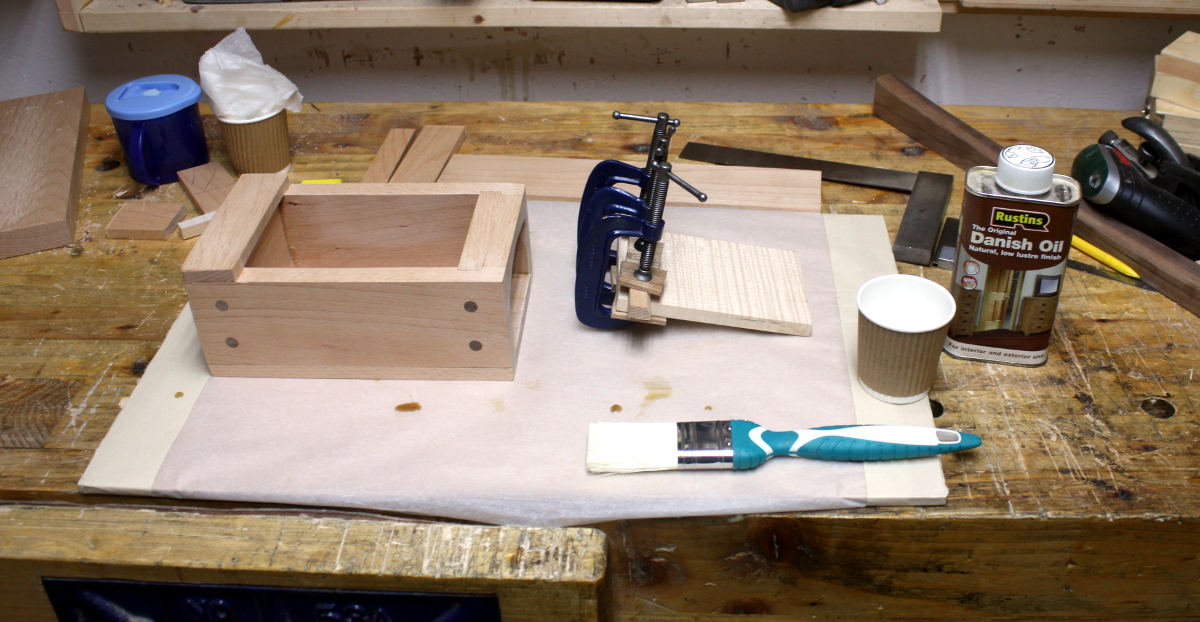
And done for the day. Material for the other endcap prepped in the background, but I still need to find material for the key – it and the lid will be distinctive and everything else will be beech or the walnut pegs. It doesn’t look too bad so far.
Speaking of finish, time to check how those purple stains dried…


Interesting. The neat stain is definitely too dark, as is the light purple over dark blue; and the lightest purple just looks like the wood’s grubby, but the higher concentration of the stain doesn’t look too bad. Needs to be even more concentrated but I think we have a good possible there. I won’t get back to the locker till next week though, but it gives the joinery and the wood for the door time to rest and move if they’re going to. And gives me time to think about decoration. What happens if you cut very white stringing into a stained wood I wonder…?
