So the last try to make a straight line cutter for stringing didn’t work so well, the fence mortice was too sloppy. So today I cut a new one. Simple process; pick a scrap of wood from the bin (in this case a piece of walnut because I’m not averse to cheating when it comes to mortices 😀 ). I’ll reuse the beam so I mark off a line on the fence with a square, drop one edge of the beam into it and then mark the width off on the fence and carry the line around with a square; mark top and bottom of the beam with a wheel gauge using the same reference face you used for the square, and that gives you the outline of the beam on the front and back of the fence and aligned. Then drill out the middle to get rid of most of the waste:
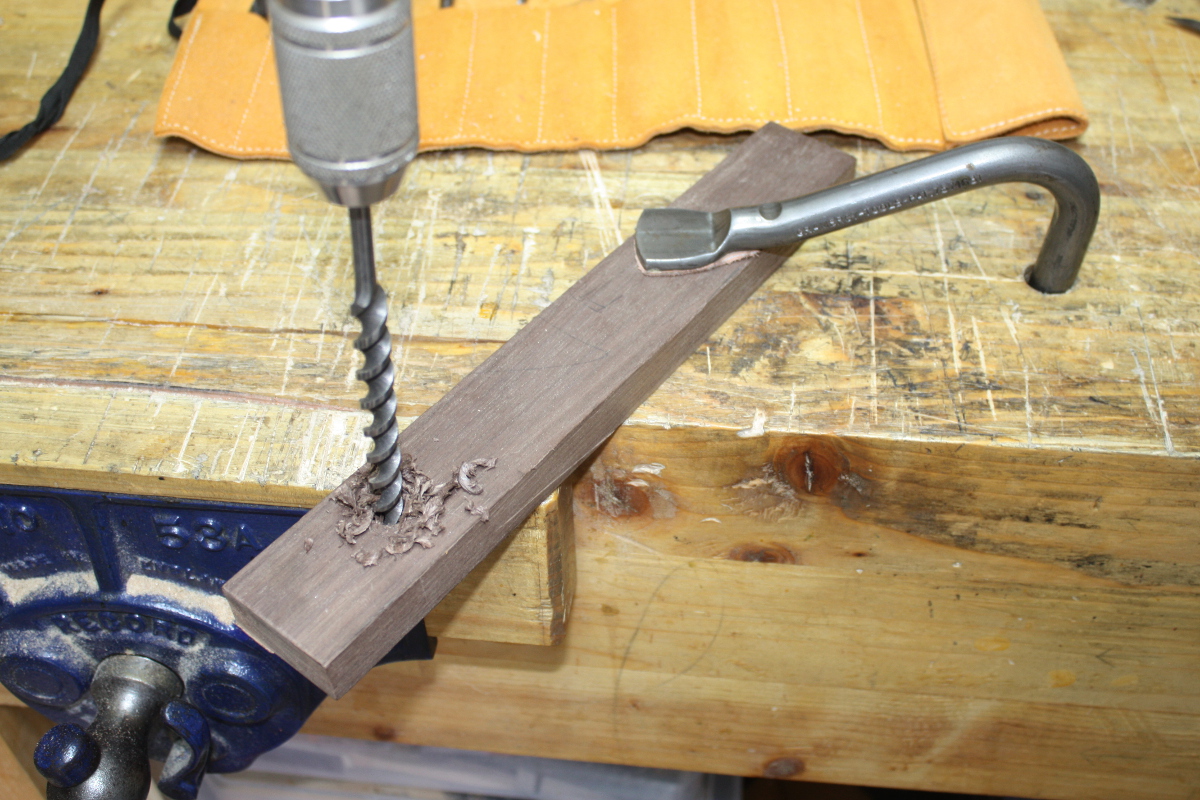
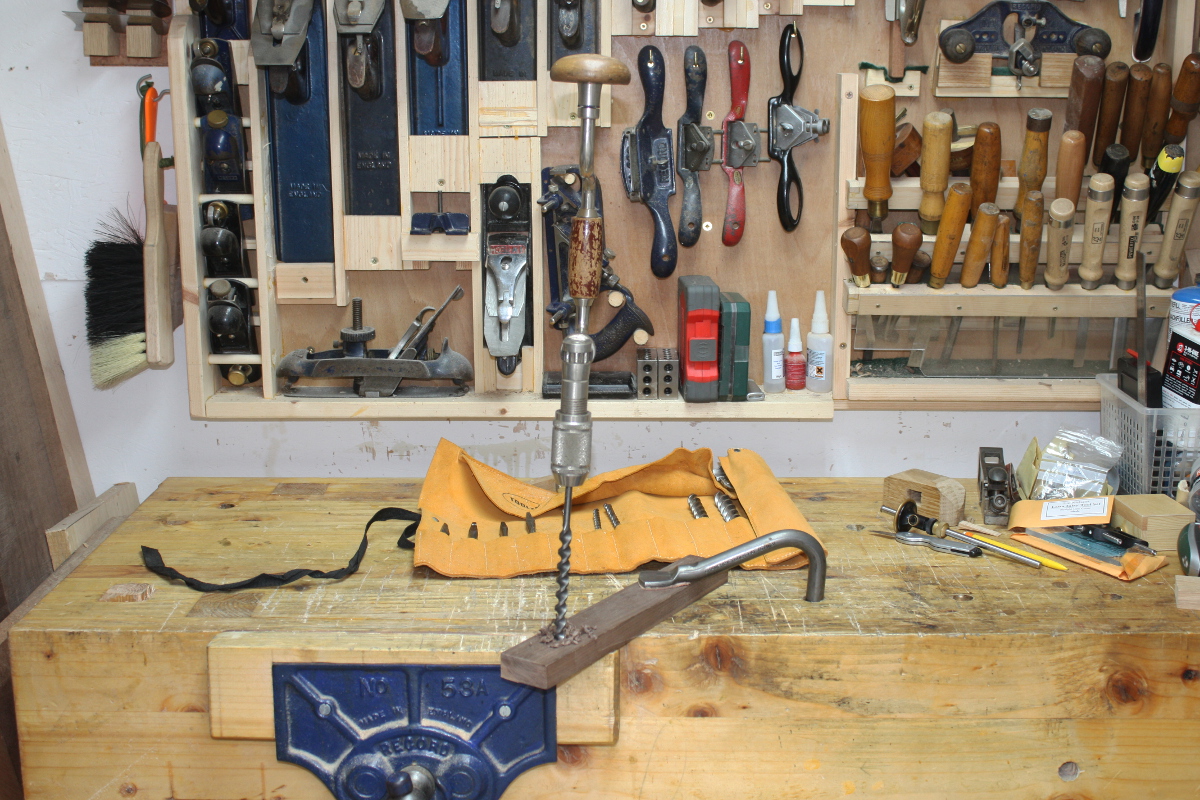
I know it looks off-vertical, that’s because I let go to take the photo 😀
Once the hole is drilled (and from both sides, no blowout involved), it’s chopping time.
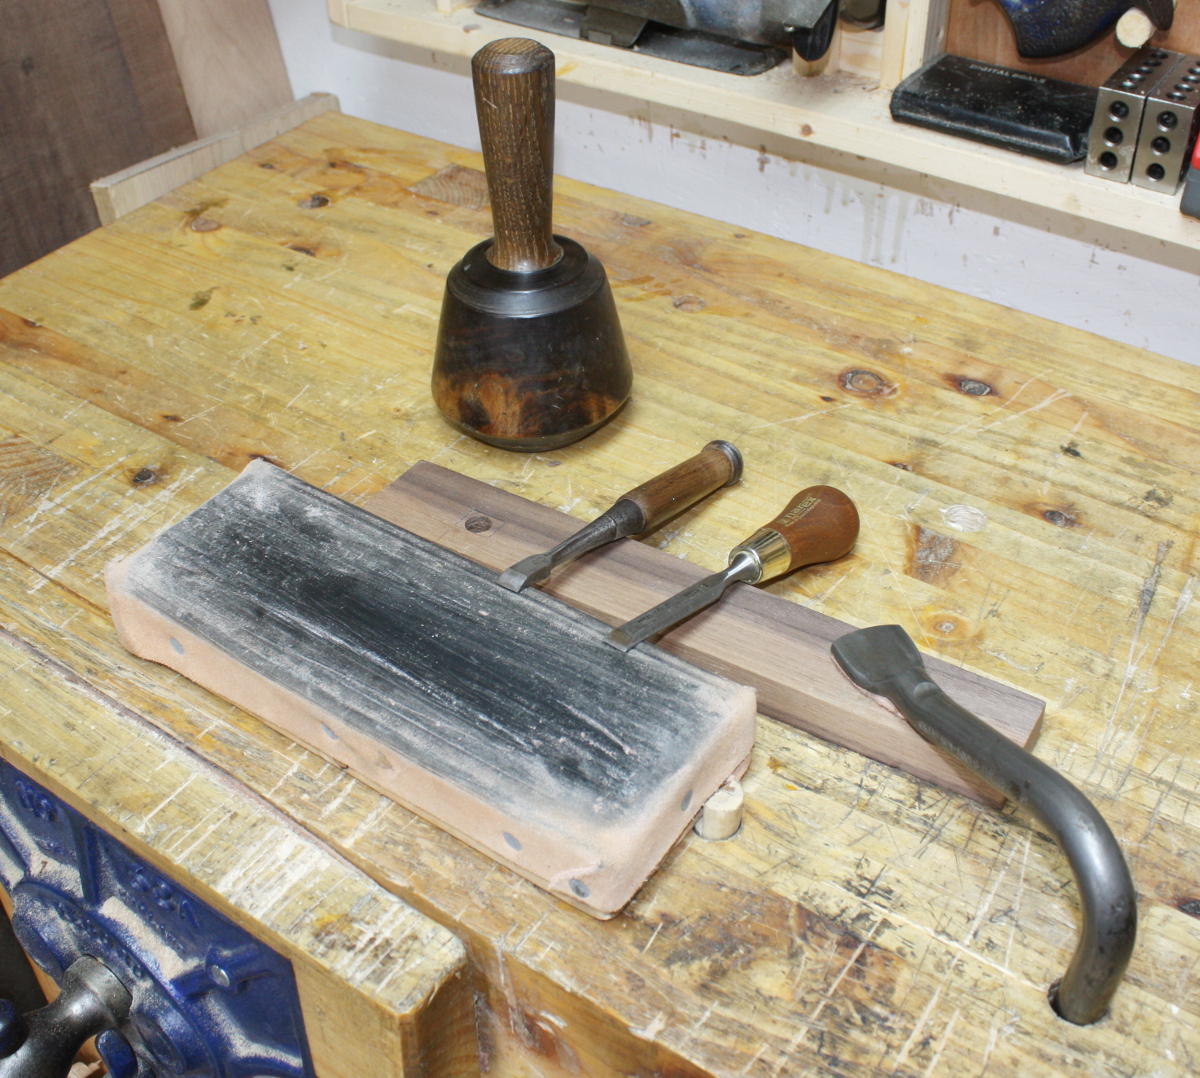
Quick touch-up on the strop first, that little dog being useful to keep the strop from dancing much, and I use the japanese chisel to chop out the mortice from both sides roughly, leaving just a small half-millimeter or so of material between the lines and the mortice. Then pare the last bit using the narex butt chisel. But I wanted a guide so the paring chisel was done at right angles and it just so happens I bought some 1-2-3 blocks recently, so…
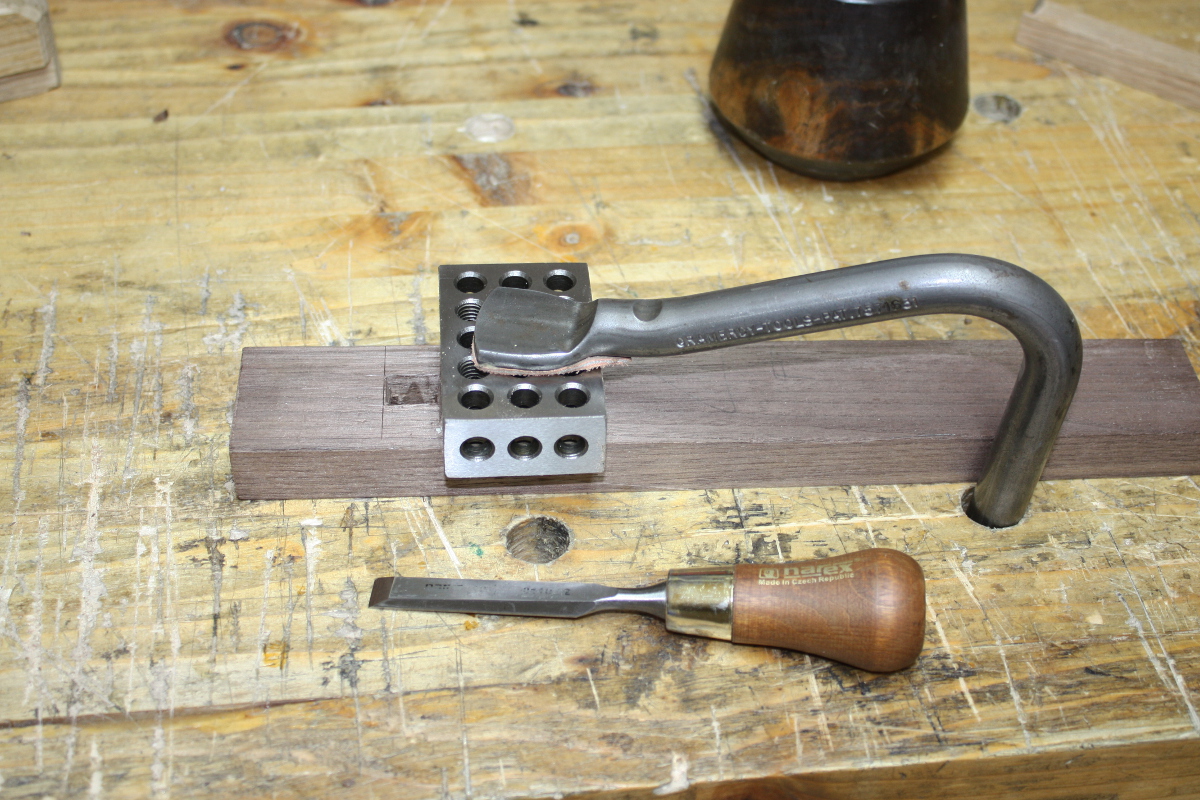
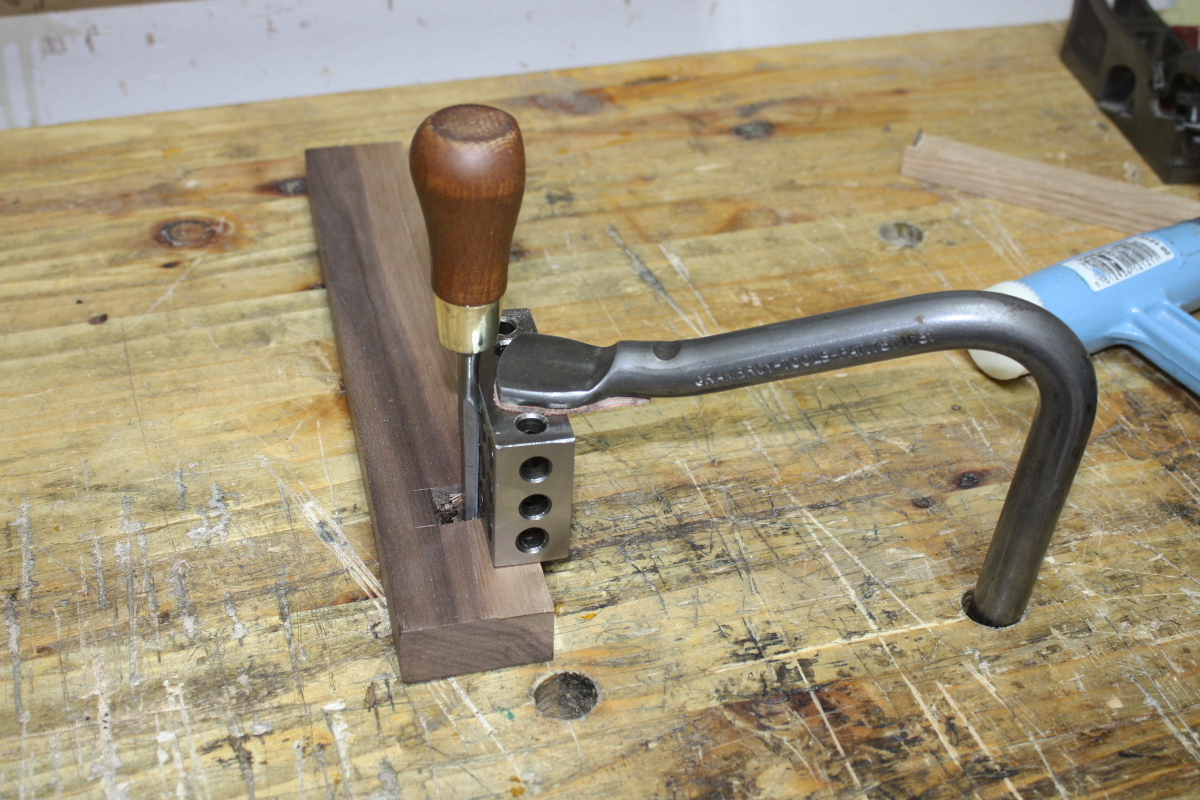
Make sure the back of the chisel runs flat on the 1-2-3 block. You could just use a wooden block for this if you have one that’s square, but I had the 1-2-3 blocks so why not.
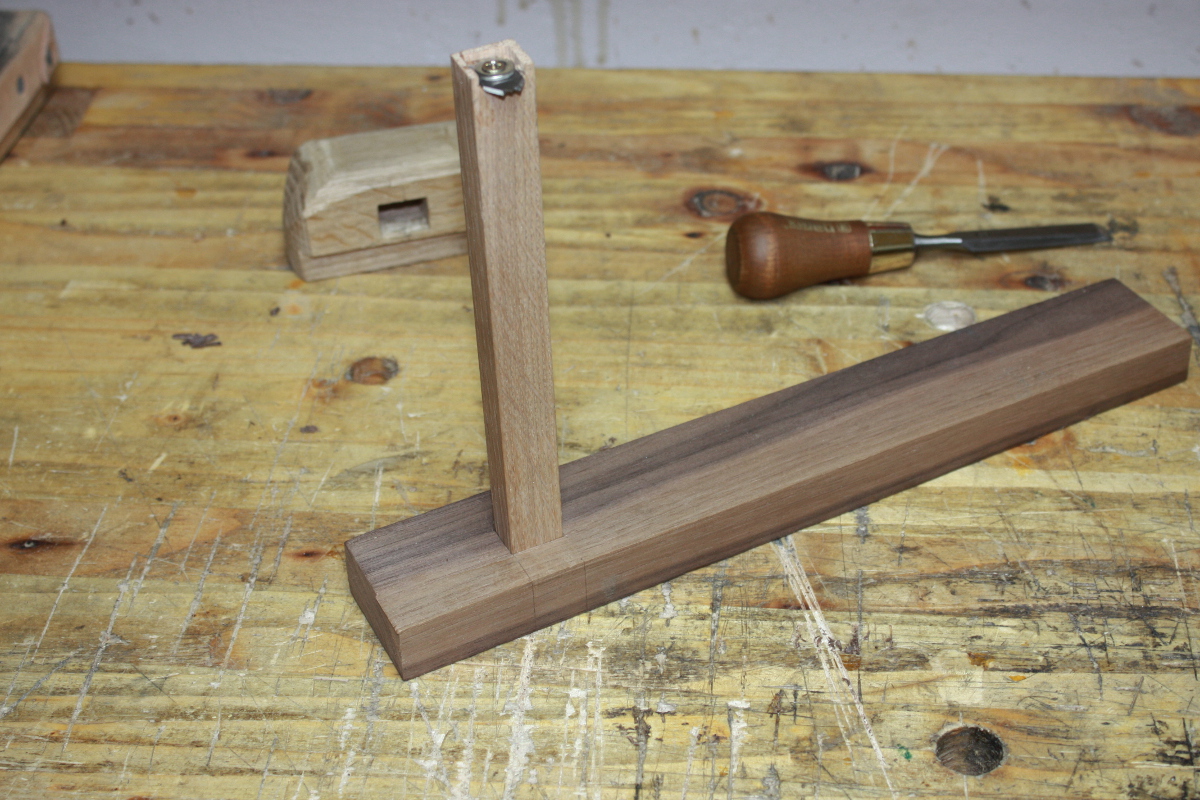
And when you’ve trimmed to the line, it’s time to start test fitting and fettling. The beam doesn’t initially fit; once I’m satisfied (using a square) that the inside of the mortice is square and the corners are clean, I’ll take a fine-set #4 and take a swipe off the beam, test fit it again, and then another swipe and so on. It takes a while because you’re sneaking up on a snug fit, but eventually…
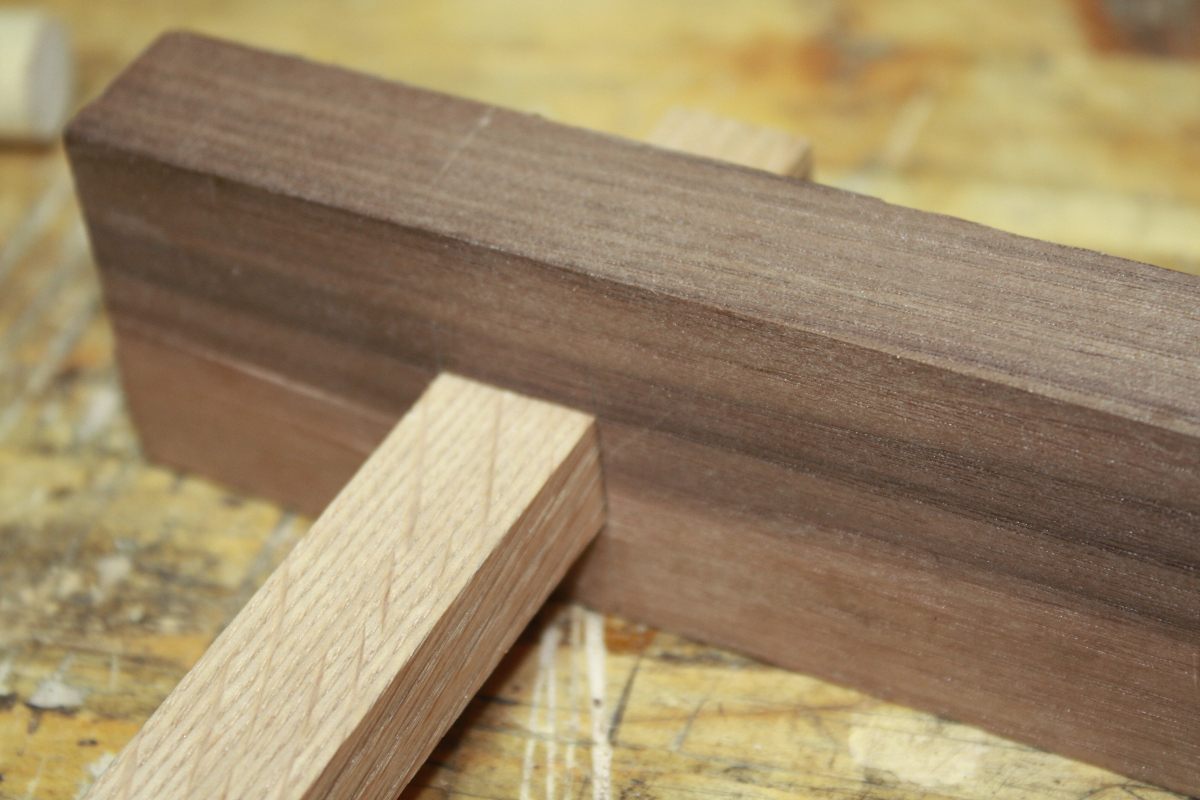
It’s not bad. It’s not perfect – the beam still has more play than I’d like when it’s out at full extension, but since this cutter won’t really be asked to reach more than an inch or two in from an edge, that’s no major worry. At some point I expect it’ll loosen up due to wear and tear, and when/if that happens, I’ll cut a slot in there for a wedge like in a traditional english marking gauge and fit it with a wedge.
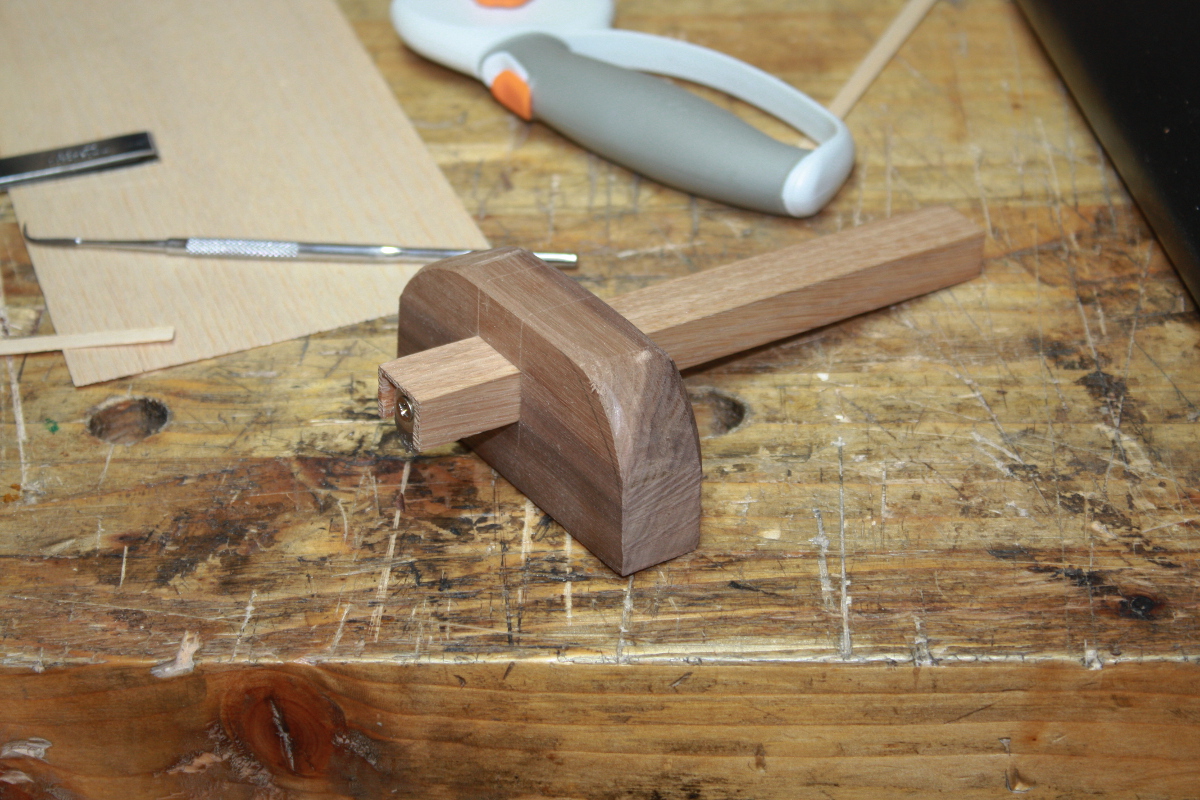
Not too shabby. Time for some testing.
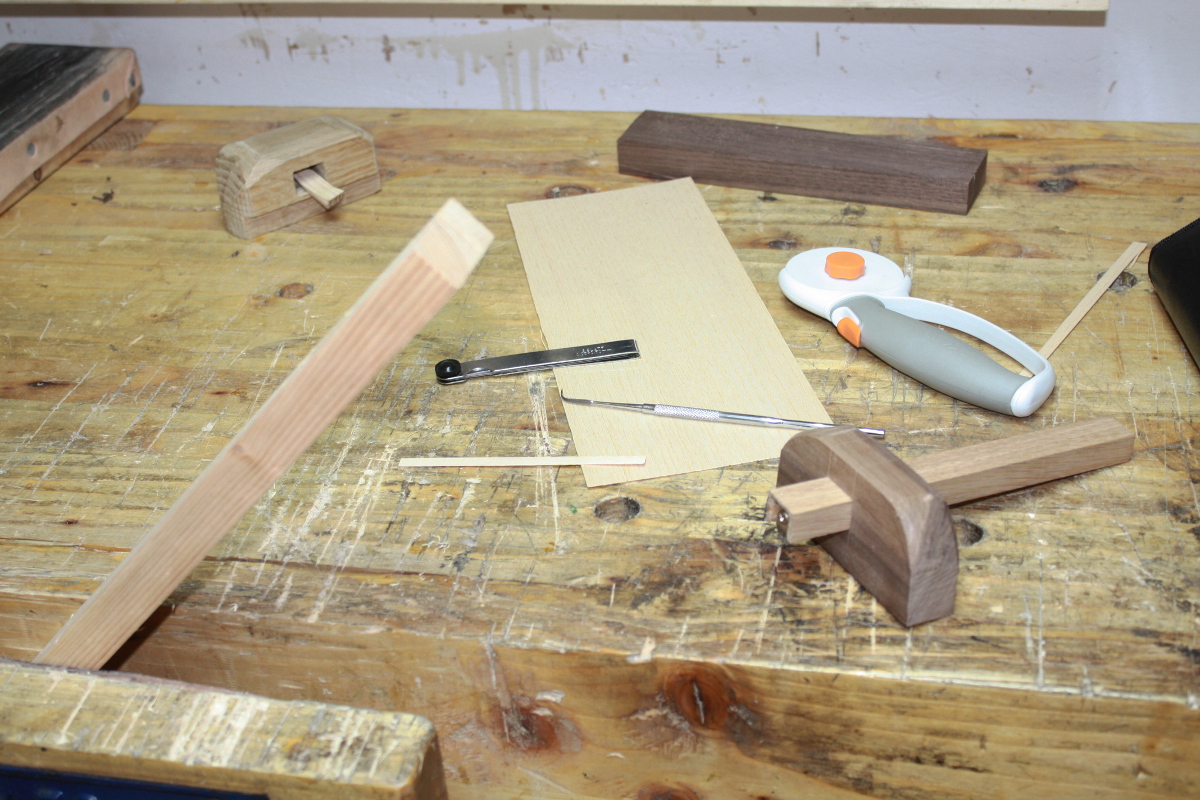
Just cutting a groove here in a scrap piece of pine. The pizza-cutter thing and the dental pick are for cutting a slice off the veneer to test with and to clean out the groove, respectively.
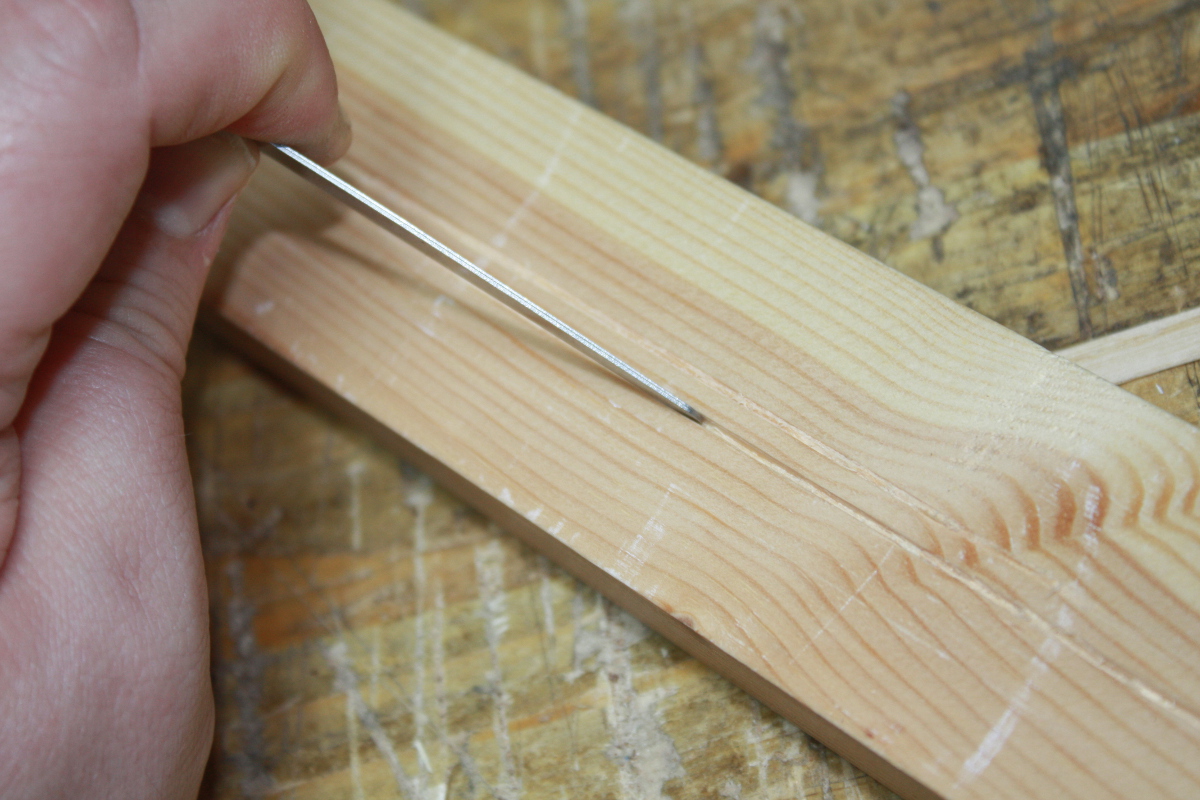
Groove looks clean and parallel to the edge, feeler gauge says the width is 0.8mm as expected, and it’s not too ragged. I think that’s good.
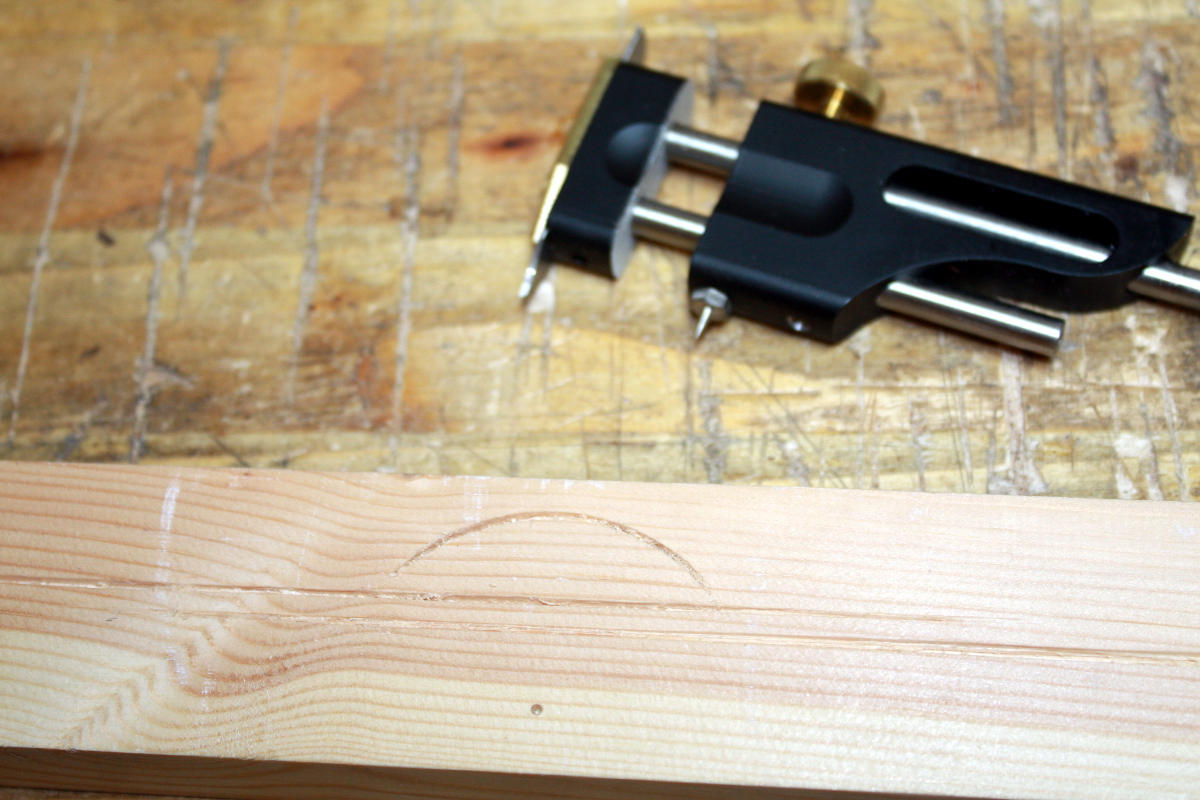
And looking at the professionally-made radius cutter, the groove appears to be solidly comparable. I’m happy with that for now.
I’m not happy with the veneer I have though – it’s 0.6mm, or at least it claims it is (the calipers says it’s closer to 0.5), so if I test on a small scrap of walnut…
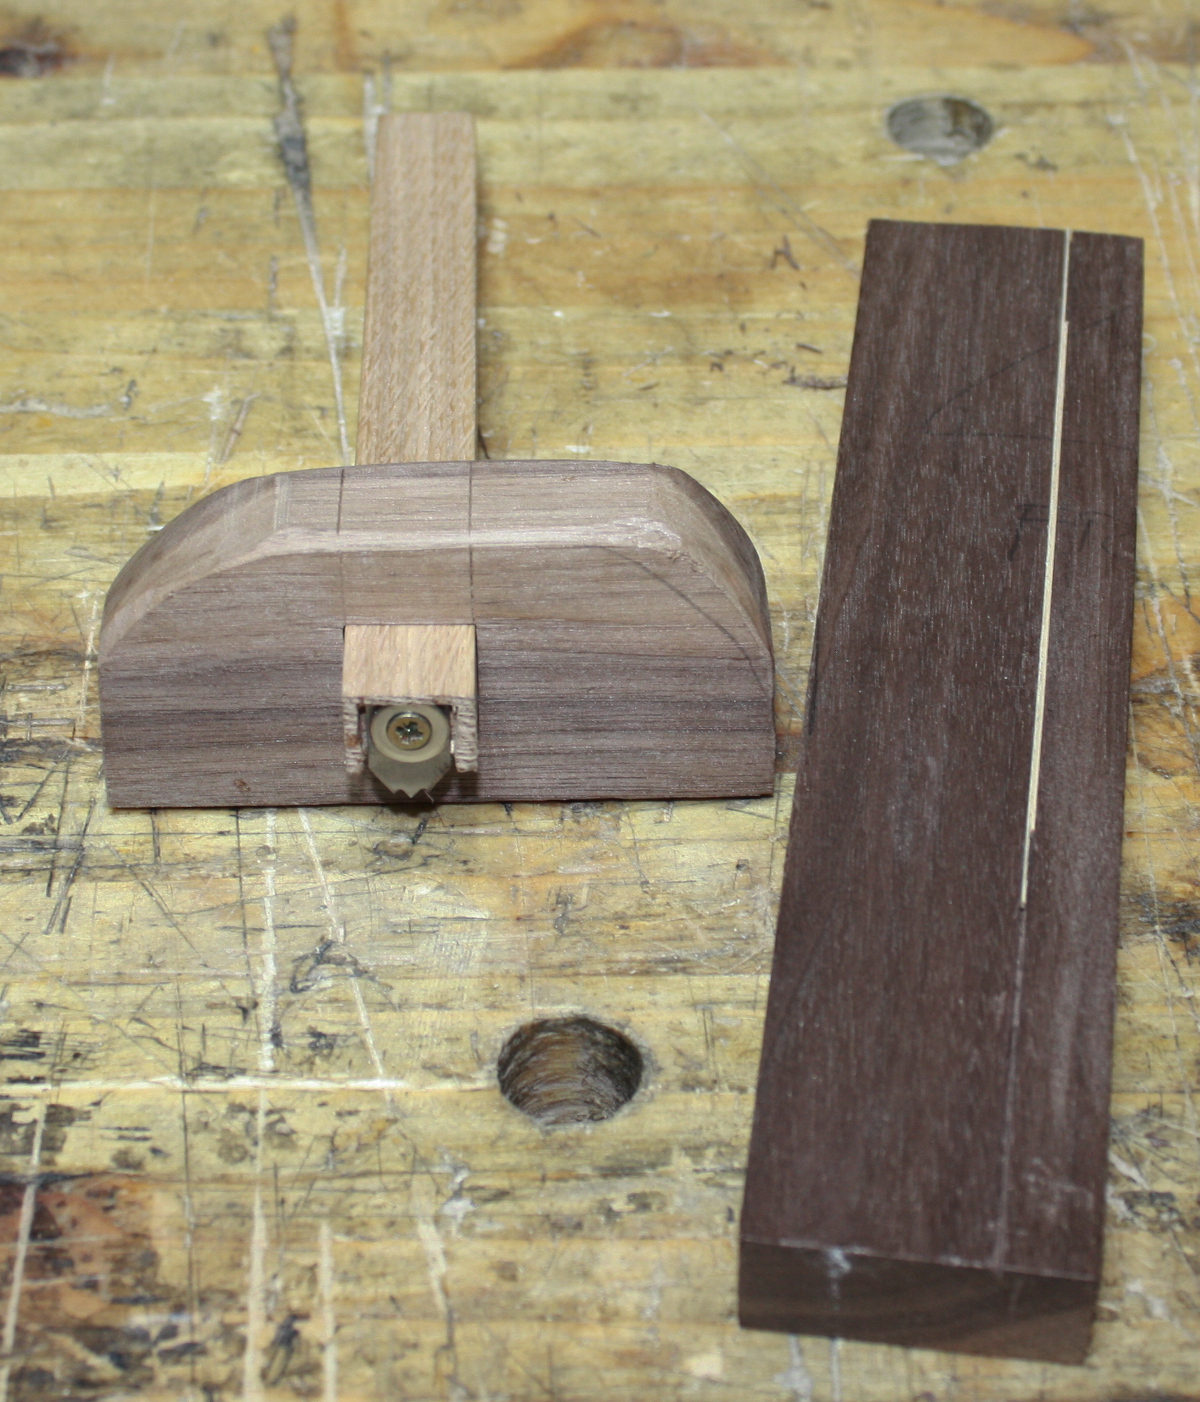
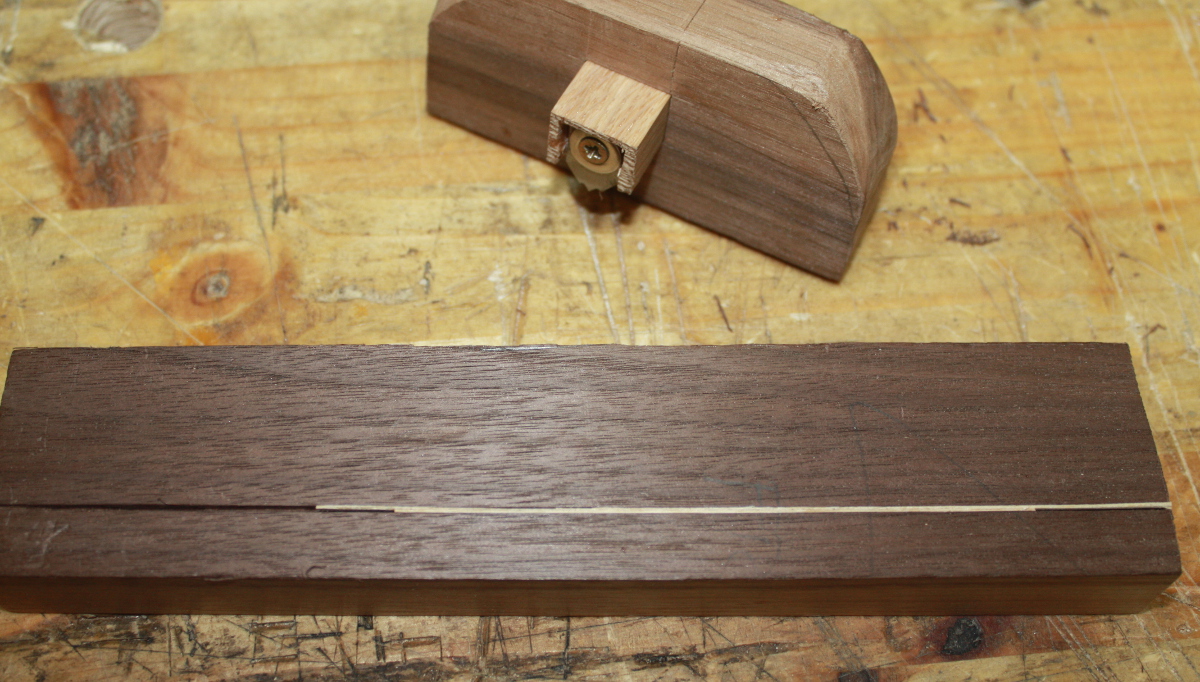
The groove is too large for one thickness of veneer and even if I put in two layers of veneer, you can still make out the hairline (and ragged) line caused by the gap between them.
I need to find a source of constructional veneer that doesn’t expect me to buy an entire tree’s worth…
