Started off the day with the noisier tasks to get them out of the way…
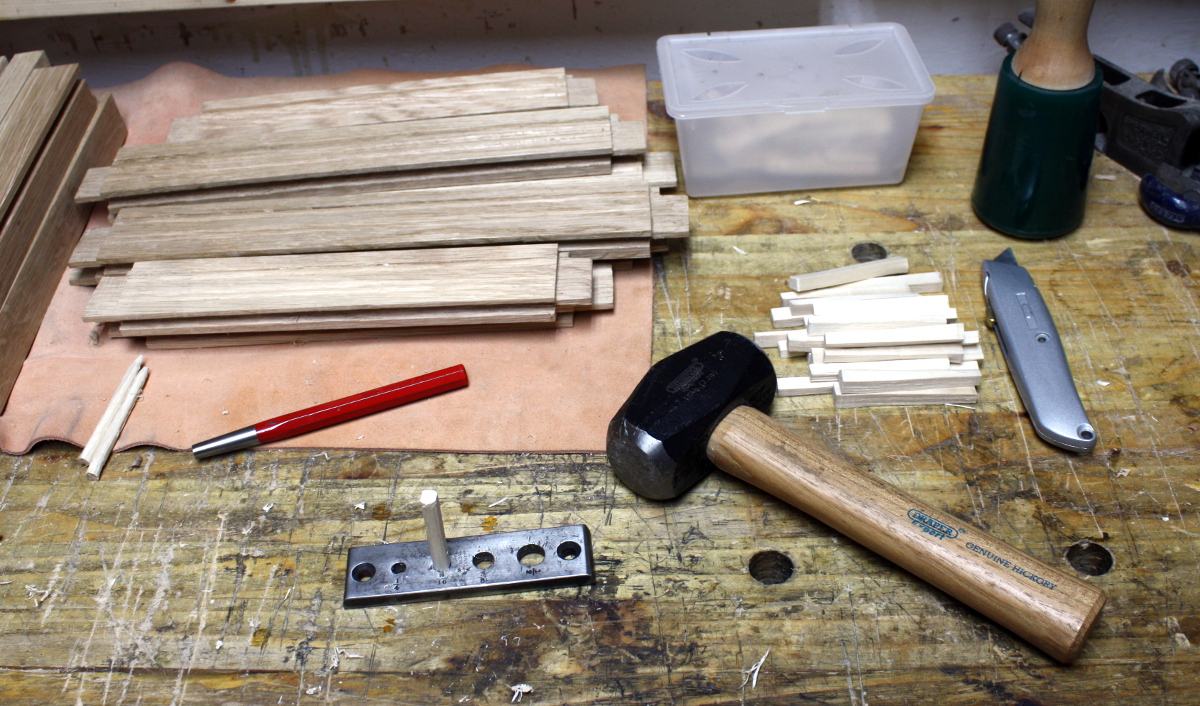
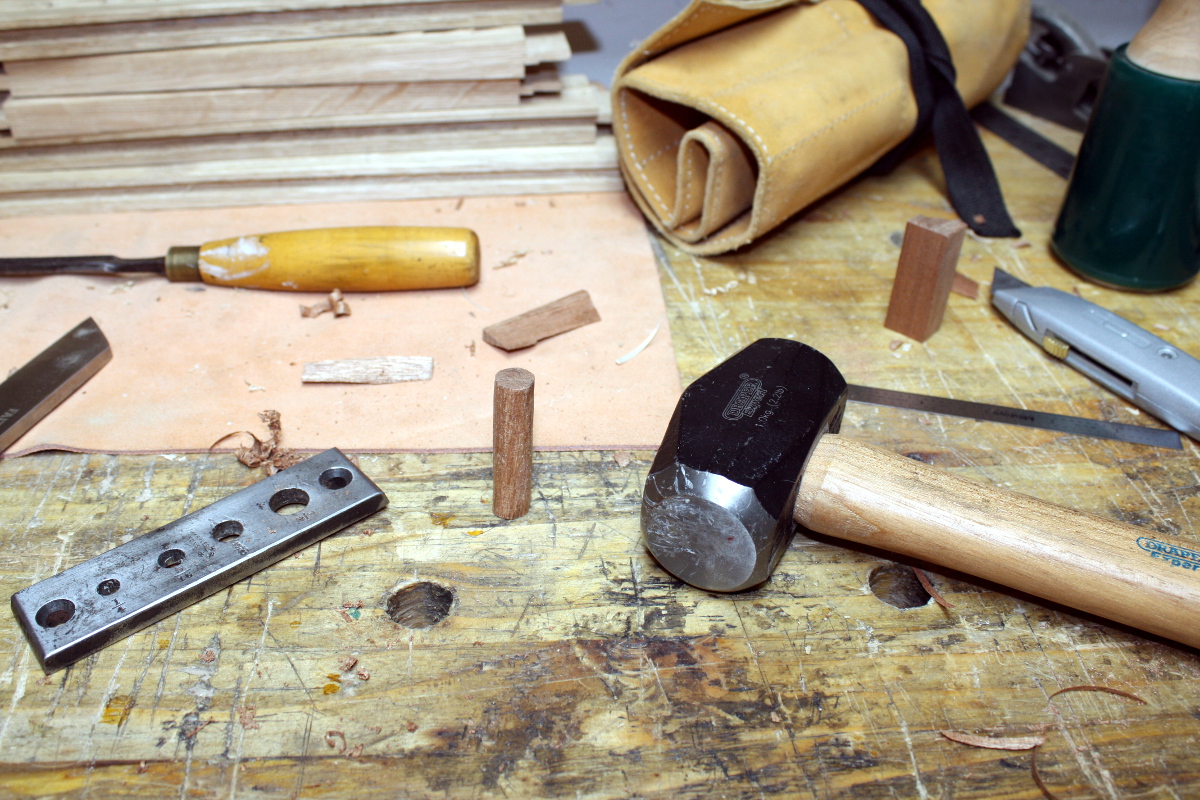
There’s not a lot of art here. Rive the stick to about the diameter you want, pound it through the hole with the big hammer several times, move on to smaller hole until desired size reached, sharpen slightly, continue on. And it’s noisy, so ear defenders. But, keep going and you finally have all you need minus one (because the universe hates you, there will always be a need for one more than you have).
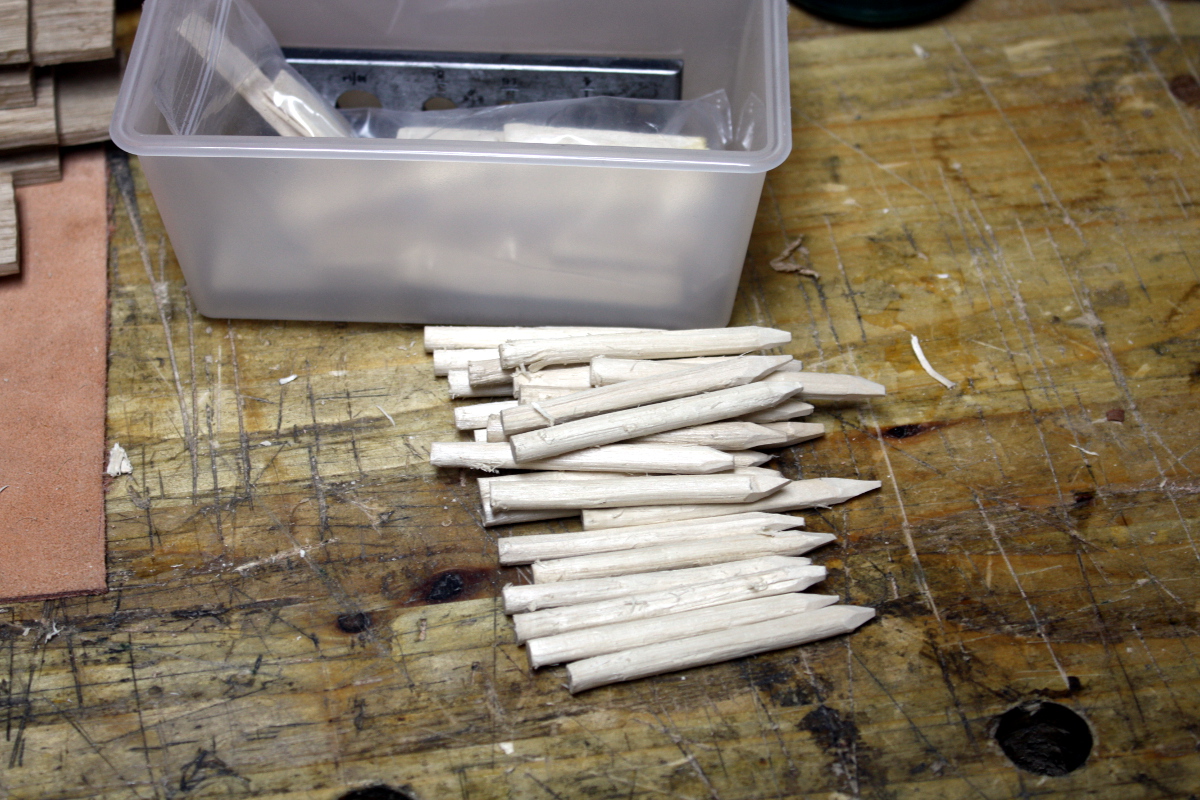
Then on to finishing off the carving.
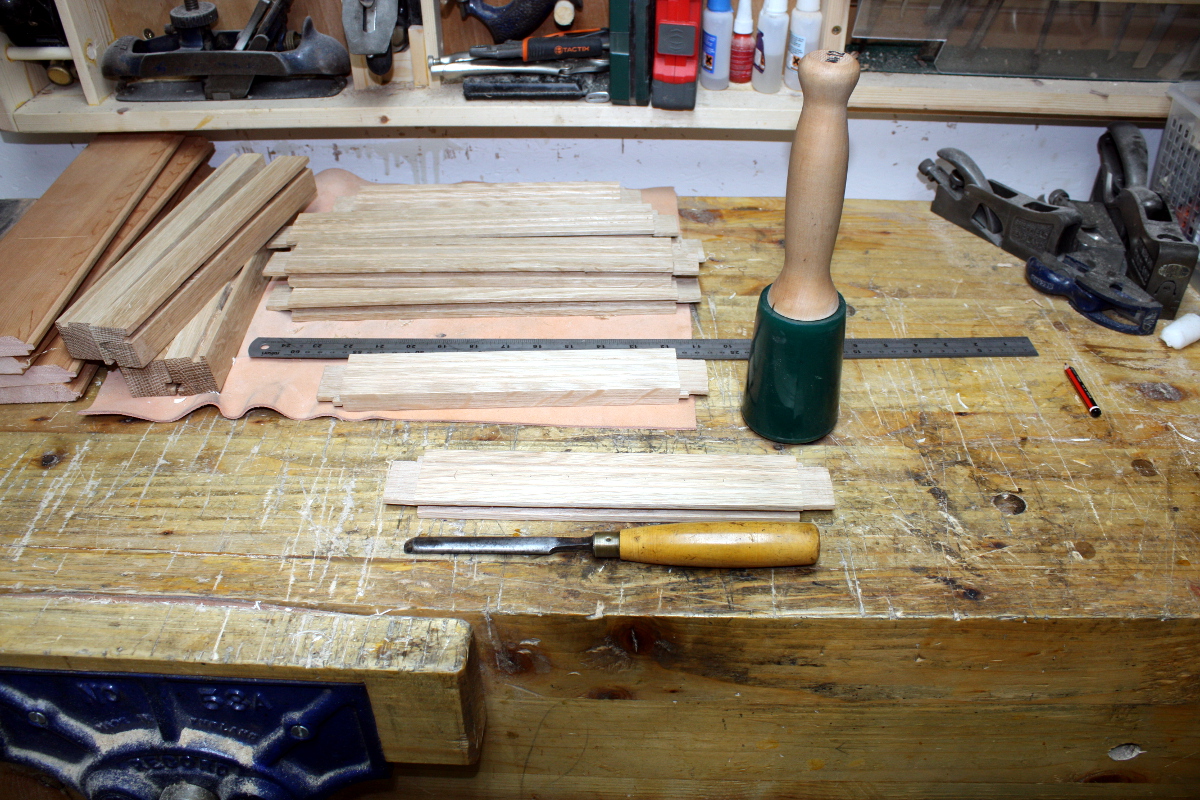
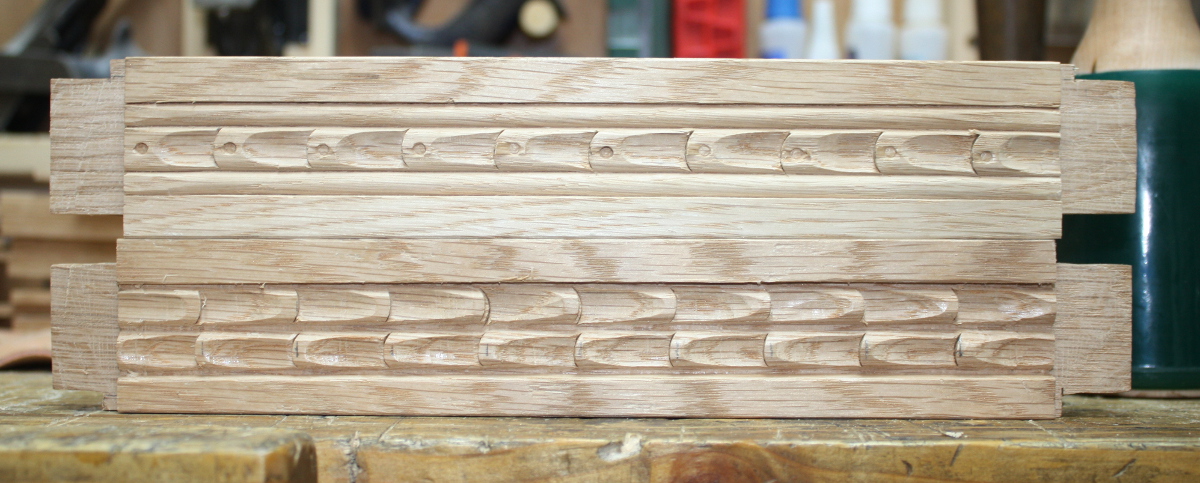
It’s a fairly simple design on the bottom. Mark off every inch on the two reeds I cut yesterday.
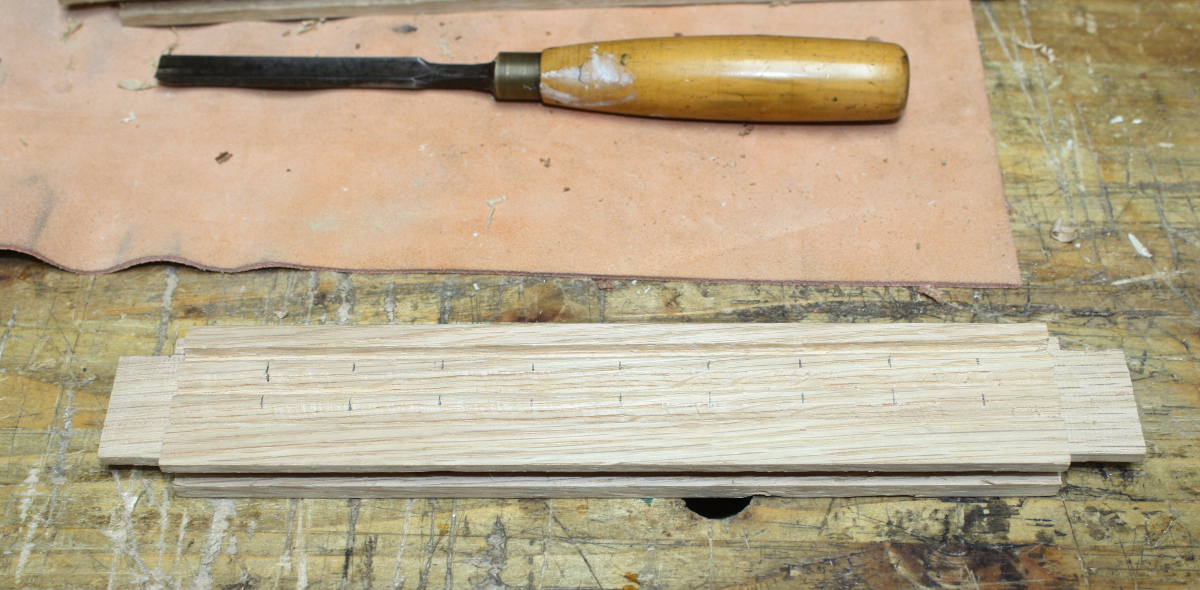
Then chop down vertically with the gouge (whose profile matches the reed pretty closely) on each spot on one reed.
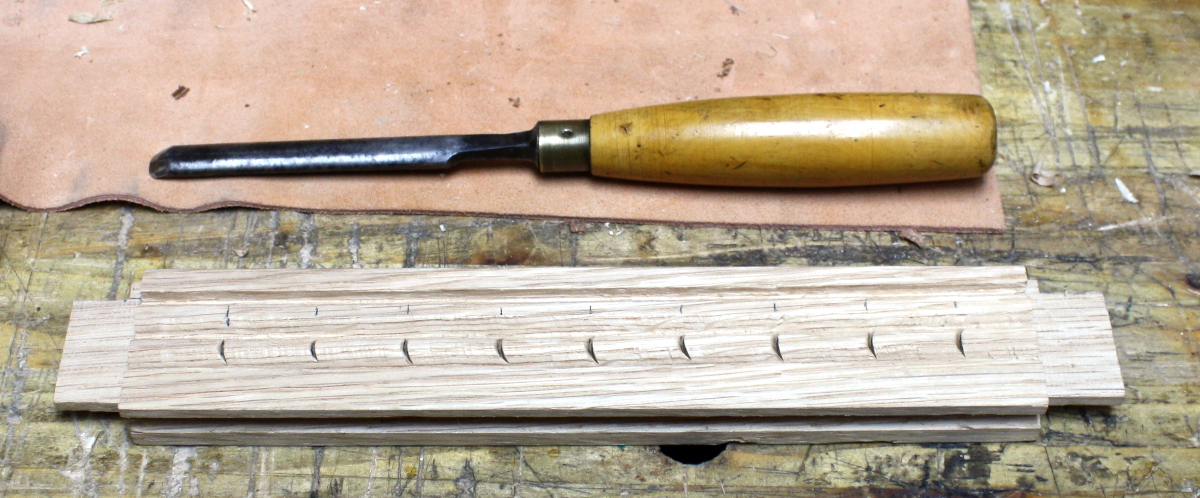
Then flip the piece and chop down at each spot on the other reed, only offset a little (judge this by eye) so it looks like a kindof backwards ‘S’
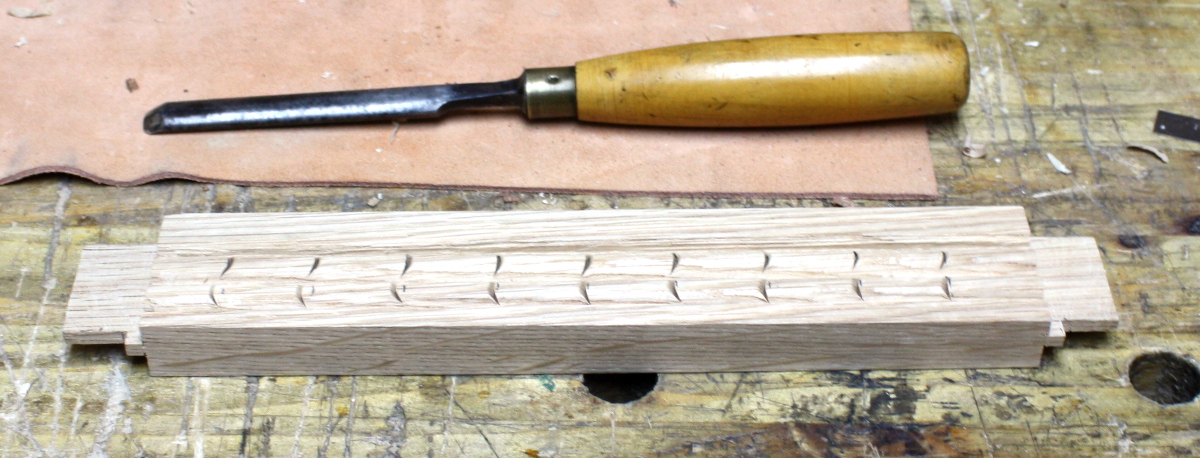
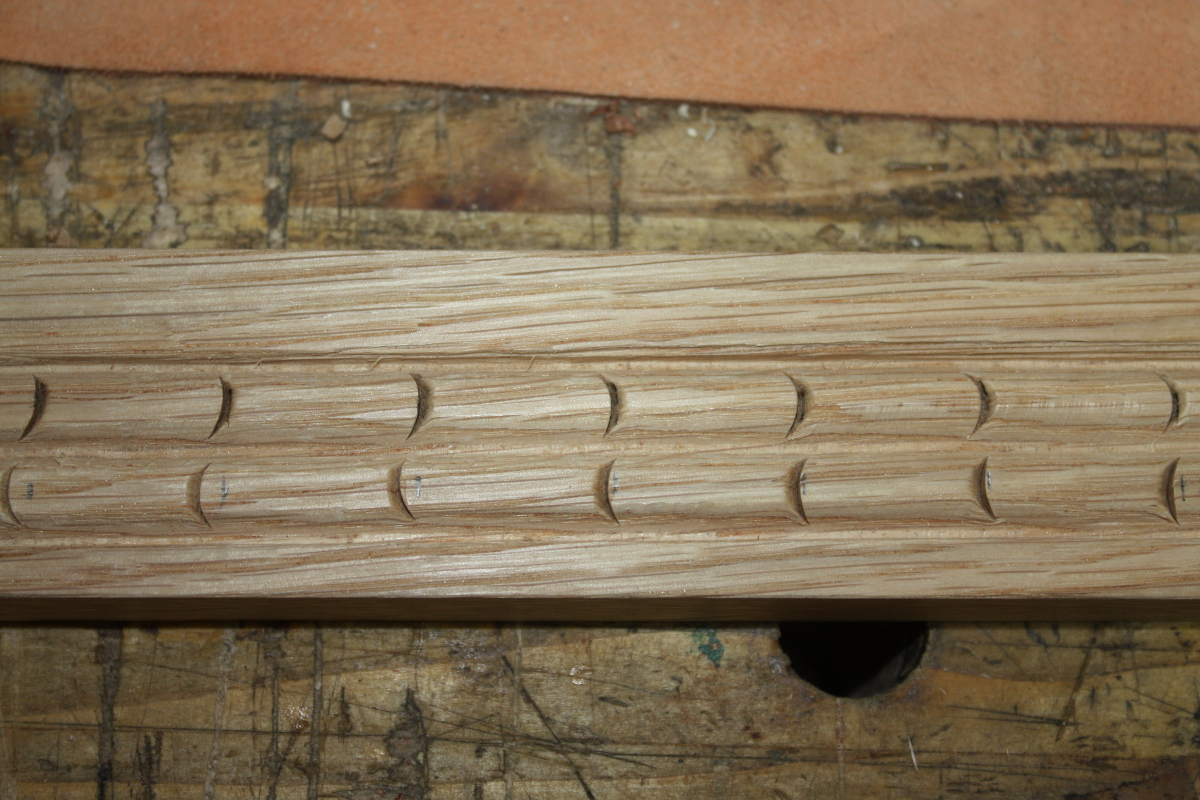
Now use the gouge to cut down from just behind one gouge chop into the stop-cut created by the next gouge chop over. You’ll be gouging in different directions on the two reeds so it finally looks like this:
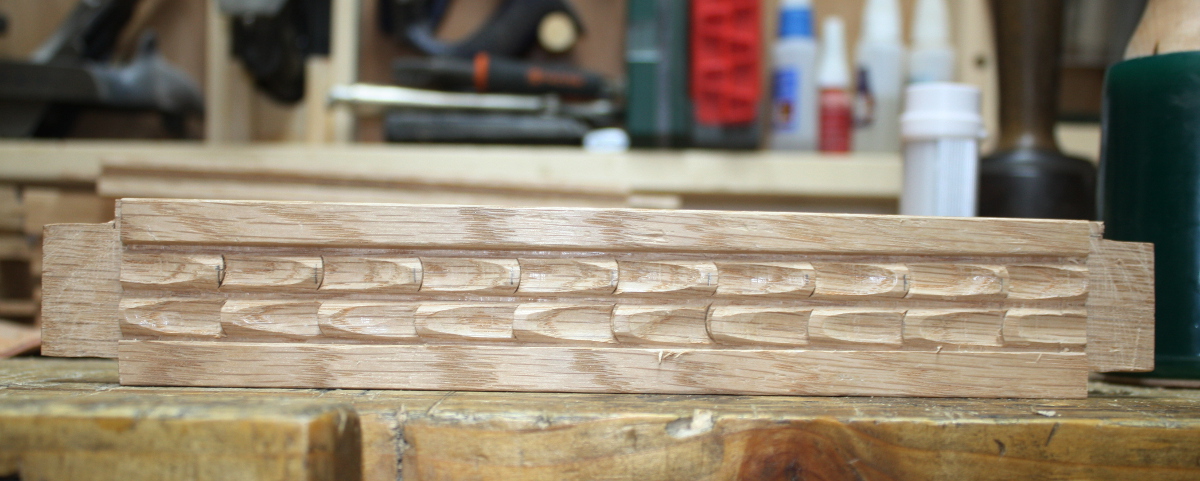
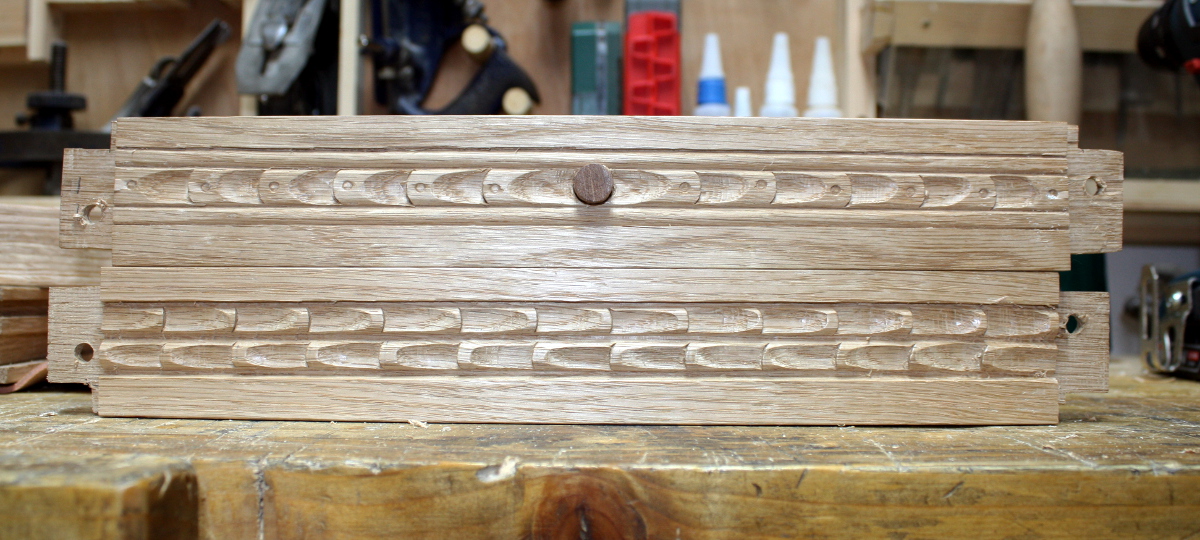
The top rail is something similar but with only one row of those motifs, surrounded by the two scratch stock reeds from yesterday. And I threw in a punch into the motif just to be different.
The thing about that design on the top going only one way is that you can keep track of which rail is which and have the motifs flow from a single point on the front to a single point on the back. So on the back I just cut away the foreground and stipple the background with a punch:
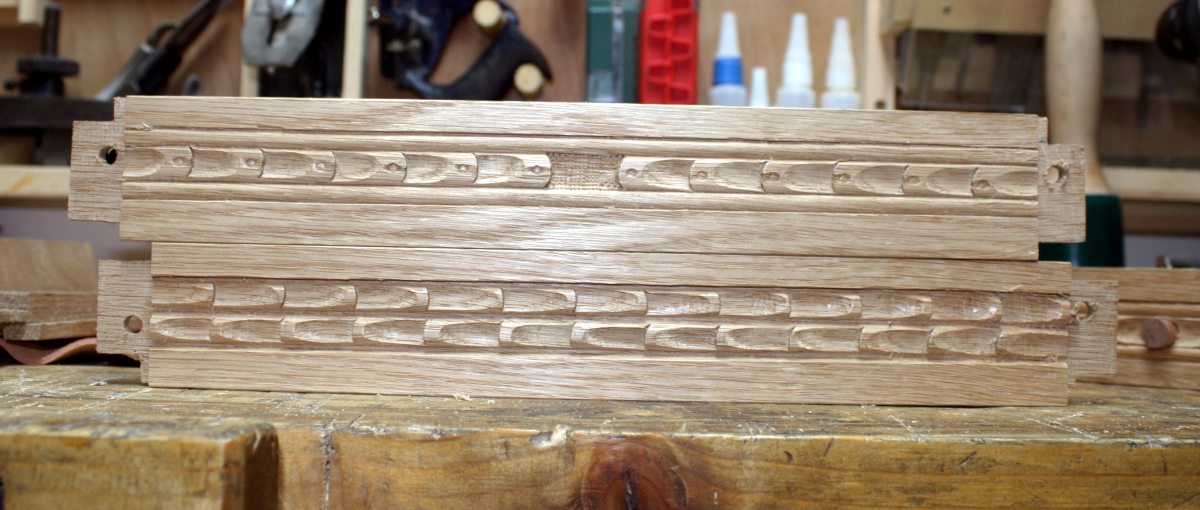
And on the front I had planned to have a small decorative element:
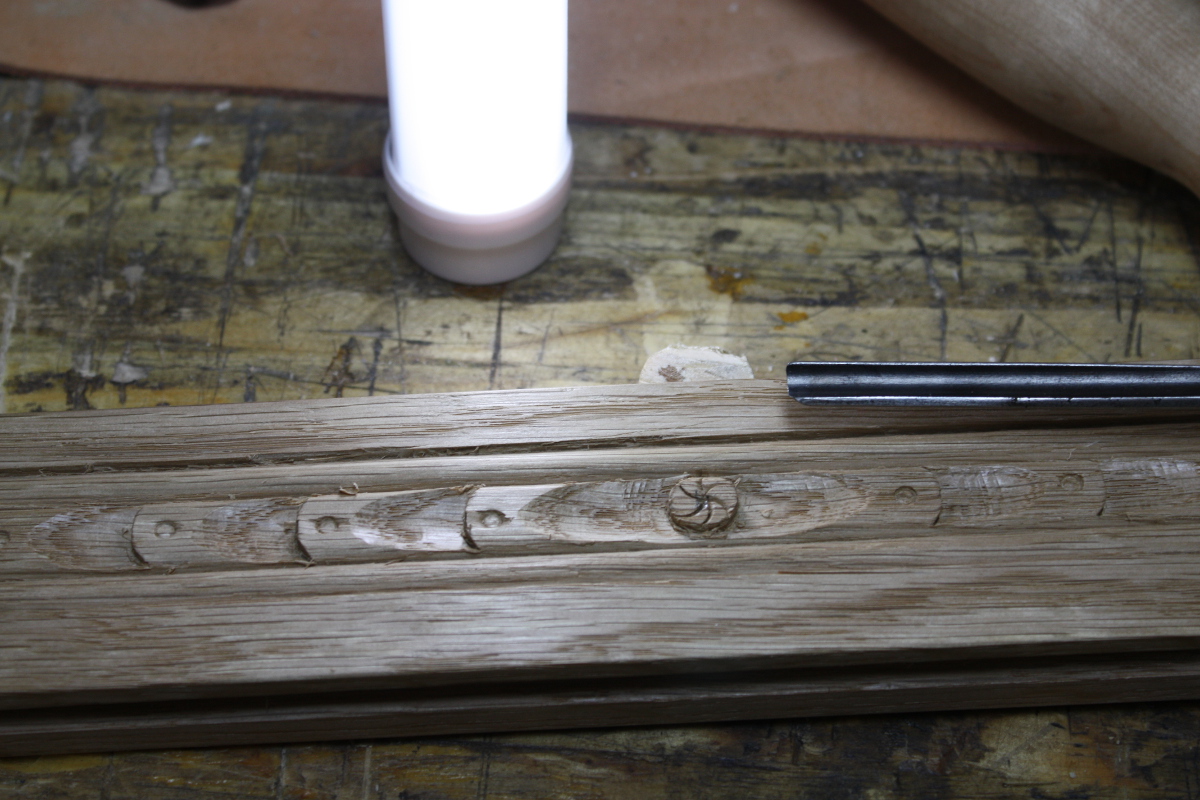
But it proved too small and fiddly and it lost all its crispness almost immediately so I scratched that idea, and drilled out the spot the central element was in:
And then made another peg from a short piece of sapele:
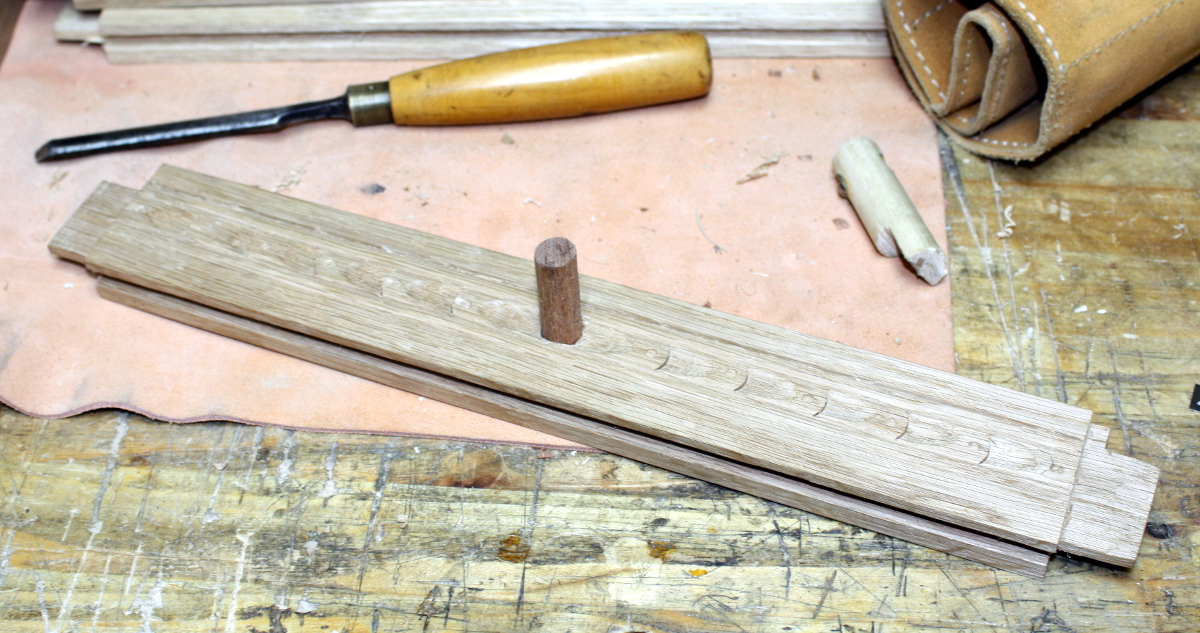
And glued that in place:
I’ll trim the peg down tomorrow, and I’ll have a blue-collar inlay of sorts on the front:
With that done, I went to cut a rebate on the front and back bottom rails to hide the floorboards from being immediately obvious. Only a quarter inch deep, so they won’t be totally hidden, but I can plane down the edges so they don’t stick out like a sore thumb. And then as I was tightening the thumbscrew on the #778’s fence…
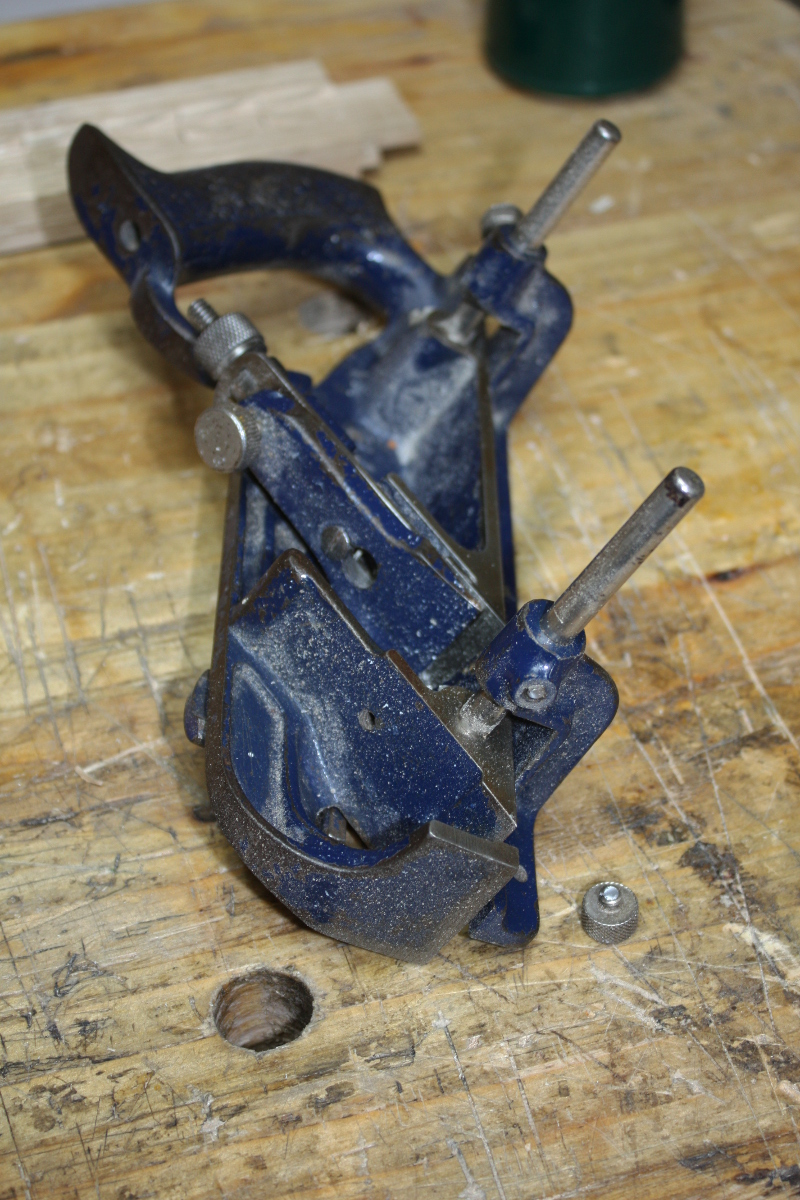
Well. Shite.
A moment of panic and wondering if I could use it without the fence and then I remembered that when I bought the #778, I accidentally bought a second fence and I’d never gotten rid of it…
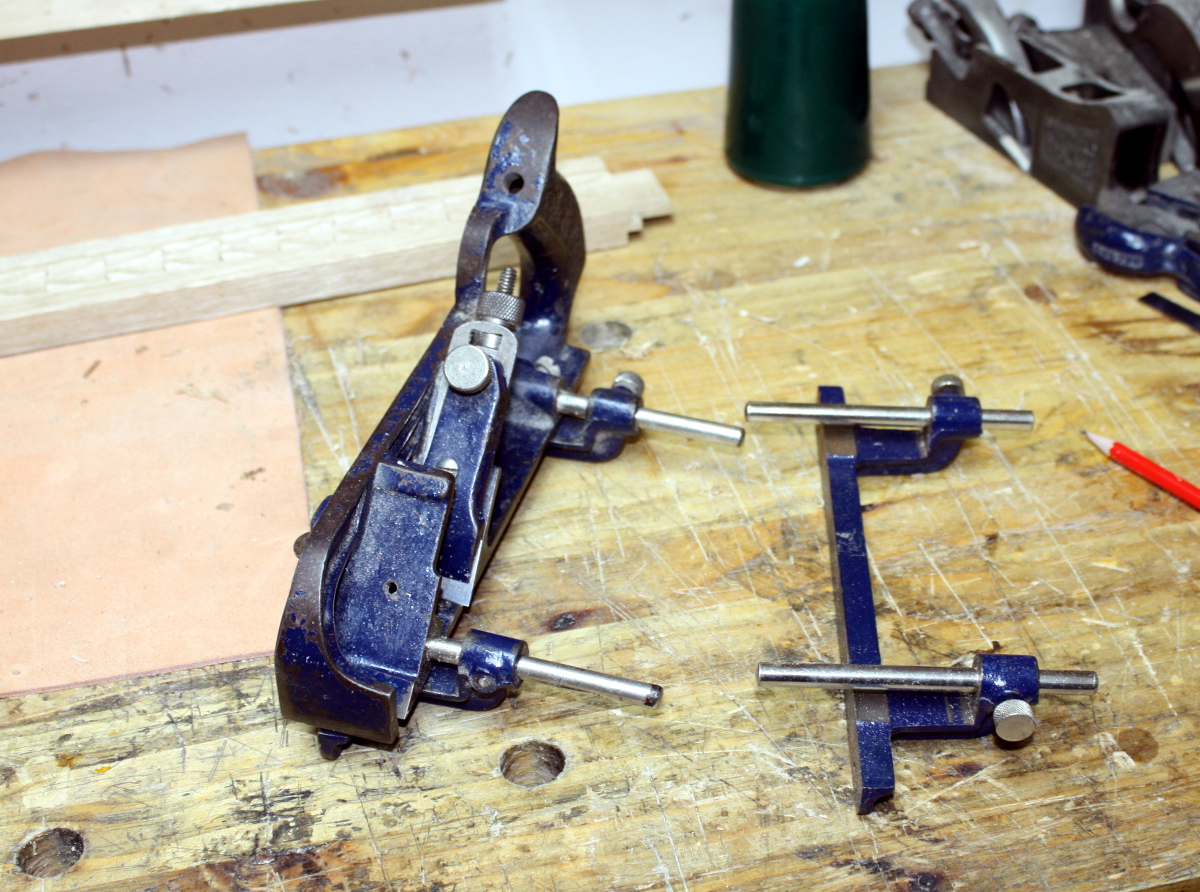
Sometimes hoarding pays off. A quick swap and I got back to the rebate.
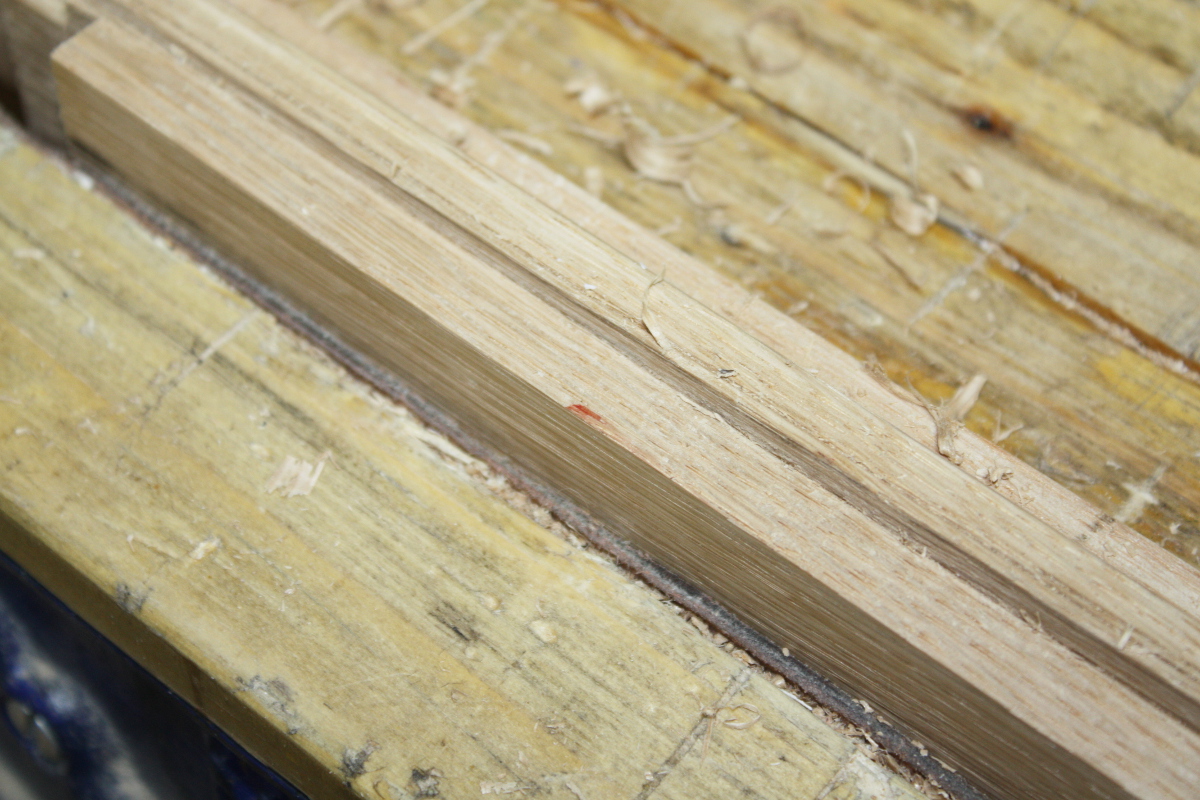
Well, feck. It’s that time again, where am I leaking from now?
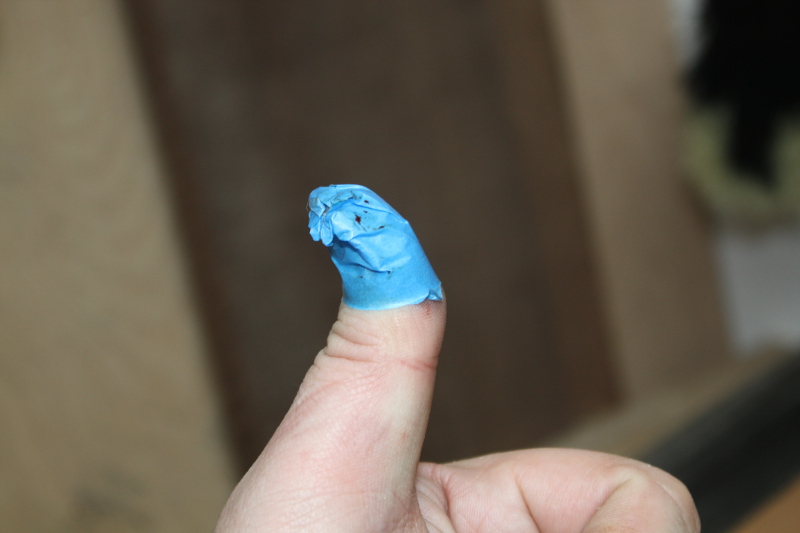
Ah, there we go. I blame the 778 and all its sharp bits:
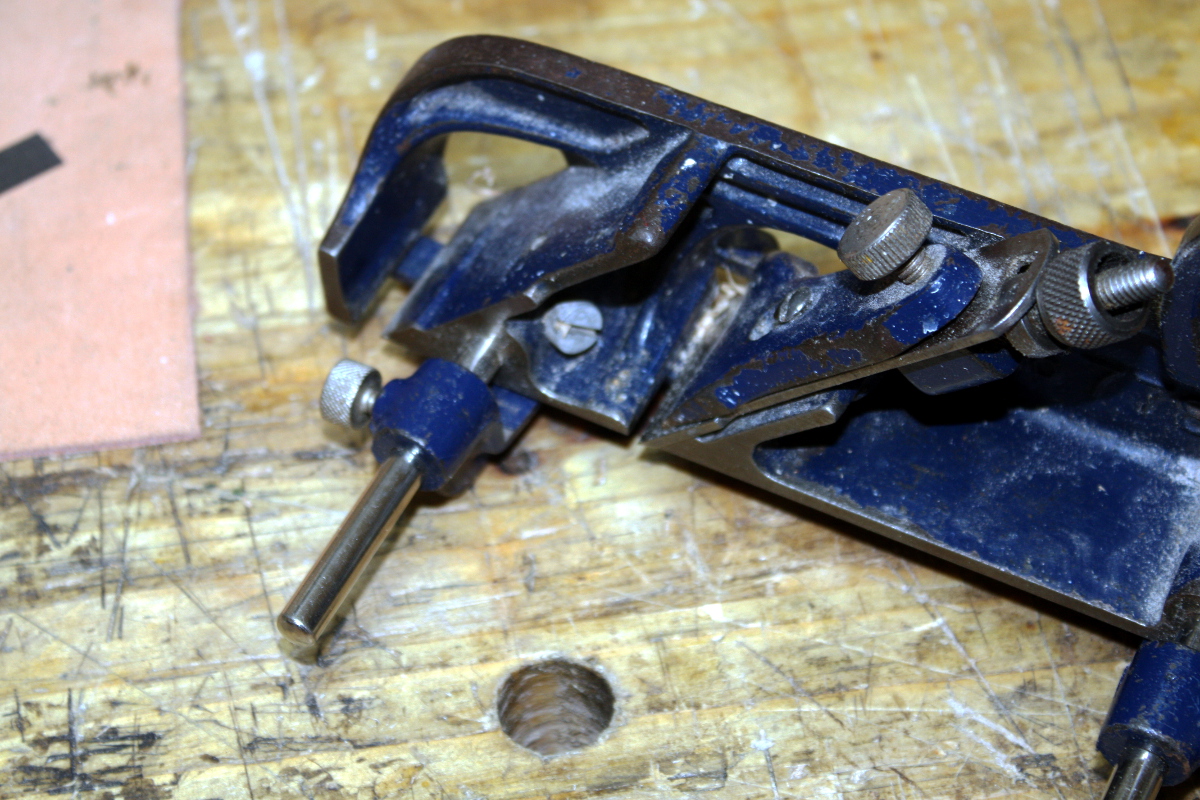
I mean, you start reaching in there to pull out the shavings that are clogging the mouth and….
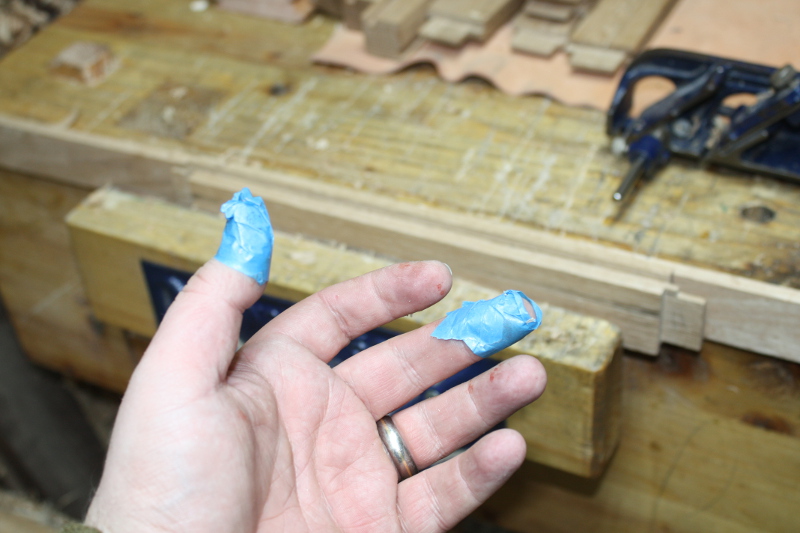
Feck. This is getting silly now. But I got the rebates cut, so on to the drawboring. I’m doing this with the new hand drill, mainly to see how it behaves (answer: like a power drill. Only much more solidly built than my last one).
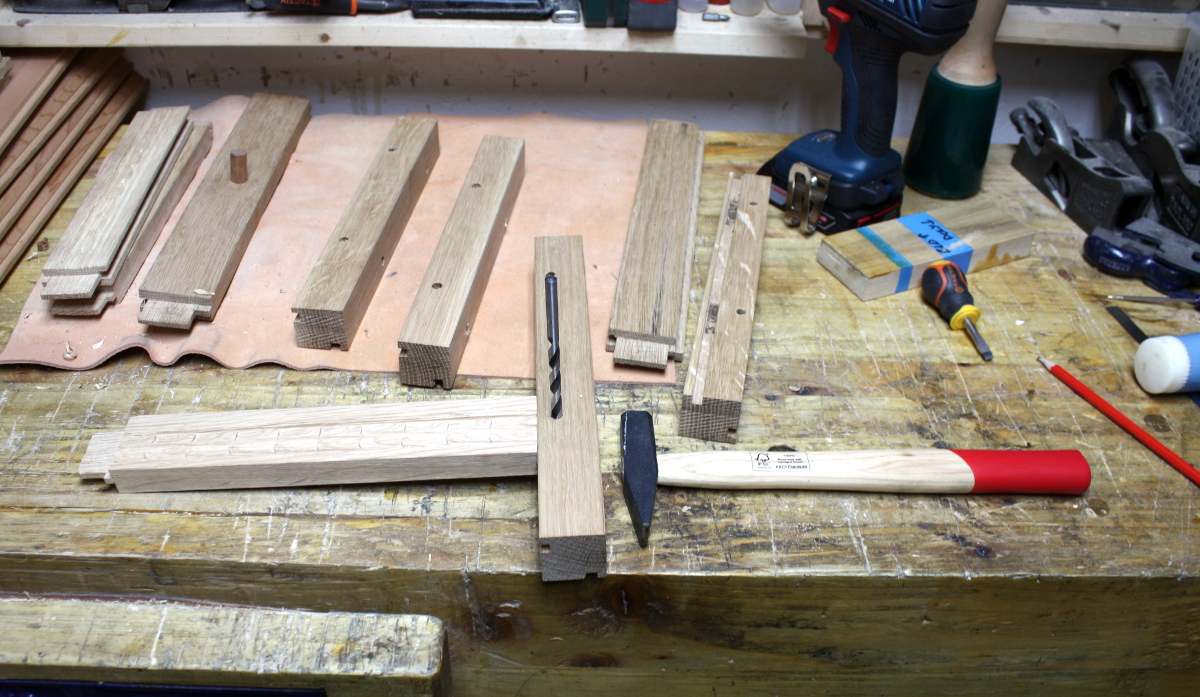
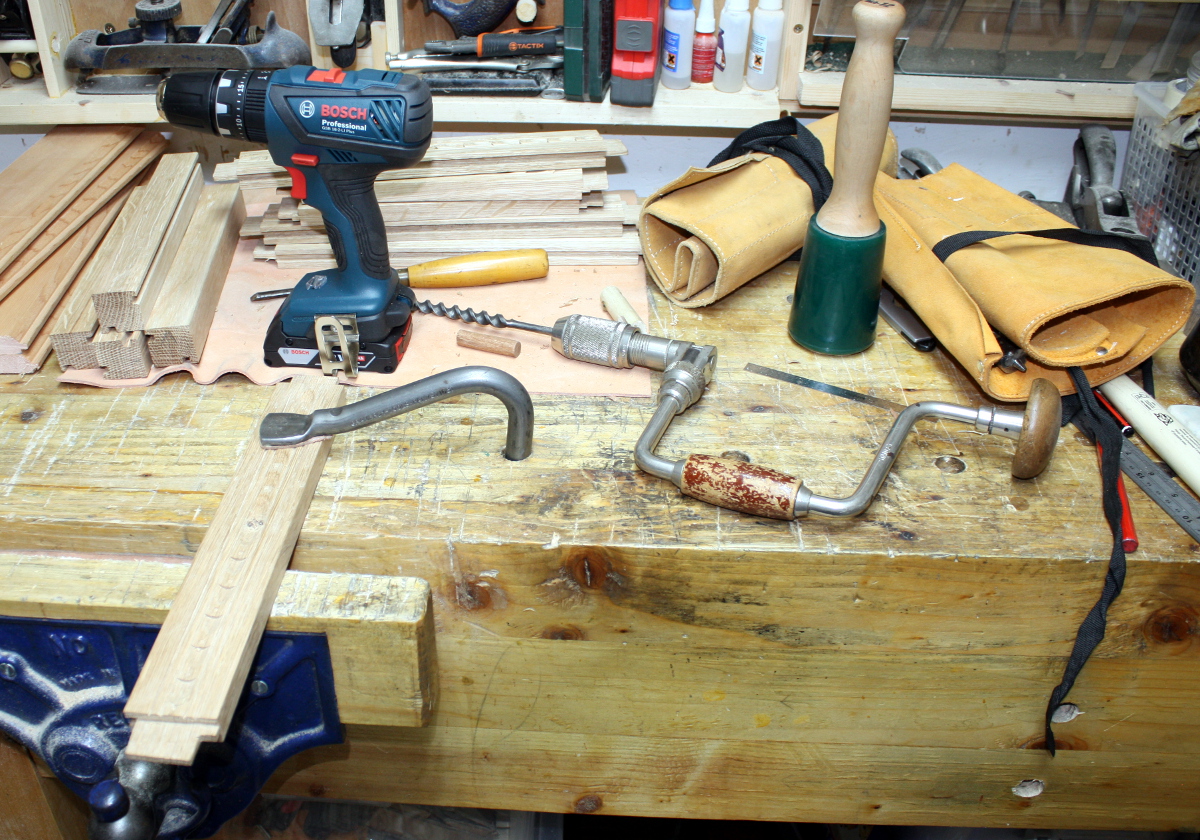
Everything got done in batches; drill the holes in the mortices, then go through every tenon, seat it, tap the drill bit in to mark the tenon, then bradawl a point a sixteenth (or a millimeter – the distance seems to be the smallest whole unit the person talking about drawboring grew up knowing about) closer to the shoulder, then drill that hole out in the tenon; and repeat.
Last job of the evening was to roughly crosscut the panels oversize, and plane them smooth on both sides. I’ll finish plane them when I have the final dimensions. I won’t be carving them because of time.
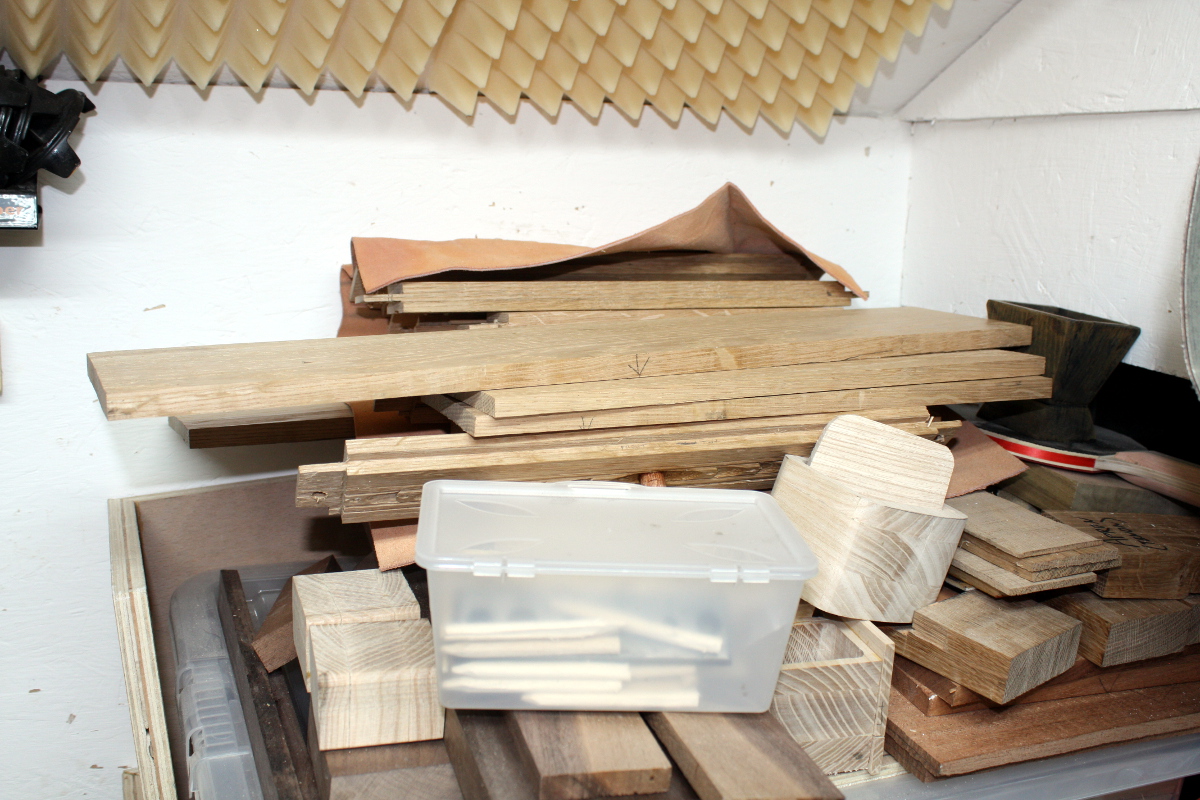
Tomorrow I’ll start assembly; when the carcass is together I can cut and install the floorboards and start working on the lid…
TDL:
Rip out lid frame parts- Groove lid frame parts
- Cut lid frame M&T joints and drill for drawboring
- Measure out lid panel size
- Groove lid panel
- Shape lid panel
Cut box tenons and drill M&T joints for drawboringGroove bottom box rails for floorboards- Crosscut floorboards to width
Plane panels- Cut panels to final size
- Bevel or rebate panel edges to fit grooves in rails
- Plane away inside corner on stiles
- Cut edge floorboards to fit around stiles
Possibly build face frame for the top of the chest- Assembly
- Hinges
- Finishing


