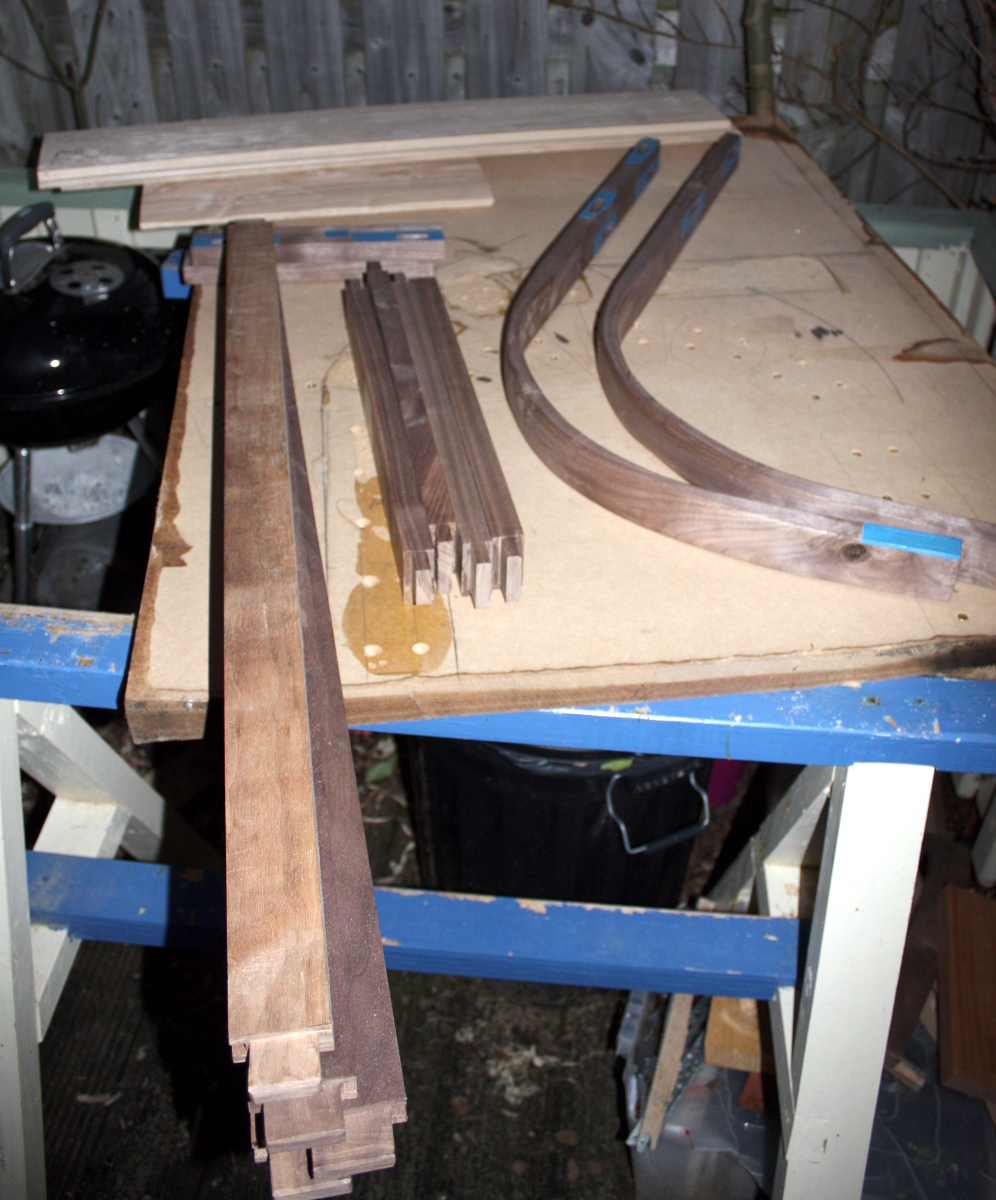
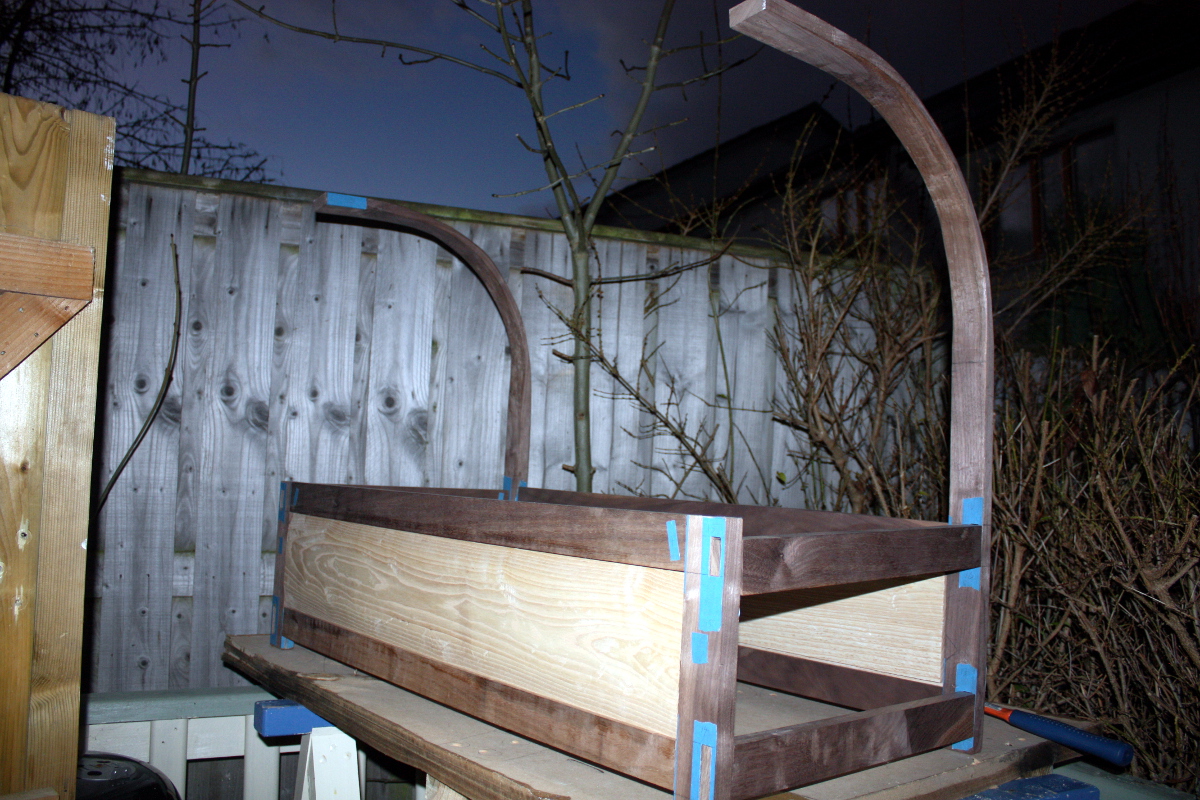
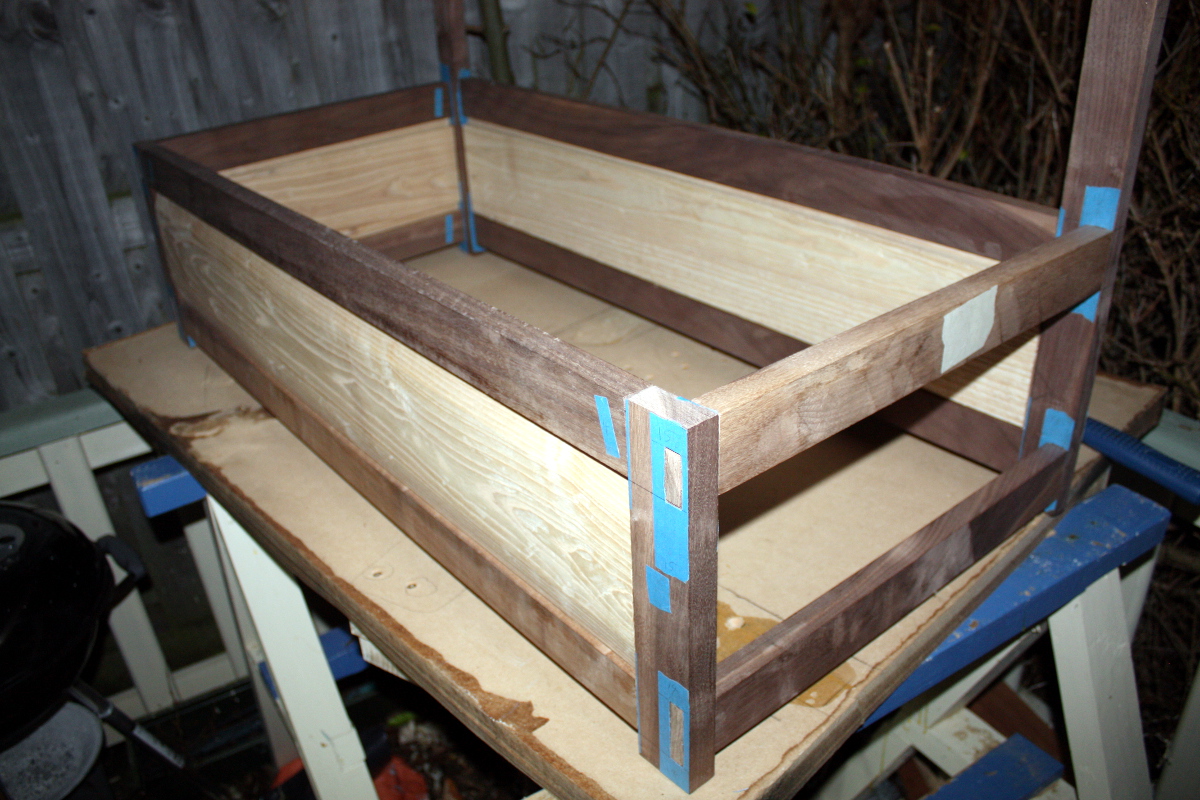
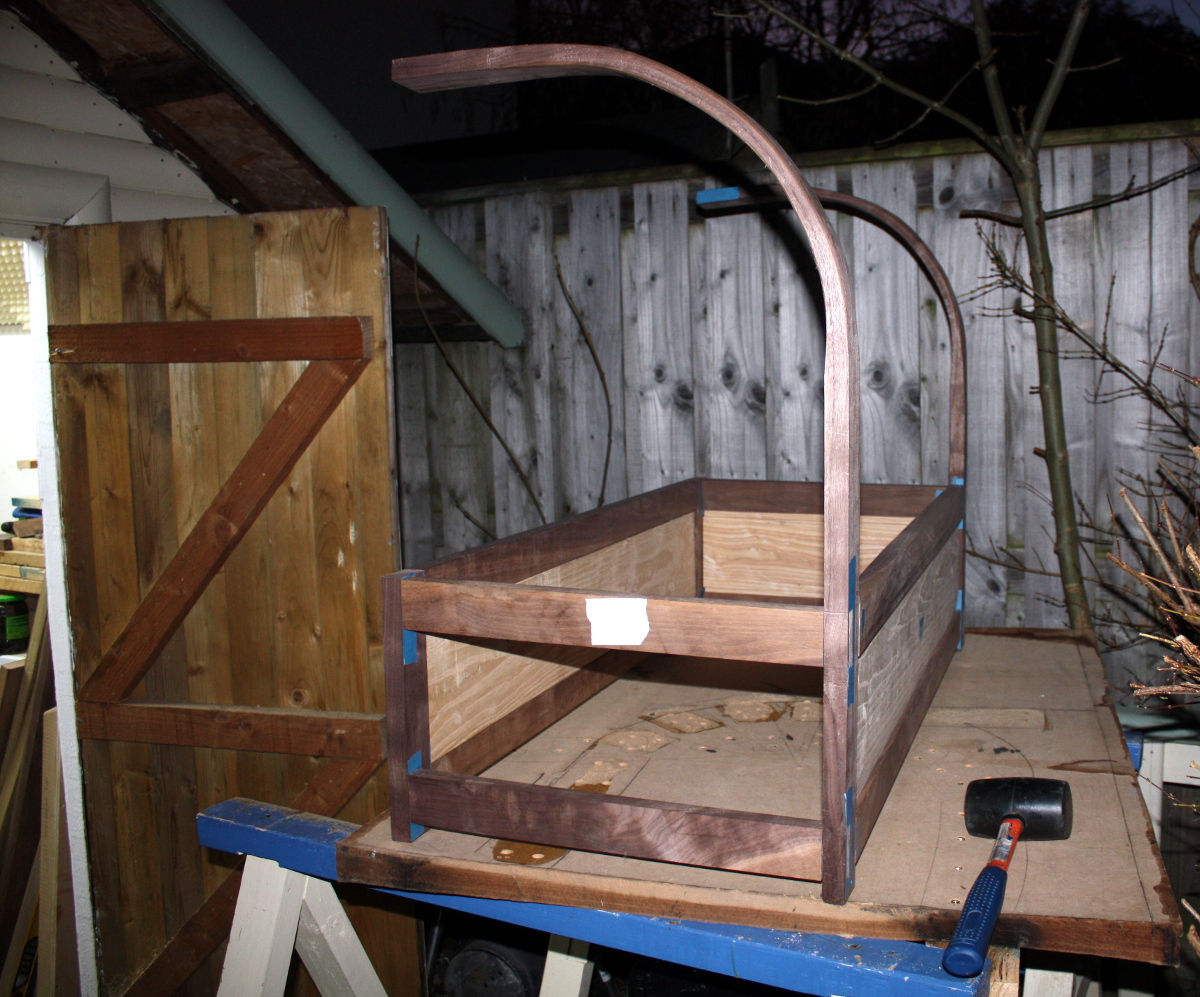
Finished the last of the crossbars today, checked the fit and fettled a bit, and then thought I’d try test-assembling the base…
That’s the bending jig; it was MDF so I considered it disposable (I must recover the screws from it now that I think about it). And the light was just going, hence the odd lighting. This really is too large to assemble on the bench; I’ll have to assemble it on this. It’s worse for wear thanks to moisture, but pffft. It’s MDF. It’s for the bin anyways.
Mental note, next time do this in daylight; can you see the deliberate error? 😀 I put the top bar at the end closest to the camera in upside down by mistake and got almost an inch of misalignment at the top, which gave me a moment’s pause until I figured out what I’d done.
When I put the end crossbar in the right way up, it’s nice and flush. Next job will be to cut the grooves for the top panel (and then cut the top panel to size, it’s quite a bit wider than the base because I didn’t rip the boards down; why bother until I had the final width determined?).
That nearest steambent upright is actually perfect, annoyingly. The end (the one floating in mid-air there) is at a perfect 90 degrees to the vertical. It’s making the other one look bad.
So, what’s left?
- Rip the top panel to width.
- Add the rebate and bevel to the top panel.
- Cut grooves for top panel in long stretchers.
- Cut mortice for back support.
- Cut back support to length and cut tenon on bottom end.
- Figure out joint at the top of the back support for the top crossrail.
- Figure out joints at the tops of the two steambent uprights.
- Fit top crossrail to back support and steambent uprights.
- Cut back slats to length and cut tenons.
- Measure off side slats (because they’re going into a curve, this is going to be fiddly) and cut tenons.
- Cut mortices for slats.
- Joint drawer runners into the bottom end crosspieces.
- Thickness the boards for the drawer.
- Cut the drawer front to size.
- Cut the drawer back and sides to size.
- Cut dovetails for drawer.
- Groove drawer with #43 for plywood base.
- Assemble drawer.
- Drill for drawboring on the M&T joints that I’ll be drawboring (the long rail to upright ones and probably the back support and top crossbar joints).
- Make drawbore pegs.
- Finish plane all parts.
- Finish walnut pieces with a few coats of shellac.
- Paint drawer with milk paint.
- Assemble and glue-up and drawboring of everything.
- Finish entire assembly with several coats of Osmo wood wax.
- Close door of shed, lock it, walk away and never do another project with a deadline ever again.
Tags: crib, shed, Woodworking, Workshop


