Right then.
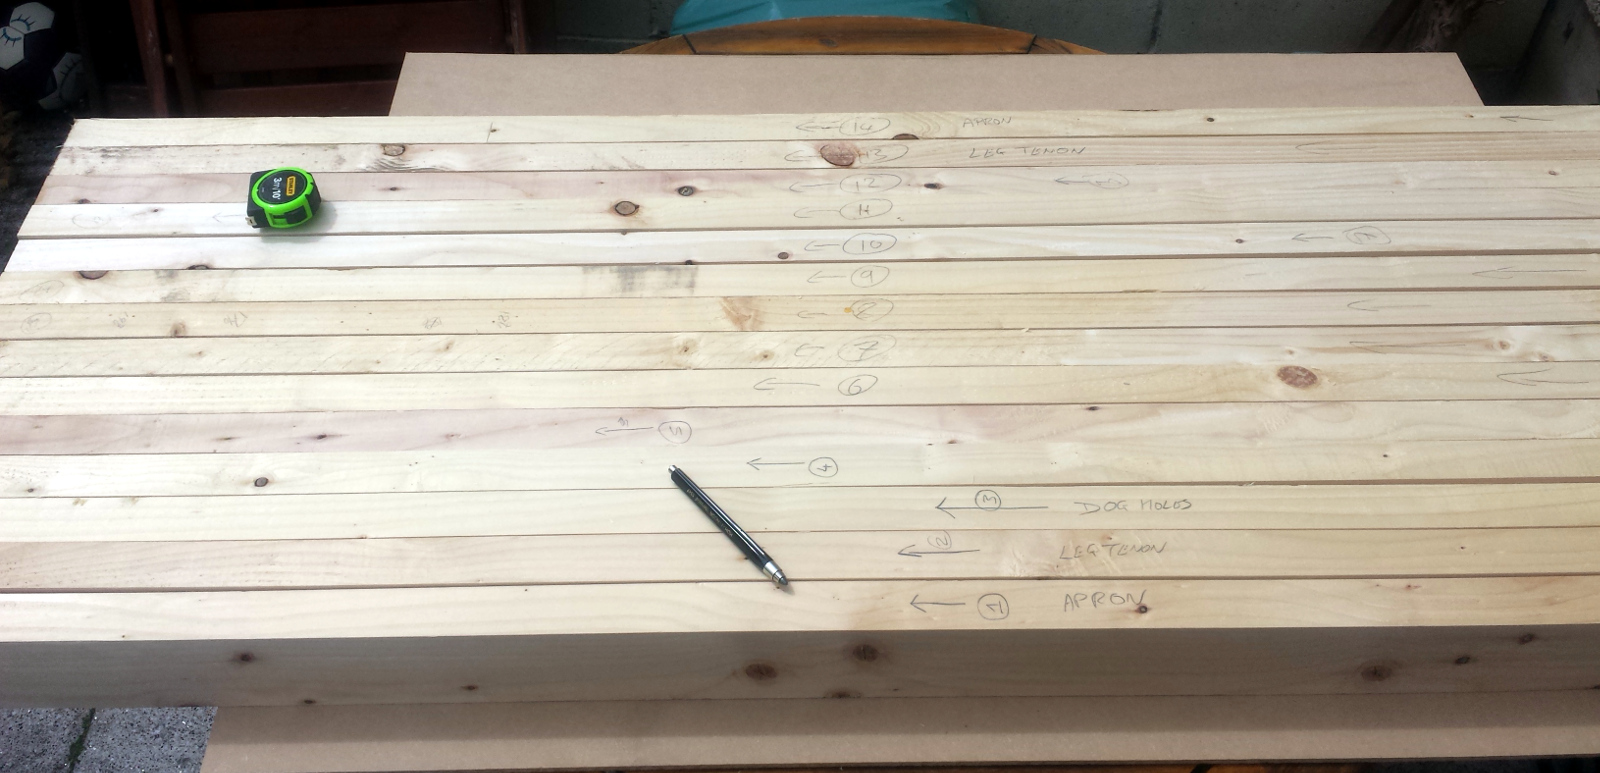
That’s all of the boards for the benchtop (there’ll be a tool tray at the back, but that gets added on later). The glue faces have been cleaned up, but not jointed (see all the gaps?), it’s still got at least three inches of excess length that has to be trimmed later, and the grain directions are all noted for the huge amount of planing I expect to have to do to flatten this thing after glue-up. Side note – if you’re building one of these and are thinking of saving money by buying RWD timber instead of PAO timber, slap yourself in the face now and buy the PAO. Planing from RWD has been the biggest pain in the fundament….
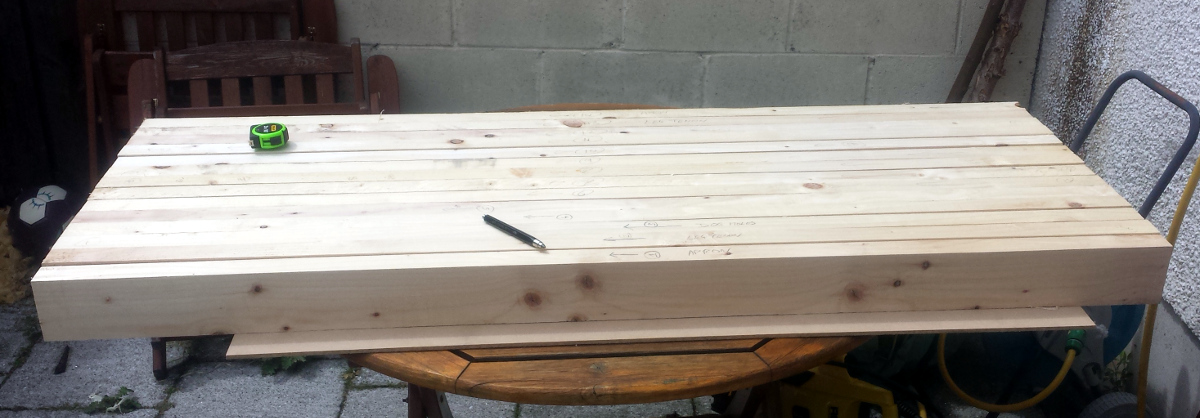
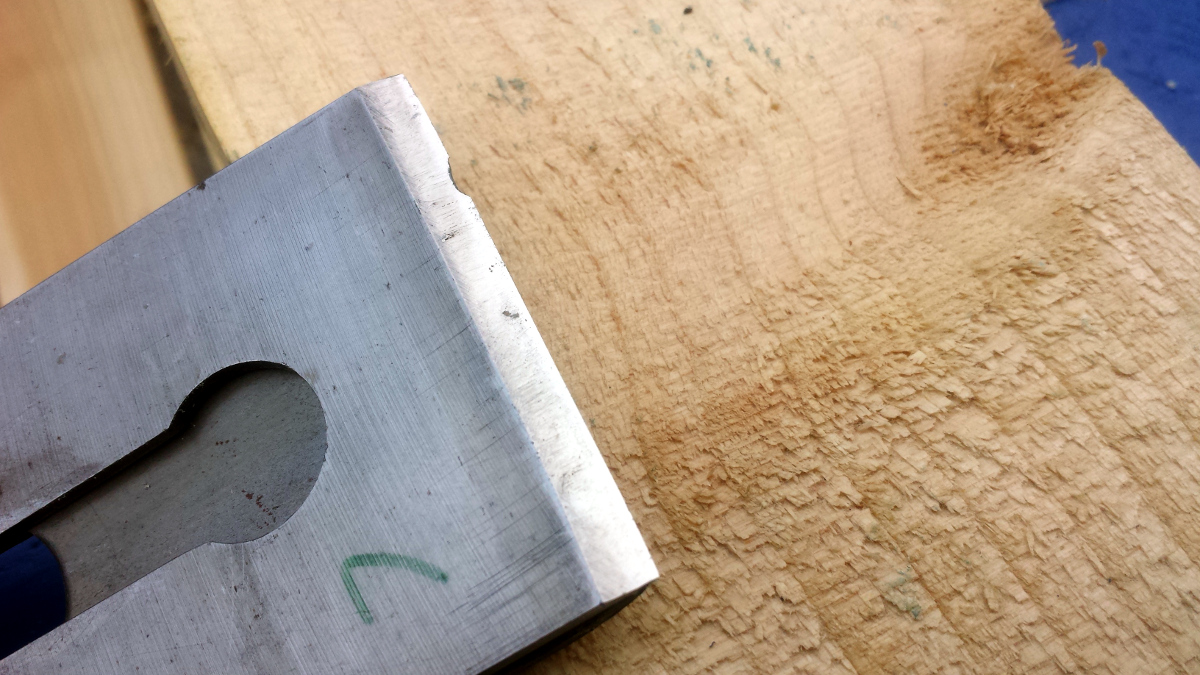
The outermost boards in all this mess will be for the apron (which means there’ll be two boards glued to the bottom of them, and all that happens seperately). So they’re not in this glue-up. And the next board in will have some joinery cut in them (a mortice for the leg tenons). That means that not including them in the glue-up should make things easier later. But everyone else gets fitted using the #4½ and the #7 and large numbers of check-plane-check-again cycles and all of my patience. Especially when this happened, again…
That #7 blade is getting some serious abuse. I’m going to have to regrind it again now. Honestly, the idea of buying aftermarket Hock or Veritas blades for it is seriously on the list of things to consider.
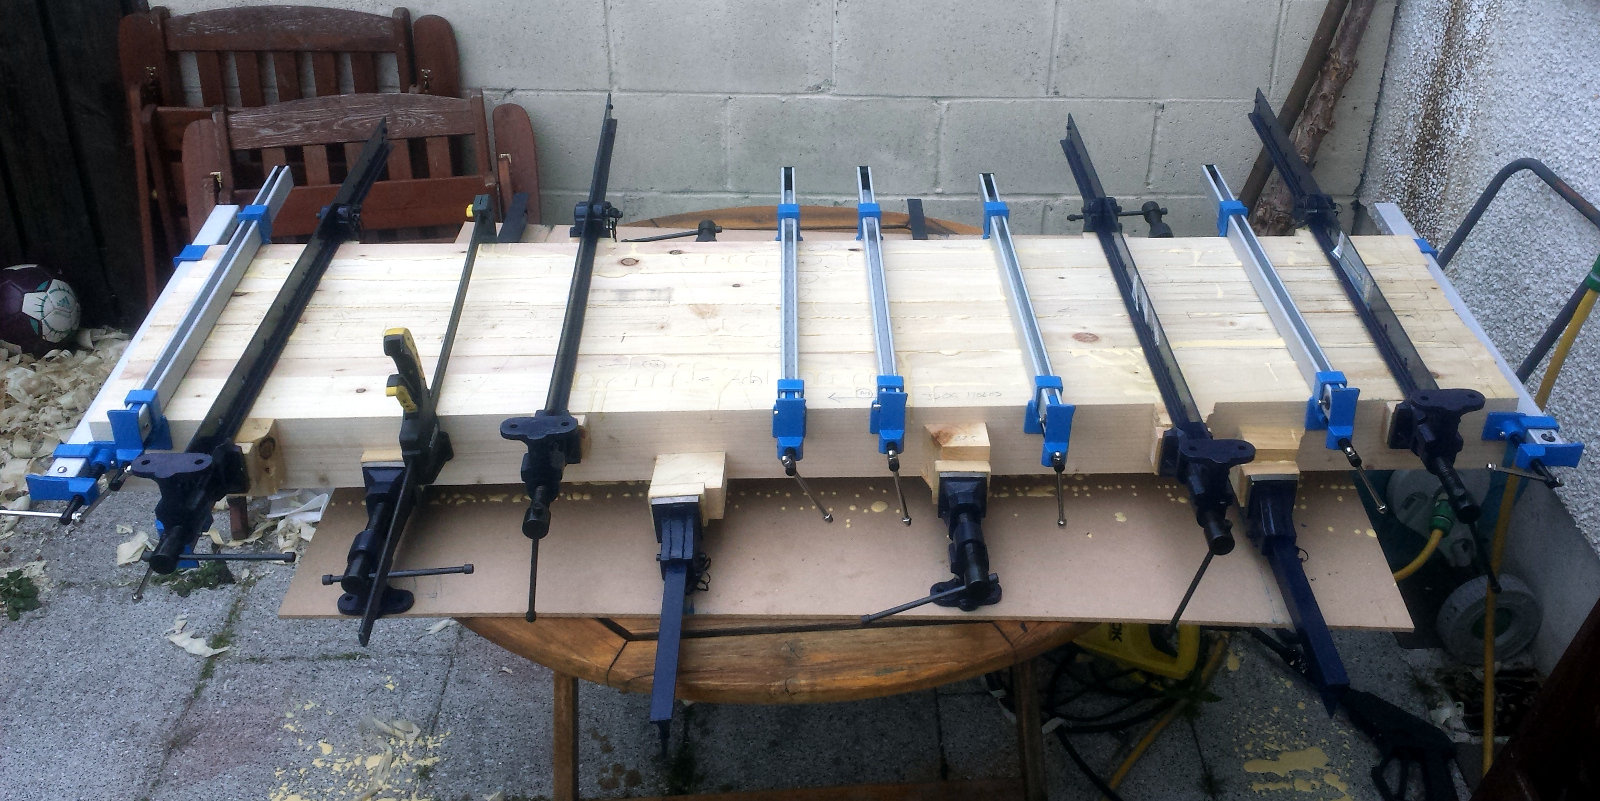
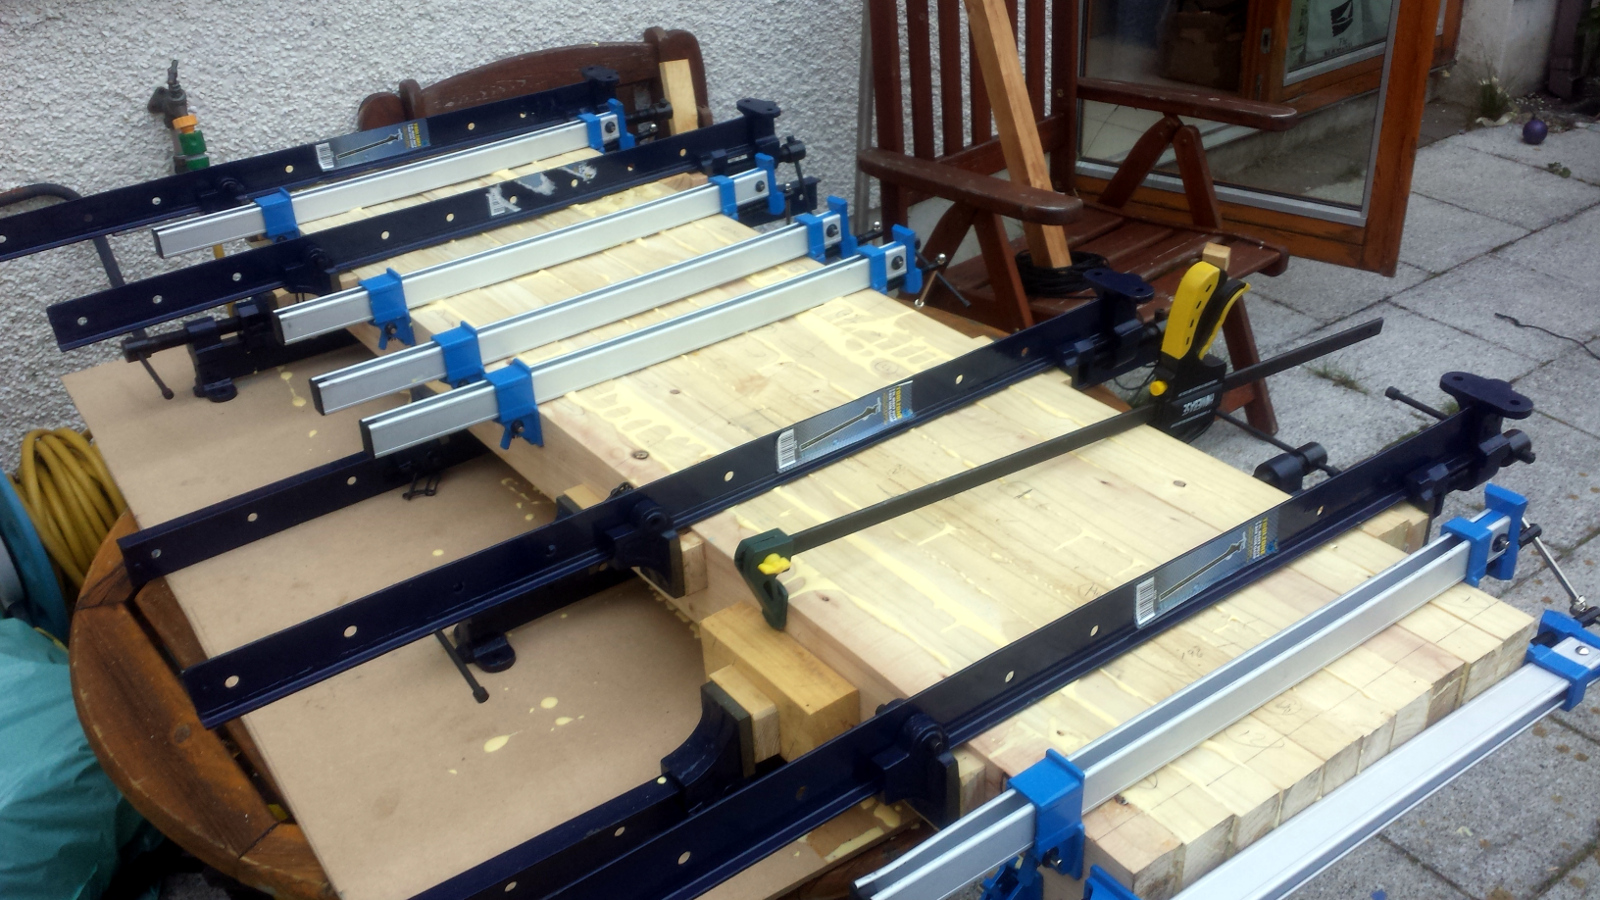
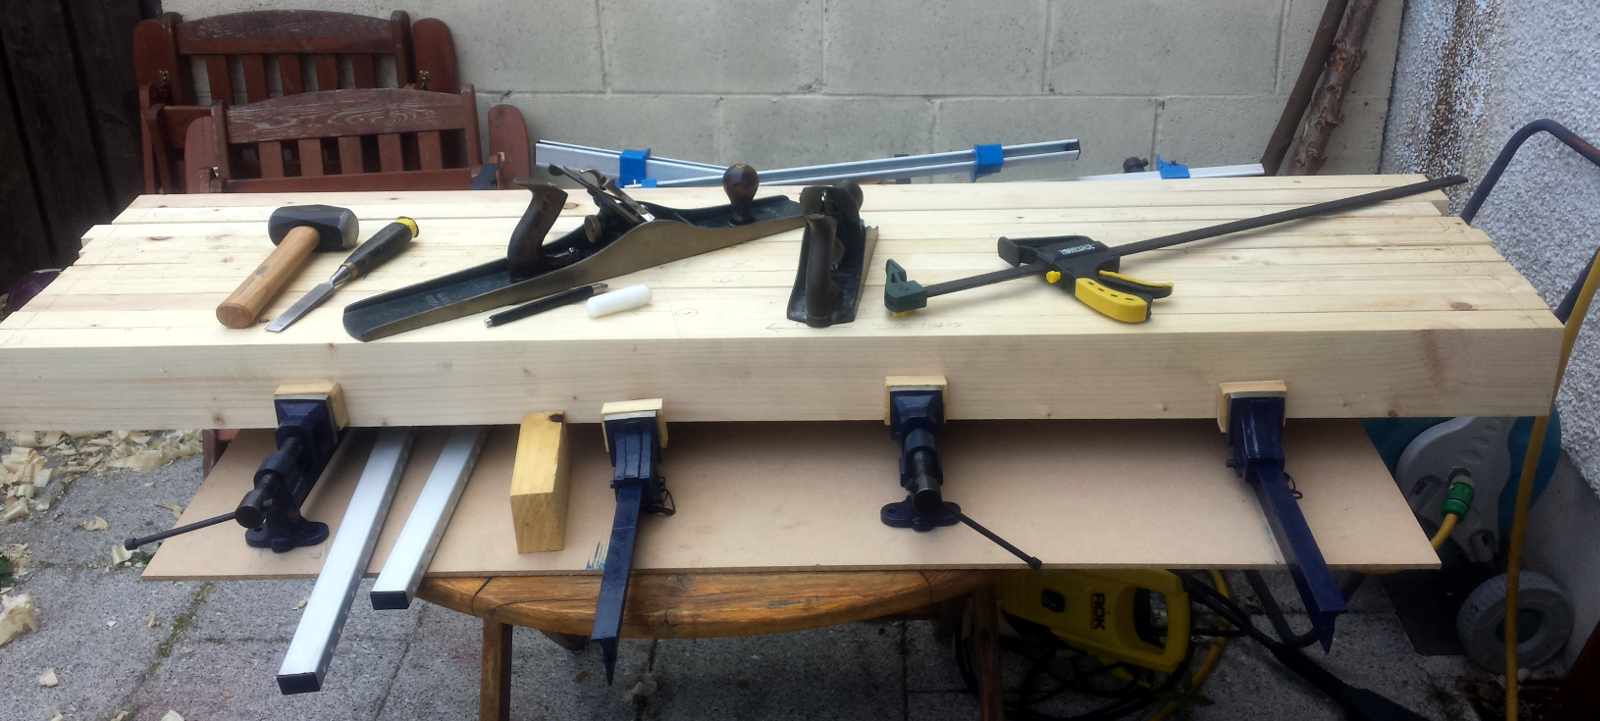 However, after a lot of this, and some chopping of a particularly awkward knot with chisels, we got to the stage where the boards all fitted well enough that the clamps easily closed any gaps in the entire top and hand pressure handled any gap between any pair of boards. That’s good enough to glue up from for a workbench. So, out with the clamps and cauls, pre-set all the clamps so I can put them on quickly, a quick dry rehearsal with the clamping and then it’s time to break out the Titebond II (and holy carp, it took just over a litre of the stuff, I need to order some more).
Well, they do say you can never have enough clamps.
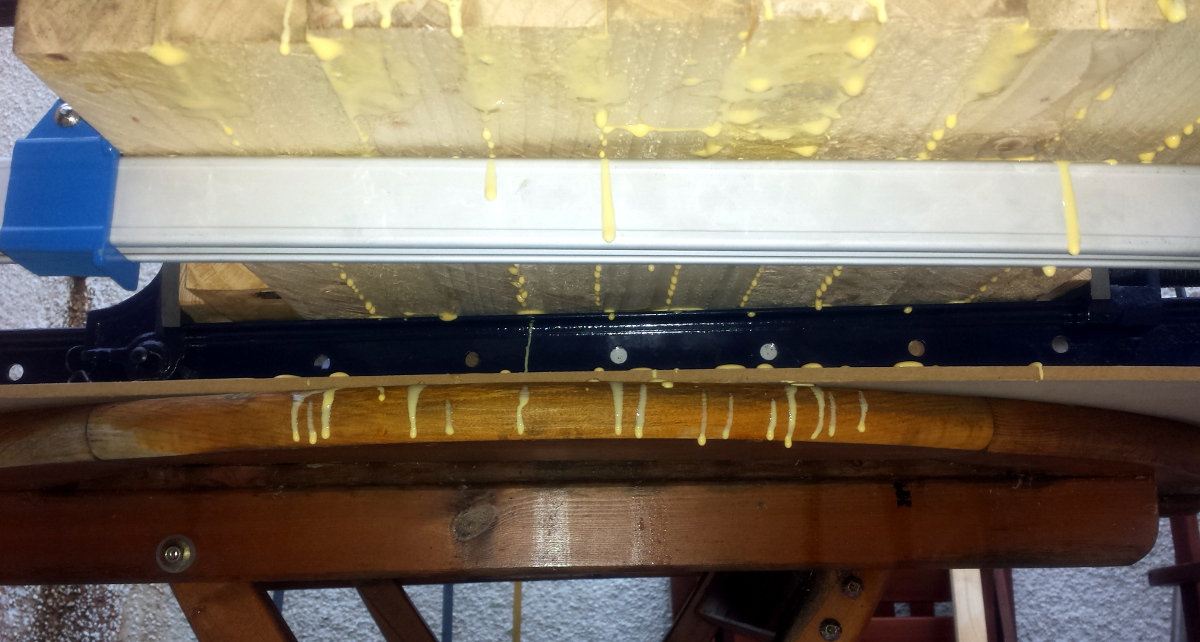
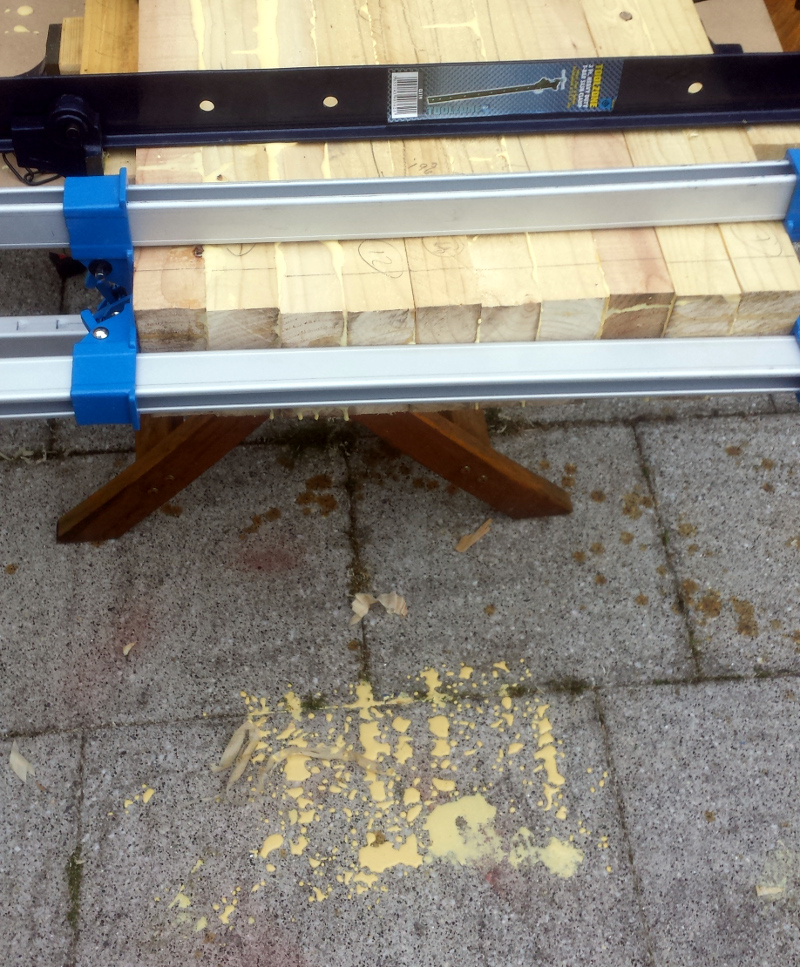
Messy as anything though. The MDF saved the patio table… mostly…
Good squeezeout underneath as well as on top, that’s a good sign. Yeah, it’s messy on the wood, but I’ll be planing that again anyway and it’s going to get to cure for a couple of days because work’s a bit busy right now.
I am going to have to take the powerwasher to the patio after this is all done though.
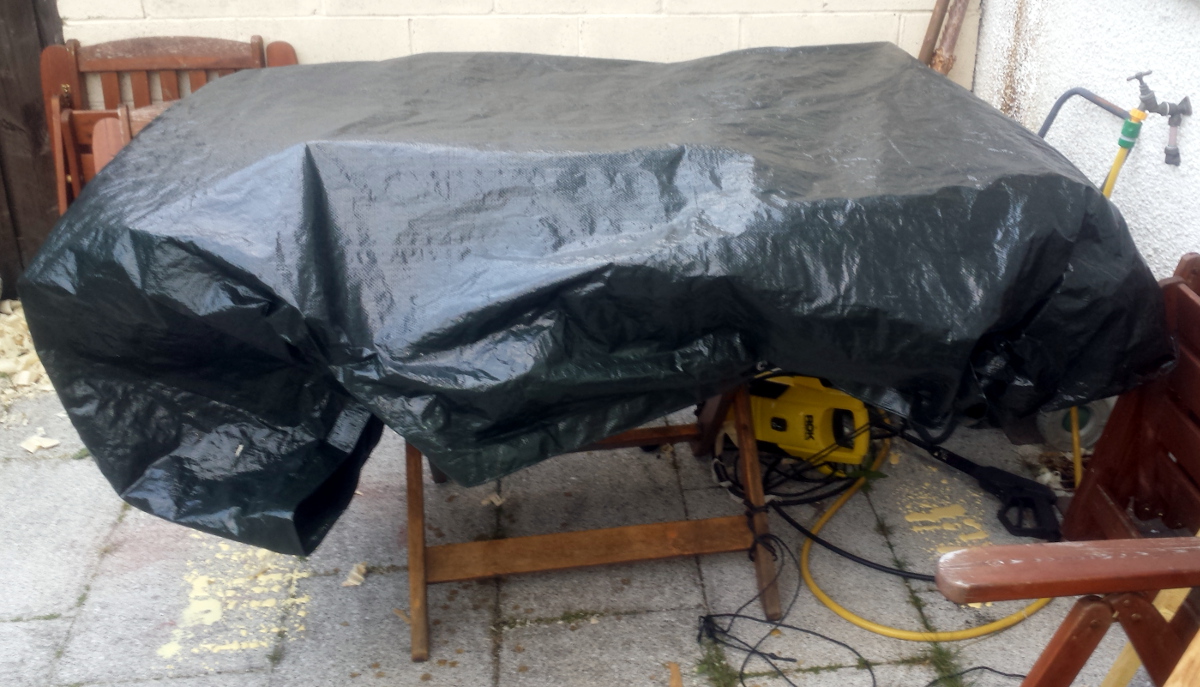
But for now, it’s done and curing away under a tarp in the back yard (the weather forecast isn’t great – honestly, a few dry days in the middle of the damn summer, it didn’t seem like a lot to be asking for…)
 Next up will be tidying up the Record 053A vice I managed to get after some fun finding vices; planing and jointing the stretchers for the legs; planing the underneath of the top and doing the joinery to attach the legs to it; adding the rest of the top and the aprons and the vice and doing assembly work. The tool tray gets added on after the main bench is built; that way I’ll actually have a bench and vice to help build it, which should make things a hell of a lot easier.
Tags: bench, Woodworking

Great technical work Mark.