Continuing on from part one…
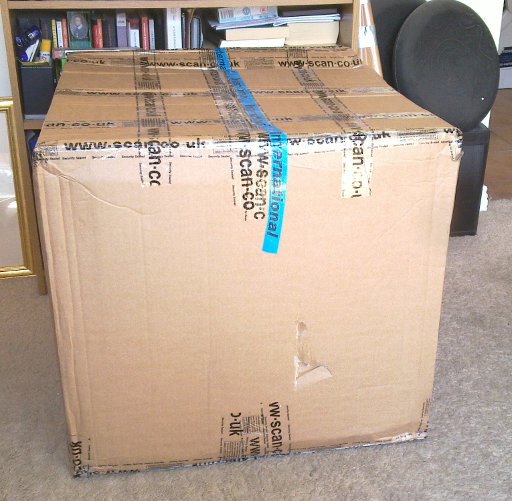
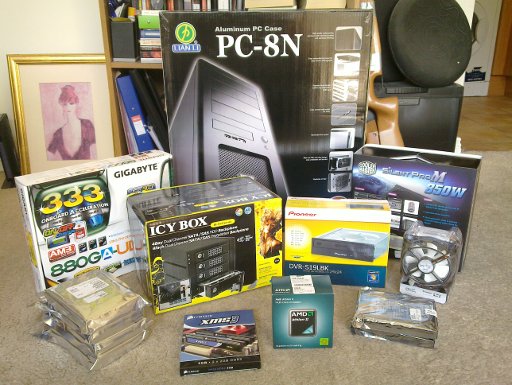
Happily the server component parts arrived during my week off, which allowed me to get most of the work on the server done quickly rather than spreading it out over several evenings. Plus, what else would you do on your time off? :)First things first, unpack the very large box, and haul out all its smaller boxes…
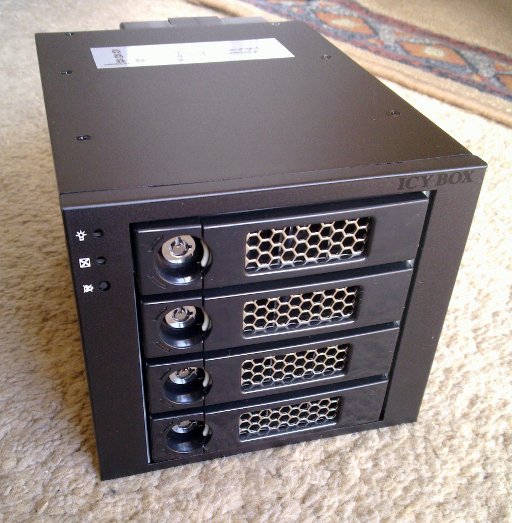
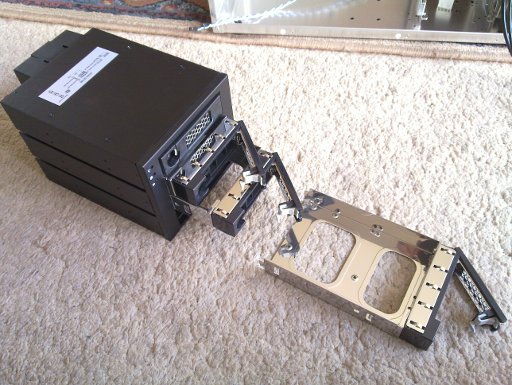
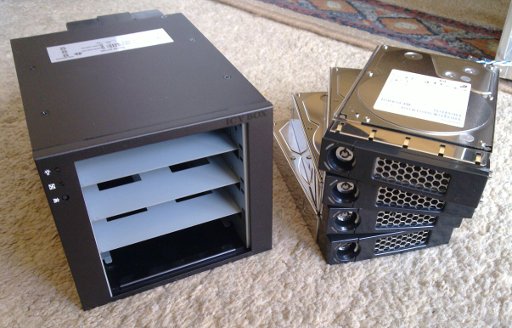
I thought I’d start off with the RAID storage subassembly, so I opened up the Icy Box packaging to take a look:
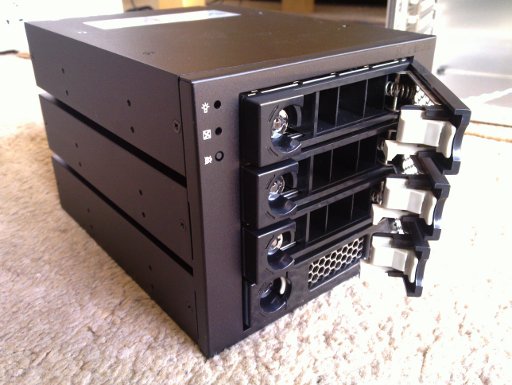
Each tray in the Icy Box can be locked with the bicycle lock you see there; the lock’s purely mechanical, it doesn’t activate power to the drive or anything. The small white catch you can just see to the right of the locks will pop open the handle for the drawer, and allow the hard drive to be removed.
The overall build quality is pretty decent – this is no IBM xSeries rackmount server, but for a home server, it’s more than adequate. It wouldn’t do for SSD drives though as the backplane is only rated to SATAII speeds (even SATAIII hard drives won’t get up past the 3Gb/s limit of SATAII, so a SATAII backplane for a hard drive based RAID array is fine).
The caddys, for example, get their mechanical rigidity from the hard drive in them; that’s perfectly fine in a home server. With the drives installed, the whole unit is quite solid and vibration hasn’t proved to be an issue. The standard jumper settings on the back of the IB-554SK are also perfectly fine for normal home use, which is a pleasantly common-sense approach.
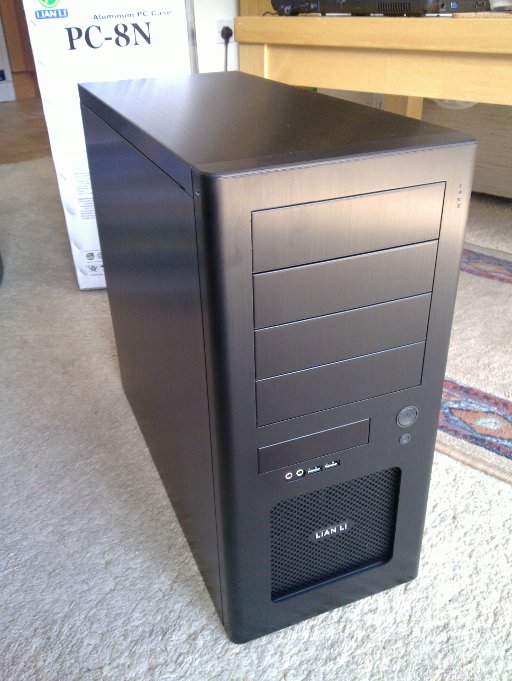
With the RAID subassembly complete, I opened up the box for the overall case. I spent a few extra euros on the case choosing a Lian Li over a more generic tower case because I hate cutting my hands on cases.
It’s quite a pretty thing in its own right, but more importantly, it has enough 5½” external drive bays to take both the Icy Box and an optical drive (yes, you can install linux off a USB stick, I just find it handy to have an optical drive, especially when it can burn disks, which comes in handy quite a lot more than you think it will when you buy it). The reputation for high build quality on the Lian Li cases, by the way, is well deserved if this case is anything to go by:
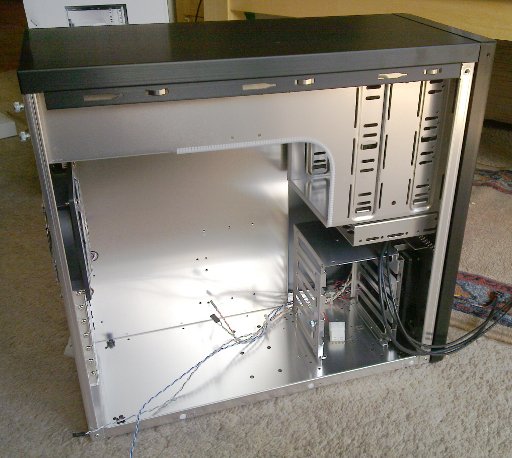
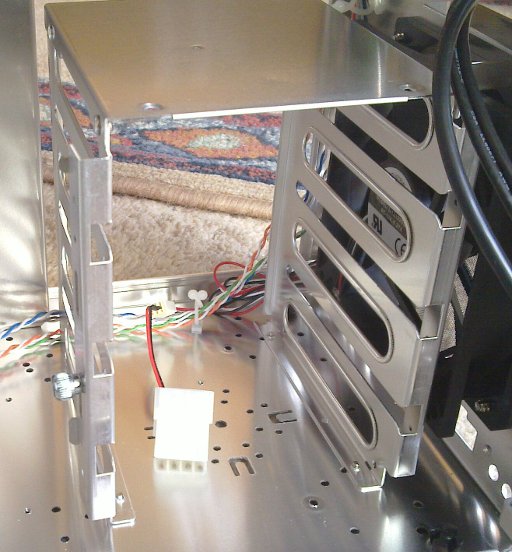
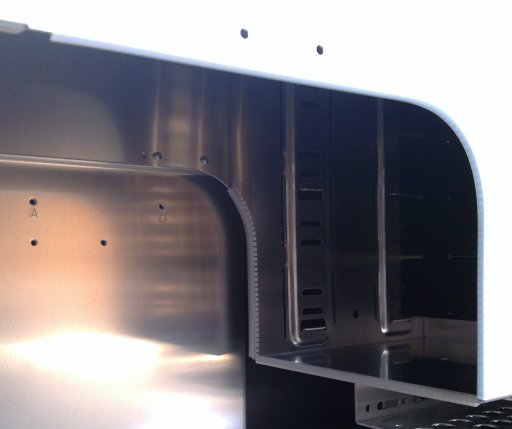
It’s a well-made, clean design. There are thing I’d like to see that aren’t there, such as vents and fan mounting points in the base, but you can see there’s a single clean line for airflow from the bottom front fan to the top rear fan, and both fans are whisper-quiet (the hard drives are louder than the fans) and effective (the server’s been running 24/7 for a week since the build without heating issues). For a basic mid-sized tower case, this really is an excellent piece of work. Even the little details, like the folded edges all round and the rubber or plastic grommeting on the edges that couldn’t be folded to save hands from unpleasant nicks and cuts, are done solidly and properly – for example, it wasn’t skipped even in areas you’re not likely to be handling often, such as on the lip of the base behind the 3.5″ hard drive cage or the far edge of the 5½” drive bays (where the motherboard tray almost prevents you from getting your hand into to get cut anyway):
It’s little details like that that make the difference between good workmanship and really excellent workmanship.
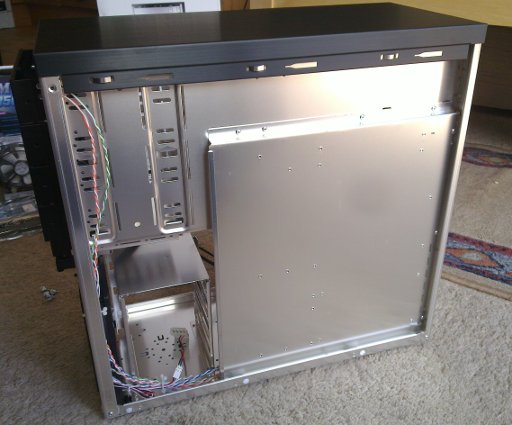
You do, however miss the lack of cable ducts on the motherboard tray:
Without them, you have to mount the 3.5″ drives with the SATA connectors facing away from the tray, or your SATA cable routing would be a right pain as the ATX motherboard design usually has them right up alongside where the 3.5″ cage is placed. However, given the quality of the rest of the case, that seems a small problem at best.
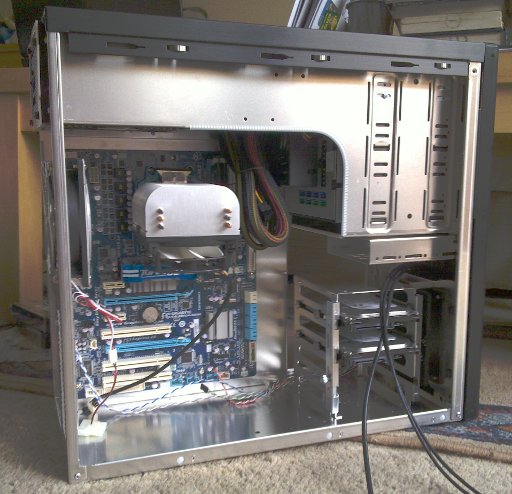
Assembling the motherboard was the usual kind of routine – think lego, but more carefully assembled. Once the CPU and RAM were clipped in, and the CPU cooler was ready to be attached, I laid the case on its side, installed the connector panel into the slot at the rear of the case (the usual push-to-fit affair), then installed the motherboard standoffs, slotted the ATX motherboard into place and screwed it down, then clipped on the cooler and stood the case back upright again. Installing the 3.5″ HDDs was very easy, the special mounting screws with anti-vibration grommets go into the drive and have a built-in channel that slides onto the guides in the drive cage. The Icy Box, the Optical drive and the PSU all slid into their respective bays, but weren’t screwed into place just yet:
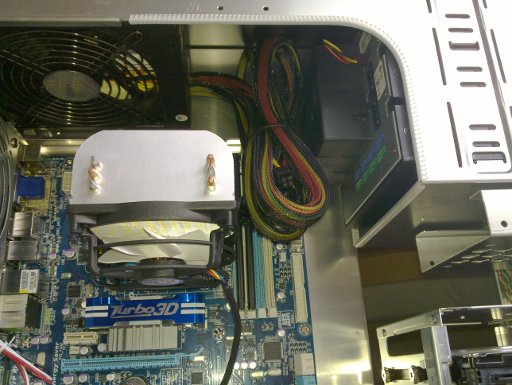
Once this was done, the cabling came next. Again, I’m never going to win awards for my neatness in these builds, but at least the modular nature of the PSU kept the number of spare power cables floating about to a minimum this time. Which is a good thing – with a full-size ATX motherboard, a large CPU cooler and all the 5½” bays occupied, there’s not much room for PSU cables in this case:
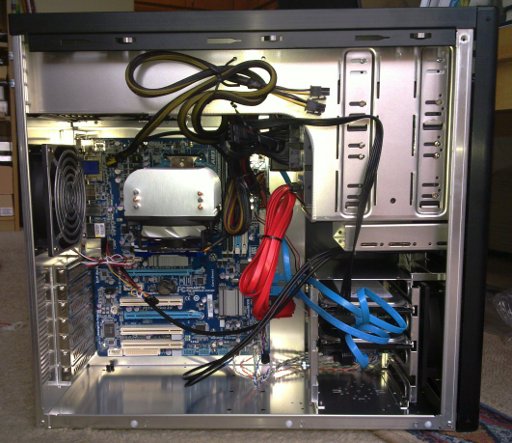
A fair amount of swearing, much cross-checking of manuals and not enough tie-wraps later, and the hardware section of the build was done:
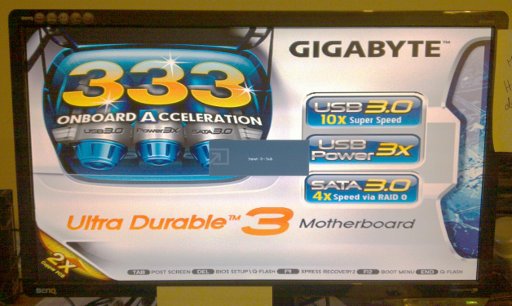
Now for the smoke test…
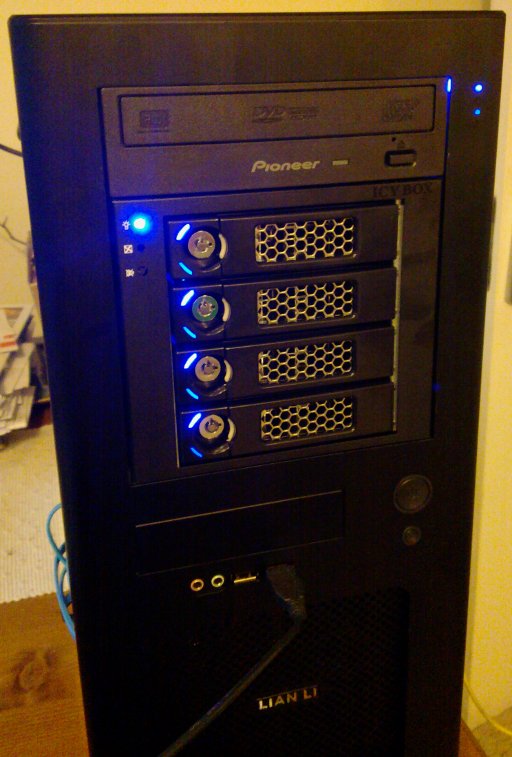
And unlike the last build, we actually get slightly more than just a few LEDs to show for all our money:
So that took most of an afternoon and an evening to do (mainly because I wasn’t rushing and had dinner half-way through). Next step is to install Debian and start configuring the server – but that’s another post….
