11
Jul 20

Long time no type

So yeah, a whole month went by without posting here. Work was a little crazy. But there was time to turn a few more bowls…

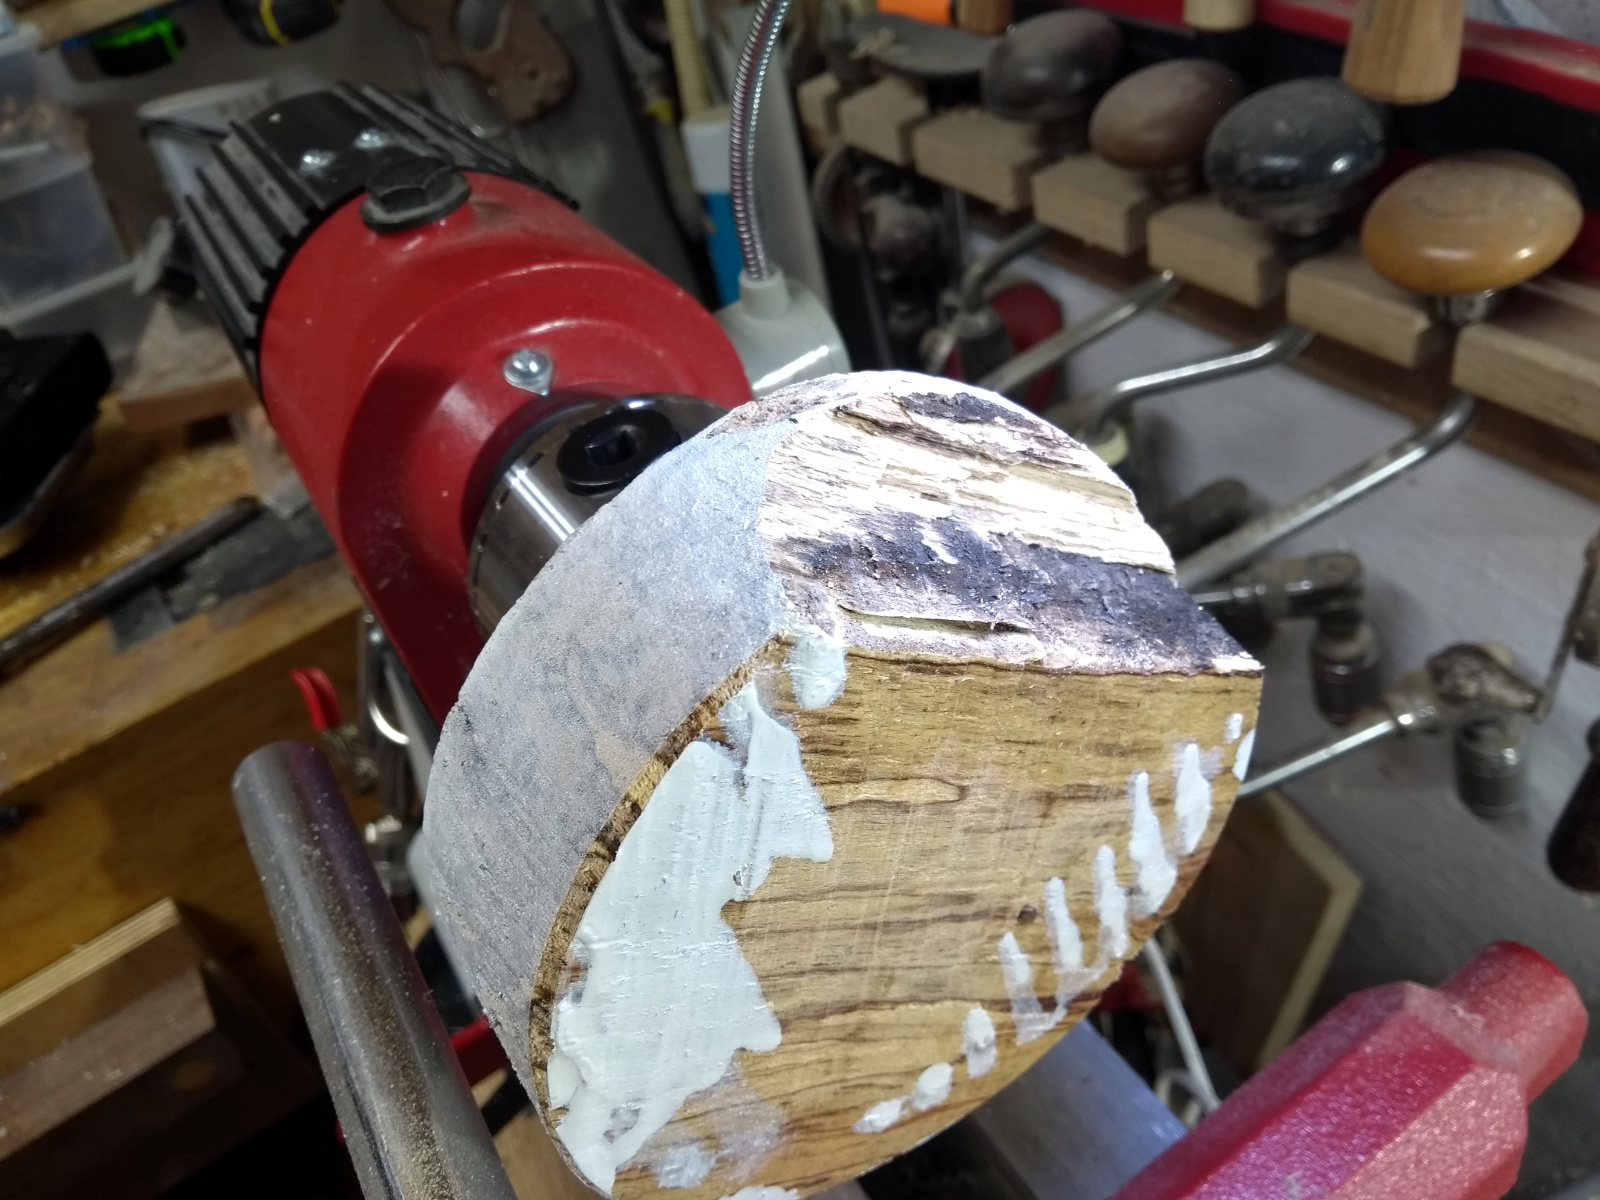
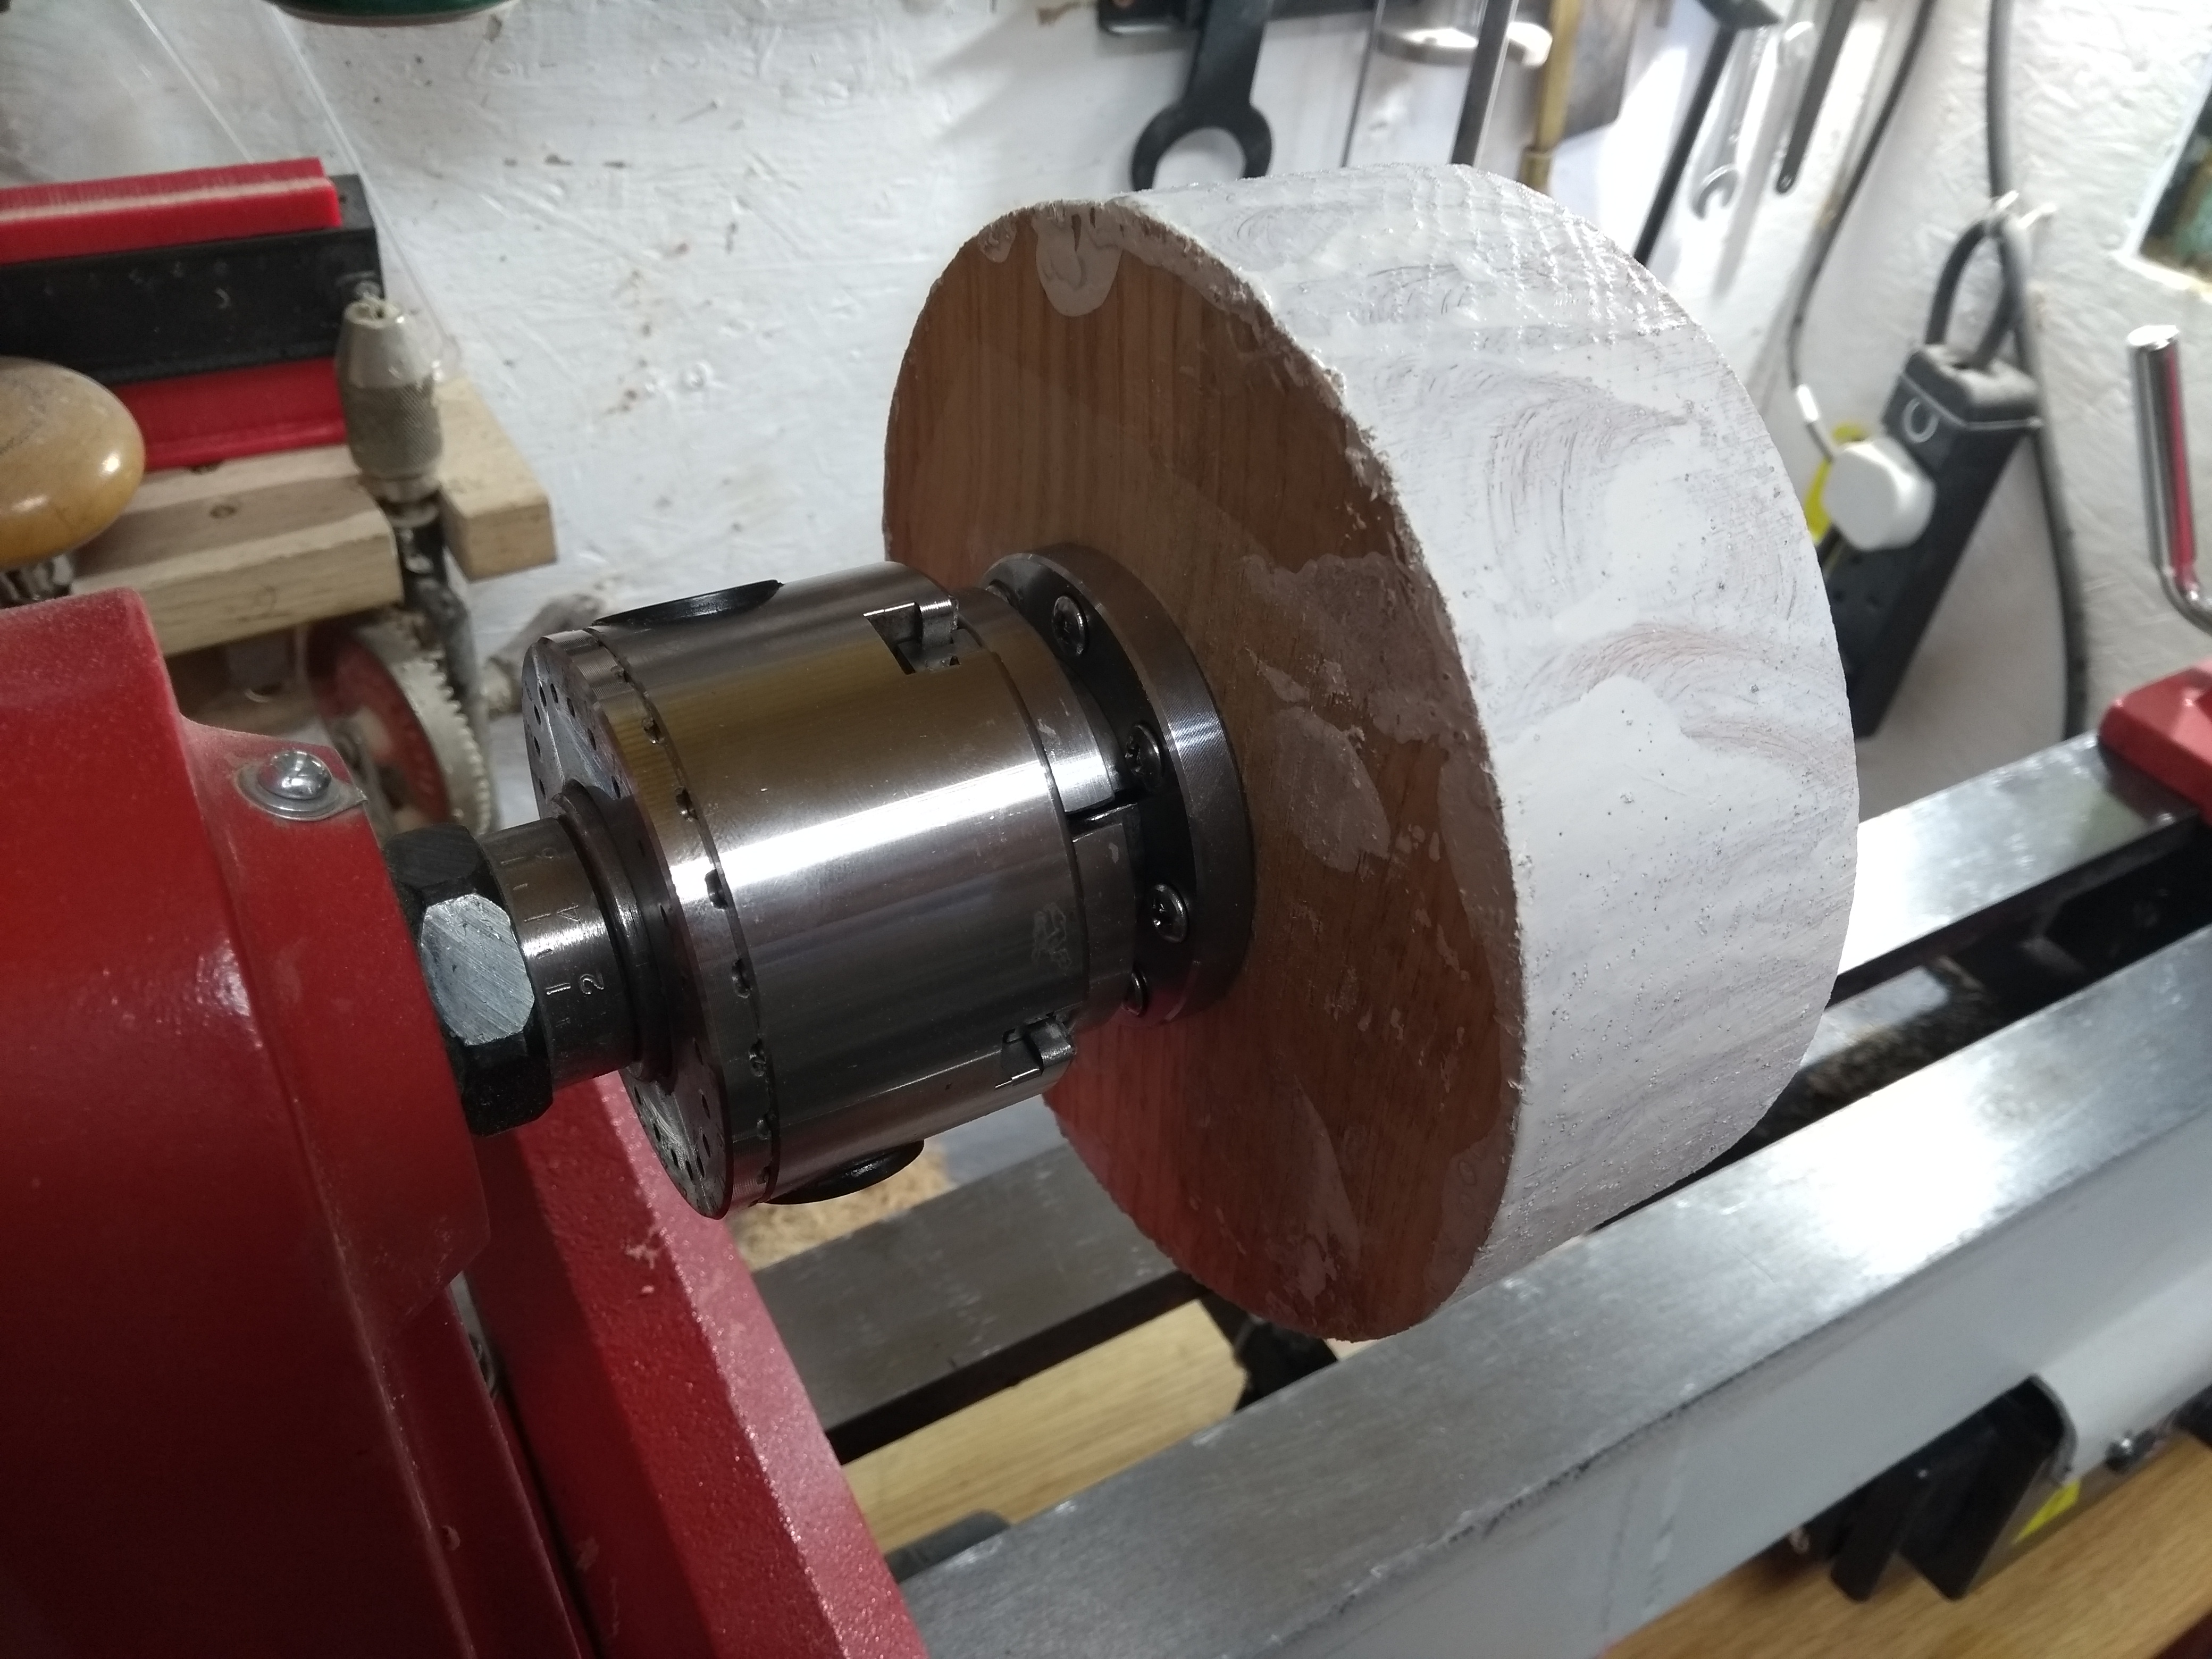
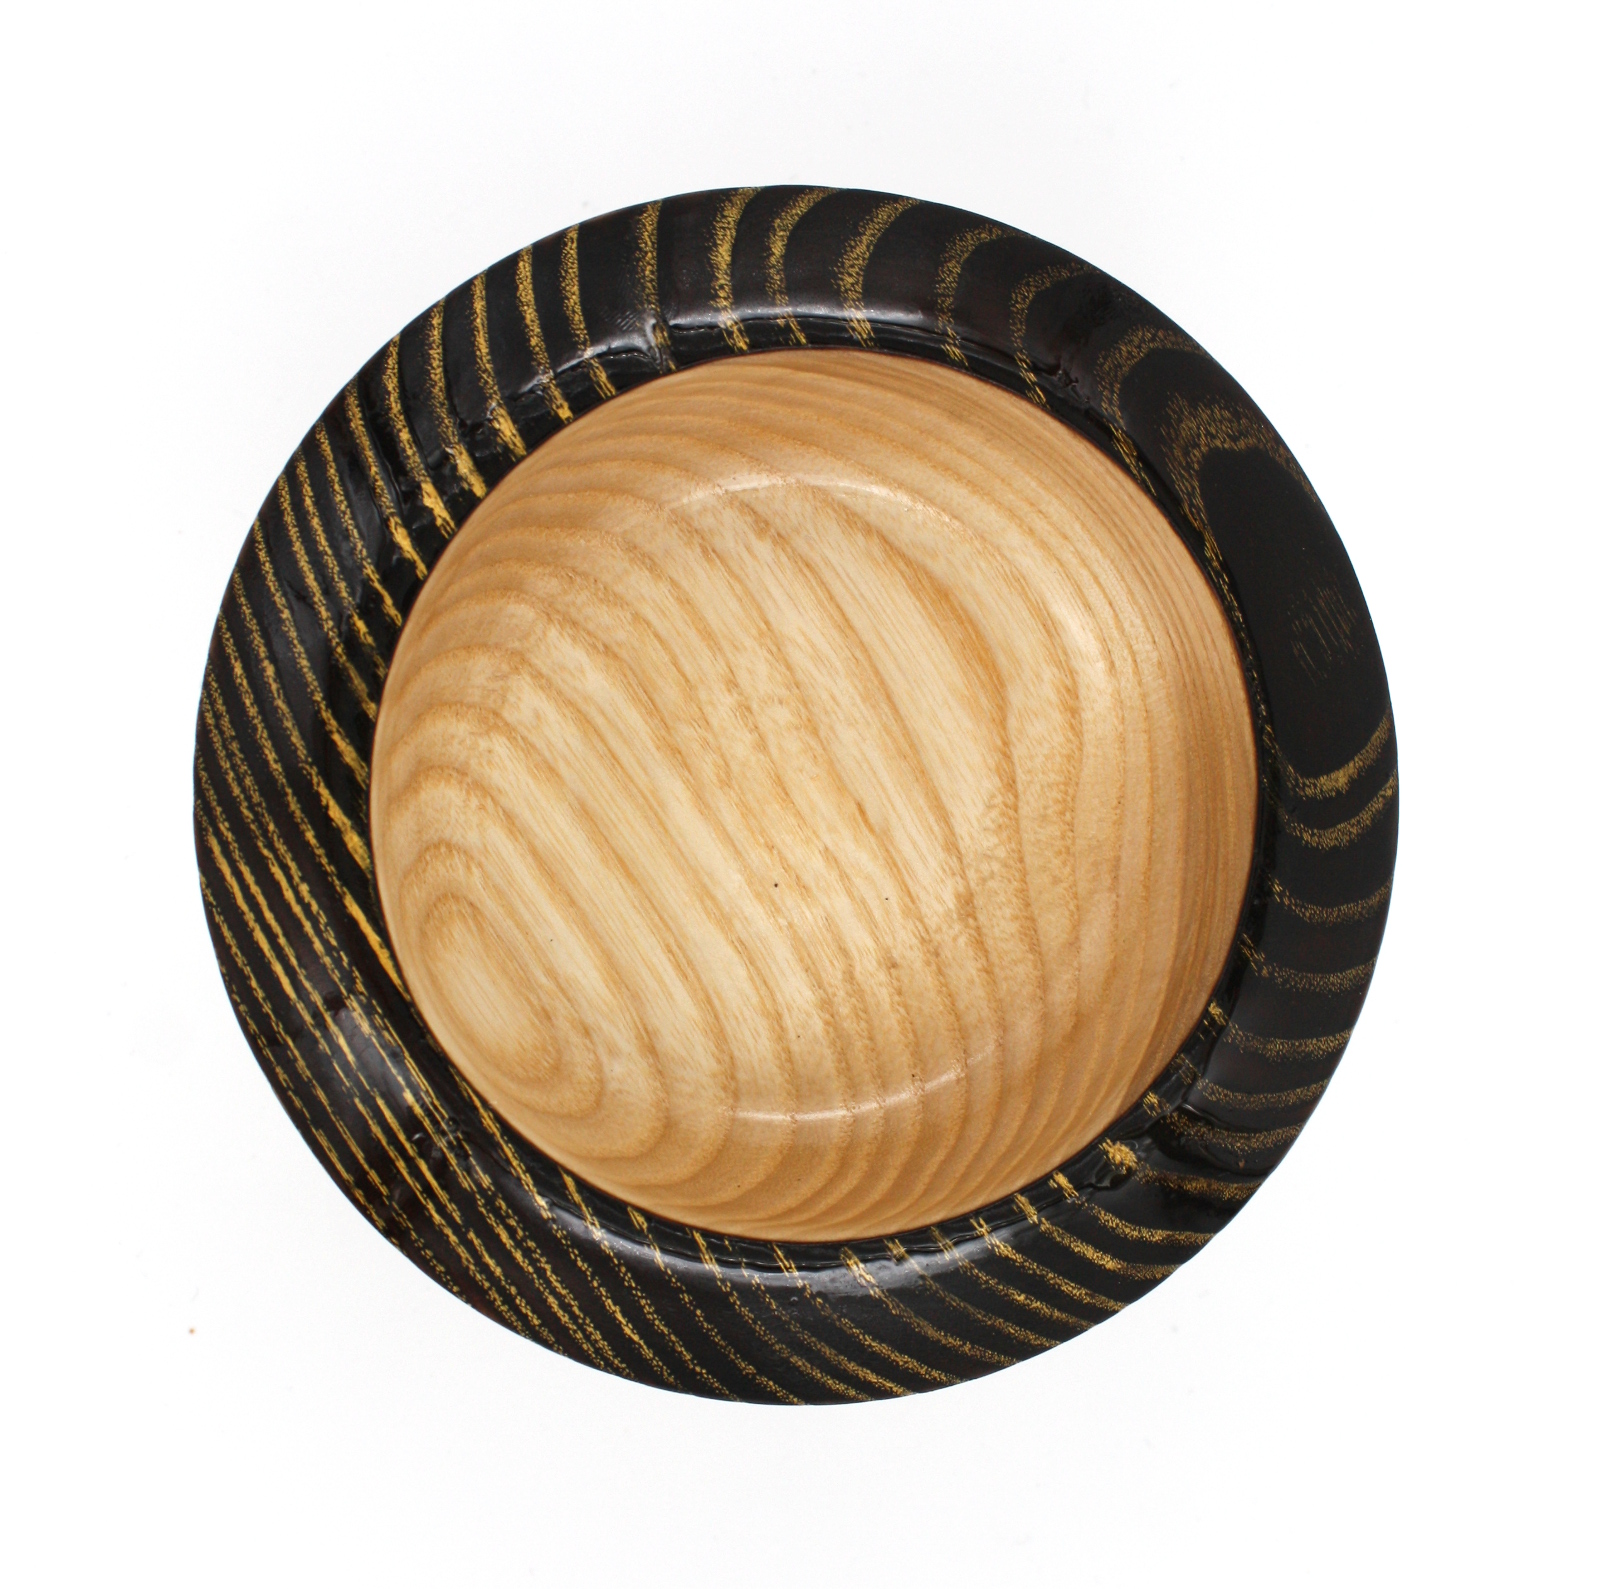
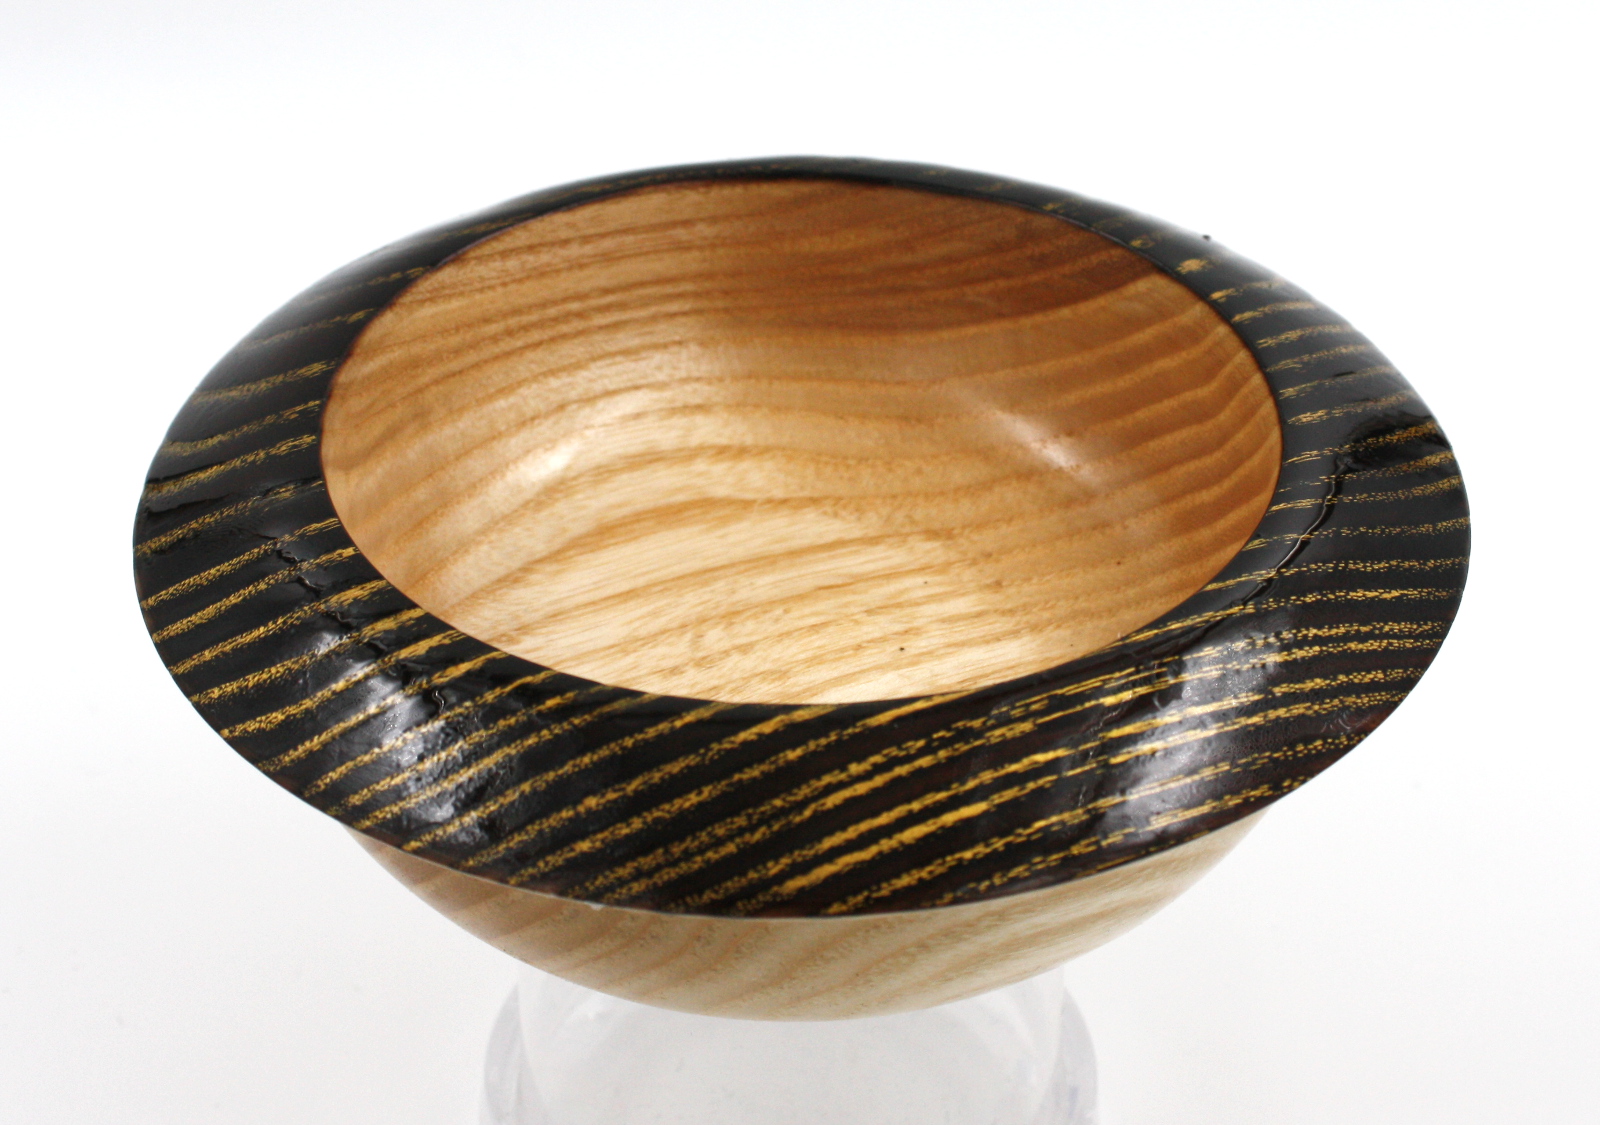
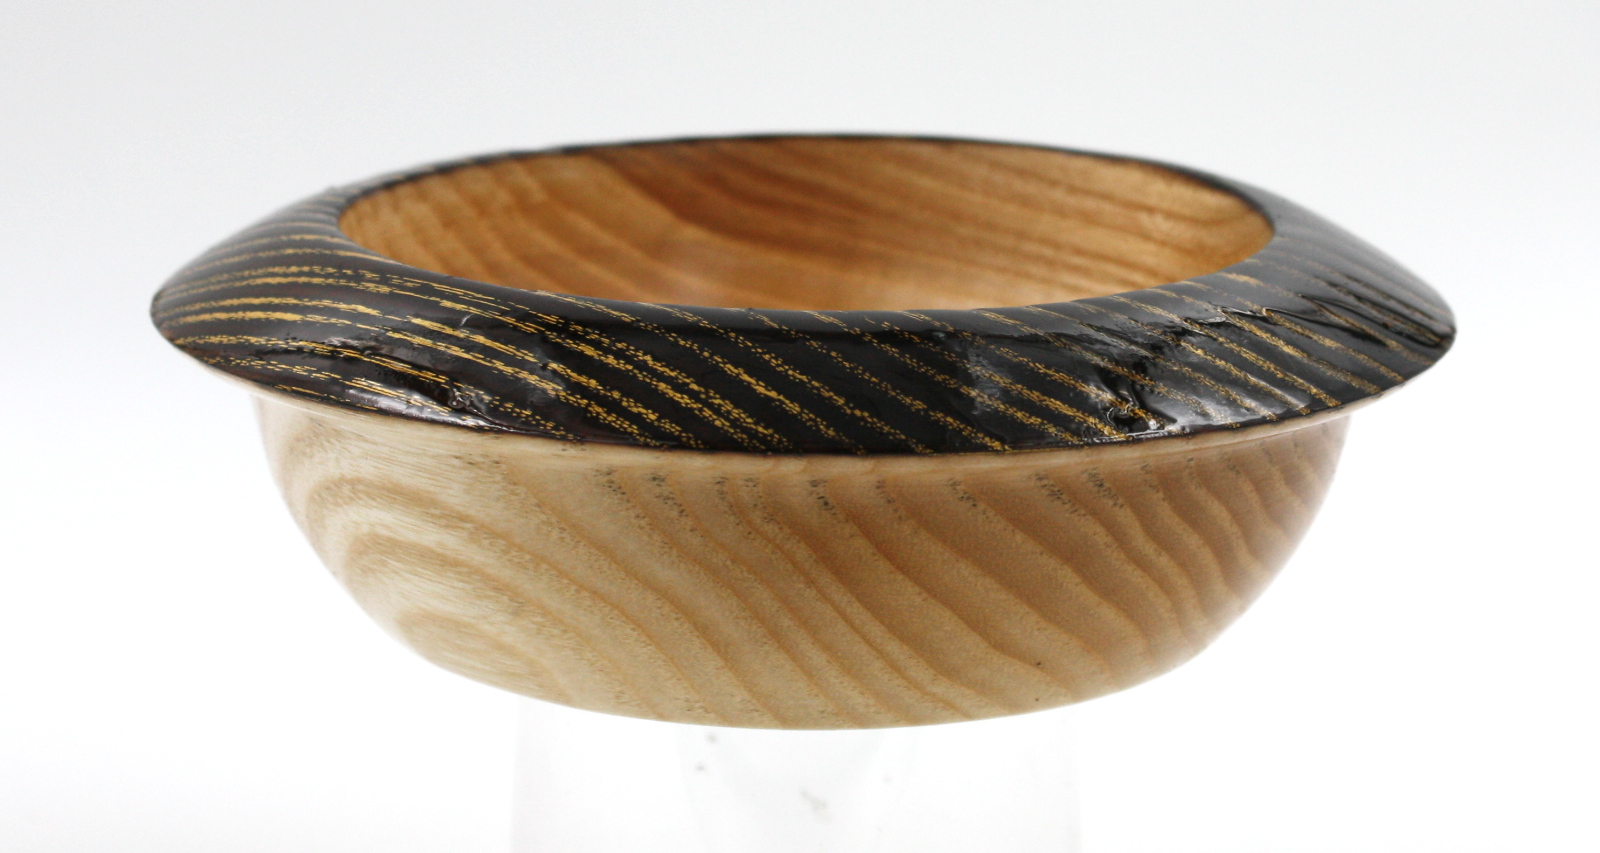
Spalting had gone just a touch far on this beech blank, and a check had formed along one of the spalting planes, so I knocked it off with the chisel and that sortof defined what the final shape would be.

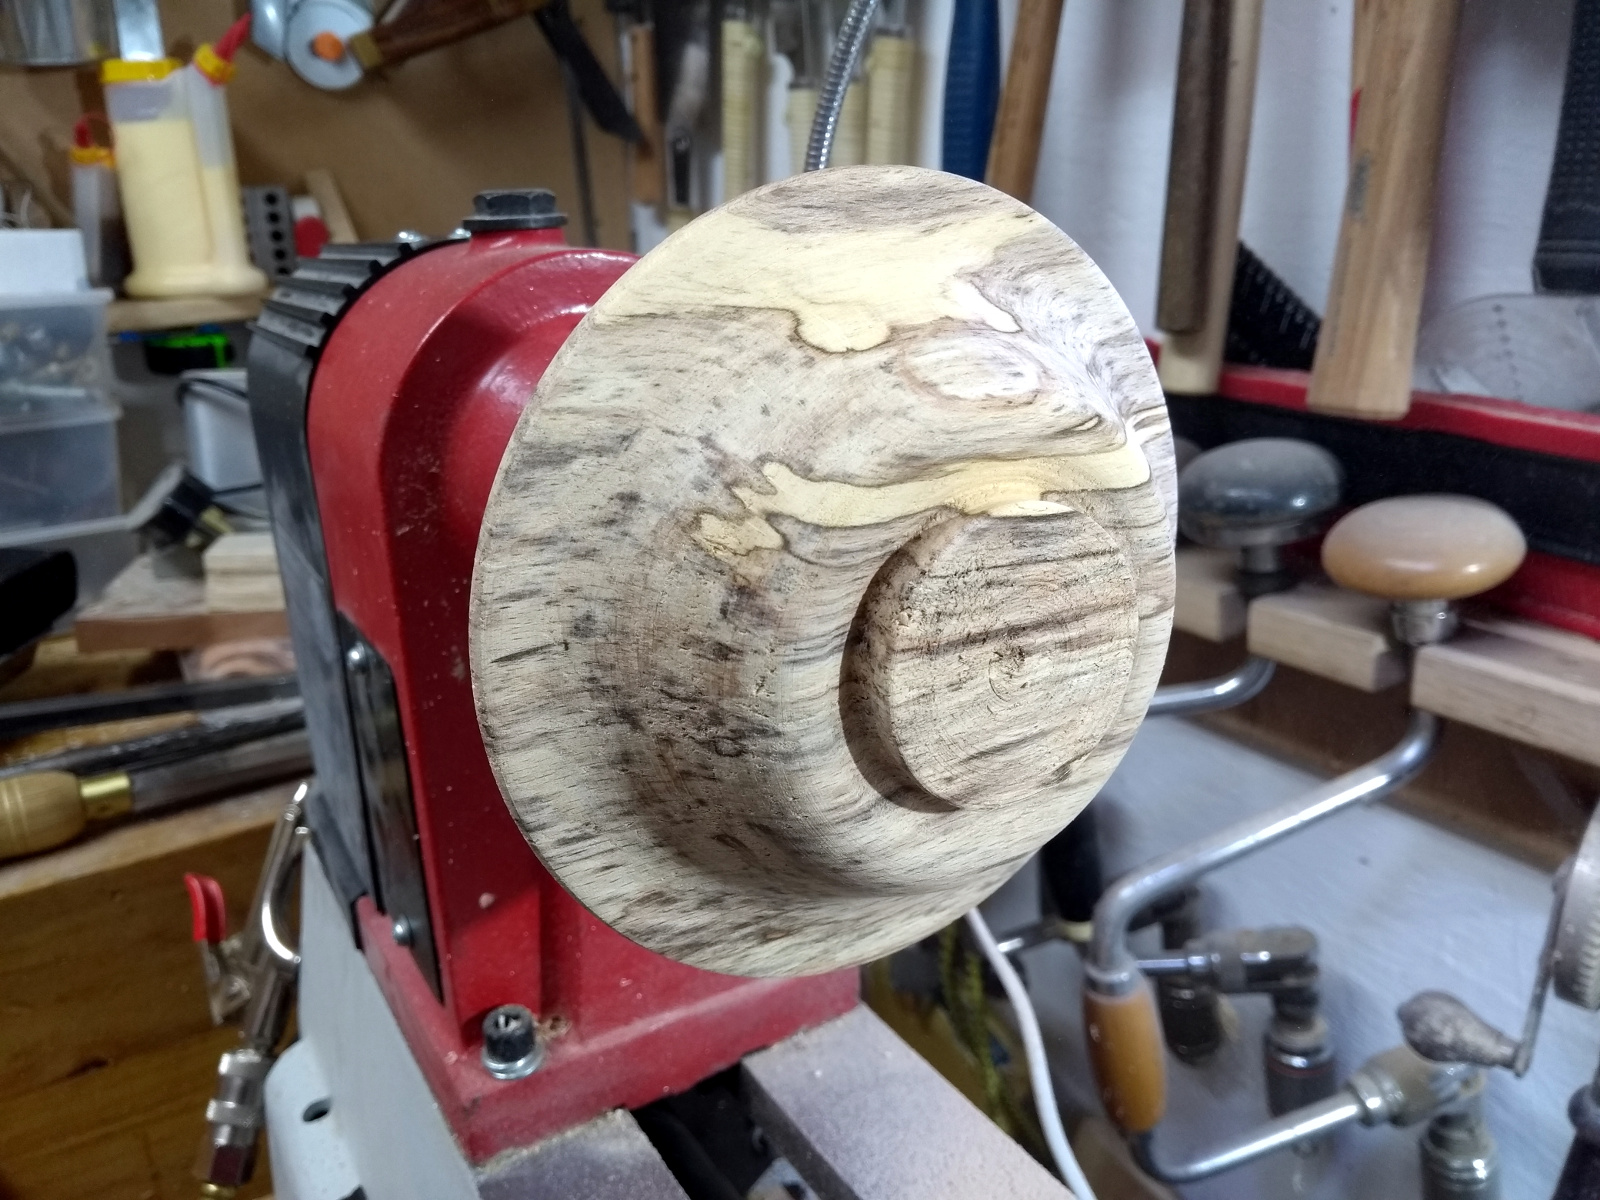
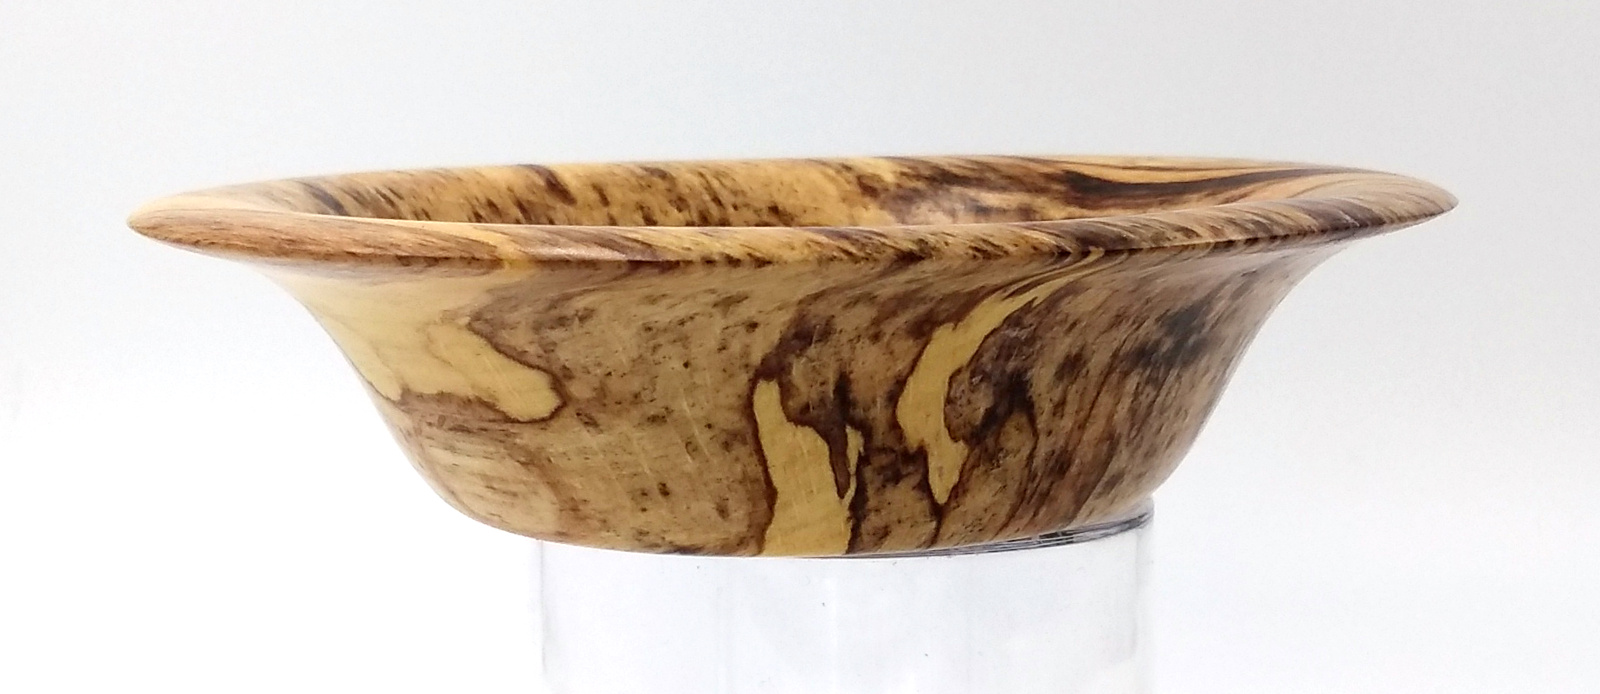
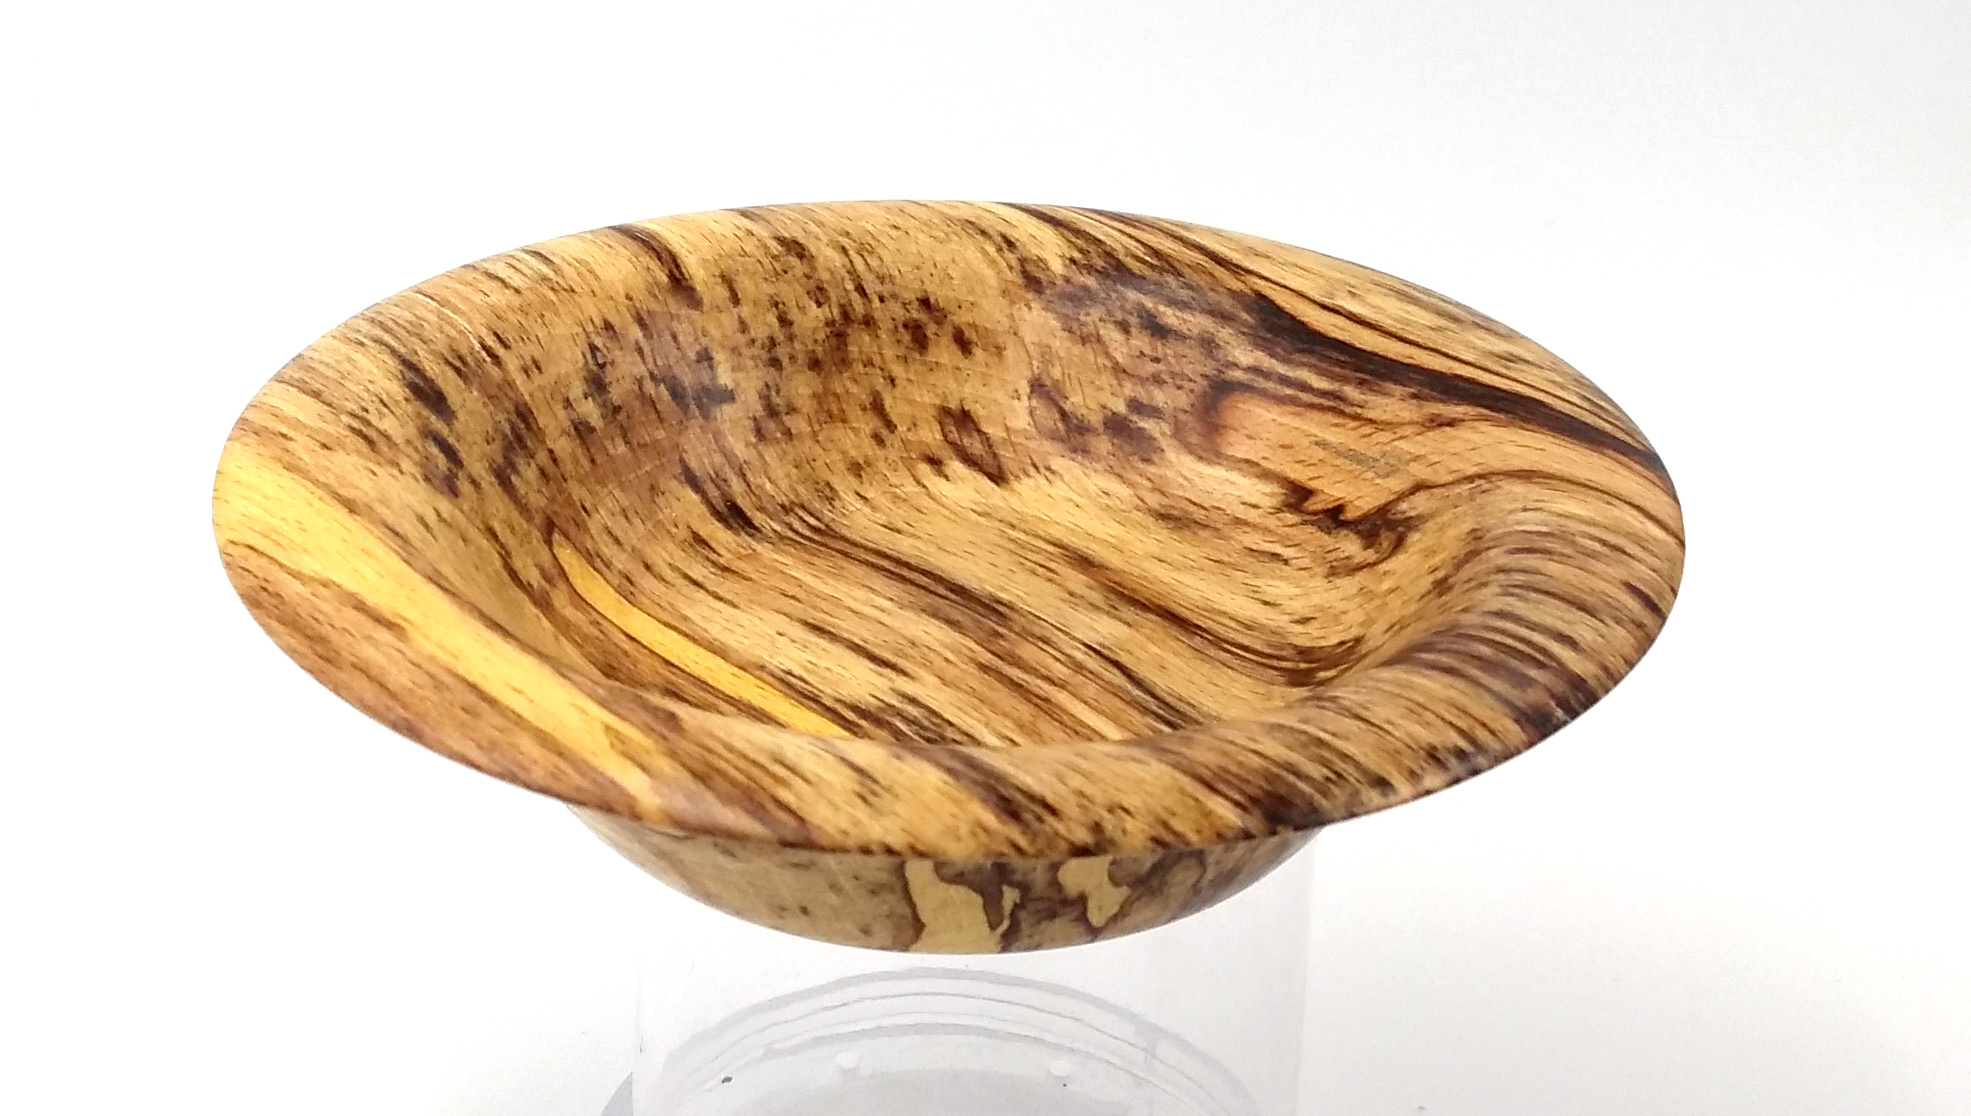
Rather pretty in the end. And there were a few new toys that finally arrived three months after ordering them (they’d come from China all the way to my office… which was in lockdown. But they cleared out the mail room a few months in and dropped everything out to us – thanks for that Robbie, if you’re reading this):

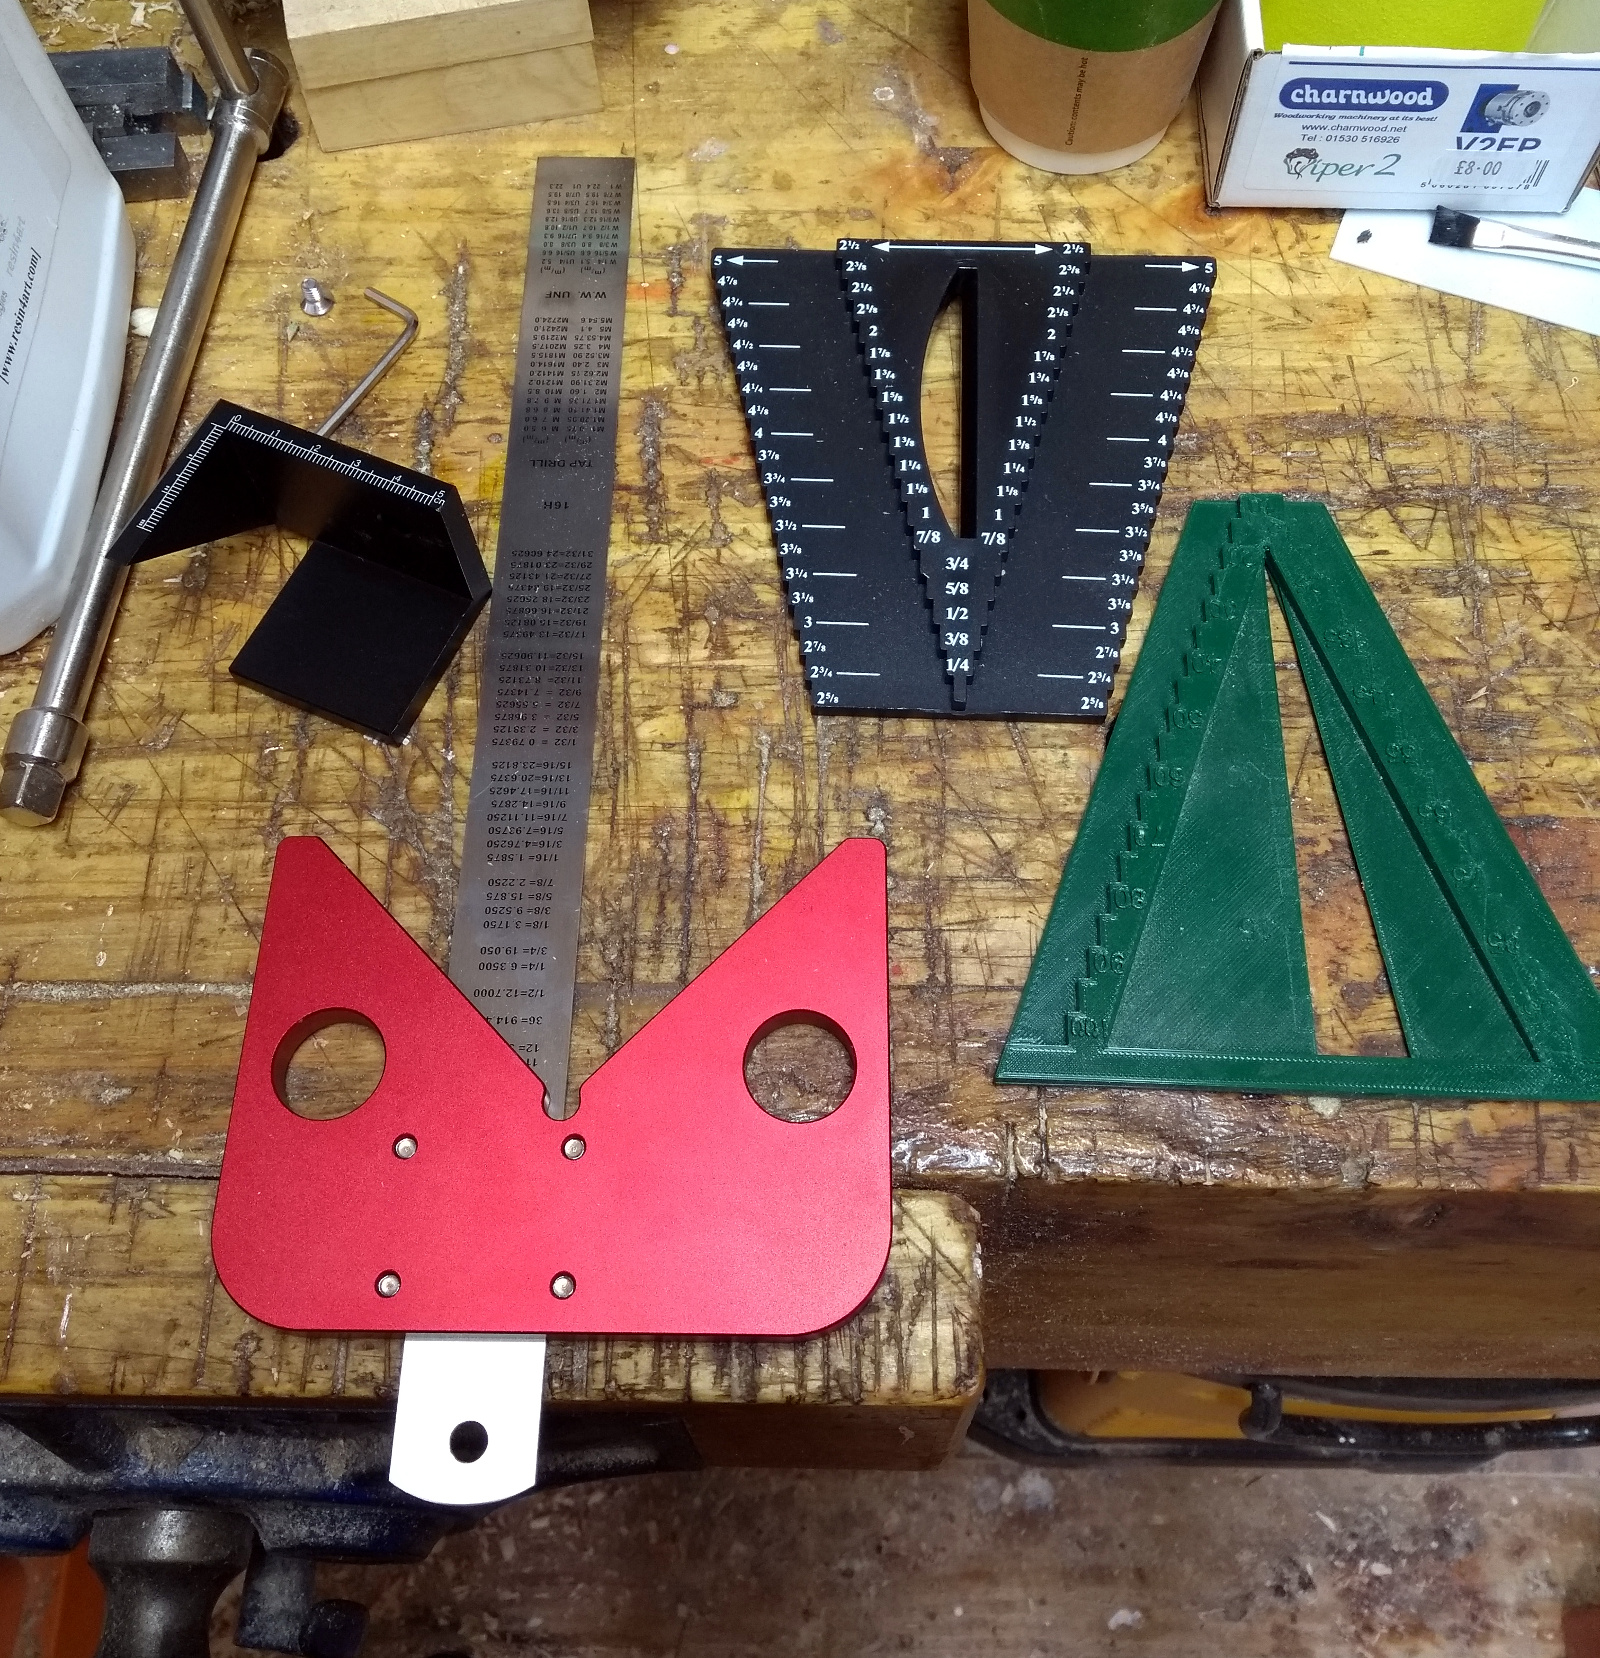
The centerfinder in black also has these raised steps that are set distances apart so it’s both a centerfinder and a gauge to set your calipers against. Useful enought that I’d printed off my own copy of one on the 3D printer a few months ago – that’s the one in green on the far right. The black centerfinder on the far left is a handily sized one for small spindles no more than a few inches in cross-section, and the red one is for larger blanks – very handy for the bowl stuff.

There’s also a longer T-bar for the chuck but despite it being sold for this chuck, it has the wrong size of square bit on the end so I’ll have to grind that down a bit to make it fit right, which is annoying.
Less delayed was a buffing wheel setup which will prove handy for finishing. It’s nothing special, just the chestnut products one:

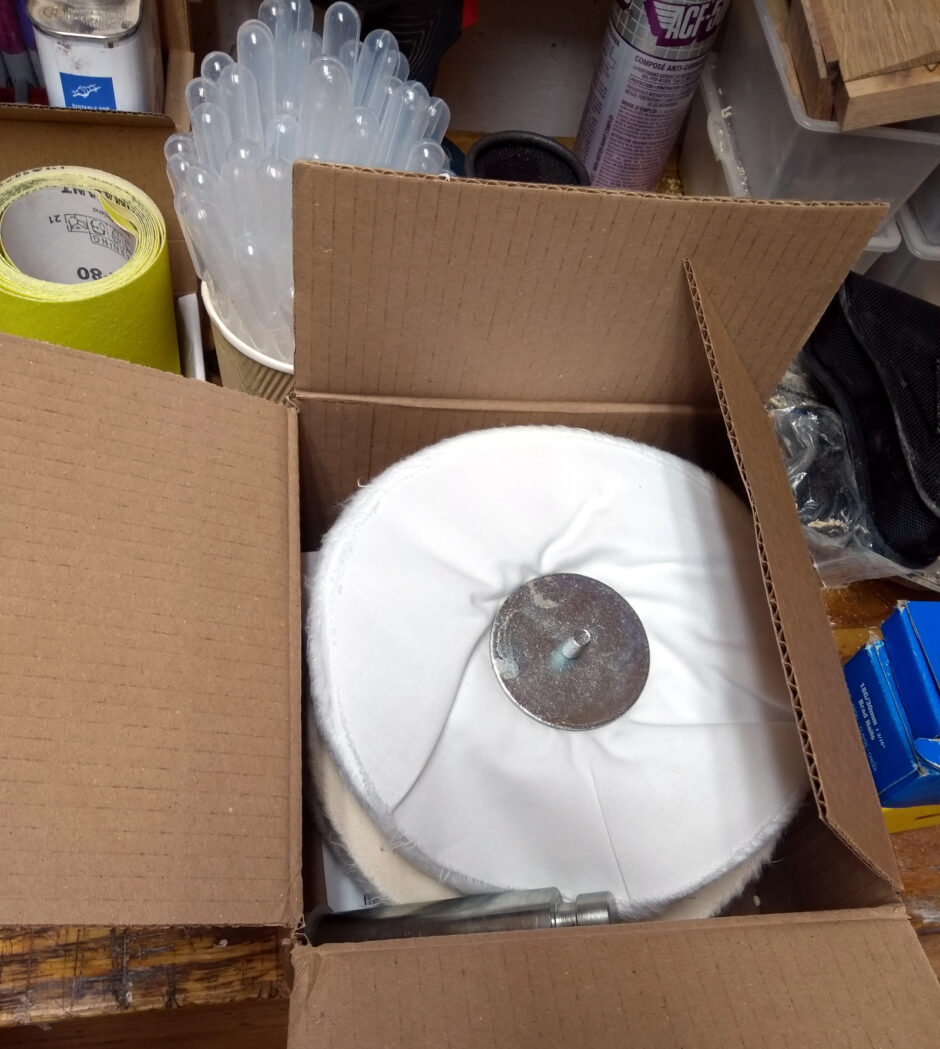
More than good enough for my level though. Oh and a box of pipettes, a small handful of which are in the cup in that photo and which have so far fallen all over the place three times in the shed. There’s about a kilo more and if you think a kilo of 3ml pipettes sounds like a silly number, you’d be right. Turns out some things you can only buy in bulk before you’re paying a euro or two for one pippette – but order a kilo and you get 2000 of the things for the price you’d have paid for ten of them in a sensibly-sized box. They’re very handy for getting resin into exactly the right spot when filling knots and the like.

There’s been a few other projects since, and I have photos and things already taken on the cameraphone of them, I must spend an hour posting them up here later on. Especially since I just finished a long bout of shed-tidying-up with some nice results.


31
May 20

More rough work

One of the steps up to the garden broke underfoot the other day. Just age and normal wear and tear, combined with the original carpenters cutting all the corners they could. So a trip to woodies had to be done to get some decking boards to repair it and, well, these days that’s not a quick evening’s browse in the car, it’s an outright expedition complete with mask and gloves. So you don’t buy the one decking board you would have bought, you grab two and other targets of opportunity as well becuase you already queued for ten minutes to get in, but since you don’t want to browse you kinda have to know where stuff is (I’m almost embarressed to know the layout of two or three Woodies like this, I’m much happier ordering timber from places like Quinns or Brooks). I grabbed some overpriced knotty 12x145mm 2.4m PAO pine as well because the blackberry plants I bought are still in their garden nursery pots and if we don’t move them soon they’ll get into trouble from lack of mass in the compost and root compaction.

After repairing the step (and all I’ll say about that is who uses indoor chipboard screws on an outdoor set of steps for pete’s sakes?) I spent all of about a minute sketching out what I wanted the bramble planter to look like (and two more minutes after I realised that steambending a trellis was overkill and just did a box instead) and then broke down the pine into rough cuts. I wanted to save two feet of it to make a new shelf for the lathe bits and pieces, and I wanted the planter to be at least a foot deep and everything else just emerged from that.

Brad nails, titebond, a few stainless steel screws here and there where a bit more strength was needed, and two shaped handles on the ends. Apart from handsaws, it was power tools all the way. But hell, it’s just a planter, it’s not meant to last more than one or two years. It only has a single coat of BLO to protect it from the elements.

That crossbar across the top is not a handle btw, it’s a tie-in point for canes because brambles like to climb:

And since all my basil died, I emptied the planter and refilled it with fresh compost and moved the strawberries to there.

So now we wait and either everything will die or we’ll have jam in a few weeks…


31
May 20

Fire Pretty!

Yes, okay, I admit it, having a propane torch is a constant temptation after you’ve seen a shou sugi ban video on youtube 😀

You really do need the safey kit for this one though, and to stop before you light up and vacuum up the cubic foot of shavings that are all over the lathe and everywhere else. Small fires in an 8×6 shed that has several litres of various different solvents don’t happen. Large infernos, on the other hand, are something worth avoiding 😀

The nice people at The Carpentry Store gave me a few blanks when I bought my lathe from them “to get going on with” (thanks Patrick if you read this, that lathe’s been a load of fun) and one of those was an ash bowl blank about 6″x2″.

Ash is a hateful chippy wood when dry I’ve found, I don’t know where all these stories come from about it being pleasant to work. I suppose it’s a different animal when air-dried or when green, but when kiln-dried it’s like a Jacobs cream cracker. But it does have a lovely white colour combined with a nice open grain, so…

I finally found dovetail faceplate rings for my chuck (the viper 2 stuff from charnwood fits the xact 2 chuck) and mounted the blank that way. There’s a nice bowl shape I’ve had in my head for a while where the rim is basically a 45 degree bevel down from the flat top to the curved bottom, and I tried to get that shape here but missed. But I got it to a nice enough shape, turned a recess, ran up through the grits from 80 to 320, sealed it from the foot to the lip, and then used some yorkshire grit to polish and carnuba wax to finish.

Then I reversed the bowl, trued up the surface a bit, then cut a shallow chunk out of where the dish would be, and then I got out the propane torch (not the MAP torch, apparently that burns too hot).

And of course, vacuumed up and cleaned up the wood dust and shavings at this point, before lighting the torch and then burning the beveled part of the rim. Took my time here, burning lightly in a lot of quick passes until I had a fully charred look, then I took a steel brush to the wood in the direction of the grain (happy accident this, I wanted to use a brass brush but couldn’t find mine). The steel gave a sort-of-sandblasted look to everything which is nice, if subtle. Wiped everything up with kitchen paper (this bowl used a lot of kitchen paper), then burned it all again, and then cleaned it with kitchen paper and 320 grit sandpaper. Got it smooth and clean, then sealed it with two coats of cellulose sealer, and then put on a glove and rubbed gold buff-it as embellishing wax directly into the grain on the rim, and then removed the excess with kitchen paper and 320 grit paper, then put a final coat of sealer over the top of all of that.

Then I got out the bowl gouge again, and cut out the inside dish of the bowl, though by the bottom I was having to switch over to the half-round scraper because the bowl gouge’s bevel wasn’t steep enough for the turn I was trying to make. Then sanded up through the grits and then sealed the inner dish, then yorkshire grit over the whole top half (inner dish first, then the rim because I thought I could pull soot into the pores otherwise). And then carnuba wax all over, and then two coats of spray lacquer from a can. Which of course, I got a drip on with the last coat, so I may need to finish that properly later.

But overall, I’m not too unhappy with this, even if the shape isn’t exactly what I wanted:

I have no idea what you’d use it for mind 😀
I just had this idea in my head to try a few ebonising methods after that bowl I stained a week or two back, and this was next on the list (and I like the gold-in-black look from the embellishing wax, though I think silver would work even better. I must get some later and try it).

The next method though, should be even more interesting, but that’s a few days or so away yet…